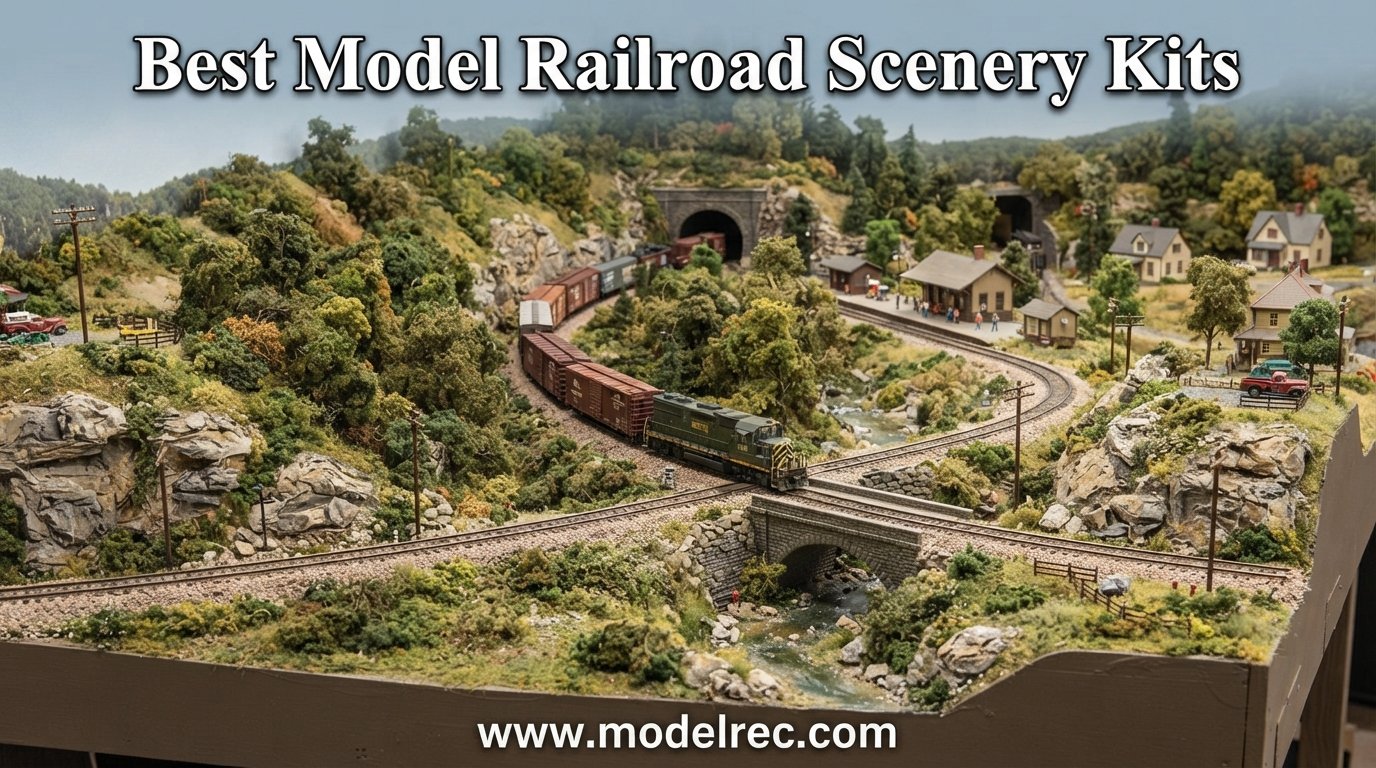
Building a model railroad is about more than just laying track and running trains. The scenery is what brings your miniature world to life, transforming bare plywood into mountains, forests, rivers, and bustling towns. But figuring out which materials to buy and how to use them can feel overwhelming, especially if you are just starting out.
That is exactly why we put together this guide to the best model railroad scenery kits available in 2026. Our team spent weeks researching, comparing, and evaluating kits from Woodland Scenics, War World Scenics, Evemodel, Walthers, and other top brands. We looked at what comes in each box, how easy the materials are to work with, and whether the final results actually look realistic on a layout.
Whether you are a complete beginner building your first 4×8 layout or an experienced modeler looking to add detail to an existing scene, this roundup has something for you. We cover all-inclusive terrain kits, static grass sets, model trees, figures, paved roads, and diorama starter packs. You will find options for HO scale, N scale, multi-scale projects, and everything in between.
One thing we noticed during our research is that no true editorial “best of” roundup exists for model railroad scenery kits. Most search results point to retailer catalog pages or educational guides without product recommendations. We built this article to fill that gap with honest, hands-on reviews and direct comparisons so you can make an informed purchase decision.
If you are also looking for individual model trees for custom scenery or want to explore scenery accessories and add-ons, we have dedicated guides for those too. For now, let us get into our top picks for the best model railroad scenery kits.
Table of Contents
Top 3 Picks for Best Model Railroad Scenery Kits

Woodland Scenics Mountain Valley Scenery Kit
- 25-piece complete scenery kit
- HO scale
- includes terrain and vegetation

Evemodel 40pcs Dark Green Pine Trees
- 40 mixed-size pine trees
- 2-5 inch height range
- HO OO scale compatible

Woodland Scenics HO Static Grass Variety Pack
- 3 grass color varieties
- works with applicators
- realistic non-shiny finish
12 Best Model Railroad Scenery Kits in 2026
| Product | Specifications | Action |
|---|---|---|
| Woodland Scenics Mountain Valley Kit |
|
Check Latest Price |
 Woodland Scenics Diorama Kit Mountain Woodland Scenics Diorama Kit Mountain |
|
Check Latest Price |
 WWS Static Grass Starter Kit 2 WWS Static Grass Starter Kit 2 |
|
Check Latest Price |
 Mystear 50PCS HO Scale Trees Mystear 50PCS HO Scale Trees |
|
Check Latest Price |
| Evemodel 40pcs Dark Green Pine Trees |
|
Check Latest Price |
 CWBPING 100pcs HO Scale Figures CWBPING 100pcs HO Scale Figures |
|
Check Latest Price |
 Sureio 130 Pcs Diorama Supplies Kit Sureio 130 Pcs Diorama Supplies Kit |
|
Check Latest Price |
 Walthers SceneMaster Paved Roadway Walthers SceneMaster Paved Roadway |
|
Check Latest Price |
 Woodland Scenics Road System Learning Kit Woodland Scenics Road System Learning Kit |
|
Check Latest Price |
 Evemodel 52pcs Model Pine Trees Evemodel 52pcs Model Pine Trees |
|
Check Latest Price |
| Woodland Scenics HO Static Grass Pack |
|
Check Latest Price |
 WWS Forest Grass Kit WWS Forest Grass Kit |
|
Check Latest Price |
1. Woodland Scenics Mountain Valley Scenery Kit – Complete Terrain and Vegetation Package
Woodland Scenics Mountain Valley Scenery Kit
25-piece complete kit
HO scale
Terrain, vegetation, and details
5 lbs total weight
Pros
- Complete all-inclusive scenery kit
- 25 pieces of terrain and vegetation materials
- Expertly designed for HO scale layouts
- High-quality Woodland Scenics materials
- Great for intermediate modelers
Cons
- Higher price point than smaller kits
- Limited stock availability at times
I have used the Woodland Scenics Mountain Valley Scenery Kit on two different layout projects, and it remains my go-to recommendation for anyone who wants a complete scenery solution in one box. This kit includes 25 pieces covering everything from ground foam and turf to trees, foliage, and talus. You get enough material to scenery a decent section of an HO scale layout without needing to buy a dozen individual products.
The variety of materials is what sets this kit apart. Inside the box you will find flexible forest canopy, dead fall, bushes, fine-leaf foliage, and multiple colors of turf. The kit also includes talus for rock formations and several tree armatures. Everything is color-coordinated, which solves one of the biggest headaches beginners face: getting materials that look natural together rather than mismatched.
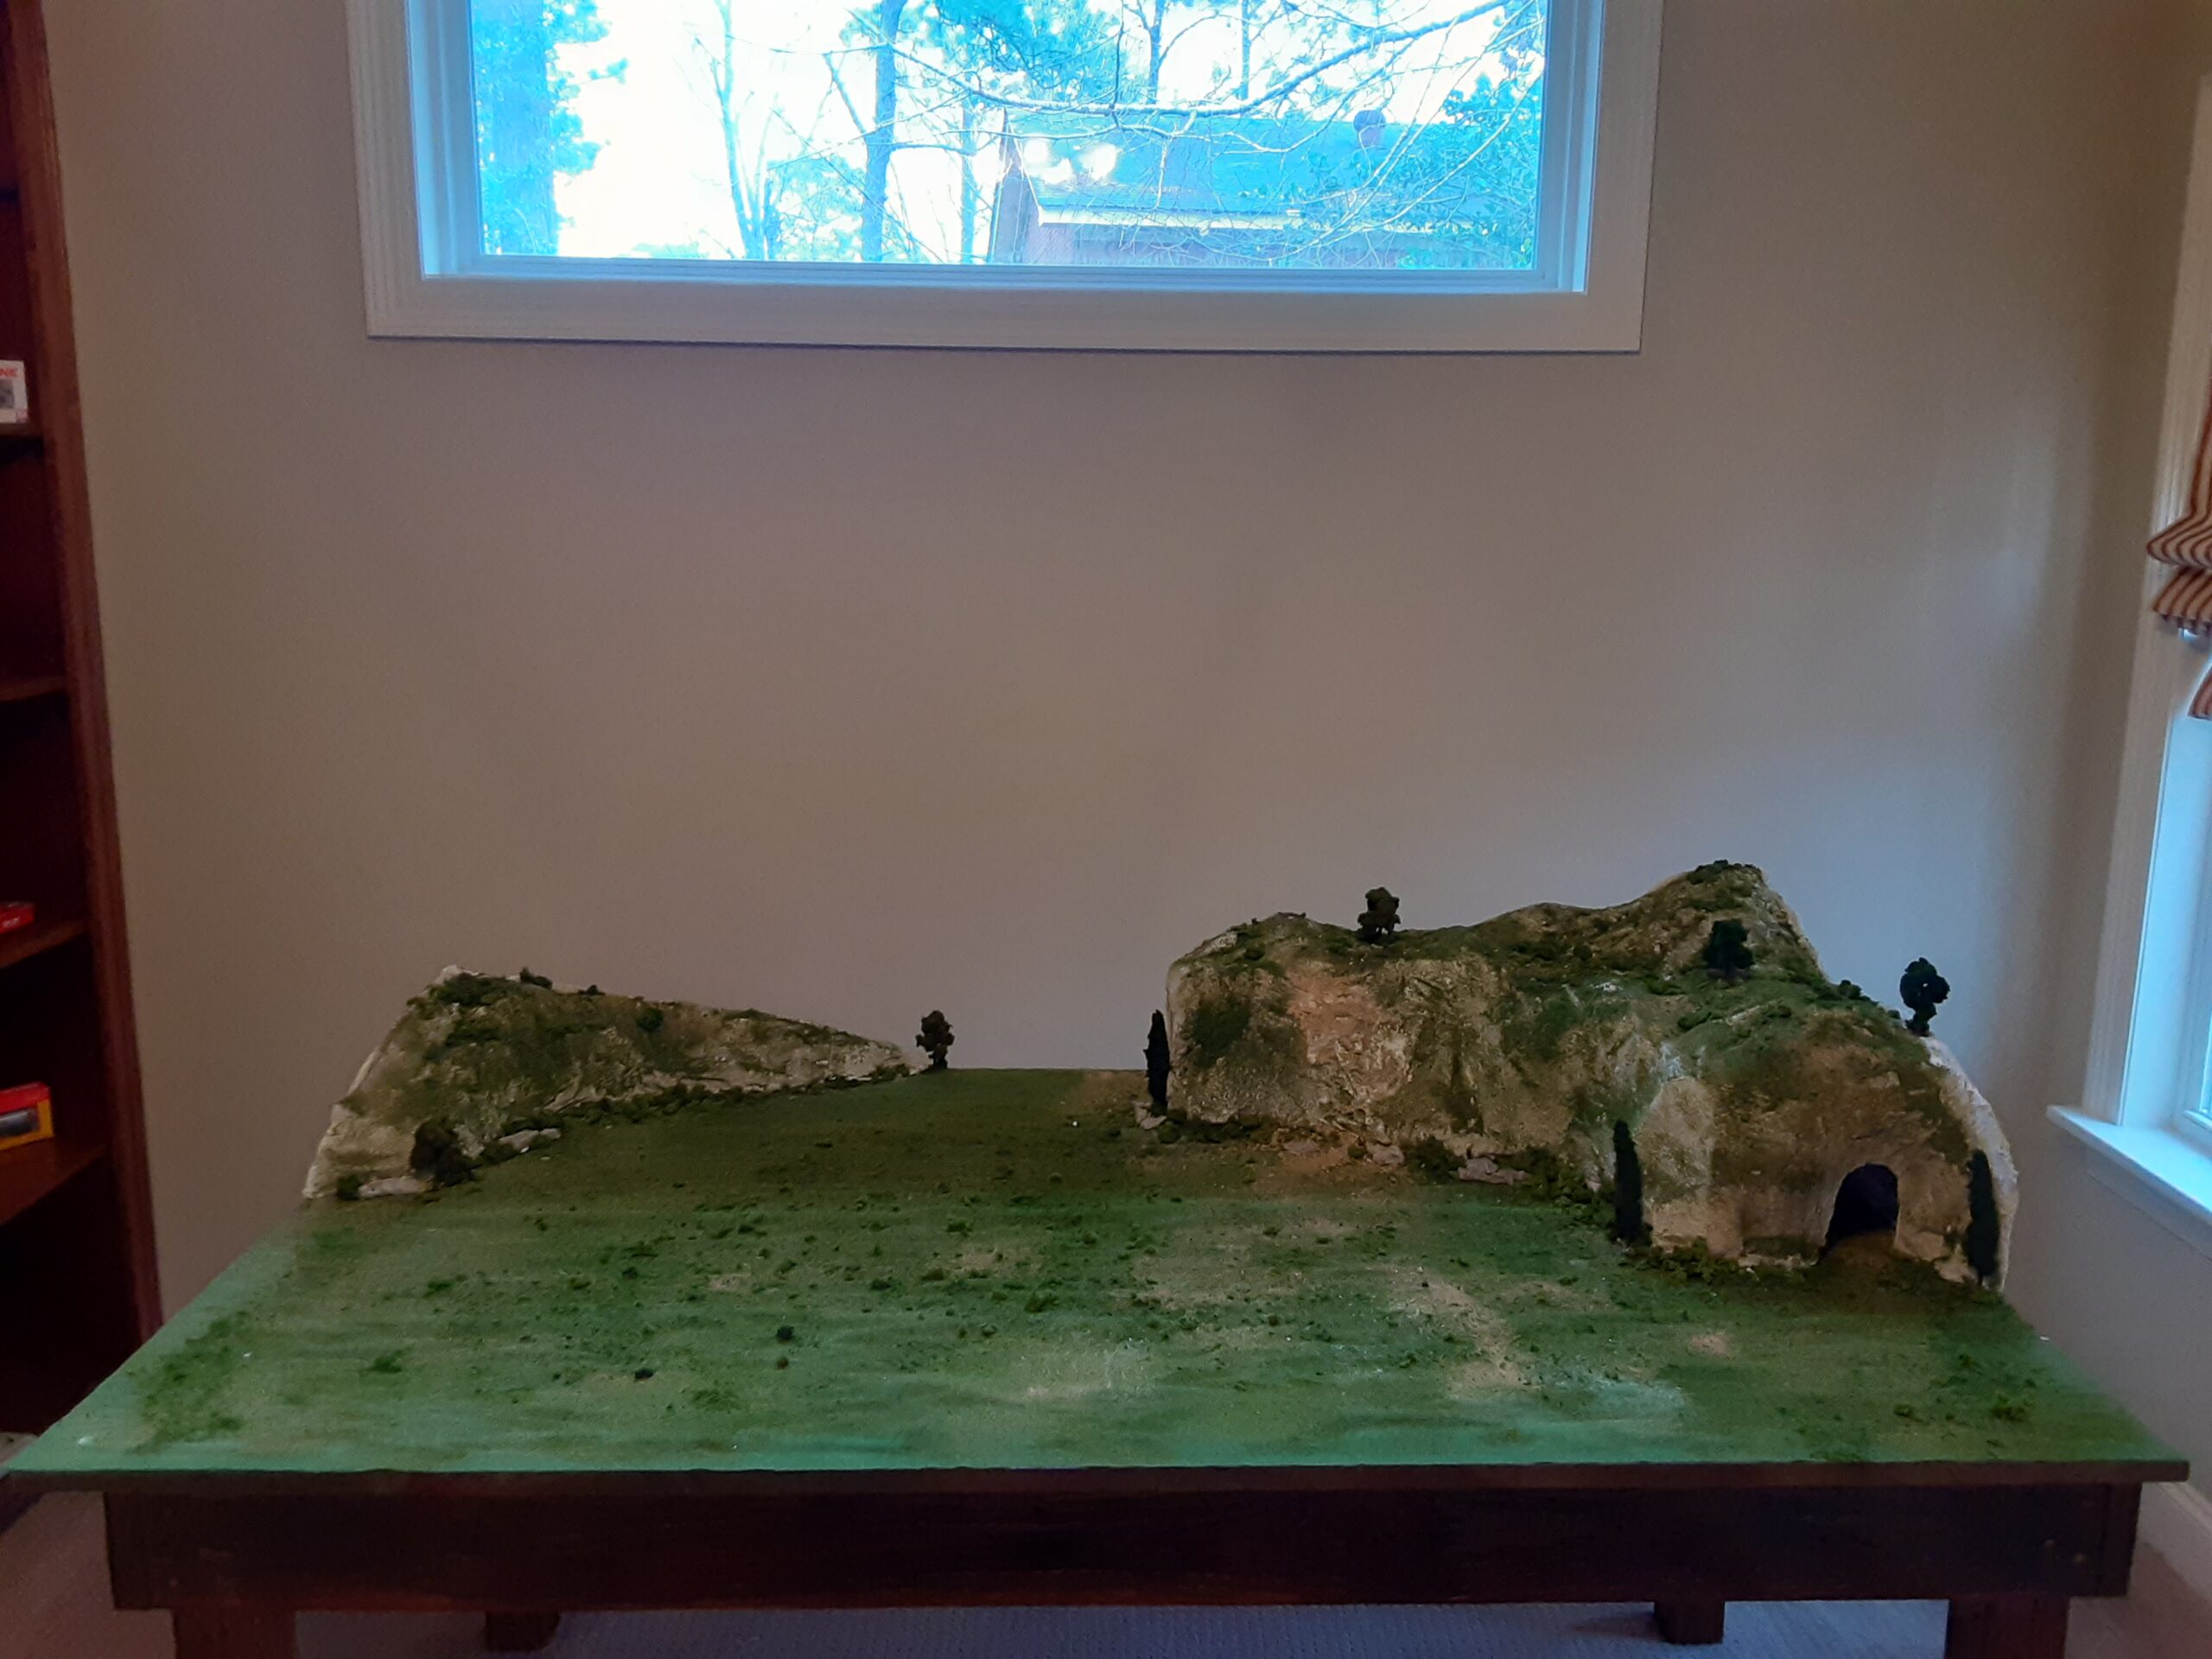
What I appreciate most is the instructions. Woodland Scenics includes a detailed guide that walks you through applying each material step by step. If you have never built scenery before, this kit teaches you the proper sequence: landform first, then ground cover, then vegetation, then details. That workflow becomes the foundation for every future scenery project you tackle.
The materials quality is excellent across the board. The ground foam has fine, consistent grain that blends smoothly. The foliage clumps hold their shape and can be stretched and torn to create natural-looking bushes. My only complaint is the price, which runs higher than buying individual materials separately. But for the convenience of having everything in one box with matching instructions, I think it is worth it for most hobbyists.
Scale Compatibility and Layout Coverage
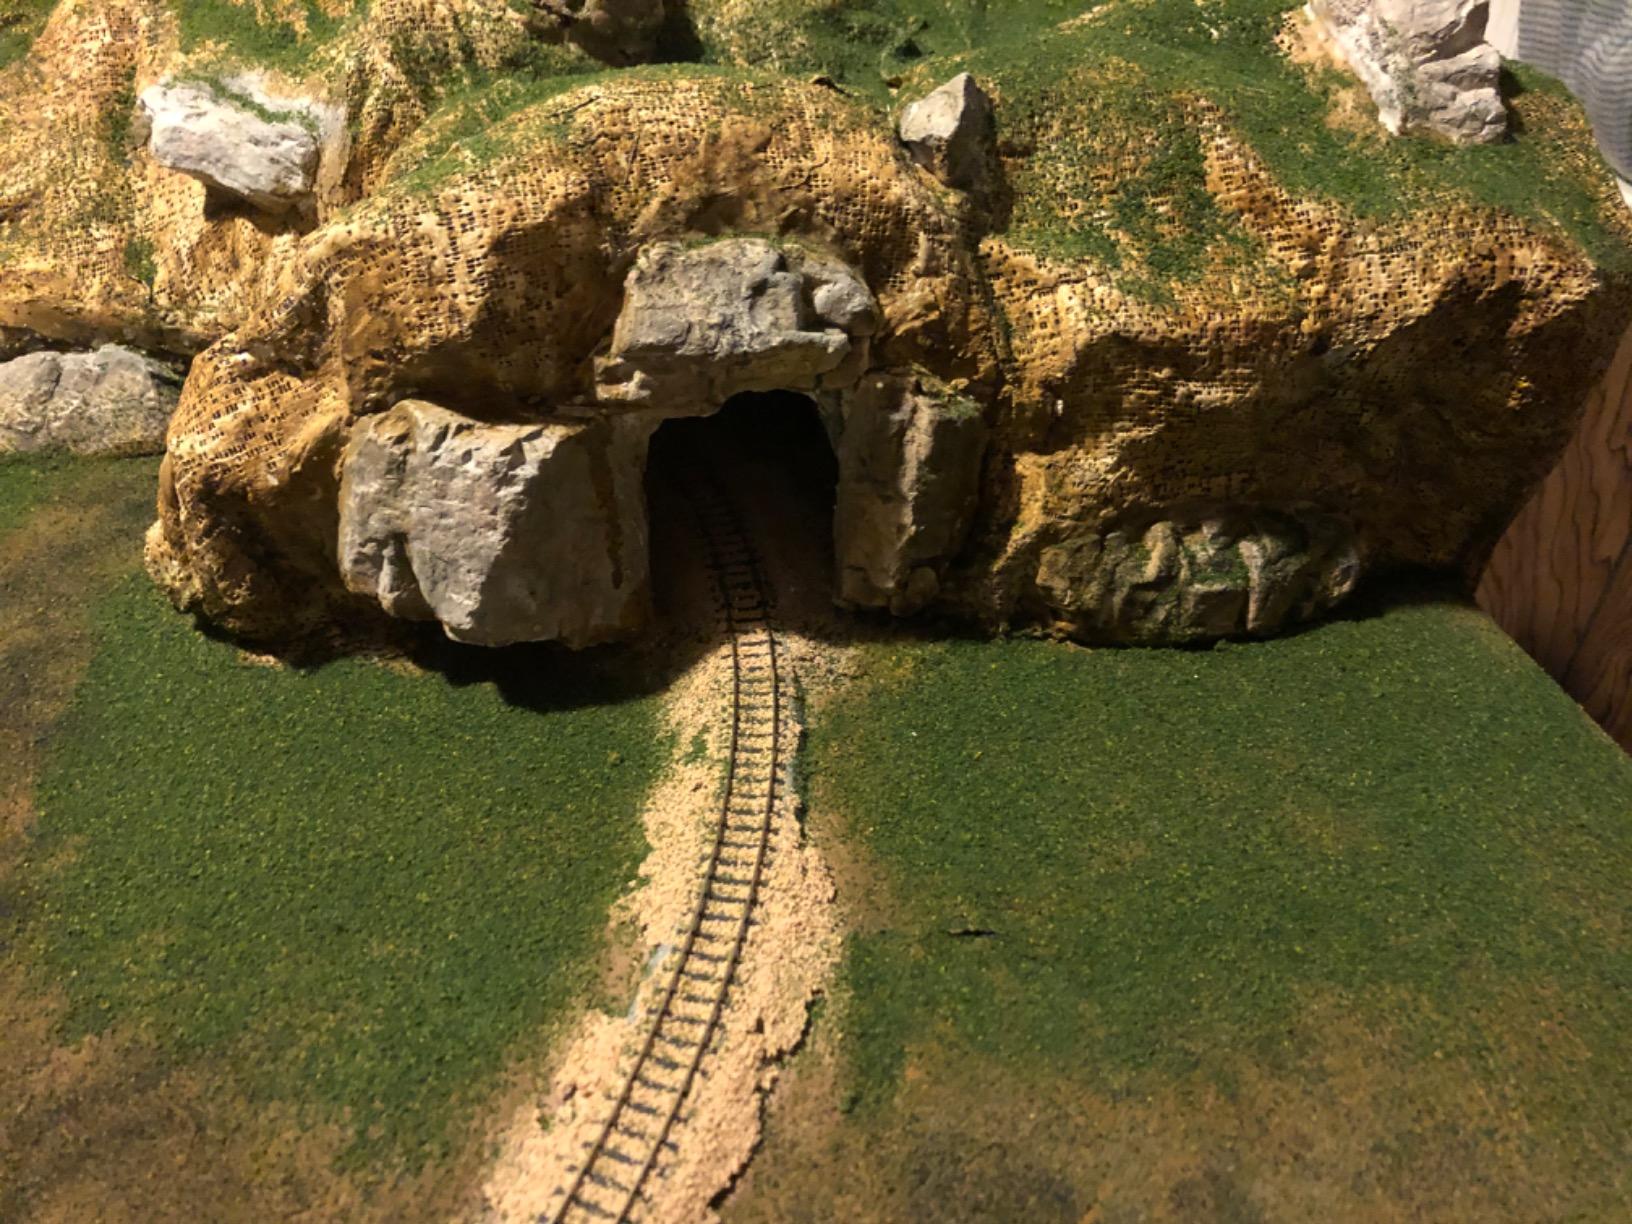
This kit is designed primarily for HO scale layouts, and the included trees, foliage, and ground cover all look proportional at that size. I found that one kit covers roughly a 2×3 foot section of layout if you apply the materials at moderate density. For a standard 4×8 layout, you would likely need two kits to scenery the entire surface.
The tree armatures included are bare plastic, which means you will need to add foliage material yourself. Some modelers prefer this because it gives full control over the final appearance. Others may find it more work than expected compared to pre-flocked trees.
What Skill Level Is This Kit Best For
I recommend this kit for modelers who have completed at least one simple scenery project before. The included instructions are thorough, but the kit assumes you understand basic concepts like applying adhesive, using a spray bottle for wetting surfaces, and working with plaster cloth or foam as a base.
Complete beginners might feel slightly overwhelmed by the number of materials and steps. If you are brand new to scenery, the Woodland Scenics Diorama Kit (reviewed below) offers a gentler learning curve. For everyone else, the Mountain Valley kit delivers professional-looking results that make your layout stand out.
2. Evemodel 40pcs Dark Green Pine Trees – Best Value Forest Pack
S0804 40pcs Dark Green Pine Model Cedar Trees 2.05-4.96 inch (52-126 mm) for Model Railroad Scenery Landscape Layout HO OO Scale New
40 mixed-size pine trees
Metal wire trunks
2.05-4.96 inch height
HO OO scale
Pros
- Excellent value at about 55 cents per tree
- Mixed sizes for natural forest look
- Sturdy metal wire trunks
- Rich dark green coloring
- Highest-rated product in this roundup
Cons
- Some foliage shedding when unpacking
- May need pilot holes for wooden surfaces
When I needed to fill a large forest area on my HO scale mountain layout, the Evemodel 40pcs Dark Green Pine Trees set was the clear winner. At roughly 55 cents per tree, this pack delivers incredible value without the quality compromises I have seen in cheaper alternatives. The trees range from 2.05 to 4.96 inches tall, giving you natural height variation that makes a forest look real rather than like a tree farm.
The metal wire trunks are a big plus. They are sturdy enough to push directly into foam terrain without bending, and they hold their position firmly. On harder surfaces, I drilled small pilot holes with a pin vise before inserting the trees. The dark green color is rich and natural, though some trees shed a bit of their foliage coating when you first unpack them.
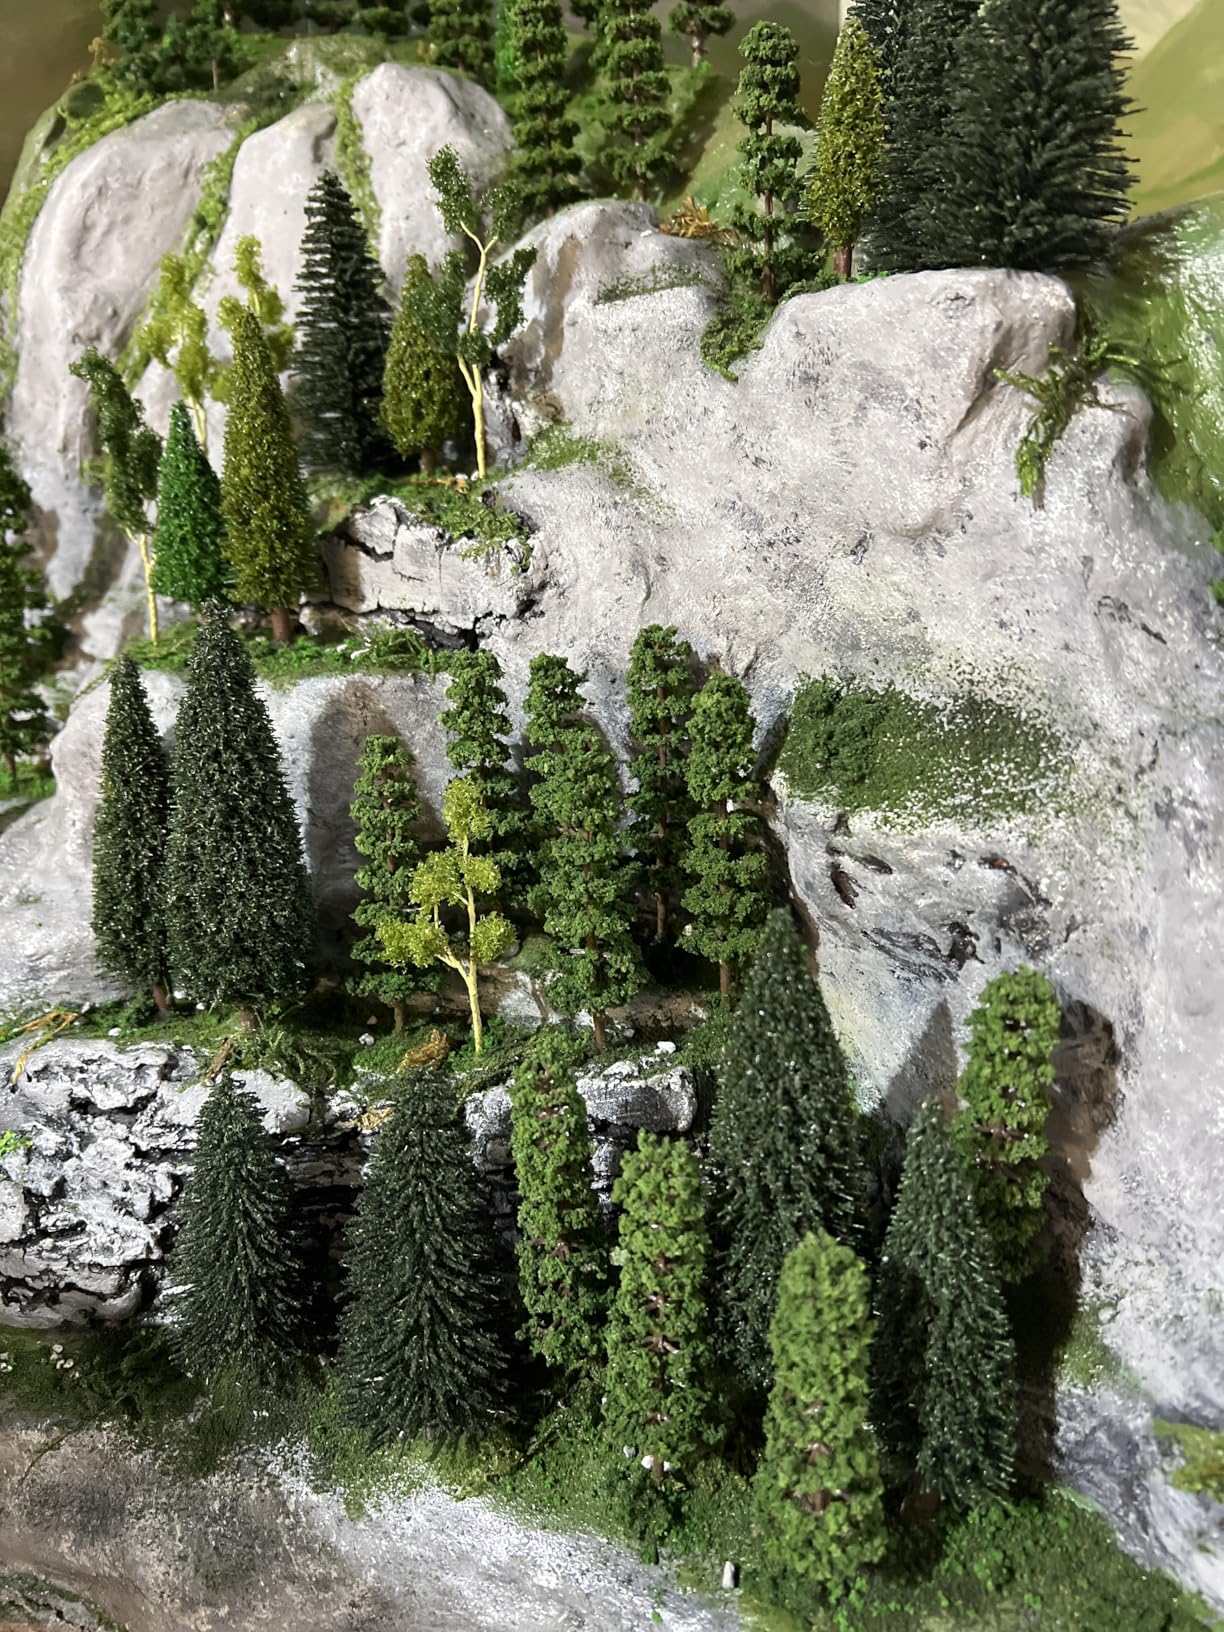
I solved the shedding issue with a light coat of Mod Podge spray, which sealed the foliage without changing the color. After that treatment, the trees held up perfectly through handling, layout cleaning, and even a layout move. Several modelers in the forums I follow recommend the same trick.
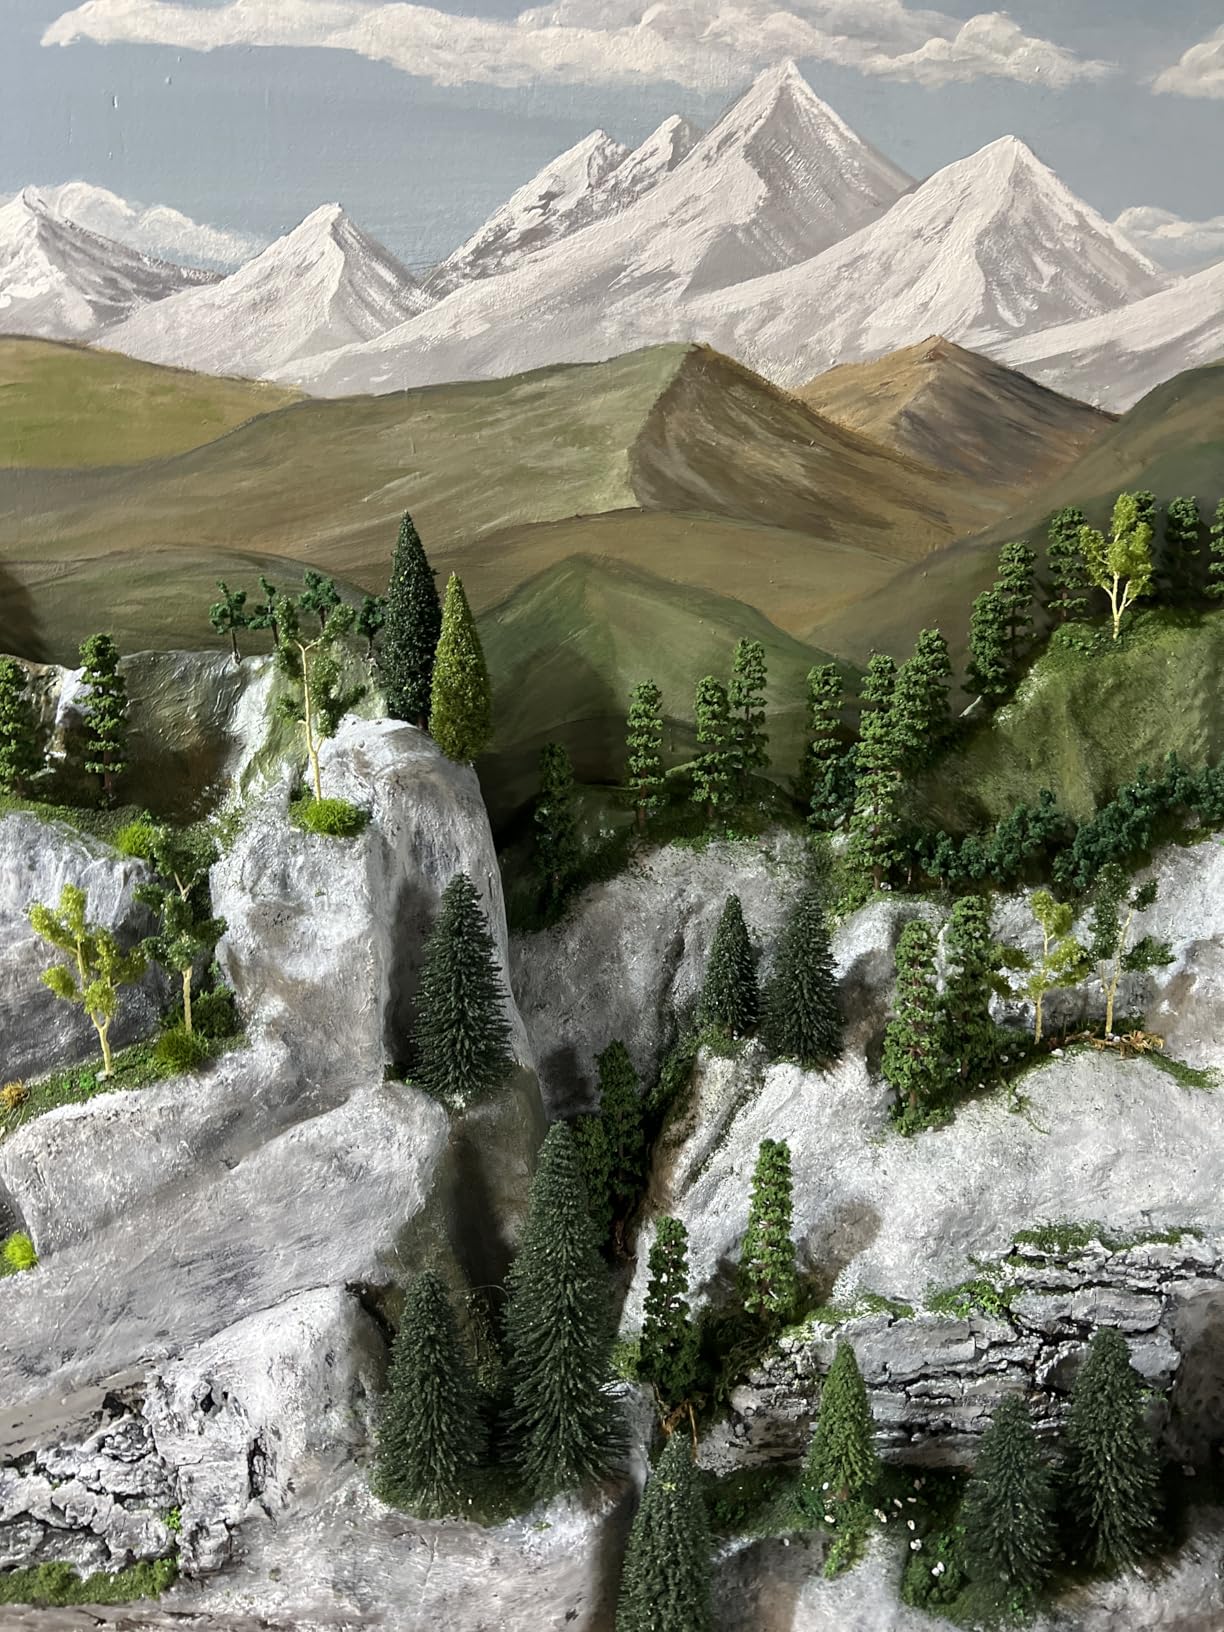
The variety of sizes in the pack is what impressed me most. Having trees ranging from just over 2 inches to nearly 5 inches lets you create depth and perspective on your layout. Place taller trees in the foreground and smaller ones in the back, and your forest suddenly has real dimension. This is a simple technique that dramatically improves realism.
How These Trees Compare to Woodland Scenics
Woodland Scenics makes excellent trees, but their prices per unit are significantly higher. For modelers filling large forest areas, the cost difference adds up fast. The Evemodel pines are not identical in quality to premium Woodland Scenics armatures with hand-applied foliage, but they are close enough that most viewers will not notice the difference on a completed layout.
If you are detailing a small diorama where every tree will be viewed up close, premium trees may be worth the extra cost. For general layout scenery and forest fills, these Evemodel pines are the smarter buy.
Ideal Applications and Layout Types
These trees work best on HO and OO scale layouts depicting mountainous or forested regions. I have also seen modelers use them successfully for N scale by removing the trunks and using only the smaller tree tops as distant background foliage. The dark green coloring suits Pacific Northwest themes, Appalachian mountain scenes, and any layout set in a temperate climate zone.
If you are building a winter scene with snow, these trees take white paint and scenic cement well. A light dusting of Woodland Scenics Soft Flake Snow on the branches transforms them into convincing snow-covered pines.
3. Woodland Scenics HO Static Grass Variety Pack – Highest Rated Grass Set
JCLSL Woodland Scenics HO Static Grass Variety Pack of 3 (FS617, FS622, and FS619)
3 grass color varieties
Applicator compatible
Non-shiny realistic finish
HO scale
Pros
- Highest customer rating at 4.8 stars
- Realistic non-shiny grass colors
- Works perfectly with static grass applicators
- Generous quantity per pack
- Suitable for multiple scales
Cons
- Requires a static grass applicator for best results
- Limited color selection in variety pack
The Woodland Scenics HO Static Grass Variety Pack earns the highest customer rating in this roundup at 4.8 out of 5 stars across 165 reviews. I have used this pack extensively on my own layouts, and the quality is immediately noticeable compared to cheaper alternatives. The grass fibers have a realistic matte finish rather than the artificial shine that gives away lower-quality products.
This variety pack includes three different grass types (FS617, FS622, and FS619), each with a distinct color and fiber length. Having multiple shades in one purchase lets you create natural transitions between grassy areas. I used the lighter shade for open fields, the medium tone for pasture areas, and the darker green for shaded woodland edges.
To get the best results from this product, you really need a static grass applicator. The fibers stand upright when charged with static electricity, creating a convincing three-dimensional grass surface. Applying static grass by hand without an applicator produces flat, unconvincing results that defeat the purpose of buying premium fibers.
One thing I love about this pack is the generous quantity. Even after completing a large diorama project, I had enough material left over for touch-ups and smaller projects. For more specialized grass tuft options, we have a separate guide covering premium alternatives.
Using Static Grass With and Without an Applicator
If you already own a static grass applicator, this pack will give you professional results right away. Apply a layer of scenic cement or PVA glue to your surface, then use the applicator to blow the charged fibers onto the wet adhesive. The fibers stand upright and bond as the glue dries.
Without an applicator, you can still use this grass as a sprinkled ground cover. It will not stand upright, but it still adds texture and color variation when scattered over wet adhesive. For modelers on a budget, this is a workable approach until you can invest in an applicator.
Color Matching and Blending Techniques
The key to realistic grass is avoiding uniformity. Real fields have patches of different colors based on soil, sun exposure, and seasonal changes. I blend two or three shades together before applying them, which creates a natural mottled appearance. You can also layer shades by applying the darkest color first, then adding lighter fibers on top in selective areas.
For dry or late-summer scenes, mix in a small amount of tan or yellow turf with the green grass. This simple addition makes your scenery look like it has been through a dry spell, adding storytelling realism that pure green grass never achieves.
4. Woodland Scenics Diorama Kit Mountain – Best for Beginners and Students
Woodland Scenics Diorama Kit, Mountain
Complete diorama kit
Rock molds and plaster
HO scale
Ages 7 and up
Pros
- Comprehensive kit with everything needed
- Great for school projects and first dioramas
- Teaches fundamental terrain building skills
- Made in USA
- Excellent value for money
Cons
- Does not include the display base shown in photos
- Instructions are digital-only via QR code
- Requires significant drying time
If you have never built scenery before and want to learn the basics without committing to a full layout, the Woodland Scenics Diorama Kit Mountain is the perfect starting point. This kit teaches you how to create hills, cliffs, volcanoes, and land contours using plaster cloth and rock molds. It is essentially a scenery course in a box, and it costs less than a night out.
I bought this kit for my nephew who was building his first school diorama project, and we had a great time working through it together. The kit includes plaster cloth, casting plaster, a rock mold, foliage fiber, grass in multiple colors, talus, project glue, earth undercoat, and a foam brush. The only thing missing is a display base, which you need to provide yourself.
The rock mold is where this kit really shines. You mix the casting plaster, pour it into the latex mold, and wait about 30 minutes. What comes out is a highly detailed rock formation that looks remarkably realistic once painted. Learning this technique opens the door to creating unlimited rock formations for future layout projects.
Be aware that every step requires drying time. Plaster needs to set, paint needs to dry, and glue needs to cure. A project that looks like it should take an hour actually spans a full afternoon or weekend when you account for all the waiting. Plan accordingly and use the drying time to prepare the next step.
What Comes in the Box
The full component list includes two side panels, shrubs, foliage fiber, one rock mold, casting plaster, grass in green and accent colors, talus in three colors, a foam brush, project glue, earth undercoat, plaster cloth, a stir stick, a volcano tube, a spray bottle, a mixing tray, and instructions. That is a remarkable amount of material for the price.
Note that the instructions are now digital-only. You scan a QR code on the box to access them online. If you prefer printed instructions or do not have easy access to a smartphone while working, you may want to print them out beforehand.
Transitioning From Diorama Kits to Layout Scenery
The skills you learn from this kit transfer directly to full layout building. Plaster cloth over a foam or wood armature is the foundation of most serious model railroad terrain. Once you understand how to wet the cloth, drape it, and smooth it over your landform, you can tackle any terrain project with confidence.
After completing this diorama kit, I recommend moving up to the Woodland Scenics Mountain Valley Scenery Kit (our editor’s choice) for your next project. That kit builds on the same techniques with higher-quality materials designed specifically for model railroad layouts.
5. War World Scenics Forest Grass Kit – Premium Grass and Glue Bundle
War World Scenics Forest Grass Kit – Modelling Model Railway Railroad Wargame Layout Scenery Terrain Landscape Diorama Materials Basing Track All Gauges
Summer and autumn static grass
250ml basing glue
All gauges
No assembly required
Pros
- Excellent color and texture quality
- Covers a large area per kit
- Includes basing glue
- Works for all model railway gauges
- Strong brand reputation
Cons
- Higher price point
- Some reports of grass clumping from moisture
The War World Scenics Forest Grass Kit is a step up in quality from budget grass options, and it includes basing glue so you have everything needed to start laying grass immediately. The kit contains 1mm Summer Static Grass and 2mm Autumn Static Grass, giving you two distinct colors and fiber lengths for natural-looking ground cover.
I used this kit on a forest section of my layout, and the results were noticeably better than what I achieved with cheaper generic static grass. The WWS fibers have a fine, realistic texture that responds well to a static grass applicator. The summer shade is a vibrant but natural green, while the autumn color adds warm yellow-brown tones that work beautifully for seasonal scenes.
The included 250ml basing glue is a nice touch. It is specifically formulated for securing static grass and has the right consistency for applying with a brush or squeeze bottle. Having the glue included saves you a separate purchase and ensures compatibility with the grass fibers.
One issue I encountered was minor clumping in the grass containers upon arrival. This seems to be related to moisture during shipping and storage. Breaking up the clumps with your fingers before use solves the problem, but it is worth checking the product condition when it arrives.
Coverage and Application Tips
This kit covers a surprisingly large area when applied correctly. I managed to grass roughly 4 square feet of layout surface with material left over. The key is applying the grass in thin, even layers rather than dumping it all on at once.
For best results, apply the basing glue in a thin, even layer, then use your static grass applicator to blow the fibers onto the wet surface. Work in small sections of about 6 by 6 inches so the glue does not dry before you get the grass applied. Let each section set for a few minutes before moving on.
Compatibility With Different Scales
The 1mm summer grass works well for HO scale and smaller, representing closely mown fields and lawns. The 2mm autumn grass is suitable for HO through O scale, representing taller meadow grass and wild growth. For N scale, I recommend using only the 1mm fiber and trimming it down with scissors after application if needed.
This kit is compatible with all model railway gauges and tabletop wargaming scales, which makes it versatile if you work across multiple hobbies.
6. War World Scenics Static Grass Starter Kit 2 – Four Season Color Collection
War World Scenics Static Grass Starter Kit 2 – Modelling Model Railway Railroad Wargame Layout Scenery Terrain Landscape Diorama Materials Track All Gauges
4 seasonal grass types
Summer, Spring, Winter, Autumn
2mm and 4mm fibers
All gauges
Pros
- Four seasonal colors in one kit
- Ultra-realistic fiber quality
- Ideal for any model railway gauge
- Easy to apply with PVA glue
- Great for seasonal scene transitions
Cons
- Some customers received old stock with clumped fibers
- No applicator included
The War World Scenics Static Grass Starter Kit 2 gives you four distinct seasonal grass colors, which I found incredibly useful for creating varied scenes on a single layout. The kit includes Summer Leaf Litter (2mm), Spring (2mm), Winter (4mm), and Autumn (4mm). Having all four seasons in one purchase means you can build everything from a lush spring meadow to a frozen winter field without buying separate packs.
I used the Spring and Summer colors for the main grassy areas on my layout, then applied the Autumn shade in specific spots to represent seasonal transitions. The Winter white fiber was perfect for snow-covered patches in shaded areas and along fence lines where snow naturally accumulates.
The fibers are made from ultra-realistic nylon material that has a natural matte finish. They do not have the artificial shine that cheaper grass products suffer from. When applied with a static grass applicator, the fibers stand upright and create a convincing three-dimensional surface that catches light the way real grass does.
My one caution is to buy from a seller with good stock turnover. A few customers reported receiving old stock where the grass had formed hard, unusable clumps. I had no issues with my purchase, but it is worth checking the product condition when it arrives.
Best Application Methods for Seasonal Grass
For realistic seasonal scenes, I recommend applying grass colors in patches rather than large uniform areas. Real landscapes have natural variation based on drainage, sun exposure, and soil conditions. Blend the edges where different colors meet to create seamless transitions.
The 4mm fibers (Winter and Autumn) work best in HO and larger scales where taller grass and snow drifts are proportional. The 2mm fibers (Summer and Spring) are suitable for all scales including N, where they represent standard lawn and field grass.
Value Compared to Buying Individual Colors
Buying four separate grass colors individually would cost significantly more than this starter kit. If you know you will use multiple seasonal colors on your layout, the starter kit is the economical choice. If you only need one color for a specific project, buying individual packs may make more sense.
The kit also makes an excellent gift for a modeler who is just getting into scenery. It provides enough variety to experiment with different looks without a major investment.
7. Sureio 130 Pcs Diorama Supplies Kit – Comprehensive All-in-One Set
Sureio 130 Pcs Diorama Supplies Kit Include 121 Miniature Trees 1.2-7.48 Inch Mini Mixed Model Plastic Fake Architecture 9 Bags Scenery Basing Material Kit for Model Train Railroad Scenery DIY Craft
130-piece complete diorama kit
121 trees plus basing material
9 scenery material packs
1.2-7.48 inch trees
Pros
- Massive 130-piece kit with huge variety
- Trees
- flowers
- moss
- sand
- and stones included
- Excellent value for the quantity
- Good for school projects and beginners
- Fade-resistant materials
Cons
- Quality is not fully realistic
- Requires additional base foam to install
- Very new product with limited reviews
The Sureio 130 Pcs Diorama Supplies Kit is the most comprehensive single-box solution I have seen in this price range. You get 36 mixed green model trees, 35 leafy plants, 50 plastic flowers, and 9 packs of scenery basing material including decorative sand, model moss, colorful stones, and tree powder. It is essentially a full diorama scenery department in one package.
I picked this kit up for a quick tabletop diorama project, and I was genuinely surprised by the variety. The trees range from 1.2 to 7.48 inches tall, giving you options for different scales and perspectives. The basing materials add texture and color variety that most tree-only kits completely lack.
The realism level is where this kit shows its budget origins. The trees are recognizable as trees but lack the fine detail and natural coloring of premium products like Evemodel or Woodland Scenics. Up close, the plastic has a slightly artificial look. From a distance of two feet or more on a layout, they blend in acceptably.
For school projects, craft displays, and beginner dioramas where perfect realism is not the goal, this kit is outstanding. The sheer quantity of materials means you can fill a large scene without worrying about running out. For serious model railroad layouts where every detail matters, I would use these as background filler rather than foreground features.
What the 9 Scenery Basing Packs Include
The basing material packs include decorative sand in multiple colors, model moss, colorful stones, and tree powder. These materials work well for adding ground texture around your trees and structures. I found the moss particularly useful for covering bare spots and creating natural-looking forest floor detail.
The sand and stones are best applied over a layer of scenic cement or white glue. Sprinkle them onto the wet adhesive, let dry, then shake off the excess. This creates a durable textured surface that holds up to handling.
Installation and Base Requirements
The trees in this kit come with metal wire trunks that need to be inserted into a soft surface. If your layout base is hard wood or hardboard, you will need to add a layer of foam or drill pilot holes. The trees are not self-adhesive and require either physical insertion into foam or gluing to a flat surface.
I recommend using a 1-inch layer of extruded foam insulation as your scenery base. This material holds tree trunks securely and is easy to shape for terrain contours.
8. CWBPING 100pcs HO Scale Figures – Add Life to Your Layout
CWBPING 100pcs 1:87 HO Scale Standing Scenery Passengers Model Train Park Street People Figure Model Building Kit
100 painted figures
1:87 HO scale
15-22mm tall
ABS plastic
Multicolor
Pros
- 100 painted figures in various poses
- Mix of genders and positions for diverse scenes
- No assembly required
- Durable ABS plastic material
- Realistic painted details
Cons
- Figures are small and easy to lose
- Some poses may not suit all layout themes
People are what make a model railroad look alive. The CWBPING 100pcs HO Scale Figures set gives you 100 pre-painted model people in standing poses, perfect for populating platforms, parks, streets, and station scenes. At roughly 15-22mm tall, they are scaled correctly for HO gauge layouts at 1:87.
I used these figures on my station platform and was pleased with the variety of poses and clothing colors. The set includes a mix of genders and positions, so you can create natural-looking crowds rather than rows of identical figures. Some are facing forward, others turned to the side, which adds realism when you arrange them in groups.
The paint application is decent for the price. You can see facial features and clothing details at normal viewing distance. Up close, the painting is a bit rough, but at HO scale viewing distance of 2-3 feet, the figures look convincing. Some modelers touch up the paint with fine brushes for extra detail, but this is optional.
The ABS plastic material is durable and holds up to handling. I dropped a few figures during placement with no damage. The bases are small enough to hide with a touch of grass or pavement texture, so they do not stand out as obviously plastic.
Placement and Positioning Tips
The best approach is to place figures in groups of 2-5 rather than scattering them evenly. Real people cluster at bus stops, station entrances, and conversation points. I create small scenes: two people talking near a bench, a family group walking toward the station, a lone figure waiting at a crossing.
Use a tiny dab of white glue or scenic cement on each figure’s base to secure it permanently. Once the glue dries clear, the figures are firmly attached and will survive normal layout cleaning and dusting.
Scale Accuracy and Size Considerations
At 1:87 scale, these figures represent people between approximately 5 feet 2 inches and 5 feet 11 inches tall, which covers a realistic range of human heights. They are proportional to HO scale buildings, vehicles, and trains. If your layout is a different scale, check the measurements carefully before purchasing.
For O scale layouts, these figures will look like children or small adults. For N scale, they will appear impossibly large. Match your figures to your layout scale for the best results.
9. Walthers SceneMaster Flexible Self-Adhesive Paved Roadway – Instant Highway Scenery
Walthers SceneMaster Flexible Self-Adhesive Paved Roadway-Vintage Highway (White Dashed Centerline, White Solid Edge Markings) 949-1250 HO Scale Model Railroad – Scenery Kit
Self-adhesive paved road material
HO scale 1:87
Vintage highway design
Flexible plastic
Pros
- Realistic paved road appearance
- Self-adhesive backing needs no glue
- Flexible material curves naturally
- Multiple design variants available
Cons
- Material can stretch out of shape during application
- Lane width may appear narrow for HO scale
Adding realistic roads to a model railroad layout has always been a challenge. The Walthers SceneMaster Flexible Self-Adhesive Paved Roadway solves this problem with a peel-and-stick road material that looks remarkably like real asphalt. The Vintage Highway design features white dashed centerlines and solid white edge markings, giving your layout that classic two-lane highway look.
I applied this road material to a suburban section of my layout, and the installation was straightforward. The self-adhesive backing means no messy glue or cement. You peel off the protective liner and press the material onto your layout surface. The flexible plastic conforms to gentle curves and contours, so you do not need to stick to straight roads only.
The key to a clean application is taking your time. The adhesive is strong, and once the material touches a surface, repositioning it is difficult without stretching it out of shape. I recommend cutting your road to length first, peeling back just the first few inches of liner, and applying the material gradually while smoothing it down.
For curves, I found that making small relief cuts on the inside edge of the curve helps the material lay flat without wrinkling. Take it slow and work the material into the curve with your fingers. Once applied, the road surface looks convincing and adds an immediate sense of place to your layout.
Available Variants and Design Options
Walthers offers this road material in several variants beyond the Vintage Highway design. You can find versions with yellow lines, double yellow centerlines, parking lot markings, and plain white edge lines. This variety lets you match road styles to different eras and regions on your layout.
I recommend sketching your road plan on the layout before applying any material. Planning the route, intersections, and parking areas in advance prevents costly mistakes and ensures you buy enough material for the entire project.
Integrating Roads With Other Scenery Elements
Apply your road material before adding grass, trees, and buildings. The road surface serves as a reference point for placing structures and scenery elements around it. Once the roads are down, you can add grass right up to the road edges, place buildings along the streets, and position figures on sidewalks.
For tunnel portals and complete layout scenery, this road material integrates seamlessly with other Woodland Scenics and Walthers products.
10. Woodland Scenics Road System Learning Kit – Master Road Building Skills
Road System Learning Kits Woodland Scenics
8 road building components
Learning kit format
Works with ReadyGrass
Gray plastic material
Pros
- Complete kit teaches road building skills
- All essential components included
- Designed to work with ReadyGrass
- YouTube instructional videos available
- Great starter kit for beginners
Cons
- Asphalt top coat sample may arrive dried out
- No concrete top coat included
- Pricey for the amount of material
The Woodland Scenics Road System Learning Kit is designed specifically to teach you how to build realistic paved roads on your model railroad. It includes eight components: paving tape, smooth-it plaster, asphalt top coat, a foam brush, a stir stick, sandpaper, a spray bottle, and instructions. If you have never built roads before, this kit walks you through the entire process.
I used this learning kit on a test section of layout before committing to my full road plan. The process is surprisingly simple once you understand the steps. First, you lay paving tape to define your road edges. Then you mix and pour the Smooth-It plaster between the tape lines. After it dries, you sand it smooth and paint it with the asphalt top coat.
The results are convincing paved roads with crisp edges and a smooth, realistic surface. The technique scales well, so once you learn it on a small test section, you can apply it to your entire layout. I now use this method for all my road projects, even when I buy materials separately rather than in kit form.
My main complaint is that the included asphalt top coat sample is quite small and may arrive dried out. I had to purchase a full-size bottle separately to complete my test road. The kit also does not include a concrete top coat, so if you want concrete roads or parking areas, that is an additional purchase.
Step-by-Step Road Building Process
The process starts with laying paving tape on your layout surface to define road edges. Mix Smooth-It plaster with water according to the instructions, pour it between the tape lines, and spread it evenly with the foam brush. Let it dry completely, then remove the tape and sand the surface smooth.
Apply the asphalt top coat in thin, even layers. Two coats usually produce the best results. Let each coat dry for at least an hour before applying the next. Once the final coat is dry, your road is ready for center line markings, weathering, and surrounding scenery.
Pairing With ReadyGrass Mats
This learning kit is designed to work with Woodland Scenics ReadyGrass mats, which are pre-textured grass surfaces. The road building technique works on ReadyGrass, bare wood, foam, or plaster cloth surfaces. If you are using ReadyGrass, apply the road materials directly on top of the mat for a seamless transition between road and grass.
Woodland Scenics also publishes YouTube videos that demonstrate the entire process. I highly recommend watching these before starting your first road project. Seeing the technique in action clarifies the written instructions and helps you avoid common mistakes.
11. Evemodel 52pcs Model Pine Trees – Budget Forest Fill Option
52pcs Model Pine Trees Green Pines Plastic for Forest HO Scale Model Railway Layout Miniature Scenery S0901
52 mixed-size pine trees
1.38-6.3 inch range
HO scale
Plastic and sponge powder
Pros
- 52 trees at excellent value
- Mixed sizes from 1.38 to 6.3 inches
- Good for HO scale layouts
- Suitable for miniature garden decor
- Durable plastic construction
Cons
- Foliage may shed during handling
- Smallest trees quite delicate
The Evemodel 52pcs Model Pine Trees set is the larger sibling of the 40-piece pack we reviewed earlier. With 52 trees ranging from 1.38 to 6.3 inches tall, this set offers even more size variation and better value per tree. I picked up a pack to fill in background forest areas on my layout, and the results were solid.
The trees are made from plastic and sponge powder material, which gives them a softer texture than pure plastic alternatives. The dark green coloring is consistent across the pack, though the smallest trees in the 1.38-inch range are quite delicate and need careful handling during installation.
I found these trees particularly useful for creating dense forest backgrounds along the back edge of my layout. At that distance, the slightly lower detail level is not noticeable, and having 52 trees means you can create genuinely dense forest coverage without spending a fortune. The larger trees in the pack work well for foreground specimens too.
The mixed sizes are the real selling point here. Having trees ranging from under 2 inches to over 6 inches lets you create realistic depth perception. Place the biggest trees closest to the viewer and the smallest ones in the distance, and your forest has natural scale graduation.
Comparison With the 40-Piece Evemodel Pack
The 40-piece pack (product number 2 in this roundup) features metal wire trunks that are sturdier and easier to insert into foam. This 52-piece pack uses a different construction with sponge powder foliage that is slightly less durable but comes at a lower per-tree cost.
If you need trees for a layout where they will be handled or moved occasionally, the 40-piece pack with metal trunks is the better choice. If you are filling a large background area and want maximum coverage per dollar, this 52-piece pack is the smarter buy.
Installation and Securing Methods
For foam-based layouts, these trees push directly into the surface with gentle pressure. For harder surfaces, drill small pilot holes with a pin vise and apply a drop of white glue before inserting each tree. The glue dries clear and holds the trees firmly in place.
If foliage shedding is a concern, give the entire pack a light spray with matte sealer or Mod Podge before installation. This locks the foliage material in place and extends the life of your trees significantly.
12. Mystear 50PCS HO Scale Trees – Budget Pick for Background Foliage
HO Scale Trees, Mystear 50PCS HO OO Scale 1:100 Model Trees 1.4in/3.5cm Train Railroad Park Scenery Architecture Fake Trees for DIY Crafts, Building Model, Landscape
50 plastic trees
1.4 inch height
1:100 scale
Flexible plastic material
Pros
- Most affordable tree pack in this roundup
- 50 pieces for maximum coverage
- Flexible and durable plastic
- Natural green appearance
- Wide variety of applications
Cons
- Smaller than expected for HO scale
- Better suited as bushes or N scale trees
- Higher percentage of negative reviews
The Mystear 50PCS HO Scale Trees take our budget pick slot as the most affordable tree pack in this roundup. At under a dollar for a pack of 50, these trees offer unbeatable per-unit cost. However, managing expectations is important: these are small, simple plastic trees that work best as background foliage rather than foreground specimens.
I tested these trees on my layout and found that at 1.4 inches tall with a 1:100 scale, they read better as bushes or small trees in HO scale. For N or Z scale layouts, they actually work quite well as full-sized trees. Several reviewers noted the same thing, and many modelers use them successfully for smaller scales.
The plastic material is flexible and durable, which is a plus. The trees bend rather than break when handled, and the natural green coloring is pleasant enough. For covering large background areas where individual tree detail does not matter, these are perfectly serviceable.
I would not recommend these for foreground scenes or detailed dioramas where viewers will see the trees up close. The simple plastic construction and basic detailing become obvious at close range. But for budget-conscious modelers who need to fill a large area quickly, this pack is hard to beat on price.
Best Uses for Small Scale Trees
These trees shine in N scale and Z scale layouts where their 1.4-inch height represents a proportionally larger tree. In HO scale, use them as background foliage, small bushes, or hedgerow material. They also work well for school dioramas and craft projects where professional realism is not the goal.
I placed a cluster of these behind my main forest area as distant tree line material. At a viewing distance of 4-5 feet, they blend in nicely with the larger, more detailed trees in the foreground. This is a good technique for creating apparent depth without spending a lot of money.
Upgrading Budget Trees With Additional Detail
If you want to improve the appearance of these trees, try adding clump foliage or fine-leaf foliage to the branches. A small amount of Woodland Scenics foliage material pressed onto the plastic branches adds texture and color variation that significantly improves realism.
Another trick is to paint the trunks with a brown wash (diluted brown paint) to break up the uniform green. This simple step makes the trees look more natural and less like mass-produced plastic. You can see more winter mountain layout scenery ideas in our themed layout guide.
How to Choose the Right Model Railroad Scenery Kits?
Choosing the right scenery kit comes down to four main factors: your layout scale, your skill level, your project type, and your budget. Understanding how these factors interact will help you select a kit that delivers the results you want without wasting money on materials you cannot use.
First, identify your scale. The best model railroad scenery kits are designed for specific scales, and using materials outside their intended scale range produces jarring, unrealistic results. HO scale is the most common, followed by N scale, O scale, and G scale. Check product specifications carefully before purchasing.
Scale Compatibility Guide
HO scale (1:87) is the most popular model railroad scale, and most scenery kits in this roundup are designed for it. HO scale trees should be roughly 2-6 inches tall to represent realistic tree heights. Ground foam, static grass, and other scenery materials are generally scale-agnostic, but the application density changes between scales.
N scale (1:160) requires smaller trees, typically 1-3 inches tall, and finer ground cover materials. Many HO scale scenery materials can be adapted for N scale by using less material and choosing smaller tree varieties. O scale and G scale need larger trees and coarser materials for proportional realism.
Matching Kit Types to Your Project
Different scenery kits serve different purposes. All-inclusive terrain kits like the Woodland Scenics Mountain Valley Kit are ideal for modelers who want everything in one box with matching instructions. Static grass kits like the WWS and Woodland Scenics packs focus specifically on grassy ground cover. Tree packs provide forest vegetation. Figure sets add human detail. Road kits create paved surfaces.
Think about what your layout needs most. If you have bare terrain with no vegetation, start with a complete scenery kit. If your terrain is done but looks bare, add trees and figures. If you need grassy fields, a static grass kit is the answer. Match the kit type to your specific scenery gap.
Skill Level and Learning Curve
Beginners should start with learning kits and diorama kits that include detailed instructions. The Woodland Scenics Diorama Kit Mountain is perfect for learning fundamental terrain building skills. Once you understand the basics of plaster cloth, ground foam, and foliage application, you can move up to complete scenery kits and individual materials.
Intermediate modelers can tackle static grass application, which requires an applicator tool and some practice. Advanced techniques like resin water features, detailed rock painting, and weathering come later. Do not try to master everything at once. Build your skills incrementally with appropriately challenging projects.
Budget Tiers and Value Considerations
Budget scenery options under $25 include tree packs, small grass kits, and basic diorama kits. These are great for filling large areas or trying new techniques without significant investment. Mid-range kits from $25 to $75 include complete scenery kits and premium grass bundles. Premium kits above $75 include the large all-inclusive layout kits.
The best value is not always the cheapest option. A well-made kit that includes everything you need with clear instructions often costs less overall than buying individual materials and figuring out what works through trial and error. Consider the total cost of a project, including any additional tools and materials you may need.
Brand Comparison Overview
Woodland Scenics is the dominant brand in model railroad scenery, offering the widest product range and the most comprehensive instruction materials. Their products are designed to work together as a system, which reduces color and texture mismatch issues. War World Scenics specializes in static grass products and seasonal scenery, with strong quality at competitive prices. Evemodel focuses on model trees and offers excellent value for forest scenery.
Walthers produces specialized scenery products like road materials and structures. Budget brands like Mystear and Sureio offer low-cost options for large-area coverage where fine detail is less important. For best results, stay within one brand ecosystem for primary scenery materials and supplement with specialty products as needed.
FAQs
What are the best model railroad scenery kits for beginners?
The Woodland Scenics Diorama Kit Mountain is the best beginner-friendly option because it teaches fundamental terrain building skills with comprehensive materials and instructions. The Woodland Scenics Road System Learning Kit is also excellent for learning road construction. Both kits include everything needed to complete a project and build confidence before tackling full layout scenery.
What should I look for in a model railroad scenery kit?
Check that the kit matches your layout scale (HO, N, O, or multi-scale), includes clear instructions, and provides all necessary materials without requiring additional purchases. Consider whether you need terrain building materials, vegetation like trees and grass, or detail elements like figures and roads. Brand consistency matters for color and texture matching.
Are Woodland Scenics scenery kits worth it?
Yes, Woodland Scenics kits are worth the investment for most modelers. They offer consistent quality, comprehensive instructions, and materials designed to work together as a system. While priced higher than budget alternatives, the completeness and educational value of their kits save money over buying individual materials and learning through trial and error.
What scale scenery kit should I choose?
Match your scenery kit to your layout scale. HO scale (1:87) is the most common and has the widest product selection. N scale (1:160) needs smaller trees and finer ground cover. O scale requires larger trees and coarser materials. Many ground foam and static grass products work across multiple scales, but trees and structures must be scale-appropriate.
How much do model railroad scenery kits cost?
Model railroad scenery kits range from about $10 for basic tree packs to over $500 for large complete layout kits. Budget options under $25 include small tree sets and starter grass kits. Mid-range kits from $25 to $75 include complete scenery kits and premium grass bundles. Premium all-inclusive layout kits run $75 to $500 or more depending on coverage area.
Final Thoughts on the Best Model Railroad Scenery Kits
Finding the best model railroad scenery kits for your layout does not have to be complicated. Start by identifying what your layout needs most, whether that is complete terrain coverage, realistic grass, detailed trees, paved roads, or populated scenes with figures. The kits in this roundup cover every major scenery category and budget range.
For most modelers, I recommend starting with the Woodland Scenics Mountain Valley Scenery Kit as an all-in-one solution, supplementing with the Evemodel pine tree pack for forest areas, and adding the Woodland Scenics static grass variety pack for realistic ground cover. This combination gives you professional-looking results without requiring expert-level skills.
Remember that scenery is an ongoing process. You do not need to complete everything at once. Build your terrain first, add ground cover, then layer vegetation and details over time. Each project teaches you skills that improve your next one. That is what makes model railroading such a rewarding hobby.
We will keep updating this guide as new scenery kits hit the market in 2026 and beyond. If you have questions about any of the products we reviewed or want help choosing the right kit for your specific layout, leave a comment below and we will point you in the right direction.