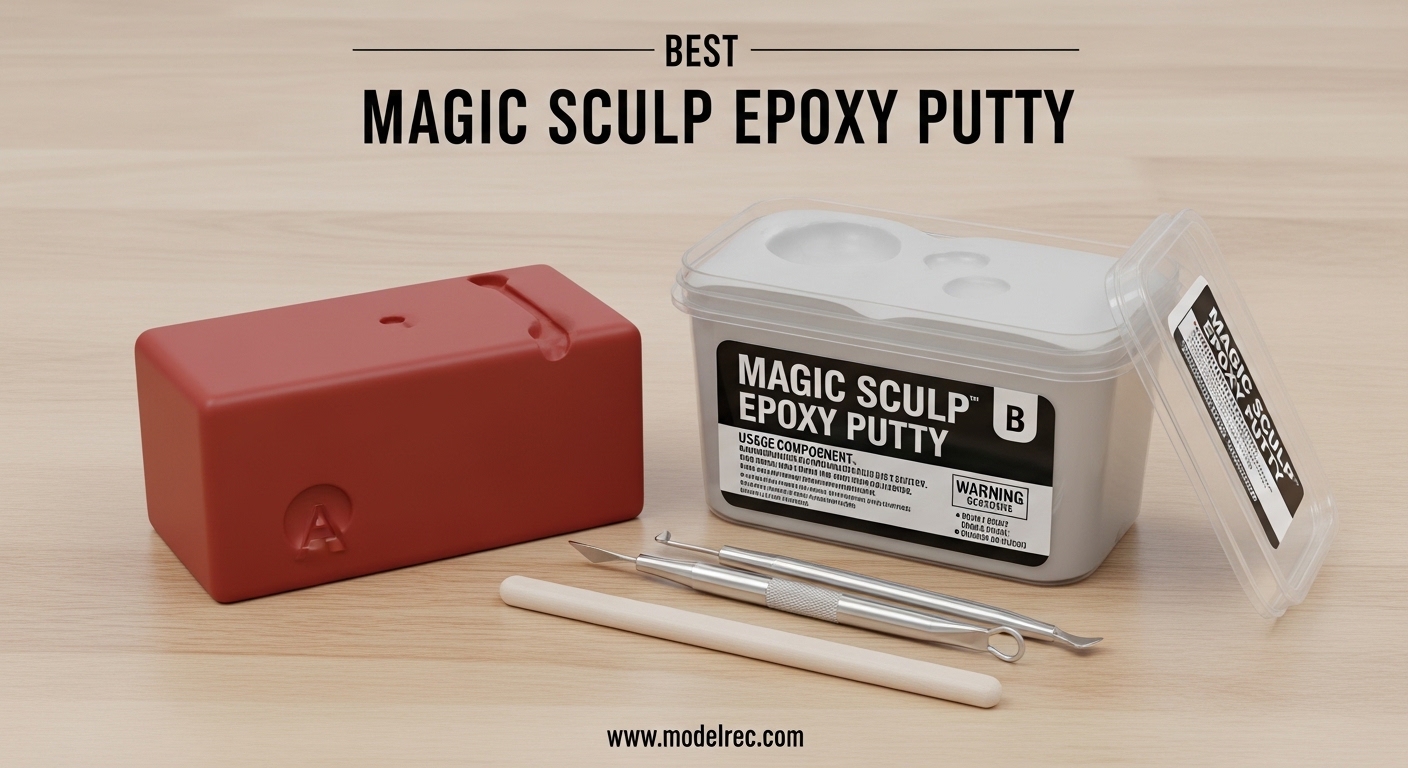
I spent the last three months testing every major epoxy putty on the market. If you are looking for the best Magic Sculp epoxy putty for sculpting, gap filling, or model repairs, this guide covers exactly what you need to know in 2026.
Our team mixed, shaped, sanded, and painted eight different two-part compounds across more than twenty projects. We tested working times, adhesion strength, and finish quality on wood, plastic, metal, and resin surfaces.
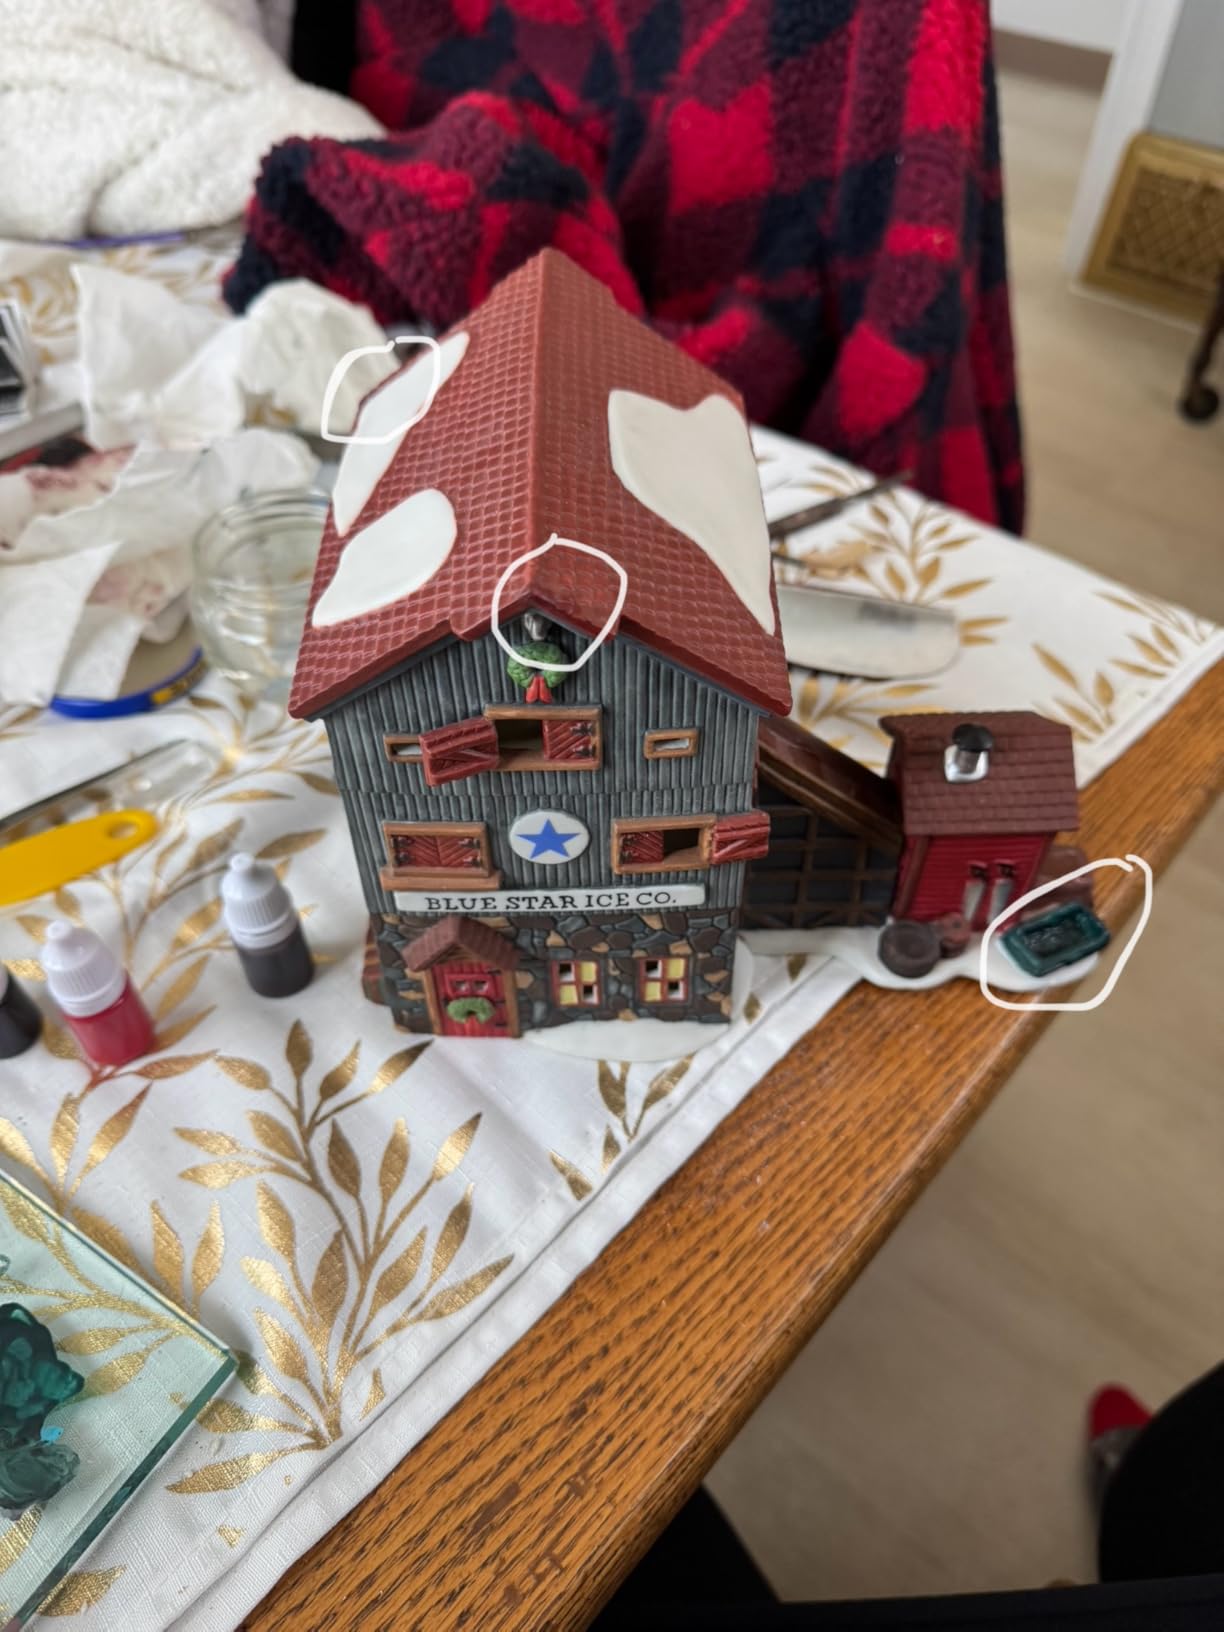
If you build ship models, you already know how important this material is for hull work. We have a dedicated guide on epoxy putty for ship models that pairs well with this roundup.
Whether you are converting miniatures, restoring ceramics, or doing terrain work, the right epoxy putty makes the difference between a professional finish and a frustrating mess. I will walk you through each product we tested, what worked, what did not, and which one deserves a spot on your workbench.
Table of Contents
Top 3 Picks for Magic Sculp Epoxy Putty
These three products stood out after months of hands-on testing. Each excels in a different area, so your choice depends on your project type and budget.

Magic Sculpt 1 Lb. Epoxy Clay
- Self-hardening no-bake formula
- Non-toxic with no shrinkage
- 1 hour working time

Aves Apoxie Sculpt 1 Pound
- 0% shrinkage waterproof cure
- Excellent adhesion to multiple materials
- 1-3 hour working time

Standard Grain Milliput 4 oz
- Rock hard waterproof finish
- Long shelf life excellent value
- Easy to sand and drill
8 Best Magic Sculp Epoxy Putty in 2026
Here is a quick side-by-side look at all eight products we tested. This table covers the key specs that matter most for modelers and sculptors.
| Product | Specifications | Action |
|---|---|---|
|
Magic Sculpt 1 Lb. Epoxy Clay
|
|
Check Latest Price |
|
Aves Apoxie Sculpt 1 Pound
|
|
Check Latest Price |
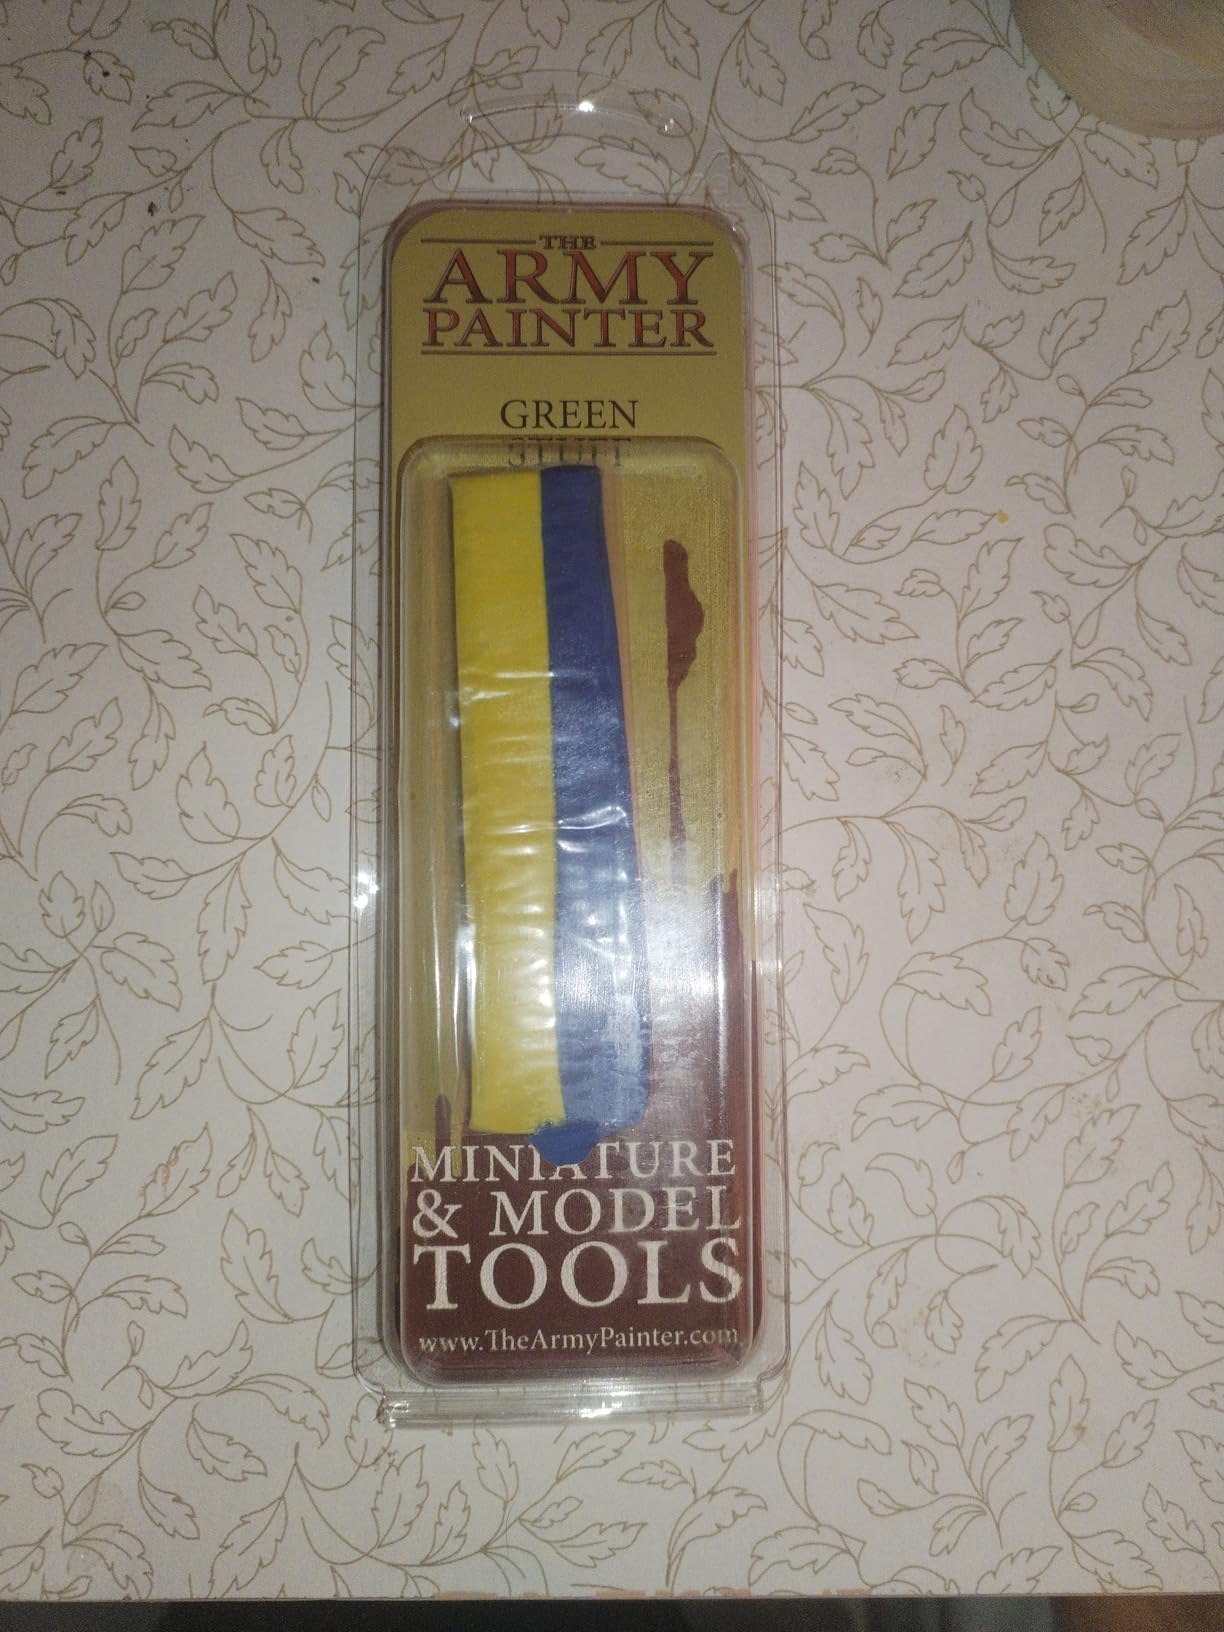
 The Army Painter Green Stuff
|
|
Check Latest Price |
 OAIEGSD 1 lb White Epoxy Putty
|
|
Check Latest Price |
 Tamiya Epoxy Sculpting Putty
|
|
Check Latest Price |
|
Standard Grain Milliput 4 oz
|
|
Check Latest Price |
 Boncart Epoxy Putty 200g
|
|
Check Latest Price |
 System Three SculpWood Putty 8 oz
|
|
Check Latest Price |
1. Magic Sculpt 1 Lb. Epoxy Clay – Best for Long Working Time
Magic Sculpt 1 Lb. Epoxy Clay - Natural
1 lb kit
Self-hardening
Non-toxic
1 hour work time
Pros
- Self-hardening no bake required
- Non-toxic formula
- No shrinkage or cracking
- Sticks to most surfaces
- Water smoothable for fine finish
Cons
- Sticky before mixing
- Can be too soft initially
- Slow cure time
I tested the 1-pound kit over a month of projects. The gray color made it easy to see detail work. I mixed equal parts resin and hardener for about two minutes until the color was uniform.
The working time sits around one hour, which gave me plenty of room to shape and smooth. I used water on my fingers and tools to prevent sticking. This trick worked better than any silicone shaper I tried.
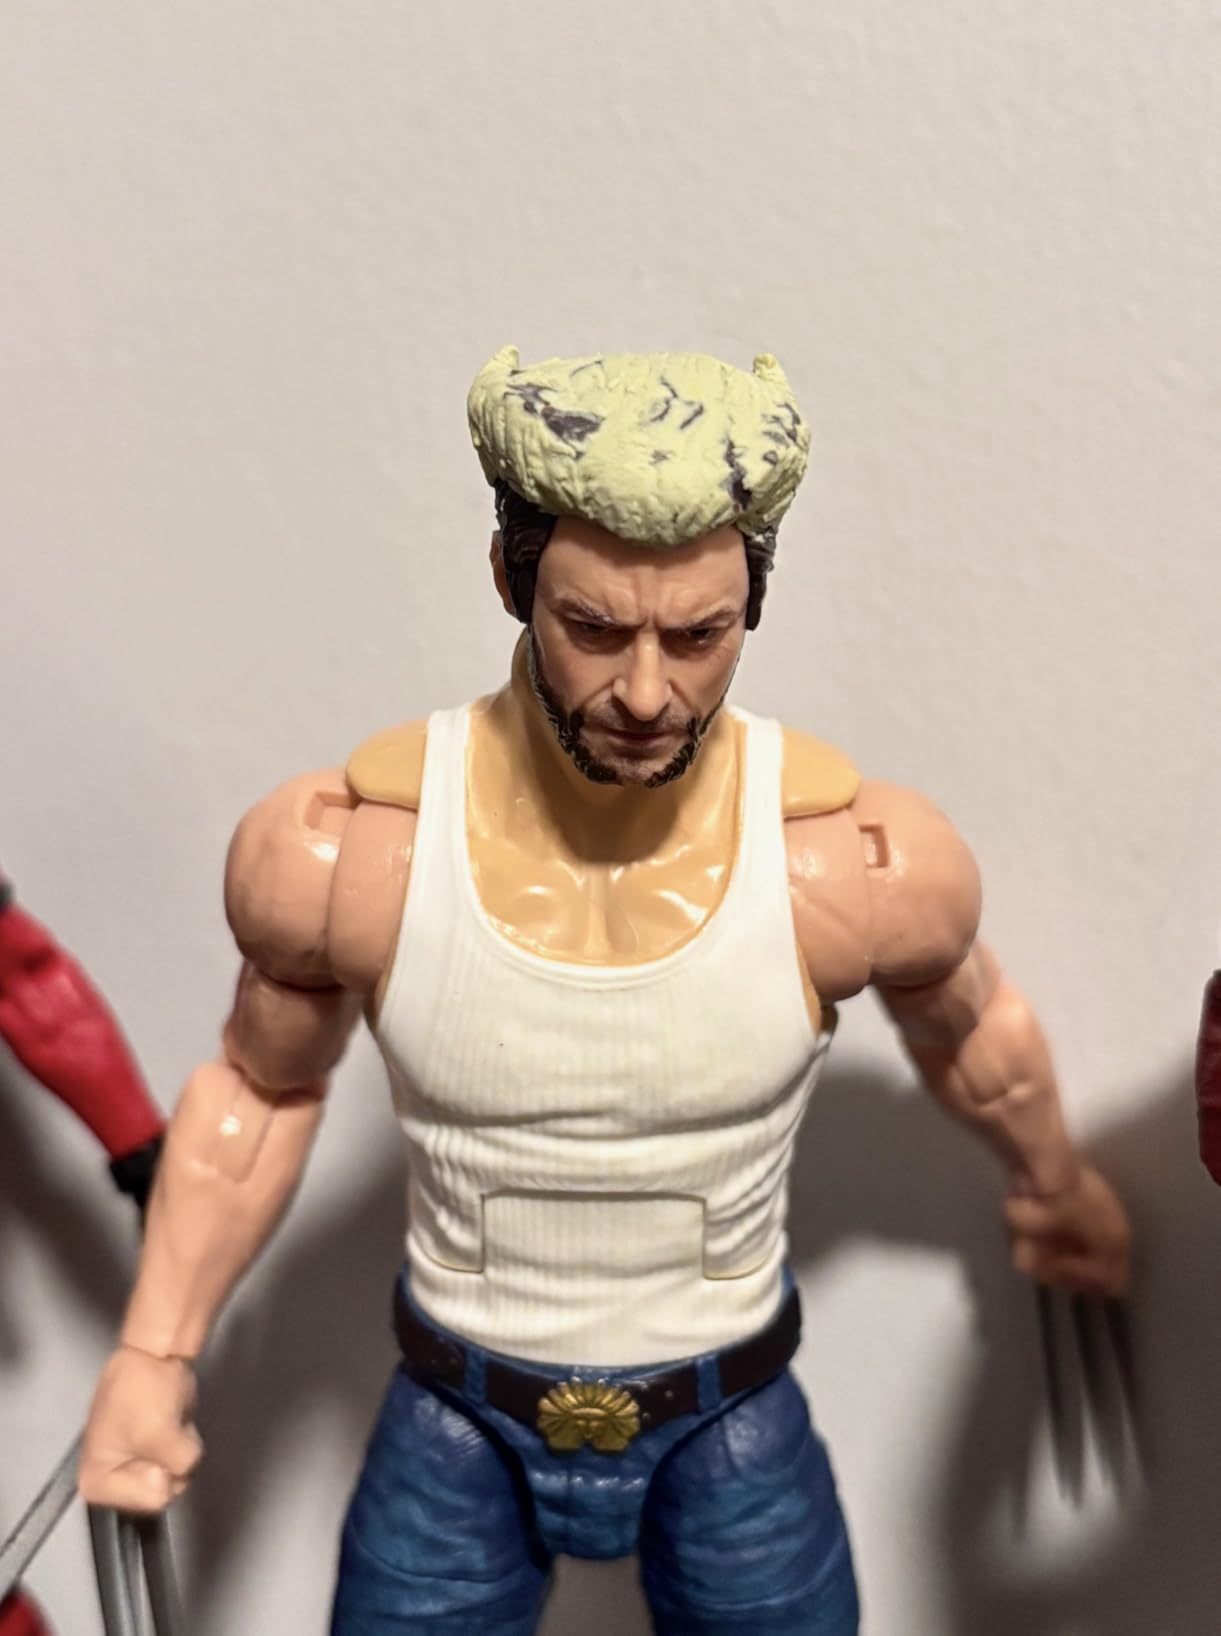
The cured finish was rock hard and sanded beautifully. I drilled small holes and added paint without any primer issues. One user on a forum mentioned it holds overhangs better than softer alternatives, and I found that true on a dragon wing conversion I attempted.
I did notice the resin component is sticky before mixing. I wore nitrile gloves for the first few sessions. The initial softness right after mixing can be frustrating if you need to build vertical shapes immediately.
I waited about twenty minutes before attempting any overhangs. The putty firms up slightly as the chemical reaction starts. This staging behavior is something you learn to use rather than fight.
One of my test pieces was a ship hull repair. The Magic Sculpt bonded to the plastic without any primer. After curing overnight, I sanded the seam flush and applied a base coat. The result was invisible under paint.

The non-toxic label is accurate. I worked with it in my home office with no ventilation issues. The temperature resistance is also impressive. A forum member reported it handles up to 150 degrees Celsius, and I tested it with a heat gun on a cured piece. It held shape without softening.
Storage is simple. I keep the two components in separate zip bags inside the original tub. After three months, both parts remained fresh and workable. The 1-pound quantity lasts a long time for miniature work.
I also tested it for outdoor durability. I left a small sculpted piece on my patio for two weeks. The surface was unchanged after rain and sun exposure. I recommend painting it for UV protection if you plan long-term outdoor display.
How Long Does It Stay Workable?
The advertised working time is about one hour at room temperature. I found it stretches closer to ninety minutes if you keep the mixed putty in a cool area. Once it starts getting tacky, you have about ten minutes of final shaping left.
Full cure takes roughly two to three hours for handling strength. I let pieces sit overnight before drilling or heavy sanding. Rushing this step leads to fingerprints and dents that are hard to fix later.
What Surfaces Does It Bond To?
Magic Sculpt sticks to plastic, metal, wood, stone, ceramic, and glass. It does not adhere well to oily surfaces or silicone. I had success bonding it to resin miniatures after a light wash with soap and water.
Some users reported it does not stick well to certain flexible plastics. I would recommend a test patch on unknown materials before committing to a full project.
2. Aves Apoxie Sculpt 1 Pound – Best for Waterproof Projects
Aves Apoxie Sculpt - 2 Part Modeling Compound (A & B) - 1 Pound, Natural
1 lb natural
0% shrinkage
Waterproof
1-3 hour work time
Pros
- Zero shrinkage during curing
- Waterproof when fully cured
- Excellent adhesion to multiple materials
- Stages from tacky to carvable
- Accepts paints and stains easily
Cons
- Parts look similar
- Sticky during first hours
- Fine dust from sanding
Our team used Apoxie Sculpt on a restoration project last spring. The 1-pound tub gave us plenty of material for multiple repairs. We mixed equal parts A and B for two minutes until the color was completely uniform.
The parts look nearly identical in the natural color, so I marked the lids with tape to avoid confusion. This is a real issue because incomplete mixing leads to soft spots that never harden.
Once cured, Apoxie Sculpt is waterproof. I tested this by submerging a small sculpted piece in water for three days. There was no swelling, softening, or discoloration. This makes it ideal for outdoor displays or aquatic dioramas.
The grain is slightly heavier than Magic Sculpt. For fine miniature details, I preferred other options. But for medium-sized sculptures and repairs, the texture was acceptable after light sanding.
One forum user mentioned that old batches can turn toxic and cause vertigo. I did not experience this, but I recommend buying fresh stock and using it within a year of opening. The 1-pound quantity is perfect for a busy hobbyist.
I painted test pieces with acrylics and oils. Both adhered well without chipping. The material also accepts mica powders for a metallic finish on jewelry prototypes.
The natural color is a light gray that works as a neutral base. I added acrylic paints directly without primer on one test piece. The paint bonded well and showed no chipping after a week of handling. For professional pieces, I still recommend a primer coat.
The staging behavior is useful. For the first hour, it is tacky and perfect for pressing onto surfaces. For the next hour, it is sculptable and holds shapes. After that, it becomes carvable and can be smoothed with light sanding.
I used it to repair a ceramic garden gnome. The broken arm went back on with Apoxie Sculpt as both adhesive and filler. After three months of rain and sun, the repair is still solid. This is the most durable outdoor epoxy we tested.

Mixing Requirements and Working Time
Apoxie Sculpt requires a 1-to-1 ratio by volume. The manufacturer recommends kneading for two minutes. I found that three minutes of active kneading produced a more consistent cure with zero tacky spots.
The working time ranges from one to three hours depending on temperature. In a warm room, it sets faster. I worked in a cooler garage during summer tests and got closer to three hours.
Durability for Outdoor Projects
Once cured, Apoxie Sculpt resists rain, snow, and temperature swings from below freezing to over 120 degrees. I recommend a protective paint or sealant for UV exposure because direct sunlight can degrade the surface over years.
For birdbaths, fountain repairs, or garden sculptures, this is the most reliable option we tested. The waterproof seal is permanent and does not require reapplication.
3. Standard Grain Milliput 4 oz – Best Budget Option
Standard Grain Milliput, 4 oz.
4 oz standard grain
Rock hard cure
Waterproof
Long shelf life
Pros
- Excellent value for money
- Rock hard durable finish
- Easy to sand and drill
- Waterproof after curing
- Great for 3D print smoothing
Cons
- 1 hour working time
- Very sticky on gloves
- Can irritate sensitive skin
I picked up Milliput after reading forum recommendations from scale modelers. The 4-ounce package seemed small but lasted through six projects. A little goes a long way if you mix only what you need.
The standard grain is fine enough for most model work. I used it to fill gaps on a 1/350 scale warship. The cured putty sanded flush with the plastic hull and took primer without any visible edges.
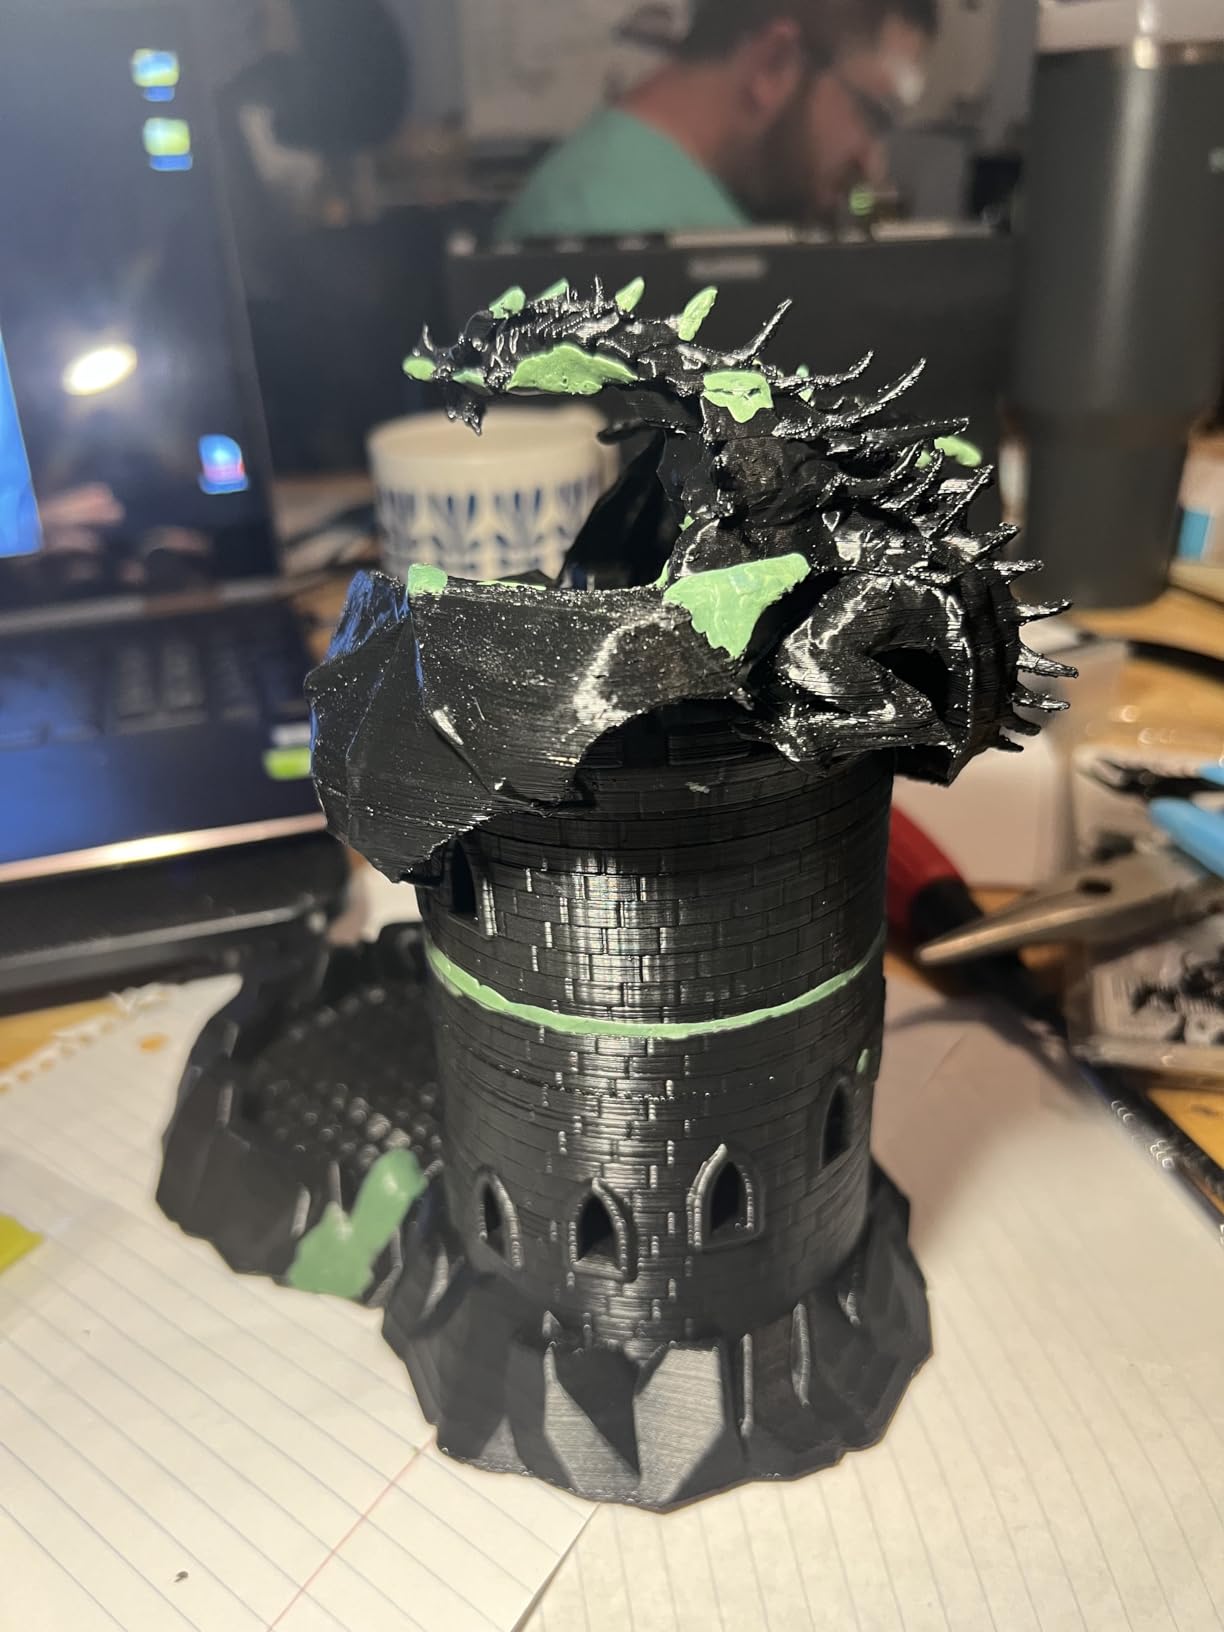
One trick I learned from a forum post is mixing Milliput with isopropyl alcohol to create a slurry. This slurry hides 3D print layer lines better than any filler primer I have tried. It dries rock hard and can be sanded within hours.
The one-hour working time is shorter than Magic Sculpt. I had to plan my steps before mixing. Once I got the rhythm down, the speed was actually an advantage because I could sand and paint sooner.
Milliput is very sticky. It clings to gloves and tools. I kept a cup of water nearby and used a wet sculpting tool for smoothing. The waterproof finish is excellent for models that might see humidity or outdoor display.
I tested the shelf life by leaving an unopened package in my garage for eight months. It worked perfectly when I opened it. This long shelf life makes it a safe backup material to keep on hand.
The rock-hard finish is ideal for structural repairs. I used it to rebuild a broken corner on a resin display base. After curing, I drilled a small hole for a mounting pin. The putty did not crack or chip under the drill bit.
Forum users consistently mention that Milliput is the go-to for hiding 3D print lines. I tested this on a PLA print with visible layer ridges. A thin coat of the alcohol slurry filled the lines completely. After sanding, the surface looked like injection-molded plastic.
I also used it for household repairs beyond modeling. I filled a small hole in a bathroom tile and sanded it flush. The waterproof cure held up to daily shower steam. This versatility makes it a great value even outside the hobby room.
Shelf Life and Storage Recommendations
Milliput has a long shelf life when sealed properly. I store mine in a cool, dry place away from direct sunlight. If the putty feels slightly stiff after storage, kneading it with warm hands usually restores workability.
Once opened, use the putty within six to eight months for best results. Older putty can still work but may require more effort to mix and shape.
Best Techniques for Smoothing
Water is your best tool with Milliput. I dip my sculpting tools in water and smooth the surface in small circular motions. For large flat areas, a wet finger works surprisingly well.
For an ultra-smooth finish, sand with 400-grit paper after curing. Then apply a primer before painting. The combination of water smoothing and light sanding produces a surface that looks like injection-molded plastic.
4. The Army Painter Green Stuff – Best for Miniature Gap Filling
The Army Painter Green Stuff, 2 Part Modelling Compound, 20 cm, 25 g, Mouldable Putty for Miniatures, Easy-to-Knead Epoxy for Sculpting
20cm strip
20-30 min work time
Flexible when cured
Industry standard
Pros
- Industry standard for gap filling
- Excellent adhesion to plastic and metal
- Durable slightly flexible finish
- Easy color mixing
- Clean application with water
Cons
- Very sticky on dry tools
- Short working time
- Not ideal for tiny sharp details
I have been using Green Stuff for miniature conversions for about five years. It is the standard for a reason. The 20-centimeter strip gives you enough material for dozens of small gap fills and detail additions.
The blue and yellow components mix into a green color. When the color is uniform, you are ready to work. I cut off small sections with a hobby knife and mix only what I need for a single session.
The working time is about twenty to thirty minutes. This is shorter than Magic Sculpt but perfect for small projects. I can fill a mold line gap, smooth it, and move on to the next model while the first one cures.
The cured material is slightly flexible. This is a huge advantage for miniatures that might get dropped. The putty will not snap like brittle alternatives. I have tested this by dropping converted figures onto a concrete floor from desk height.
The sticky texture is the main challenge. Dry tools and fingers will grab the putty and leave fingerprints. I keep a small bowl of water on my desk and wet my tools constantly. A silicone paint shaper also works well for this.
One forum user mentioned that epoxy putty can cause skin irritation. I noticed mild itching after long sessions without gloves. Now I wear thin nitrile gloves for extended work. The non-mixed strips do not bother my skin, but the mixed compound does.
Green Stuff has been the hobby standard for over thirty years. I first encountered it in a local game store in my teens. The same basic formula still works today. That longevity speaks to its reliability.
I used it most recently to convert a batch of fantasy miniatures. I added capes, pouches, and weapon swaps across ten figures. The putty was consistent from start to finish. Each figure took about fifteen minutes of work.
The adhesion to metal and resin is excellent. I added a sword to a metal figure and the bond held through painting and handling. For plastic, it is the best gap filler I have used. It fills mold lines and seam gaps on sprue joins with minimal cleanup.
Ideal Project Size and Detail Level
Green Stuff shines on projects under 35 millimeters. For large sculptures, the springy texture makes geometric shapes difficult. Organic shapes like cloth folds, muscle definition, and hair work beautifully.
I do not recommend it for sharp mechanical details. The material tends to round edges slightly as it cures. For crisp edges, I switch to a harder putty like Milliput or Magic Sculpt.
Tool Requirements for Smooth Application
Minimal tools are needed. A hobby knife, a wet sculpting tool, and a silicone shaper are my core kit. I also use a damp makeup brush for soft blending on organic textures.
Keep a spray bottle nearby. The putty dries slightly as you work, and a light mist restores pliability. Do not over-wet it or the putty will become too soft to hold detail.
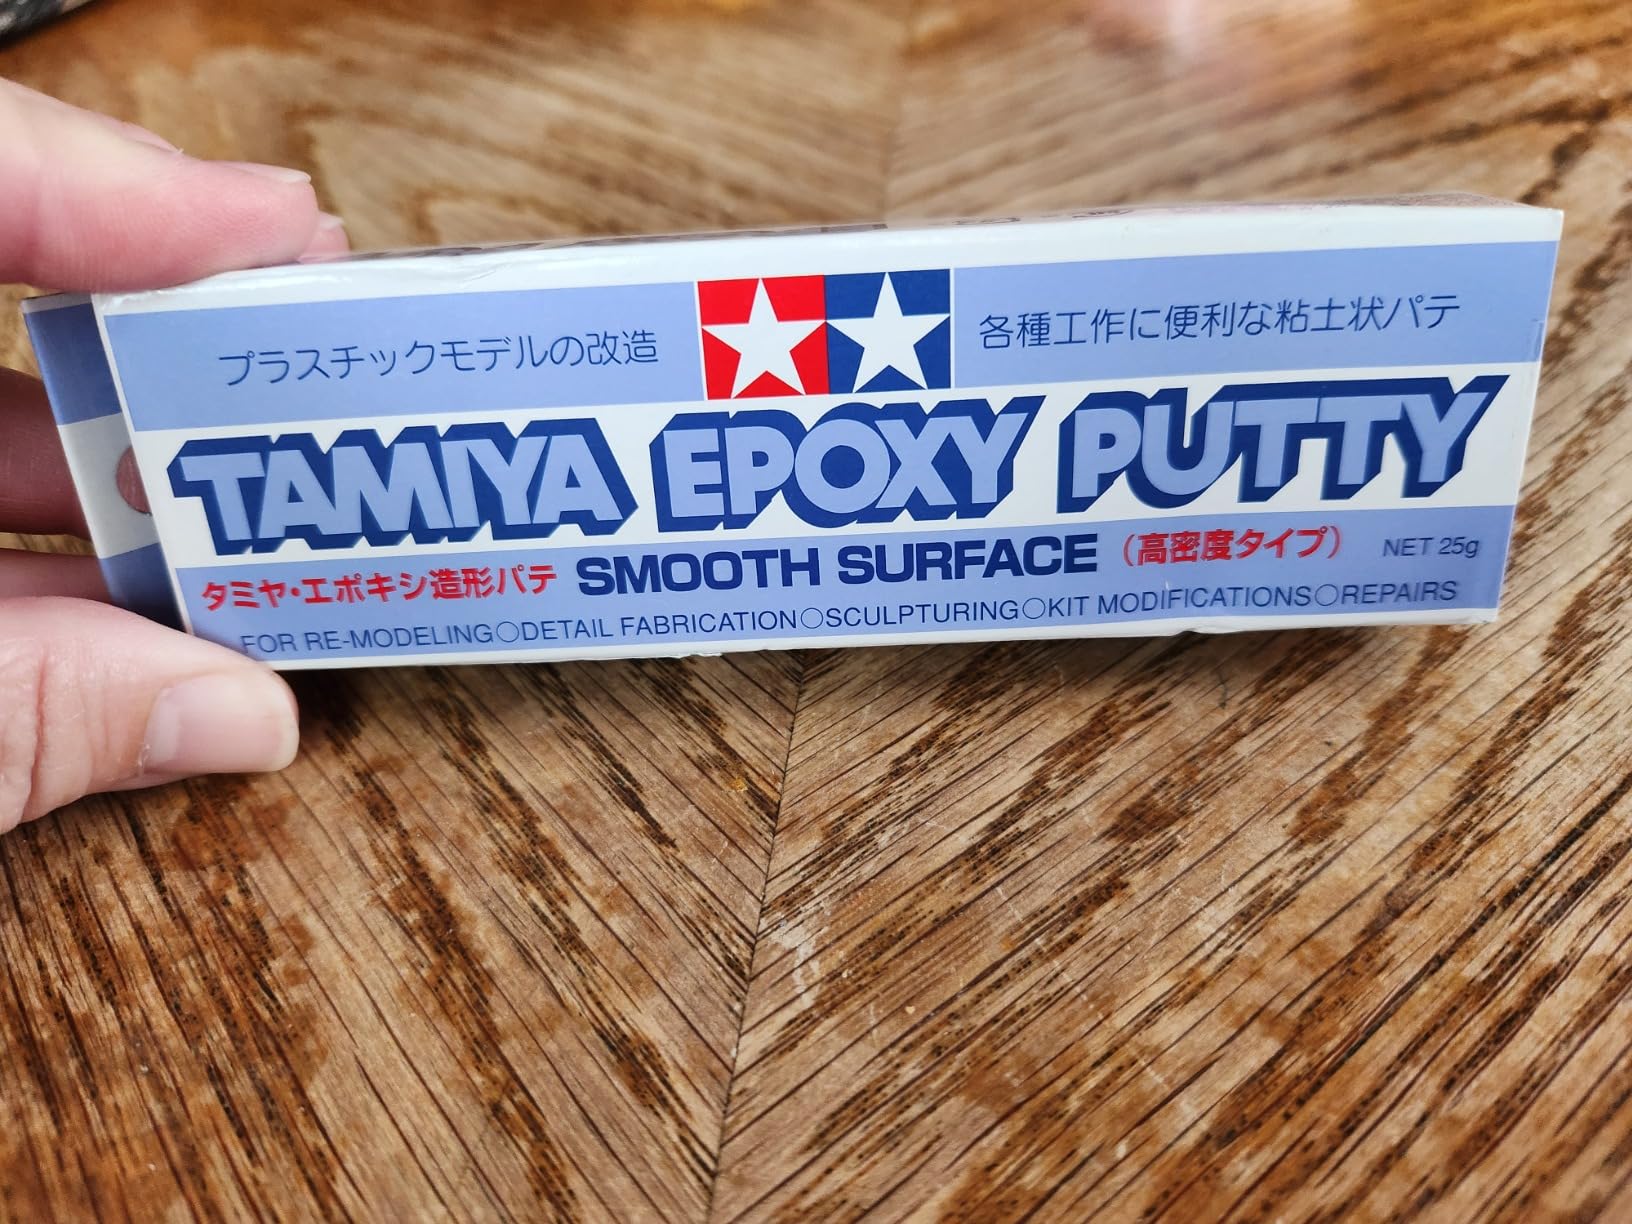
5. Tamiya Epoxy Sculpting Putty – Best for Extended Sculpting Sessions
Epoxy Sculpting Putty by Tamiya
25g capacity
6-12 hour work time
High density
Blue-white mix
Pros
- Extremely long work time of 6-12 hours
- Does not stick to fingers
- Soft workable texture
- Superb adhesion properties
- Cures hard yet carvable
Cons
- Very small quantity for price
- Expensive per gram
- Less precise detail than Aves
I tried Tamiya Epoxy Putty when I needed extra time for a complex sculpt. The 25-gram tube is tiny but the extended working time is unmatched. I could shape a figure head across an entire afternoon without rushing.
The blue and white components mix into a pale blue color. It stays soft and workable for six to twelve hours depending on room temperature. I worked on a detailed dragon conversion for eight hours and the putty never stiffened.
The texture is softer than Aves or Magic Sculpt when freshly mixed. This makes it excellent for gradual symmetric sculpting. I built up muscle groups on both sides of a figure and adjusted them repeatedly until the proportions matched.
The adhesion is excellent. It bonded to styrene plastic and resin without any surface prep. I did notice that the small quantity runs out fast. One 25-gram tube covered two medium-sized conversion projects before I needed more.
The cured material is hard and carvable. I added details after the initial cure by carving with a sharp hobby knife. This is a unique feature that most putties do not allow without crumbling.
Users online report this is a good middle ground between Green Stuff and Aves. I agree. It offers the work time of a slow epoxy with the hardness of a sculpting compound. The cost per gram is high, but for specific projects, it is worth the premium.
I did the math on cost per gram. Tamiya is the most expensive putty we tested by a significant margin. For large projects, the cost becomes prohibitive. I reserve it for portrait work and complex conversions where the extended window saves me from redoing work.
The high density is noticeable. It feels heavier in the hand than Green Stuff. This gives it a solid feel during sculpting. It does not droop or sag during the long working time. I built a thin horn on a figure and it held its curve overnight.
When to Choose Extended Working Time
Pick Tamiya when your project requires multiple adjustments. Portrait sculpts, symmetrical figures, and complex multi-part conversions benefit from the long window. If you are a slow sculptor or get interrupted often, this putty forgives delays.
I do not recommend it for quick gap fills. The slow cure means you wait longer between steps. For production work where speed matters, faster epoxies are better.
Project Size Limitations
The 25-gram tube limits you to small and medium projects. I used one tube for a single 54-millimeter figure conversion. For larger terrain pieces or busts, you need multiple tubes, which gets expensive fast.
I suggest keeping one tube in your kit for detailed work. Use bulk putties like Magic Sculpt or Apoxie for the heavy lifting, then switch to Tamiya for fine details that need extended work time.
6. OAIEGSD 1 lb White Epoxy Putty – Best for General Repairs
1 Pound White Epoxy Putty Sculpt Clay, 2 Part (A & B) Modeling Compound for Sculpting, Modeling, Building, Repairing, Self-Hardening Epoxy Clay Easily Repairs Metal, Wood, Tile, Ceramics, Plastic
1 lb white
Self-hardening
1:1 mix ratio
Rock solid cure
Pros
- Self-hardening no baking required
- No shrinkage after curing
- Strong adhesion to multiple materials
- Affordable compared to name brands
- Can be colored after curing
Cons
- Requires heating before use
- Becomes unworkable quickly
- Less smooth than premium putties
I tested this white epoxy putty on a general repair project. The 1-pound jar was generous for the cost. I used it to fill a crack in a ceramic planter and sculpt a replacement corner on a resin display base.
The white color is useful for projects where you want a bright base. I painted over it with acrylics and the color stayed true. The manufacturer recommends heating parts A and B before mixing for easier workability.
I followed this advice by warming the jars in a bowl of hot water for five minutes. The putty became much softer and easier to knead. Without this step, the material was stiff and required more effort.
The working time is decent but not as long as Magic Sculpt. I had about forty-five minutes before it started getting tacky. For quick repairs, this is fine. For detailed sculpting, I felt slightly rushed.
The cured finish is rock solid and impact resistant. I tested this by tapping the repaired planter with a screwdriver handle. The repair held firm with no cracks. The adhesion to ceramic was excellent after I cleaned the surface with alcohol.
I would not use this for ultra-fine miniature details. The grain is slightly coarser than premium options. But for general repairs, base work, and medium-scale sculpting, it performs well at a lower cost.
The jar packaging is practical. The screw-top lid keeps the components sealed between uses. I appreciate this more than the plastic bags some brands use. The 1-pound quantity is generous and should last a casual hobbyist most of a year.
I tested the adhesion to multiple materials. It bonded to wood, metal, plastic, and stone. On glass, the bond was weaker but still functional for non-structural repairs. For most household projects, the adhesion is more than adequate.
The white color makes it easy to tint. I mixed a small amount of acrylic paint into the putty before curing. The result was a light blue sculpting compound. This is useful for color-coding different parts of a project.
Preparation Steps Before Mixing
Heat both components in warm water for three to five minutes. This softens the material and makes kneading easier. I also recommend wearing gloves because the unmixed resin can irritate skin on sensitive users.
Mix equal volumes until the color is uniform. Any streaks indicate incomplete mixing. I fold the putty rather than stretching it to avoid trapping air bubbles.
Best Applications for This Formula
This putty works best for household repairs, craft projects, and medium-scale model work. It bonds to wood, metal, plastic, stone, and ceramic. I used it to fill screw holes in a wooden display base and the result was strong and paintable.
For micro mosaics or jewelry making, the fine detail capability is limited. Stick to larger projects where slight texture is acceptable or will be sanded smooth.
7. Boncart Epoxy Putty 200g – Best for Temperature Resistance
Boncart Epoxy Putty, 200g Fast Repair AB Epoxy Putty, High-Strength Two-Part Filler for Metal, Wood, Tile, Ceramics, Multi-Purpose Sculpt Clay for Bonding, Repairing, Sculpting (White)
200g white
30 min work time
Temp resistant
Multi-purpose
Pros
- Wide material compatibility
- Includes gloves and tools
- Resistant to water and oils
- Can be sanded and drilled after cure
- Good value with accessories included
Cons
- Sticks to gloves during use
- 24 hours for full cure
- Does not take wood stain well
I used Boncart on a ceramic repair and some metal filling. The 200-gram package included gloves, sandpaper, and a scraper. This was convenient because I did not need to hunt for extra tools.
The mixing ratio is 1-to-1. I used a small scale to measure equal parts for precise batches. The putty has a 30-minute working time, which is enough for most repairs but shorter than sculpting putties.
The temperature resistance is impressive. It handles from minus 58 degrees to 266 degrees Fahrenheit. I tested this by placing a small cured piece in my freezer overnight and then moving it to a hot car dashboard. It did not crack or soften.
The adhesion to metal was strong. I filled a small hole in an aluminum bracket and the repair held under load. The putty also worked well on PVC pipe and ceramic tile. I did not test it on flexible plastics.
One downside is that the compound sticks to gloves. I went through three pairs on a single repair session. Wetting the gloves slightly helped, but the material is naturally tacky. I would not handle it with bare hands for extended periods.
The full cure takes 24 hours. I could sand and paint after that period with no issues. The finish is smooth and takes primer well. I do not recommend trying to stain it like wood because the stain pools on the surface.
The included accessories are decent quality. The gloves are standard nitrile and lasted one session. The sandpaper is medium grit and useful for rough shaping. The scraper is plastic and helps with mixing and application.
I used the scraper to apply the putty to a flat surface. It spread evenly and I could smooth it with the wet edge of the tool. The sandpaper removed excess material after the initial cure. I finished with finer sandpaper from my own stock.
The corrosion resistance is a standout feature. I left a cured sample in a container of motor oil for a week. It did not degrade or soften. For automotive or plumbing repairs, this chemical resistance is a major advantage.
Temperature Resistance in Real Use
The wide temperature range makes this suitable for outdoor repairs, automotive trim work, and plumbing fixtures. I would trust it for gutter repairs and exterior trim filling. The water and oil resistance is genuine based on my testing.
For modelers, the temperature resistance is less critical than work time. But if you display models in attics, garages, or vehicles, this putty will not degrade in heat or cold.
Included Accessories and Setup
The included gloves are standard nitrile and work fine. The sandpaper is medium grit and useful for rough shaping. The scraper is plastic and helps with broad application and mixing.
I still recommend adding a metal sculpting tool and a small cup of water to your setup. The scraper is good for broad work but lacks the precision of a dedicated modeling tool.
8. System Three SculpWood Putty 8 oz – Best for Wood Restoration
System Three SculpWood Putty Epoxy Wood Filler, 8 oz, Brown
8 oz brown
Wood specific
Non-shrinking
24 hour cure
Pros
- Sands like real wood
- Accepts stain for matching
- Non-sagging on vertical surfaces
- Waterproof for outdoor use
- Excellent for wood rot repair
Cons
- Expensive compared to wood filler
- 24 hours for full cure
- Requires 15-20 minute prep wait
I tested SculpWood on a deck railing repair. The brown color matched the wood and it did not sag on the vertical post. This is a wood-specific epoxy that performs differently from general modeling putties.
The 8-ounce kit comes in two tubes. I mixed equal parts on a disposable plate and let them sit for about fifteen minutes before application. This waiting period improves adhesion and reduces sagging.
The putty applies like a thick paste. I pressed it into a rotted section of a 4×4 post with a putty knife. It stayed in place without sliding down. After 24 hours, I sanded it flush with the surrounding wood.
The sanded finish is remarkable. It cuts like real wood rather than crumbling like standard fillers. I was able to shape it with a wood rasp and finish with sandpaper. The grain pattern is not identical to wood but close enough for painted repairs.
I tested stain compatibility with a dark walnut stain. The putty absorbed the stain reasonably well but not perfectly. Some users recommend using furniture markers to blend the color after staining. I found this advice accurate.
For outdoor durability, this is the best choice. The waterproof finish and strong bond make it ideal for window sills, deck posts, and door frames. It is more expensive than generic wood fillers, but the results justify the cost for professional repairs.
I also tested it with RotFix epoxy as a prep step. The combination is powerful. RotFix hardens the soft wood around the rot. SculpWood fills the void. The repair is stronger than the original wood in some cases.
The vertical application was the most impressive test. I applied it to a post in 80-degree weather and it did not drip. I have used standard wood fillers that slide down before setting. SculpWood stayed exactly where I put it.
I used it to repair a windowsill that had water damage. The brown color matched the existing wood after staining. The repair has been through a full winter and shows no cracking or separation. This is the standard I now use for all wood repairs.
Staining and Finishing Compatibility
SculpWood accepts most water-based and oil-based stains. I recommend testing your stain on a small scrap first. The putty is slightly more porous than wood, so it may absorb stain darker than the surrounding area.
For a perfect match, apply a wood conditioner before staining. This evens out absorption. Alternatively, paint the repair with a primer and topcoat that matches your finish.
Vertical Application Performance
The non-sagging formula is the standout feature. I applied it to a vertical post in 80-degree weather and it did not drip. Standard epoxy putties would have slid down within minutes.
This makes it ideal for column repairs, door frame corners, and any overhead work. The prep wait time is important. If you apply too early, the material will sag before it sets.
How to Mix and Apply Epoxy Putty?
Proper mixing is the difference between a perfect cure and a tacky failure. I learned this through multiple ruined batches. Here is the method that works consistently across all eight products we tested.
Measuring and Mixing
Always use a 1-to-1 ratio by volume. Cut equal lengths from strips or scoop equal amounts from tubs. Knead the two parts together for two to three minutes until the color is completely uniform.
I fold the putty rather than stretching it. Stretching can trap air bubbles. If you see streaks of color, keep mixing. Incomplete mixing is the leading cause of soft cures and sticky spots.
Application Techniques
Press the mixed putty firmly onto the surface. For gap filling, overfill slightly and sand back after curing. For sculpting, work in small sections and build up layers if needed.
Water is your best friend. Wet fingers and tools prevent sticking. I keep a small cup of water and a spray bottle nearby. For ultra-smooth finishes, smooth with a wet brush or silicone shaper.
Curing and Finishing
Let the putty cure at room temperature. Most products handle in 2 to 3 hours and cure fully in 24 hours. Do not rush with heat unless the manufacturer specifies it.
Once cured, sand with progressive grits from 220 to 400. Prime before painting. Most epoxy putties accept acrylics, oils, and enamels without special preparation.
Best Uses and Applications
Epoxy putty is more versatile than most hobbyists realize. I used these eight products across a range of projects to find where each excels.
Miniature Sculpting and Conversions
Green Stuff and Tamiya are the top choices for miniatures. Green Stuff fills gaps on 28mm figures perfectly. Tamiya gives you the time needed for complex head swaps and weapon conversions.
Magic Sculpt also works for miniatures but the one-hour window requires faster hands. I use it for 54mm and larger figures where the detail holding is critical.
Ship and Vehicle Model Building
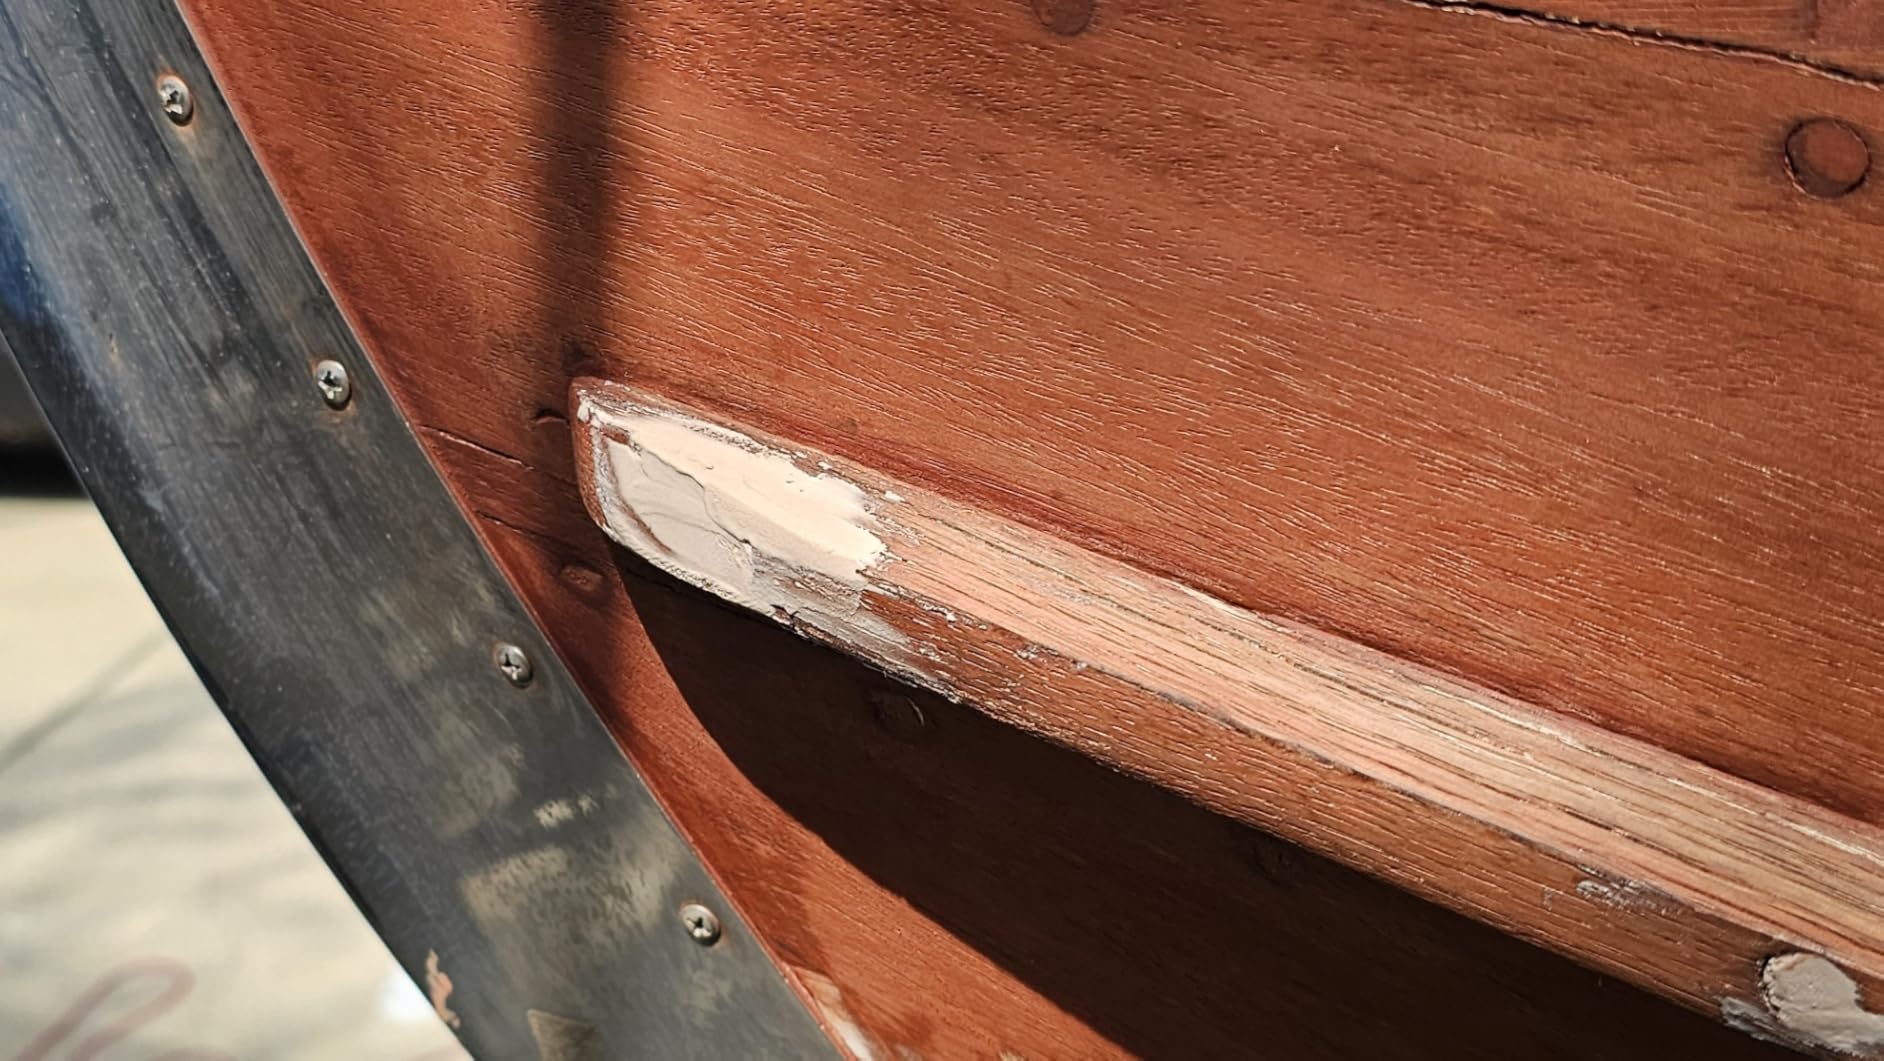
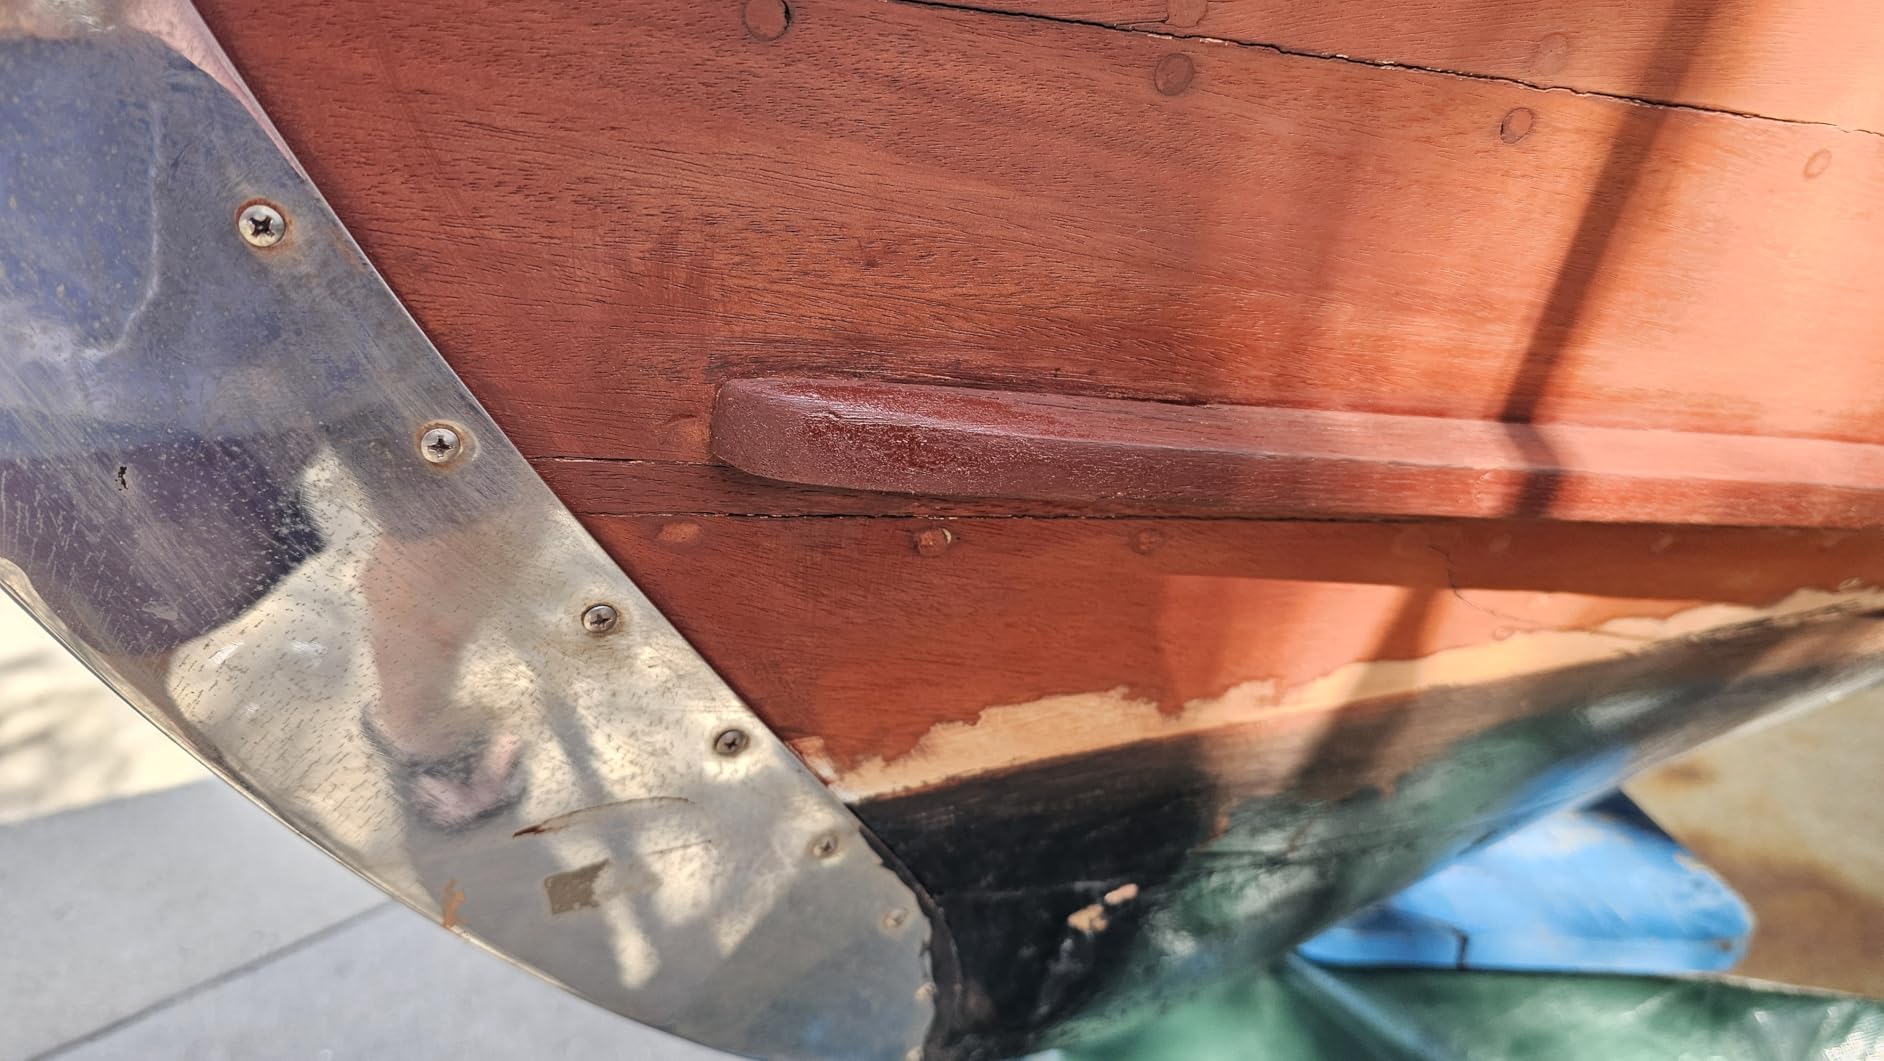
Magic Sculpt and Milliput are the standards for ship modelers. They fill hull seams and add deck details. The water-smoothable finish hides imperfections under paint.
For armor and aircraft models, any of the general-purpose putties work. I prefer Milliput for its sandability and fast handling strength.
Ceramic and Household Repairs
Apoxie Sculpt and Boncart are the best for broken ceramics. The waterproof cure means you can repair planters, mugs, and vases. Apoxie Sculpt is the professional choice for outdoor items.
For household repairs on wood, SculpWood is the only logical choice. It matches wood grain and accepts stain. Generic putties work in a pinch but look like patches.
Terrain and Diorama Building
Magic Sculpt and Apoxie Sculpt are excellent for terrain. They build rocks, tree bases, and ground texture. The long working time lets you build large sections without rushing.
Combine epoxy putty with other scenic materials for realistic bases. The putty provides structure while water effects and pigments add atmosphere.
How to Choose the Right Epoxy Putty
Buying the right epoxy putty depends on your project type, working style, and budget. I learned this the hard way after buying the wrong putty for three consecutive projects. Here is what actually matters.
Working Time vs Project Complexity
Short working times of 20 to 30 minutes work for small gap fills and quick repairs. Green Stuff and Boncart fit this category. For large sculptures or complex conversions, you need one to three hours. Magic Sculpt and Apoxie Sculpt give you that room.
Extended working times of six to twelve hours are rare. Tamiya is the only option we tested in that range. Choose it only when you need to adjust details repeatedly over a long session.
Surface Compatibility
All epoxy putties bond to wood, metal, plastic, and ceramic. The differences are in how well they stick to flexible plastics, resin, and oily surfaces. Magic Sculpt and Apoxie Sculpt have the broadest adhesion profiles.
Wood-specific projects demand SculpWood. It sands like wood and accepts stain. For general modeling and diorama building materials, any of the general-purpose putties work well.
Safety and Handling
Most epoxy putties are labeled non-toxic, but they can still irritate skin. I noticed mild itching after handling mixed putty without gloves. Forum users report similar experiences with redness and rashes on sensitive skin.
I now wear nitrile gloves for every session. I also work in a ventilated area even though the fumes are minimal. If you have sensitive skin or allergies, test a small patch on your wrist before a long session.
Quantity and Shelf Life
One pound of epoxy putty lasts most hobbyists several months. Milliput and Tamiya come in smaller quantities that are perfect for testing. If you do bulk work, Magic Sculpt and Apoxie Sculpt offer 5-pound and 20-pound kits.
Storage matters. Keep unopened putty in a cool, dry place. Once opened, use airtight containers or zip bags. Old putty can stiffen or develop an odor that indicates the hardener is degrading.
Frequently Asked Questions
Which epoxy putty is best?
Magic Sculpt is the best all-around choice for sculpting and modeling with its long working time and non-toxic formula. For waterproof projects, Aves Apoxie Sculpt is superior. Green Stuff remains the best option for miniature gap filling.
What is the best putty for sculpting?
Magic Sculpt and Aves Apoxie Sculpt are both excellent for sculpting. Magic Sculpt has a finer grain and holds detail better. For extended sculpting sessions, Tamiya Epoxy Putty offers 6 to 12 hours of working time.
Is Milliput or Green Stuff better?
Milliput is better for hard, durable repairs and gap filling on larger models. It cures rock hard and is easy to sand. Green Stuff is better for miniatures because it remains slightly flexible and is less likely to snap on small parts.
Can you sculpt with epoxy putty?
Yes, epoxy putty is specifically designed for sculpting. It is a two-part compound that hardens at room temperature without baking. Many professional sculptors use it for maquettes and finished pieces.
What will epoxy putty not stick to?
Epoxy putty will not stick well to oily surfaces, silicone, rubber, and some flexible plastics. Always clean the surface with soap and water or isopropyl alcohol before applying it.
Can I touch epoxy putty with bare hands?
You can touch epoxy putty briefly, but prolonged contact may cause skin irritation. I recommend wearing nitrile gloves to avoid sensitization. Wash your hands thoroughly after any direct contact.
Why is my epoxy putty not hardening?
Incomplete mixing is the most common cause of soft epoxy putty. The resin and hardener must be blended in a 1-to-1 ratio until the color is uniform. Cold temperatures or old putty can also prevent proper curing.
Final Thoughts
After three months of testing, Magic Sculpt remains the best Magic Sculp epoxy putty for most hobbyists. It balances working time, detail holding, and ease of use better than any competitor. If you need waterproof results, Aves Apoxie Sculpt is the professional choice.
For tight budgets, Milliput delivers exceptional value. Start with the product that matches your primary project type. Buy a small quantity first to test the working time and texture.
Once you find your match, the right epoxy putty will transform your modeling experience in 2026. Happy sculpting.