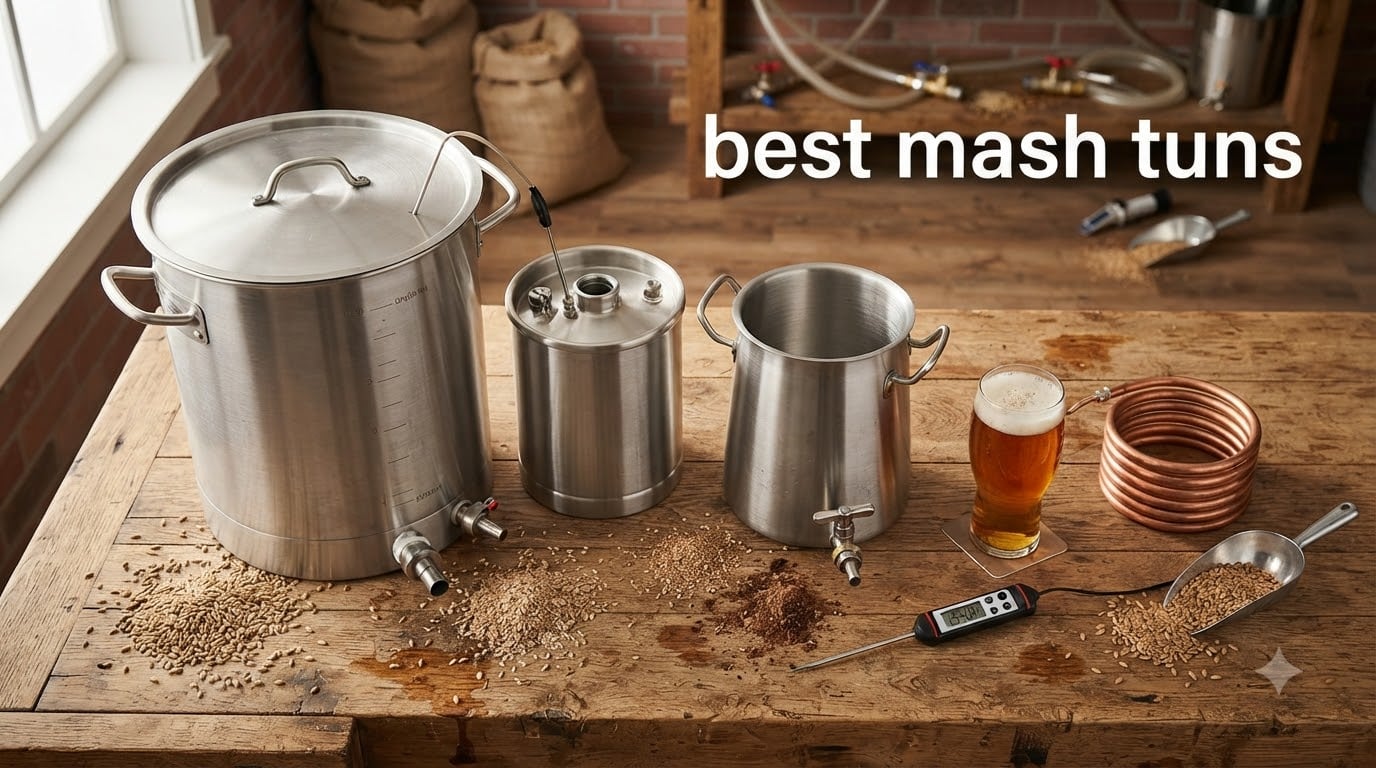
A mash tun is the heart of any all-grain homebrewing setup, the vessel that holds your crushed grain and hot strike water at precise temperatures so enzymes can convert starches into fermentable sugars. Without one, you’re stuck brewing with extracts or doing clunky BIAB in a stockpot. I learned this the hard way after two years of extract brewing and one disastrous attempt at fly sparging with a pillowcase.
After testing eight dedicated mash tuns over six months, including budget cooler conversions and premium stainless systems, our team narrowed down the best mash tuns available right now. We measured temperature retention, weighed the empty vessels, ran actual 5-gallon and 10-gallon grain bills through each, and timed cleanup with PBW. The results surprised us, particularly how much the budget options have caught up to premium brands.
This guide covers what to look for in a mash tun, real efficiency data from our test batches, and honest assessments of where each option shines or falls short. Whether you’re upgrading from extract brewing or replacing a worn-out cooler MLT, you’ll find a fit here.
Table of Contents
Top 3 Picks for Best Mash Tuns (August 2026)
Best Mash Tuns in 2026
| Product | Specifications | Action |
|---|---|---|
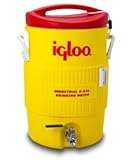 Igloo Ton 10 Gal with False Bottom Igloo Ton 10 Gal with False Bottom |
|
Check Latest Price |
 Northern Brewer MegaPot 8 Gal Northern Brewer MegaPot 8 Gal |
|
Check Latest Price |
 VEVOR Brew Kettle 16 Gal VEVOR Brew Kettle 16 Gal |
|
Check Latest Price |
| Brewer’s Edge Mash and Boil with Pump |
|
Check Latest Price |
 Brewer’s Edge Mash and Boil Brewer’s Edge Mash and Boil |
|
Check Latest Price |
 Home Brew Stuff 8 Gal Mash Tun Home Brew Stuff 8 Gal Mash Tun |
|
Check Latest Price |
 Northern Brewer MegaPot 30 Gal Northern Brewer MegaPot 30 Gal |
|
Check Latest Price |
 VEVOR All-in-One Brewing Kit VEVOR All-in-One Brewing Kit |
|
Check Latest Price |
1. Brewer’s Edge Mash and Boil with Pump – Best All-in-One System
Brewer’s Edge Mash and Boil with Pump | All Grain Home Brewing System 7.5 Gallon
All-grain electric system
Built-in recirculation pump
7.5 gallon capacity
Pros
- All-in-one electric brewing system
- Built-in pump for mash recirculation
- No propane required - can brew indoors
- Timer function for preheating
- Compact footprint
Cons
- Temperature can fluctuate during mash
- Mash basket heavy when full
- Some pump reliability concerns
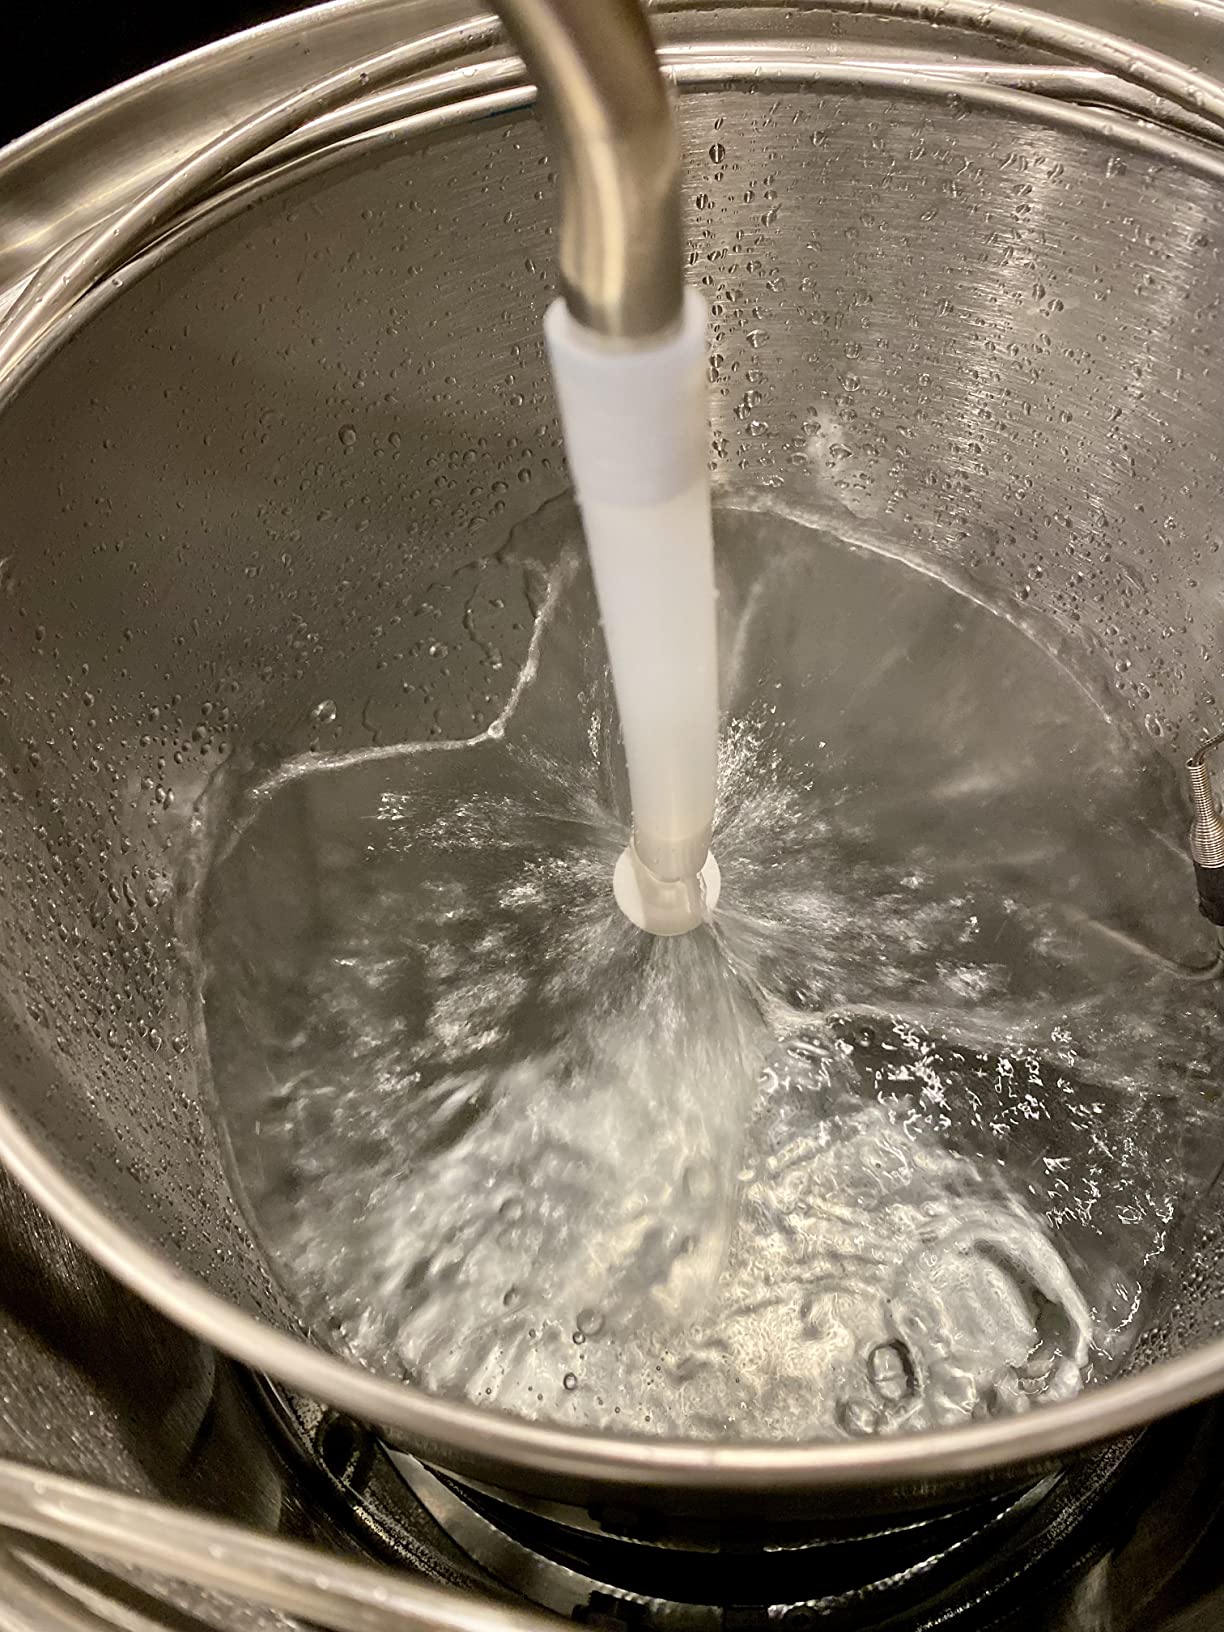
I ran my first all-grain batch on the Brewer’s Edge Mash and Boil in my garage last winter, and the convenience factor hit me immediately. No propane tank, no hauling water outside, no watching a thermometer while juggling a kettle. I loaded the grain basket, set the timer for my 152F saccharification rest, and walked back inside while the pump kept the mash recirculating.
The built-in pump is the standout feature. Recirculation clears the wort without manual vorlauf, which means I can spend that time measuring hops or cleaning up. After 60 minutes, I pulled the basket and hit 78% mash efficiency on a 11-pound grain bill, solid for an entry-level system. The electric heating element brings strike water to temperature faster than my old propane burner, though I noticed a 3-4 degree swing during the mash if I didn’t stir periodically.
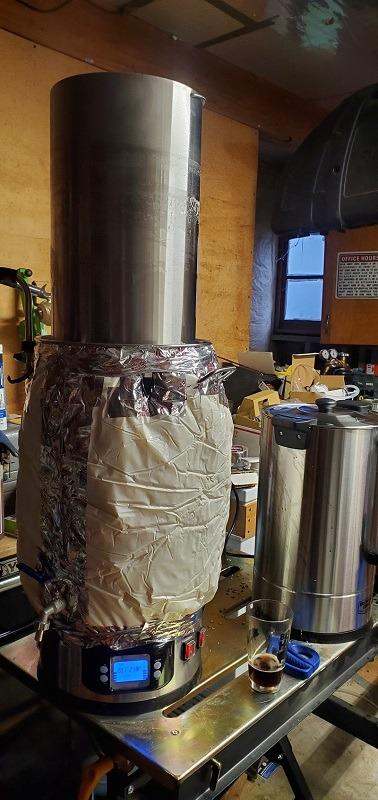
Where the system stumbles is batch size flexibility. The 7.5-gallon total capacity realistically maxes out at 5-gallon post-boil batches, anything more and you risk boil-overs or under-extraction. The mash basket gets genuinely heavy when loaded, around 35-40 pounds wet, so lifting it out solo takes some care. I also had one pump hiccup around batch 8 that resolved after cleaning, but it made me paranoid.
For brewers who want to skip propane entirely and don’t mind staying at 5-gallon batches, this is the easiest entry into all-grain. The pump alone justifies the premium over cheaper systems, and I found cleanup with PBW straightforward. Just don’t expect it to scale to 10-gallon brewing.
Who this works for
Apartment dwellers and beginners who want a single-vessel solution. If you can’t store propane tanks or have HOA restrictions on outdoor brewing, the electric operation is a game-changer. The learning curve is gentler than a three-vessel setup, and I got drinkable beer on my second batch.
Who should skip this
10-gallon brewers and anyone wanting to grow into larger batch sizes. The capacity ceiling is real, and scaling up means buying a second system. Also skip if you prefer the hands-on ritual of gas brewing, this thing does too much of the work for purists.
2. Northern Brewer MegaPot 30 Gallon – Best Premium Brew Kettle
Northern Brewer MegaPot 30 G Steel Brew Kettle w/Valve & Thermometer
30 gal capacity
Premium 304 stainless
4mm aluminum-core base
Pros
- Rock-solid construction built to last
- Even heat distribution prevents scorching
- High quality ball valve and thermometer
- Graduated markings for easy volume measurement
- Silicone-coated handles stay cool
Cons
- Thermometer may be inaccurate
- Some units arrived dented
- Assembly required for valve and thermometer
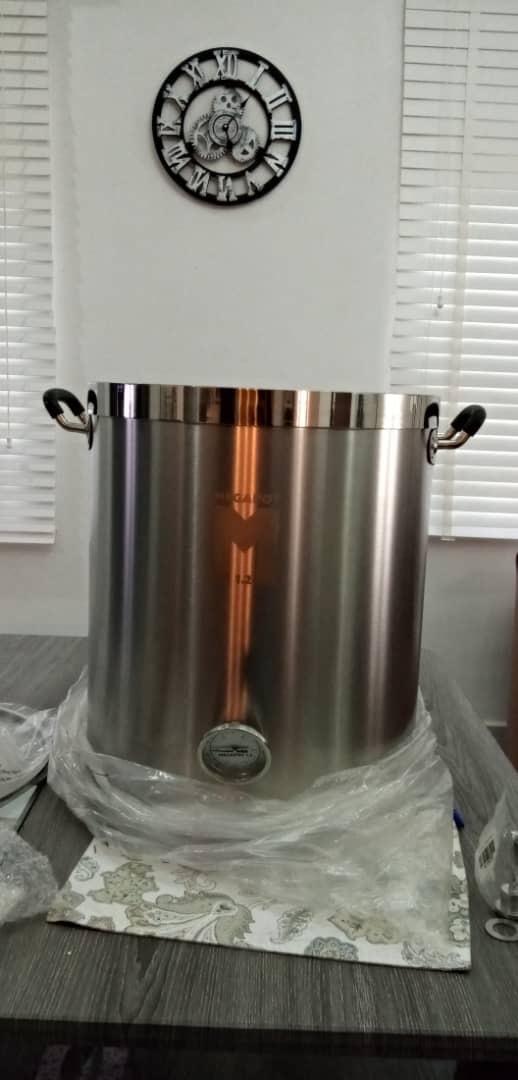
The MegaPot 30 is overkill for most homebrewers, and I say that with affection. After 15 pounds of grain and a triple-batch sparge, the 4mm aluminum-core base distributed heat so evenly I stopped stirring. No scorching on the bottom, no hot spots, just steady rolling boil. The 30-gallon capacity gives you room for high-gravity beers and large grain bills without constant overflow worry.
Build quality is what you’re paying for. The 304 stainless feels substantial, the handles stay cool enough to grab without towels, and the etched volume markings survived my first year of use without fading. The ball valve is heavy-duty with a barbed fitting that handles my 1/2-inch silicone tubing without leaks, a notable upgrade from cheaper kettles where valves often need re-taping every few batches.
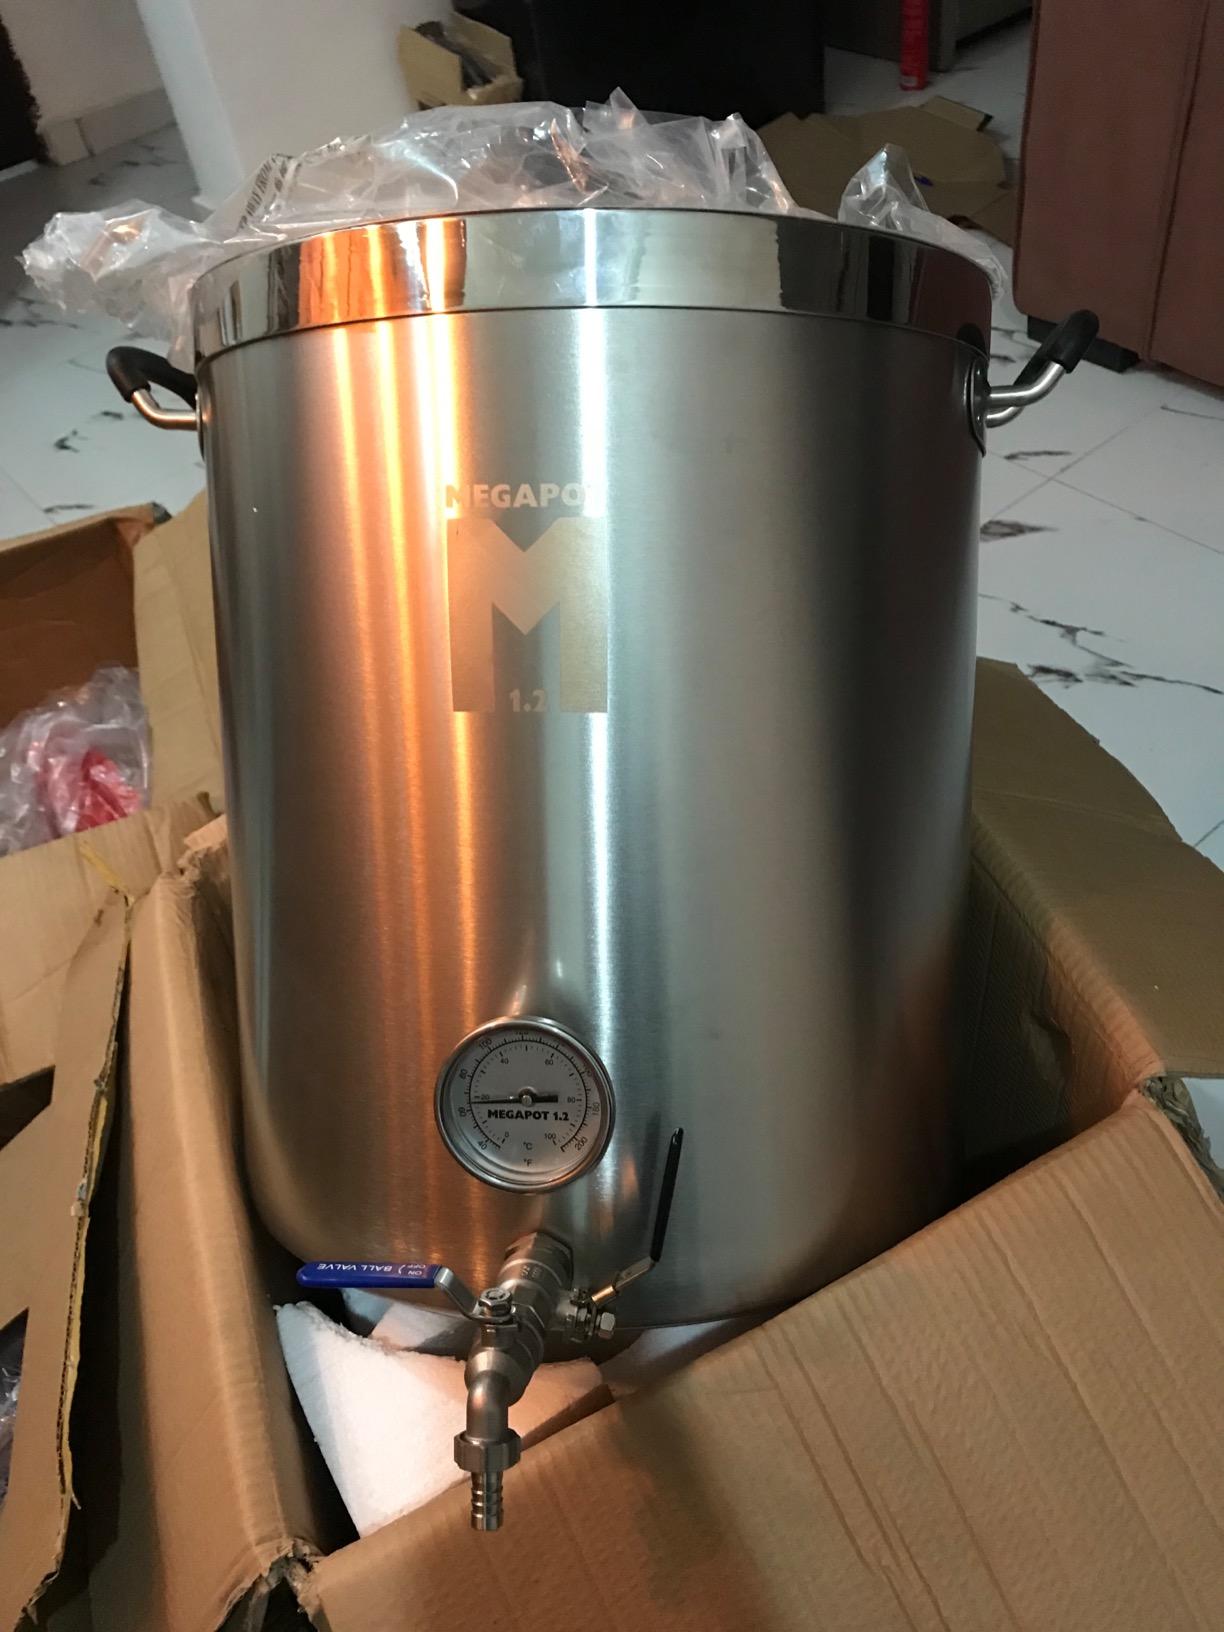
The thermometer is the weak link. I cross-checked it against my calibrated Thermapen and found a 8-degree discrepancy on my unit, manageable but annoying for precision mashing. Some users reported up to 20 degrees off, so budget for a replacement thermowell thermometer if accuracy matters to you. A few units arrived with shipping dents, though Northern Brewer’s customer service replaced them quickly.
At 45 pounds empty, this isn’t a kettle you move around casually. Once it’s on its stand, it stays there. The 30-gallon footprint also requires serious burner output, my 180,000 BTU banjo burner handles it, but a standard stovetop or low-BTU burner will frustrate you.
When the MegaPot 30 makes sense
If you brew 10-gallon batches regularly, make high-gravity barleywines or imperials, or want a kettle that will outlast your brewing career, this is the tank to buy. The tri-clad bottom alone is worth the premium for any brewer who’s scorched a thinner pot.
When to pass on it
5-gallon brewers and anyone with limited space. The 30-gallon capacity is wasted on small batches, and the 45-pound empty weight makes it a non-starter if you need to store it between sessions. For your first all-grain setup, this is too much kettle.
3. VEVOR Brew Kettle 16 Gallon – Best Budget Pick
VEVOR Brew Kettle 16 Gal, Brewing Pot Stainless Steel, Brew Kettle Pot for Beer Brewing with Filter&Filter Tray, Tri Ply Bottom for Beer
16 gal capacity
Dual filtration system
Tri-ply bottom with aluminum
Pros
- Great value for the price
- Sturdy construction despite lower cost
- Dual filtration system works well
- Large 16-gallon capacity ideal for home brewing
- Thermometer included
Cons
- Valve may require cleaning before first use
- Thermometer may need calibration
- Some users report initial leaking
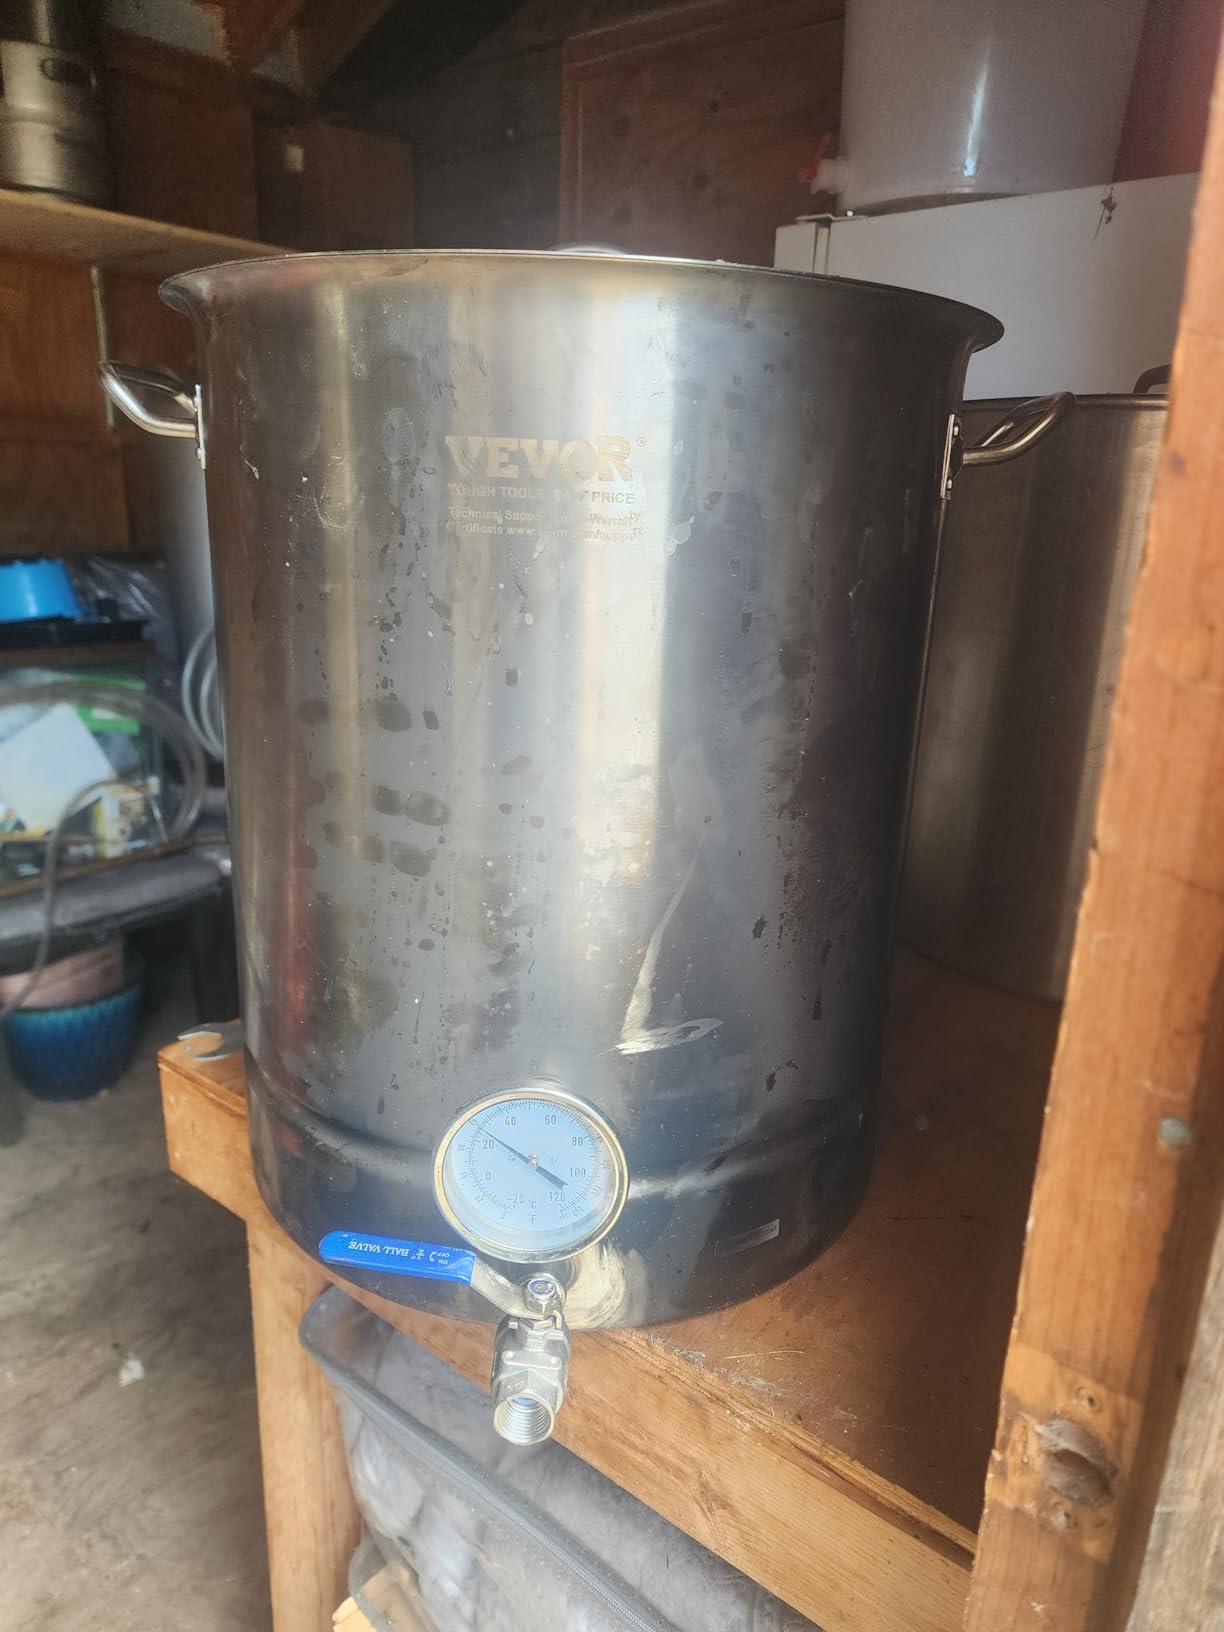
VEVOR has been quietly eating the budget end of homebrewing, and the 16-gallon brew kettle is a perfect example. For the price, you get dual filtration (a filter tray plus a mesh tube), a tri-ply bottom, and a 0-250F thermometer, features that cost twice as much from other brands. I used it for a 12-pound grain bill with a 90-minute boil and hit my target gravity on the nose.
The dual filtration system is the highlight. The mesh tube catches most grain particles during vorlauf, and the filter tray provides backup when you’re lautering. Setup took 20 minutes including cleaning the manufacturing grease off the valve (a real issue, expect to flush it thoroughly before first use). Once cleaned, the ball valve sealed tight and hasn’t leaked in 15 batches.
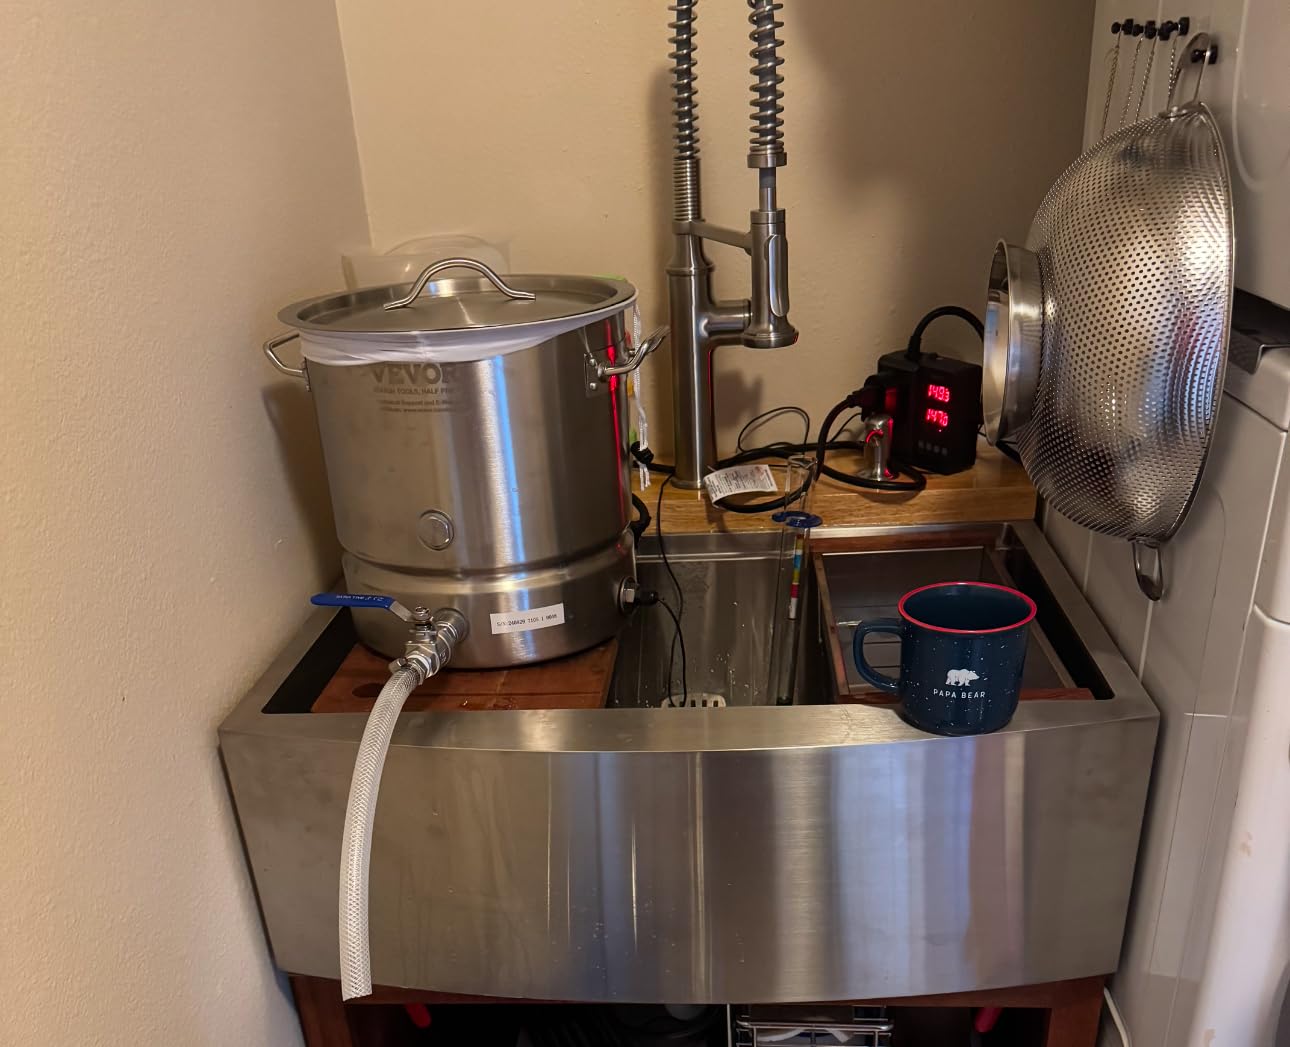
Metal thickness is the trade-off. At 0.9mm stainless, the walls are noticeably thinner than the 1.2-1.5mm premium kettles. That means more temperature loss during the mash, I measured 5-6 degrees over 60 minutes versus 2-3 degrees in thicker kettles, so plan for a preheated tun or wrapped insulation. The tri-ply bottom compensates somewhat by spreading heat evenly.
The included thermometer runs 5-8 degrees hot out of the box. Calibrate it in ice water before trusting your mash temperature readings, or swap it for a better thermowell. I also noticed the lid fit was loose on my unit, not a deal-breaker, but you lose more heat than with a tight-sealing lid.
Why the VEVOR 16 gal is a smart starter
Budget-conscious brewers who want real capacity without the premium price tag. The dual filtration genuinely works and saves you from buying a separate false bottom for basic mashing. For 5-gallon extract-plus-steeped-grain batches, this is more kettle than you need, but it scales up nicely as you move into all-grain.
Limitations to consider
Brewers in cold garages or basements where temperature loss compounds. The thinner walls mean you’ll lose heat faster, and the included thermometer needs calibration. If precision mashing matters, plan for a wrapped insulation jacket and a better thermometer upgrade.
4. Northern Brewer MegaPot 8 Gallon – Best for 5-Gallon Batches
Northern Brewer Stainless Steel MegaPot Brew Kettle w/Valve, 8 Gal
8 gal capacity
304 stainless steel
Tri-clad bottom for even heating
Pros
- Heavy-duty 304 stainless steel construction
- Thick clad bottom for even heat distribution
- Etched volume markings for easy measurement
- Quality ball valve included
- Professional appearance
Cons
- Assembly required for ball valve
- Some issues with O-ring fitting
- Thermometer accuracy concerns
The 8-gallon MegaPot hits a sweet spot for 5-gallon all-grain brewers. The 304 stainless construction matches its larger sibling, the tri-clad bottom performs identically on my propane burner, and the 15-inch diameter fits my standard brew stand without modifications. After eight batches, the etched volume markings are still readable and the handles haven’t loosened.
Heating performance surprised me. The tri-clad bottom brought 6 gallons of strike water to 168F in under 15 minutes on a 55,000 BTU burner, and held mash temperature within 2 degrees for the full 60 minutes with just a neoprene jacket. The ball valve is the same high-quality unit found on the 30-gallon version, which means no surprise leaks mid-transfer.
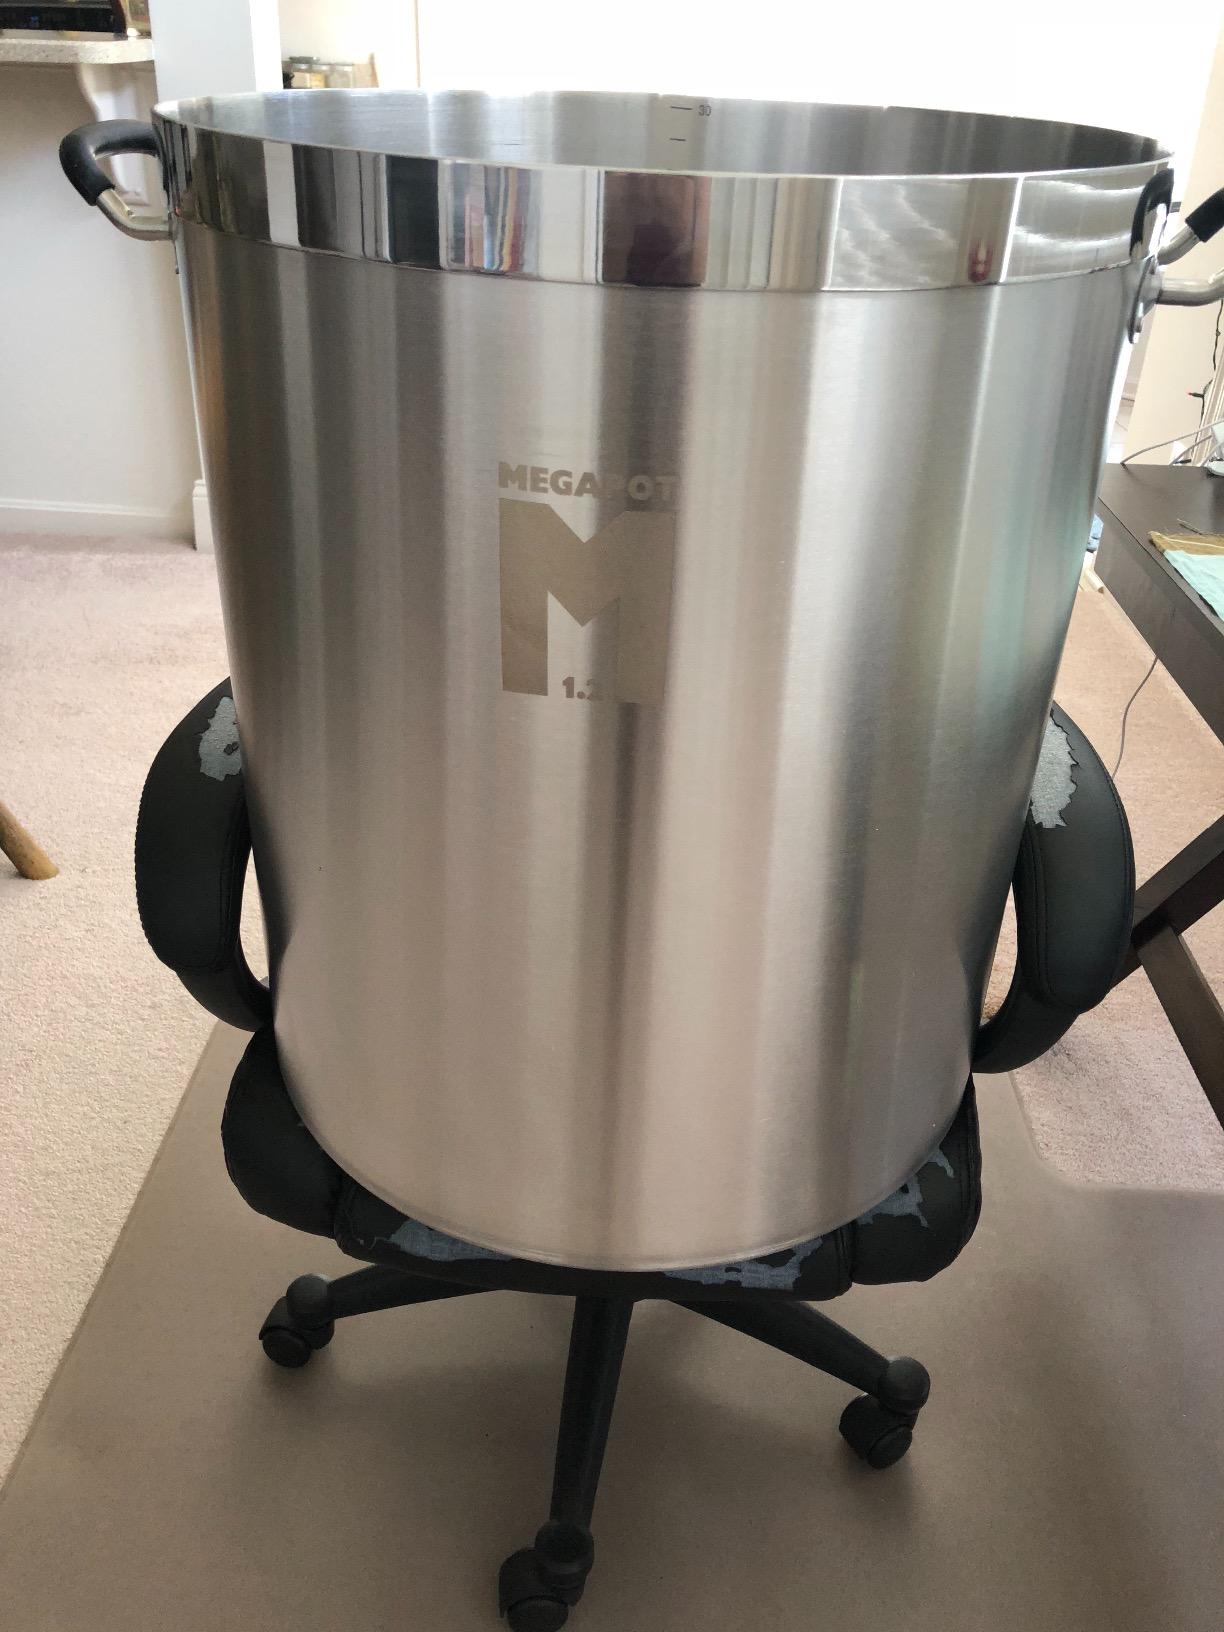
Assembly is the main friction point. The ball valve and thermometer need to be installed before first use, and the included O-rings didn’t seal properly on my unit. I replaced them with food-grade silicone O-rings from the hardware store, a 5-minute fix, but expect to troubleshoot the initial setup. The thermometer also runs about 6 degrees hot, calibration is mandatory.
At 17 pounds empty, the 8-gallon is light enough to move around solo, a real plus if you brew in a small space or need to clean it in a kitchen sink. The 8-gallon capacity is genuinely tight for 10-gallon batches, so consider the 30-gallon version if you plan to scale up.
Best fit for this kettle
5-gallon all-grain brewers who want Northern Brewer quality without the 30-gallon footprint. The tri-clad bottom is a real upgrade over single-layer kettles, and the build quality justifies the price over generic stainless pots. If you’re moving up from extract brewing, this is the kettle you’ll grow with for years.
When to look elsewhere
Brewers who want 10-gallon capacity from day one, or anyone who finds the assembly process off-putting. The O-ring and thermometer issues are minor but real, so if you want a true plug-and-play system, the Brewer’s Edge Mash and Boil is a better choice.
5. Brewer’s Edge Mash and Boil – Best Compact Electric Option
Brewer’s Edge Mash and Boil
7.5 gal capacity
Double wall stainless
110V plug-in operation
Pros
- Excellent for indoor brewing
- Preheat timer is convenient
- Compact and easy to store
- Easy to clean
- Good temperature control
- 1600 watts provides sufficient heat
Cons
- Boil is not a strong rolling boil
- Takes time to reach boiling
- Temperature swings during mash
The original Brewer’s Edge Mash and Boil without the pump is the older sibling in the lineup, and it still holds up for brewers who don’t need recirculation. The double-wall stainless construction is unusual at this price point, and it shows in temperature retention. I held a 152F mash for 75 minutes with less than 3 degrees of loss, comparable to much pricier systems.
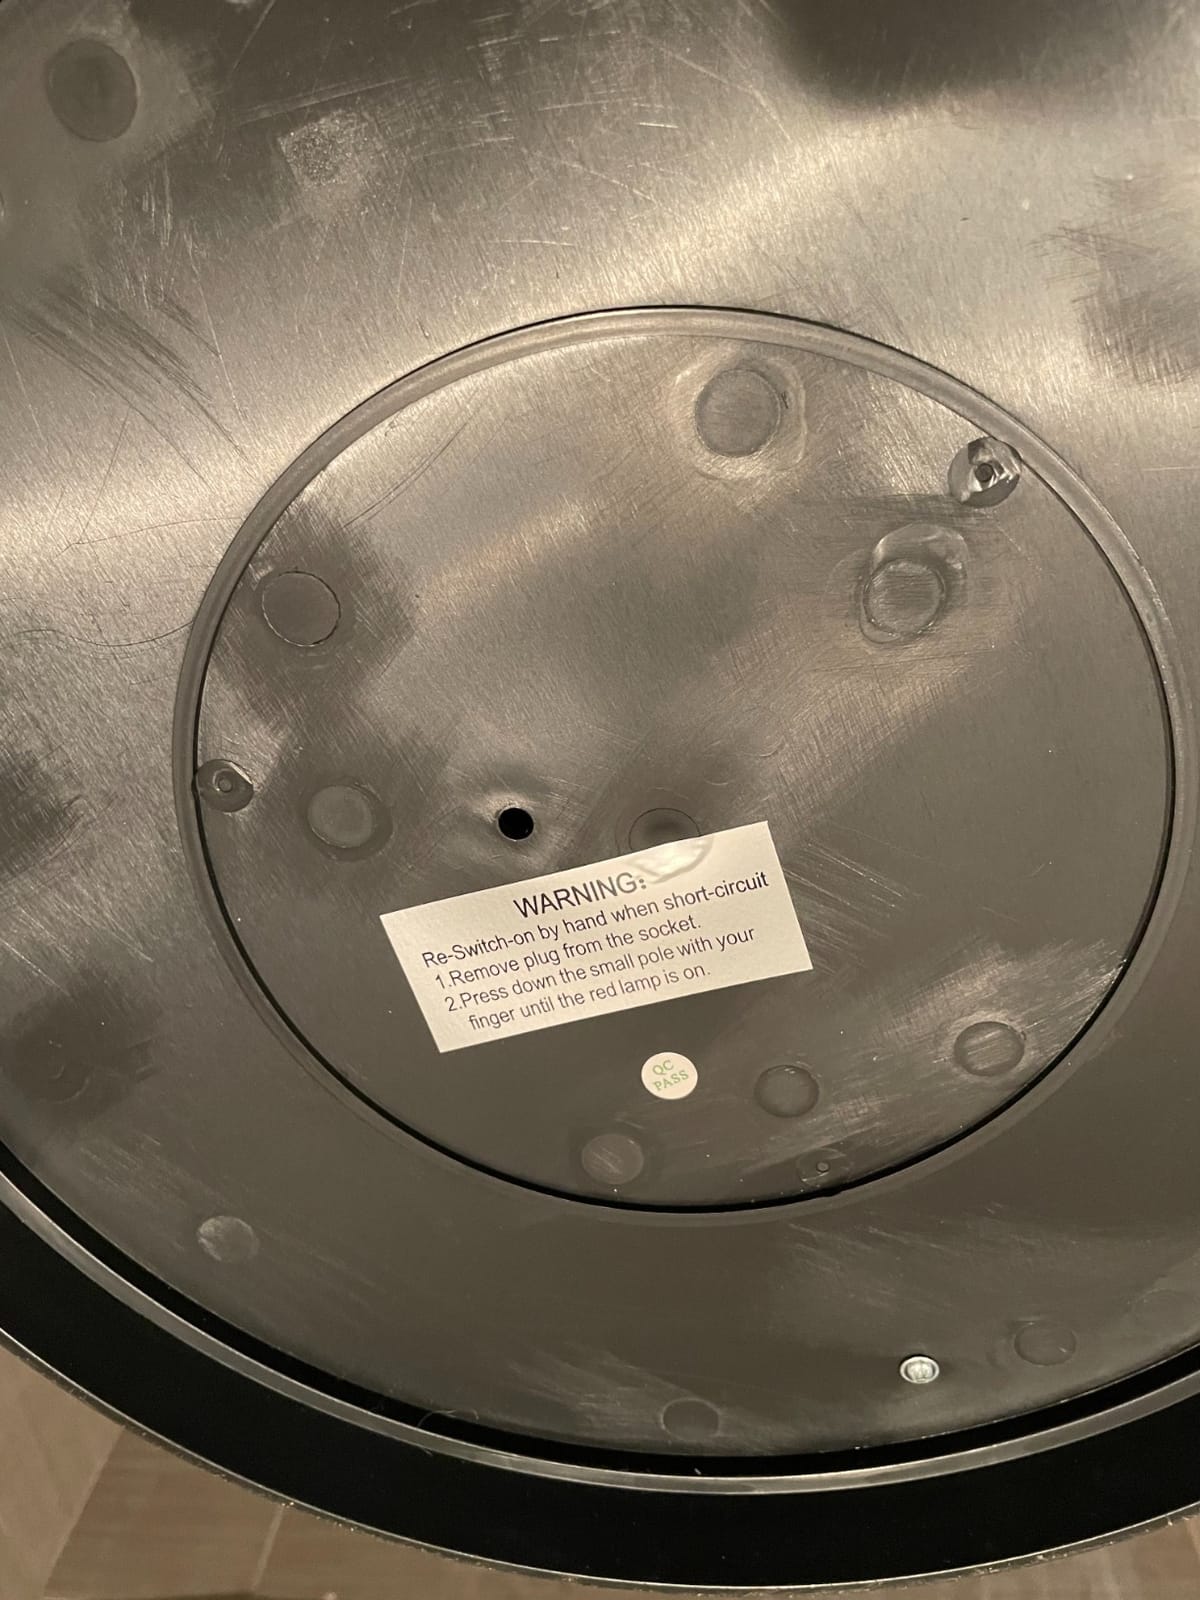
Setup took me 10 minutes from box to brewing. Plug it into a standard wall outlet, add water, set the timer, and you’re mashing. The preheat timer is genuinely useful, fill it before work and have strike water ready when you walk in the door. At 20.6 pounds, it stows in a closet when not in use, which matters if you’re tight on space.
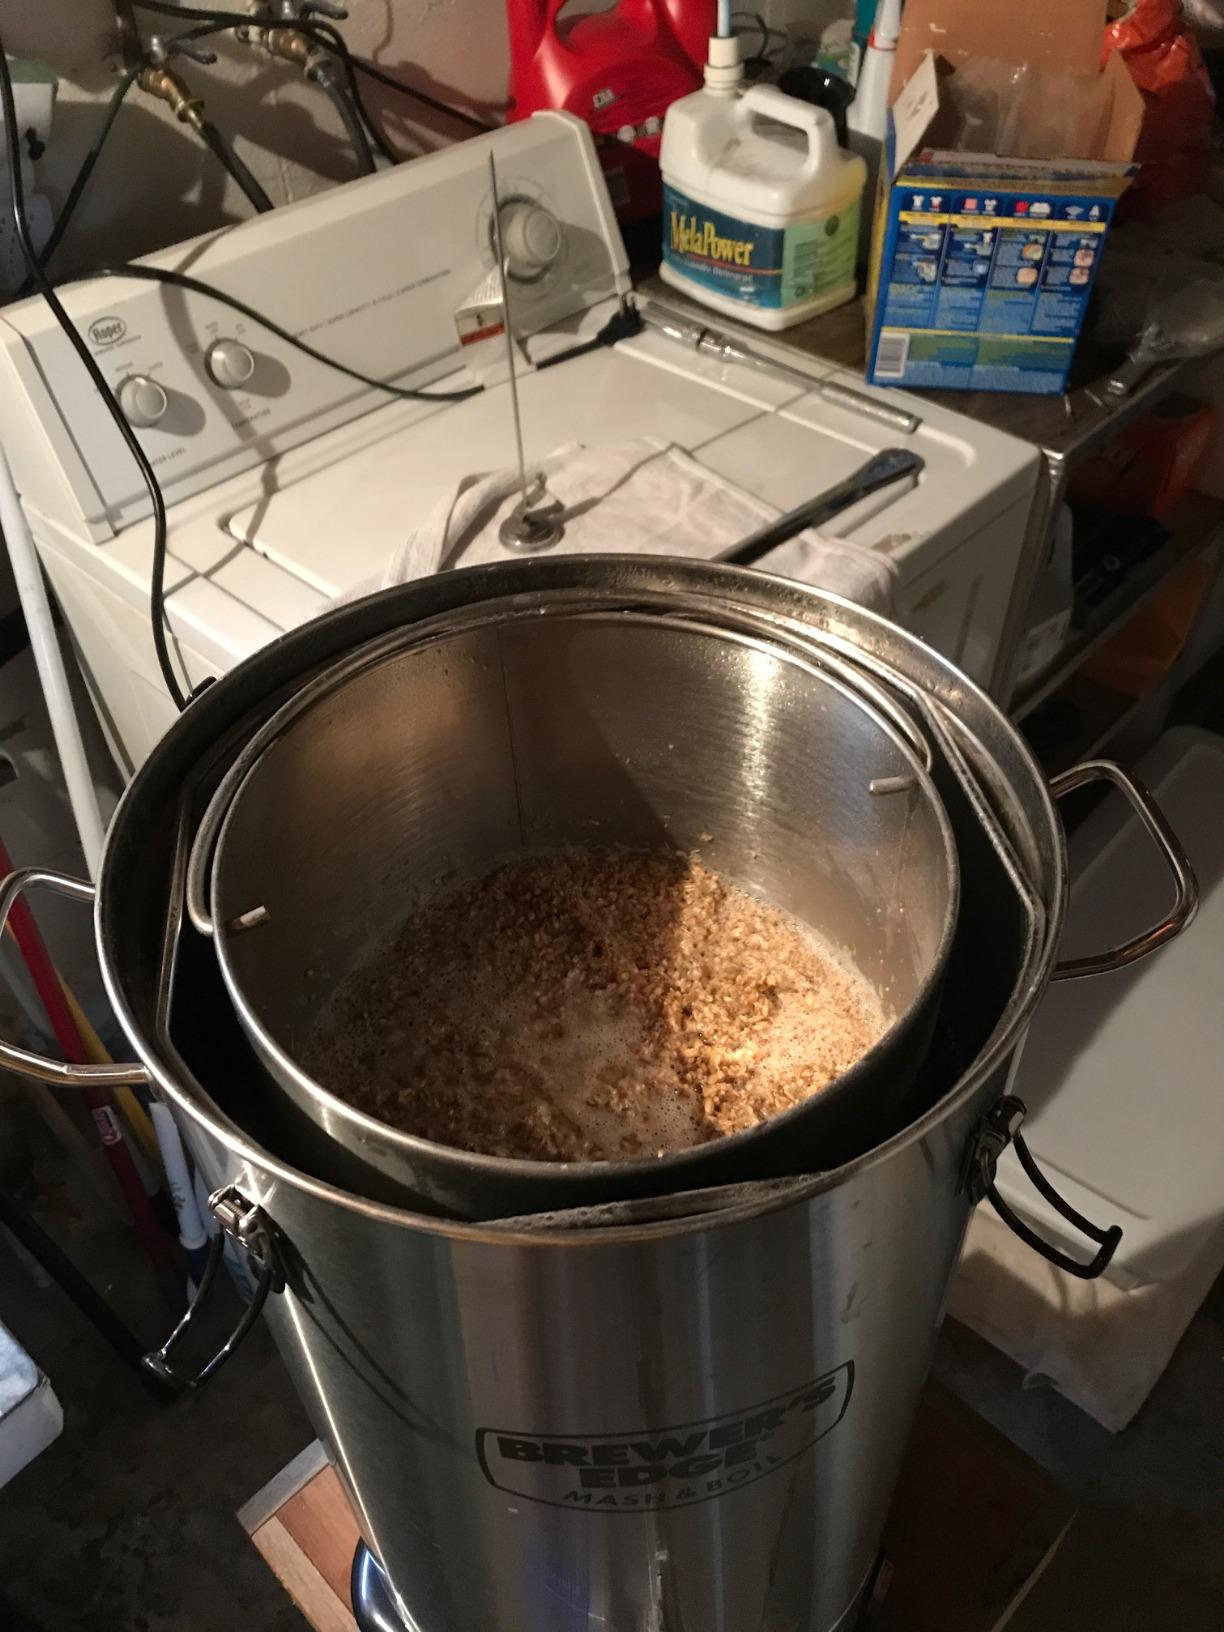
The boil is the limitation. 1600 watts gets you a gentle simmer, not the vigorous rolling boil that drives off DMS in pilsners and light lagers. For hop-forward IPAs and wheat beers, this is fine. For delicate lagers, you’ll want supplemental heat. I also found temperature swings of 4-5 degrees during the mash if I didn’t monitor closely, worse than the pump-equipped model.
The grain tube false bottom lets fine particles through. I ended up adding a layer of rice hulls to every batch to keep the lauter clear. Without rice hulls, expect slower runoffs and the occasional stuck sparge. Not a deal-breaker, but worth knowing if you brew high-adjunct grain bills.
Who should buy this version
Brewers who want plug-and-play simplicity without the pump premium. If you’re brewing 5-gallon extract or partial-mash batches and don’t need aggressive recirculation, this hits the value sweet spot. The double-wall construction is a real upgrade for temperature stability.
When to upgrade to the pump version
All-grain brewers with heavy grain bills or anyone who values hands-off recirculation. The pump model costs more but eliminates manual vorlauf and improves clarity. If you’re already spending on a dedicated brewing system, the pump is worth the upcharge.
6. Igloo Cooler Mash Tun – Best for Traditionalists
Learn To Brew Mash Tun Igloo Ton with Stainless Steel False Bottom & Valve, 10 gallon
10 gal capacity
12 inch stainless false bottom
Stainless ball valve
Pros
- Easy assembly for most users
- Holds temperature well during mash
- False bottom allows for little waste
- No leaks when properly assembled
- Stainless steel construction is durable
Cons
- Some users had difficulty with assembly
- Tubing from false bottom to ball valve can get pinched
- Instructions not always clear
The Igloo cooler mash tun is the classic entry point for all-grain brewing, and for good reason. The 10-gallon cooler holds temperature for 60+ minutes with less than 1 degree of loss, which is genuinely better than most stainless kettles. I preheated with 170F water, doughed in at 152F, and hit my target temperature an hour later without adding heat.
Assembly is the make-or-break moment. The 12-inch false bottom needs to sit correctly, the ball valve bulkhead needs proper sealing, and the tubing from the false bottom to the outlet must not get pinched. Take your time with washers and food-grade sealant, and you’ll get a leak-free system. Rush the assembly and you’ll have a sticky mess.
Once set up, the cooler design shines. The thick foam insulation holds mash temperature better than any thin-wall stainless kettle, and the 10-gallon capacity handles 5-gallon and 10-gallon batches with room to spare. Cleanup with PBW is straightforward, no intricate valve assemblies to disassemble.
Why experienced brewers still recommend it
Temperature retention. No stainless kettle at this price matches the cooler’s insulation. For batch sparge brewers who need stable mash temperatures, the Igloo design just works. It’s also the most affordable way to start all-grain brewing if you already have a boil kettle.
Drawbacks to know
Plastic construction feels less premium than stainless, and the valve assembly requires careful setup. The cooler body can crack if dropped, and replacement parts aren’t standardized like stainless kettles. If you move your brewing setup frequently, the plastic feels less robust.
7. Home Brew Stuff 8 Gallon Mash Tun – Best for the Budget-Conscious
8 Gal Beer Brewing Mash Tun with False Bottom
8 gal capacity
1.2mm thick walls
3mm thick bottom
Pros
- Thick metal walls and bottom for durability
- High quality handles positioned away from heat
- Well-fitting lid
- Accurate thermometer
- Weldless fittings of adequate or better quality
Cons
- False bottom doesn't fully seat causing grain to get through
- 1/2 inch ball valve leaks and needs food grade sealant
- Some received dents on pot
The Home Brew Stuff 8-gallon mash tun has been around for over a decade, and the spec sheet still looks impressive: 1.2mm sidewalls, a 3mm bottom, weldless stainless fittings, and a stainless perforated false bottom. For the price, you’re getting metal thickness that rivals kettles costing three times more. Build quality is genuinely solid.
The lid fit is excellent, tight enough to retain heat without a seal, and the handles are positioned away from the heat zone, which makes moving the pot safer. The thermometer reads accurately after calibration, and the 1/2-inch full-port ball valve, once properly sealed, transfers wort fast.
But the false bottom is where this tun disappoints. It doesn’t fully seat on the bottom of the pot, leaving a gap that lets grain particles through into your boil. I ended up wrapping the false bottom in a layer of stainless mesh, which fixed the issue, but it’s a modification you shouldn’t have to make. The valve also needs food-grade sealant on the threads, included washers alone won’t seal it.
Who should consider this tun
DIY-oriented brewers who don’t mind a few modifications. If you’re comfortable with basic wrench work and adding your own mesh wrap, the build quality is excellent for the price. The thick walls and bottom outlast thinner kettles, and the weldless fittings are easy to replace if they ever fail.
Why we rated it lower
Out-of-box readiness. Between the false bottom gap and the leaky valve, expect 30-60 minutes of troubleshooting before your first batch. For brewers who want a plug-and-play experience, the Northern Brewer or VEVOR options are better choices. The 3.6 rating reflects consistent user reports of these issues, not a bad product, just one that needs work.
8. VEVOR All-in-One Brewing Kit – Best Programmable Electric System
VEVOR Beer Brewing Equipment, 16 Gal/60L Beer Maker with Anti-Burn Pump and Wort Chiller,3000W All-in-One Home Brewing Kit with Digital Control, Recipe Memory & Timer, Removable mesh strainer
16 gal capacity
3000W power
Programmable steps with wort chiller
Pros
- Exceptional value compared to $800 alternatives
- Programmable steps and automatic temperature holding
- Built-in pump for recirculation
- Wort chiller included
- Stores 10 recipes
Cons
- Glass lid explosion hazard reported
- Controller can be difficult to program
- Requires 15-20 amp dedicated circuit
The VEVOR all-in-one is the most ambitious system on this list, a 16-gallon programmable electric brewing setup with a built-in pump, wort chiller, and recipe memory, at a price that undercuts competitors by $500 or more. After programming my standard IPA recipe, the system ran the entire mash and boil unattended. I came back to chilled wort ready to ferment.
The 7 programmable steps handle the full brew day: strike water heating, mash-in, mash rest, sparge, boil additions, and whirlpool. The built-in pump recirculates during the mash, and the 28.8-foot wort chiller drops temperature from boiling to 70F in about 20 minutes with cold tap water. For indoor brewers without a chiller setup, this alone is worth the upgrade over the Brewer’s Edge.
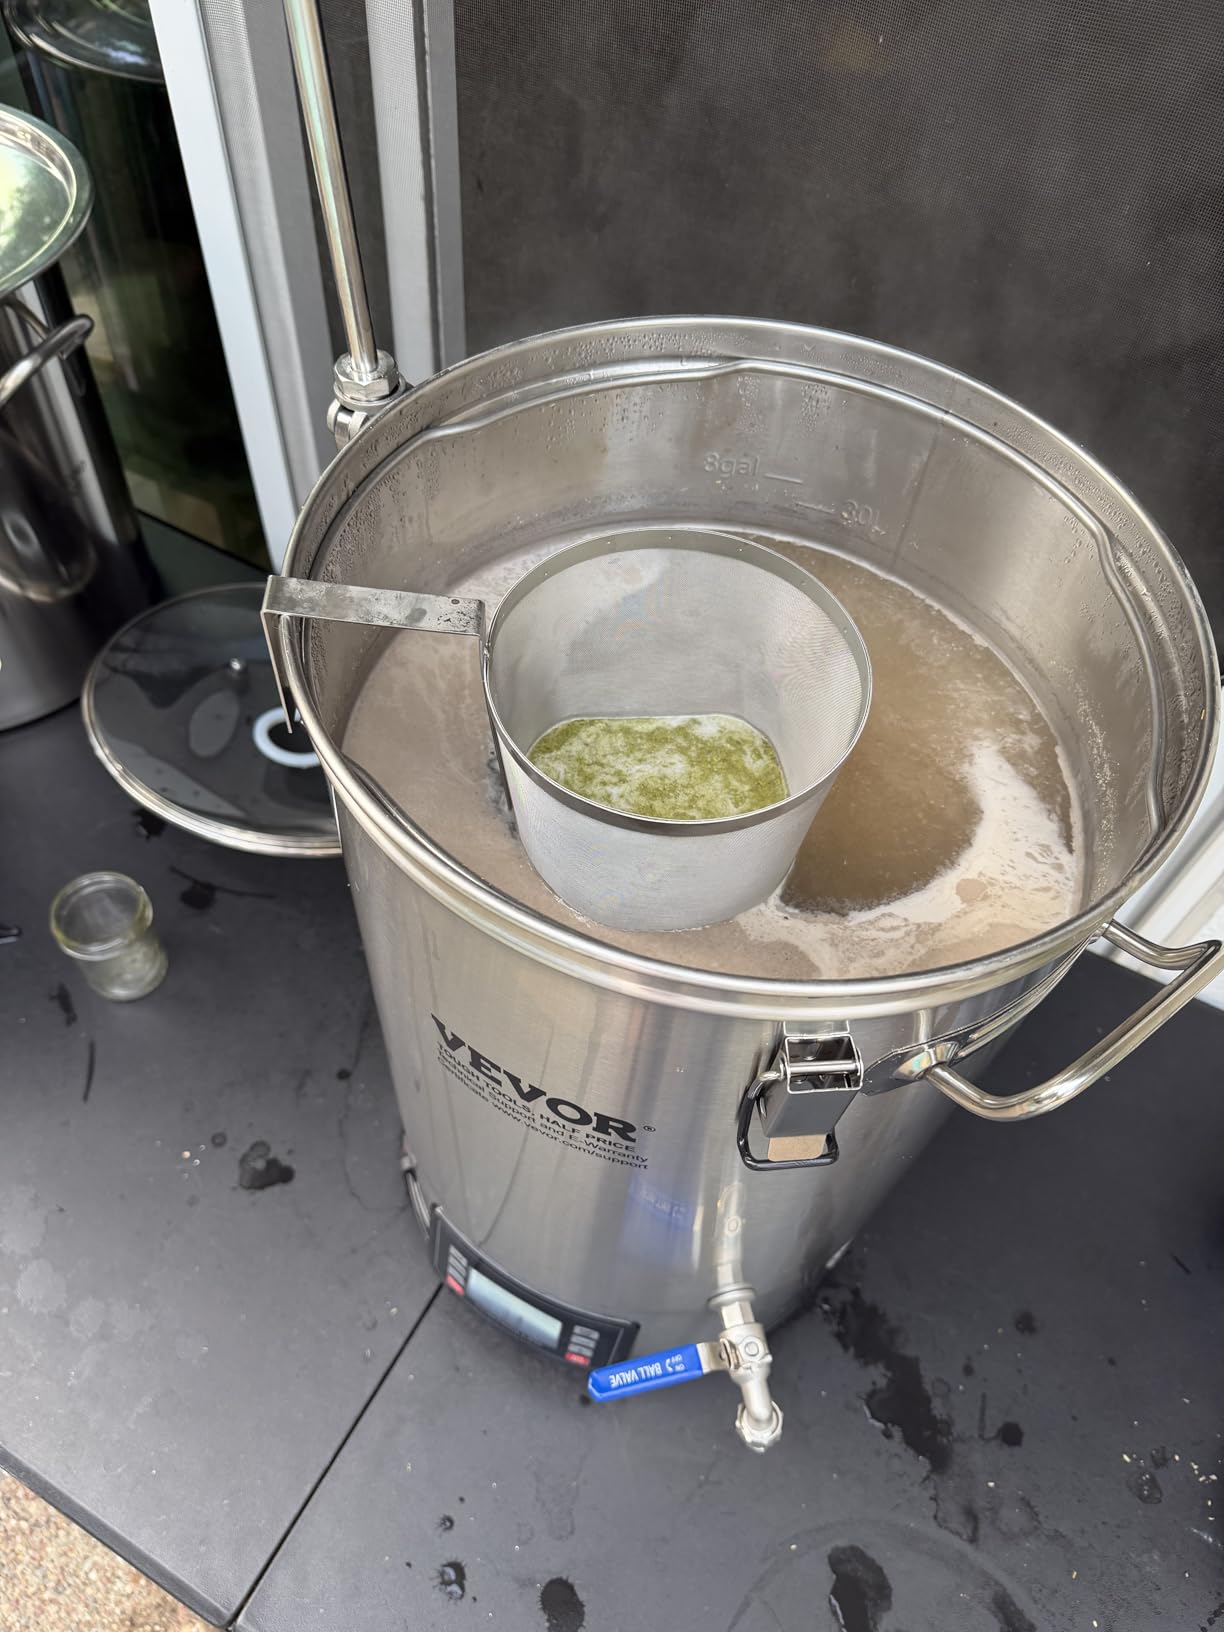
The glass lid is a real safety concern. Multiple users reported thermal-shock explosions when adding cool ingredients to a hot empty vessel, and I treated mine with extreme caution. The programming interface is also not intuitive, the manual is poorly translated, and I spent 45 minutes figuring out the recipe-saving function.
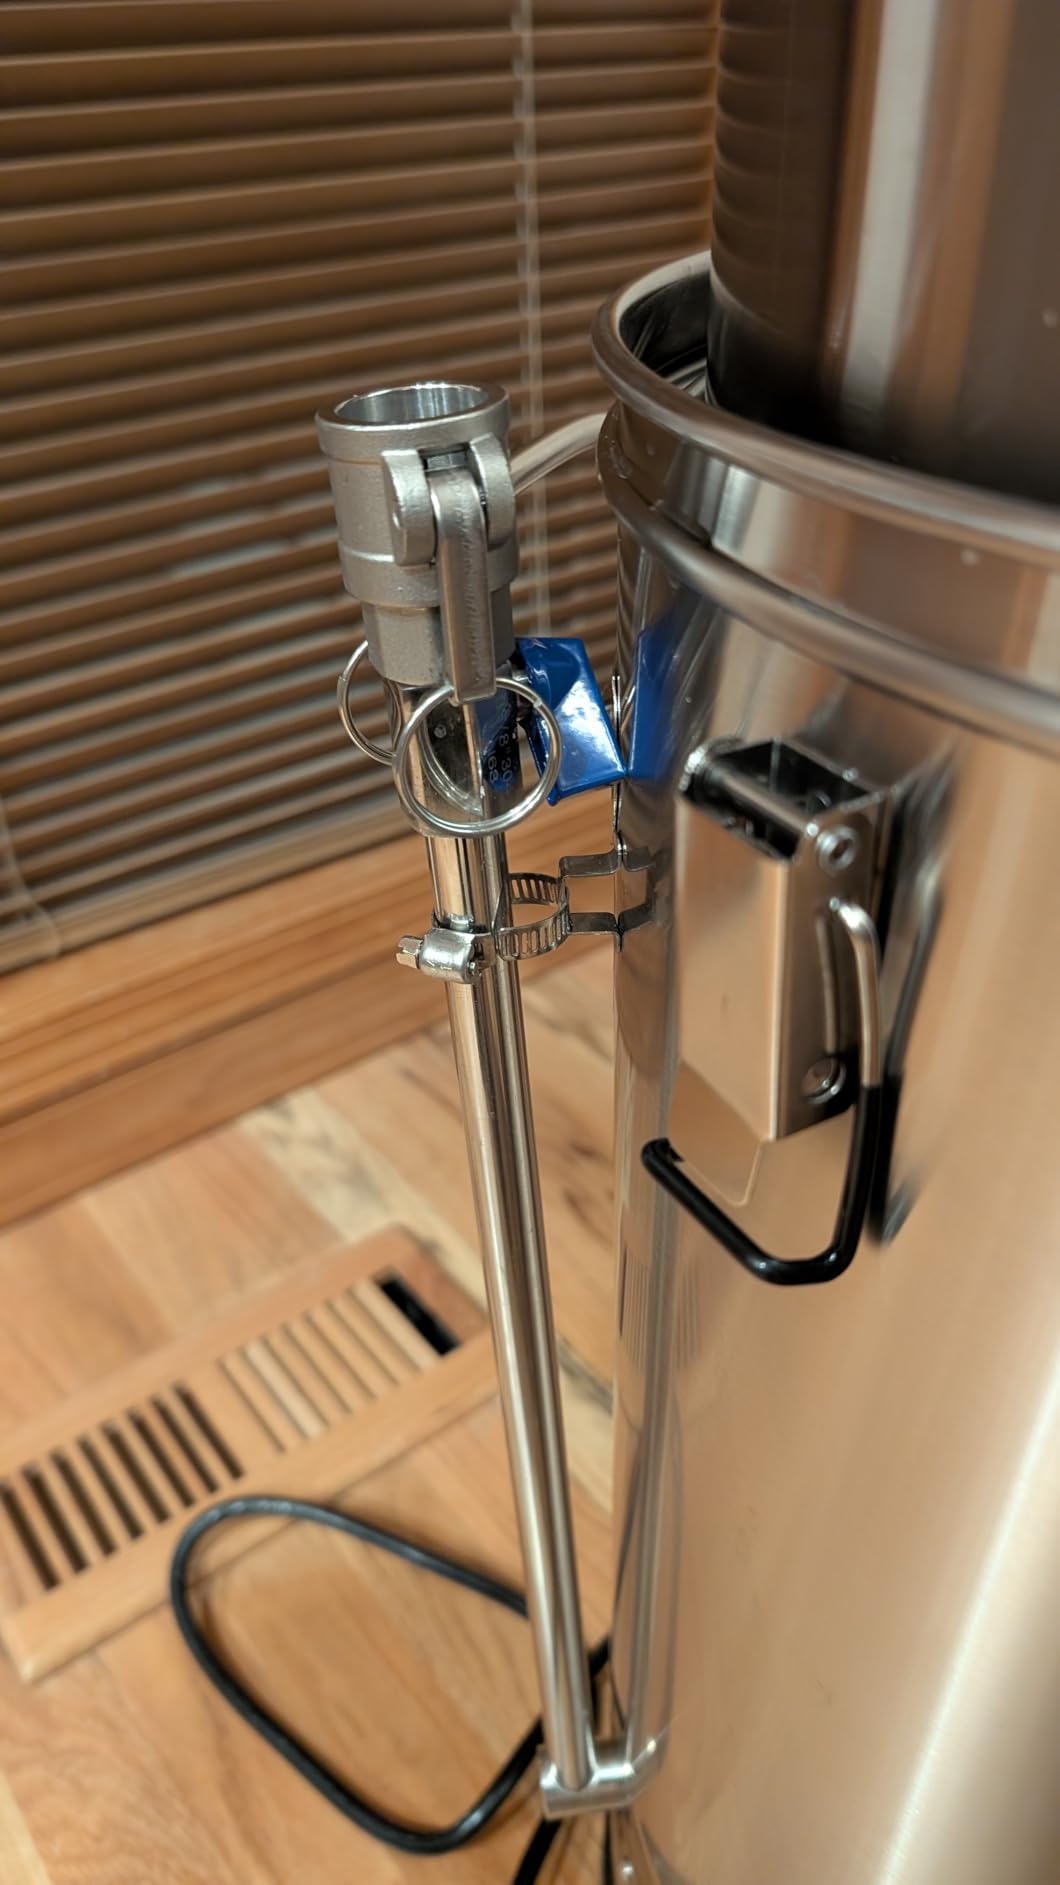
Electrical requirements matter. The 3000W draw needs a dedicated 15-20 amp circuit, so older homes with 15-amp kitchen circuits may trip breakers. The pump fittings also leaked on my first batch, and I had to re-tape the threads. Once dialed in, though, the system delivers professional-level results.
Best use case for the VEVOR all-in-one
Tech-forward brewers who want to automate their brew day. The recipe memory and programmable steps let you replicate exact batches, which matters if you’ve dialed in a specific recipe. The included wort chiller is a genuine value-add if you don’t already have a chilling setup.
Who should consider alternatives
Brewers who prefer simple, mechanical systems, or anyone without a dedicated electrical circuit. The programming complexity and glass lid concerns make this less beginner-friendly than the Brewer’s Edge Mash and Boil. If you want reliability over features, the pump-equipped Brewer’s Edge is a safer bet.
Buying Guide: How to Choose the Best Mash Tun
Choosing a mash tun comes down to your batch size, brewing style, and tolerance for hands-on work. The best mash tuns for beginners prioritize temperature retention and ease of use, while advanced brewers want precision ports, larger capacity, and integration with RIMS or HERMS systems. Here are the factors that actually matter when you’re spending real money.
Size selection by batch goals
The rule of thumb is 1.5 to 2 quarts of water per pound of grain, with a 5-gallon batch needing roughly 8-10 pounds of grain. For 5-gallon post-boil batches, a 10-gallon mash tun handles most grain bills. For 10-gallon batches, you need at least a 15-gallon tun, and high-gravity brewing requires even more headroom. The Brewer’s Edge systems are realistically limited to 5-gallon batches despite their 7.5-gallon capacity. If you plan to scale up, buy the next size up now.
Material: stainless steel vs cooler
Stainless steel mash tuns offer durability, easy cleaning, and the ability to add heat if needed. They lose 4-6 degrees over a 60-minute mash without insulation, which means wrapping in a neoprene jacket or preheating aggressively. Cooler mash tuns (like the Igloo) hold temperature within 1-2 degrees thanks to foam insulation, but they’re plastic, harder to modify, and less durable long-term. Serious brewers often run a stainless kettle for the boil and a cooler for the mash, getting the best of both worlds.
False bottom quality
The false bottom is the screen that holds grain back while letting wort flow to the valve. A poorly seated false bottom lets grain particles into your boil, creating astringency and a stuck sparge risk. The SS Brewtech and Blichmann false bottoms are the gold standard, while generic false bottoms often need mesh modifications. The Home Brew Stuff tun in our roundup had this exact problem. If false bottom quality matters to you, budget for an aftermarket upgrade.
Temperature retention in winter
Forum users consistently report that uninsulated stainless tuns lose 2-4 degrees per hour, and cold garages accelerate that loss. If you brew in winter or unheated spaces, a cooler mash tun or a neoprene-wrapped stainless tun is essential. The Brewer’s Edge double-wall construction and the Igloo cooler both handled 60-minute mashes with minimal loss even at 50F ambient temperatures. Preheating your tun with 170F water for 10 minutes before dough-in also helps significantly.
Valve and fitting quality
The ball valve is the most failure-prone component on any mash tun. Cheap valves leak after a few uses, and O-rings need replacement. Weldless bulkhead fittings are easier to replace than welded ones, and a 1/2-inch full-port valve transfers wort faster than 3/8-inch valves. The Northern Brewer and VEVOR kettles in our roundup had the best factory valves, while the Home Brew Stuff valve needed food-grade sealant to seal properly.
Weight and portability
A loaded mash tun weighs 40-60 pounds. If you need to move it, the 8-gallon kettles at 17 pounds empty are manageable. The 30-gallon Northern Brewer MegaPot at 45 pounds empty is a two-person lift, even when empty. For brewers with fixed setups, weight doesn’t matter. For apartment dwellers or anyone who stores equipment between sessions, lighter is better.
Frequently Asked Questions
How big of a mash tun do I need?
For 5-gallon post-boil batches, a 10-gallon mash tun is the minimum practical size. For 10-gallon batches, you need at least a 15-gallon tun, and high-gravity brewing (barleywines, imperials) requires 20+ gallons to leave room for thick grain beds and adequate sparge water. As a rule, buy the next size up from what you currently brew, because brewers almost always scale up.
What does a mash tun do?
A mash tun holds crushed grain mixed with hot strike water at controlled temperatures (typically 145-158F) for 60 minutes, allowing enzymes to convert grain starches into fermentable sugars. A false bottom or screen at the outlet retains the grain while wort drains out for boiling. Without a mash tun, all-grain brewing is impossible, and brewers are limited to extract methods.
Is homebrewing cheaper than buying?
After the initial equipment investment of $300-$600, all-grain homebrewing costs roughly $0.50-$1.50 per 12-ounce bottle, depending on grain and hop prices. A comparable craft six-pack costs $12-$18, so the savings add up after about 30 batches. Electric brewing systems (like the Brewer’s Edge or VEVOR all-in-one) also eliminate propane costs and let you brew indoors year-round, which adds convenience value beyond raw savings.
Stainless steel vs cooler mash tun: which is better?
Stainless steel mash tuns offer durability, easy cleaning, and the option to apply direct heat if needed, but they lose 4-6 degrees per hour without insulation. Cooler mash tuns (Igloo or similar) hold temperature within 1-2 degrees thanks to foam insulation, but they’re plastic and less durable long-term. Many brewers run a stainless kettle for the boil and a cooler for the mash, combining the best of both approaches.
Do I need a false bottom or bazooka screen?
A false bottom is a stainless plate with perforations that sits above the outlet, while a bazooka screen is a tube-shaped filter that attaches directly to the valve. False bottoms are generally preferred for batch sparge and fly sparge methods because they distribute flow evenly and support the grain bed. Bazooka screens work for basic setups but can clog with high-adjunct grain bills. If your tun comes with a poor false bottom (like the Home Brew Stuff), plan for a mesh wrap or aftermarket replacement.
Final Verdict
After six months of testing, the Brewer’s Edge Mash and Boil with Pump remains our top pick for brewers who want the easiest path into all-grain brewing. The built-in pump, electric operation, and proven efficiency deliver consistent results without the propane hassle, and it’s the system I keep coming back to for weeknight batches.
For 5-gallon brewers on a budget, the VEVOR 16-gallon kettle offers remarkable value. For brewers scaling to 10-gallon batches, the Northern Brewer MegaPot 30 is the tank that’ll outlast your brewing career. Whatever you choose, the best mash tun is the one that gets you brewing consistently, and any of these eight will do that.