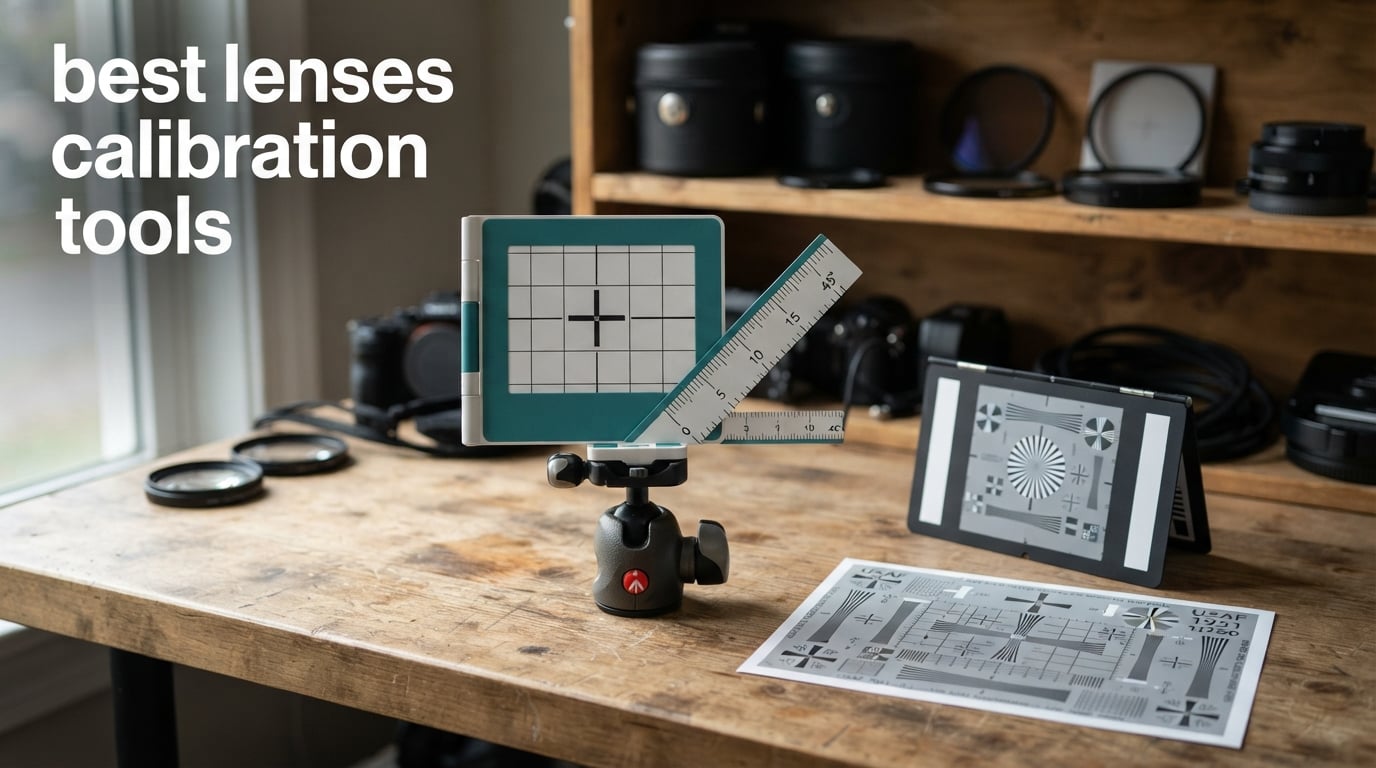
If your autofocus consistently lands a little in front of or behind the point you aimed at, the answer is not a new camera body. It is a small physical target that lets you measure the focus error and cancel it out with the adjustment menu your camera already has. That is what a lens calibration tool is, and picking the right one for your lenses is the subject of this guide.
First, a bit of housekeeping. Search results for this topic are polluted with display colour calibrators, colorimeters and grey cards. Those tools fix what a monitor shows you. A lens calibration tool fixes where your camera decides to place the focal plane, and none of the colour devices in that carousel will touch your autofocus. The six picks below are the real thing.
We narrowed the field to the best lenses calibration tools that give you a usable focus reference and pair with an AF fine tune or micro-adjustment menu. For each one we worked from the specification data, the aggregate owner reviews and the failure modes buyers actually report. Where a listing has almost no owner feedback, we say so rather than dressing it up as a proven winner. I also lean heavily on what working photographers report on long-running forum threads, because the useful detail in this niche is rarely on the product page. The buying logic here is the same one we use for rotary tools: the hardware decides the result, the packaging does not.
Table of Contents
Top 3 Best Lens Calibration Tools for Autofocus Accuracy in 2026

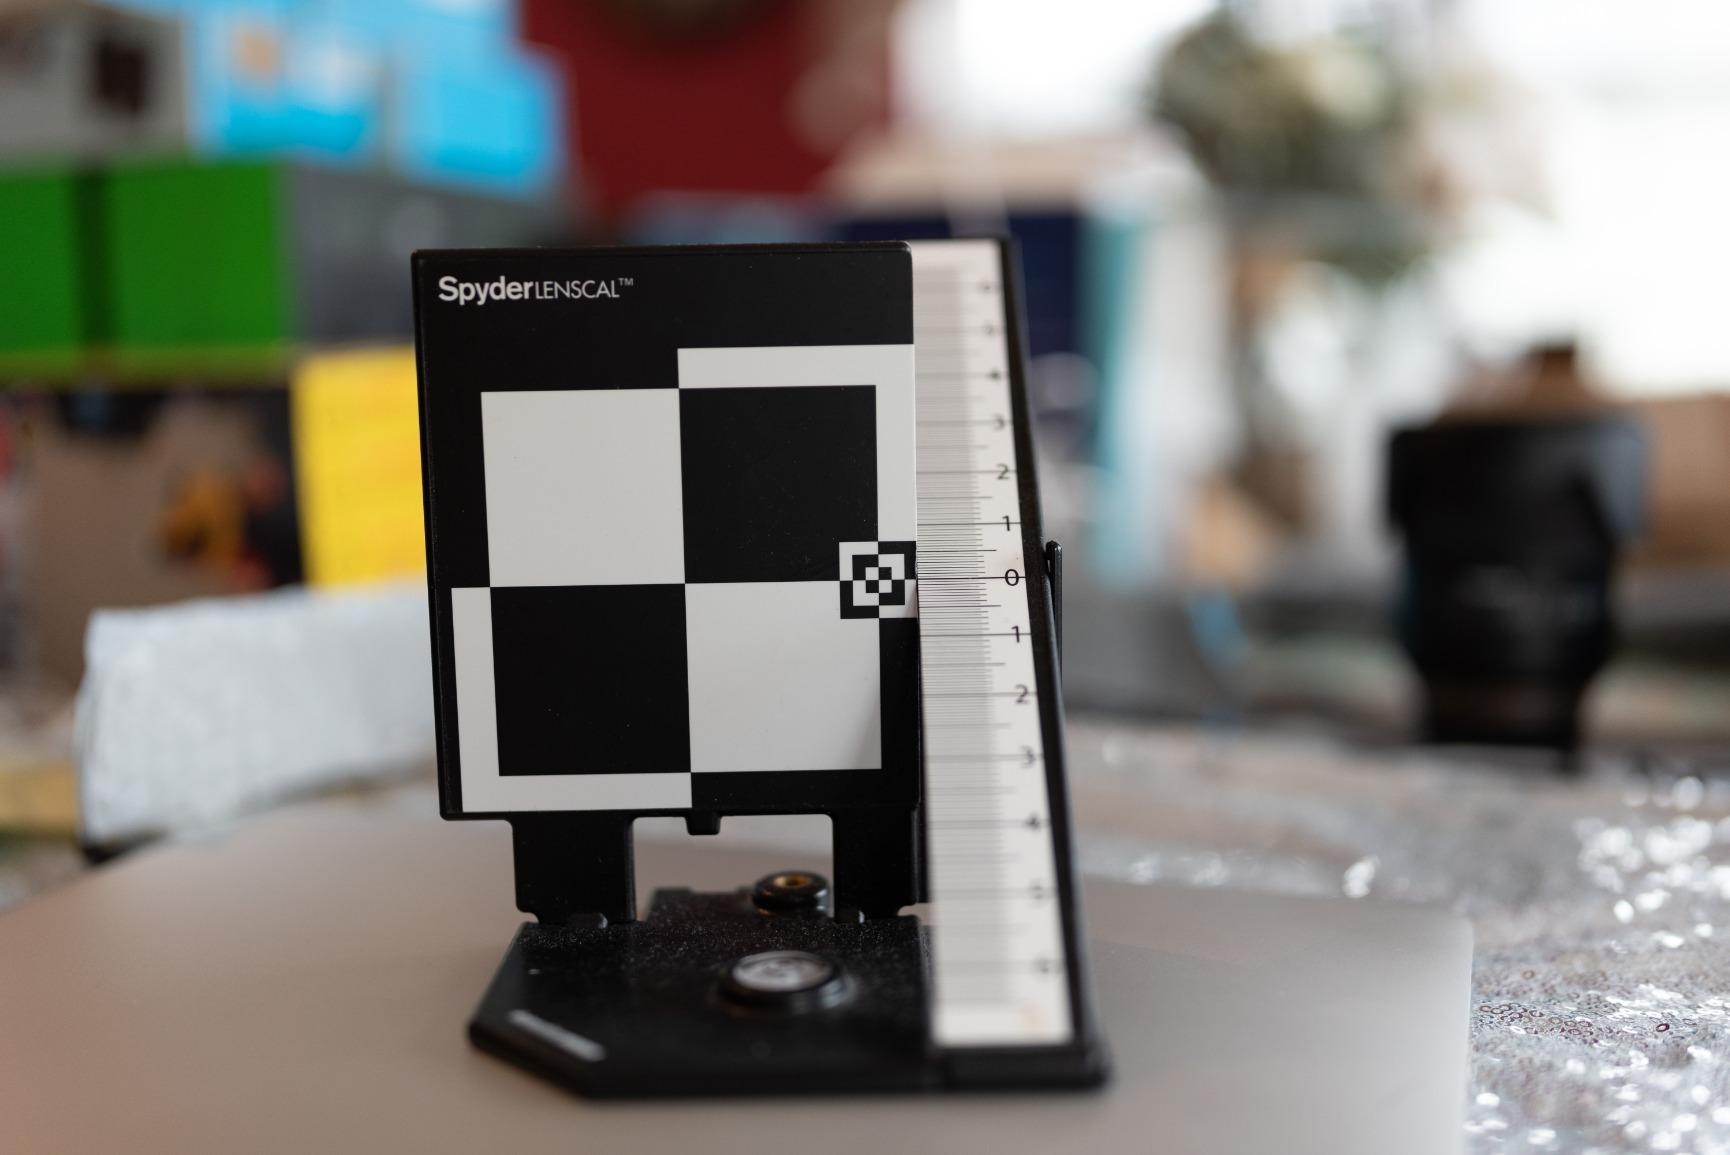
Datacolor SpyderLensCal SLC100
- Integrated spirit level for squaring the target
- Brass tripod insert for repeatable mounting
- Folds flat for camera bag transport
- Works with Canon
- Nikon
- Sony
- Olympus and Pentax AF menus
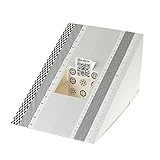
DSLRKIT Folding Focus Ruler
- Angled ruler gives a direct read on focus error
- Maps to Nikon AF Fine Tune and Canon/Sony micro adjustment
- 19 x 12.3 cm folding card
- Two cards in the pack

DGK Color Tools Chrome SD Chart
- Silkscreened high resolution line work
- 11-step grayscale and colour targets
- Hyperfine line and siemens star patterns
- Three charts per pack for a larger test field
The SpyderLensCal wins here on repeatability, not on price. Its integrated level and brass insert are the difference between a measurement you trust and one you repeat three times. The DSLRKIT card does the same job for a fraction of the outlay and, at nearly three thousand owner reviews, has more field history behind it than anything else in this category. The DGK chart earns its place for a different job entirely: judging resolving power rather than focus offset.
All Six Picks Compared in September
| Product | Specifications | Action |
|---|---|---|
| Datacolor SpyderLensCal SLC100 |
|
Check Latest Price |
| DSLRKIT Folding Focus Calibration Ruler |
|
Check Latest Price |
| DGK Color Tools Chrome SD Test Chart |
|
Check Latest Price |
 ARTIBETTER Focus Calibration Card ARTIBETTER Focus Calibration Card |
|
Check Latest Price |
| NUOBESTY Camera Focus Test Chart |
|
Check Latest Price |
 Wintersweetex Chessboard Focus Calibrator Wintersweetex Chessboard Focus Calibrator |
|
Check Latest Price |
Three of these six are purpose-built for camera autofocus. Two are general test charts that a photographer can use but that were designed for installers and maintenance work. One is a niche board for film and projector alignment. We review all six because you will encounter all of them, but we are honest about which ones actually belong in a camera bag.
What a Lens Calibration Tool Actually Is
A lens calibration tool is a physical target, usually a high-contrast focus point paired with an angled ruler or scale, that lets you measure whether your camera and lens are focusing in front of or behind the subject so you can correct it with the AF micro-adjustment menu built into your body.
How it works is simpler than it sounds. The target sits at a slight angle relative to the camera, so different parts of the print are a few centimetres further away than others. When the lens autofocuses, the sharpest point in the file will be the zero mark if the system is in tune. If the sharpest point sits toward the near end, you have back focus. If it sits toward the far end, you have front focus. The size of the offset tells you how many steps to enter, and in which direction.
Why does it happen at all? Every lens and every body is manufactured inside a small tolerance, and a lens that is slightly out of spec on a body that is also slightly out of spec can end up as a combination that misses focus. Long glass shot wide open is where you notice it, because depth of field is too thin to hide the error. A fast 600mm at f/2 can show a focus error that a 35mm at f/5.6 would never reveal.
One correction to the standard advice. You are not calibrating a lens. You are calibrating a lens and body combination, stored in that body’s memory, and the same lens on a different body usually needs a different number. There is also a difference between what we are doing here and collimation, which is the mechanical alignment of a lens internal to itself. Collimation is a workshop job involving a laser or an optical collimator. Focus calibration is a user adjustment that lives in a menu and takes twenty minutes.
1. Datacolor SpyderLensCal SLC100 – The Most Repeatable Setup
Datacolor SpyderLensCal Autofocus Calibration Tool for DSLR Cameras
Folding autofocus target
Integrated spirit level
Brass tripod insert
Pros
- Folds flat and disappears into a camera bag
- Integrated level and brass insert make setup repeatable
- Solid moulded construction that will not sag
- Resolves real front and back focus error on fast glass
Cons
- Moulded ruler arm feels less substantial than the outlay suggests
- Zoom lenses need calibrating separately at each focal length end
- Zero mark is harder to read at stopped-down apertures
This is the one I keep reaching for. The target clamps to a light stand or a tripod head through a brass insert, and the built-in spirit level removes the single most common source of measurement error, which is a target that is not square to the sensor. Square the target properly and the number on the scale means something. Get it slightly out and every reading is noise.
At four ounces and folding flat, it disappears into a camera bag. That matters more than it sounds, because a tool you leave at home is a tool you never use when a lens starts hunting. My rule is that anything I might need in a hurry lives in the bag, and this one qualifies.
Owners report the biggest wins on third-party zoom glass, which is exactly where the tolerance stack tends to be worst. A Tamron or Sigma zoom paired with a Canon body is a classic combination for a small back-focus error that shows up at f/2.8 and disappears at f/8. The tool gives you a number, and the number is what you enter.
The honest criticism, repeated often enough to be worth stating plainly, is value for money. A small moulded plastic ruler that folds flat is a modest object, and several owners say it feels cheaper than the price suggests. My counterpoint is that you are not buying plastic. You are buying the level, the insert and the fold, and there is no folding target with those three features at a tenth of the outlay.
It also covers a long list of bodies, with Canon, Nikon, Sony, Olympus and Pentax autofocus adjustment supported across a wide model range. The limitation that catches people out is zooms. A zoom needs a separate entry at the wide end and another at the tele end, and the menu only stores so many combinations before you start overwriting entries you care about.
Is the setup repeatable enough to trust?
Yes, and that is the whole reason it earns the top slot. The level handles squaring, the insert handles height, and the card gives you a consistent zero mark. Repeat the same body and lens combination twice and you will land on the same number, which is the only property that makes calibration worth doing at all.
The repeatability also survives a change of location, which a freehand method does not. Take the tool to a different table, set it up in a different room, and the result still matches. If you are ever worried about a lens drifting, a tool that gives a stable number is how you know whether the drift is real or imagined.
Who should skip this one
If you shoot mirrorless with on-sensor phase detection autofocus, this tool is close to irrelevant. Modern mirrorless bodies rarely need focus calibration, and a user with a recent body may be solving a technique problem with a hardware purchase. Our advice for most mirrorless shooters is to run the free tests first and buy nothing.
It is also the wrong spend if you only own one body and one short focal length zoom, where depth of field covers small focus errors. It earns its place when you have fast primes, telephoto glass, or more than one body competing for the same lens.
2. DSLRKIT Folding Focus Calibration Ruler – The One Most People Should Buy
DSLRKIT Lens Focus Calibration Tool Alignment Ruler Folding Card,Pack of 2
Angled ruler card
19 x 12.3 cm
Two cards per pack
Pros
- Cheapest reliable way to see if a lens is front or back focusing
- Angled ruler gives a direct read on the focus offset
- Maps cleanly onto Nikon
- Canon and Sony menus
- Two cards allow testing a second combination
Cons
- Card is light and needs weighting or support to stop flutter
- Card stock is not as precisely registered as a moulded target
- Not ideal for high contrast focus testing in low light
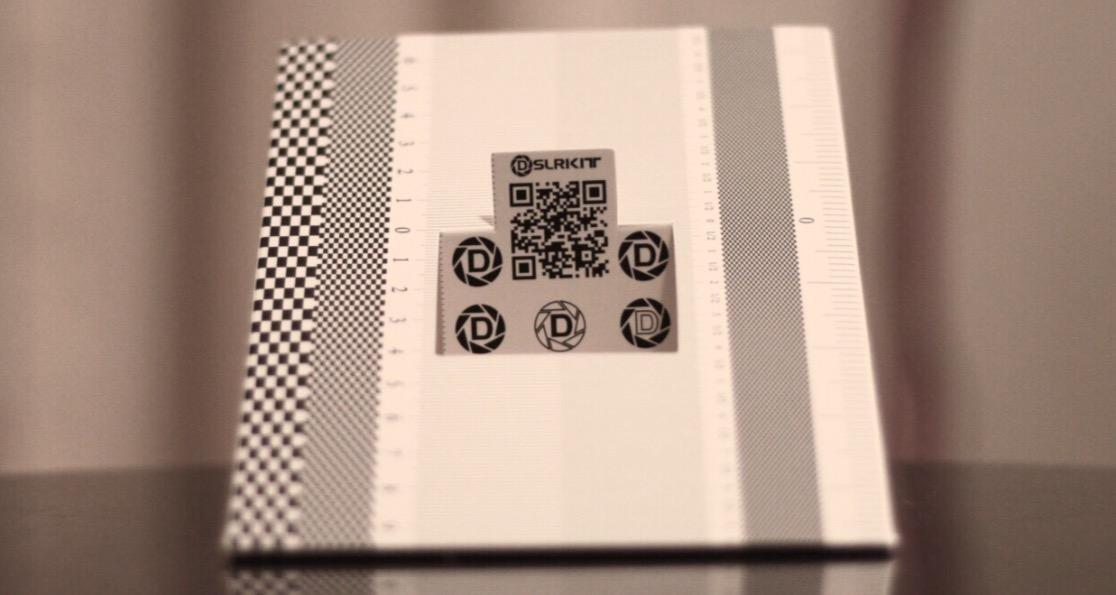
Nearly three thousand owner reviews make this the most field-tested tool in the category, and the price makes it the least risky entry point. The design is simple: a card that folds along a hinge so it stands up on a table or a light stand, with a printed scale running at an angle and a zero mark in the middle. You mount the camera, focus, zoom to 100 percent, and read which line came into focus.
The angled scale is the part that makes it work. Because the print recedes away from the camera as it crosses, focus is sharp at one point only, and where that point falls relative to zero is your error. It maps directly onto Nikon AF Fine Tune and onto Canon and Sony micro adjustment, and the card lists those three mount families as compatible.
Reviews treat it as an accurate-enough reading rather than a laboratory measurement, which is the correct expectation. Nobody buys this expecting micron precision. They buy it because it converts a vague suspicion that focus is slightly off into a specific number, and for most photographers that is the whole job.
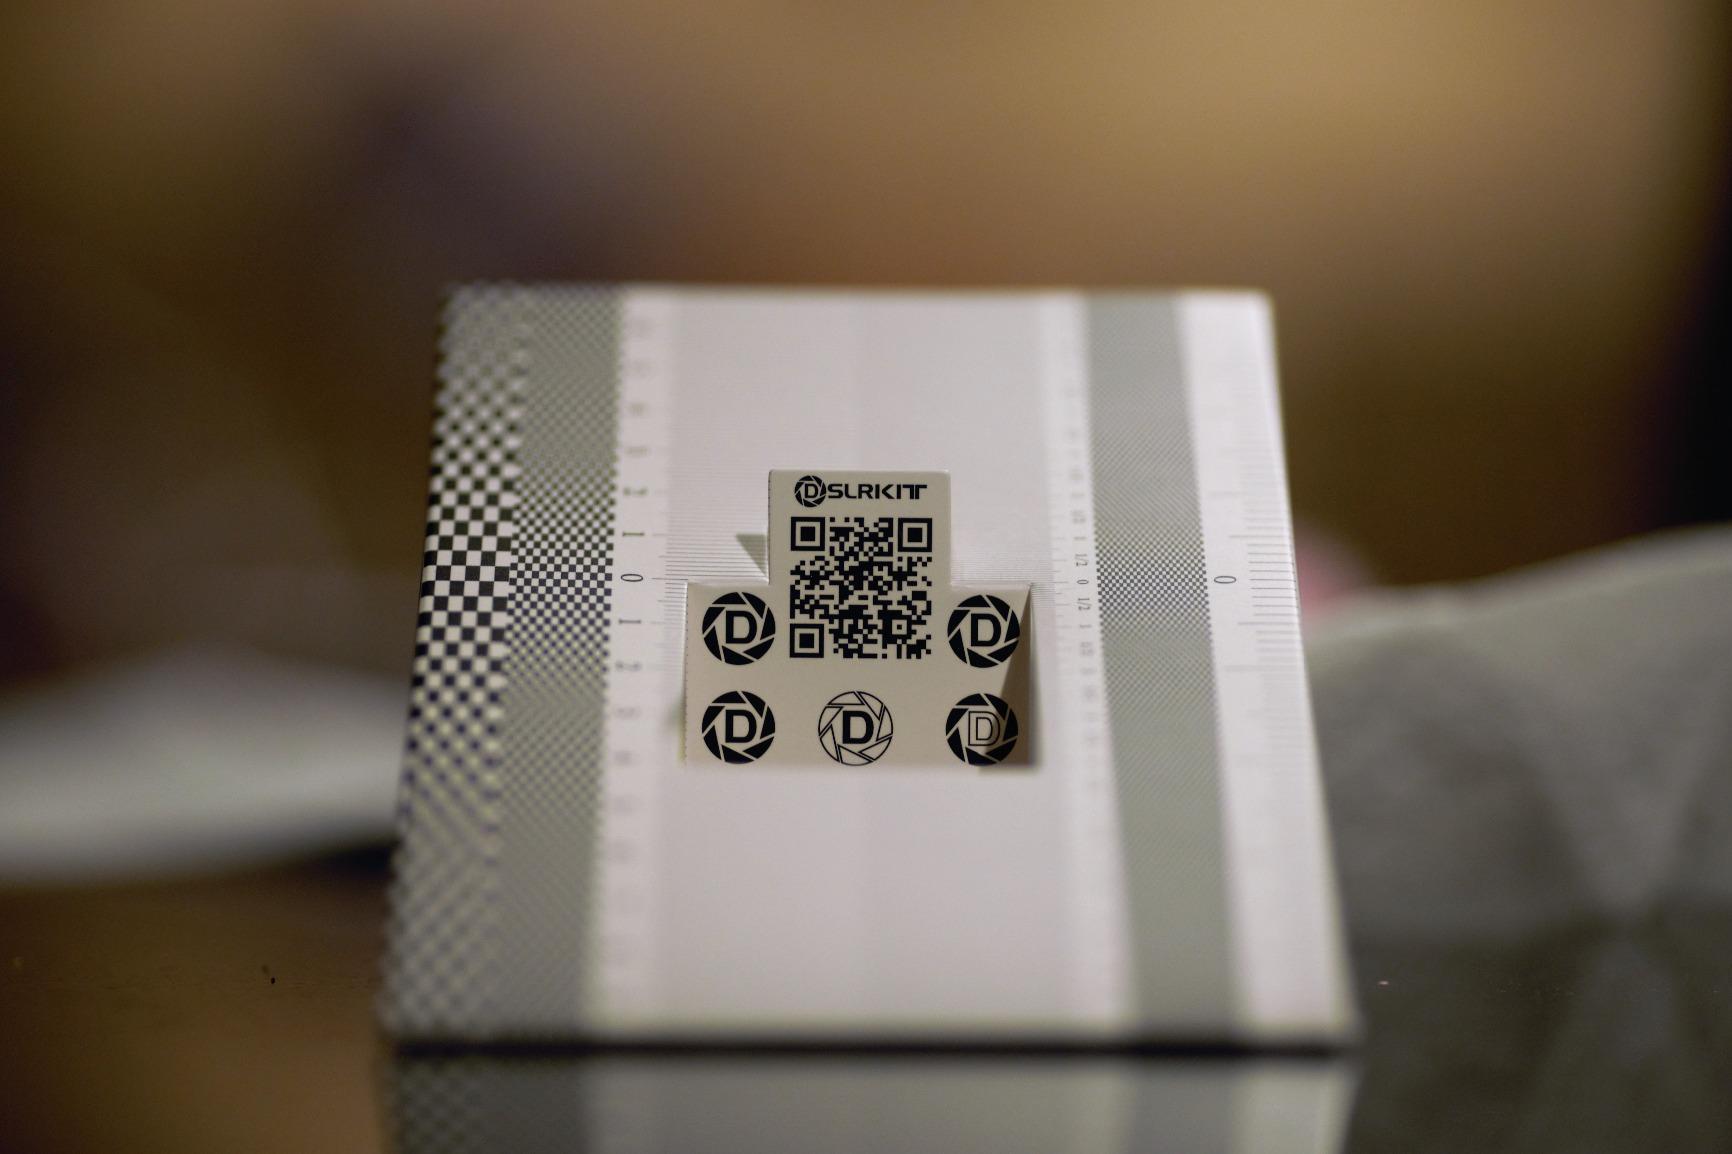
The most common owner advice is about the card itself rather than the technique. It is thin and light, so it needs to be held flat against something solid or weighted at the base. If it flutters, the reading is worthless. Several owners run it on a light stand or prop it against a wall, and the ones who skip that step are the ones who report readings that change between attempts.
Can a printed card replace a moulded target?
For measuring focus offset, yes, provided the card is held flat and square. The print registration is described as adequate rather than excellent, and the printed lines are not as crisp as a moulded ruler, but the geometry of the measurement does not change. This is the same conclusion experienced users reach on photography forums, where the target hardware rather than bundled software is what people argue about.
The card loses ground in one specific area. If you are testing in poor light or want high contrast between the focus lines and the background, a small printed card can struggle where a larger moulded target does not. It is also worth noting that plenty of experienced users never touch the bundled software at all and type the values in by hand, which is the faster and more transparent workflow.
Who should skip this one
Skip it if you need a genuinely large target for very long lenses measured at long distances, where the target needs to subtend enough of the frame for the focus lines to be resolvable. At that point you are looking for a bigger board rather than a folding card.
Also skip it if you will not put in the effort to square and support it. A badly mounted cheap tool is worse than no tool, because it gives you a confident wrong number. If your workflow is chaotic and you want a device that enforces correct setup for you, the moulded option above is the better spend.
3. DGK Color Tools Chrome SD Lens Test Chart – Best for Judging Sharpness
DGK Color Tools High Resolution 8.5×11 Chrome SD Lens Test Chart, 3-P
8.5 x 11 inch silkscreened chart
11-step grayscale ramp
Three per pack
Pros
- Genuine silkscreen with sharp and clean line work
- Honest about its resolution rather than overstating it
- Grayscale and colour ramps in one card
- Three packs let you build a larger test field
Cons
- Mounted on thin cardboard that can flex
- Small colour patches are not reliable for colour-critical matching
- Print resolution means fine detail needs magnification
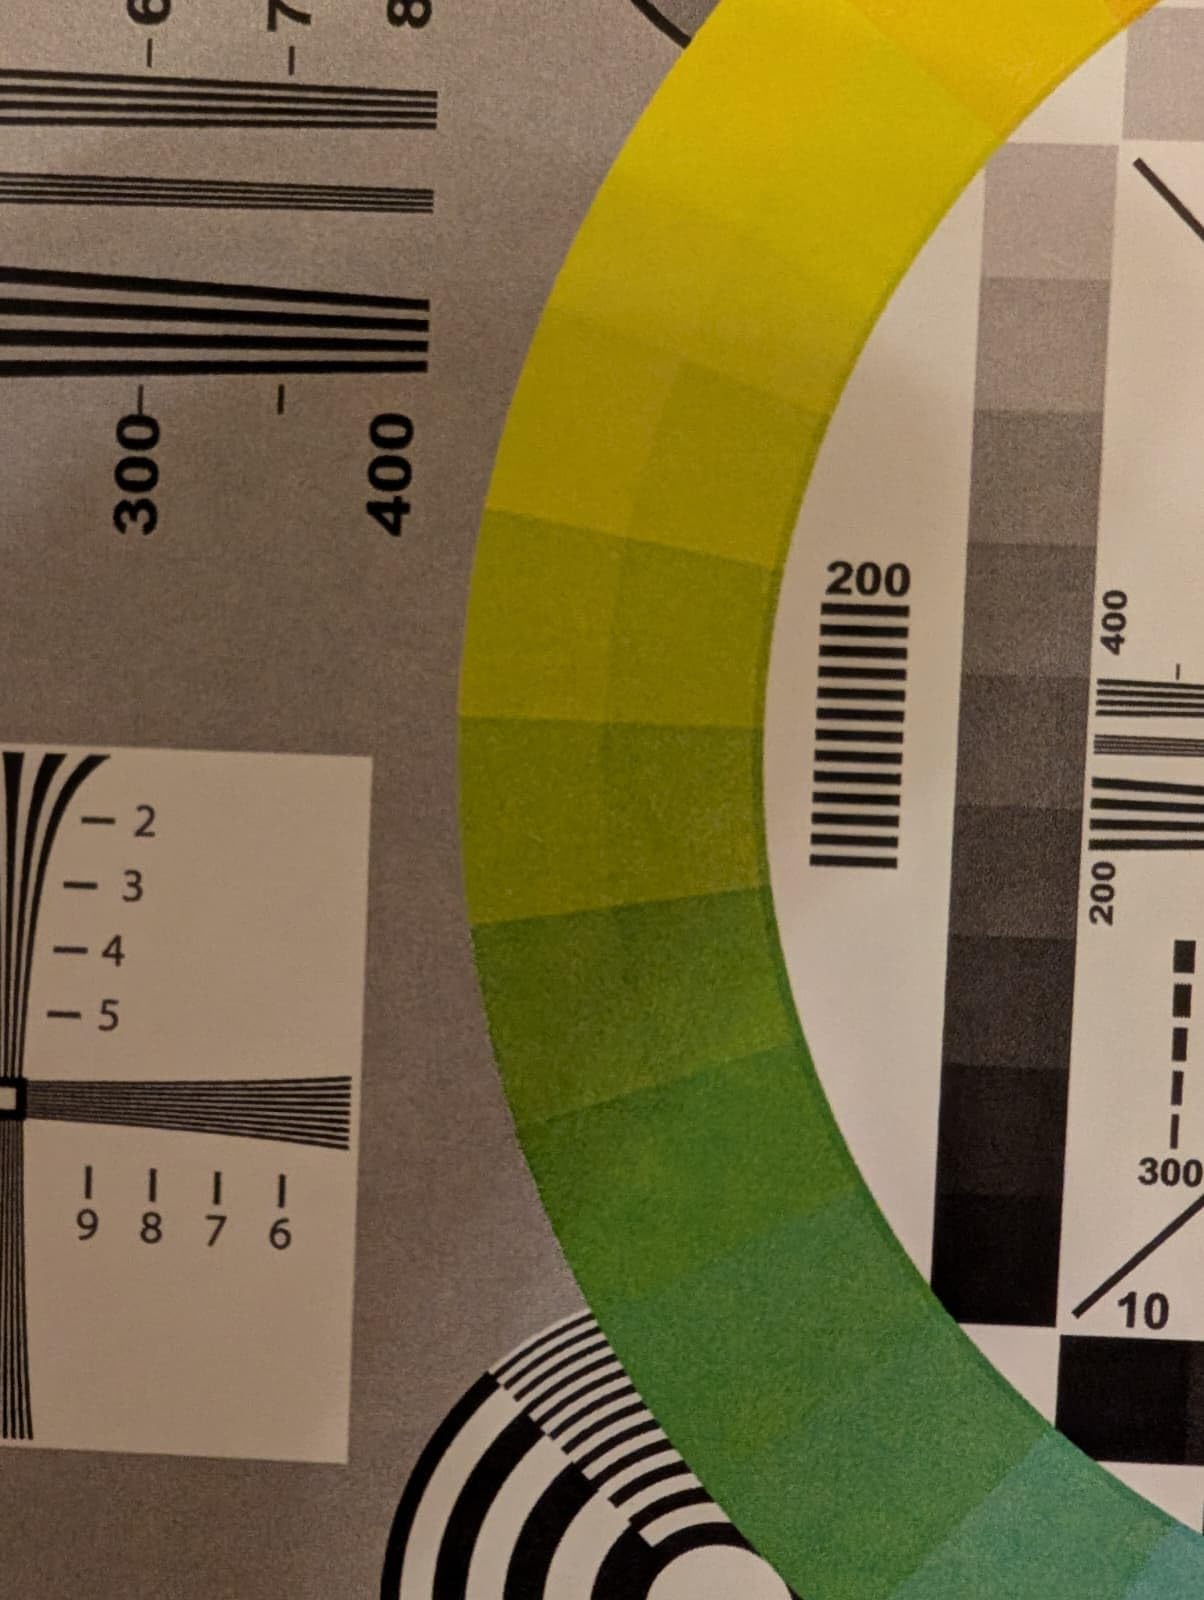
This chart solves a different problem from the two above. Where a focus ruler answers the question of where the lens focused, this answers whether the lens is resolving what it should. The hyperfine line pairs and the siemens star patterns show you the point where a lens starts to break down, and combined with the 11-step grayscale ramp you get a much fuller picture of optical performance.
The print is a real silkscreen rather than an inkjet, and owners consistently note that the line work is clean and that the chart is honest about roughly 800 dpi rather than claiming more. For a hobbyist judging lens performance or testing manual-focus glass, that is a genuinely useful reference at a very modest outlay.
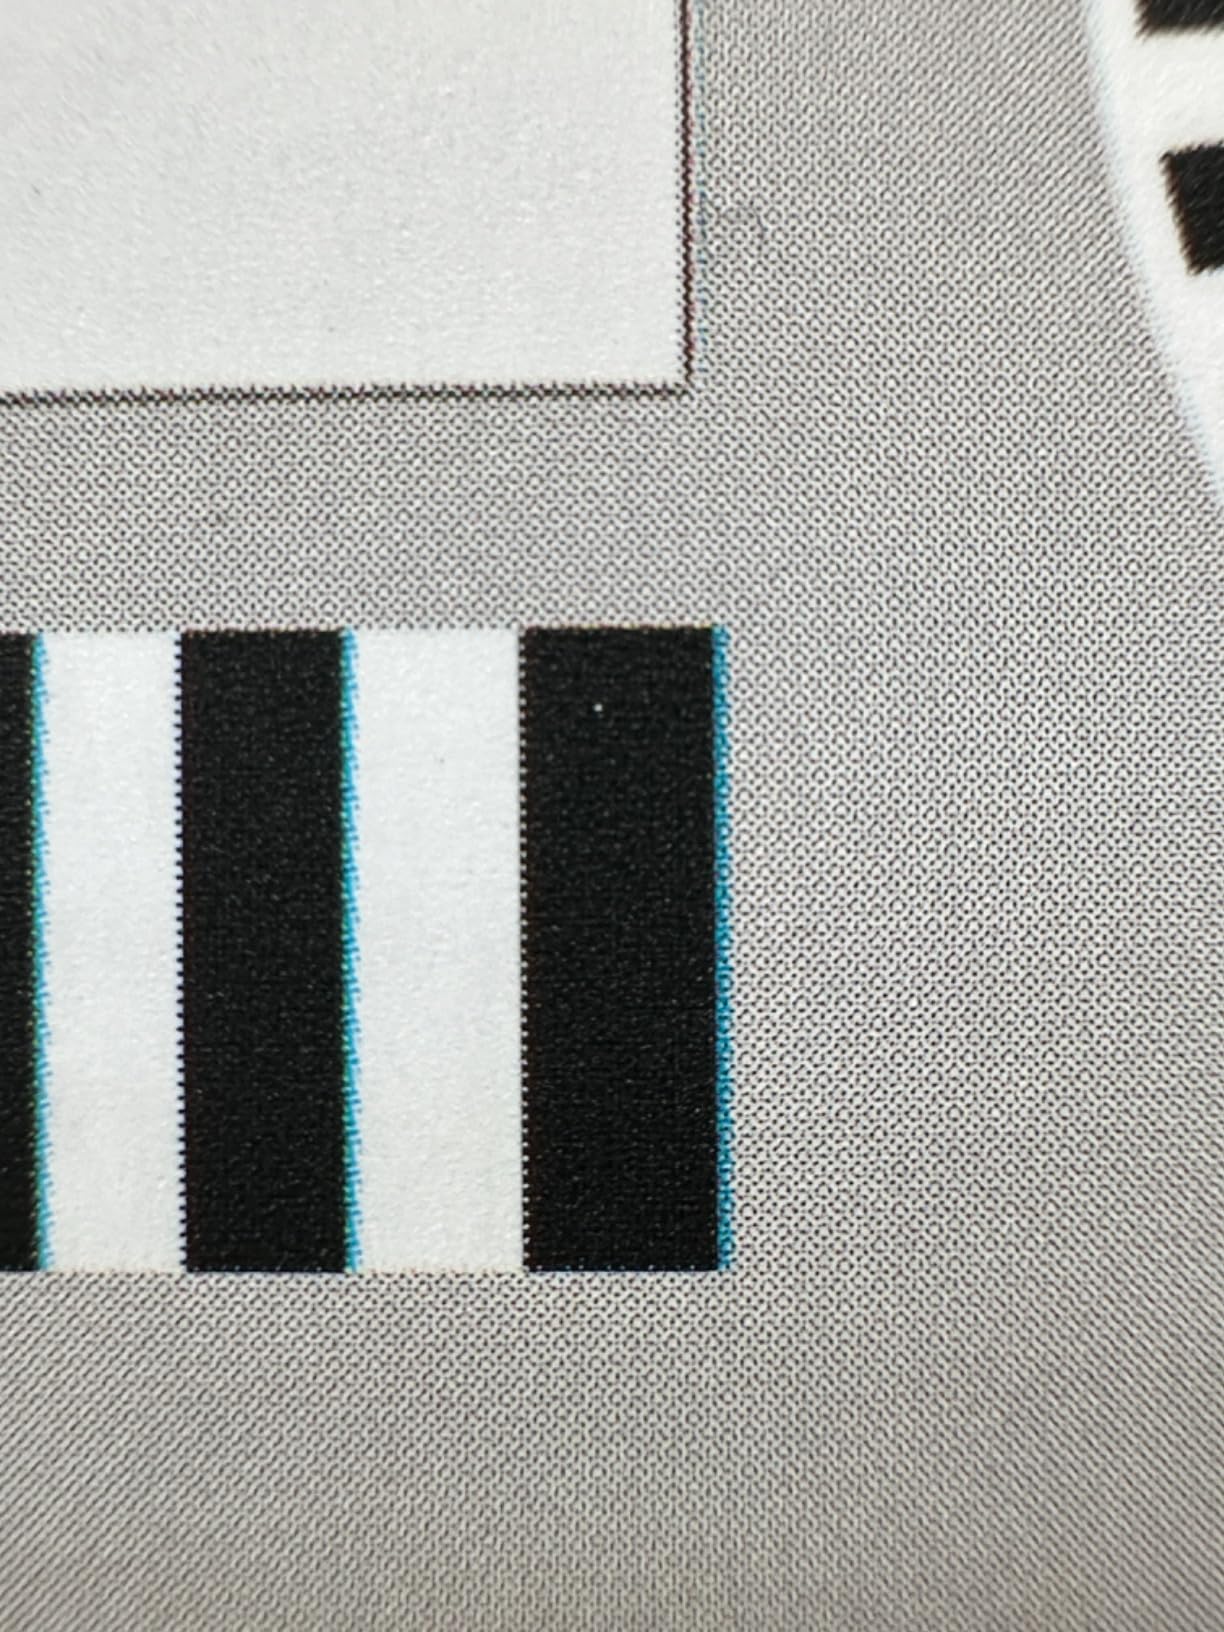
The clever trick owners describe is using all three charts. Laid out diagonally, three 8.5 by 11 inch sheets combine into a much larger 4:3 test field. A bigger field is harder to resolve and therefore more demanding, which makes the chart far more useful for wide-angle lenses and for any lens you are evaluating at its limits.
It is also useful beyond autofocus. Scanners, binoculars and manual-focus primes all respond well to this kind of target, and the colour and grayscale ramps make it a reasonable general-purpose test card for a workbench.
What do the patterns actually tell you?
The siemens star shows you contrast and resolution at the centre of the frame, and if a lens is soft the spokes merge before they should. The hyperfine line pairs show where detail stops separating into distinct lines. The grayscale ramp reveals noise and tonal response. None of that tells you anything about focus offset, so pair it with a ruler tool rather than treating it as a substitute.
Because the printed resolution tops out at a level where fine detail needs magnifying on screen, expect to view these charts at 100 percent or beyond. That is normal and not a fault. Owners who expected paper-resolution detail report disappointment; owners who treat it as an enthusiast-level chart report exactly what they wanted.
Who should skip this one
Skip it if your only goal is to set an AF fine tune value. Nothing on this card measures focus offset, so it will not get you a number for the menu. It is also the wrong tool for colour-critical work, because the colour patches on part of the wheel are small and hard to distinguish accurately.
Professional colourists will find it inadequate for matching, and anyone who handles the charts frequently may prefer something mounted on a rigid board rather than thin cardboard that flexes when you pick it up.
4. ARTIBETTER Focus Calibration Card – Large Format for Installers
ARTIBETTER Camera Focus Calibration Card Lens Test Chart Color Wheel Chart for CCTV Installation Alignment Indoor Outdoor Use 15.7 X 12.6 Inch
15.7 x 12.6 inch card
Focus pattern plus colour wheel
For CCTV alignment
Pros
- Large format gives a readable target at typical installation distances
- Focus pattern and colour wheel on one sheet
- Thin card mounts flat easily and stores without fuss
Cons
- Only a couple of ratings
- so there is little independent feedback on accuracy
- Printed paper construction is not built for repeated outdoor use
This card was designed with security camera installers in mind rather than photographers, and that shows in the specification. At 15.7 by 12.6 inches it is far larger than the folding ruler, which is exactly what you want when you are standing back from a camera mounted on a wall and judging whether it is aimed correctly.
It pairs a focus test pattern with a colour wheel on a single sheet, so sharpness and colour response can be judged together during an install. The listing is aimed squarely at indoor and outdoor security and monitoring work, and it includes a quick-start reference for technicians new to lens adjustment.
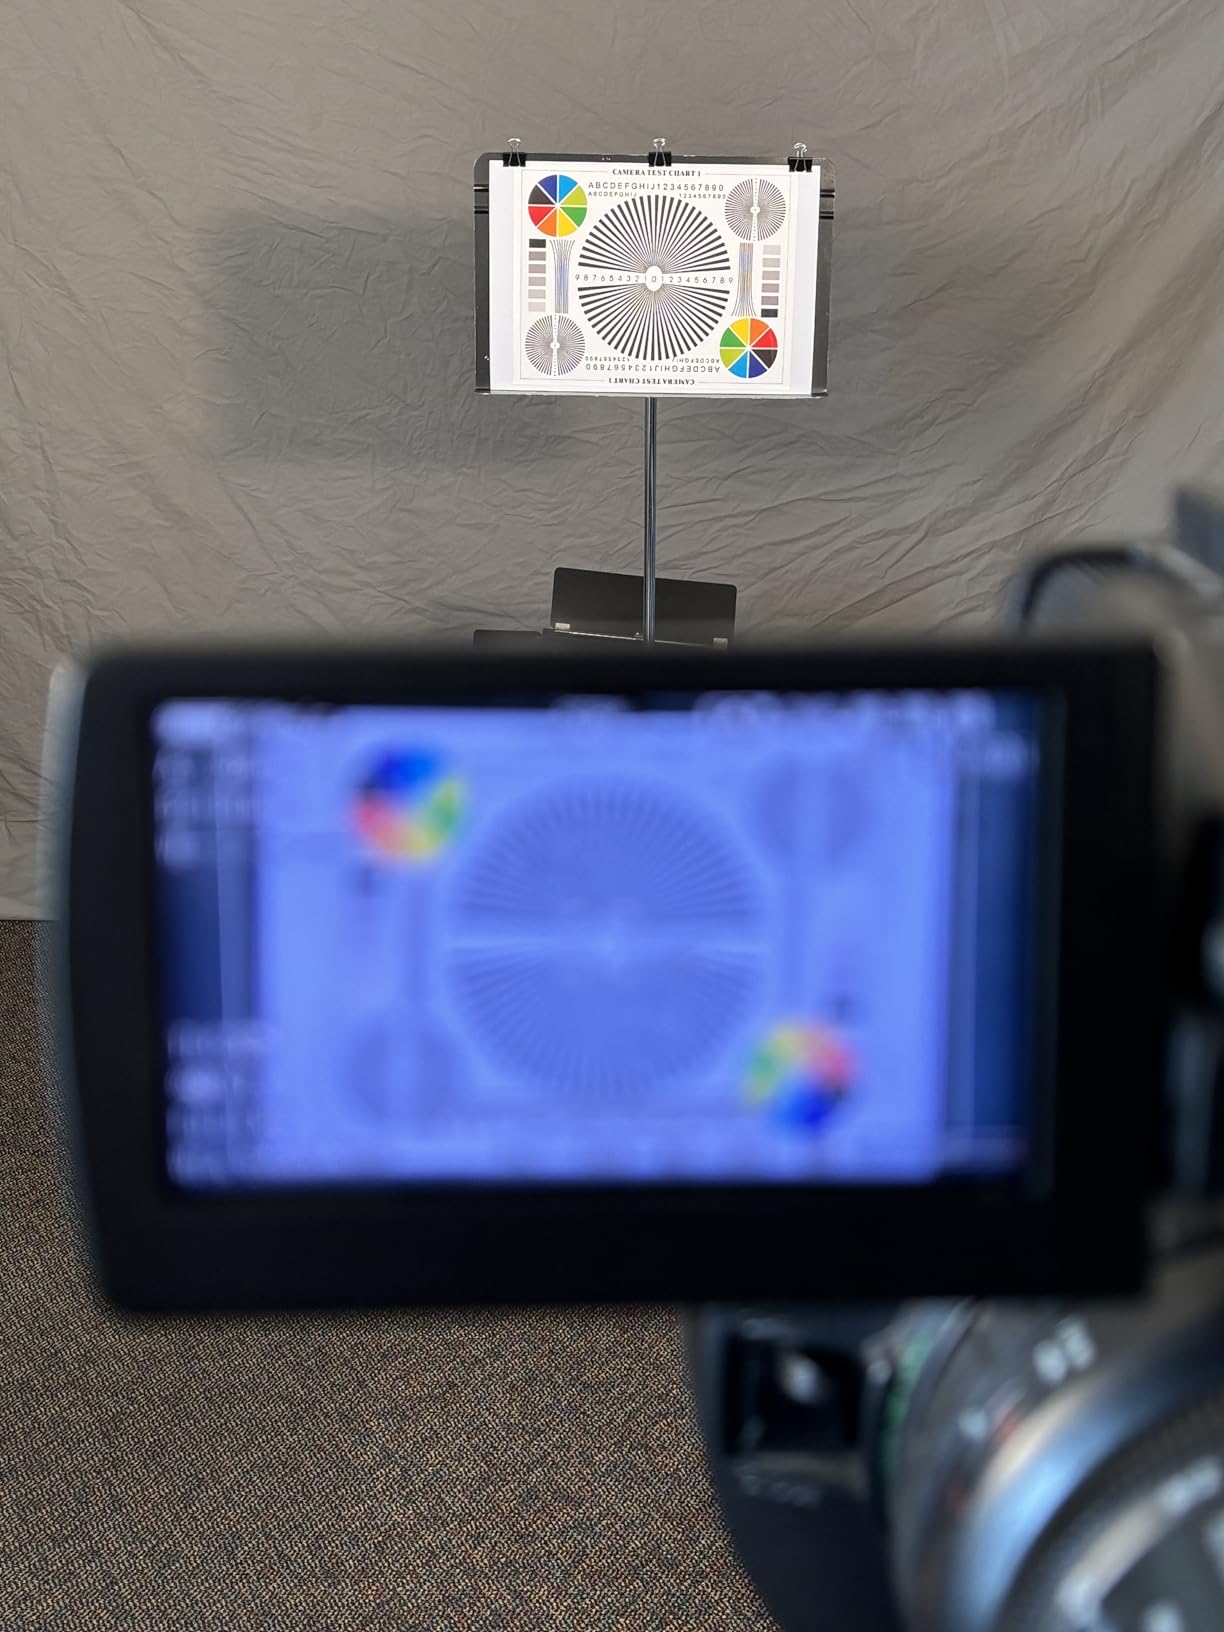
For a photographer, the honest assessment is that this is a supporting tool rather than a primary one. It will tell you that a lens is in focus, and it will let you compare a camera’s sharpness between setups, but it gives you no angle-based scale and therefore no focus offset reading. It will not produce a number for an AF fine tune menu.
There are only two ratings on the listing, both at the top of the scale. Two ratings prove very little about accuracy, and we would treat that perfect score as provisional rather than as a track record. The card itself does what a printed card does, and we see no reason to expect it to perform worse than its size suggests.
When does a large card beat a small one?
Size wins when distance is large relative to the target. A small card viewed from several metres away simply does not subtend enough of the frame for its lines to be resolved by the sensor, and you end up guessing. A larger card at the same distance gives autofocus something substantial to lock onto, which is why installers work with big targets.
For close-distance work, which is most autofocus calibration, the opposite is true. A big target close to the camera gives you less useful angular information, not more. This is the single most misunderstood point about calibration targets, and it is why a large card is not automatically a better calibration tool.
Who should skip this one
Skip it for autofocus calibration, because the flat pattern cannot give you a focus offset reading. Skip it if you need a target that will survive months outdoors in changing weather, because the paper construction will not. And skip it if you want a purchase supported by a wide body of owner feedback, because two ratings are not that.
5. NUOBESTY Camera Focus Test Chart – Functional but Unproven
NUOBESTY Camera Focus Test Chart Camera Lens Monitoring Focus Test Card
15.75 x 11.81 inch card
Focus chart with colour wheel
Pros
- Large format is easy to read at typical setup distances
- Focus pattern and colour wheel on one sheet
- Light and easy to store between jobs
Cons
- Owner rating sits below the norm with a heavy share of three-star feedback
- Thin paper gives little durability for long-term use
- Only one chart per pack for multi-distance work
This is a large-format focus and colour card intended for installation work and routine maintenance checks, at 15.75 by 11.81 inches. The layout is familiar: a focus test pattern on one side of the sheet and a colour wheel for reference on the other, which lets you check sharpness and colour response in a single pass.
What gives us pause is the owner rating. At 3.6 it sits below the norm for the products in this roundup, and the distribution is unusually flat, with a heavy share of three-star feedback and none at the bottom. That pattern suggests a card that works but does not impress, rather than one that is broken.
The listing is a recent arrival, so the feedback is both thin and recent. Seven ratings is not a track record. We would not build a purchase decision on it, and if you are choosing between this and the very similar card above, the honest tiebreaker is that neither has enough independent feedback to be a safe recommendation.
Is a three-star average a warning sign?
In a category with thin listings, a low average on a small sample means less than it appears to. It tells you that a meaningful share of owners were underwhelmed, which is worth knowing, but it does not tell you the card fails. The useful question is what the complaints are, and here they cluster on thin paper stock and limited durability rather than on accuracy.
That is a reasonable trade for a card used occasionally on a workbench, and an unreasonable one for anything outdoors or handled daily. A rigid board mounted on a stiff backing solves the durability problem, though at that point you have added a component to the purchase.
Who should skip this one
Skip it for autofocus calibration for the same reason as the previous card. A flat focus pattern confirms that a lens is sharp but cannot measure the direction and size of a focus error, so it will not give you a value for AF fine tune. Skip it if you need multi-distance testing, because a single card means moving it between distances rather than testing several at once.
It also does not suit anyone who wants a purchase backed by a long history. Where a tool has thousands of owner reviews, the failure modes are known and avoidable. Where it has seven, they are not.
6. Wintersweetex Chessboard Focus Calibrator – For Film and Projector Work
Lens Calibrater Focus Calibration Chart Film Calibrating PET Chess Board Pattern 12×9 (150×150)
12 x 9 grid of 10 mm squares
150 x 150 mm PET film board
Pros
- Compact board format suits slide
- film and projector alignment
- Cheap way to check flatness of a projected or scanned image
Cons
- The PET version is a flexible transparent film rather than a rigid board
- Reflective surface causes glare even on a rigid backing
- 10 mm grid squares limit accuracy for fine alignment
This is the most specialised item in the set, and the least relevant to DSLR autofocus. It is a chessboard pattern calibrator, offered in this configuration as twelve by nine blocks of ten millimetres on a 150 by 150 millimetre PET board, and it is intended for film, slide and projector alignment rather than mirrorless or digital autofocus work.
The one rating it carries is strongly negative, and the complaint is specific and worth taking seriously. The PET variant in this listing is a thin flexible transparent printed film rather than a solid board, so it cannot hold a flat plane on its own. Even applied to a rigid backing, the reviewer reports a reflective surface that produces glare.
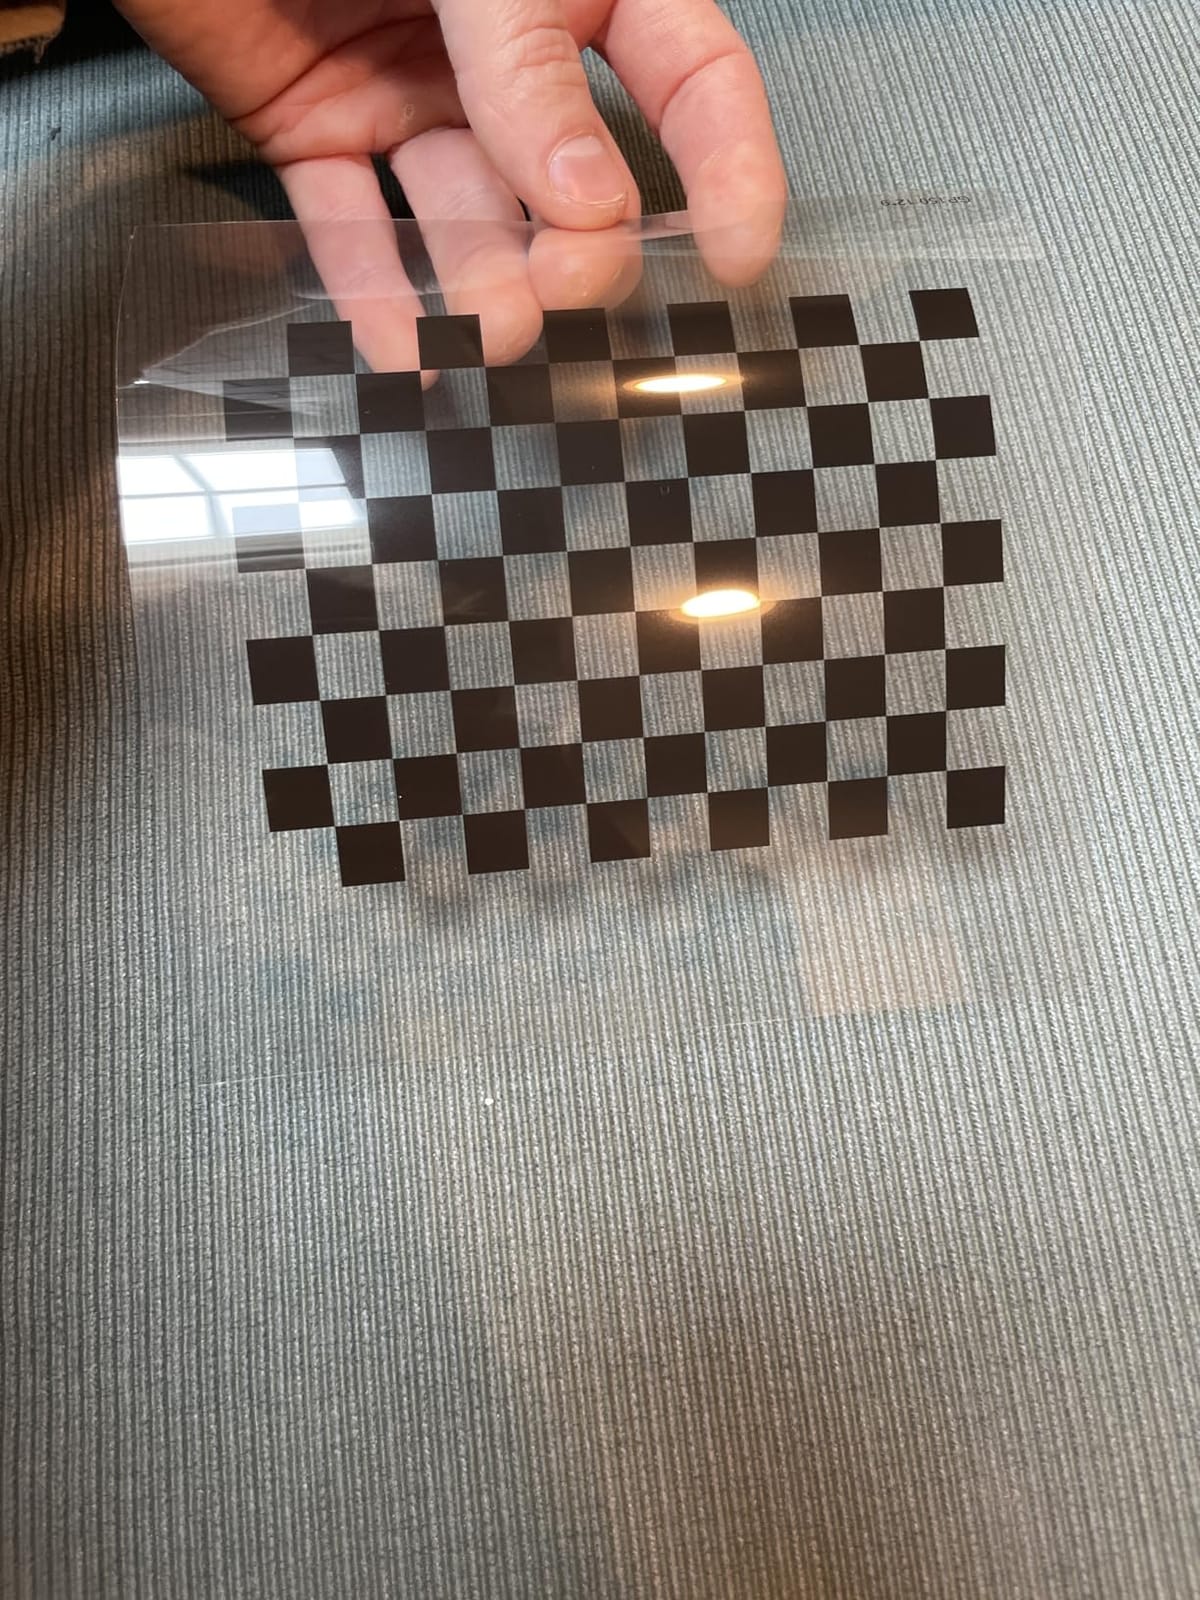
The same family is offered in several grid sizes and board materials, including an aluminium oxide version. The listing carries several variants, so it is worth checking carefully which one you are actually buying. Our recommendation is that if you need a rigid calibration board for optical alignment work, go for a rigid variant rather than this film one.
For camera autofocus calibration, this earns a place in the roundup only so the category is covered honestly. A rigid board with a known flat plane and high contrast markings is a legitimate tool for checking flatness and alignment, but this flexible PET configuration is not the right one to attempt it with.
Do small grid squares hurt accuracy?
Yes, and it is a design trade rather than a defect. Ten millimetre squares on a 150 by 150 millimetre board are appropriate for checking whether a projected or scanned image is geometrically accurate, where you are looking for a large-scale distortion. They are not fine enough to resolve the small focus offsets that matter for a lens at f/2.8.
If your interest is film or slide alignment, the concept fits the job. If your interest is where your telephoto lens is actually focusing, you need a target that produces a readable offset, and that is a different design entirely.
Who should skip this one
Skip it for any autofocus calibration task. Skip it if you need something that holds a flat plane without a backing board, because this PET configuration will not. And skip it if you are a photographer reading reviews before buying, because a single one-star rating and a listing with several variants is not enough information to make a confident choice.
How to Use a Lens Calibration Tool Step by Step
These seven steps work with any of the angled-ruler or focus-target options above, and the same sequence applies whether you are using a folding card or a moulded target. Set aside twenty minutes for the first body and lens pair, and less for each one after that.
Mount the camera on a tripod and switch it to manual focus mode.
Place the target on a table or light stand at roughly 25 times the focal length, so a 200mm lens sits about five metres away.
Square the target to the sensor, using the built-in level if the tool has one.
Set the lens to the focal length you will actually shoot, and the aperture you will actually shoot at.
Switch to autofocus, take a shot, and let the lens focus as it normally would.
Review the file at 100 percent magnification and note which line is sharpest relative to the zero mark.
Enter that offset as a positive or negative value in your camera’s AF fine tune or micro-adjustment menu, then shoot the same frame again to confirm.
A few details make the difference between a good result and a wasted afternoon. Use the same aperture you shoot at, because the correct correction can change as you stop down. Disable image stabilization if your lens has it, since it can shift the focus plane slightly. And take at least three shots at each setting rather than one, because a single frame tells you very little.
Should the camera be on autofocus or manual focus when you calibrate? Autofocus, always. The entire point is to measure what the autofocus system does. You set the lens to manual focus only to prevent a zoom ring from drifting between shots, then you let autofocus take over for the focusing frame itself.
Many experienced users never use the software that ships with any of these tools. They shoot a handful of frames, read the sharpest line themselves, and type the number into the menu by hand. That workflow takes under twenty shots per combination. Software-driven workflows can run to a hundred shots or more per combination, and for a single body and lens that is rarely a good trade.
If you shoot tethered, the loop gets much faster. Zooming to 100 percent without leaving the camera is the single biggest time saver in this entire process, and any wireless transfer system that gets images onto your screen quickly will repay itself across a full kit.
Three Free Tests to Run Before You Buy Anything
Plenty of focus problems turn out not to need a tool at all. Run these first, because they cost nothing and they will tell you whether a purchase is justified.
The battery test. Put a fresh battery in the lens, or charge it fully, then shoot at your widest aperture and your longest focal length. If focus snaps clean and the softness disappears, the problem was power, not calibration. Low voltage is a well-known cause of hunting and missed focus, and it is free to rule out.
The meter stick test. Lay a ruler along the sensor plane, or along the top of the camera body, and place a high-contrast subject at a fixed distance. Shoot wide open, look at the focus point at full magnification, and note how far in front of or behind the target it actually landed. This is crude, but a consistent front or back focus pattern across several shots is a real signal.
The Dot Tune method. This is a free technique that experienced users on photography forums recommend often enough that it belongs here. Set up your subject on a light stand, focus manually, then push the focus ring slightly past the focus point in one direction and let autofocus take over. If autofocus corrects back toward the subject, the system is front focusing and needs a negative adjustment. If it pushes further past, the system back focuses and needs a positive adjustment. It takes minutes, needs no purchase, and the result is a reliable sign of direction even if you refine the value later with a target.
If those three tests show consistent error on a fast lens shot wide open, you have a real calibration need. If they do not, save the money. Many mirrorless shooters in particular discover that the problem was technique, a slow shutter speed, or an expectation set by a lens that was never as sharp wide open as the marketing implied.
Where AF Fine Tune Lives on Each Camera Brand
Every major brand ships the same feature under a different name, and knowing where it lives saves a frustrating afternoon of menu diving.
On Canon bodies the feature is AF Micro Adjustment, found in the menu under shooting settings. Canon goes further than most and lets you tune by lens serial number, so a single lens stays consistent across multiple bodies. Nikon calls it AF Fine Tune, with per-lens and global options, and Nikon is the brand where per-lens saving matters most because the same lens on a second body can behave differently.
Sony labels it AF Micro Adjustment on the bodies that support it. Olympus calls it AF Focus Adjust, and Pentax uses AF Focus Adjust as well. Older Sony and Olympus bodies listed in the SpyderLensCal documentation are covered, but so are more recent models where the adjustment has been renamed or moved.
One caveat worth stating: adapted third-party lenses on mirrorless bodies are a special case. Autofocus support depends on the mount and the adapter, and on some systems a manual-focus lens simply has no adjustable autofocus. Check whether your body offers the adjustment for that specific lens before buying anything.
Store per lens where you can, and per body where you must. A working wildlife photographer reports one 600mm that back focused on one body, front focused on another, and needed no adjustment on a third. That is not a defect story. It is the tolerance stack behaving exactly as it should, and it is why one number cannot serve a whole kit.
How to Choose the Right Lens Calibration Tool
Target size is the criterion that matters most, and it is the one most listings bury. A larger focus target means you can be confident about exactly where the lens focused, because the sharpest line is unambiguous. A small target produces readings you argue about. The trade-off is that at short working distances an oversized target gives you less useful angular information, so size helps at distance more than it helps up close. It is the same hardware-first thinking we apply when we rank oscillating tools, where the mechanism matters more than the label on the box.
Rigidity comes second. Card stock that sags or flexes gives you a different reading each attempt, and paper that flutters in a draught is worse than useless. Moulded plastic that folds flat but holds its shape is the sweet spot, and a brass insert plus an integrated level is what converts a cheap card into a trustworthy one.
Sensor plane parallelism is the reason some tools cost more than others. A target mounted at an angle to the sensor produces a skewed reading, and the only way to remove that error is to guarantee the target sits square. A built-in level does that cheaply. Hardware that mechanically squares itself does it better, and that repeatability is the entire reason practitioners accept a higher outlay for a branded target.
Count your combinations before you buy. One body with three lenses is three entries. Two bodies with three lenses plus a teleconverter is nine. Zoms double each entry again because the wide and tele ends need separate values. If your camera stores only a limited number of entries, budget for which combinations you will actually save rather than trying to store everything.
Then decide whether you need a tool at all. Mirrorless bodies with on-sensor phase detection usually do not need focus calibration. Wide and normal focal lengths stopped down to f/8 or f/16 hide small focus errors in depth of field. Manual-focus lenses do not need it at all. Save the purchase for fast glass, telephoto, and the situations where depth of field is thin enough to expose the error.
As a cost reference, professional factory service for the same job means shipping your gear away for weeks. That is a useful benchmark when weighing whether a tool that saves you a weekend is a sensible purchase, and it is the number experienced users cite when they recommend doing it yourself.
Finally, remember to recheck. Some experienced users re-run calibration in summer and again in winter, comparing it to checking tyre pressure when the seasons change, because the mechanics inside a lens move a little with temperature. And always recalibrate after any service visit, since a repair facility rig can introduce its own offset relative to factory equipment. One owner reported every saved value shifting by seven steps after a fall-related repair.
Frequently Asked Questions
How do I calibrate my lenses?
You calibrate a lens and body combination, not a lens alone. Mount the camera on a tripod, place an angled focus target about 25 times the focal length away, square it, shoot at your working aperture on autofocus, then check at 100 percent which line is sharpest. Enter that offset in your camera AF fine tune or micro-adjustment menu and repeat to confirm. Zoms need a separate entry at each focal length end.
How do I calibrate my lens for autofocus?
Use a physical focus target with an angled ruler. The target recedes away from the camera, so focus is sharp at one point only. If the sharpest point sits toward the camera, autofocus is front focusing and needs a negative value. If it sits further away, the system back focuses and needs a positive value. Mount the camera, set your working aperture, and take at least three shots per setting.
How do I fine tune the AF on my Nikon camera?
Nikon calls this AF Fine Tune, and it offers both a per-lens and a global option. Mount the camera, run a target test, then enter the offset under the lens registration menu. Save per lens rather than globally, because the same lens on a different body often needs a different value. Nikon users commonly report one lens needing opposite corrections on two bodies.
How to fix a lens that won’t autofocus?
Check power first, because a weak battery causes hunting and missed focus. Clean the contacts and confirm the lens is fully seated and locked. Make sure image stabilization is off and that you are not closer than the minimum focus distance. If focus still lands consistently in front of or behind, then it is a focus offset problem and a target test will give you the correction value.
Should my camera be on AF or MF when calibrating?
Autofocus. The measurement exists to record what the autofocus system does, so letting AF acquire focus is the entire point. Set the lens to manual focus beforehand only to stop a zoom ring drifting between shots, then switch to autofocus for the measurement frame itself. Switch back to manual afterwards if you are using a fixed-focus test setup.
What is the difference between lens calibration and collimation?
Calibration is a user adjustment in your camera menu that corrects a focus offset for a lens and body combination. Collimation is the mechanical alignment of a lens internal to itself, correcting elements that are out of position inside the barrel. Collimation needs an optical collimator or a laser bench and belongs in a workshop, while calibration takes about twenty minutes at home.
Do camera lenses need calibrating?
Fast primes and telephoto lenses shot wide open often do, because depth of field is too thin to hide a small focus error. Wide and normal lenses stopped down to f/8 or f/16 rarely need it, and mirrorless bodies with on-sensor phase detection usually do not. Manual-focus lenses never do. Run a battery test and a Dot Tune check first, since both are free and often resolve the problem.
What is the best display calibration tool?
A display calibration tool fixes what your monitor shows you, which is a different job from lens calibration. Search results mix the two heavily, which is why colorimeters and grey cards appear in this topic. If your autofocus lands in the wrong place, no colorimeter will help. If your shadows look wrong on screen, that is a display problem and needs a different tool entirely.
How often should I recalibrate my lens?
Recalculate after any service visit, since a repair facility rig can introduce its own offset, and recheck when the seasons change, because temperature shifts the mechanics inside the barrel. Some experienced users run a check in summer and again in winter as a matter of habit. A value that has not moved in years probably does not need revisiting every month.
Final Verdict
The Datacolor SpyderLensCal is the best of the best lenses calibration tools we found, because repeatability is the property that decides whether calibration is worth doing. Its integrated level and brass insert remove the two setup errors that produce inconsistent readings, and it folds flat enough to live in the bag where you will actually have it when a lens starts hunting.
The DSLRKIT folding ruler is the sensible second choice, and honestly the one most photographers should start with. It costs very little, carries the most owner history in the category by a wide margin, and gives a direct angled-ruler reading that maps straight onto every major brand AF menu. The DGK chart earns a place beside either one if you also want to judge resolving power rather than just focus offset.
The remaining three serve narrower purposes. The ARTIBETTER and NUOBESTY cards are large-format installation charts with very thin owner feedback, and the Wintersweetex board is a film and projector tool whose PET configuration we would not use for camera work. They complete the picture, but we would not start a calibration session with any of them.
Before any of them, run the free tests. A battery, a meter stick and ten minutes with the Dot Tune method will tell you whether you have a real focus offset problem, and a lot of photographers find out that they never needed a target at all. If you do need one, recalibrate after a service visit and recheck when the seasons turn, exactly as you would check tyre pressure.
Whichever tool you settle on for 2026, set aside one quiet evening, tether your camera if you can, and take your time on the first combination. Once the workflow is in your head, the rest of the kit goes quickly.