Every model builder knows the frustration: you spend hours carefully assembling a kit, only to spot visible seam lines and gaps that ruin the finished look. Whether you are building Warhammer miniatures, aircraft scale models, or restoring an old kit, finding the right filler makes all the difference between a professional finish and a disappointing one. I have spent years testing different putties, and Vallejo plastic putty consistently comes up in hobby forums and building communities as a go-to option.
In this roundup, I am covering the best Vallejo plastic putty options alongside the strongest alternatives for filling gaps, seam lines, sink marks, and surface imperfections. I tested 8 products across miniature painting, scale model building, and 3D print finishing to see which ones actually deliver on their promises. From acrylic-based water-soluble fillers to two-part epoxy clays, this guide covers everything you need to make the right choice for your next project in 2026.
Table of Contents
Top 3 Picks for Vallejo Plastic Putty and Alternatives

8 Best Model Putty Options in 2026
| Product | Specifications | Action |
|---|---|---|
|
Vallejo Plastic Putty 20ml
|
|
Check Latest Price |
 Vallejo Plastic Putty 18ml
|
|
Check Latest Price |
 Tamiya Basic Type Putty
|
|
Check Latest Price |
 Army Painter Green Stuff
|
|
Check Latest Price |
 Perfect Plastic Putty 40ml
|
|
Check Latest Price |
 Milliput Standard Grain 4oz
|
|
Check Latest Price |
 AK Interactive Grey Putty 20ml
|
|
Check Latest Price |
 AK Camouflage Elastic Putty 80g
|
|
Check Latest Price |
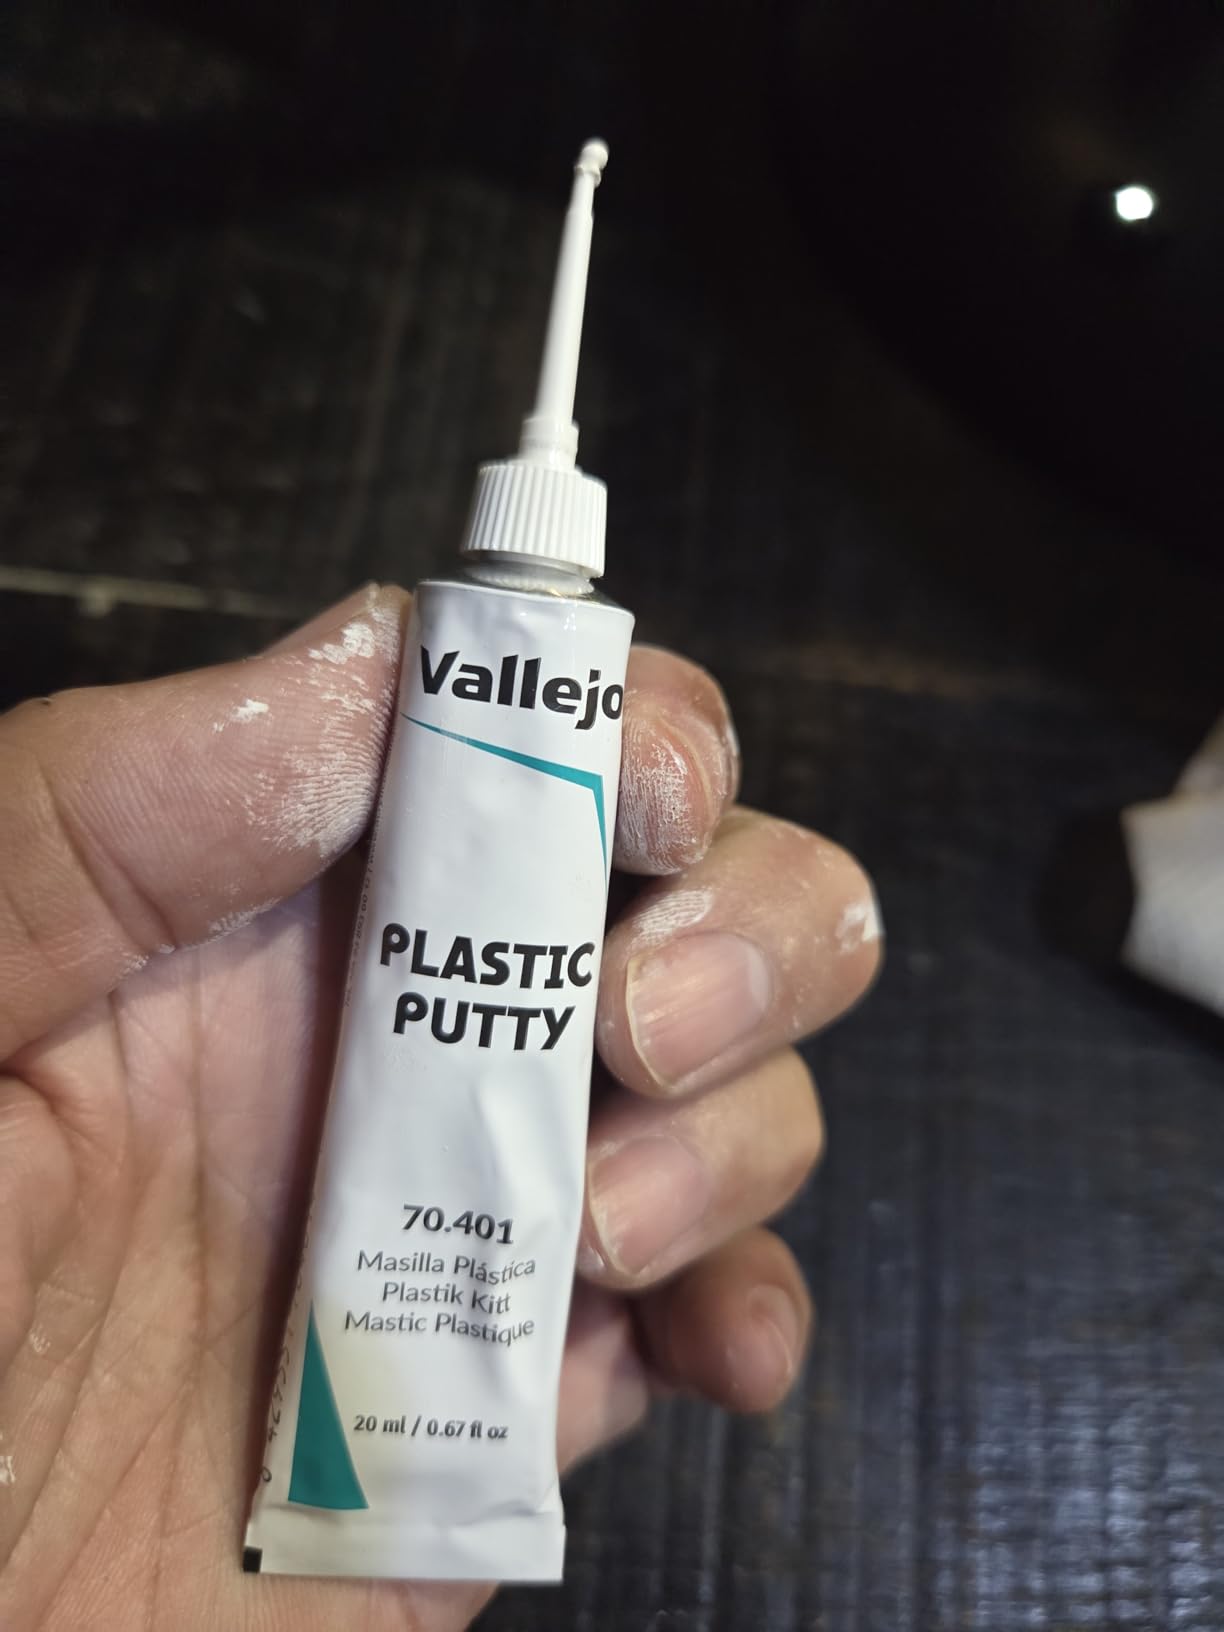
1. Vallejo Plastic Putty 20 ml – Best Overall for Gap Filling
Vallejo - Plastic Putty 20 ml (0.67 fl.oz.) | White, Opaque, Consistent Finish
White acrylic paste with marble powder
20ml tube
Water-soluble formula
Dries hard and opaque
Pros
- Acrylic based and easy to work with
- Great for filling small gaps
- Cleans up well with water
- No strong smell
Cons
- Slight shrinkage when drying
- May require second application for deeper gaps
- Not ideal for gaps larger than 1mm
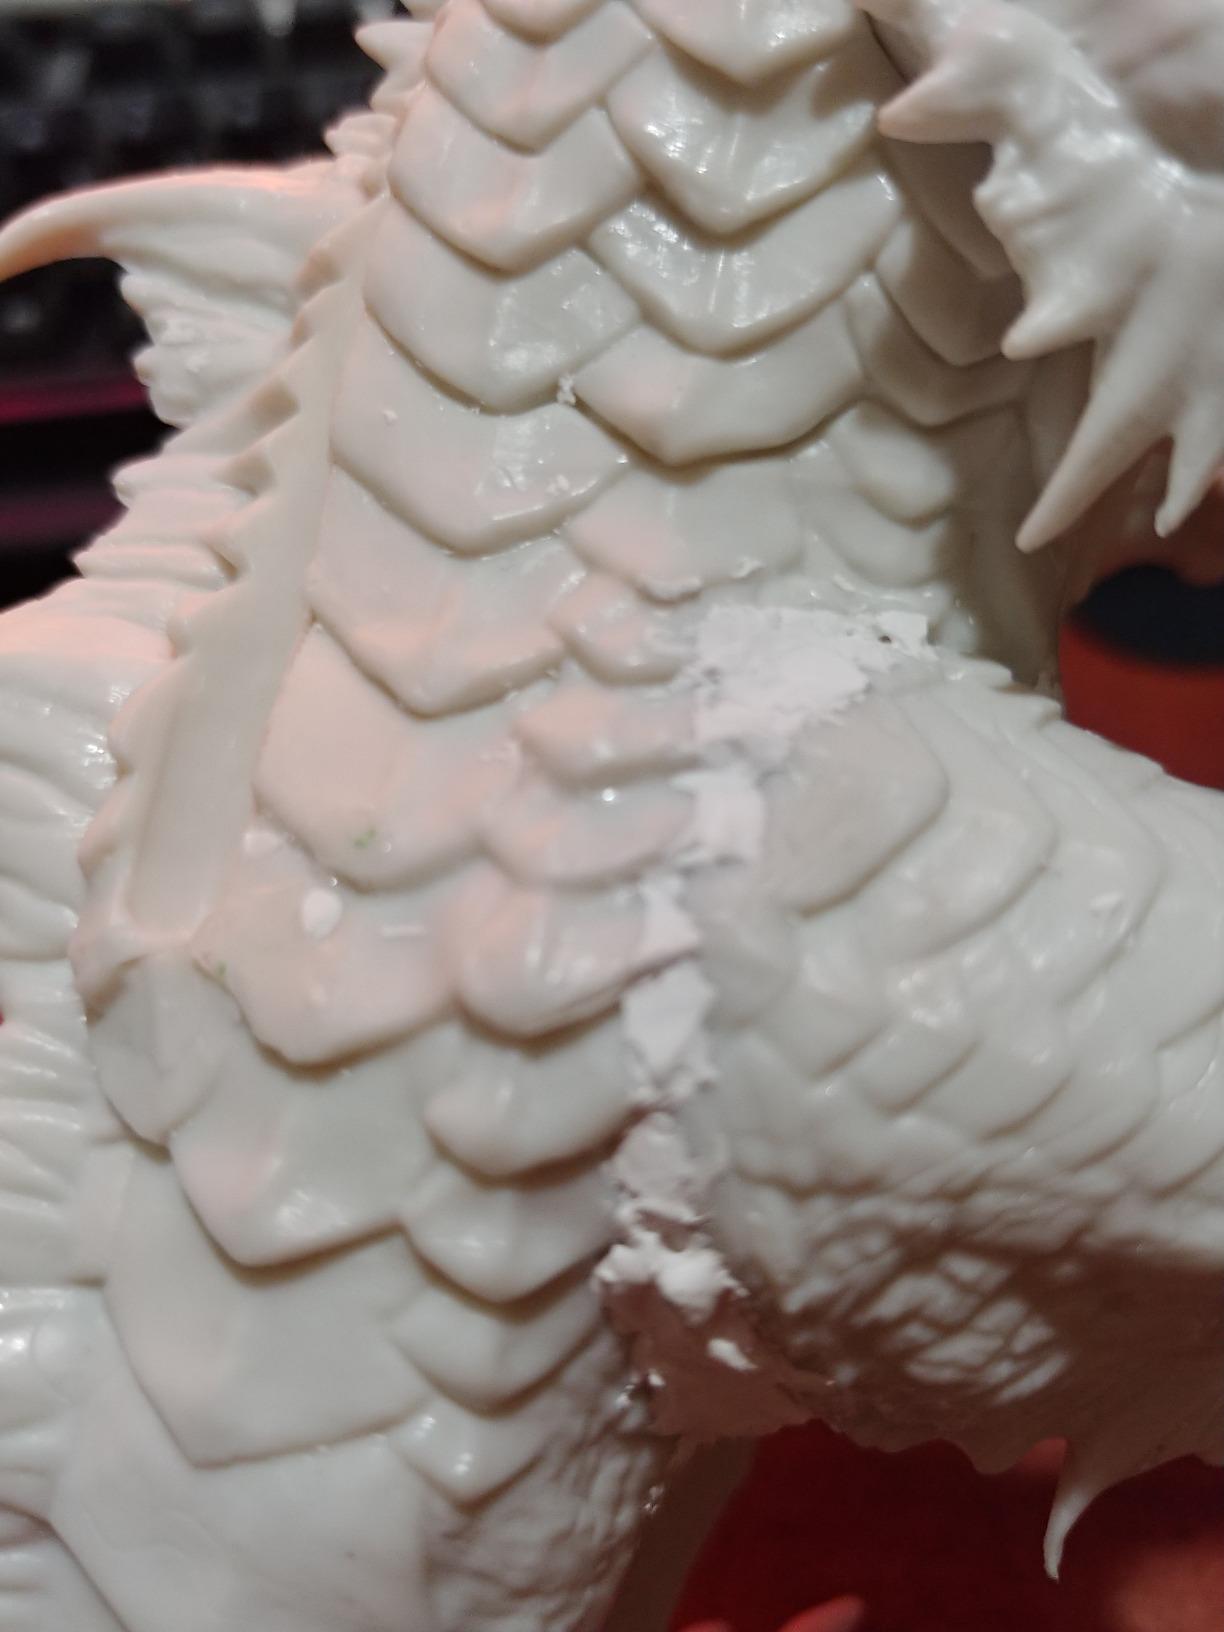
I have used Vallejo Plastic Putty on dozens of Warhammer miniatures and plastic model kits over the years, and it remains my go-to filler for small gaps and seam lines. The 20ml squeeze tube has a precision tip that makes application straightforward. You just squeeze a small amount directly into the gap, smooth it with a wet finger or a silicone tool, and let it dry. The white acrylic paste spreads easily and adheres well to most plastic surfaces I have tried it on.
What I appreciate most about this putty is how forgiving it is during application. If you apply too much, you can wipe away the excess with a damp cloth before it sets. Cleanup requires nothing more than water, which is a huge advantage over solvent-based fillers that need harsh chemicals. The putty is odorless too, so you can work with it at your desk without fumigating your workspace.

The main drawback I noticed is the slight shrinkage during drying. For shallow gaps and surface imperfections, this is barely noticeable. But for deeper fills, I often need to apply a second coat after the first one dries and shrinks down. On my Warhammer Terminators, shoulder pad seams needed two passes to get perfectly smooth. The dried surface has a slightly rubbery feel rather than a stone-hard finish, which affects how it sands.

Drying Time and Sandability
Surface drying takes about 10 to 15 minutes, which gives you enough working time to shape and smooth the putty. Full cure takes considerably longer, usually 1 to 3 days depending on how thick the application is. I learned this the hard way when I tried sanding too early and ended up with a gummy mess on my sandpaper. Wait at least 24 hours before sanding for best results.
When it comes to sanding, use ultra-fine grit sandpaper (600 grit or higher). The putty can clog coarser sandpaper quickly, especially during wet sanding. Many hobbyists on Reddit recommend using a damp cotton swab to smooth the surface before it fully dries, which reduces the amount of sanding needed later. This technique alone saved me hours of finishing work on a 1/48 scale aircraft model.
Best Applications for This Putty
Vallejo Plastic Putty works best for small gap filling on plastic miniatures, seam lines on model kits, filling sink marks, and covering pinhole imperfections. It is also useful for light relief work and texturing on diorama bases. If your project involves gaps larger than 1mm or requires structural strength, consider a two-part epoxy putty instead.
This putty is also well-suited for beginners because mistakes are easy to fix. You can wipe it off completely with water before it dries, and even after drying it can be reworked with a hobby knife or sandpaper. For hobbyists who are just starting out with gap filling and surface preparation, this is one of the most approachable products available.
2. Vallejo Plastic Putty 18 ml – Compact Size for Small Projects
Vallejo - Plastic Putty 18 ml (0.6 fl.oz.) | White, Opaque, Consistent Finish
White acrylic paste with marble powder
18ml tube
Water-soluble
Compact 3.13 x 1 x 1 inches
Pros
- Same trusted Vallejo formula in compact size
- Easy water cleanup
- No fumes or odors
- Bright white color
Cons
- Slight shrinkage on drying
- Dries rubbery rather than stone hard
- Less product per tube than the 20ml
The 18ml Vallejo Plastic Putty uses the exact same acrylic-based formula as the 20ml version, just in a smaller, more compact tube. I keep one of these in my portable hobby kit for building sessions at my local gaming store. The smaller form factor (3.13 x 1 x 1 inches) fits easily in a pencil case or small tool bag without taking up much room.
Performance is identical to its larger sibling. The white acrylic paste with marble powder applies smoothly, dries to an opaque white finish, and cleans up with plain water. I found the smaller tube actually gives better control for precision work because you can hold it closer to a pencil grip. The nozzle clogs less frequently too, likely because the tube shape keeps the putty flowing toward the tip more consistently.
For anyone wondering about the difference between the two Vallejo sizes, it really comes down to how much putty you go through. If you build models occasionally or only need putty for a few miniatures, the 18ml tube is plenty. Regular builders who go through putty every month will appreciate the 20ml for the extra volume.
Shelf Life and Storage
One thing I want to highlight is shelf life. Acrylic putties like this can dry out in the tube if not stored properly. I store mine upright with the cap firmly tightened, and I have had tubes last over a year without issues. Some hobbyists on the Fine Scale Modeler forum recommend storing the tube upside down to prevent the putty from settling and clogging the nozzle. Either way, wipe the nozzle clean after each use to prevent buildup.
Ideal Project Size
This 18ml size is ideal for hobbyists who work on small batches of miniatures or occasional model kits. A single tube can fill seam lines on roughly 15 to 20 standard 28mm miniatures, or handle gap filling on 3 to 5 medium-scale model kits. If you are planning a large diorama or building an entire army at once, the 20ml version or buying in bulk makes more sense financially.
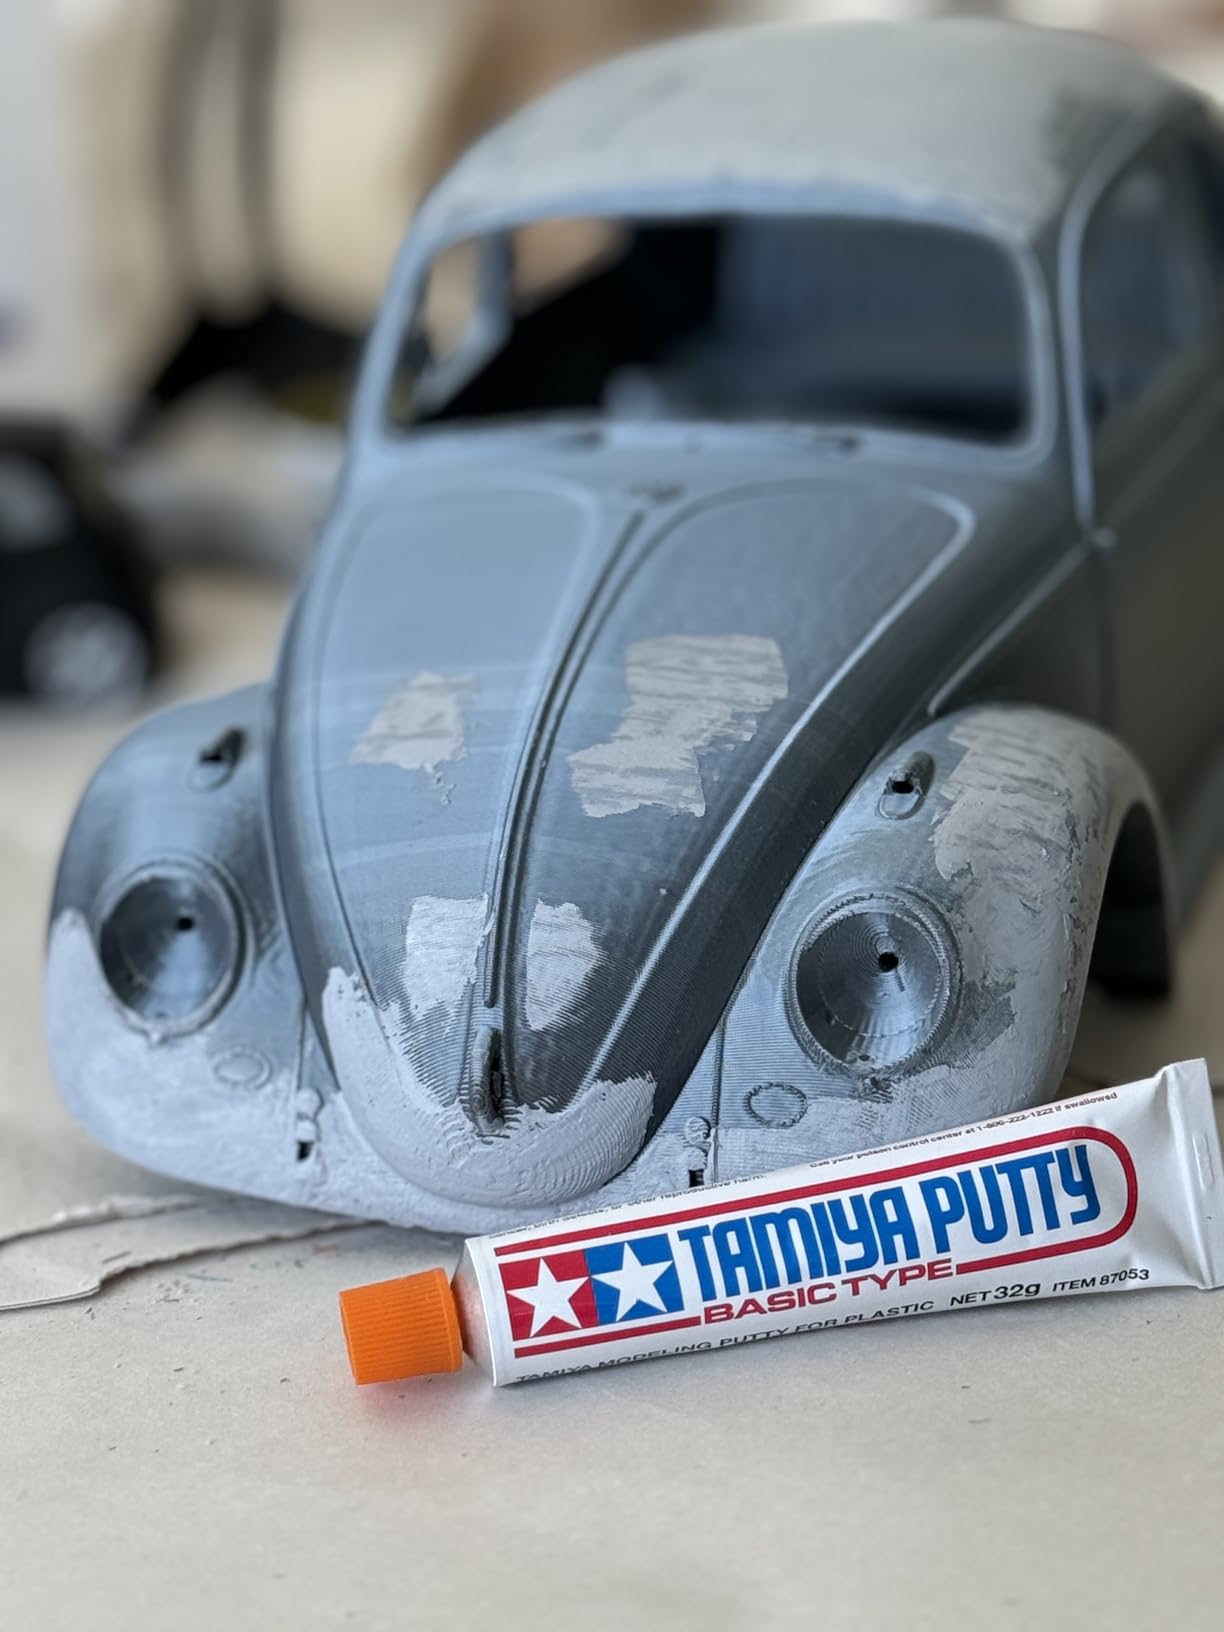
3. Tamiya Basic Type Putty – Best Sanding Performance
Tamiya USA TAM87053 Putty Basic Type
Gray solvent-based putty
1.13 fl oz tube
Works on metal, plastic, wood
Medium viscosity
Pros
- Sands easily to a smooth finish
- Minimal shrinkage
- Strong adhesion to multiple materials
- Can be carved after drying
Cons
- Thick consistency can be hard to spread thinly
- Fast drying requires quick work
- Higher price point
Tamiya Basic Type Putty is the product I reach for when I need a filler that sands perfectly smooth. The gray color makes it easy to see where you have applied it against white or light-colored plastic, which helps during the finishing process. With a 4.7-star rating across over 3,300 reviews, this putty has earned its reputation among scale model builders.
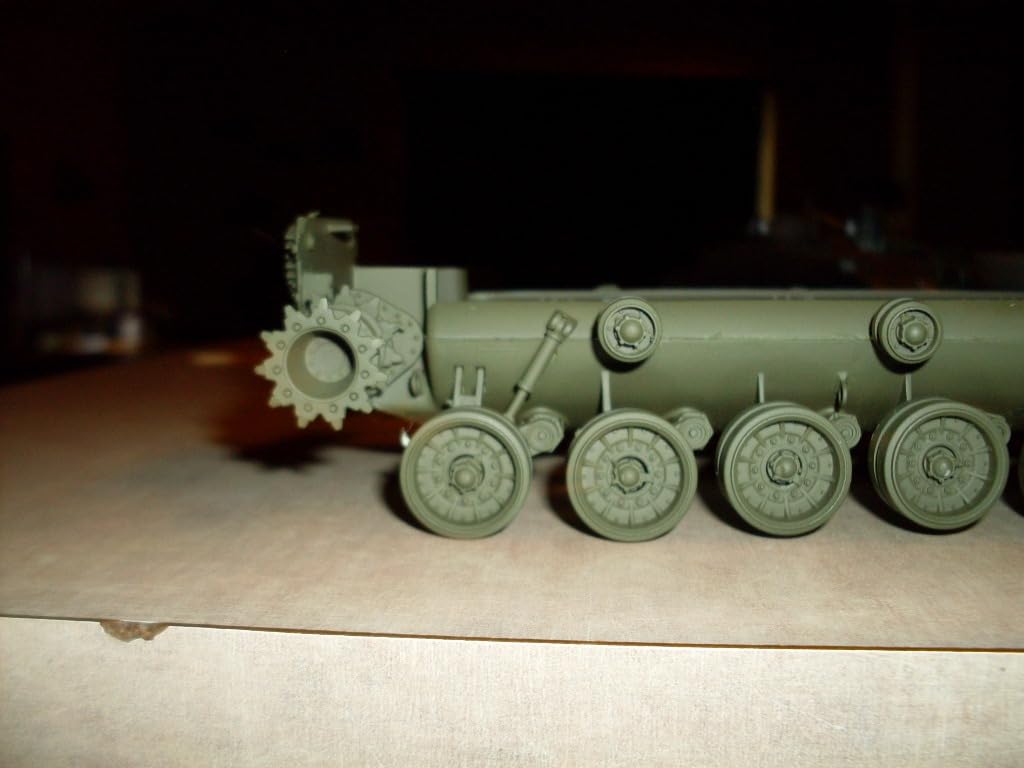
The putty adheres extremely well to plastic, metal, and wood surfaces. I used it on a Tamiya 1/35 tank model where the hull halves met with an uneven seam, and one application filled the gap completely with no shrinkage. The medium viscosity means it stays where you put it rather than running into unwanted areas. Once cured, it can be carved with a hobby knife, which is useful for restoring panel line details over filled areas.
The trade-off is the fast drying time. You need to work quickly once the putty is out of the tube. I typically apply it in small sections and smooth each one before moving to the next. The thick consistency also means spreading it thin requires a firm applicator. A metal spatula or old credit card works better than a soft silicone tool for this particular putty.

Adhesion on Different Materials
This putty bonds strongly to polystyrene plastic (standard model kit material), ABS, and even soft metals like pewter miniatures. I tested it on a metal Warhammer figure with a gap at the arm joint, and the adhesion held firm through primer, paint, and a gloss varnish coat. The solvent-based formula actually slightly etches into the plastic surface, creating a mechanical bond that acrylic putties cannot match.
For wood models, the putty performs well too. I filled knot holes and grain imperfections on a balsa wood aircraft fuselage, and the filler stayed put through sanding and painting. The versatility across materials makes this a strong all-around choice for multi-material projects.
Working Time and Speed
Tamiya putty dries to the touch in about 30 minutes, but full cure takes several hours. I usually wait overnight before sanding for the smoothest results. The quick surface drying means you cannot go back and rework an area after 10 to 15 minutes, so plan your application strategy before you start. For complex models with many seams, I apply putty section by section rather than all at once.
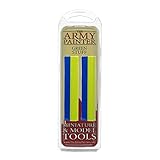
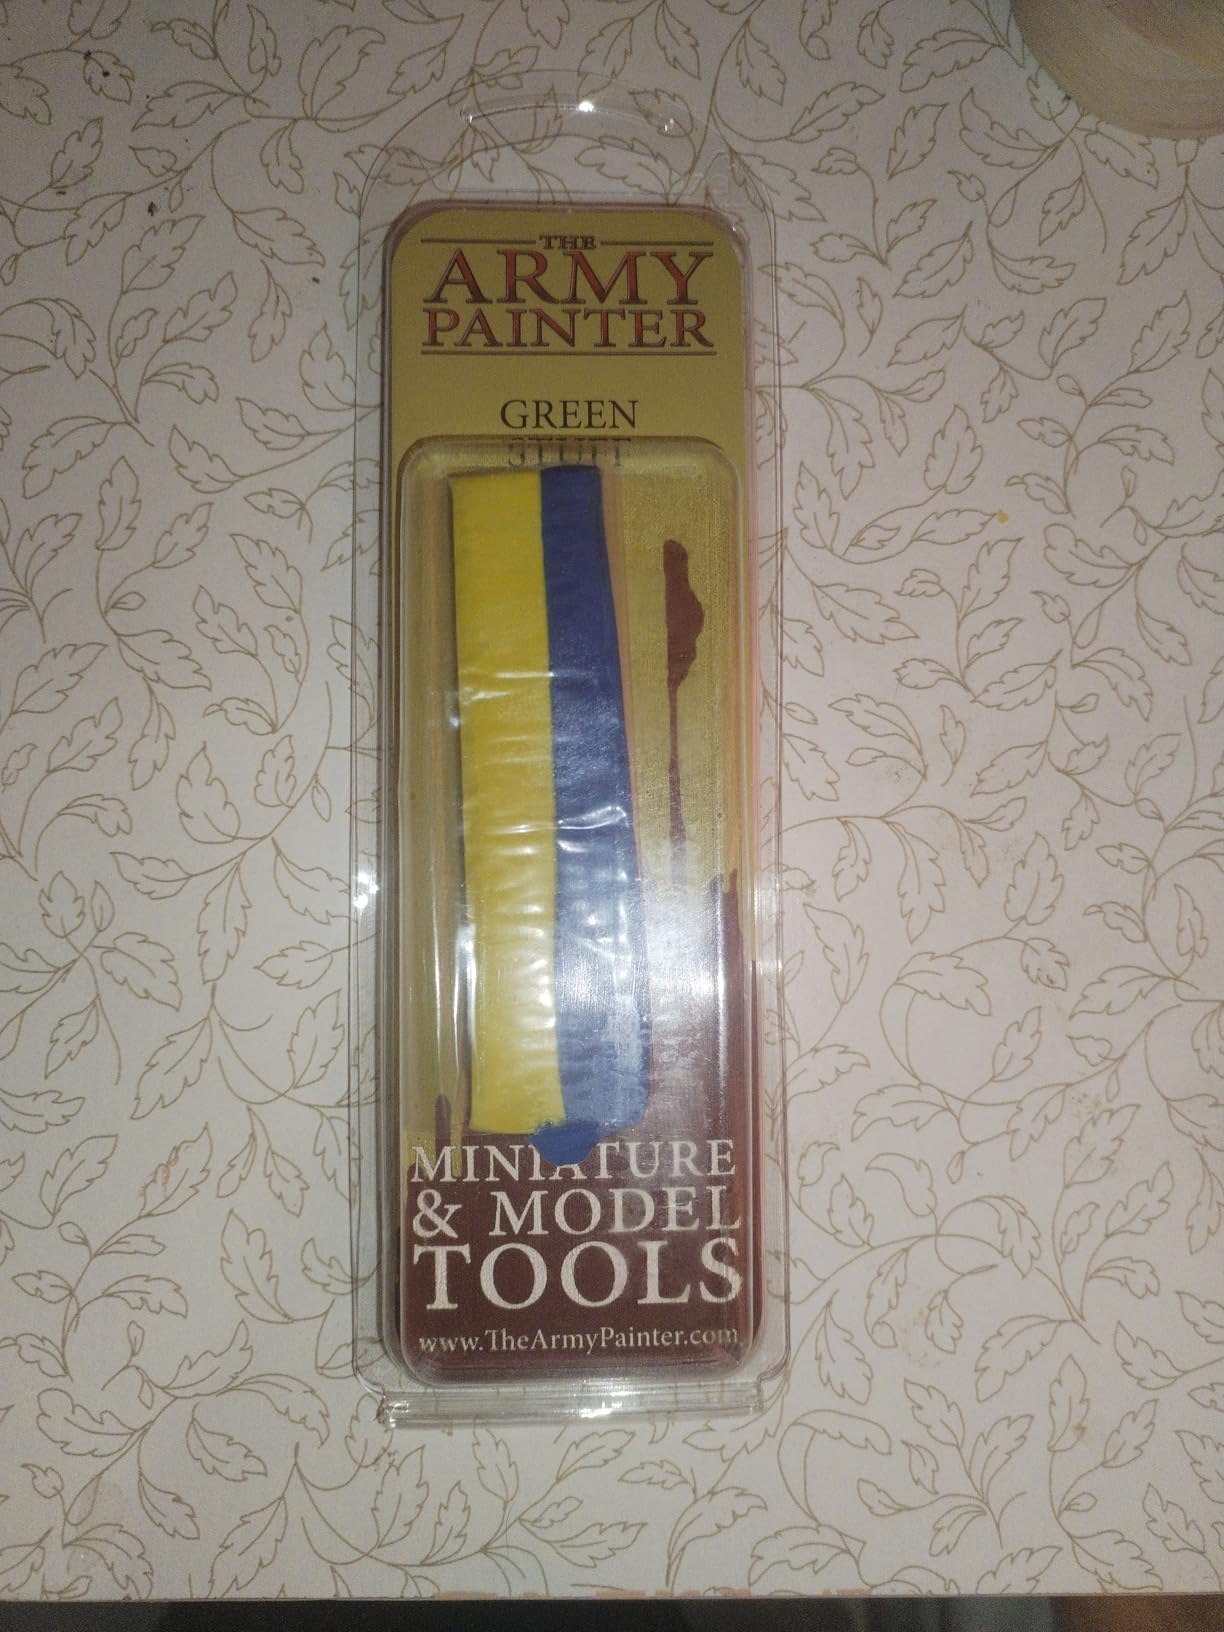
4. The Army Painter Green Stuff – Best for Sculpting and Conversions
The Army Painter Green Stuff, 2 Part Modelling Compound, 20 cm, 25 g, Mouldable Putty for Miniatures, Easy-to-Knead Epoxy for Sculpting
2-part epoxy clay
20cm strip
20-30 min work time
Fully cures in 8 hours
Pros
- Excellent for gap filling and sculpting
- Strong adhesion to plastic
- resin
- metal
- Becomes very hard and durable
- Bends without snapping
Cons
- Very sticky without water lubrication
- Limited working time once mixed
- Requires two passes for deep fills
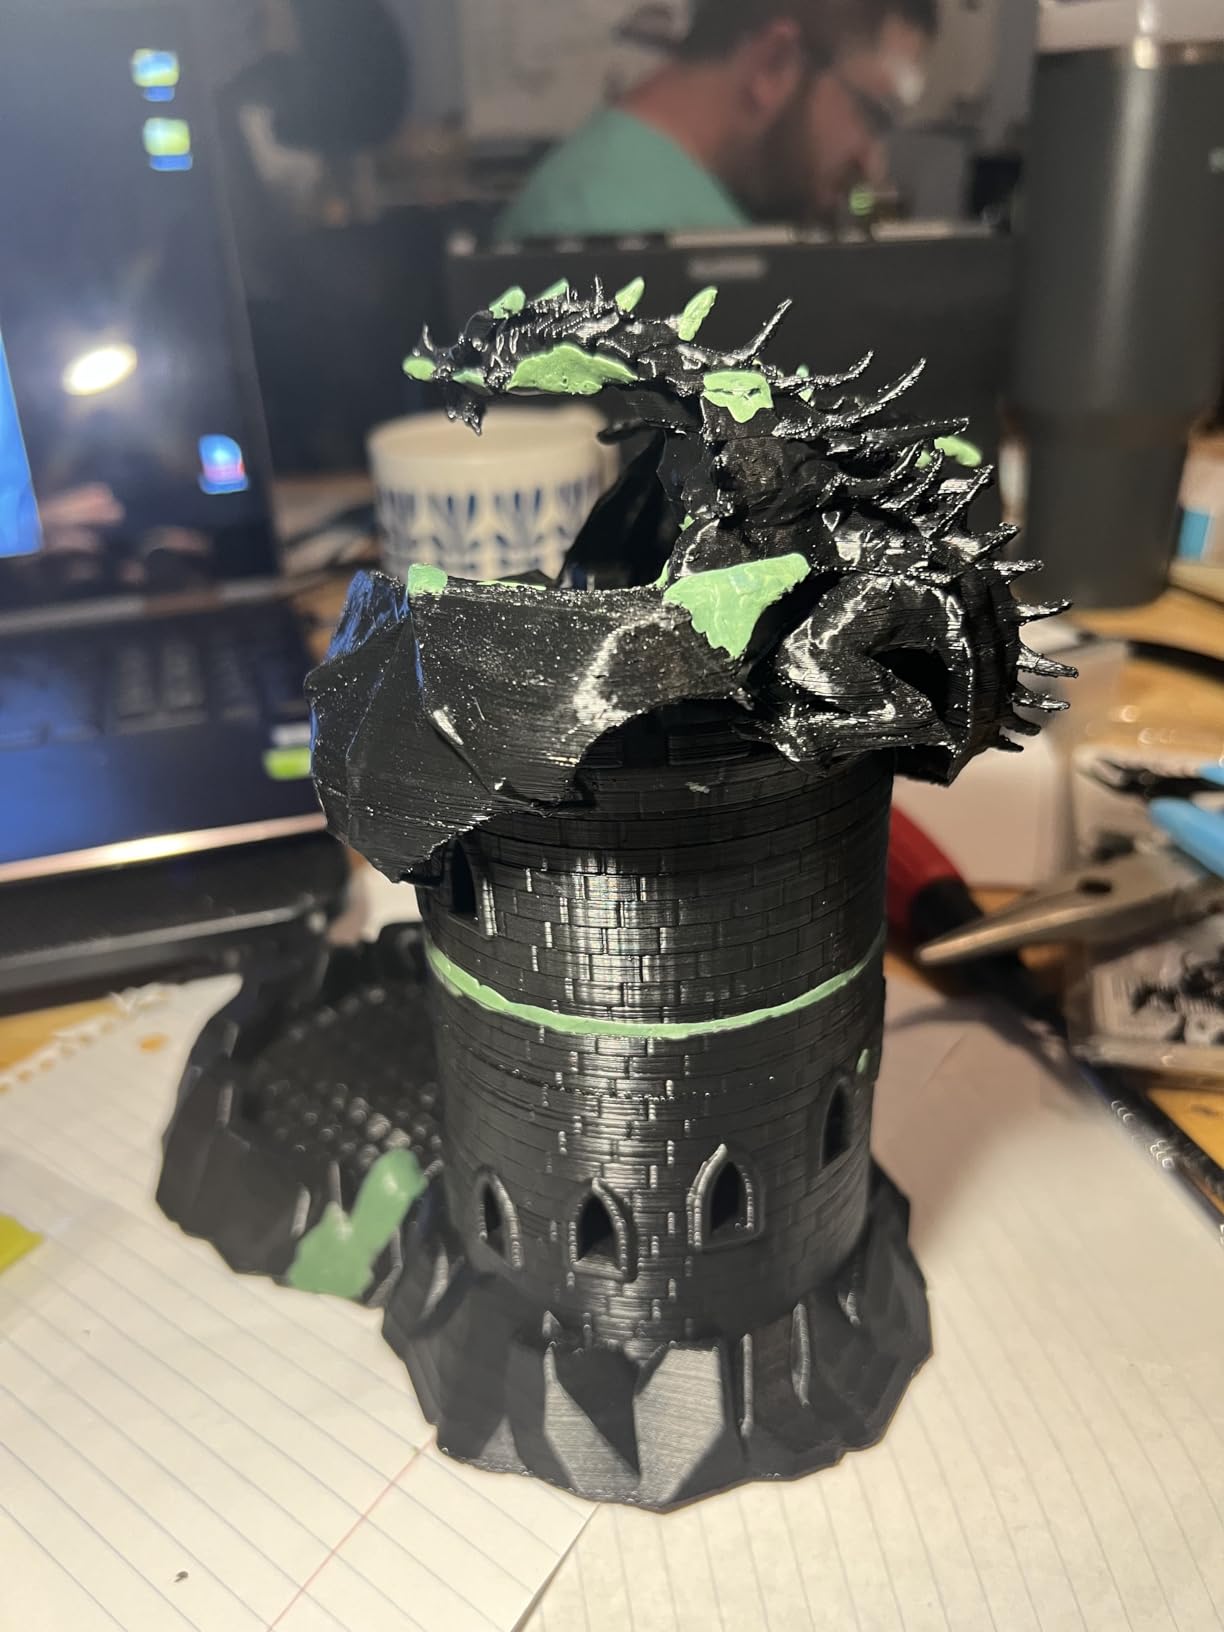
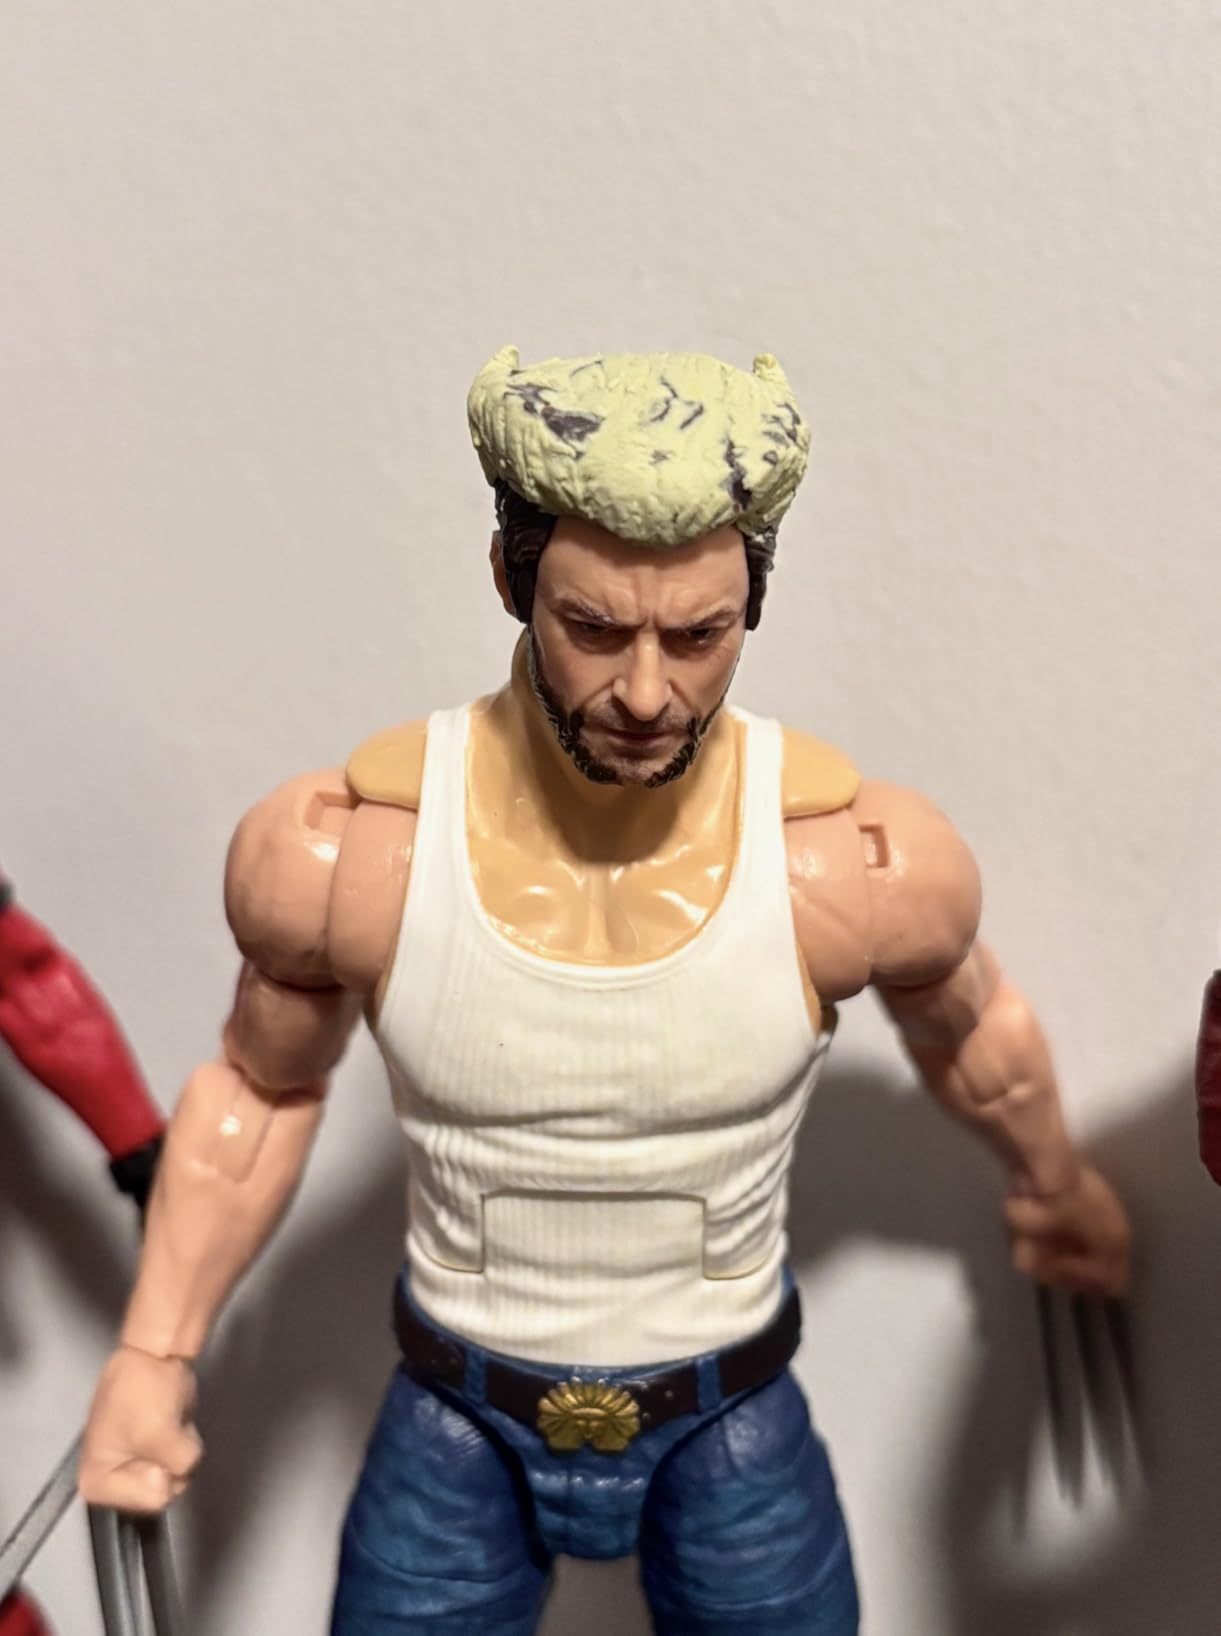
Green Stuff from The Army Painter is the tool I turn to when I need to do more than just fill a gap. This two-part epoxy clay is perfect for miniature conversions, custom sculpting, and building up organic shapes. You mix equal parts of the yellow and blue components to get a uniform green putty that stays workable for 20 to 30 minutes before hardening over the next 8 hours.
I used this product extensively for converting Space Marine torsos and adding custom cloaks to Warhammer characters. The putty takes detail extremely well. I have pressed texture stamps, made tiny veins on monster skin, and sculpted fur textures on cloaks using nothing more than a silicone-tipped color shaper and a damp sculpting tool. Once cured, the material is hard enough to hold paint beautifully but retains a slight flexibility that prevents it from snapping if the miniature takes a fall.
The biggest learning curve is managing the stickiness. Green Stuff loves to grab onto your fingers, tools, and anything else it touches. The solution is to keep your tools and fingertips damp with water while sculpting. A small cup of water next to your workspace is essential. Some hobbyists also use a thin coat of petroleum jelly on their tools, though I find water works fine for most applications.
Mixing and Work Time
For the best results, tear off equal-sized pieces of each color and knead them together until the color is uniform with no streaks. This usually takes about 2 minutes of kneading. The 20 to 30 minute work window is generous enough for most sculpting tasks but goes by quickly when you are doing detailed work. I recommend having your armature or gap prepped before you start mixing.
Best Uses on Miniatures
Green Stuff excels at filling gaps on miniatures, especially organic shapes like cloth folds, muscle definition, and fur textures. It is less suited for geometric shapes like panel lines or hard edges because the putty has some spring-back when you try to compress it into sharp angles. For pure gap filling on flat surfaces, an acrylic putty like Vallejo or Perfect Plastic Putty is easier to use. But for anything involving sculpting, conversions, or adding dimensional details, Green Stuff is the hobby standard for good reason.
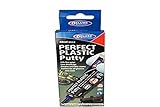
5. Perfect Plastic Putty 40 ml – Best Value Water-Based Filler
Perfect Plastic Putty, 40ml
Water-based formula
40ml tube
Dries white
Minimal shrinkage
Pros
- Easy to use with water cleanup
- Creates invisible seams
- Minimal shrinkage
- Works great on 3D prints
Cons
- Tube can clog if not maintained
- Dries extremely fast
- Slightly thicker consistency
Perfect Plastic Putty from Deluxe Materials is the product that comes up most often in discussions comparing alternatives to the best Vallejo plastic putty. The 40ml tube gives you significantly more product than the Vallejo 20ml option, making it one of the strongest value picks in this roundup. Like Vallejo, it is water-based and cleans up with plain water.
I tested this putty side by side with Vallejo on identical seam gaps on a 1/72 scale aircraft model. The Perfect Plastic Putty filled the seams with slightly less shrinkage, which meant fewer touch-up passes. It dries white, making it easy to see where you have applied it on darker plastic, and it sands to a smooth finish comparable to Vallejo. Many users on the Britmodeller forums prefer it specifically for seam filling on aircraft models.
Where this putty really shines is on 3D printed models. I used it to fill layer lines and seam gaps on several resin-printed miniatures, and it adhered beautifully to the resin surface. The water-based formula does not interact with the cured resin, and the white color provides a good base for primer. If you do any 3D printing and finishing, this product deserves a spot in your toolkit.
Seam Filling Performance
For invisible seams, Perfect Plastic Putty is one of the best options I have tested. The formula spreads thin enough to feather out at the edges, creating a gradual transition from putty to plastic that disappears under primer and paint. I recommend applying a thin bead along the seam, smoothing it with a damp fingertip, and wiping away excess before it starts to set.
Compatibility with 3D Prints
This putty works on both FDM and resin 3D prints. On FDM prints, it fills the visible layer lines and can be sanded smooth for a polished finish. On resin prints, it handles the seam lines where support structures were attached and fills any small voids from printing artifacts. Make sure your prints are fully cured and cleaned before applying any putty for the best adhesion.
6. Milliput Standard Grain 4 oz – Best for Structural Repairs
Standard Grain Milliput, 4 oz.
2-part epoxy putty
4 oz package
Self-hardening
Waterproof once cured
Pros
- Dries rock hard and durable
- Waterproof after curing
- Can be sanded
- carved
- or drilled
- Long shelf life
Cons
- Only about 1 hour work time
- Very sticky during mixing
- Heavier grain than superfine versions
Milliput Standard Grain earns the highest rating in this roundup at 4.8 stars, and for good reason. This two-part epoxy putty dries to a rock-hard finish that can be sanded, carved, drilled, and even tapped for threads. When I needed to repair a broken mounting tab on a display model, Milliput was the only putty that created a structural repair strong enough to hold under pressure.
The 4 oz package gives you a generous amount of product compared to the smaller tubes of acrylic putties. I have used a single package across multiple projects over several months. The separate sticks have a long shelf life when stored in a cool, dry place, so there is no rush to use it all before it dries out like tube-based acrylics.
Mixing Milliput is straightforward: cut equal parts from each stick and knead them together until the color is uniform. The standard grain has a slightly coarser texture than the superfine variant, which makes it better for larger structural fills and worse for tiny detail work. After about an hour, the mixed putty becomes too stiff to shape, so plan your work accordingly.
Cure Hardness and Durability
Once fully cured (typically 24 hours), Milliput becomes incredibly hard and completely waterproof. This makes it ideal for repairs that need to withstand handling, such as fixing broken figure joints, rebuilding missing corners on model kits, or creating custom bases for dioramas. I have drilled into cured Milliput without it cracking, which is something no acrylic-based putty can handle. It accepts primer and paint without issues.
Surface Finishing Techniques
For the smoothest finish, I recommend smoothing Milliput with water or isopropyl alcohol while it is still workable. This eliminates most of the need for post-cure sanding. If you do need to sand, wait the full 24 hours and use progressively finer grits from 220 up to 1000. The standard grain can show slight texture at very fine finishes, so consider the superfine variant if your project demands a glass-smooth surface.
7. AK Interactive Grey Putty 20 ml – Best for Visible Seam Lines
(AK00104) AK Interactive Modelling Grey Putty 20 ml
Grey acrylic putty
20ml tube
Acrylic-based formula
Waterproof finish
Pros
- Holds paint and primer well
- Spreads easily
- Sands to smooth finish
- Does not shrink significantly
Cons
- About 8% shrinkage reported
- Thinner consistency than some alternatives
- Limited customer feedback
AK Interactive Grey Putty offers a different approach from the white Vallejo formula. The grey color makes filled areas stand out against light plastic, helping you spot imperfections before priming. This has saved me from discovering missed gaps after painting, which used to happen frequently with white putties that blend into primer.
The acrylic-based formula spreads easily from the tube and adheres well to both plastic and metal surfaces. I tested it on a set of plastic vehicle models where the grey color helped me identify exactly where seams remained after the initial fill. The putty holds primer exceptionally well, and I noticed zero paint adhesion issues even after several coats of acrylic paint and washes. At 20ml, the tube size is comparable to the Vallejo options.
The consistency is thinner than Vallejo Plastic Putty, closer to a thick acrylic paint. This makes it easy to spread into fine seam lines but less suitable for building up larger fills. Some users on modeling forums report about 8% shrinkage, which is slightly higher than Vallejo but lower than some solvent-based alternatives. For fine seam work, this is a solid performer.
Paint Adhesion Quality
Where AK Grey Putty really distinguishes itself is paint adhesion. After filling seams and priming with a standard acrylic primer, I applied multiple layers of paint, wash, and varnish without any flaking or lifting at the putty edges. The grey base color also provides better contrast under light-colored paints compared to white putties, which can sometimes show through thin paint layers as bright spots.
Shrinkage Characteristics
The roughly 8% shrinkage is worth accounting for in your application. I apply slightly more putty than needed to compensate, creating a small mound above the surface that can be sanded flush after drying. This approach takes a bit more sanding but eliminates the need for a second fill pass. Allow at least 24 hours before sanding for the best results, especially in humid conditions.
8. AK Tools Camouflage Elastic Putty 80g – Best for Masking and Camo Patterns
AK Tools AK8076 Camouflage Elastic Putty (80g)
Elastic masking putty
80g container
Reusable formula
No residue left behind
Pros
- Highly reusable for multiple projects
- Easy to shape and apply
- Blocks paint cleanly
- Does not leave residue
Cons
- Can flatten and spread over time
- Gets sticky if left on too long
- Strings when separating
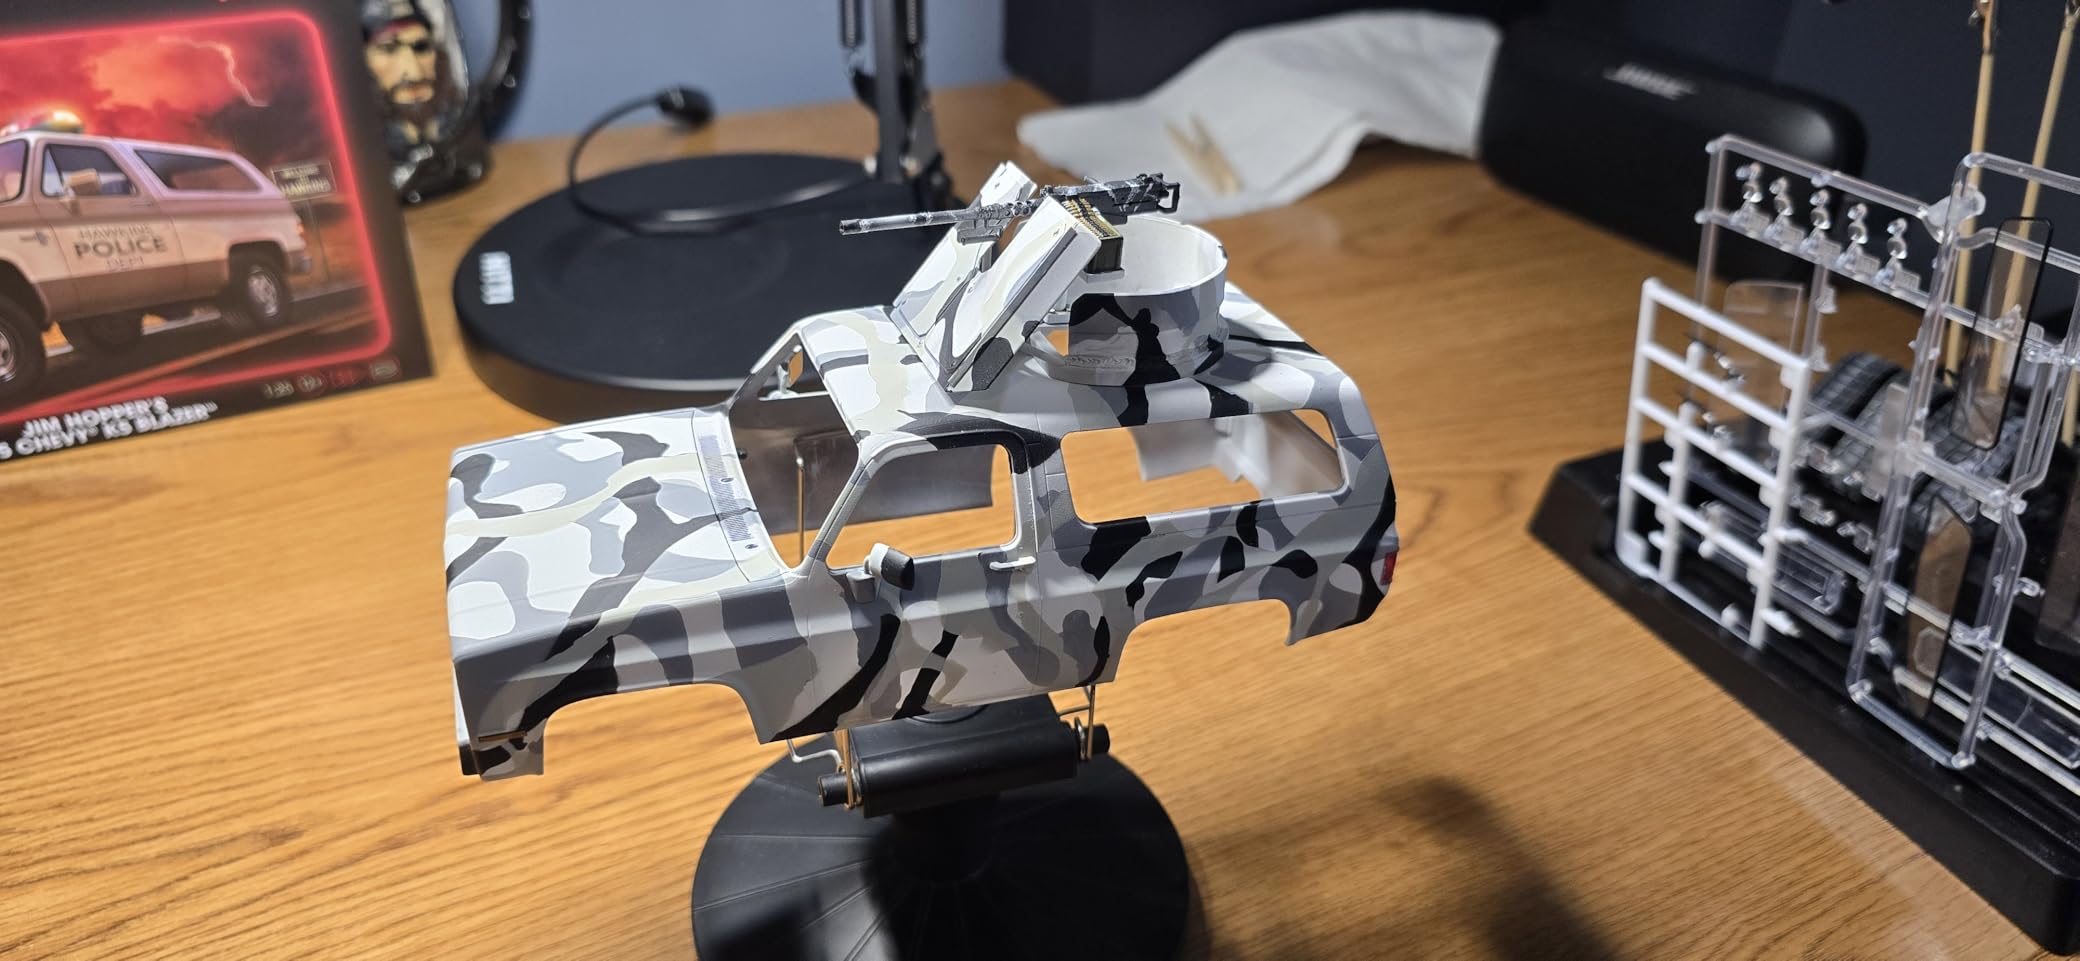
The AK Camouflage Elastic Putty serves a completely different purpose from the other products in this roundup. Instead of filling gaps, this is a masking putty designed for creating camouflage patterns and protecting areas from paint during airbrushing. I am including it because many hobbyists who need gap-filling putty also need masking solutions, and this product is exceptional at what it does.
I used this putty to mask a World War II tank model for a three-color camo scheme, and the results were impressive. The putty stretches and conforms to complex curved surfaces without lifting or peeling at the edges. Paint lines came out crisp with zero bleed-through. After removing the putty, there was no residue left on the painted surface, which is a problem I have had with other masking products including blu-tack and tape.
The 80g container provides plenty of putty for multiple projects. I have used the same batch for at least 8 different masking sessions, and it still performs well. The putty does pick up some paint pigment over time, but this does not affect its masking performance. Store it in its container between uses to prevent it from drying out.
Reusability and Longevity
This is one of the most reusable masking products I have worked with. After each use, I knead it briefly to recondition the elasticity, and it is ready to go again. The putty does eventually lose some of its tack after many uses, but I have gotten well over 10 applications from a single piece. Compared to disposable masking tape, the cost-per-use is very reasonable over time.
Complex Pattern Techniques
For complex camouflage patterns, I stretch thin strands of the putty and lay them across the model surface to create organic, irregular edges between color zones. This produces much more realistic camo patterns than geometric tape edges. You can also press the putty into textured surfaces like tank treads and hull rivets, where tape cannot conform. For hard-edge camo patterns, press the putty firmly along the edge line. For soft-edge patterns, lift the edge slightly to allow a faint spray of paint underneath.
How to Choose the Right Model Puttys?
Picking the right putty depends on what you are building and what problems you need to solve. Here is how I think about it after testing all these products.
Putty Type Matters Most
Acrylic-based putties like Vallejo and Perfect Plastic Putty are water-soluble and easy to clean up. They work well for small gaps, seam lines, and surface imperfections. Solvent-based putties like Tamiya offer stronger adhesion and better sandability but require ventilation during use. Two-part epoxy clays like Green Stuff and Milliput provide the hardest, most durable fills but require mixing and have limited working time.
Match the Putty to the Gap Size
For hairline seams and gaps under 0.5mm, acrylic putties from Vallejo or Perfect Plastic Putty are your best bet. They spread thin, dry quickly, and are easy to sand flush. For gaps between 0.5mm and 1mm, you can still use acrylic putties but may need multiple applications due to shrinkage. For gaps over 1mm, switch to a two-part epoxy like Milliput or Green Stuff, which fill in a single pass and do not shrink.
Consider Drying and Cure Time
If you need to move fast, Perfect Plastic Putty and Tamiya dry quickly to the touch. Vallejo putty needs 10 to 15 minutes for surface drying but up to 3 days for full cure. Two-part epoxies vary: Green Stuff cures in about 8 hours, while Milliput takes 24 hours for a full cure. Plan your building schedule around these times so you are not waiting on putty when you could be building.
Think About Post-Fill Work
Will you need to sand the filled area smooth? Tamiya and Milliput sand the best, producing clean, smooth surfaces. Vallejo putty sands adequately with fine grits but can clog sandpaper. If you plan to carve panel lines or fine details over the filled area, Milliput or Tamiya are better choices because they hold detail when carved. Vallejo putty has a slightly rubbery texture when cured, which makes carving less precise.
Water Cleanup vs. Solvent
Vallejo, Perfect Plastic Putty, and AK Grey Putty all clean up with water. This is safer, more convenient, and eliminates the need for harsh solvents. Tamiya requires solvent cleanup, which means working in a ventilated area and keeping lacquer thinner or enamel thinner on hand. For hobbyists who build at their desks or in shared spaces, water-based putties are the practical choice.
FAQs
What is Vallejo plastic putty used for?
Vallejo plastic putty is an acrylic-based filler used for filling gaps, seam lines, sink marks, and surface imperfections on plastic models, miniatures, and wood surfaces. It applies directly from the squeeze tube, cleans up with water, and dries to an opaque white finish that can be sanded and painted.
How long does it take for Vallejo plastic putty to set?
Vallejo plastic putty dries to the touch in about 10 to 15 minutes. However, full cure takes 1 to 3 days depending on the thickness of the application. For best sanding results, wait at least 24 hours before attempting to smooth the surface.
Is Vallejo plastic putty sandable?
Yes, Vallejo plastic putty is sandable once fully dried. Use ultra-fine sandpaper (600 grit or higher) for the smoothest results. The putty has a slightly rubbery texture when cured, so it can clog coarser grits. Many hobbyists prefer to smooth the surface with a damp tool before it fully dries to reduce sanding time.
Is Perfect Plastic Putty better than Vallejo putty?
Both putties perform similarly for seam filling, but Perfect Plastic Putty has slightly less shrinkage and comes in a larger 40ml tube. Vallejo putty is easier to find and has a more established reputation in the hobby community. For 3D print finishing, Perfect Plastic Putty gets the edge. For miniature work, both are equally effective.
Is Vallejo plastic putty better than GSW green putty?
They serve different purposes. Vallejo plastic putty is an acrylic filler for small gaps and seams, while Green Stuff (GSW) is a two-part epoxy clay for sculpting and conversions. For simple gap filling, Vallejo is easier to use. For sculpting custom details or filling large structural gaps, Green Stuff is the better choice.
Wrapping Up
After testing 8 products across dozens of miniature and scale model projects, the Vallejo Plastic Putty 20ml remains my top pick for most hobbyists. Its water-soluble acrylic formula, easy cleanup, and versatile performance make it the best Vallejo plastic putty option for gap filling, seam lines, and surface imperfections. Perfect Plastic Putty is the strongest value pick with less shrinkage and more product per tube, while Milliput leads the pack for structural repairs that need rock-hard durability.
For sculpting and miniature conversions, Green Stuff from The Army Painter is the industry standard that delivers professional results. And if you need a masking solution alongside your filler work, the AK Camouflage Elastic Putty is a reusable tool that earns its keep project after project. Pick the putty that matches your gap size, material, and finishing needs, and your models will thank you for it.