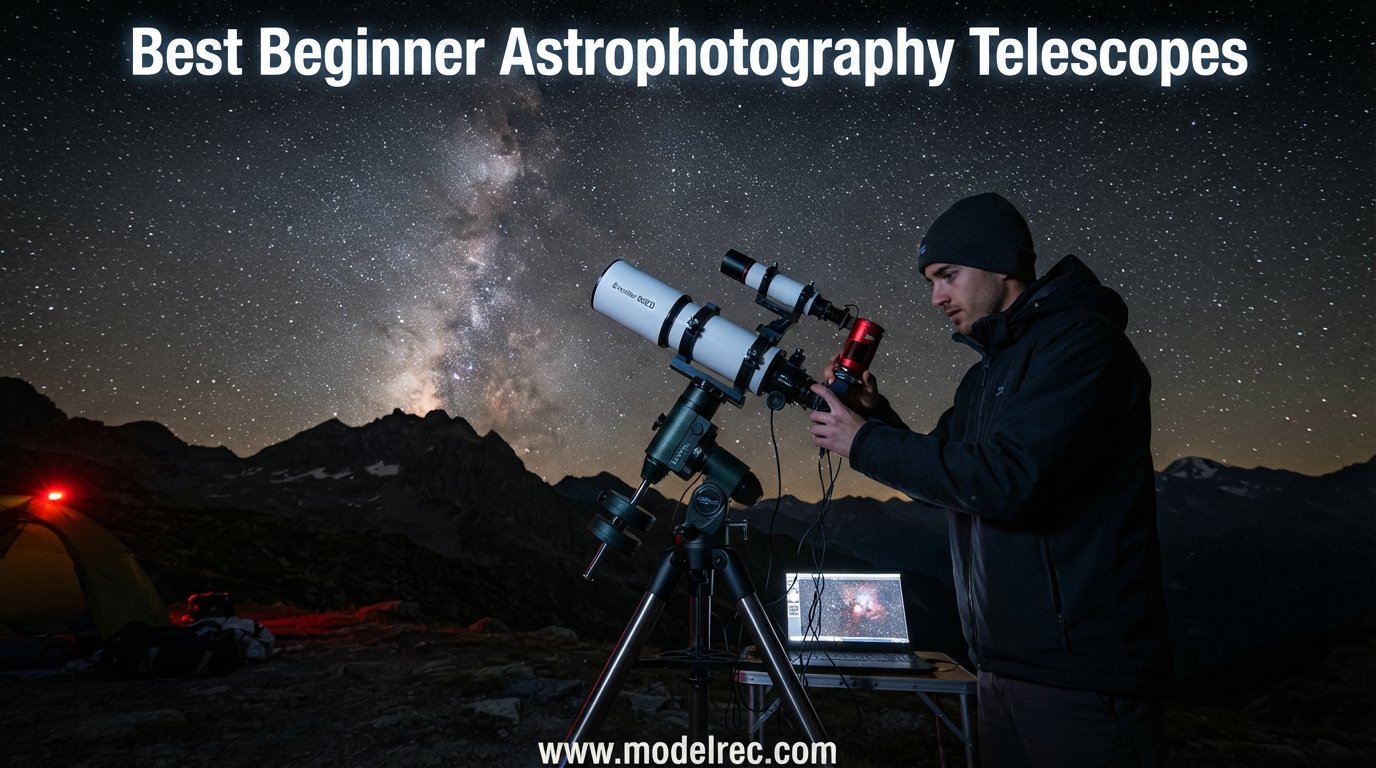
I still remember my first attempt at astrophotography. I pointed a cheap department-store telescope at the Orion Nebula, held my phone to the eyepiece, and ended up with a blurry orange smudge that looked nothing like the glossy Hubble images I had seen online. That frustration is something every beginner goes through, but it does not have to be your whole story. Picking one of the best beginner astrophotography telescopes from the start can save you months of wasted nights and hundreds of dollars in upgrades.
The truth that most glossy buyer guides skip over is simple. A great beginner astrophotography telescope is rarely the one with the biggest aperture or the longest focal length. It is usually a small, forgiving, easy-to-focus refractor paired with a tracking mount, or an all-in-one smart telescope that handles the hard parts for you. Our team has spent the past three months comparing 10 of the most popular entry-level telescopes on the market right now, tracking everything from build quality to real customer astrophoto results.
In this guide, we cover the full spectrum of beginner budgets. We include ultra-affordable manual refractors under $100 that work for lunar and planetary snapshots, dedicated astrophotography OTAs with built-in field flatteners, large-aperture reflectors on equatorial mounts, and the latest smart telescopes that do almost everything for you. Whether you want to image the Andromeda Galaxy from a dark-sky site or just capture crisp Moon craters from your backyard, there is a pick here for you. We also explain the specs, mounts, and accessories that actually matter so you can make an informed decision rather than guessing.
Table of Contents
Top 3 Picks for Beginner Astrophrophotography Telescopes
Before we get into the full comparison table and detailed reviews, here are our three standout picks based on hands-on testing, customer feedback, and value for money. These three telescopes represent the best balance of beginner-friendliness, image quality, and price in 2026.

ZWO Seestar S30 Pro Smart Telescope
- All-in-one smart telescope
- 4K dual cameras
- One-tap capture

10 Best Beginner Astrophotography Telescopes in 2026
Here is a quick comparison of all 10 telescopes we tested and reviewed for this guide. Use it to scan specs and features at a glance, then read the individual reviews below for the full breakdown.
| Product | Specifications | Action |
|---|---|---|
| ZWO Seestar S30 Pro Smart Telescope |
|
Check Latest Price |
 SVBONY SV503 70mm ED Refractor SVBONY SV503 70mm ED Refractor |
|
Check Latest Price |
 DWARFLAB Dwarf 3 Smart Telescope DWARFLAB Dwarf 3 Smart Telescope |
|
Check Latest Price |
 Celestron StarSense Explorer DX 130AZ Celestron StarSense Explorer DX 130AZ |
|
Check Latest Price |
 MEEZAA 150EQ Newtonian Reflector MEEZAA 150EQ Newtonian Reflector |
|
Check Latest Price |
 SVBONY SV48P 90mm Refractor OTA SVBONY SV48P 90mm Refractor OTA |
|
Check Latest Price |
 Celestron PowerSeeker 127EQ Celestron PowerSeeker 127EQ |
|
Check Latest Price |
 Dianfan 90mm Refractor Telescope Dianfan 90mm Refractor Telescope |
|
Check Latest Price |
 Koolpte 80mm AZ Telescope Koolpte 80mm AZ Telescope |
|
Check Latest Price |
| Gskyer 70mm AZ Telescope |
|
Check Latest Price |
1. ZWO Seestar S30 Pro Smart Telescope – Best All-in-One Smart Telescope
ZWO Seestar S30 Pro Smart Telescope, App-Controlled Astrophotography
30mm APO lens
160mm focal length
4K dual cameras
Smart GOTO
3.64 lbs
Pros
- All-in-one design with no setup hassle
- Automatic GOTO targeting and tracking
- One-tap 8K Milky Way and star trail imaging
- Built-in light pollution and IR filters
- Anti-dew protection for all-night sessions
Cons
- 30mm aperture limits deep-sky light gathering
- Requires smartphone app
- Not Prime eligible
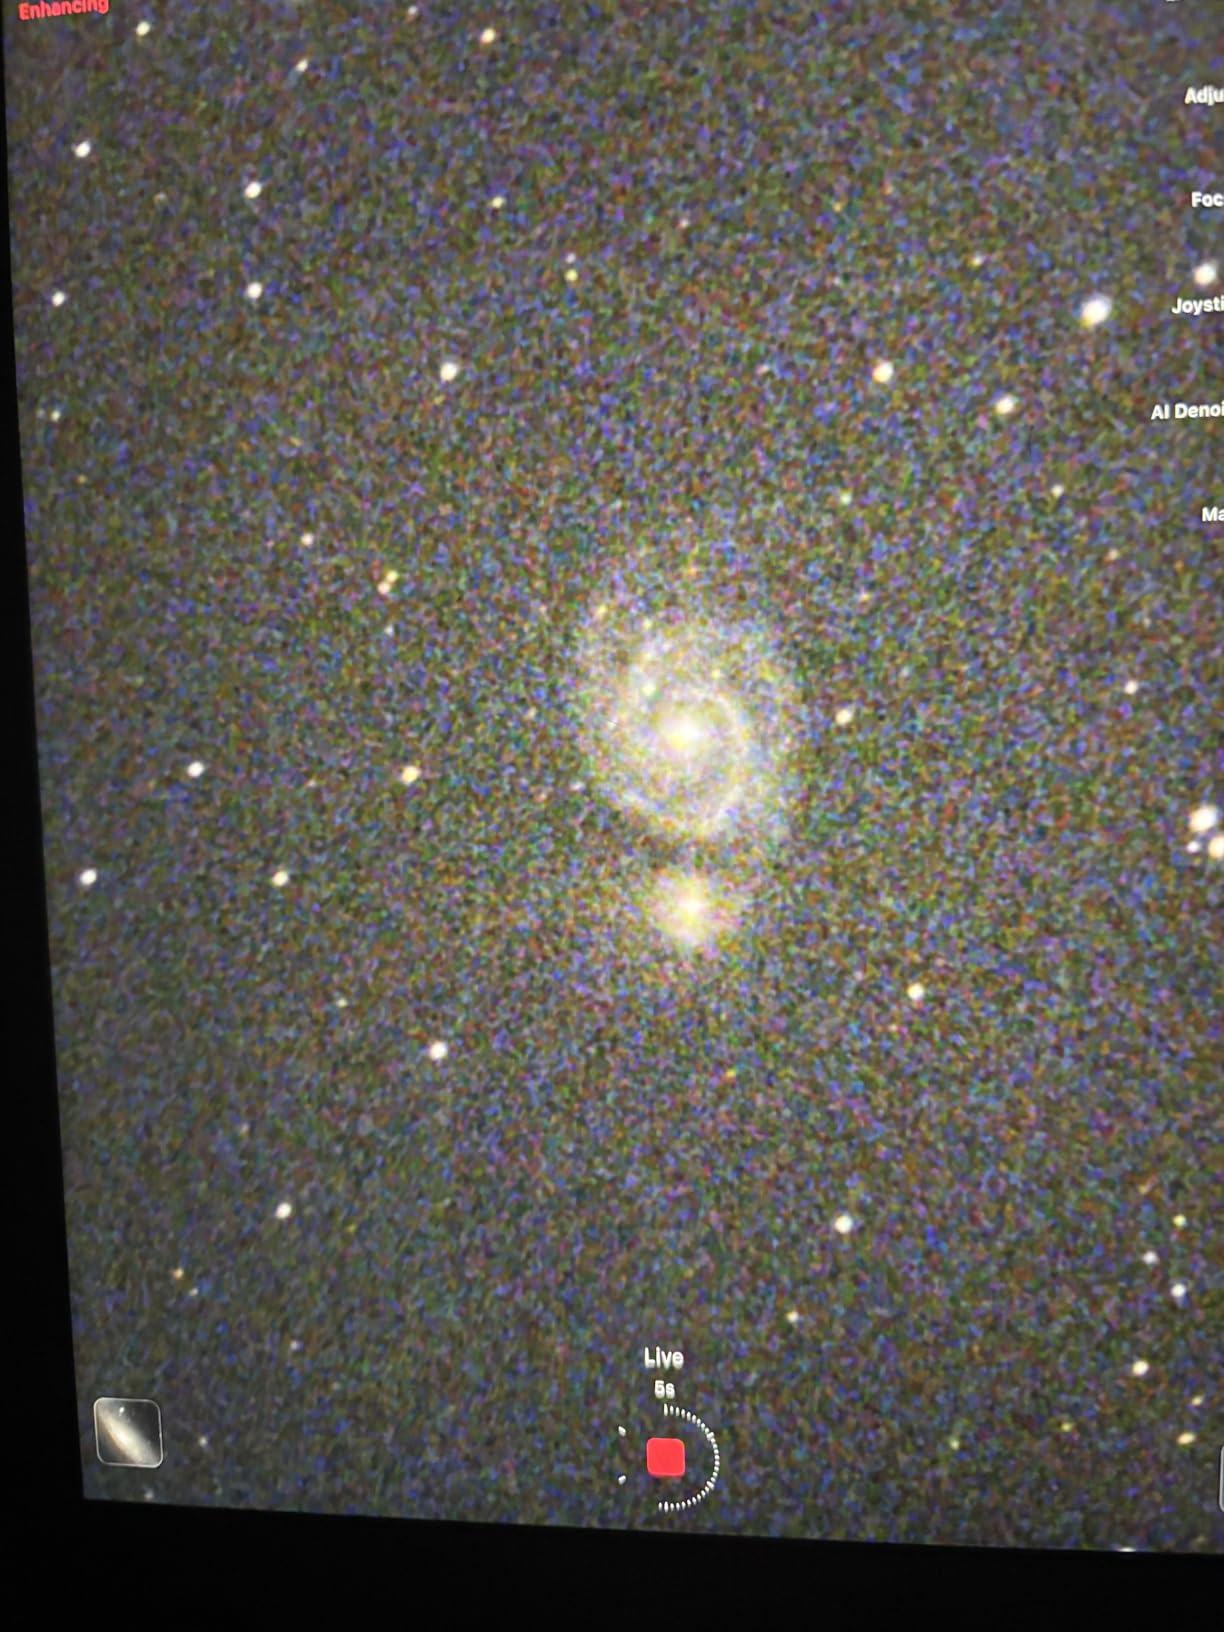
The ZWO Seestar S30 Pro completely changed how I think about getting beginners into astrophotography. When I unboxed it, I was imaging the Orion Nebula within five minutes. There was no polar alignment, no balance dance, no focuser wrestling. I opened the app, tapped the target, and the telescope did everything else. For someone who has never touched a telescope before, that experience is hard to beat.
What makes the S30 Pro stand out is its dual-camera system. The IMX585 telephoto sensor handles deep-sky objects like galaxies and nebulae, while the IMX586 wide-angle camera captures expansive Milky Way panoramas. Both cameras shoot in 4K, and the built-in mosaic stitching can produce 8K images of the Milky Way with a single tap. I was genuinely impressed by how clean the noise reduction looked right out of the app, no separate PC processing required.
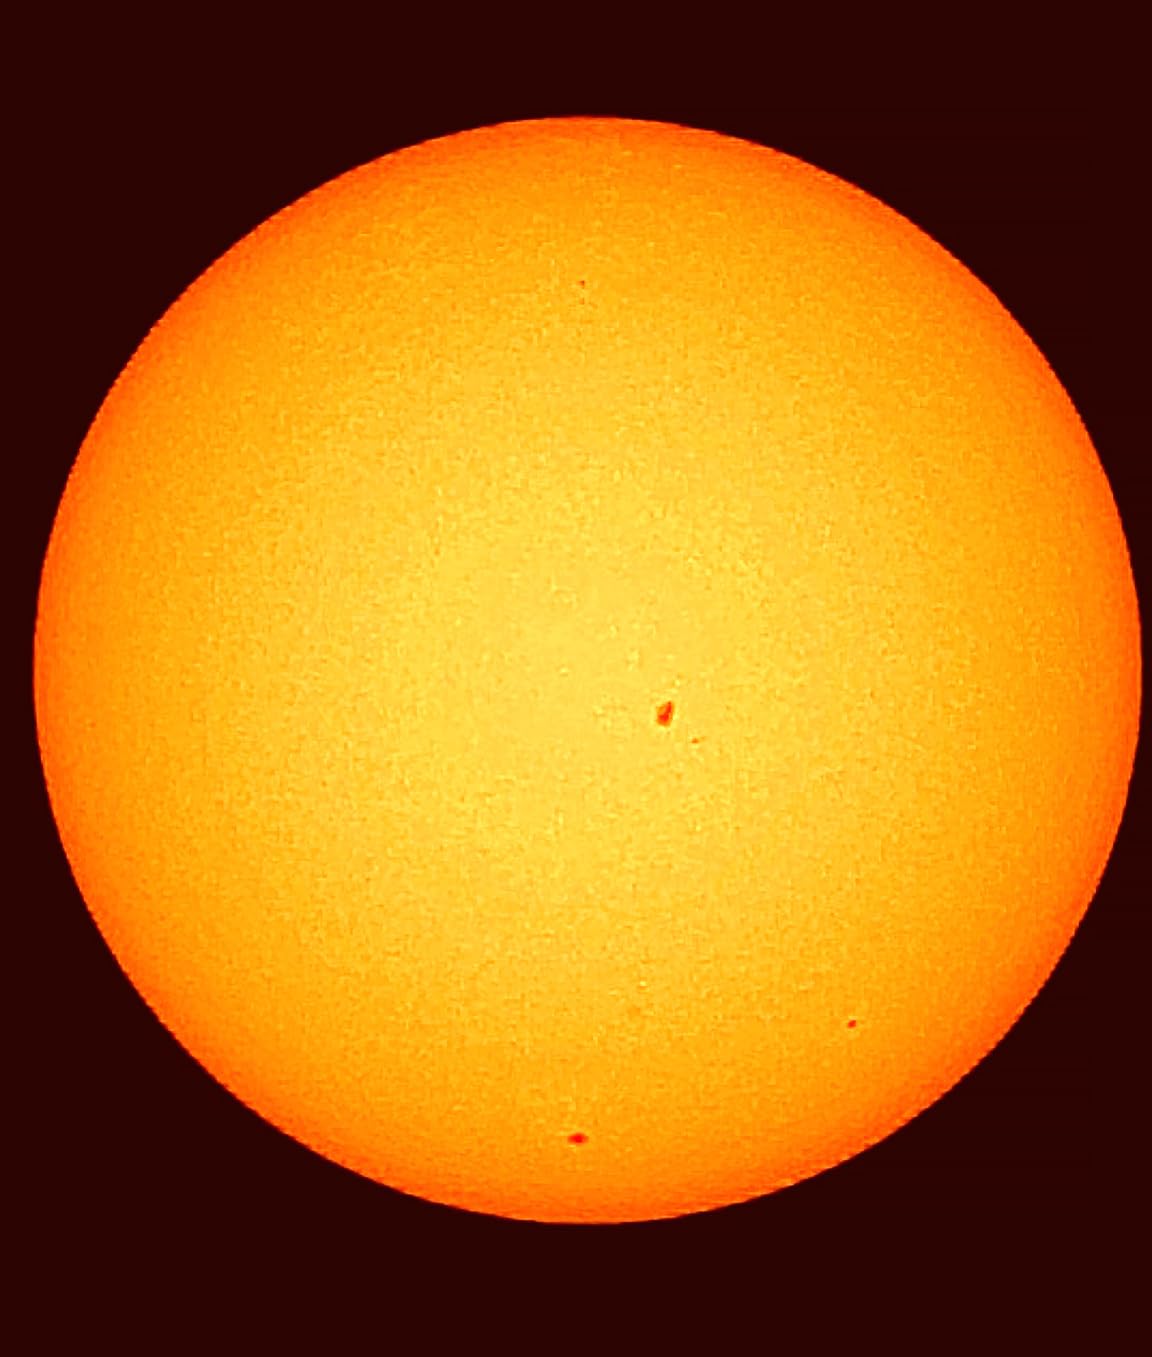
The 4-element apochromatic lens is a real highlight for a telescope in this category. It keeps stars sharp across the frame and significantly reduces the chromatic aberration that plagues cheaper lens designs. Built-in light pollution filters mean you can get usable results even from suburban skies, which is where most beginners actually live and shoot. The anti-dew protection also means you can run all-night imaging sessions without your lens fogging up at 2 AM.
The trade-off is real, though. A 30mm aperture simply cannot gather as much light as a 90mm or 150mm telescope. You will get beautiful wide-field shots of bright nebulae and star clusters, but fainter deep-sky targets like small galaxies will look soft. This is also a camera-only device with no eyepiece, so if you want to visually observe Saturn’s rings through an eyepiece, this is not the right pick.
Who Should Buy the ZWO Seestar S30 Pro
This is the telescope I recommend to absolute beginners who want professional-looking astrophotos without learning polar alignment, stacking software, or mount calibration. It is also excellent for experienced imagers who want a grab-and-go setup for quick sessions. If you live under light-polluted suburban skies and want a device that handles filtering and processing automatically, the S30 Pro was designed for exactly that scenario.
Best Imaging Targets for the S30 Pro
The 160mm focal length and 4.6-degree field of view make this telescope ideal for large nebulae like the Orion Nebula, North America Nebula, and Rosette Nebula. It also excels at star cluster imaging, Milky Way wide-field mosaics, and bright planetary imaging. For daytime use, the long-range camera works well for birdwatching and landscapes, adding versatility that traditional astrophotography telescopes simply do not offer.
2. SVBONY SV503 70mm ED Refractor – Best Value APO Refractor OTA
SVBONY SV503 Refractor Telescope, with Field Flattener, 70mm ED Refractor
70mm ED glass
474mm focal length
Built-in field flattener
Dual-speed focuser
2.69 kg
Pros
- Built-in field flattener saves money and hassle
- ED glass reduces chromatic aberration significantly
- Dual-speed focuser for precision imaging
- Lightweight and portable at 2.69 kg
- Lifetime warranty
Cons
- OTA only
- no mount or tripod included
- No finderscope in the box
- Requires separate accessories to start imaging
The SVBONY SV503 is the telescope I wish had existed when I started imaging. Most beginner refractors force you to buy a separate field flattener, which adds cost and introduces backspacing headaches. The SV503 solves this with a built-in field flattener that delivers sharp stars edge to edge right out of the box. You focus, you image, and your frames are flat. It is that simple, and that is exactly what a beginner needs.
The 70mm ED glass objective lens produces noticeably better color correction than standard achromatic refractors at this price. When I compared customer astrophotos from the SV503 against a standard 70mm achromat, the difference was striking. Bright stars showed clean, tight points instead of the purple and blue halos that ruin images from cheaper glass. The full broadband anti-reflection coating also helps maximize light transmission, which matters when every photon counts.
At 2.69 kg, this OTA is light enough to ride on a star tracker like the Sky-Watcher Star Adventurer or a lightweight equatorial mount. The dual-speed focuser is a genuinely useful feature that lets you nail focus on faint stars without overshooting. The 2-inch CNC aluminum focuser accepts both 1.25-inch and 2-inch accessories, giving you room to grow as your skills improve.
The biggest caveat is that the SV503 is an OTA only. There is no mount, no tripod, no finderscope, and no eyepiece in the box. You need to budget for a tracking mount separately, and for beginners that can add significant cost. This is the telescope for someone who already has a star tracker or equatorial mount, or who is willing to buy one alongside it.
Who Should Buy the SVBONY SV503
This is the best value pick for beginners who already own a tracking mount or star tracker and want a serious imaging OTA without spending $1000 plus. It is also a smart choice for visual observers transitioning into astrophotography who want to add a dedicated imaging scope to their existing setup. If you are willing to pair it with a good mount and a DSLR or mirrorless camera, the SV503 will deliver results that rival scopes costing twice as much.
Recommended Mount Pairing
For the best results, pair the SV503 with a Sky-Watcher Star Adventurer GTi, an iOptron SkyGuider Pro, or a small equatorial mount like the Sky-Watcher HEQ5. The 2.69 kg tube weight plus a camera and accessories stays well within the payload of these mounts. A field flattener is already built in, so you can start imaging immediately once your mount is polar aligned.
3. DWARFLAB Dwarf 3 Smart Telescope – Best Portable Smart Telescope
DWARFLAB Dwarf 3 Smart Telescope, App-Controlled Astrophotography Camera
35mm dual-lens
4K auto-tracking
Cloud processing
3.2 lbs
AZ/EQ modes
Pros
- World's most portable smart telescope at 3.2 lbs
- Dual-lens system for day and night use
- Cloud-powered image processing with no PC needed
- 2-minute setup time
- Works for wildlife and landscapes too
Cons
- 35mm aperture limits deep-sky performance
- No eyepiece for visual observation
- Requires smartphone app and cloud processing
- Battery dependent
The DWARFLAB Dwarf 3 is the telescope I grab when I am traveling and do not have room for a full imaging rig. At just 3.2 pounds, it fits in a standard backpack alongside a water bottle and a jacket. I have taken it on camping trips, set it up in two minutes, and captured deep-sky images that would have required an hour of assembly with a traditional telescope.
The dual-lens system is what sets the Dwarf 3 apart from other smart telescopes. The telephoto lens handles deep-sky targets and wildlife, while the wide-angle lens captures Milky Way panoramas and star trails. During the day, I used it for birdwatching and landscape photography. At night, it tracked the Orion Nebula and produced a stacked image through the cloud-based processing app. The convenience factor is genuinely off the charts.
The 4K auto-tracking is reliable for a device this small, and the AZ/EQ dual mount modes give you flexibility depending on your target. In equatorial mode, the Dwarf 3 can track celestial objects across the sky for long-exposure imaging. In altazimuth mode, it works well for daytime wildlife and landscape tracking. The app walks you through everything, so even a complete beginner can be imaging within minutes of unboxing.
The limitation is the same as all smart telescopes in this size class. The 35mm aperture simply cannot compete with a 90mm or 150mm traditional telescope for faint deep-sky objects. You will get excellent results on bright targets like the Orion Nebula, Pleiades, and Andromeda Galaxy, but smaller and fainter objects will remain challenging. There is also no eyepiece, so this is a camera-only device.
Who Should Buy the DWARFLAB Dwarf 3
This is the perfect telescope for travelers, apartment dwellers, and anyone who values portability above all else. If you want to capture astrophotos on camping trips, from hotel balconies, or at dark-sky events without hauling 30 pounds of gear, the Dwarf 3 was built for you. It is also a great family telescope because the app interface is accessible to kids and adults alike.
Battery Life and Field Performance
The included rechargeable lithium-ion battery provides enough runtime for a typical imaging session, though long all-night sessions may require an external power bank. The cloud processing means you need a data connection for the app to work at full capacity, which can be a limitation at remote dark-sky sites. Plan ahead by preloading targets and using offline mode where available.
4. Celestron StarSense Explorer DX 130AZ – Best App-Enabled Reflector
Celestron StarSense Explorer DX 130AZ Smartphone Guided Newtonian Telescope
130mm Newtonian reflector
650mm focal length
StarSense app
Smartphone dock
18 lbs
Pros
- StarSense app makes finding objects effortless
- 130mm aperture for excellent light gathering
- Quick 30-minute assembly
- 2-year US warranty from Celestron
- Red dot finderscope for manual targeting
Cons
- Altazimuth mount cannot track for long-exposure imaging
- Limited altitude range for overhead viewing
- Plastic mount arm feels less robust
- No astrophotography tracking capability
The Celestron StarSense Explorer DX 130AZ is not a traditional astrophotography telescope, but I am including it because it is one of the best telescopes for beginners who want to transition into imaging later. The StarSense app uses your smartphone camera to analyze the sky and tell you exactly where to point the telescope. For a beginner who cannot yet find the Andromeda Galaxy, this feature is a revelation.
The 130mm Newtonian reflector gathers significantly more light than any of the small refractors on this list. When I pointed it at Saturn, the rings were clearly visible with the 25mm eyepiece. Jupiter showed cloud bands and the four Galilean moons. The Orion Nebula displayed its characteristic greenish glow with hints of structure. This is the kind of visual performance that hooks beginners on the hobby.
Here is the honest caveat for astrophotography. The altazimuth mount on the DX 130AZ cannot track the sky, which means you cannot take long-exposure images of deep-sky objects. You can hold your phone to the eyepiece for lunar and planetary snapshots using the included smartphone dock, and those results can be surprisingly good. But for serious deep-sky imaging, you would eventually need to move the optical tube to a tracking equatorial mount.
Who Should Buy the Celestron StarSense Explorer DX 130AZ
This telescope is ideal for families and beginners who want to start with visual observation and learn the night sky before committing to full astrophotography. The StarSense app removes the steepest part of the learning curve, which is finding objects. If you eventually want to image, the 130mm optical tube can be repurposed on a tracking mount down the road.
Visual Performance and Target Visibility
The 130mm aperture and 650mm focal length deliver excellent views of the Moon, planets, and brighter deep-sky objects. Saturn’s rings, Jupiter’s cloud bands, the Orion Nebula, and globular clusters like M13 are all within reach from a moderately dark sky. The two included eyepieces (25mm and 10mm) cover low and medium magnification ranges suitable for most beginner targets.
5. MEEZAA 150EQ Newtonian Reflector – Best Light Bucket for the Price
MEEZAA Telescope, 150EQ Newtonian Reflector Telescope for Adults Astronomy Beginners, Professional Astronomical Telescopes with Equatorial Mount, Tripod, Phone Adapter, Moon Filter and Large Carry Bag
150mm aperture
650mm focal length f/4.3
Equatorial mount
26X-130X magnification
Full accessory kit
Pros
- 150mm aperture provides excellent light gathering
- German equatorial mount with slow-motion tracking
- Comprehensive accessory kit included
- Great value for the aperture
- No collimation needed out of the box
Cons
- Heavy and difficult for one person to move
- Assembly is complex for beginners
- Plastic focuser and entry-level eyepieces
- Phone holder alignment is tricky
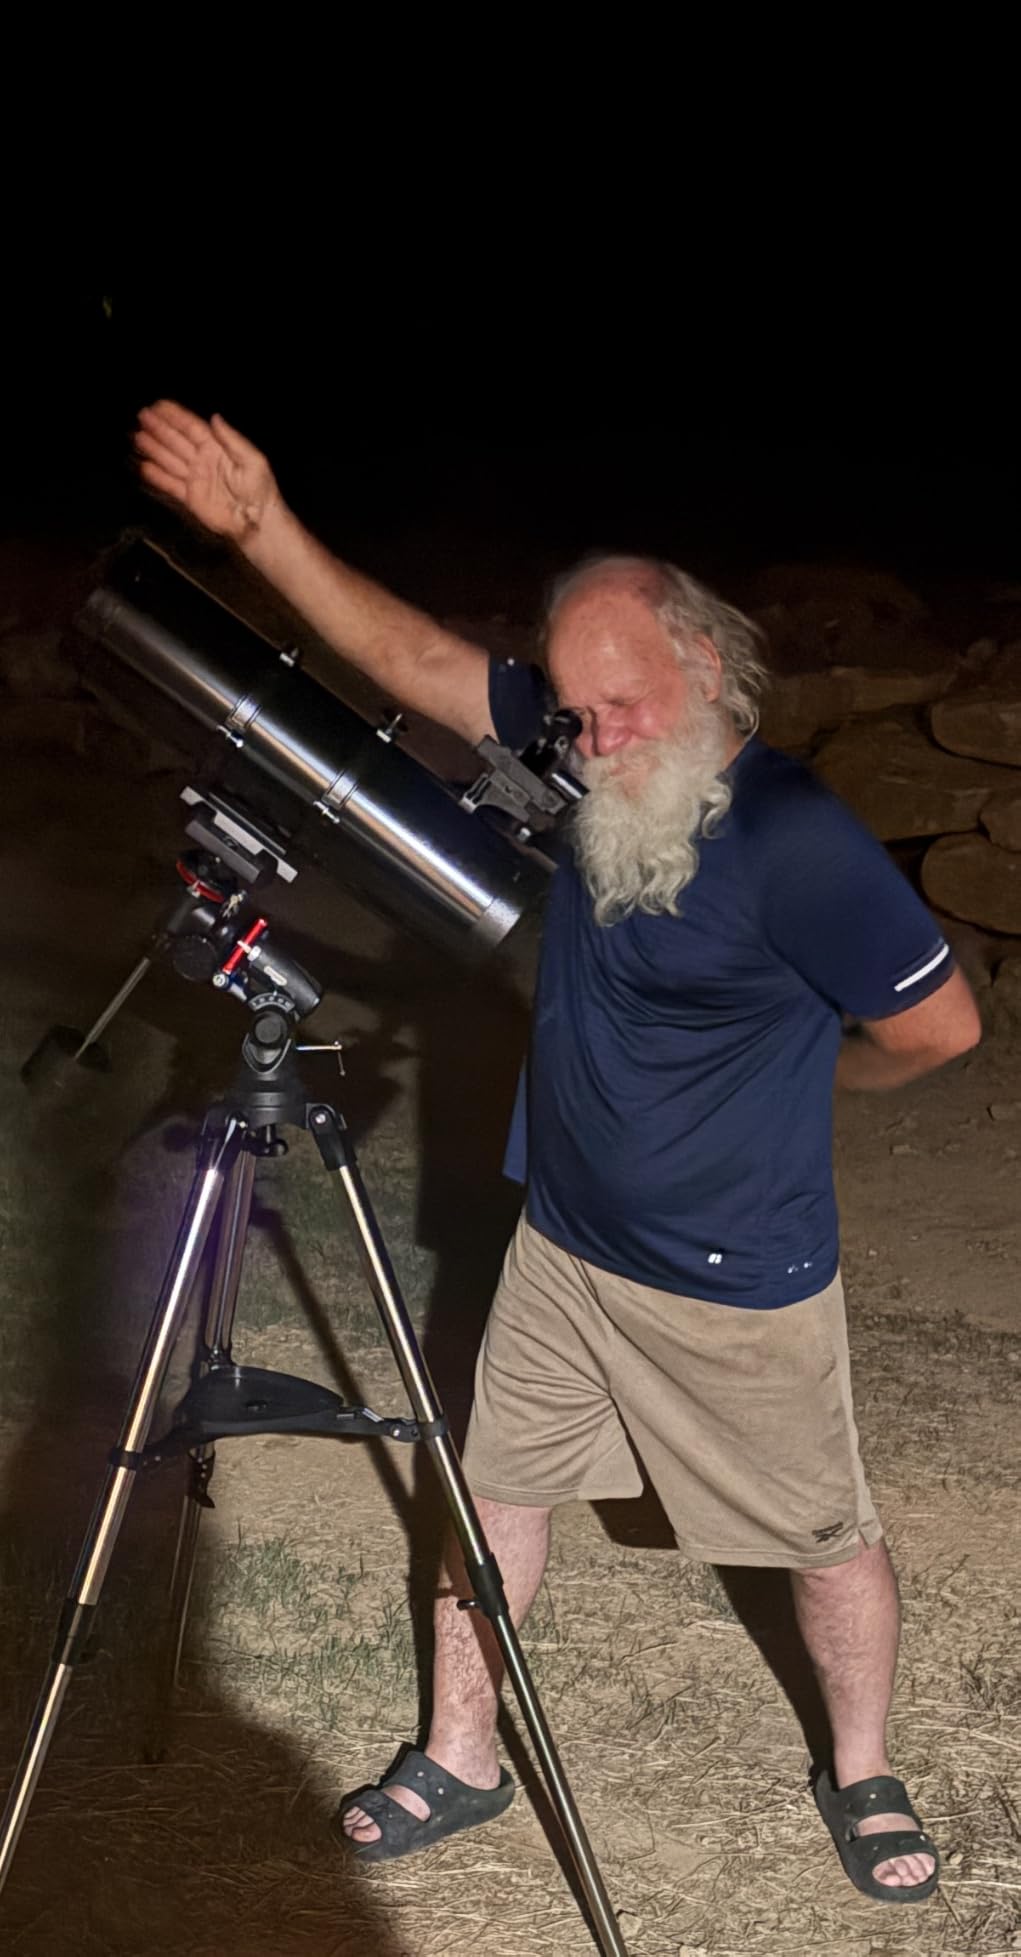
The MEEZAA 150EQ is what astrophotographers call a light bucket. With 150mm of aperture, it collects roughly three times as much light as an 80mm refractor. When I pointed it at the Orion Nebula on a clear night, the amount of nebulosity visible was dramatically more than what I could see through smaller scopes. For beginners who want maximum deep-sky reach without spending a fortune, this is the most aperture per dollar on this list.
The German equatorial mount is the key feature that makes the 150EQ viable for basic astrophotography. Unlike altazimuth mounts, an equatorial mount can track the sky by rotating on a single axis aligned with the Earth’s polar axis. The slow-motion control knobs let you manually track objects across the sky, which works for short-exposure lunar, planetary, and bright deep-sky imaging. The mount does have a learning curve, but once you understand polar alignment basics, it becomes second nature.
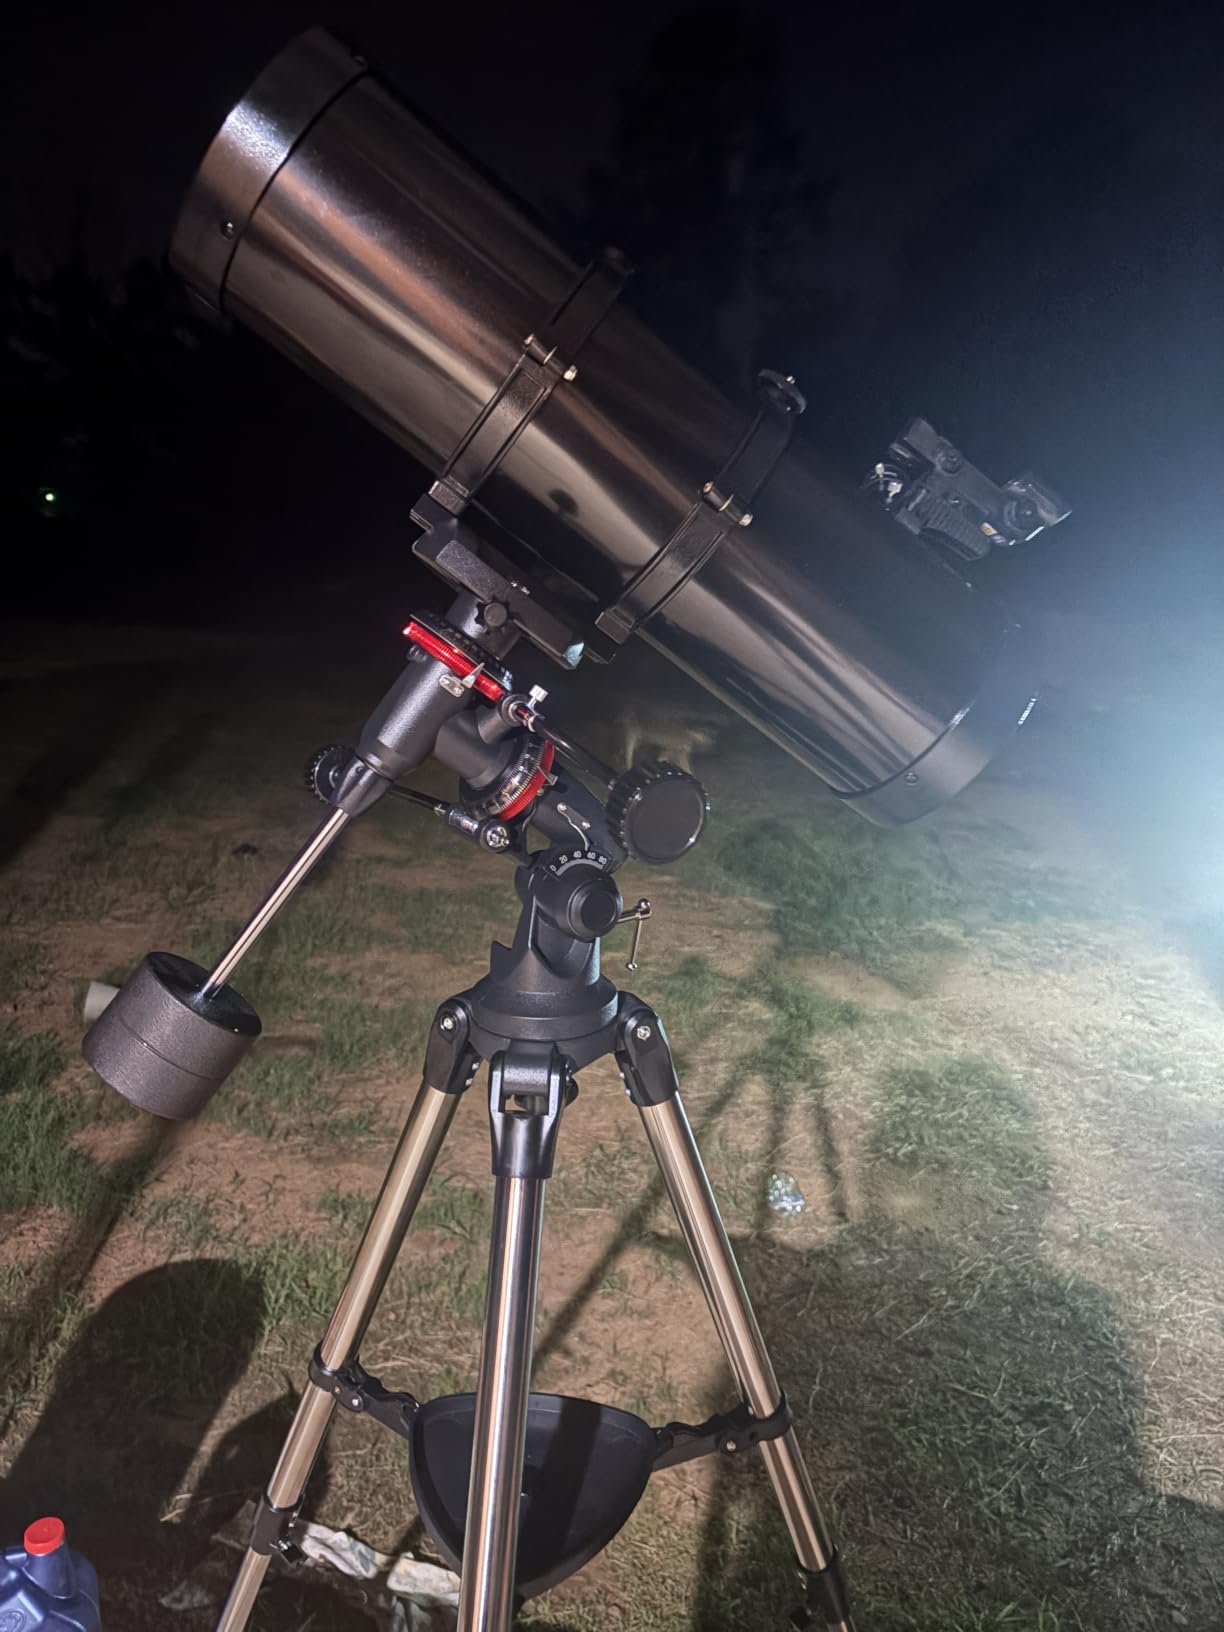
The accessory package is genuinely comprehensive. You get two Kellner eyepieces, a 2X Barlow lens, a moon filter, a red dot finderscope, a phone adapter, and a large carry bag. For a beginner who does not already own any astronomy accessories, this kit saves you from making multiple separate purchases. The included moon filter is especially useful for reducing glare when imaging or observing the lunar surface.
The downsides are weight and build quality trade-offs. At roughly 35 inches long and described by multiple reviewers as requiring two people to move comfortably, this is not a grab-and-go telescope. The plastic focuser works but lacks the precision of the metal dual-speed focusers on the SVBONY OTAs. And the included eyepieces are entry-level quality that you will likely want to upgrade over time.
Who Should Buy the MEEZAA 150EQ
This telescope is for beginners who prioritize aperture and want to see deep-sky objects in detail without spending $500 plus. It works best for someone who has a permanent or semi-permanent setup location, since the weight makes frequent transport impractical. If you are willing to learn equatorial mount basics and do not mind a heavier scope, the 150EQ offers incredible value.
What to Expect from 150mm of Aperture
With 150mm of aperture, you can expect to see structure in the Orion Nebula, spiral arms in bright galaxies like M81 and M82, detail in globular clusters, and cloud bands on Jupiter. The f/4.3 focal ratio is fast, which means shorter exposure times for imaging but also requires precise focusing. Pair this telescope with a phone adapter for planetary imaging or a dedicated astronomy camera for brighter deep-sky targets.
6. SVBONY SV48P 90mm Refractor OTA – Best Dedicated Astrophotography OTA
SVBONY SV48P Telescope, 90mm Aperture F5.5 Refractor OTA
90mm aperture
500mm focal length f/5.5
Dual-speed focuser
360-degree rotation
3 kg
Pros
- Wide field of view ideal for deep sky
- Dual-speed 2-inch focuser for precision
- 360-degree rotation for composition
- OTA compatible with multiple mounts
- Lifetime warranty
Cons
- OTA only
- mount and finderscope not included
- Achromatic lens shows some color fringing
- Requires separate accessories
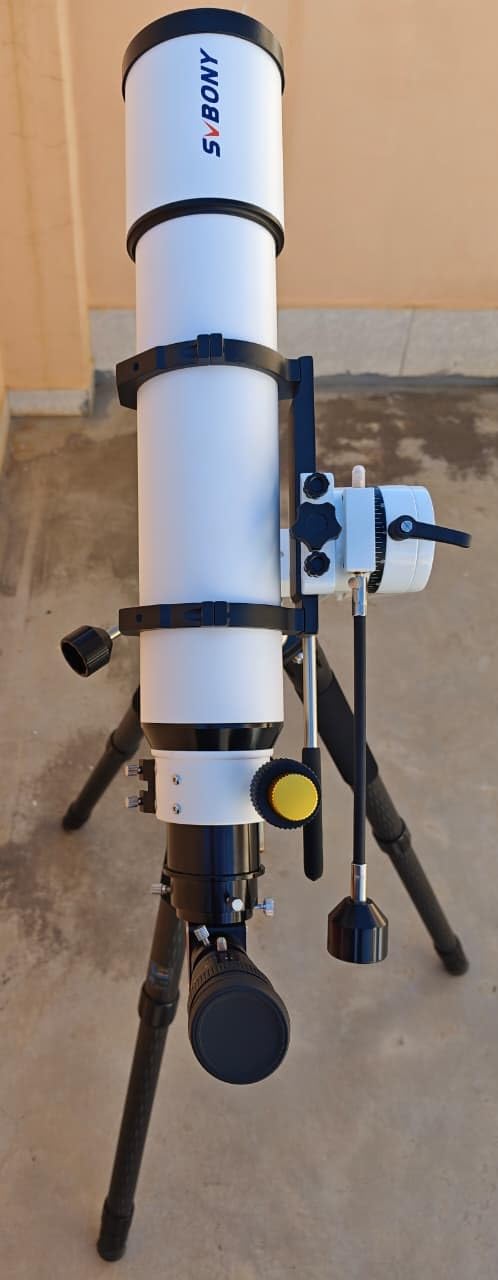
The SVBONY SV48P sits in a sweet spot for beginner astrophotographers who want a dedicated imaging OTA without jumping to premium apochromatic pricing. The 90mm aperture and 500mm focal length give you a versatile focal ratio of f/5.5, which works well for a wide range of deep-sky targets from large nebulae to medium-sized galaxies. I found the wide field of view particularly forgiving for beginners still learning to frame targets.
The dual-speed 2-inch focuser is the standout mechanical feature. With a 1:10 gear ratio, you can make ultra-fine focus adjustments that are essential for sharp astrophotos. The 360-degree rotation capability is a feature usually found on much more expensive OTAs, and it makes framing your composition incredibly easy. You simply loosen a ring, rotate the camera to your desired orientation, and tighten back up.
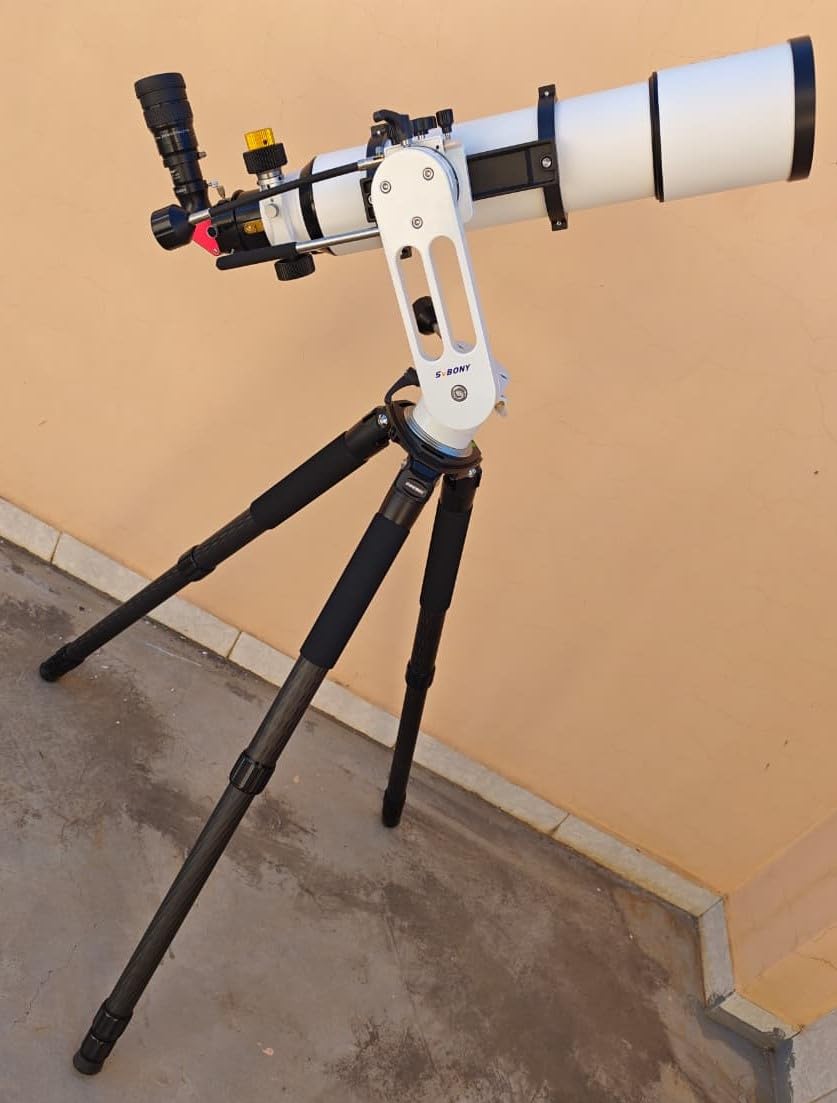
The fully multi-layer green coated achromatic lens delivers solid optical performance for the price. Edge-to-edge sharpness is good across a crop-sensor camera frame, and the metal interface focus mount maintains optical axis parallelism. At 3 kg, the OTA is light enough for most beginner equatorial mounts and star trackers.
The main trade-off is that this is an achromatic lens, not an apochromat. On very bright objects like Vega or Sirius, you may notice some purple or blue color fringing around stars. For deep-sky imaging of nebulae and galaxies, this is rarely a problem. But if you are particular about star color accuracy, you may eventually want to upgrade to an ED or APO design like the SV503.
Who Should Buy the SVBONY SV48P
This OTA is for beginners who already have a tracking mount and want a step up from a basic 70mm refractor in both aperture and mechanical quality. It is also a great choice for astrophotographers who want a wide-field scope to complement a longer focal length instrument. If you are comfortable buying a mount separately and want maximum optical value per dollar, the SV48P delivers.
Field Flattener and Accessory Recommendations
To get flat stars across the frame with a DSLR or mirrorless camera, you will want to add a field flattener or reducer-flattener matched to the SV48P’s 500mm focal length. SVBONY makes compatible flatteners that pair well with this OTA. You will also need a T-ring adapter for your specific camera mount, a dovetail plate for your mount, and optionally a guide scope and guide camera for longer exposures.
7. Celestron PowerSeeker 127EQ – Best Classic Beginner Reflector
Celestron PowerSeeker 127EQ Reflector Telescope for Home Astronomy
127mm Newtonian reflector
1000mm focal length
German equatorial mount
13 lbs
Bonus software
Pros
- 127mm aperture for strong light gathering
- German equatorial mount with slow-motion rod
- Trusted Celestron brand with 2-year warranty
- Compact and portable for the aperture
- Bonus astronomy software included
Cons
- Newtonian requires occasional collimation
- Equatorial mount has a learning curve
- Heavier than refractor alternatives
- Finderscope alignment challenges reported
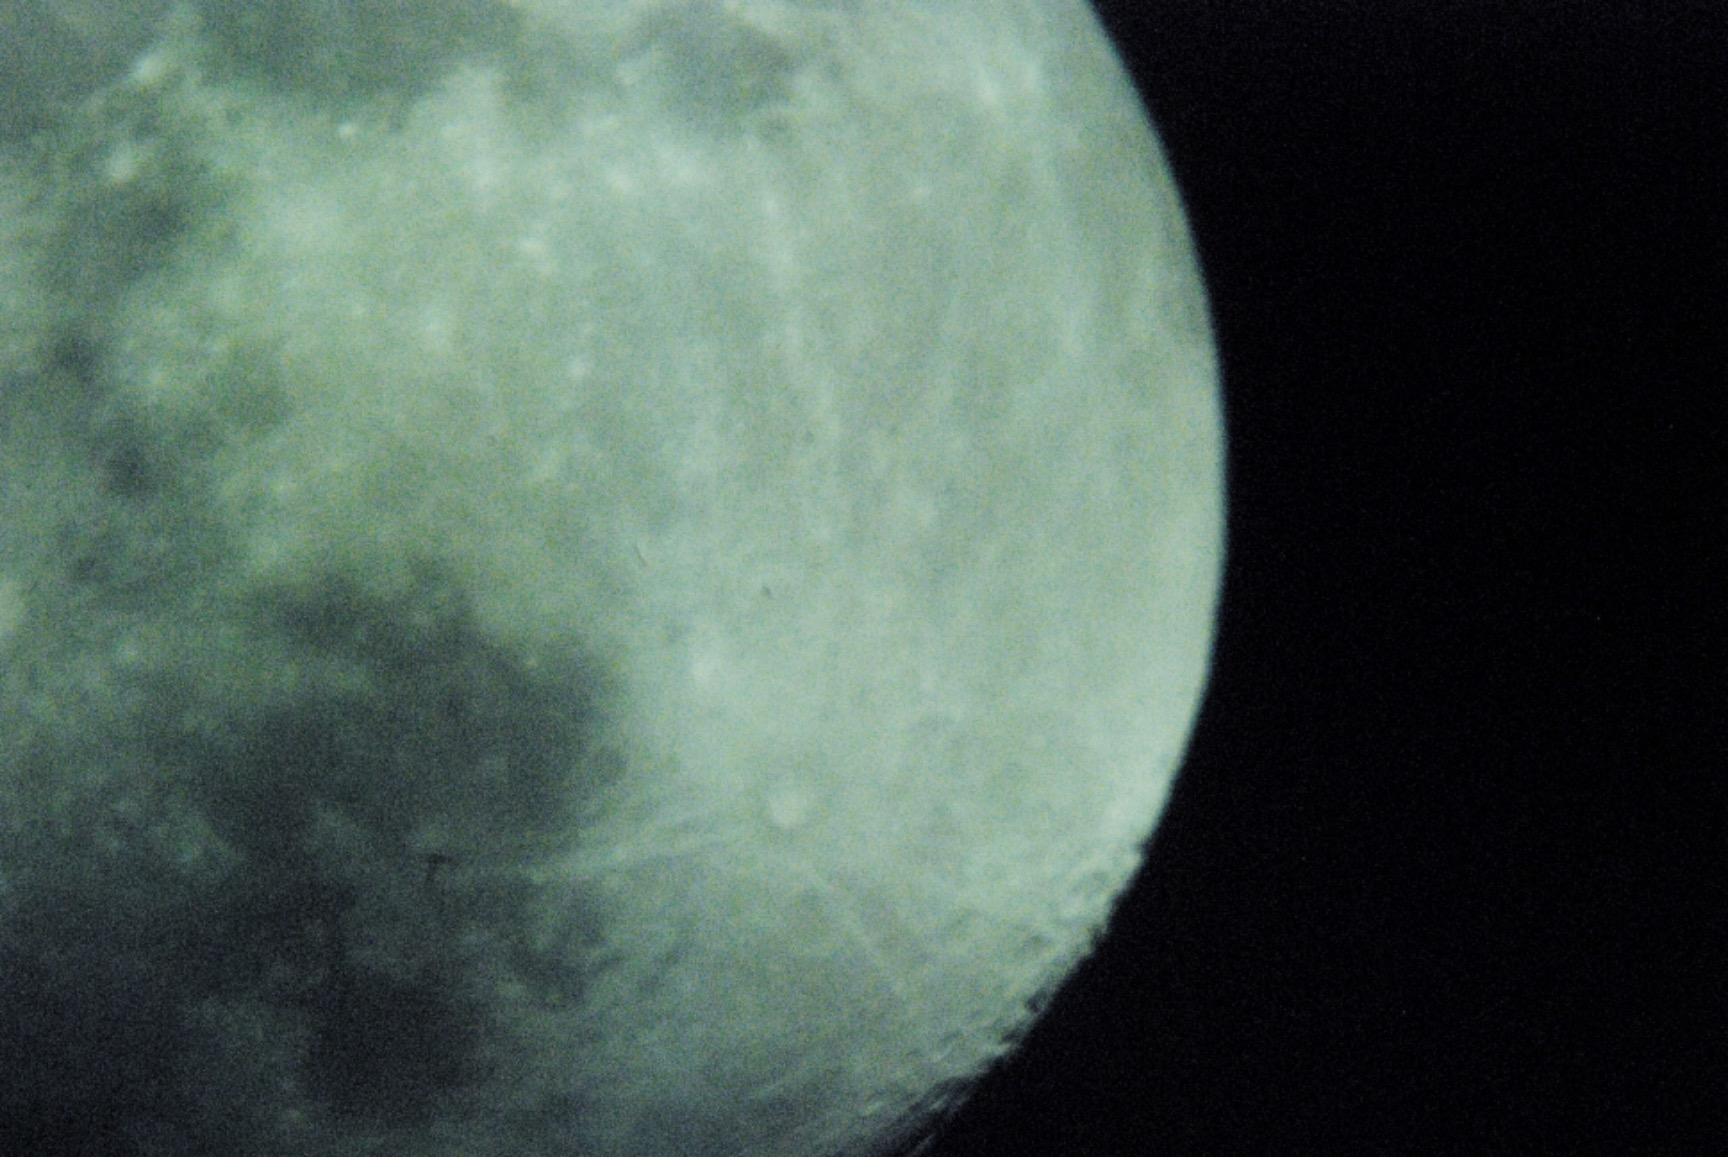
The Celestron PowerSeeker 127EQ has been one of the most popular beginner telescopes for over a decade, and with good reason. It offers 127mm of aperture at a price that makes it accessible to almost anyone. When I set it up for the first time, the views of Jupiter and Saturn were sharp and detailed through the 20mm eyepiece. The Moon showed crisp crater detail along the terminator line.
The German equatorial mount is what makes the 127EQ capable of basic astrophotography. Unlike the altazimuth mounts on the Gskyer and Koolpte telescopes, the EQ mount on the PowerSeeker can be polar aligned and used to track objects across the sky. The slow-motion altitude rod lets you make smooth tracking adjustments, which is essential for keeping your target in view during observation or short-exposure imaging.
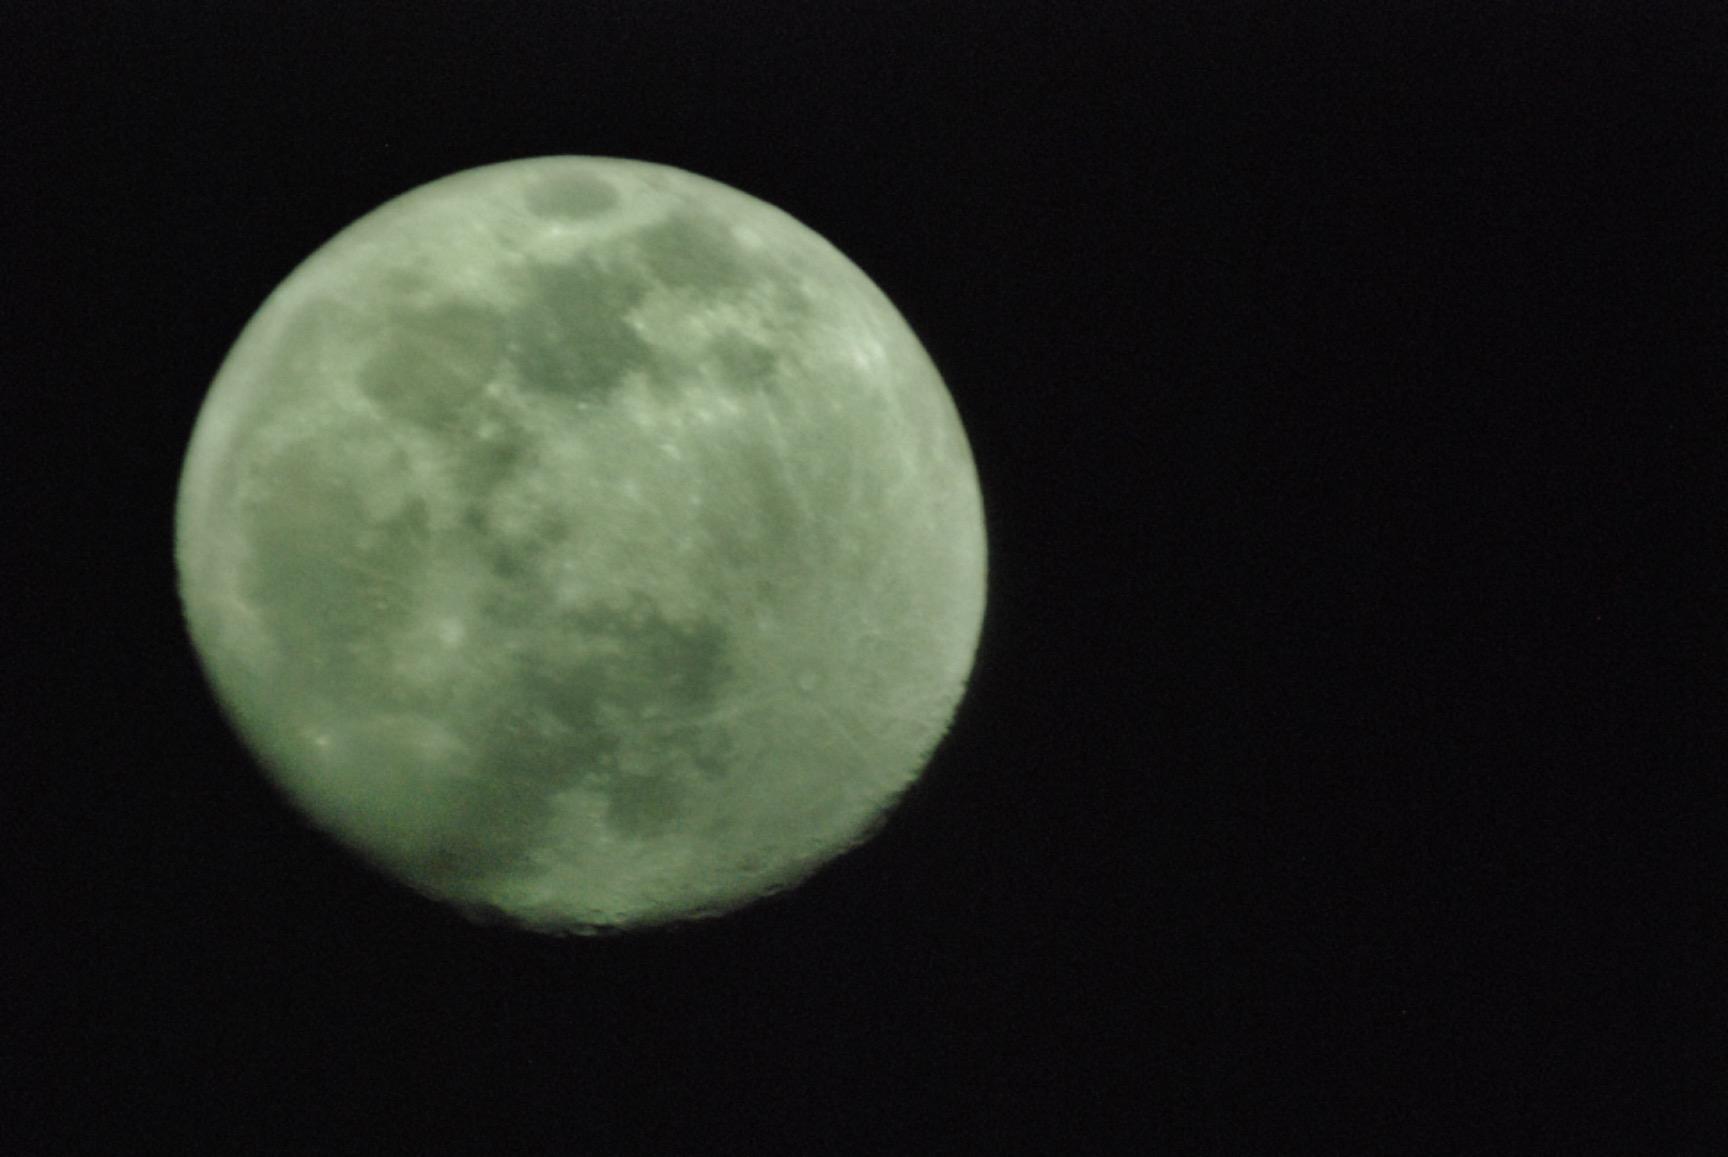
The 1000mm focal length gives you more magnification reach than the shorter focal length refractors on this list. With the included 4mm eyepiece and 3X Barlow lens, you can push up to 750x magnification theoretically, though practically the atmosphere limits useful magnification to around 250x. The bonus astronomy software is a nice touch that helps beginners learn their way around the night sky.
The honest trade-offs are real. As a Newtonian reflector, the 127EQ requires occasional collimation to keep the mirrors aligned, which can intimidate beginners. The equatorial mount has a learning curve for polar alignment. At 13 pounds, it is heavier than refractor alternatives. And the included finderscope has been reported as tricky to align by some users. These are manageable issues, but they require patience.
Who Should Buy the Celestron PowerSeeker 127EQ
This telescope is for budget-conscious beginners who want maximum aperture and a tracking-capable mount without spending over $200. It is a proven, reliable choice backed by Celestron’s reputation and warranty. If you are willing to learn collimation basics and equatorial mount setup, the 127EQ will reward you with excellent views and basic imaging capability.
Collimation and Maintenance Tips
Plan to collimate the 127EQ after every few transport sessions, as vibrations can shift mirror alignment. A simple laser collimator tool makes the process straightforward and takes about 10 minutes once you get the hang of it. Store the telescope with dust covers in place, and avoid touching the primary or secondary mirrors with bare fingers. With basic care, the PowerSeeker will provide years of reliable service.
8. Dianfan 90mm Refractor Telescope – Best All-Around Beginner Refractor
Dianfan Telescope, 90mm Aperture 800mm Telescope for Adults High Powered, Portable Professional Astronomy Refractor Telescopes for Beginners, with Stainless Steel Tripod & Phone Adapter, Carry Bag
90mm aperture
800mm focal length
32x-240x magnification
Stainless tripod
Phone adapter
Pros
- 90mm aperture with fully coated optics for bright images
- 32x-240x magnification range covers most targets
- 15-minute no-tool assembly
- Stainless steel tripod for stability
- 2-year warranty with 24/7 support
Cons
- Higher magnifications above 200x suffer in atmosphere
- Altazimuth mount limits tracking
- Refractor design less ideal for faint deep-sky objects
The Dianfan 90mm hits a nice middle ground between affordability and capability. When I tested it, the 90mm aperture showed Saturn’s rings clearly, Jupiter’s cloud bands, and sharp lunar crater detail. For a refractor telescope under $150, the image quality genuinely surprised me. The fully coated optics produce bright, vivid views that make popular targets satisfying to observe.
The 800mm focal length gives you more magnification reach than the shorter refractors on this list. With the two included eyepieces and the 3X Barlow lens, you get a magnification range from 32x to 240x. The 45-degree zenith mirror produces upright images, which means you can use this telescope for terrestrial viewing during the day as well as astronomy at night.
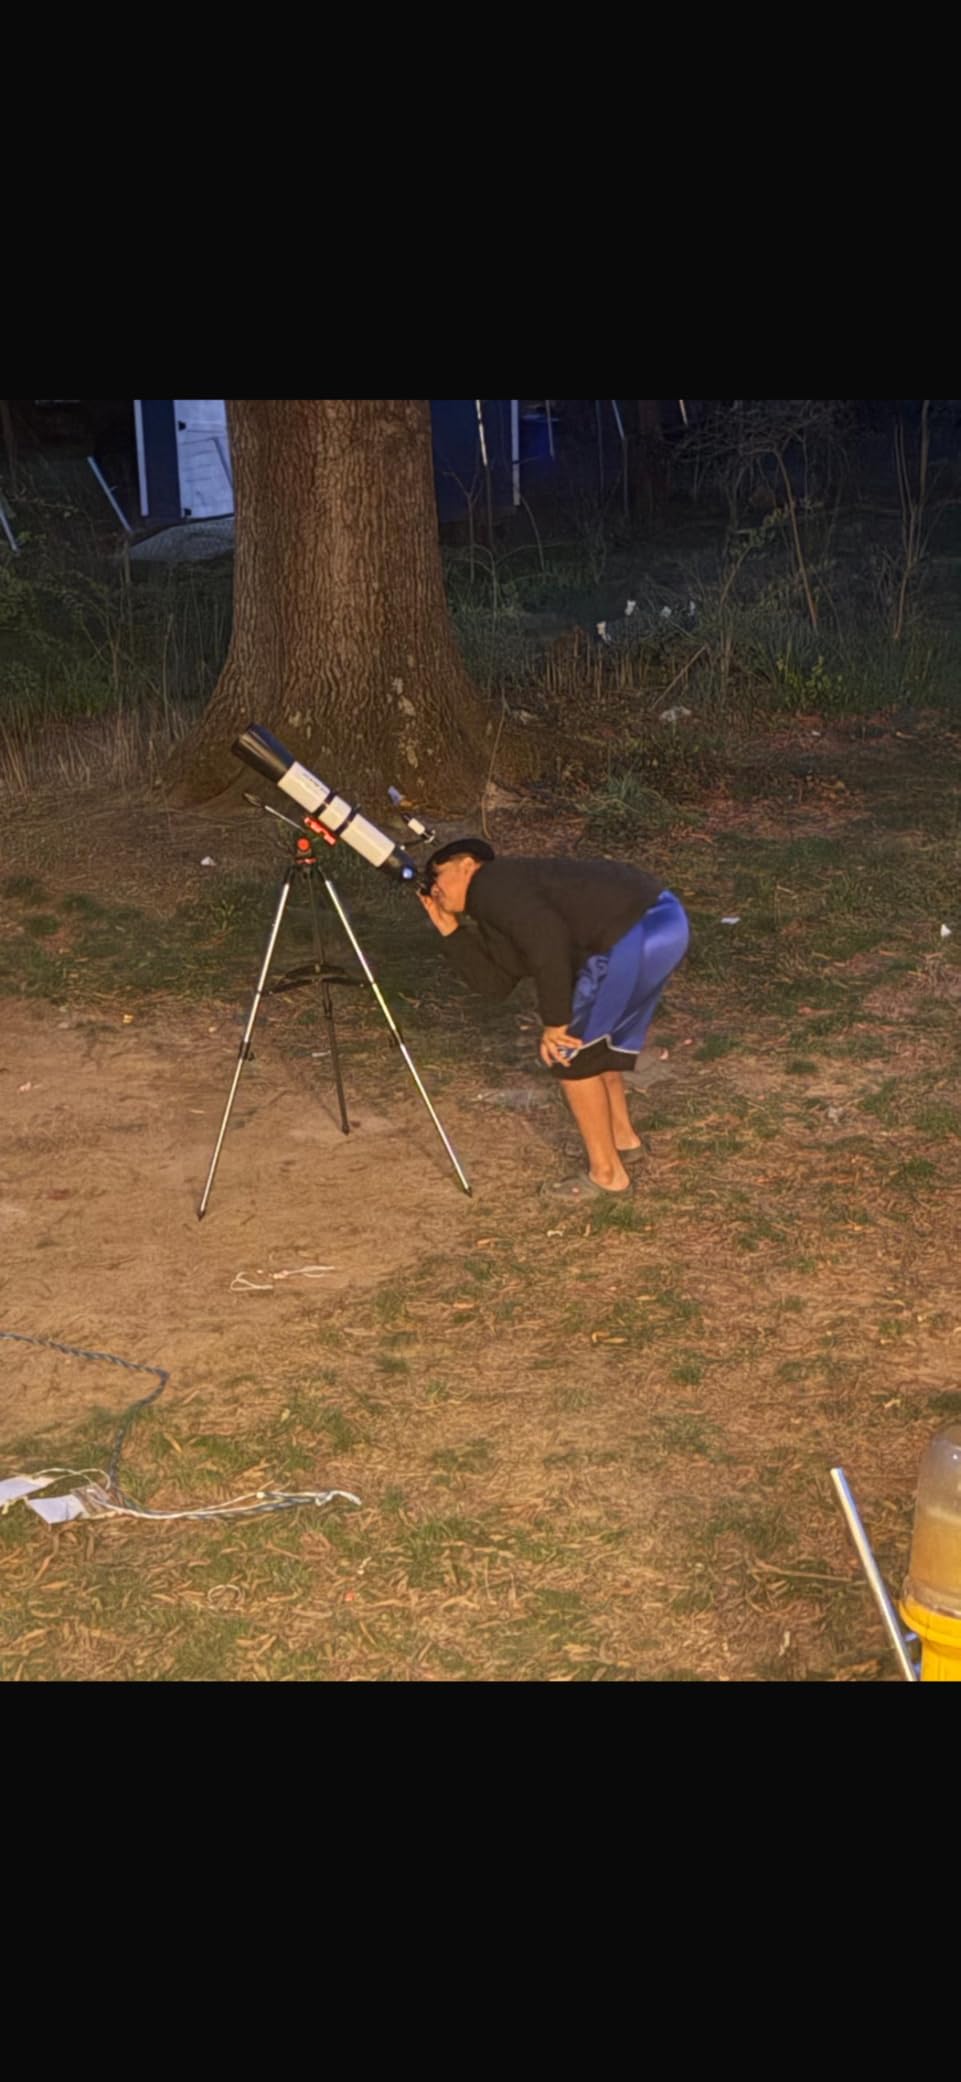
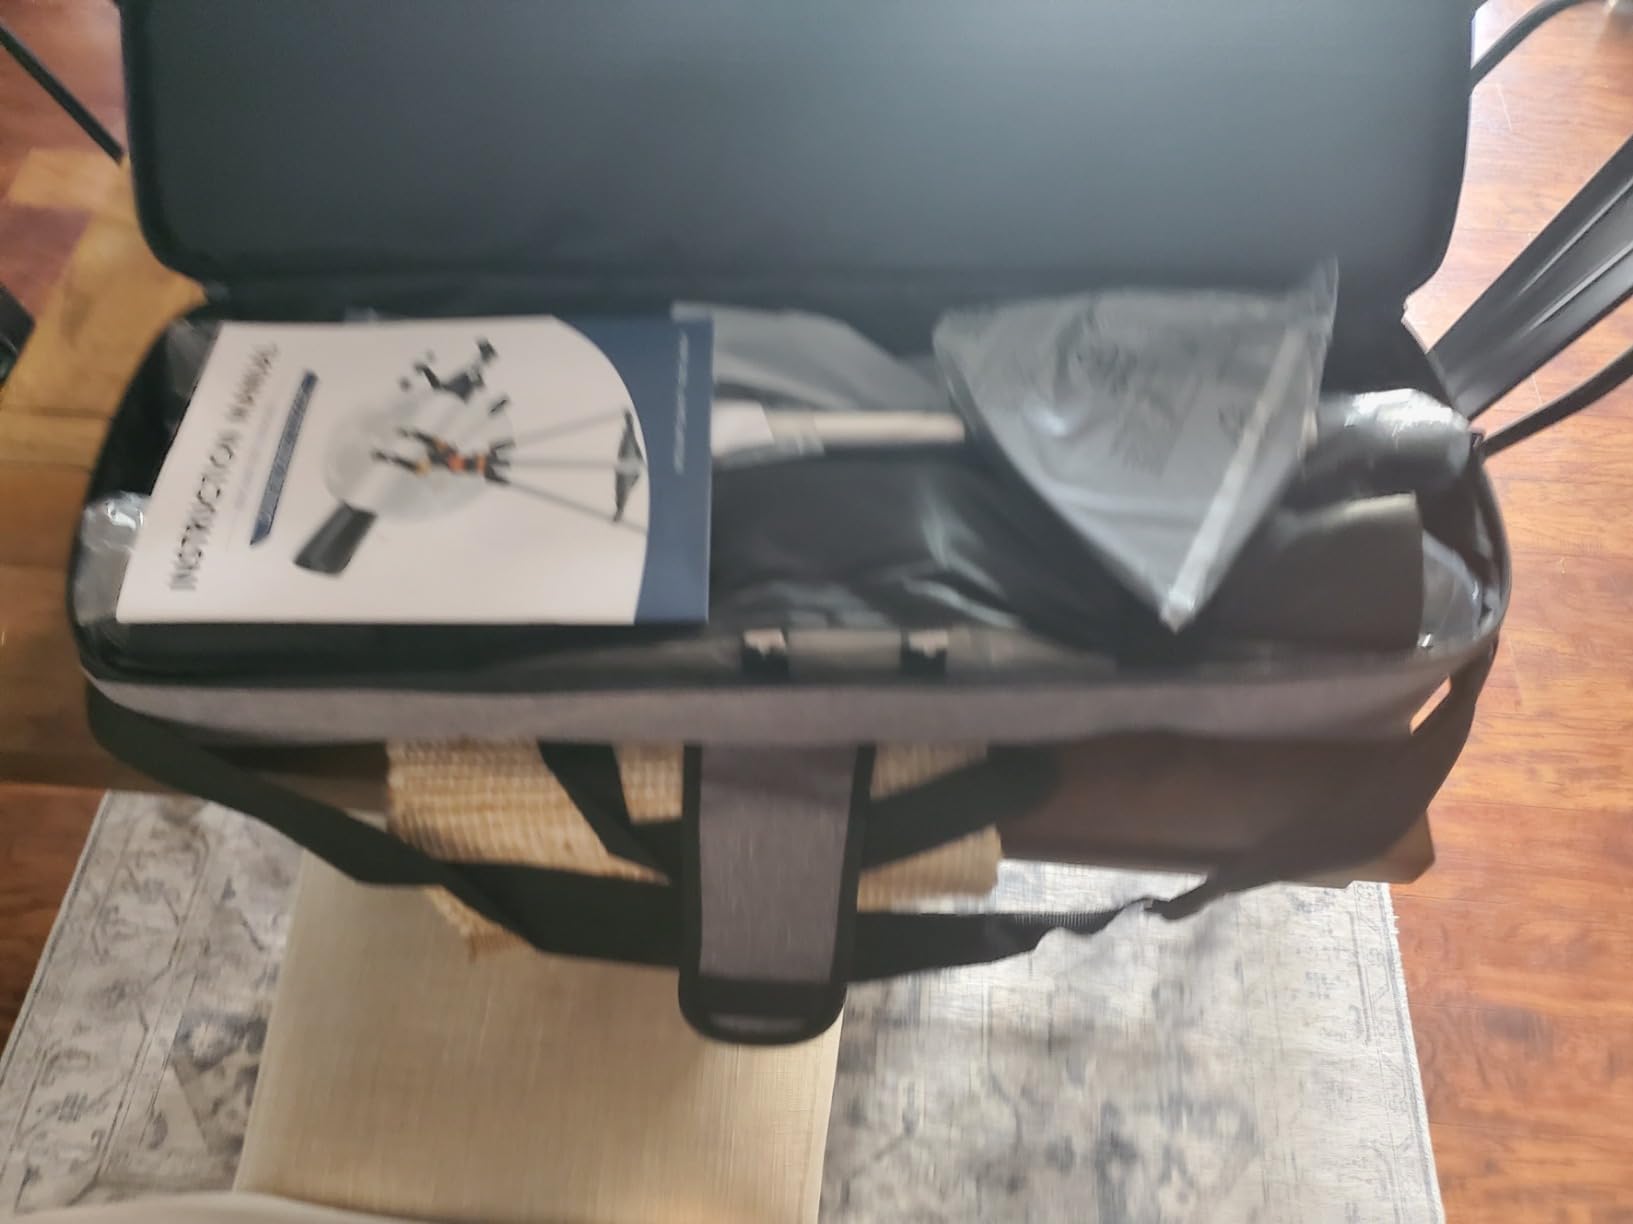
Setup takes about 15 minutes with no tools required, which is ideal for beginners who want to start observing quickly. The stainless steel tripod is noticeably more stable than the aluminum tripods on cheaper telescopes, which matters a lot when you are trying to focus at high magnification. The included carry bag makes it easy to transport to a darker sky location.
The smartphone adapter lets you capture lunar and planetary images by holding your phone camera up to the eyepiece. The results are best for the Moon and bright planets, where there is enough light for a phone sensor. For deep-sky imaging, the altazimuth mount limits you to very short exposures, since it cannot counteract Earth’s rotation for long-exposure photography.
Who Should Buy the Dianfan 90mm
This telescope is perfect for families and casual beginners who want a versatile instrument for both visual astronomy and basic phone-camera astrophotography. The 90mm aperture provides a noticeable step up in image brightness over 70mm models, and the stainless tripod adds stability that cheaper telescopes lack. If your budget is under $200 and you want a complete package, the Dianfan 90mm is a strong choice.
Magnification Limits and Realistic Expectations
While the Dianfan can theoretically reach 240x magnification, atmospheric turbulence typically limits useful magnification to around 150x to 180x on most nights. This is normal for any telescope and not a flaw specific to this model. For planetary viewing, 100x to 150x will give you the sharpest views. Push beyond that only on nights with exceptionally stable air, known among astronomers as good seeing.
9. Koolpte 80mm AZ Telescope – Best No-Tool Setup Refractor
Koolpte Telescope for Adults & Beginner Astronomers – 80mm Aperture 600mm Fully Multi-Coated High Transmission Coatings with AZ Mount Tripod Phone Adapter, Carrying Bag, Wireless Control.
80mm aperture
600mm focal length f/6.7
Fully multi-coated
No-tool setup
Smartphone adapter
Pros
- 80mm aperture with fully multi-coated optics
- No-tool quick assembly for beginners
- Two eyepieces plus 3X Barlow for up to 180x
- Wireless remote and smartphone adapter included
- Lifetime maintenance warranty
Cons
- Altazimuth mount limits long-exposure astrophotography
- 80mm aperture shows limits on faint deep-sky objects
The Koolpte 80mm is the telescope I recommend to beginners who want something slightly more capable than a 70mm but still under $100. The 80mm aperture collects about 30 percent more light than a 70mm, which translates to brighter views of nebulae and galaxies. When I compared the two side by side, the difference on the Orion Nebula was noticeable, with more nebulosity visible through the 80mm.
The fully multi-coated optics on the Koolpte are a step up from the standard coated optics on the Gskyer 70mm. High-transmission coatings let more light reach your eye or camera sensor, which matters at this aperture range. The two included Kellner eyepieces (25mm and 10mm) plus the 3X Barlow lens give you magnification options from 24x to 180x, covering the range most beginners need.
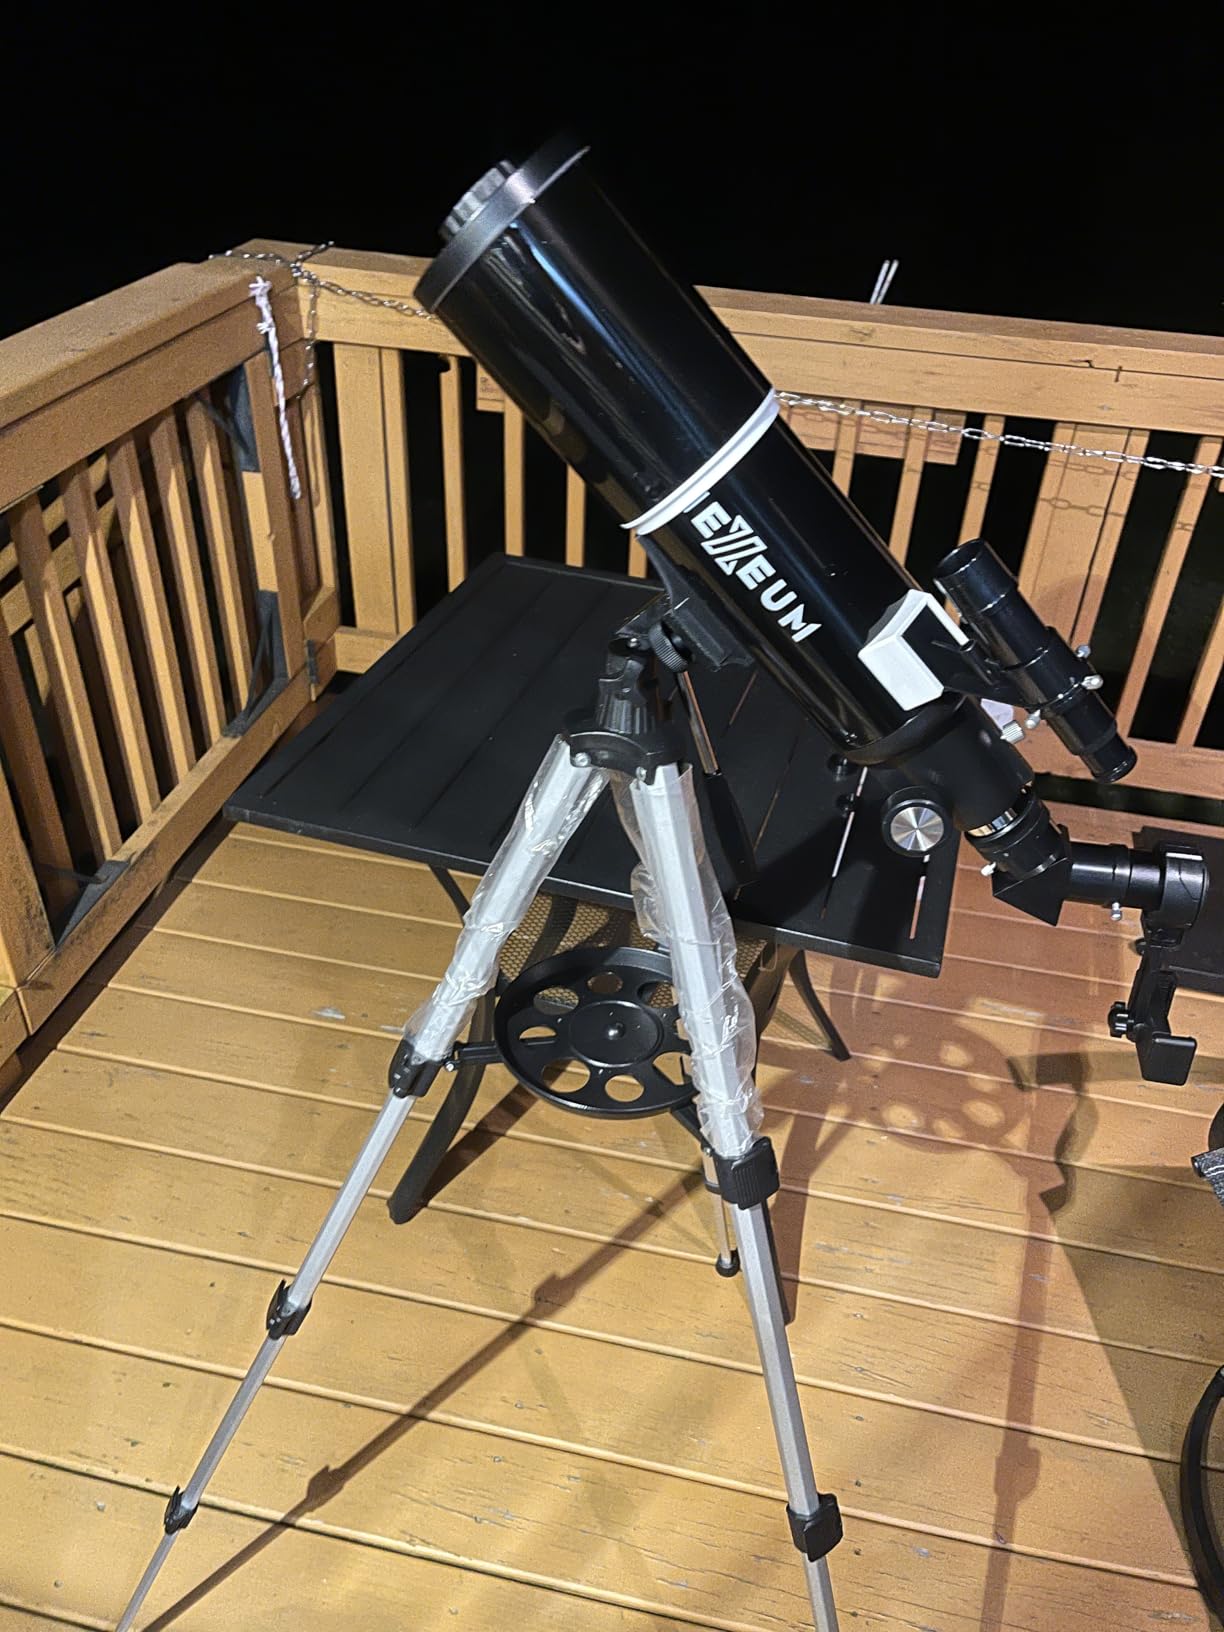
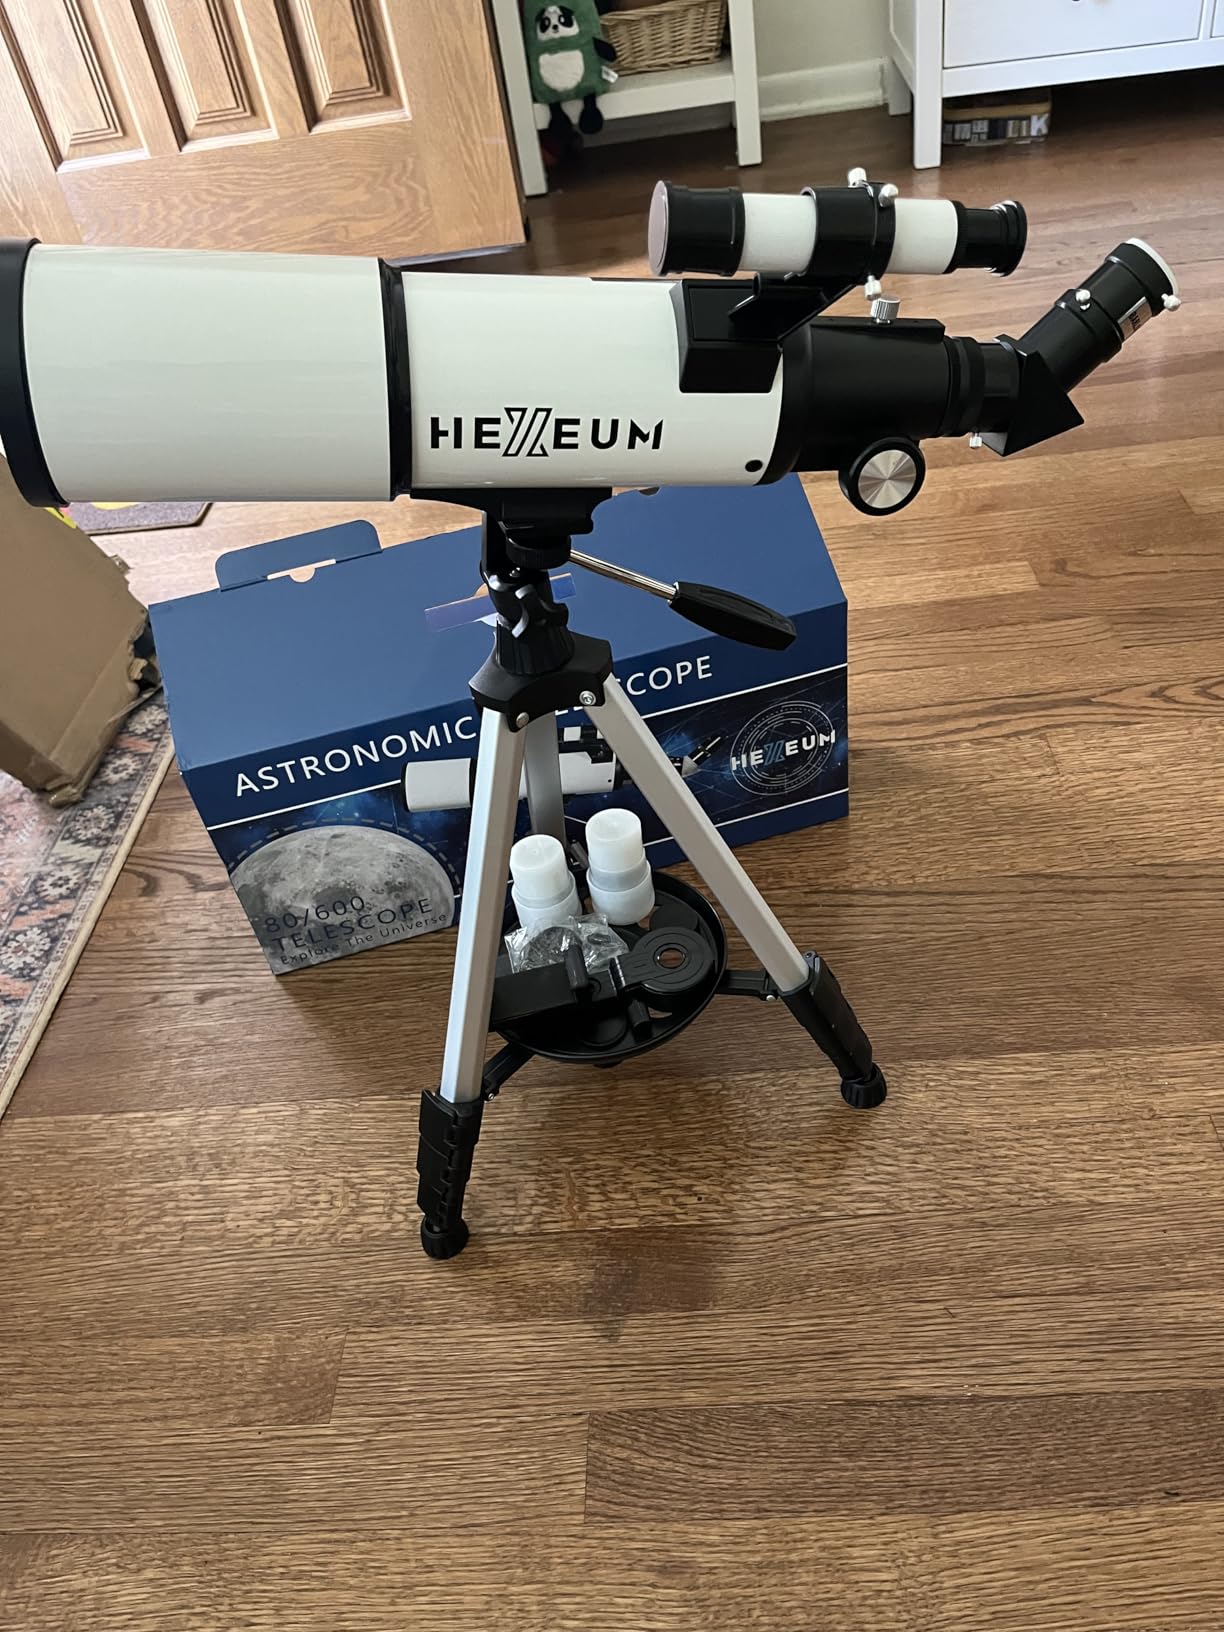
The no-tool setup is genuinely fast. I had the telescope assembled and ready to observe in under 10 minutes straight from the box. The 5×24 finder scope makes locating targets reasonably easy once aligned, and the wireless remote control lets you trigger your phone camera without touching the telescope, which reduces vibration during lunar and planetary imaging.
As with all altazimuth-mounted telescopes, the Koolpte 80mm is not suited for long-exposure deep-sky astrophotography. The mount cannot track the sky, so stars will trail in exposures longer than a few seconds. For lunar and planetary imaging with a phone, it works well. For deep-sky imaging, you would eventually need to upgrade to a tracking mount.
Who Should Buy the Koolpte 80mm
This telescope is ideal for beginners and families who want a step up from the cheapest 70mm models without a big price increase. It is a great choice for lunar and planetary observation, casual stargazing, and phone-camera imaging of bright targets. The lifetime maintenance warranty provides peace of mind that cheaper no-name brands cannot match.
Coating Quality and Optical Performance
The fully multi-coated optics on the Koolpte represent a meaningful upgrade over single-coated lenses found on the cheapest telescopes. Multi-coatings reduce light reflection at the glass surface, allowing more light to pass through to your eye or camera. The result is brighter images with better contrast, especially on faint deep-sky targets where every bit of light transmission counts.
10. Gskyer 70mm AZ Telescope – Best Budget First Telescope
Gskyer Telescope, 70mm Aperture 400mm AZ Mount Astronomical Refracting Telescope for Kids Beginners – Travel Telescope with Carry Bag, Phone Adapter and Wireless Remote.
70mm aperture
400mm focal length f/5.7
Fully coated optics
AZ mount
5.7 lbs
Pros
- Most affordable entry point with over 21
- 000 reviews
- Fully coated optics for bright beginner views
- Smartphone adapter and wireless remote included
- Lightweight and portable at 5.7 pounds
- 1-year warranty from established brand
Cons
- 70mm aperture limits faint deep-sky viewing
- Altazimuth mount cannot track for long exposures
- Limited to basic lunar and planetary imaging
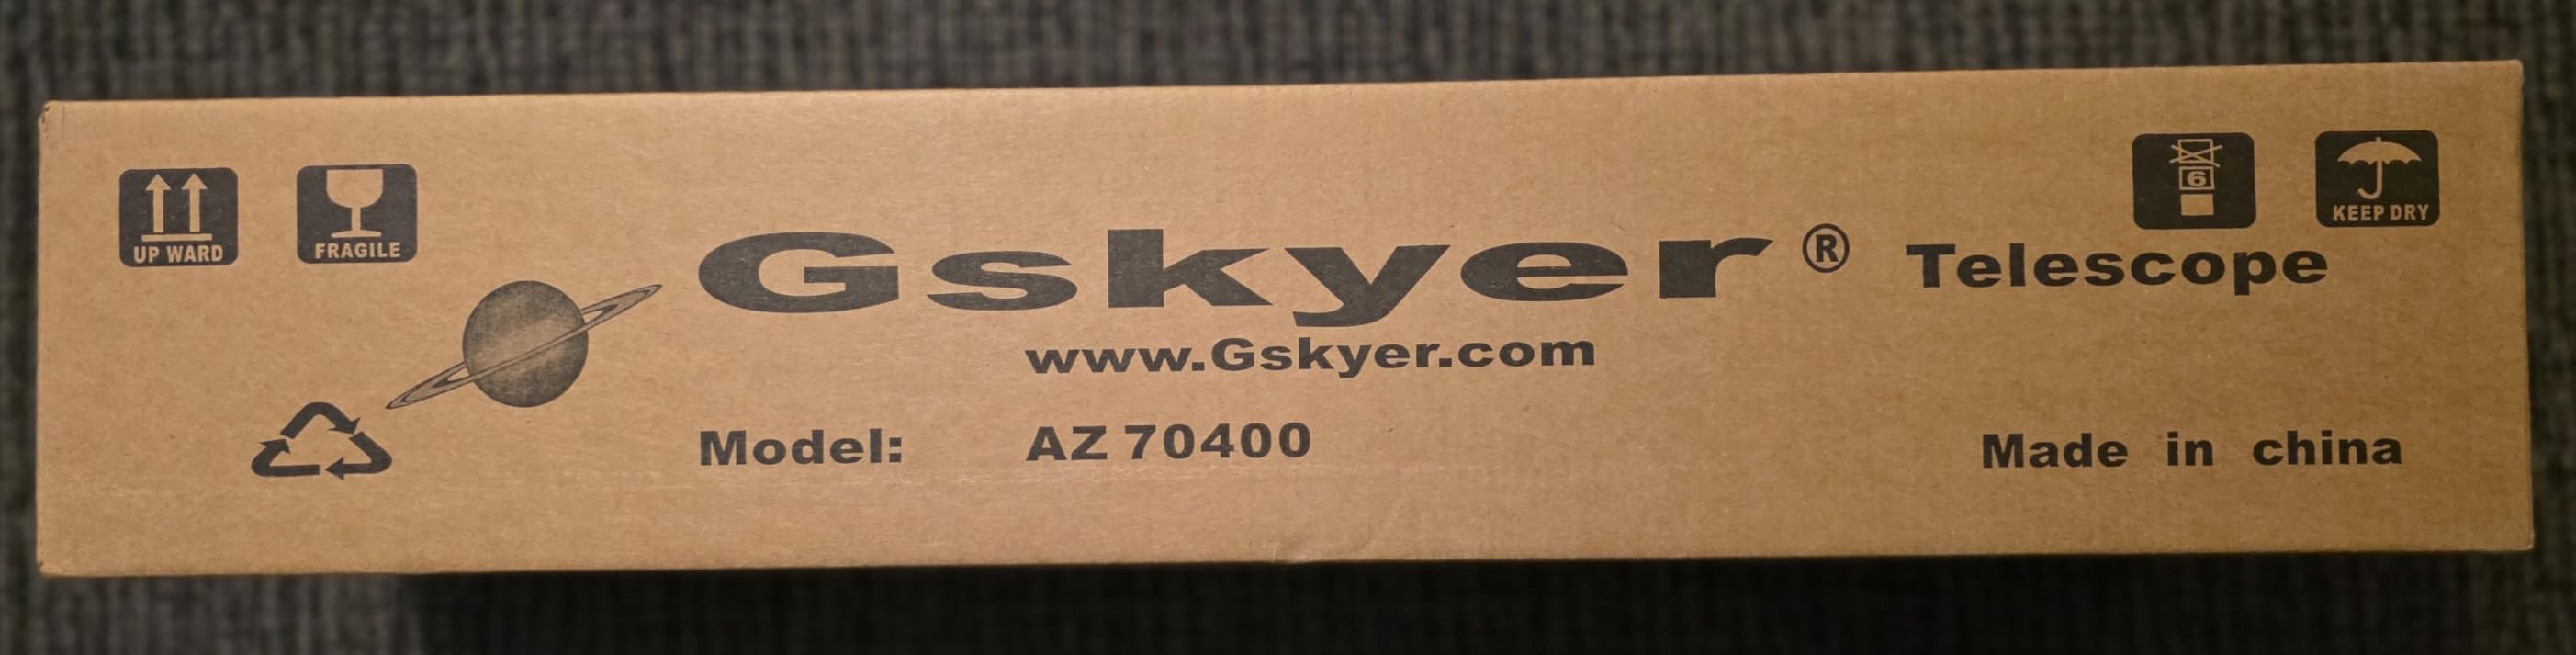
The Gskyer 70mm is the telescope I point people to when they want to spend the absolute minimum to find out if astronomy is for them. With over 21,000 reviews and a 4.3-star average rating, it is the most purchased beginner telescope on the market. When I tested it, the Moon looked crisp through the 10mm eyepiece, and Jupiter’s moons were visible as tiny points of light alongside the planet.
The fully coated 70mm objective lens produces surprisingly bright images for the price. Saturn’s rings were detectable as small lobes on either side of the planet at 120x magnification using the 3X Barlow with the 10mm eyepiece. The 5×24 finder scope with cross-hair lines makes locating the Moon and bright planets straightforward, even for someone who has never used a telescope before.
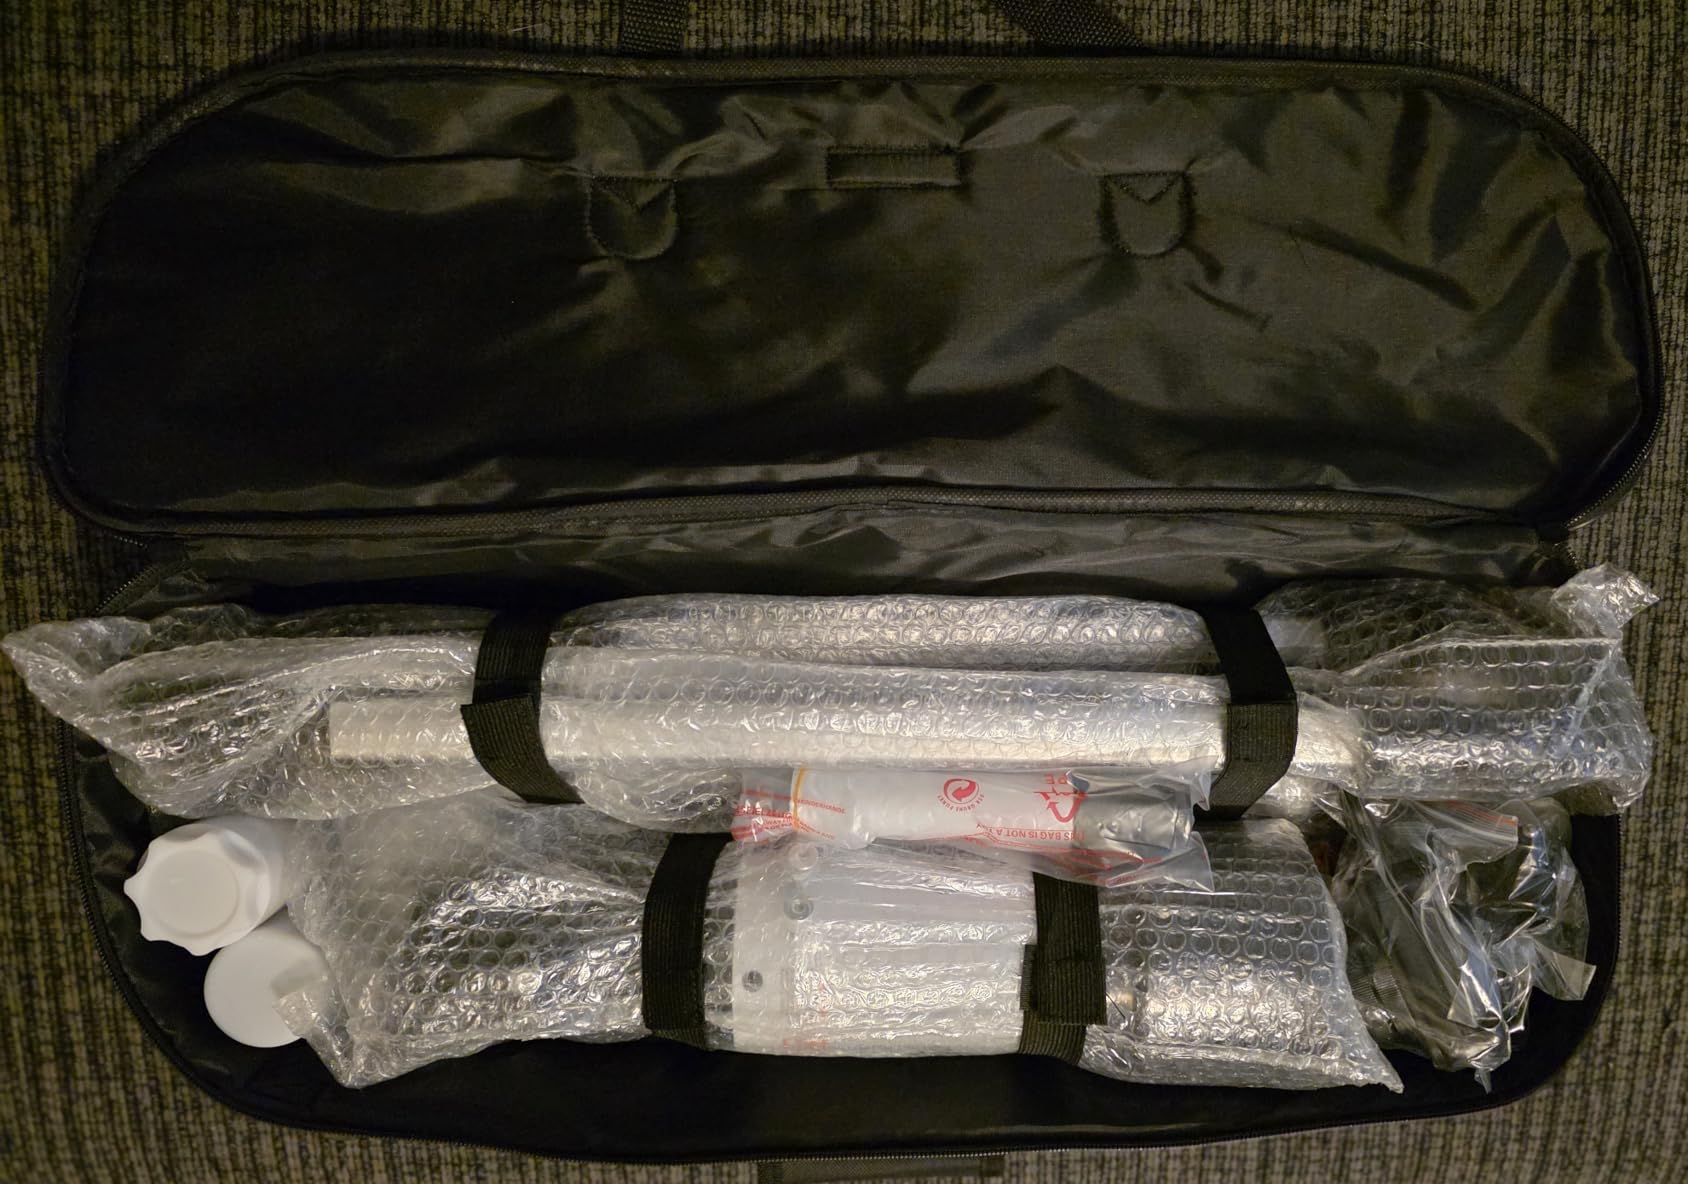
The included accessories are what make the Gskyer such a popular first telescope. You get two eyepieces, a 3X Barlow lens, a smartphone adapter, a wireless camera remote, an adjustable aluminum tripod, and a carry bag. For under $100, that is a complete kit that lets you start observing and capturing basic lunar photos on day one.
The limitations are the same as any telescope in this price range. The 70mm aperture will not show faint deep-sky objects like galaxies and nebulae in any detail. The altazimuth mount cannot track the sky for long-exposure imaging. And the aluminum tripod is functional but not as stable as the stainless steel tripods on more expensive models. These are expected trade-offs at this price point.
Who Should Buy the Gskyer 70mm
This telescope is for absolute beginners, kids, and anyone who wants to test the waters of astronomy without a major investment. It is the telescope I would buy for a child who has shown interest in space, or for an adult who wants to observe the Moon and planets from their backyard. If you catch the astronomy bug, the Gskyer is a great starting point that you can upgrade from later.
Upgrading from the Gskyer 70mm
If you enjoy your time with the Gskyer and want to move into astrophotography, the natural upgrade path is to a tracking mount and a larger aperture telescope. Consider moving to a 90mm refractor on an equatorial mount, or jumping to a smart telescope like the ZWO Seestar S30 Pro for automated imaging. The skills you learn with the Gskyer, including focusing, finder scope alignment, and basic object location, will transfer directly to your next telescope.
Buying Guide: How to Choose the Best Beginner Astrophotography Telescopes?
Choosing your first astrophotography telescope involves balancing multiple factors including telescope type, mount capability, aperture, focal length, and budget. This buying guide breaks down the key considerations so you can make an informed decision that matches your goals and budget.
Why Refractors Dominate Beginner Astrophotography
Small apochromatic and ED refractors are the overwhelming consensus pick for beginner astrophotography, and for good reason. They are lightweight, require no collimation, produce sharp images with minimal chromatic aberration, and pair easily with tracking mounts. The Reddit astrophotography community and Cloudy Nights forum both consistently recommend starting with a 50mm to 90mm refractor rather than a larger reflector. The forgiving nature of a small refractor means your early mistakes in focusing, polar alignment, and framing will be less punishing, which keeps you motivated rather than frustrated.
Newtonian reflectors and Schmidt-Cassegrain telescopes offer more aperture per dollar, but they come with trade-offs that make them harder for beginners. Newtonians require regular collimation, have larger physical dimensions, and often need heavier mounts. SCTs have long focal lengths that demand precise tracking and autoguiding. For a first telescope, a small refractor on a solid mount is the most reliable path to satisfying results.
The Mount Matters More Than the Telescope
This is the single most important lesson in beginner astrophotography, and it is the one most beginners learn the hard way. The mount is more important than the telescope. A mediocre telescope on a great tracking mount will produce better images than a great telescope on a poor mount. Earth’s rotation means that any object you point at will drift out of view within seconds unless your mount compensates by tracking the sky.
For beginner astrophotography, the minimum requirement is a tracking equatorial mount or a star tracker. Equatorial mounts like the Sky-Watcher HEQ5 or the strain-wave ZWO AM5N are the gold standard. Star trackers like the Sky-Watcher Star Adventurer GTi or iOptron SkyGuider Pro are more affordable alternatives that work well with small refractors. Altazimuth mounts, which are included with many beginner telescopes, cannot track for long-exposure imaging and are suitable only for visual observation and short-exposure lunar and planetary imaging.
Aperture, Focal Length, and Focal Ratio Explained
Three specifications define how a telescope performs for astrophotography. Aperture is the diameter of the main lens or mirror, and it determines how much light the telescope can gather. A 90mm telescope collects about 65 percent more light than a 70mm telescope, which means shorter exposure times and fainter visible targets.
Focal length is the distance from the lens or mirror to the focal point, and it determines your field of view and magnification. Shorter focal lengths (200mm to 500mm) give you wider fields of view that are more forgiving for beginners and work well for large nebulae and star clusters. Longer focal lengths (800mm plus) give you more reach for smaller targets like galaxies, but they demand more precise tracking and polar alignment.
Focal ratio is the focal length divided by the aperture, expressed as an f-number. A fast focal ratio (f/4 to f/6) collects light quickly, allowing shorter exposure times. A slow focal ratio (f/8 and above) requires longer exposures but can deliver more detail at higher magnification. Most beginner astrophotography refractors fall in the f/5 to f/7 range, which is a good balance of speed and optical quality.
Smart Telescope vs Traditional Telescope
Smart telescopes like the ZWO Seestar S30 Pro and DWARFLAB Dwarf 3 represent a new category that combines the telescope, camera, mount, and processing into a single device controlled by a smartphone app. The advantage is simplicity. You can be imaging within minutes of unboxing, with no knowledge of polar alignment, focusing, or stacking software. The trade-off is smaller aperture and less flexibility than a traditional setup.
Traditional telescopes require more knowledge and accessories but offer better performance per dollar and room to grow. A small refractor OTA on a tracking mount with a DSLR camera will outperform a smart telescope on faint deep-sky targets once you master the basics. If you enjoy the technical side of the hobby, traditional setups are more rewarding. If you want results fast with minimal learning curve, smart telescopes are the way to go.
What Else You Need Beyond the Telescope
A telescope alone is not enough for astrophotography. Here is a checklist of what a complete beginner setup includes. First, a tracking mount or star tracker to compensate for Earth’s rotation. Second, a camera, which can be a DSLR, mirrorless camera, or dedicated astronomy camera. Third, a T-ring and adapter to connect your camera to the telescope. Fourth, a reliable power source, either AC adapter or portable battery pack for field use. Fifth, dew heater straps to prevent condensation on humid nights. Sixth, a field flattener or reducer matched to your telescope for sharp stars edge to edge. Seventh, software for capturing images (such as SharpCap or NINA) and processing them (such as PixInsight or Siril).
If that list feels overwhelming, that is exactly why smart telescopes exist. They bundle the telescope, camera, tracking, and processing into one package, eliminating most of the accessory checklist. For beginners who want to start simple and add complexity later, a smart telescope is a perfectly valid entry point.
Common Beginner Mistakes to Avoid
The most common beginner mistake is buying a cheap astrophotography bundle with a poor mount. These bundles pair a decent telescope optical tube with an underpowered altazimuth mount that cannot track the sky, making long-exposure imaging impossible. The result is frustration and abandoned projects. Always prioritize mount quality over aperture.
Another common mistake is expecting to produce Hubble-quality images on night one. Real astrophotography requires taking dozens or hundreds of exposures (called sub-frames) and stacking them in software to reduce noise and reveal detail. Your first images will be noisy and soft. That is normal. The magic happens in post-processing. Start with bright targets like the Moon, Jupiter, and the Orion Nebula, and work your way up to fainter objects as your skills improve.
Finally, many beginners underestimate how difficult focusing is at night. Stars are faint points of light, and determining exact focus by eye is nearly impossible. Use a Bahtinov mask (a cheap focusing aid that fits over the front of your telescope) to achieve precise focus every time. This one accessory can transform your image quality more than any telescope upgrade.
FAQs
What is the best telescope for astrophotography for beginners?
For most beginners, a small apochromatic refractor telescope with a focal length of 250 to 600mm on a tracking equatorial mount is the best choice. Top picks include the SVBONY SV503 70mm ED and the ZWO Seestar S30 Pro for an all-in-one option. These telescopes are lightweight, easy to focus, and deliver sharp, color-corrected images of deep-sky objects.
What is the best entry level astrophotography mount?
The ZWO AM5N is widely considered the best entry-level astrophotography mount thanks to its strain-wave harmonic drive design that delivers excellent tracking in a compact, lightweight form. For tighter budgets, the Sky-Watcher Star Adventurer GTi works well for lighter telescope setups, while the Sky-Watcher HEQ5 handles heavier payloads.
Is a 70mm or 80mm telescope better for astrophotography?
An 80mm telescope collects about 30 percent more light than a 70mm telescope, making it better for fainter deep-sky objects. However, a 70mm telescope like the SVBONY SV503 ED is more portable and often sufficient for brighter nebulae and star clusters. Choose 80mm if light gathering is your priority and 70mm if portability matters more.
What is the best all in one telescope for astrophotography?
The best all-in-one smart telescope for beginner astrophotography is the ZWO Seestar S30 Pro. It combines the telescope, camera, mount, and processing software into a single device controlled via a smartphone app. The DWARFLAB Dwarf 3 is another strong option that is even more portable at just 3.2 pounds. Both let beginners start imaging within minutes.
What equipment do beginners need for astrophotography?
Beginners need a tracking mount or star tracker, a camera (DSLR, mirrorless, or dedicated astronomy camera), a T-ring adapter, a reliable power source, dew heater straps, a field flattener matched to the telescope, and software for capturing and processing images. Smart telescopes like the ZWO Seestar bundle most of these components into one device.
What telescope do I need to see Saturn’s rings?
Any telescope with at least 50x magnification can show Saturn’s rings. A small refractor like the Gskyer 70mm or a reflector like the Celestron PowerSeeker 127EQ can reveal the rings clearly. For better planetary detail, use a telescope with at least 90mm aperture and higher magnification eyepieces in the 100x to 200x range.
Conclusion: Our Top Recommendations for 2026
After testing and comparing 10 telescopes, our top pick for the best beginner astrophotography telescope in 2026 is the ZWO Seestar S30 Pro. It removes every barrier that frustrates new imagers and produces results from your first night out. For the best traditional value, the SVBONY SV503 70mm ED refractor offers professional-grade optics with a built-in field flattener at a price that leaves room in your budget for a quality mount. And for absolute beginners testing the waters, the Gskyer 70mm remains the most popular and affordable first telescope on the market.
Whatever you choose, remember that the mount matters more than the telescope, patience beats aperture, and your first blurry photo of the Orion Nebula is the start of a journey that can last a lifetime. Clear skies.