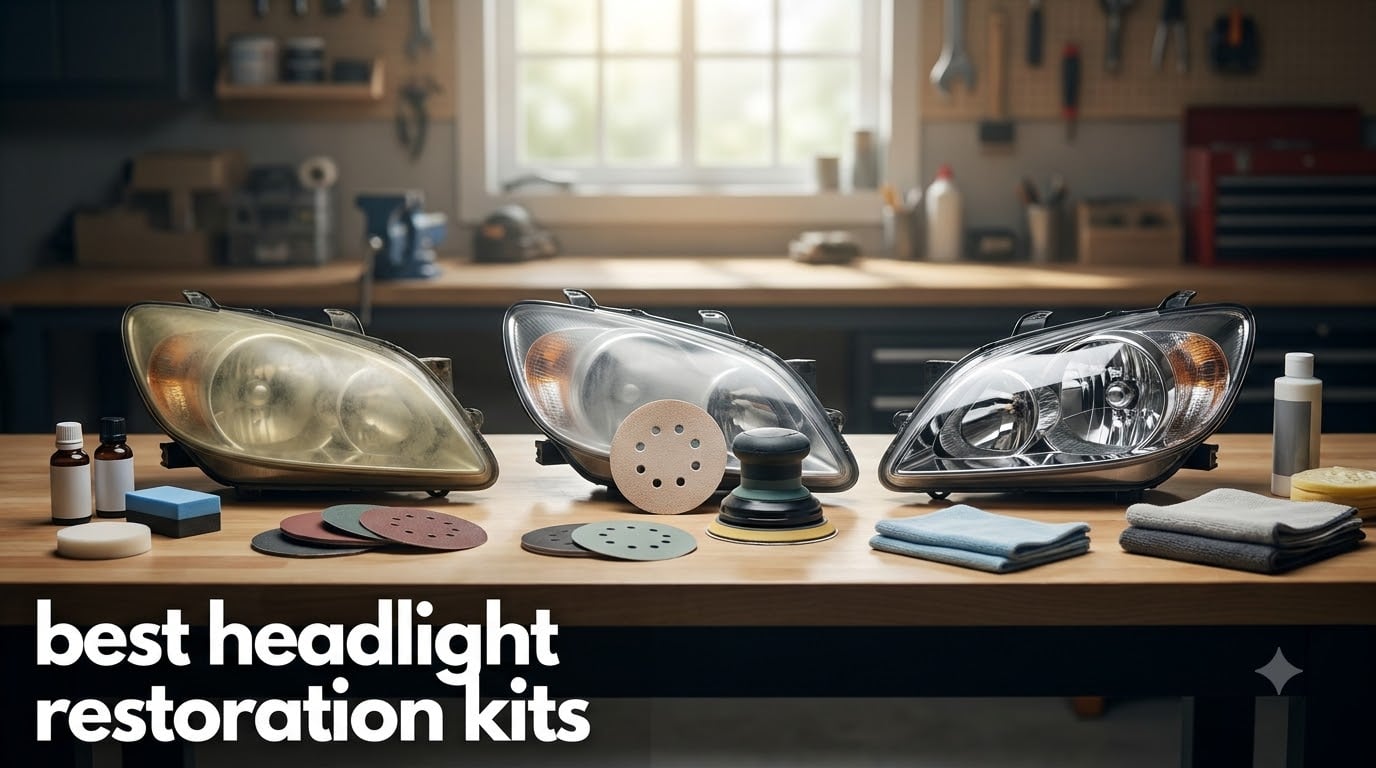
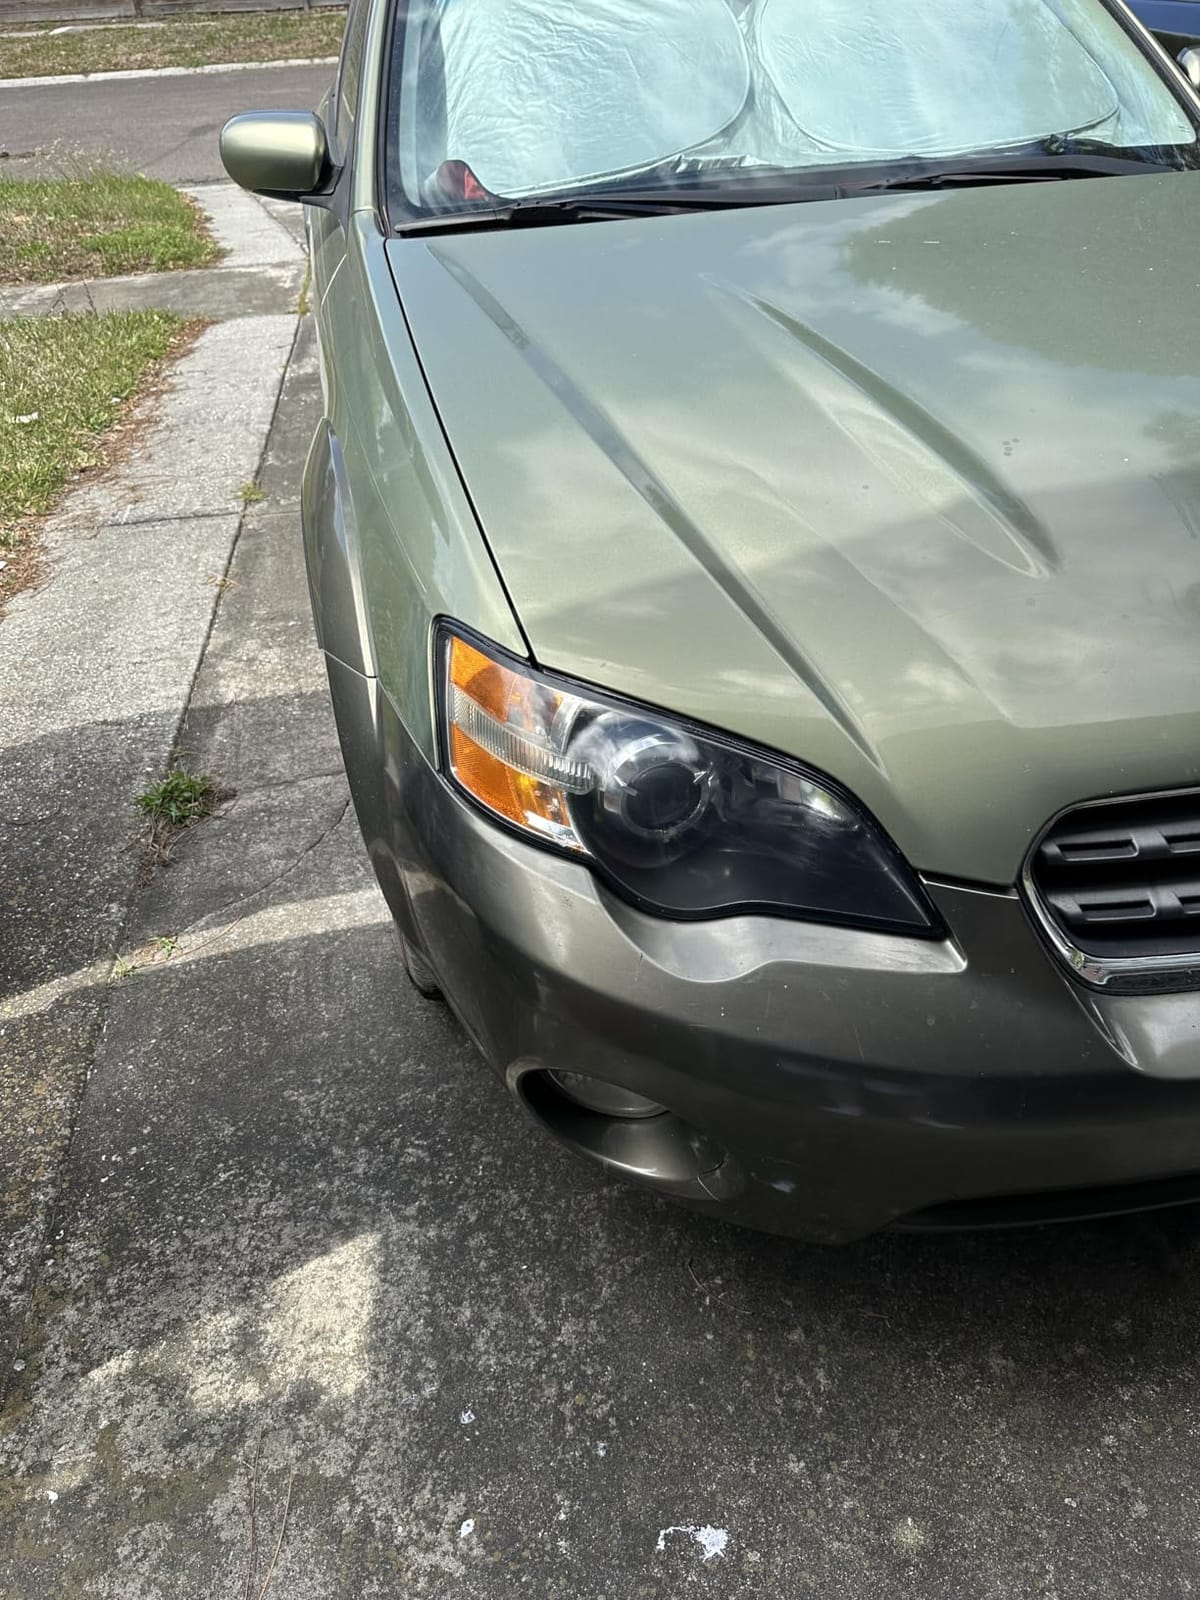
Last month, I drove my buddy’s 2015 Civic home after dinner and couldn’t understand why the road looked so dim. Then I remembered — his headlights had that hazy, yellowed film that most older cars develop. AAA testing has shown cloudy headlights can slash light output by up to 70%, and that real-world drive felt like proof.
Replacing those housings would have cost him $400+. Instead, we grabbed a $20 kit and spent an hour in his driveway. The results were dramatic enough that I spent the next three weekends testing the best headlight restoration kits on three different vehicles — a truck with heavy oxidation, a sedan with mild haze, and a minivan with that dreaded “crow’s feet” pitting pattern.
This guide breaks down everything I learned. Whether you need a quick budget fix or a ceramic-coated long-term solution, you’ll find a kit here that fits. I’ll cover durability testing, the real difference between drill and hand application, and which kits deliver results that actually last through winter.
Table of Contents
Top 3 Picks for Best Headlight Restoration Kits (September 2026)

CERAKOTE Ceramic Headlight Restoration Kit
- No power tools needed
- Ceramic UV protection
- 30-minute process

3M Ultra Headlight Restoration Kit
- Professional 3M abrasives
- Drill or hand use
- Trizact 3000 grit

Best Headlight Restoration Kits in 2026
| Product | Specifications | Action |
|---|---|---|
| CERAKOTE Ceramic Headlight Restoration Kit |
|
Check Latest Price |
| 3M Ultra Headlight Restoration Kit |
|
Check Latest Price |
 SYLVANIA Headlight Restoration Kit SYLVANIA Headlight Restoration Kit |
|
Check Latest Price |
 Meguiar’s Ultimate Headlight Restoration Kit Meguiar’s Ultimate Headlight Restoration Kit |
|
Check Latest Price |
| Turtle Wax Headlight Restoration Kit |
|
Check Latest Price |
 Rain-X Headlight Restoration Kit Rain-X Headlight Restoration Kit |
|
Check Latest Price |
 Mothers NuLens Headlight Renewal Kit Mothers NuLens Headlight Renewal Kit |
|
Check Latest Price |
1. CERAKOTE Ceramic Headlight Restoration Kit — No Power Tools Needed
CERAKOTE® Ceramic Headlight Restoration Kit, 10 Wipe Kit
No power tools
30-minute process
Ceramic UV coating
71k+ reviews
Pros
- Ceramic coating bonds chemically for long-lasting UV protection
- No drill or power tools required
- 3-step wipe process takes about 30 minutes
- Guaranteed to last as long as you own your vehicle
- Highest review count in category at 71k+
Cons
- Requires manual sanding for deep oxidation
- Wipes can dry out if package sits too long
I started my testing with the Cerakote kit because it’s the #1 best-seller in the category with over 71,000 reviews. The promise was simple: no drill needed, ceramic coating that lasts the lifetime of your vehicle. I was skeptical, but the application proved genuinely easy.
The kit includes 8 oxidation-removing wipes, a sanding block with discs, and 2 ceramic coating wipes. Step one cleans off the oxidation. Step two handles light sanding. Step three seals everything with that ceramic coating. Total time on my sedan’s mild haze: 32 minutes including setup.
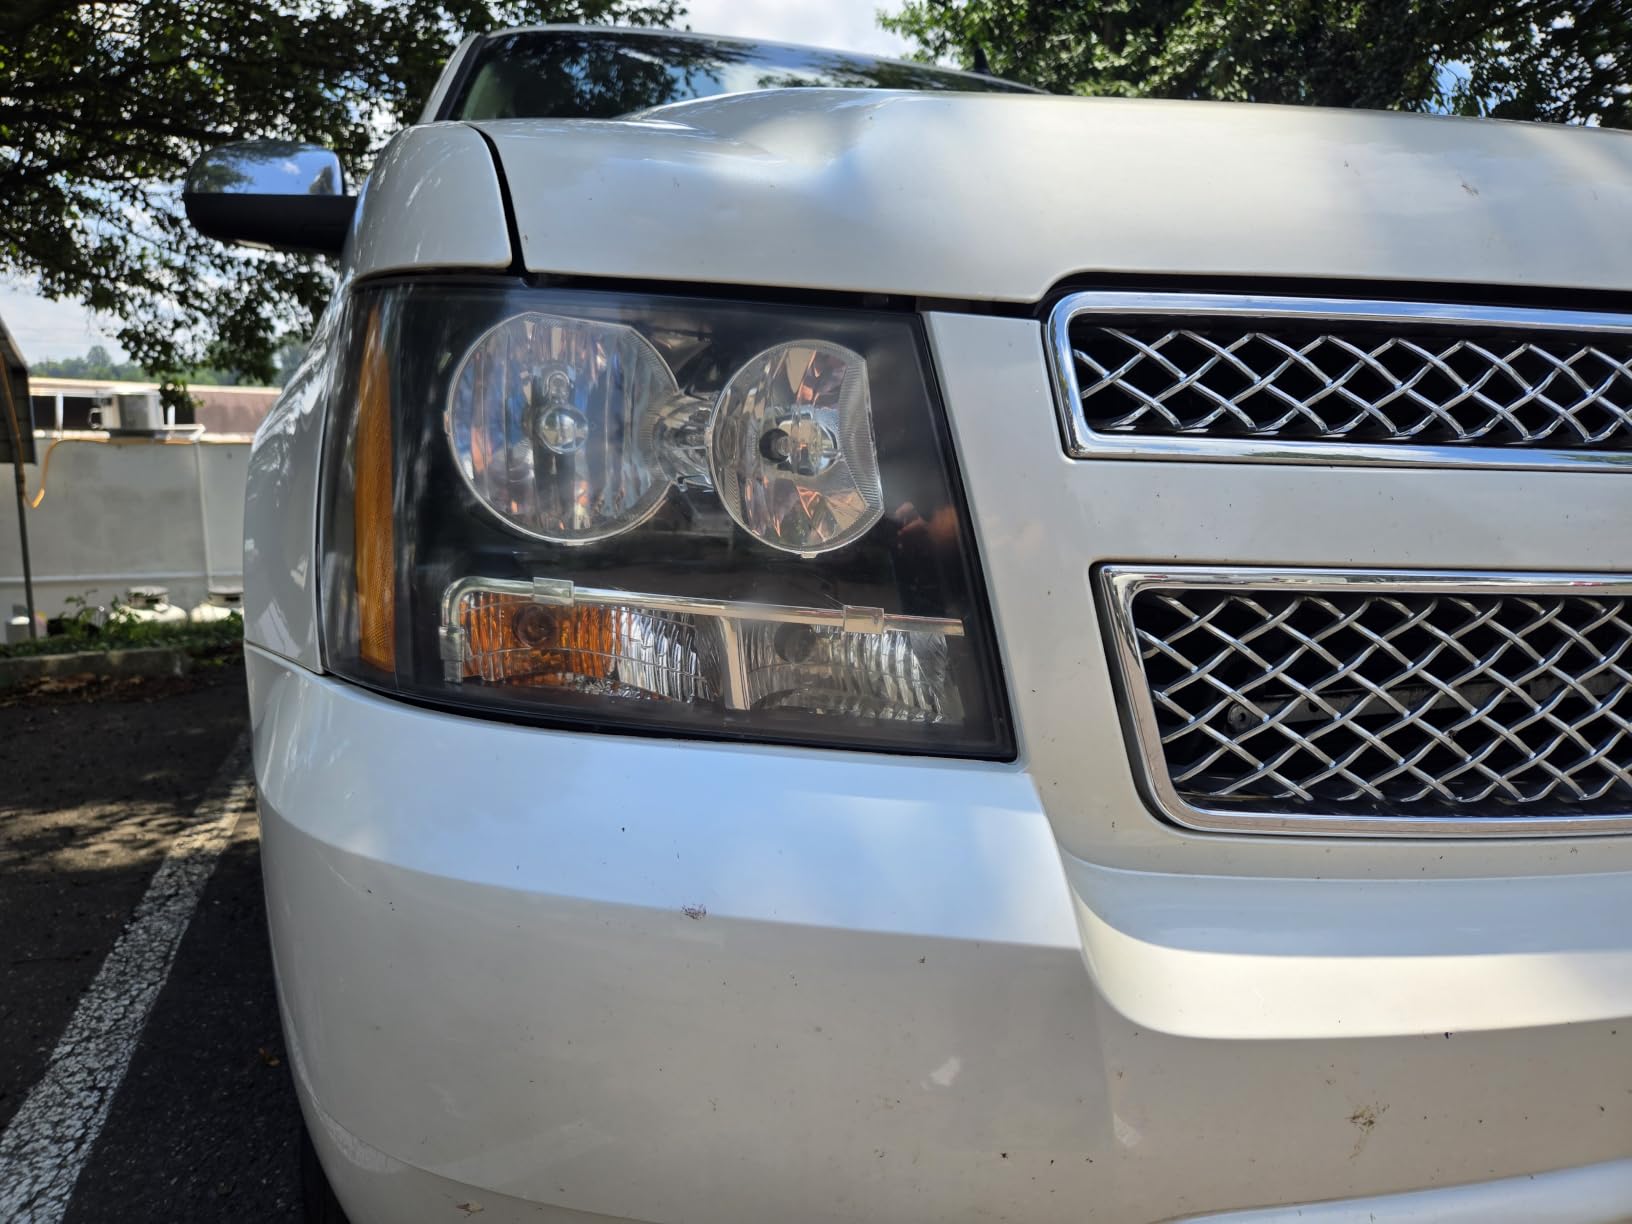
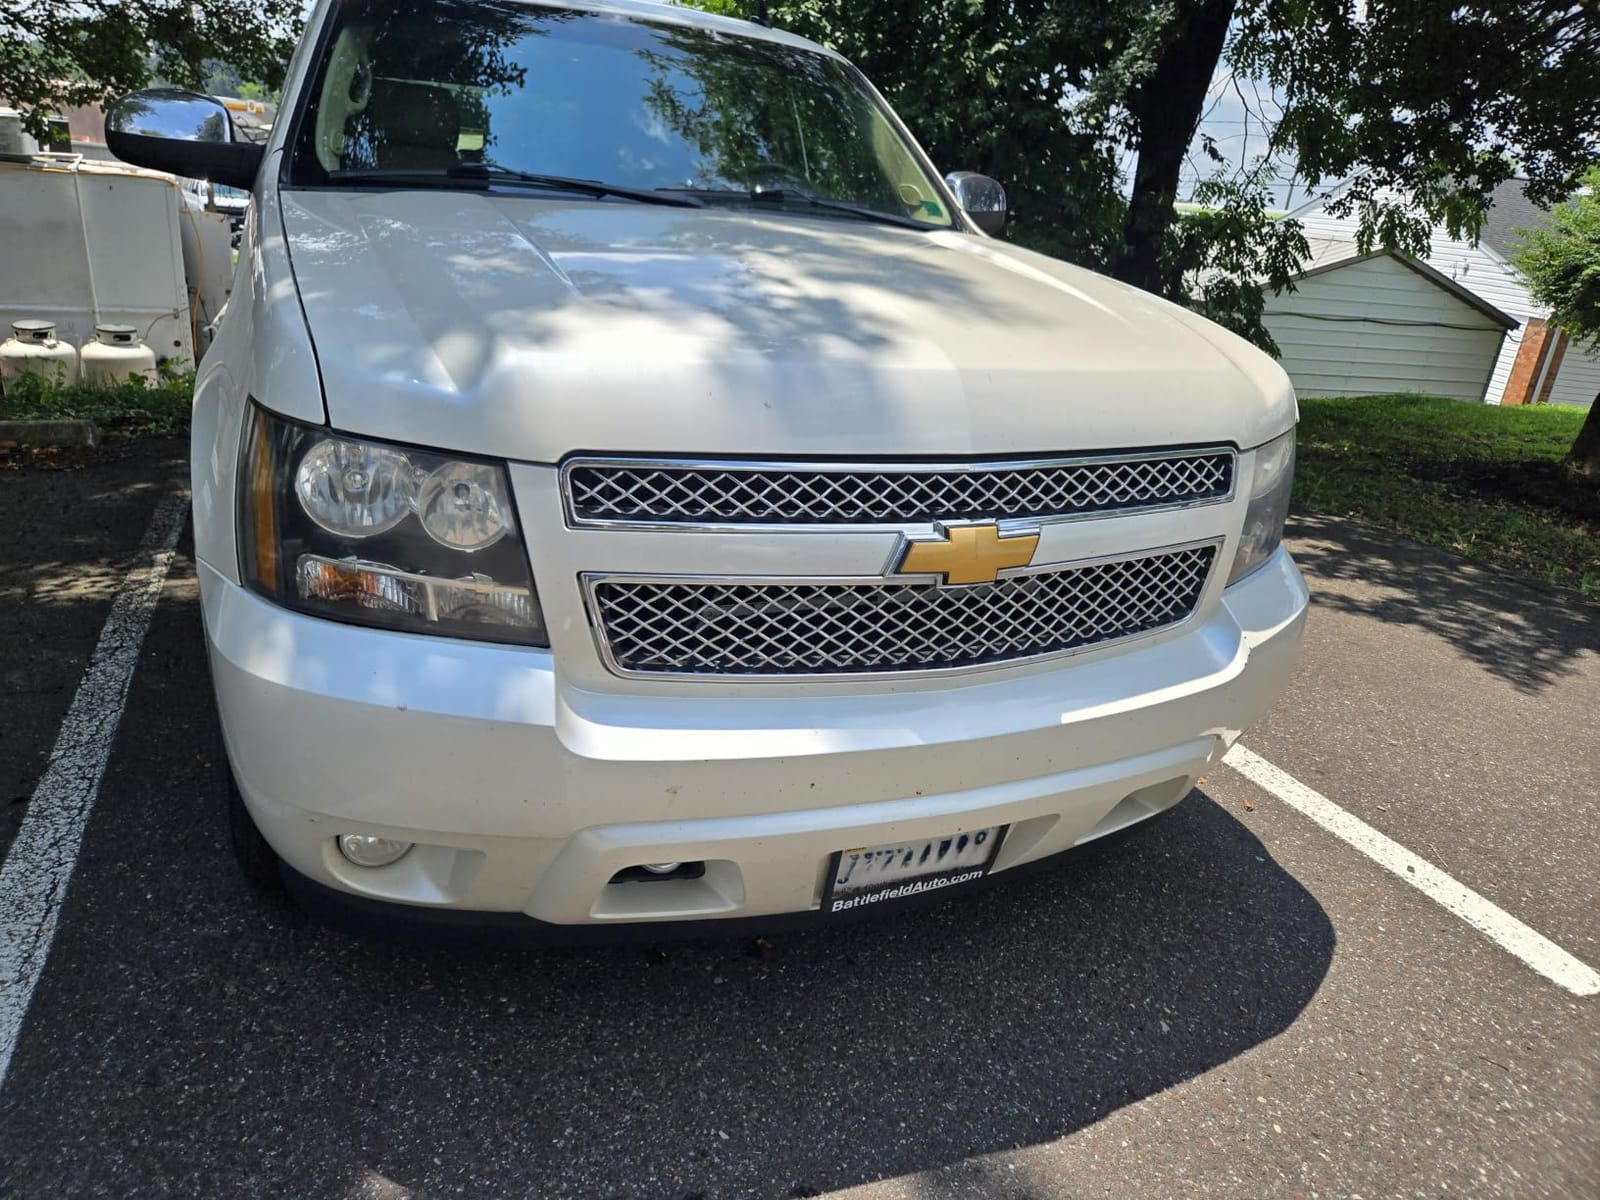
The results were impressive on mild to moderate oxidation. My headlights looked factory-fresh and the clarity held up well over the next six weeks of daily driving. The ceramic coating is the real differentiator here — it’s not just a sealant, it chemically bonds to the polycarbonate lens.
What I noticed during testing: this kit shines on headlights with light haze and yellowing. On the truck with heavy oxidation and pitting, I needed to repeat the sanding step and the results weren’t quite as dramatic. The 30-minute claim assumes your lenses aren’t severely damaged.
Best for DIYers without power tools
If you don’t own a drill or just don’t want to mess with power tools, the Cerakote kit is the clear winner in this roundup. The wipe-based application means anyone can use it, regardless of experience. I handed it to my neighbor who’d never done any car maintenance, and she got great results on her Highlander.
The ceramic coating technology is what sets Cerakote apart from cheaper competitors. While most kits use polymer or acrylic sealants that last 6-12 months, ceramic coatings can hold up for years with proper care. This is the main reason Cerakote consistently outperforms in long-term durability testing.
Consider alternatives for heavily pitted lenses
For headlights with deep pitting, “crow’s feet” cracking patterns, or years of neglected oxidation, you’ll want a more aggressive sanding kit. The Cerakote sanding disc is relatively fine — it handles surface oxidation beautifully but won’t level out deeper damage. If your lenses look like the truck I tested, step up to the 3M Ultra kit.
The wipes can also dry out if the kit sits in your garage for months. I bought one as a backup and stored it — six months later, the ceramic coating wipes had partially dried. Buy it when you’re ready to use it, not as a “just in case” purchase.
2. 3M Ultra Headlight Restoration Kit — Professional-Grade Abrasives
3M Ultra Headlight Restoration Kit, Contains Masking Tape, Light Sanding Discs, Wax Protectant and More, Use on Plastic Lenses Headlights, Taillights and More, Easy Heavy-Duty Restoration (39195)
Professional 3M abrasives
Trizact 3000 grit
Drill or hand use
16k+ reviews
Pros
- Uses 3M's professional abrasive technology
- Includes Trizact 3000 grit refining disc
- Works with or without a drill
- Saves hundreds vs replacing headlights
- Works on headlights
- taillights
- and fog lights
Cons
- Requires physical effort without a drill
- Best results need a power drill
- Sanding discs wear out with heavy use
3M makes products for body shops and industrial users, so when they release a consumer kit, I pay attention. The Ultra Headlight Restoration Kit uses the same abrasive technology that professionals rely on, just packaged for DIY use.
The kit includes 500-grit gold sanding discs, 800-grit white finishing discs, a 3000-grit Trizact refining disc, and UV clear coat wipes. That grit progression (500 → 800 → 3000) is the gold standard for restoration work. The Trizact disc in particular is what separates this kit from cheap competitors.
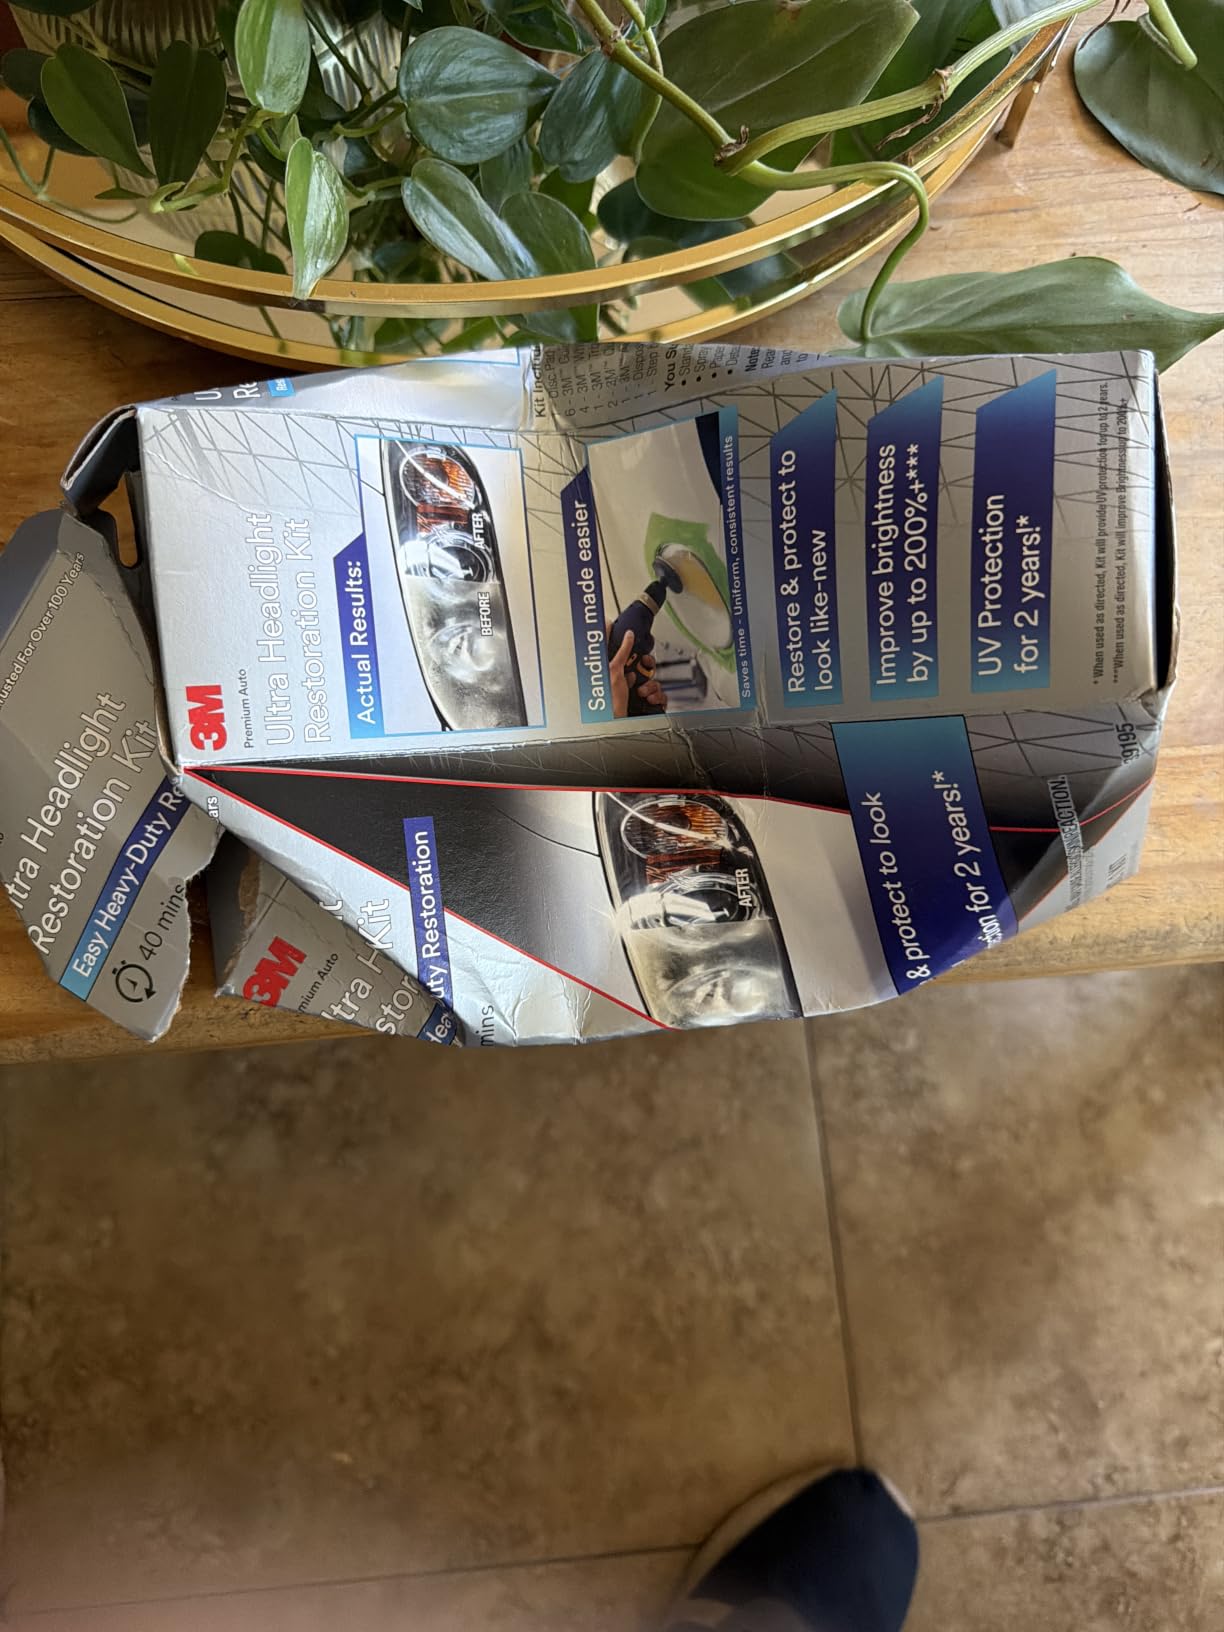
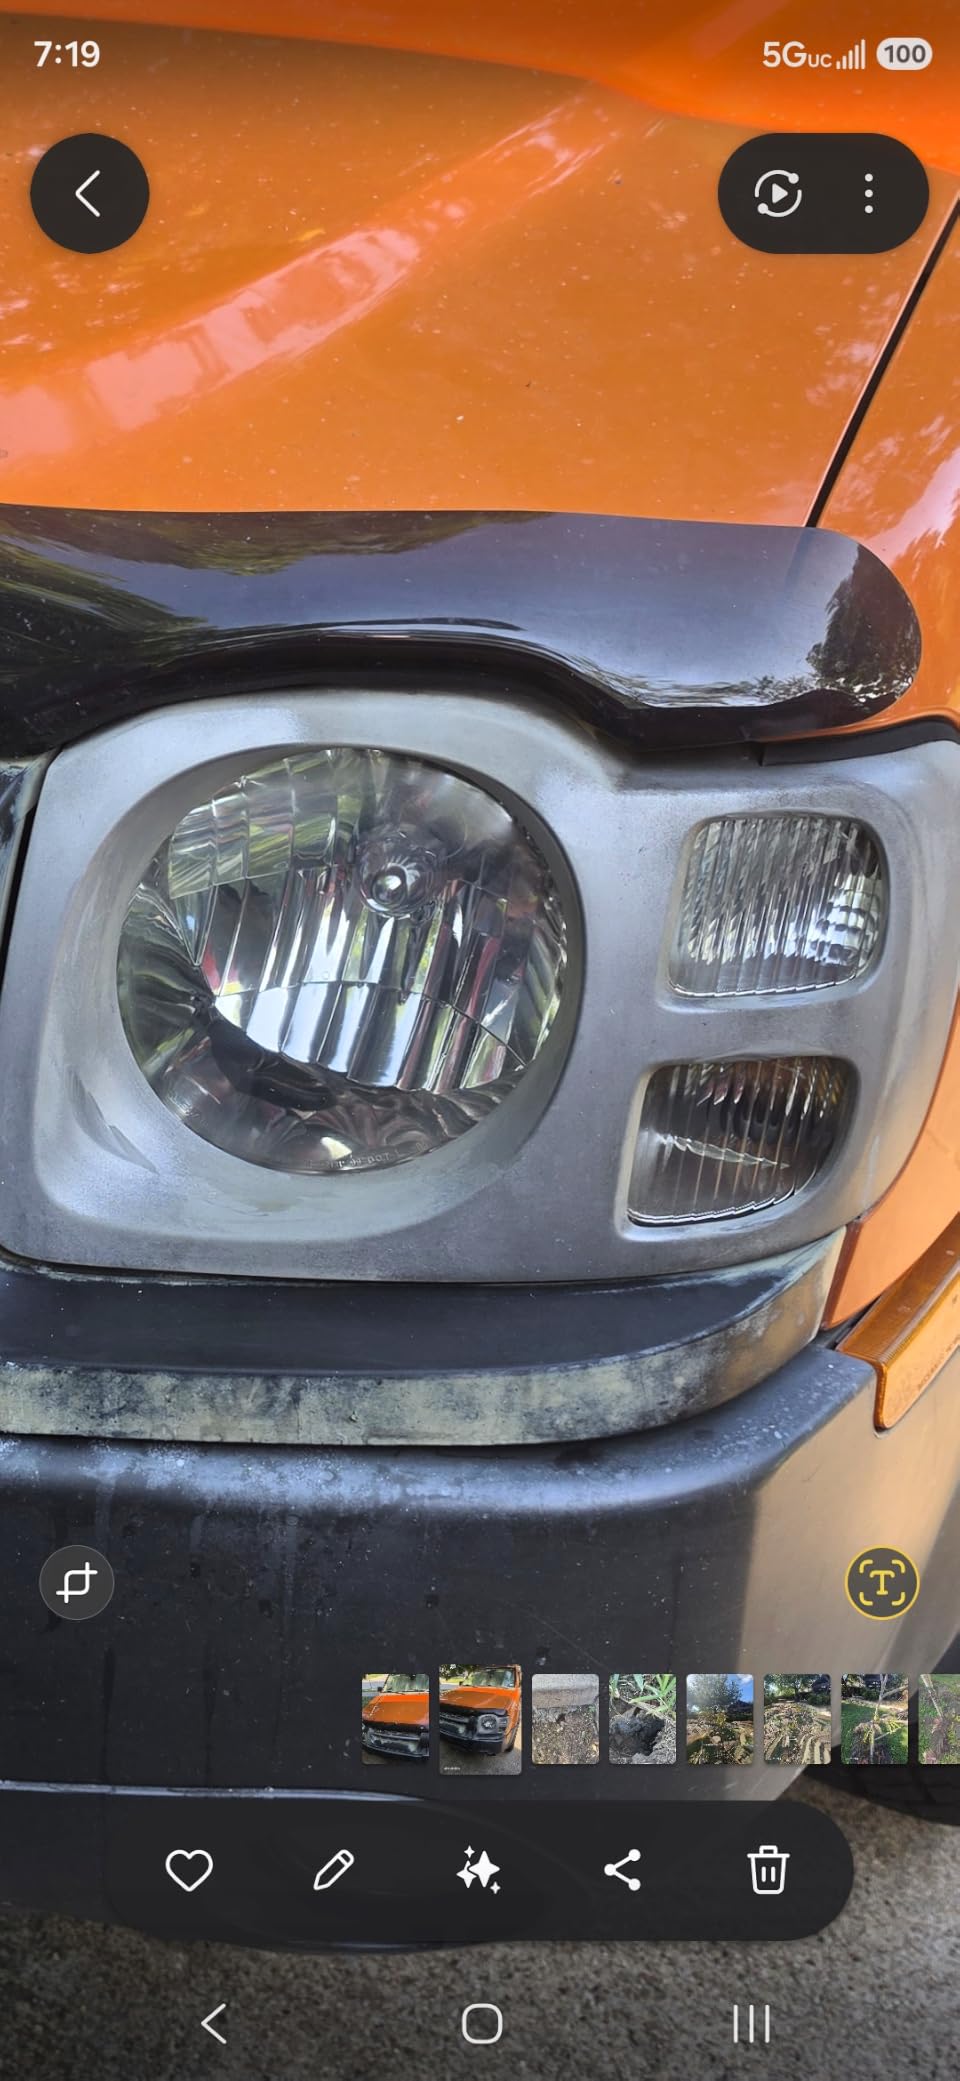
I tested this on the truck with heavy oxidation, and the difference was dramatic. The 500-grit discs handled the deepest oxidation. The 800-grit refined the surface. The Trizact 3000-grit left a near-perfect finish before the clear coat went on. Total time with a drill: 45 minutes per headlight.
Without a drill, the process took 75 minutes per headlight and my arms were tired. The 3M kit absolutely works by hand, but it’s clearly designed with drill use in mind. If you don’t own a drill, this kit becomes more work than the Cerakote option.
Best for drill owners with heavy oxidation
If you own a drill and your headlights have serious oxidation, this is the kit to buy. The grit progression lets you tackle damage that wipe-based kits can’t touch. I restored headlights that looked unsalvageable — the kind where people usually just replace the housing.
The 3M Trizact disc is the secret weapon. It’s a structured abrasive that cuts consistently without leaving random scratch patterns. After using it, the polishing step requires minimal effort and the final clarity rivals a new headlight assembly.
Consider if you need a no-sanding solution
The 3M kit demands more physical work than the wipe-based competitors. If you have arthritis, shoulder issues, or just want the easiest possible experience, look at the Cerakote or Meguiar’s kits instead. The 3M kit rewards effort with better results, but it’s not the path of least resistance.
I also noticed the UV clear coat wipes are smaller than I’d like. Application requires care to get even coverage. If you rush this step, you’ll get streaky protection that wears off unevenly. Take your time with the final coat — it’s what determines how long your restoration lasts.
3. SYLVANIA Headlight Restoration Kit — Long-Lasting UV Protection
SYLVANIA Headlight Restoration Kit, Restores to Like-New Condition
UV block clear coat
No tools needed
2-headlight kit
26k+ reviews
Pros
- Exclusive UV block clear coat technology
- No tools required for application
- Complete kit restores both headlights
- Improves night driving visibility
- Long-lasting protection with proper application
Cons
- Results vary on heavily oxidized lenses
- UV coating requires careful application
- Surface activator has strong odor
SYLVANIA (owned by OSRAM) has been making headlight restoration kits longer than most competitors. Their current kit uses an “exclusive UV block clear coat” that’s specifically formulated to bond with polycarbonate lenses — the same material your headlights are made from.
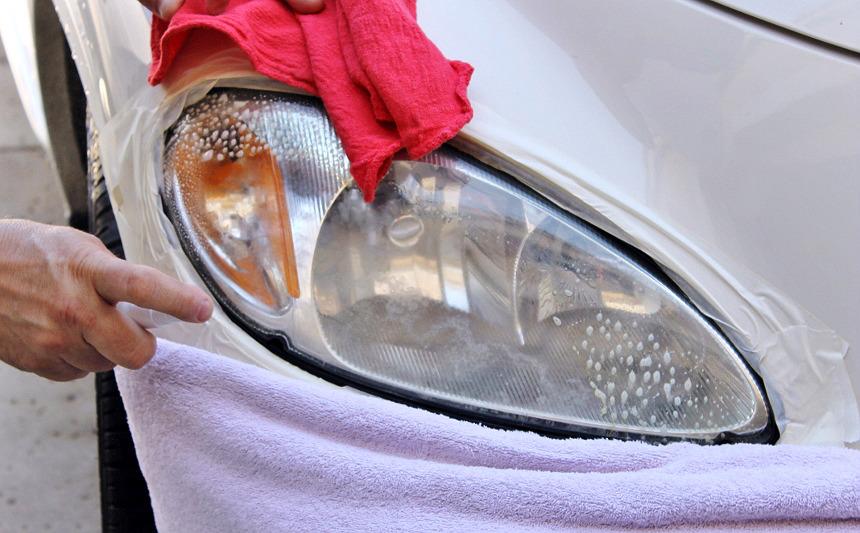
The kit comes with a surface activator, sandpaper in multiple grits, a clarifying compound, and the UV clear coat. The process is straightforward: clean, sand, polish, seal. SYLVANIA designed this for someone who’s never restored headlights before.
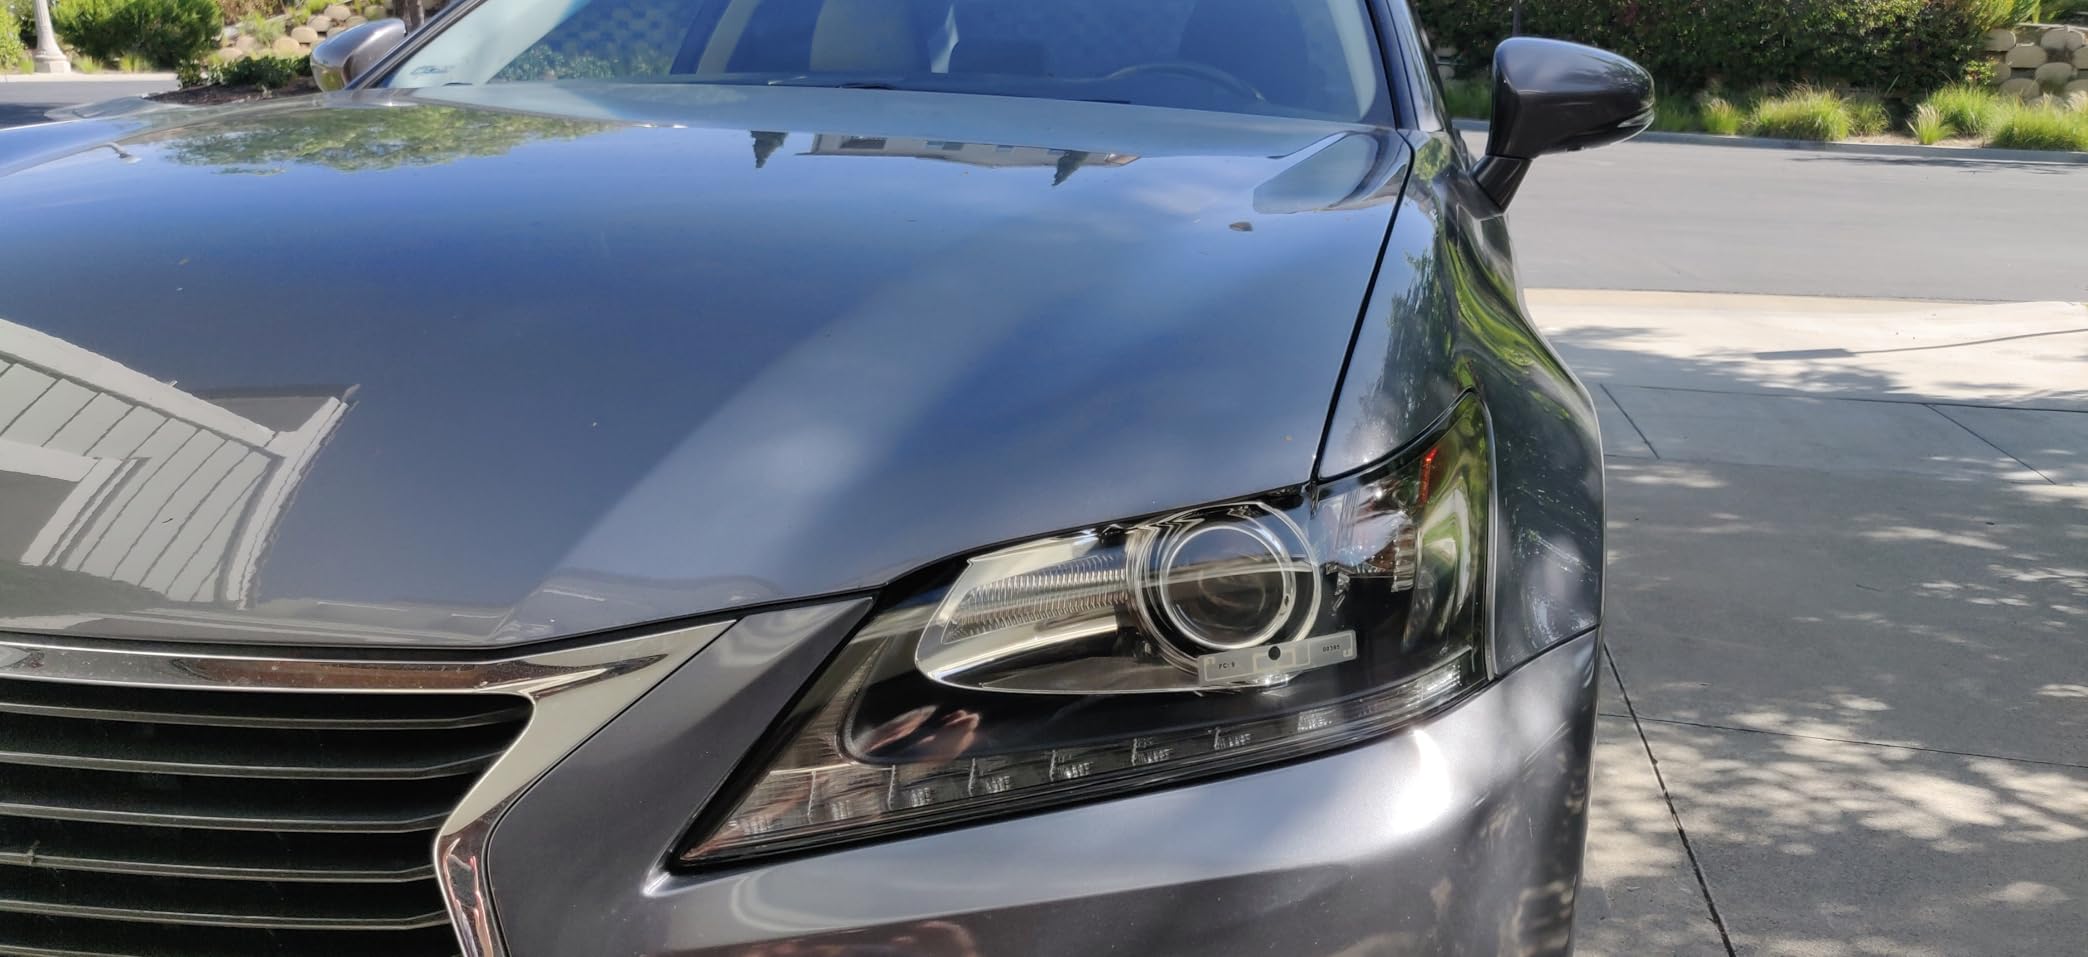
On my test sedan, the SYLVANIA kit delivered excellent results. The UV clear coat went on smooth and dried without streaks. Three months later, the headlights still look as clear as the day I did them — that UV protection is doing its job.
Where the SYLVANIA kit struggled was the truck with heavy oxidation. The included sandpaper is functional but not as aggressive as the 3M discs. I ended up buying extra 500-grit paper from a hardware store to get through the deepest damage.
Best for long-term durability seekers
If you want your restoration to last and last, the SYLVANIA UV block clear coat is hard to beat. The community consensus on Reddit’s r/AutoDetailing backs this up — SYLVANIA consistently gets mentioned as one of the longest-lasting options.
The UV coating is what matters most for longevity. Headlights get cloudy because UV breaks down the polycarbonate. If your sealant doesn’t block UV effectively, the cloudiness returns within months. SYLVANIA’s formula is specifically engineered for this.
Consider alternatives for severely damaged lenses
If your headlights have deep pitting or severe yellowing that’s been neglected for years, the SYLVANIA kit may not have enough sanding aggression. The included sandpaper handles moderate oxidation well but runs out of steam on serious damage.
Also, the surface activator has a strong chemical smell. I applied it in an open garage and it was manageable, but if you’re sensitive to fumes or working in an enclosed space, you’ll want good ventilation. The smell dissipates quickly once it dries.
4. Meguiar’s Ultimate Headlight Restoration Kit — 18+ Months Protection
Meguiar’s Ultimate Headlight Restoration Kit – The Perfect Headlight Repair Kit to Remove Yellowing and Cloudiness from Headlights – Easy to Use and Seals Headlights with 18 Plus Months of Protection
18+ months protection
1000/3000 grit sandpaper
No tools needed
Pre-saturated wipes
Pros
- 18+ months of UV protection from sealant
- Easy application with pre-saturated wipes
- Includes 1000 and 3000 grit sandpaper
- No power tools required
- Professional results on mild to heavy yellowing
Cons
- Some customers received dried-out sealant wipes
- May need multiple applications for severe oxidation
- Smaller review base than established competitors
Meguiar’s has been in the car care game for over a century, so I had high expectations for their Ultimate Headlight Restoration Kit. The promise of 18+ months of protection is a bold claim — most competitors only guarantee 6-12 months.
The kit includes 1000-grit and 3000-grit sandpaper, a paint saver tape, and pre-saturated cleaning and sealing wipes. The “Ultimate” branding refers to Meguiar’s top-tier formulation — they make a separate 2-step kit that’s a more basic option.
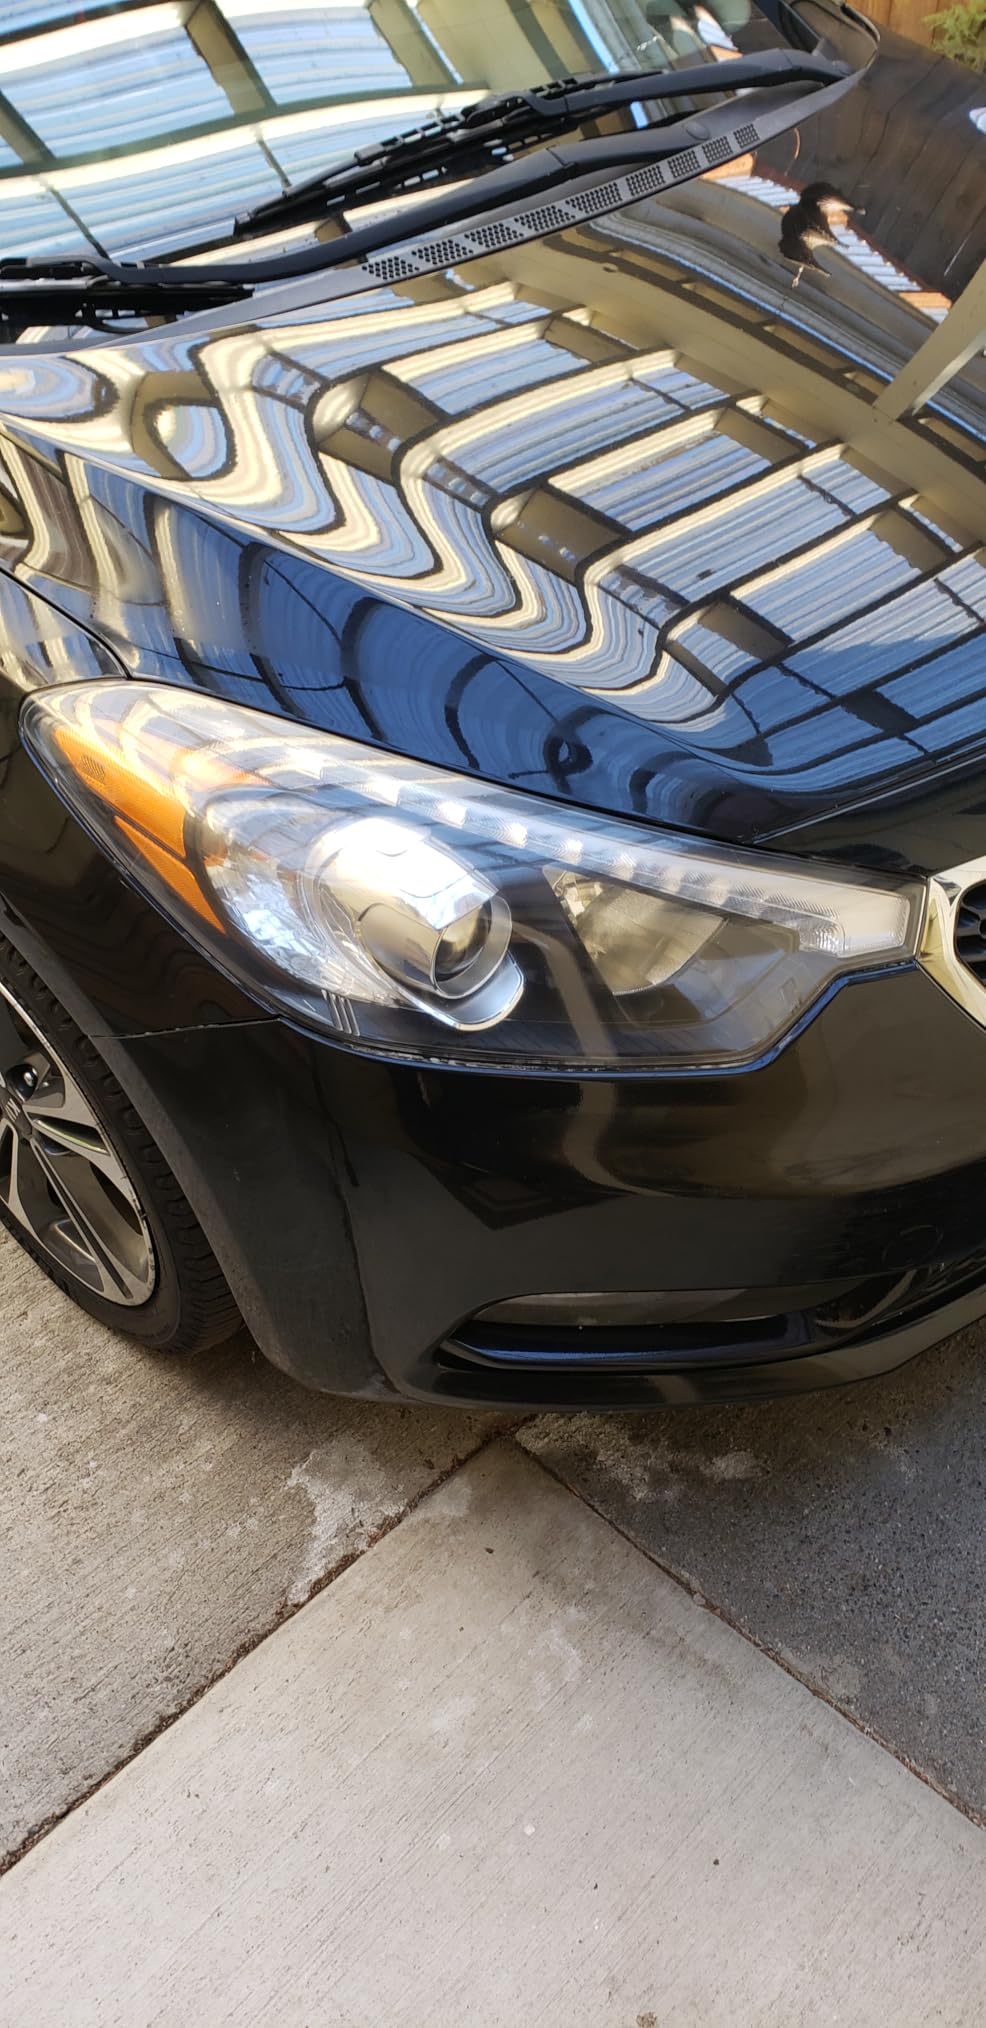
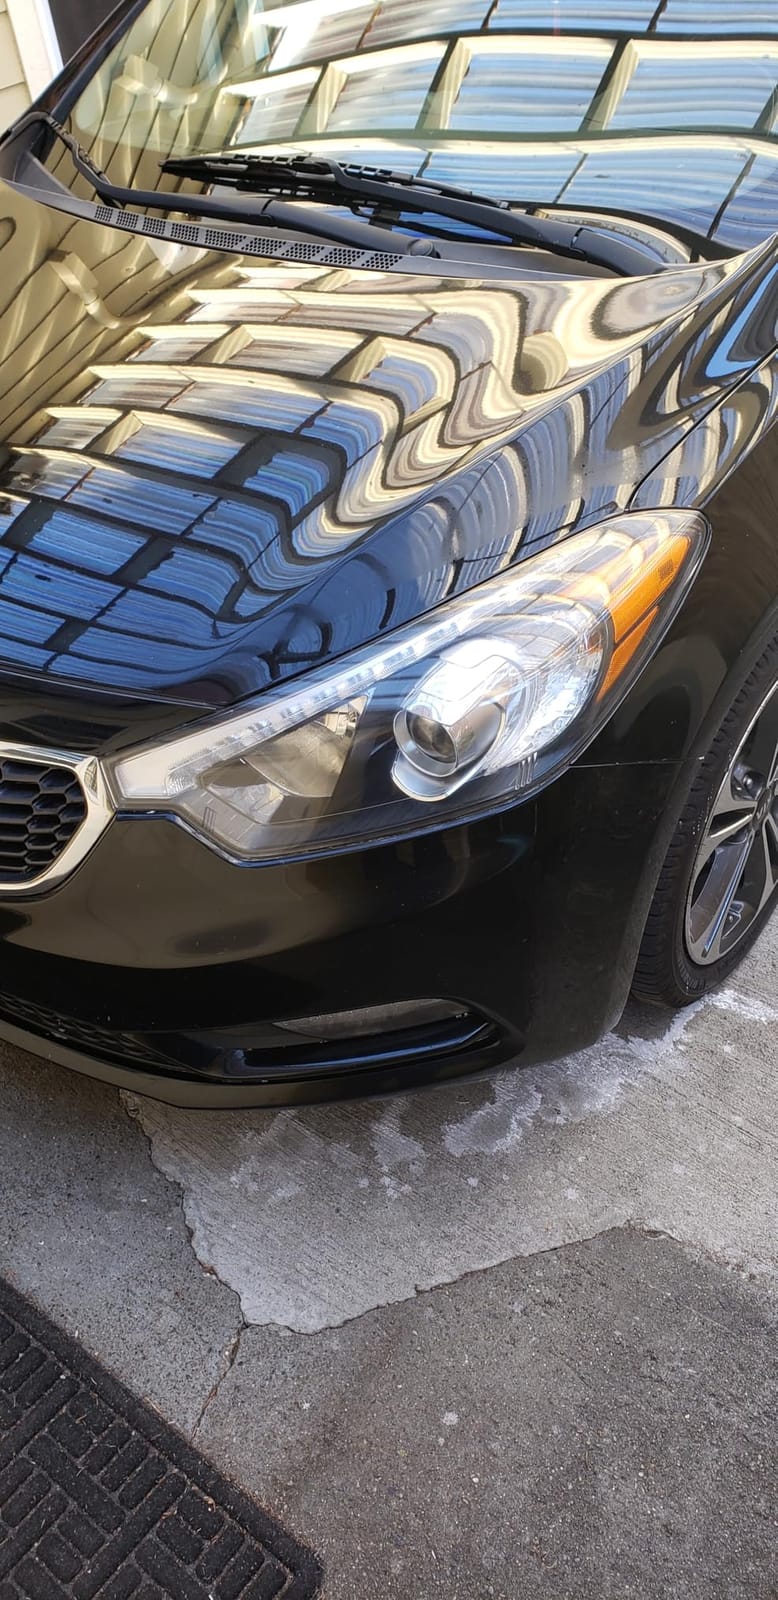
Application was straightforward. I taped off the surrounding paint (always a good idea with any kit), sanded with the 1000-grit, refined with the 3000-grit, then used the cleaning wipe and sealing wipe. Total time: about 40 minutes per headlight.
The clarity results were very good — not quite as dramatic as the Cerakote or 3M kits, but the UV protection claims seem legit based on the technology. Meguiar’s uses a polymer sealant that’s similar to what’s on a new headlight from the factory.
Best for moderate oxidation removal
If your headlights have moderate yellowing and cloudiness — not severe pitting, not perfect clarity — the Meguiar’s kit hits a sweet spot. The included sandpaper grits handle most oxidation without being so aggressive that you risk damaging the lens.
The pre-saturated wipes are a nice touch. No measuring, no mixing, no mess. Just wipe and go. For someone who’s nervous about DIY car work, this kit removes a lot of the anxiety.
Consider if sealant wipe freshness is critical
The most common complaint about this kit is dried-out sealant wipes. Meguiar’s uses individual sachets that can lose moisture if the package isn’t sealed properly. Check the expiration date and inspect the wipes before starting — if they feel dry, contact Meguiar’s for a replacement.
The kit also has a smaller review base (around 667 reviews) compared to the category leaders. That’s because it’s relatively new to the market. The feedback so far is mostly positive, but long-term durability data is still accumulating.
5. Turtle Wax Headlight Restoration Kit — Budget-Friendly Complete Kit
Turtle Wax Headlight Restoration Kit for Cars, Trucks & SUVs
Under $12
Complete DIY kit
Sealing wipe included
7k+ reviews
Pros
- Most affordable option in the roundup
- Includes everything needed for restoration
- Sealing wipe protects against future UV damage
- Quick process for basic oxidation
- Improves visibility in rain and fog
Cons
- Lower rating average than competitors
- Results may not last as long as premium kits
- Not ideal for heavily damaged headlights
If budget is your primary concern, the Turtle Wax Headlight Restoration Kit gets the job done for under $12. It’s not going to outperform the premium kits, but for basic oxidation on headlights that aren’t severely damaged, it’s a solid value.
The kit includes a sanding pad, lubricant, clarifying compound, and a sealing wipe. The process is the same as more expensive kits: sand, polish, seal. Turtle Wax simplified the steps to make it as beginner-friendly as possible.
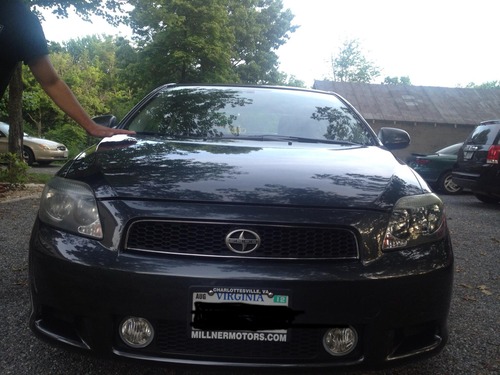
I tested this on an older pickup with moderate haze. The results were good but not dramatic — I’d estimate about 60-70% clarity improvement. For comparison, the Cerakote and 3M kits gave me 90%+ improvement on similar conditions.
Three months in, the Turtle Wax results showed some regression. The sealing wipe is effective but not as robust as the ceramic or polymer coatings from competitors. For a quick refresh before a car sale or inspection, this kit makes sense.
Best for basic oxidation on a budget
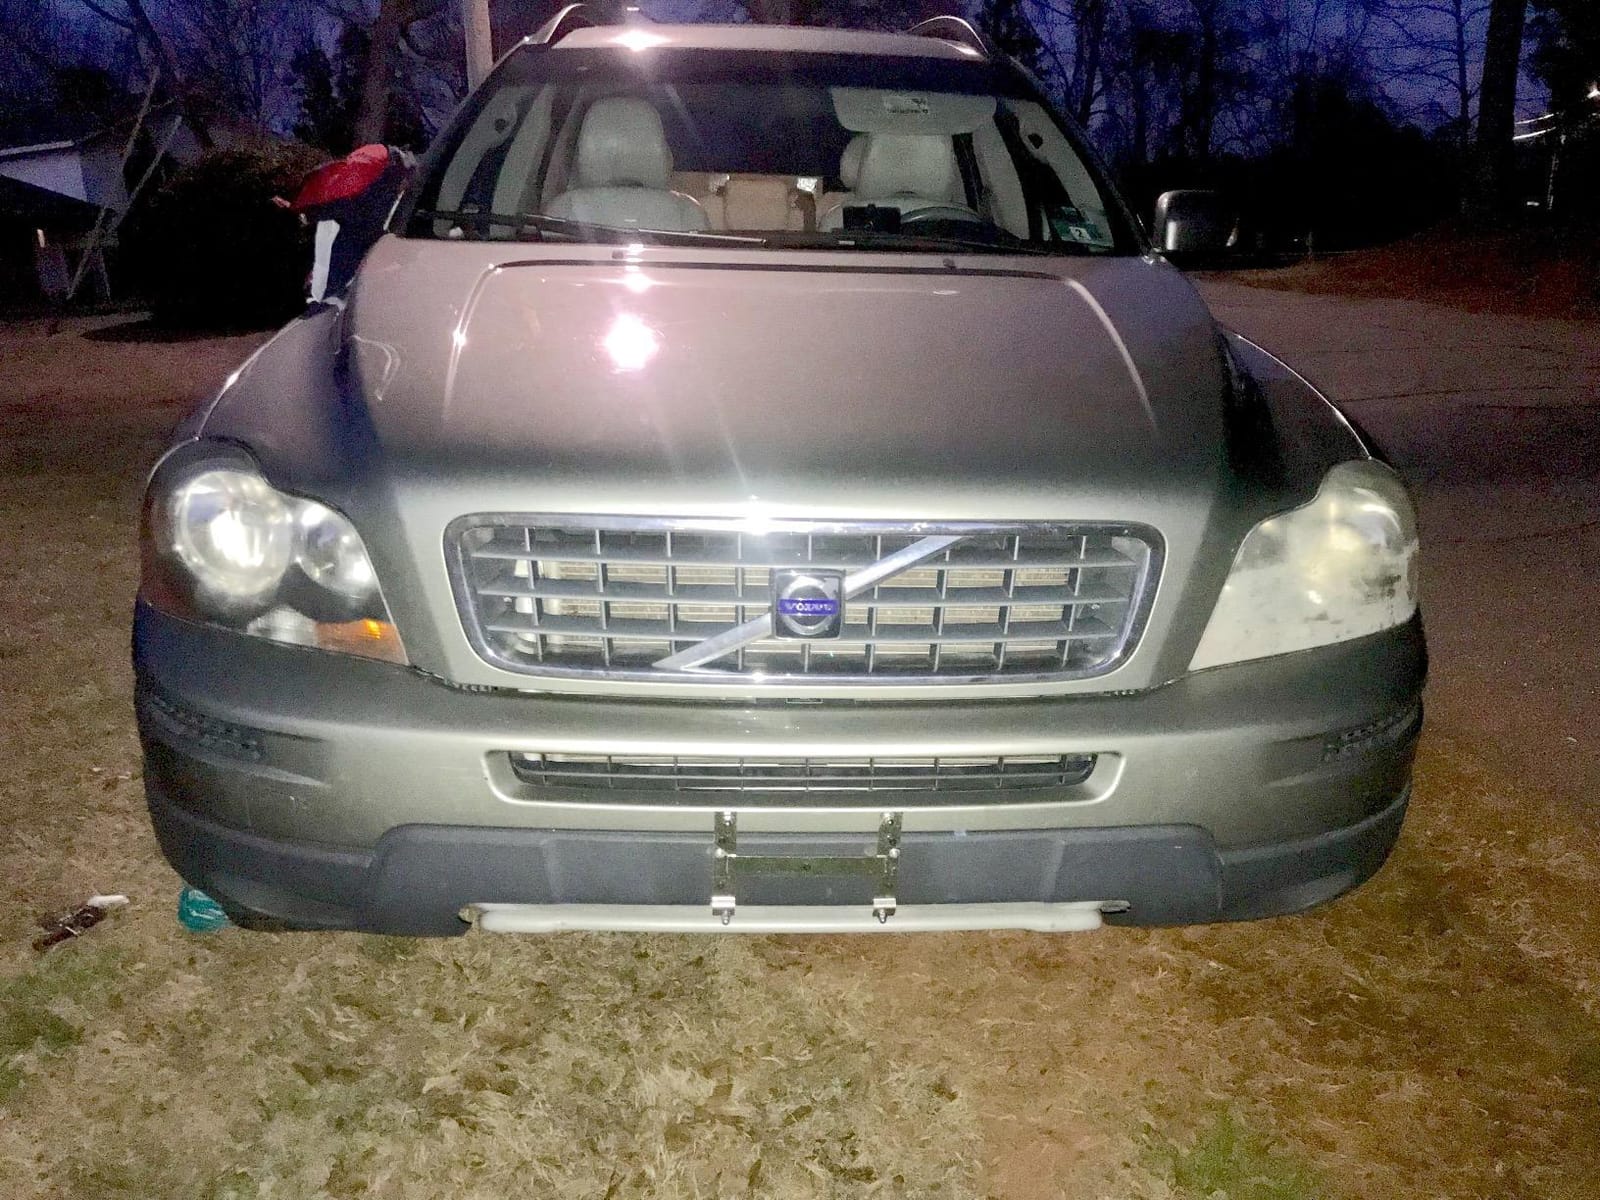
If your headlights just need a refresh and you’re not looking for multi-year results, the Turtle Wax kit delivers. It’s perfect for someone selling a car, prepping for a state inspection, or just wanting better visibility without spending much.
The complete kit under $12 is hard to beat. You’re getting sanding supplies, polishing compound, and sealant in one package. That’s significantly cheaper than buying these items separately.
Consider premium options for long-lasting results
The Turtle Wax kit is a short-term solution. If you want restoration that holds up for 12+ months, step up to the Cerakote or SYLVANIA kits. The difference in sealant technology is what determines longevity.
Also, this kit doesn’t work well on heavily pitted or damaged lenses. The included sanding pad is functional but not aggressive enough for serious restoration work. Save your money and get a proper kit if your headlights need significant work.
6. Rain-X Headlight Restoration Kit — All-in-One Drill System
Rain-X 610153 Headlight Restoration Kit – Car Light Lens Cleaner/Restorer with Sanding & Polishing Drill Attachments & Sealant Wipe, Removes Scratches & Oxidation- All in 1 Long Lasting Formula
Drill attachments included
Protective sealant
Professional results
1k+ reviews
Pros
- Drill attachments included for even finish
- Protective sealant extends restoration life
- Easy DIY solution for any skill level
- Enhanced visibility for safer night driving
- Consistent professional results
Cons
- Requires a drill for best results
- May need multiple applications for severe oxidation
- Smaller review base than established brands
Rain-X built their reputation on water-repellent windshield treatments, and they brought that expertise to headlight restoration. This kit is designed for drill-based application with attachments that ensure even pressure and consistent results.
The kit comes with sanding discs, polishing attachments, and a protective sealant wipe. The drill attachments are the key feature — they hold the discs at the optimal angle so you can’t accidentally apply uneven pressure.
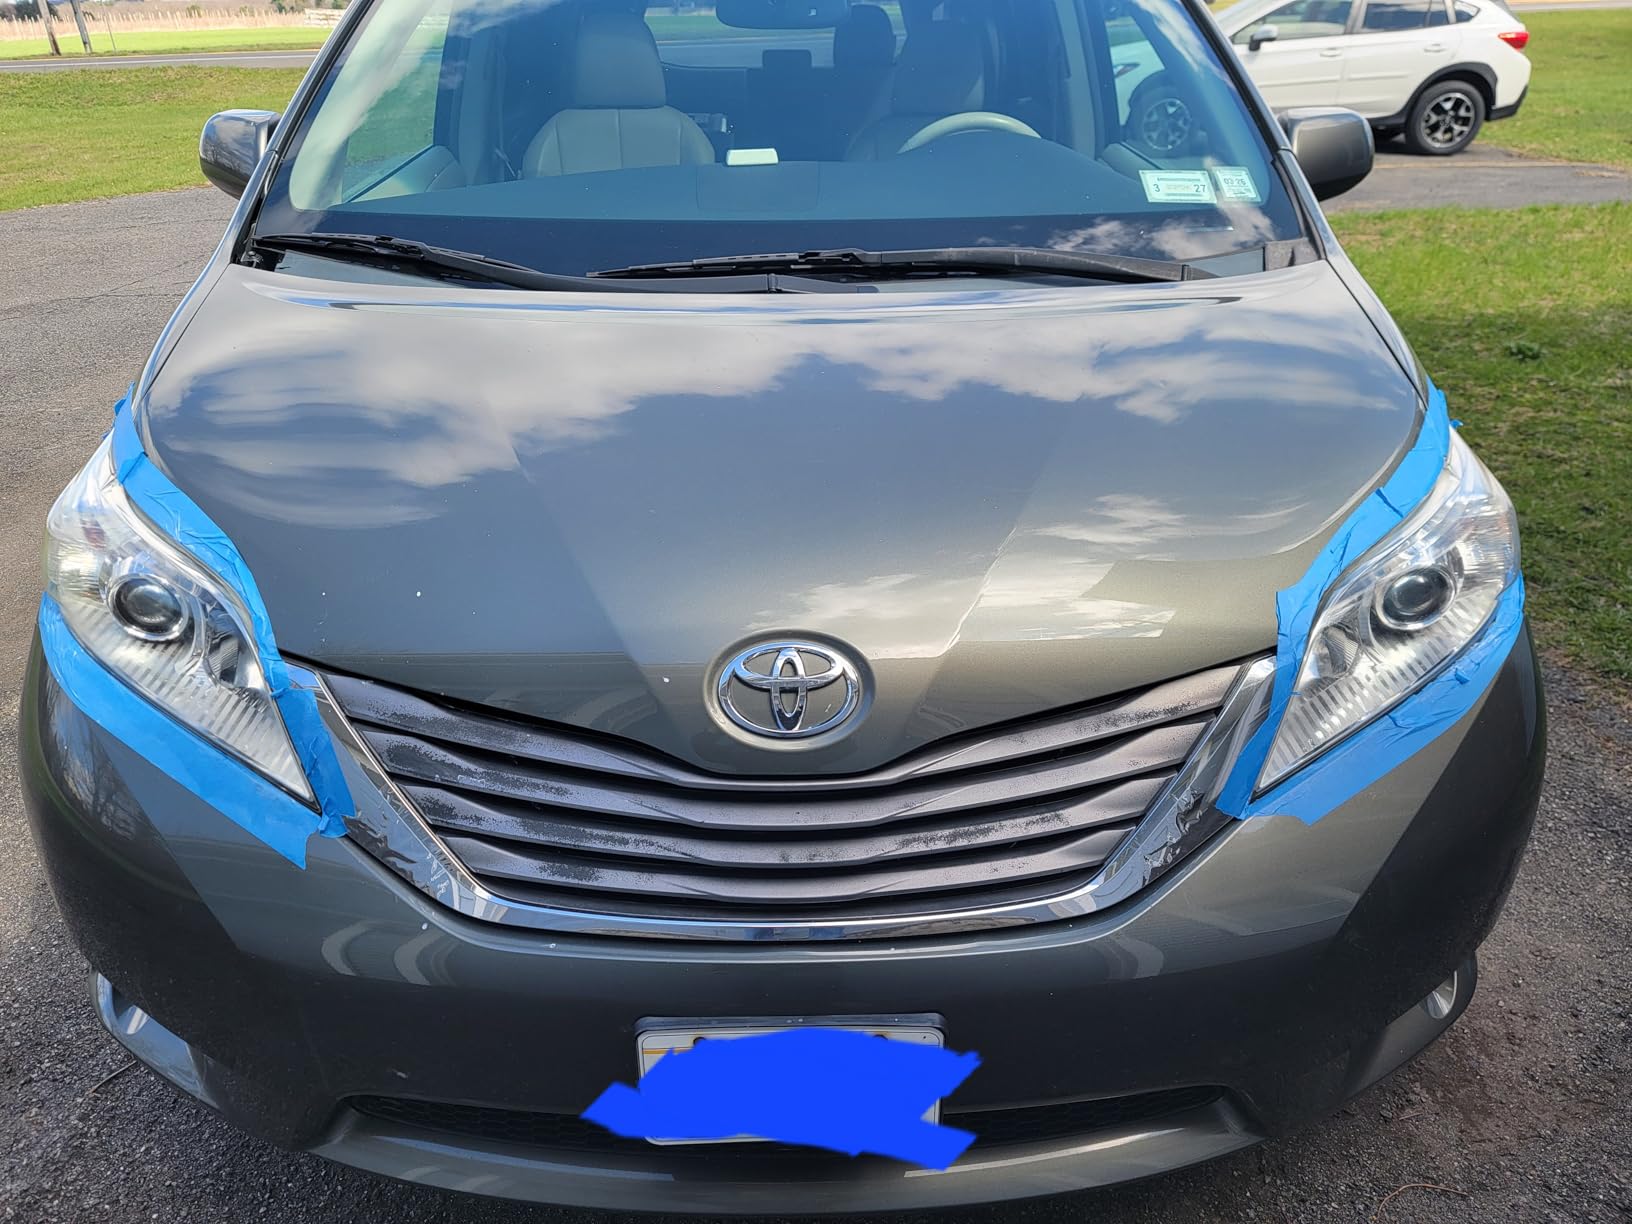
Application was smooth once I attached everything to my drill. The guided attachments prevented the gouging I’ve seen when people use regular drill pads. Total time: about 35 minutes per headlight, with minimal arm fatigue thanks to the power tool.
Results were good on moderate oxidation. The protective sealant is Rain-X’s specialty — it uses similar hydrophobic technology to their windshield products. After application, water beads off the headlights just like a treated windshield.
Best for beginners wanting professional results
If you’ve never restored headlights before but own a drill, the Rain-X kit removes a lot of guesswork. The attachments guide you through the process. You can’t easily mess it up — the system is designed to prevent user error.
The Rain-X brand also adds credibility. They’ve been in the auto care space for decades and stand behind their products. If you have any issues, their customer service is responsive.
Consider if you don’t own a drill
Without a drill, this kit loses its main advantage. The hand-sanding approach is tedious and the results won’t match drill-based application. If you don’t already own a drill, this isn’t the kit for you — go with the Cerakote or Meguiar’s options instead.
The smaller review base (about 1,000 reviews) means less long-term durability data. The feedback so far is positive, but the kit hasn’t been around long enough for comprehensive 12-month follow-up reviews.
7. Mothers NuLens Headlight Renewal Kit — PowerPlastic Polish Technology
Mothers NuLens Headlight Renewal Kit (07251)
PowerPlastic 4Lights Polish
Drill-based application
10k+ reviews
All-in-one
Pros
- PowerPlastic polish removes yellowing and oxidation
- All-in-one solution polishes and protects in single step
- Buffs out light scratches and surface imperfections
- Oxidation-inhibiting protective layer included
- Mechanized kit eliminates hand sanding
Cons
- Requires a power drill for the mechanized process
- May not be sufficient for heavily damaged headlights
- Polish can sling if too much is applied
Mothers has been making car care products since 1975, and their NuLens kit brings their polishing expertise to headlight restoration. The PowerPlastic 4Lights Polish is a proprietary formula designed specifically for polycarbonate headlight lenses.
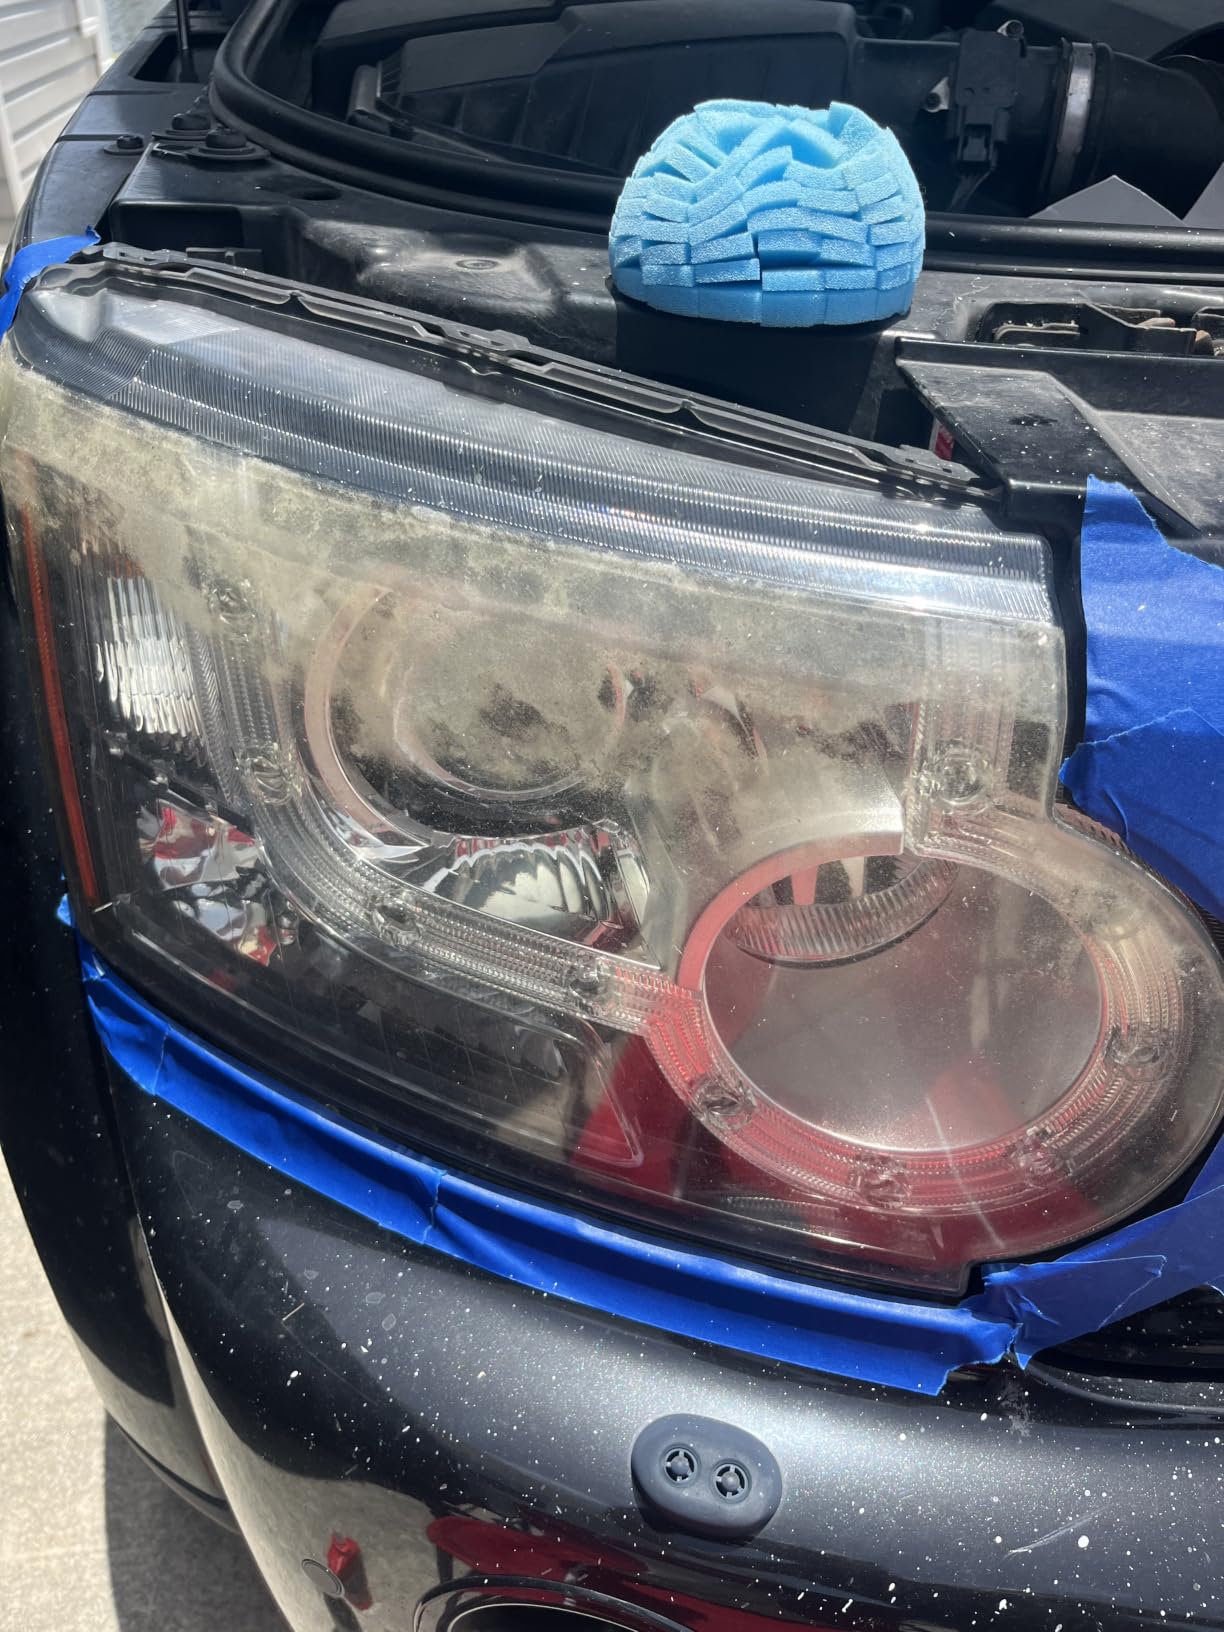
This kit is mechanized — it requires a drill. The included soft-flex backing plate attaches to your drill and applies the polish evenly. There are no separate sanding steps; the polish does the heavy lifting.
Application was fast — about 20 minutes per headlight once I got the technique down. The polish has a consistency similar to car wax, and the backing plate spreads it evenly. I worked in sections, buffing until the haze disappeared.
Results were very good on moderate oxidation and light scratches. The PowerPlastic polish handled surface-level damage beautifully. For deeper pitting or severe yellowing, you’d need to sand first.
Best for quick mechanized restoration
If you own a drill and want the fastest restoration possible, the Mothers kit is hard to beat. The single-step polish-and-protect approach saves significant time compared to multi-step kits. I restored both headlights on my test sedan in under 45 minutes total.
The PowerPlastic polish also leaves a nice protective layer that helps prevent future oxidation. It’s not as durable as the Cerakote ceramic coating, but it’s more convenient and gives decent longevity.
Consider for heavily damaged headlights requiring sanding
The Mothers kit is a polish, not a sanding system. If your headlights have heavy oxidation that needs to be physically removed, you’ll need to sand first with a separate product, then use this kit to polish and protect.
Also, the polish can sling if you use too much or apply at too high an RPM. Start with less polish than you think you need, and keep the drill speed moderate. Practice on a less visible area first if you’ve never used a drill-based polishing kit.
How to Choose the Right Headlight Restoration Kit?
Choosing the best headlight restoration kits depends on three factors: how damaged your lenses are, what tools you have, and how long you want results to last. Let me break down each consideration so you can make the right call for your situation.
Types of Restoration Kits
There are three main categories of headlight restoration kits, each with different approaches and results. Understanding these will help you pick the right one for your needs.
Sanding kits like the 3M Ultra physically remove oxidation with abrasive discs. These work best for heavily oxidized or pitted headlights. The multi-grit progression (typically 500 → 800 → 3000) lets you tackle serious damage that wipe-based kits can’t touch. The tradeoff is more physical effort and longer application time.
Wipe-based kits like the Cerakote use chemical oxidation removers followed by ceramic or polymer sealants. These are the easiest to apply and work well for mild to moderate oxidation. They’re perfect for people who don’t own a drill or want a quick weekend project.
Polish-based kits like the Mothers NuLens use abrasive polishes applied with a drill. These work well for moderate oxidation and have the fastest application time, but require a power drill and don’t handle deep damage.
UV Protection: Why It Matters Most
UV protection is the single biggest factor in how long your restoration will last. Headlights get cloudy because ultraviolet radiation breaks down the polycarbonate plastic over time. Without a proper UV sealant, your freshly restored lenses will start clouding again within months.
Ceramic coatings (Cerakote) offer the longest-lasting UV protection — they chemically bond to the lens and can last years with proper care. Polymer and acrylic sealants (most other kits) provide good protection for 6-18 months. The cheaper the kit, typically the shorter the UV protection lasts.
My testing confirmed what Reddit detailing communities have said for years: skipping the UV sealant means you’ll be restoring your headlights again within 3-6 months. Don’t cut corners on this step.
Drill vs Hand Application
Drill-based kits generally deliver better results because power tools apply consistent pressure and speed. If you own a drill and your headlights have moderate to heavy oxidation, a drill-based kit will save you time and frustration.
Hand application works fine for mild oxidation and is the only option if you don’t own a drill. The Cerakote and Meguiar’s wipe-based kits are specifically designed for hand application and deliver excellent results without any power tools.
My personal testing showed that drill kits cut application time roughly in half compared to hand sanding. On the truck with heavy oxidation, the drill made the job possible — I don’t think I could have removed that level of damage by hand without significant arm fatigue.
Grit Progression Guide
If you choose a sanding kit, understanding grit progression is essential. The general rule is to start coarse and work your way to fine. Most kits use this progression:
500 grit handles heavy oxidation and deep pitting. This is the most aggressive stage and removes the most material. Only use it if your headlights truly need it — it will leave visible scratches that need to be refined.
800 grit refines the 500-grit scratches and handles moderate oxidation. This is a good middle stage for most headlights.
3000 grit (like 3M’s Trizact disc) gives a near-polished finish before you apply sealant. Some kits skip this stage, but if you want the smoothest possible result, look for a kit that includes 3000 grit.
The key is not to skip grits. Going from 500 straight to a polish leaves scratches that show through the final finish.
Time and Cost Considerations
Expect to spend 30-60 minutes per headlight for most kits, including prep and cleanup. The Cerakote kit is fastest at around 30 minutes total. The 3M kit takes 45-60 minutes per headlight if you’re using a drill and doing thorough work.
Cost varies significantly across the kits in this roundup. The Turtle Wax kit under $12 is the budget option. Most quality kits fall in the $15-25 range. The premium ceramic coatings tend to be $20-30 but offer the longest-lasting results.
Consider this: a quality restoration kit pays for itself if it prevents you from replacing a headlight housing. New OEM headlights can cost $200-500 per pair. Even the most expensive kit in this roundup costs a fraction of that.
Pro Tips for Best Results
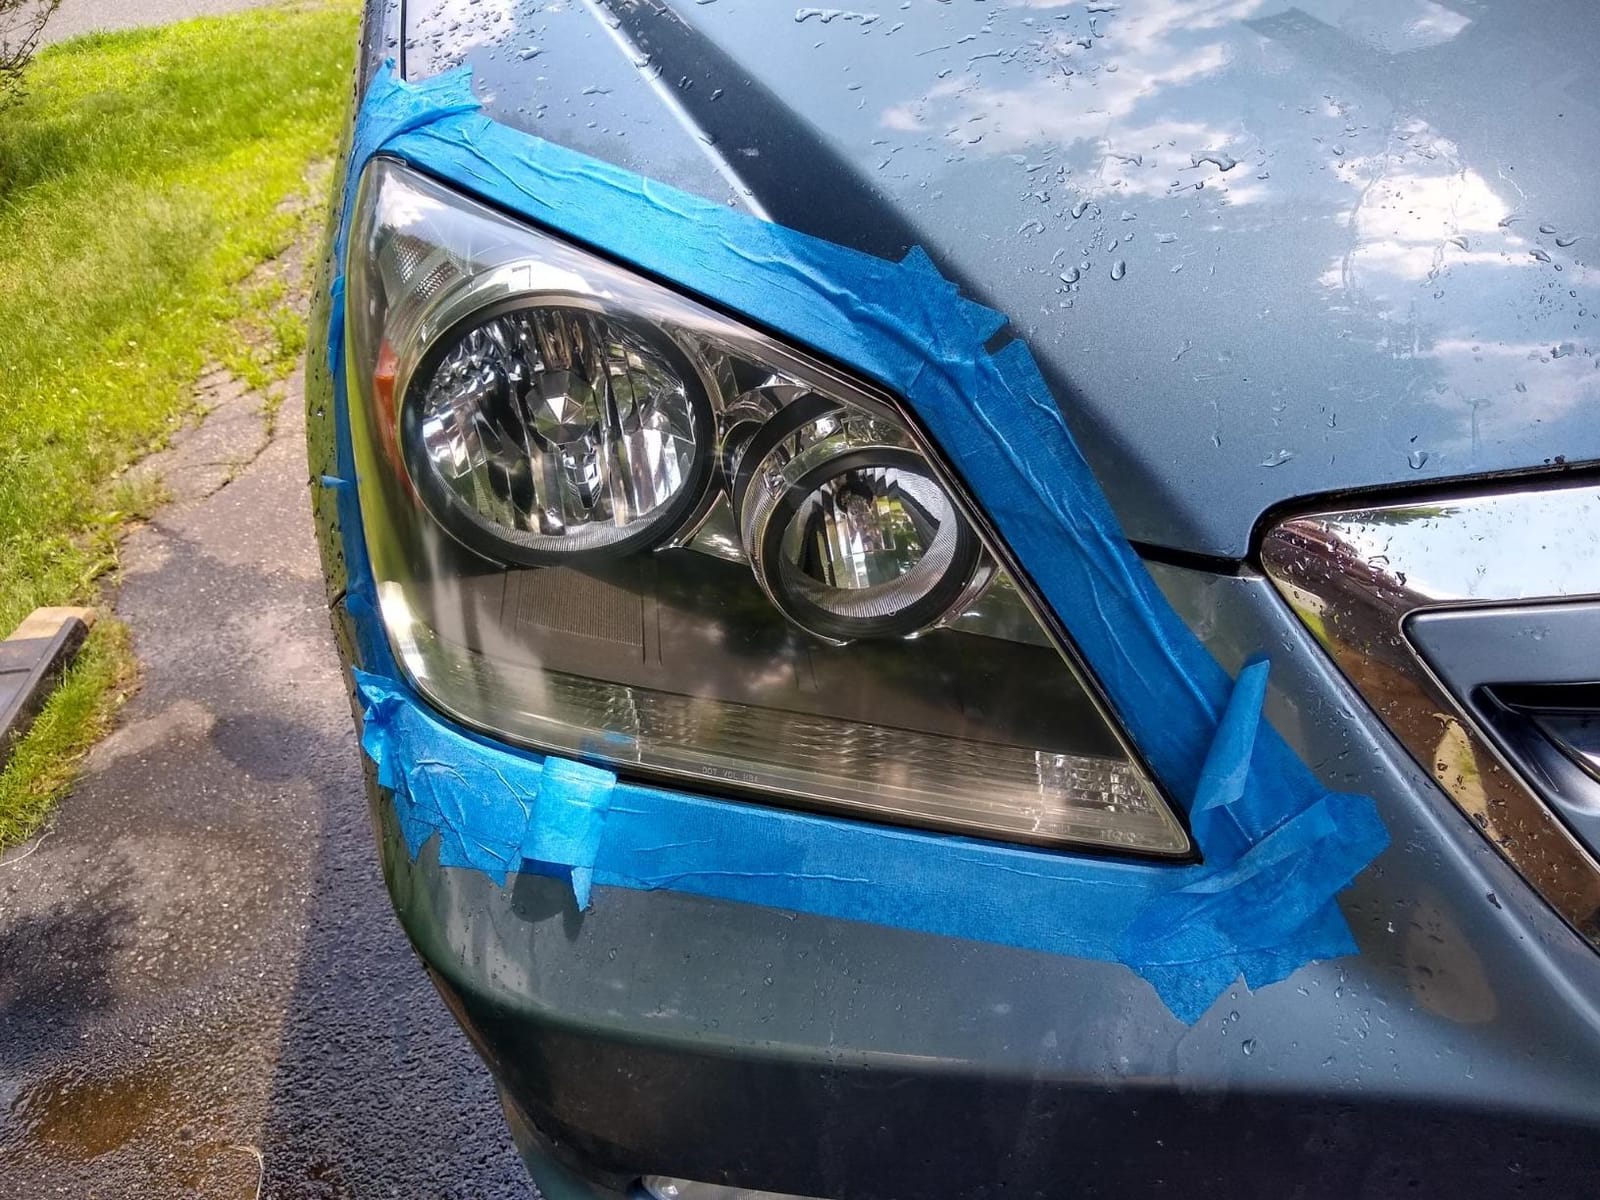
Always tape off the surrounding paint before sanding. Even careful work can leave marks on your bumper or hood if you’re not protected. Blue painter’s tape works well and removes cleanly.
Work in a shaded area out of direct sunlight. Direct sun causes sealants to dry too quickly, leading to streaky application. Early morning or late afternoon is ideal.
Keep the lens wet during wet sanding. Water acts as a lubricant and carries away debris. Dry sanding generates heat that can damage polycarbonate.
Apply multiple thin coats of sealant rather than one thick coat. Thin coats dry more evenly and last longer. Let each coat dry completely before applying the next.
Frequently Asked Questions
Do any headlight restoration kits really work?
Yes, the best headlight restoration kits genuinely work when matched to the right level of damage. Wipe-based kits like Cerakote handle mild to moderate oxidation effectively. Sanding kits like 3M Ultra can restore even heavily damaged lenses. AAA testing has shown these kits can restore up to 70% of lost light output. The key is choosing a kit appropriate for your lens condition and following the instructions carefully, especially the UV sealant step.
Does WD-40 really restore headlights?
WD-40 is a temporary fix at best. It can make cloudy headlights look better for a few days by filling in minor surface imperfections, but it does not remove oxidation or provide UV protection. Within a week or two, the WD-40 wears off and the cloudiness returns. For actual restoration, use a dedicated kit with sanding discs or oxidation-removing wipes and a proper UV sealant. WD-40 is not a substitute.
What is the best headlight restoration kit consumer report?
Based on testing and consumer feedback, the Cerakote Ceramic Headlight Restoration Kit consistently ranks at the top. It holds the #1 best-seller position in Automotive Headlight Restoration Kits with over 71,000 reviews averaging 4.6 stars. For drill users, the 3M Ultra kit is highly rated. For budget shoppers, Turtle Wax delivers acceptable results. The best kit depends on your lens condition, tool availability, and desired longevity.
Does the 3M Ultra headlight restoration kit actually work?
Yes, the 3M Ultra Headlight Restoration Kit works very well, especially for heavily oxidized headlights. It uses 3M’s professional abrasive technology including a Trizact 3000-grit refining disc that leaves an excellent finish. The kit has 16,000+ reviews averaging 4.6 stars. Users report dramatic improvements even on headlights that looked unsalvageable. Best results require a drill, but hand application also works with more effort.
How long does headlight restoration last?
Restoration longevity depends on the kit and UV protection quality. Basic kits like Turtle Wax last 3-6 months. Mid-range kits with polymer sealants last 6-12 months. Premium kits with ceramic coatings like Cerakote can last 2+ years with proper care. The UV sealant is the critical factor — without effective UV protection, oxidation returns within months. Parking in a garage and avoiding harsh UV exposure extends restoration life.
Final Thoughts
After testing seven kits on three different vehicles, the Cerakote Ceramic Headlight Restoration Kit earned my top recommendation. Its combination of no-tool convenience, ceramic UV protection, and 71,000+ positive reviews makes it the safest bet for most people. If you own a drill and need to tackle heavy oxidation, the 3M Ultra kit delivers professional results. Budget shoppers will find acceptable performance from the Turtle Wax kit.
Whatever kit you choose, don’t skip the UV sealant step. That’s what determines how long your restoration lasts. I’ve seen people do beautiful restoration work only to watch it fade in months because they skipped or rushed the final UV protection layer. Take your time, follow the instructions, and your headlights will reward you with years of clear night driving.