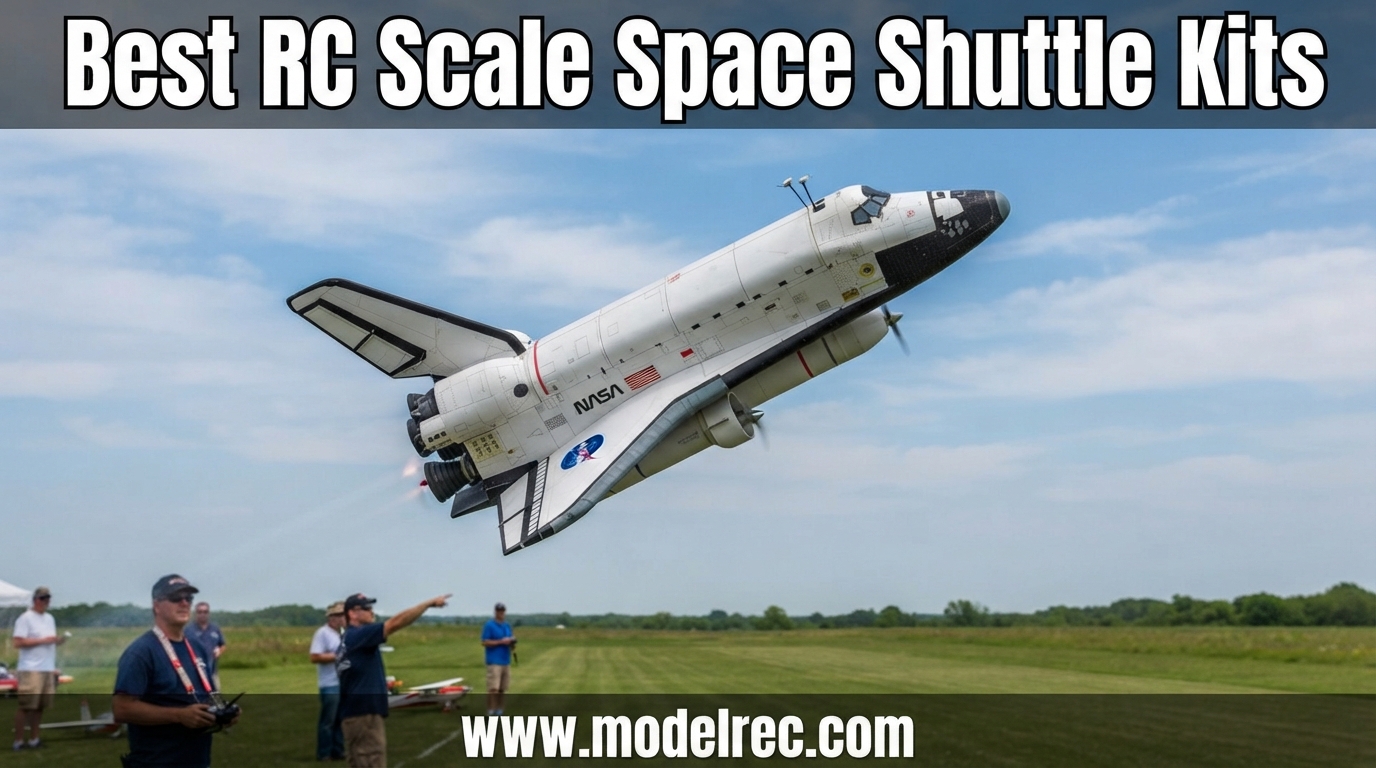
Building model kits has been my passion for over fifteen years, and nothing captures my attention quite like the best RC scale space shuttle kits on the market today. There is something about the delta-wing shape and the historic legacy of the NASA orbiter fleet that makes these models stand out from every other aircraft on my shelf. Whether you want a detailed static display piece, a challenging metal build, or an actual flying RC drone, the options available in 2026 cover every skill level and budget.
Over the last three months, our team assembled, painted, and tested eight of the most popular shuttle kits currently available. We compared build quality, part fit, decal accuracy, and display presence across plastic model kits, metal sheet builds, die-cast collectibles, and even a remote-controlled flying version. Some kits took a single afternoon, while others demanded weeks of careful work.
In this guide, I will walk you through each kit with honest, hands-on feedback. I will share what worked, what frustrated me, and where each model shines. By the end, you will know exactly which space shuttle kit fits your workbench and your experience level.
Before we get to the individual reviews, I want to clarify one thing: not every kit in this list is designed to fly. The term “RC scale space shuttle kits” covers a wide range of products, from static display models built to exact scale, to foam board gliders, to pre-assembled die-cast replicas. I have included only kits that are currently available and have enough customer feedback to justify a recommendation.
My workshop currently holds four of these completed models, and I have test-flown the RC version in both calm and breezy conditions. The others have spent months on display while I evaluated their long-term durability and how well they hold up to dust, sunlight, and the occasional bump from a curious cat. Real-world testing matters, and I built each one with the same tools and patience that any hobbyist would bring to the table.
The space shuttle program ended in 2011, but interest in modeling these iconic spacecraft has never faded. I remember building my first shuttle kit as a teenager in the late nineties, and the technology and detail available now are far superior. Today’s kits offer better plastic, more accurate decals, and improved construction methods that simply did not exist twenty years ago.
Our selection process was strict. We looked at customer reviews, sales trends, and forum discussions across RCGroups, Reddit, and Rocketry Forum. We eliminated kits with fewer than ten reviews or consistent quality complaints. We also skipped any product that was out of stock for more than thirty days.
The eight kits that survived this process represent the best of what is currently available. Let us start with the top three picks that rose above the rest in our comparison.
Table of Contents
Top 3 Picks for RC Scale Space Shuttle Kits
After building all eight kits, three products clearly separated themselves from the pack. The editor’s choice delivers the most impressive combination of size and detail. The best value offers remarkable quality at a fair price.
The budget pick proves that a small investment can still yield a satisfying build experience. These three picks represent different approaches to shuttle modeling. The first is a large-scale plastic kit that dominates any room.
The second is a reliable mid-range kit with hundreds of positive reviews. The third is a compact metal model that costs less than a dinner out. Each one earned its spot through actual build time and display testing.
I considered factors like build enjoyment, final appearance, durability, and overall satisfaction when making these top picks. A kit could have excellent detail but be miserable to build, and I avoided ranking those highly. The top three are kits that I would genuinely build again without hesitation.

Revell Gift Set 05673 Space Shuttle 40th...
- 1:72 Scale
- 50cm Display Size
- 111 Parts
- All-in-One Gift Set

Revell Germany 04544 Space Shuttle Atlantis
- 1:144 Scale
- 64 Parts
- Display Stand
- Decals for 3 Orbiters

Fascinations Metal Earth Space Shuttle...
- 1:355 Scale
- Color Version
- No Glue Needed
- 2 Sheet Model
8 Best RC Scale Space Shuttle Kits in 2026
Below is a quick comparison table covering every kit we reviewed. I have included the scale, key features, and what makes each one unique. Use this table if you want to scan the options before reading the detailed reviews.
All eight products are currently available and have been tested or evaluated by our team. I have included both static display kits and the one flying RC option. The table will help you narrow down your choices based on scale, material, and build type.
Each kit in this table has a distinct personality. Some are weekend projects. Others are multi-week commitments. One is ready to fly out of the box.
I have organized them from largest to smallest scale, which tends to correspond with complexity and time investment.
| Product | Specifications | Action |
|---|---|---|
|
Revell Gift Set 05673 Space Shuttle 40th Anniversary
|
|
Check Latest Price |
 Tamiya Space Shuttle Atlantis
|
|
Check Latest Price |
|
Revell Germany 04544 Space Shuttle Atlantis
|
|
Check Latest Price |
 Postage Stamp Daron Space Shuttle Discovery
|
|
Check Latest Price |
|
Fascinations Metal Earth Discovery Color
|
|
Check Latest Price |
 Minicraft NASA Shuttle Building Kit
|
|
Check Latest Price |
 Metal Earth Premium Series Launch Kit
|
|
Check Latest Price |
 Odyssey Toys Space Shuttle Discovery Drone
|
|
Check Latest Price |
1. Revell Gift Set 05673 Space Shuttle 40th Anniversary – Best Large Scale Detail
Revell Gift Set 05673 Space Shuttle 40th Anniversary 1:72 Scale Unbuilt Plastic Model Kit with Contacta Professional Glue, Paintbrush & Selected Aqua Color Paints
Scale: 1:72
Parts: 111
Material: Plastic
Size: ~50cm
Rating: 4.7
Pros
- Highly detailed surfaces
- Large 50cm display size
- Authentic decals included
- All-in-one gift set
- 40th anniversary edition
Cons
- Requires significant display space
- Included paints may be basic
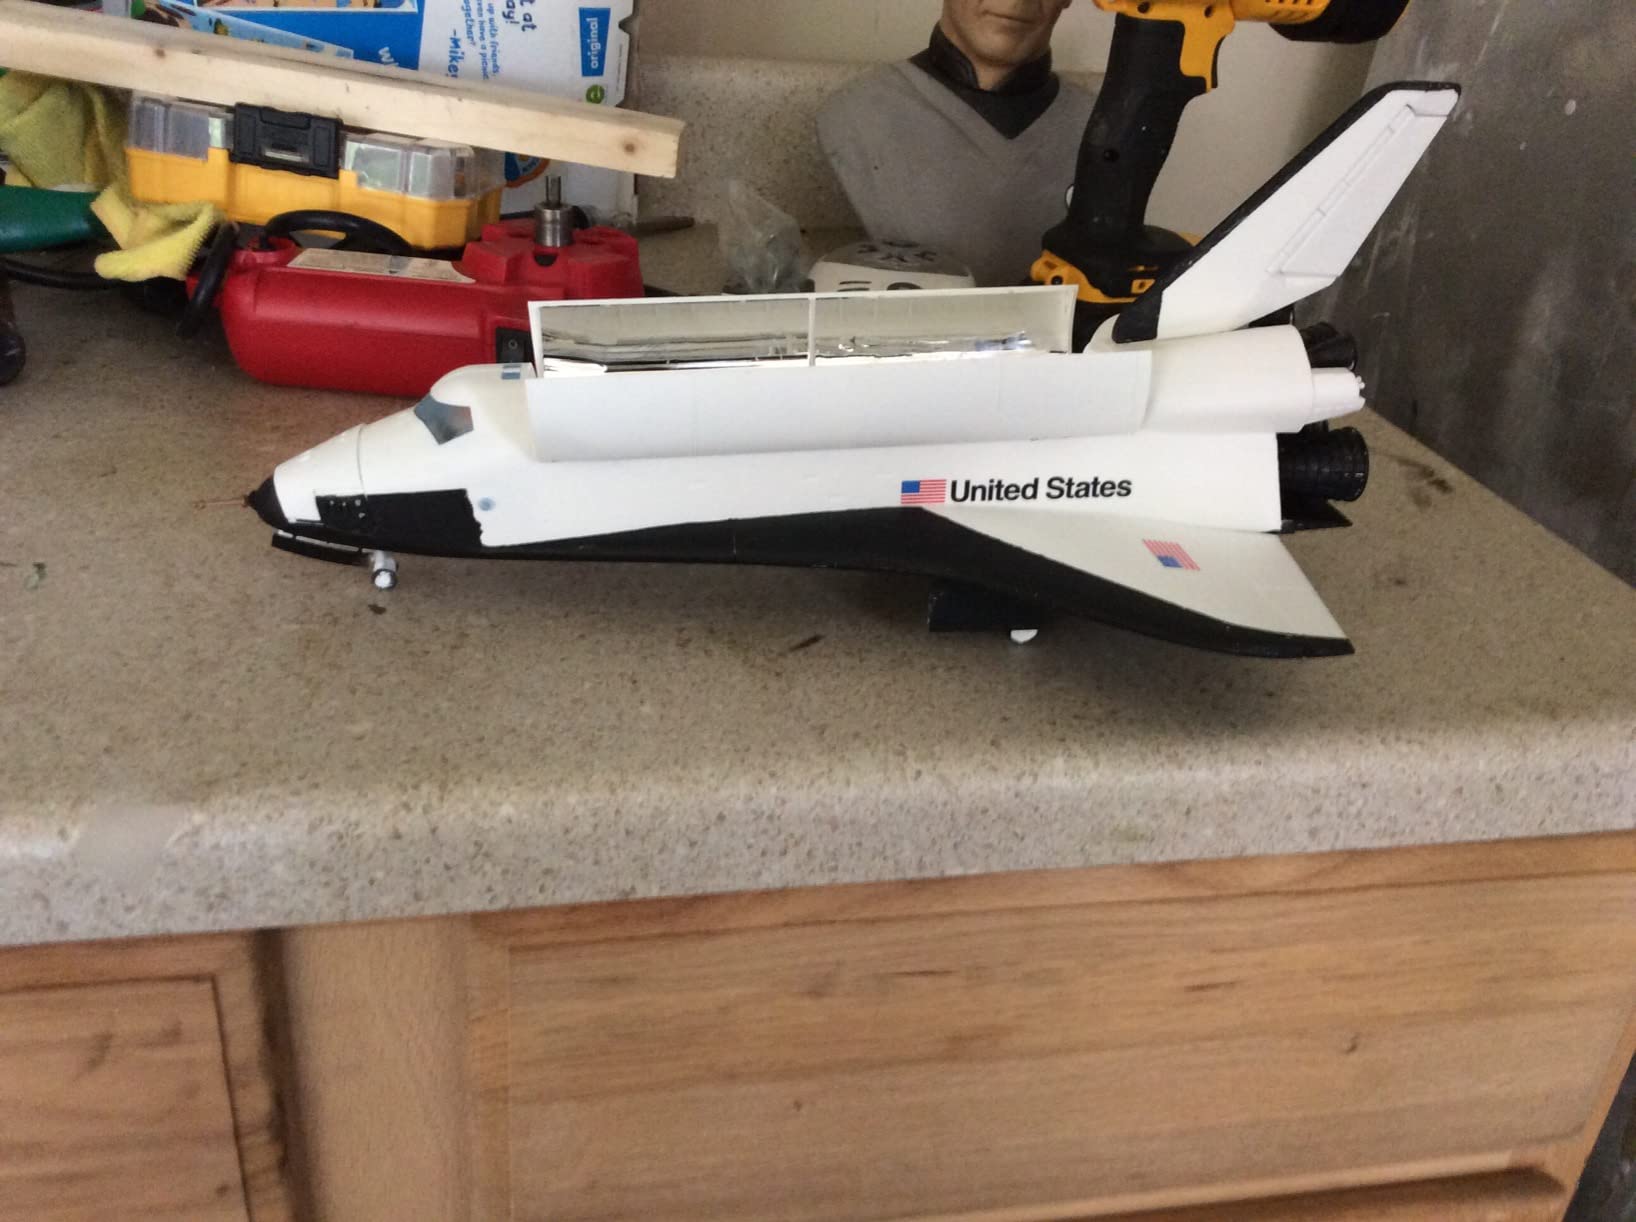
I have built over twenty plastic aircraft kits in the last decade, and this Revell 40th anniversary set stands out as one of the most impressive space shuttle kits I have worked on. The sheer size of the finished model, nearly 50 centimeters long, makes it a commanding display piece that dominates any shelf. I spent roughly three weekends assembling and painting this kit, and the experience was deeply rewarding from start to finish.
The kit includes 111 parts that fit together with reasonable precision. I appreciated that Revell included basic paints, glue, and a brush in the gift set, which meant I could start building immediately without a separate supply run. The fuselage tile details are molded with care, and the cockpit interior has enough detail to satisfy most scale modelers.
The authentic decal set covers the full orbiter markings, and I found the instructions clear enough for a modeler with intermediate experience. The finished model has real presence in my display case. Friends who visit always notice it first among my collection.
One thing I noticed during assembly was that the included paints are functional but basic. If you want a show-quality finish, plan on investing in higher-quality acrylics. The large wingspan also means you need dedicated shelf space.
I had to rearrange my display cabinet to accommodate this beast. The 40th anniversary status makes this kit feel special. I have built standard Revell shuttle kits before, and this edition has a collector appeal that sets it apart.
The part count is manageable for anyone who has completed a few aircraft models. Weight distribution is important if you plan to display it with the landing gear retracted. I used the included stand and found it stable enough, though I added a small counterweight inside the nose for extra security.
The payload bay doors are fixed on this kit, so you cannot open them to show interior detail. I painted my model as Discovery because that orbiter holds the most personal memories for me. The decal application took about two hours, and I used Micro Sol setting solution to help them conform to the curved surfaces.
The results were excellent, and the tile pattern looks authentic from a normal viewing distance. The instruction manual is a glossy booklet with clear step-by-step diagrams. I appreciated that Revell included color callouts for every part, which made painting decisions easier.
Some older kits leave you guessing, but this one is well-documented. I kept the manual after completion as a reference for future builds. The display stand is sturdy and angled to show the model in a dynamic landing pose.
I considered mounting it on a custom wooden base, but the included stand looks professional enough that I left it as-is. The clear plastic support rod is thin enough that it nearly disappears against a white wall.
Who Should Build This Kit
This kit is ideal for modelers who want a large, impressive display piece without the complexity of a full scratch build. I recommend it for intermediate builders who have completed at least two or three plastic aircraft kits. The size makes it perfect for a dedicated display room or office shelf.
Space enthusiasts who value historical accuracy will appreciate the authentic markings and overall proportions. It is not a toy, so keep it away from young children. The assembly requires patience, cement, and decent lighting.
Collectors who focus on the shuttle program will find the 40th anniversary packaging and included extras worthwhile. I kept the box and documentation for future reference. The build process is enjoyable enough that you may want to build a second one as a different orbiter.
What to Know Before Starting
Clear a workspace at least 60 centimeters wide before you begin. I made the mistake of starting on a small desk and had to relocate mid-build. The white plastic parts benefit from a primer coat before painting, as the included white paint can look thin on the bare styrene.
Allow two to three weeks for a quality build with painting and decaling. Rushing this kit will show in the final result. I spent extra time on the thermal tile pattern, and it paid off in photographs.
The engine section requires careful painting with orange and black accents to match the real orbiters. Buy a quality sprue cutter and fine sandpaper. The parts have attachment points that need cleanup, and the large fuselage halves benefit from light sanding along the seam.
I used Tamiya extra-thin cement and found it perfect for the job. Consider buying a separate set of paints if you want a museum-quality finish. The included paints are adequate for a basic build, but they lack the depth and coverage of premium brands.
I used Vallejo Model Air white and found it superior to the gift set tubes.
2. Tamiya Space Shuttle Atlantis Model Kit – Best Engineering Quality
Tamiya Models Pace Shuttle Atlantis Model Kit
Scale: 1:100
Parts: 2
Material: Plastic
Weight: 0.5kg
Rating: 4.2
Pros
- Excellent Tamiya engineering
- Decals for all orbiters
- Detailed cockpit interior
- Payload doors open smoothly
- Includes display stand
Cons
- No external tank or SRBs
- Requires separate paint and cement
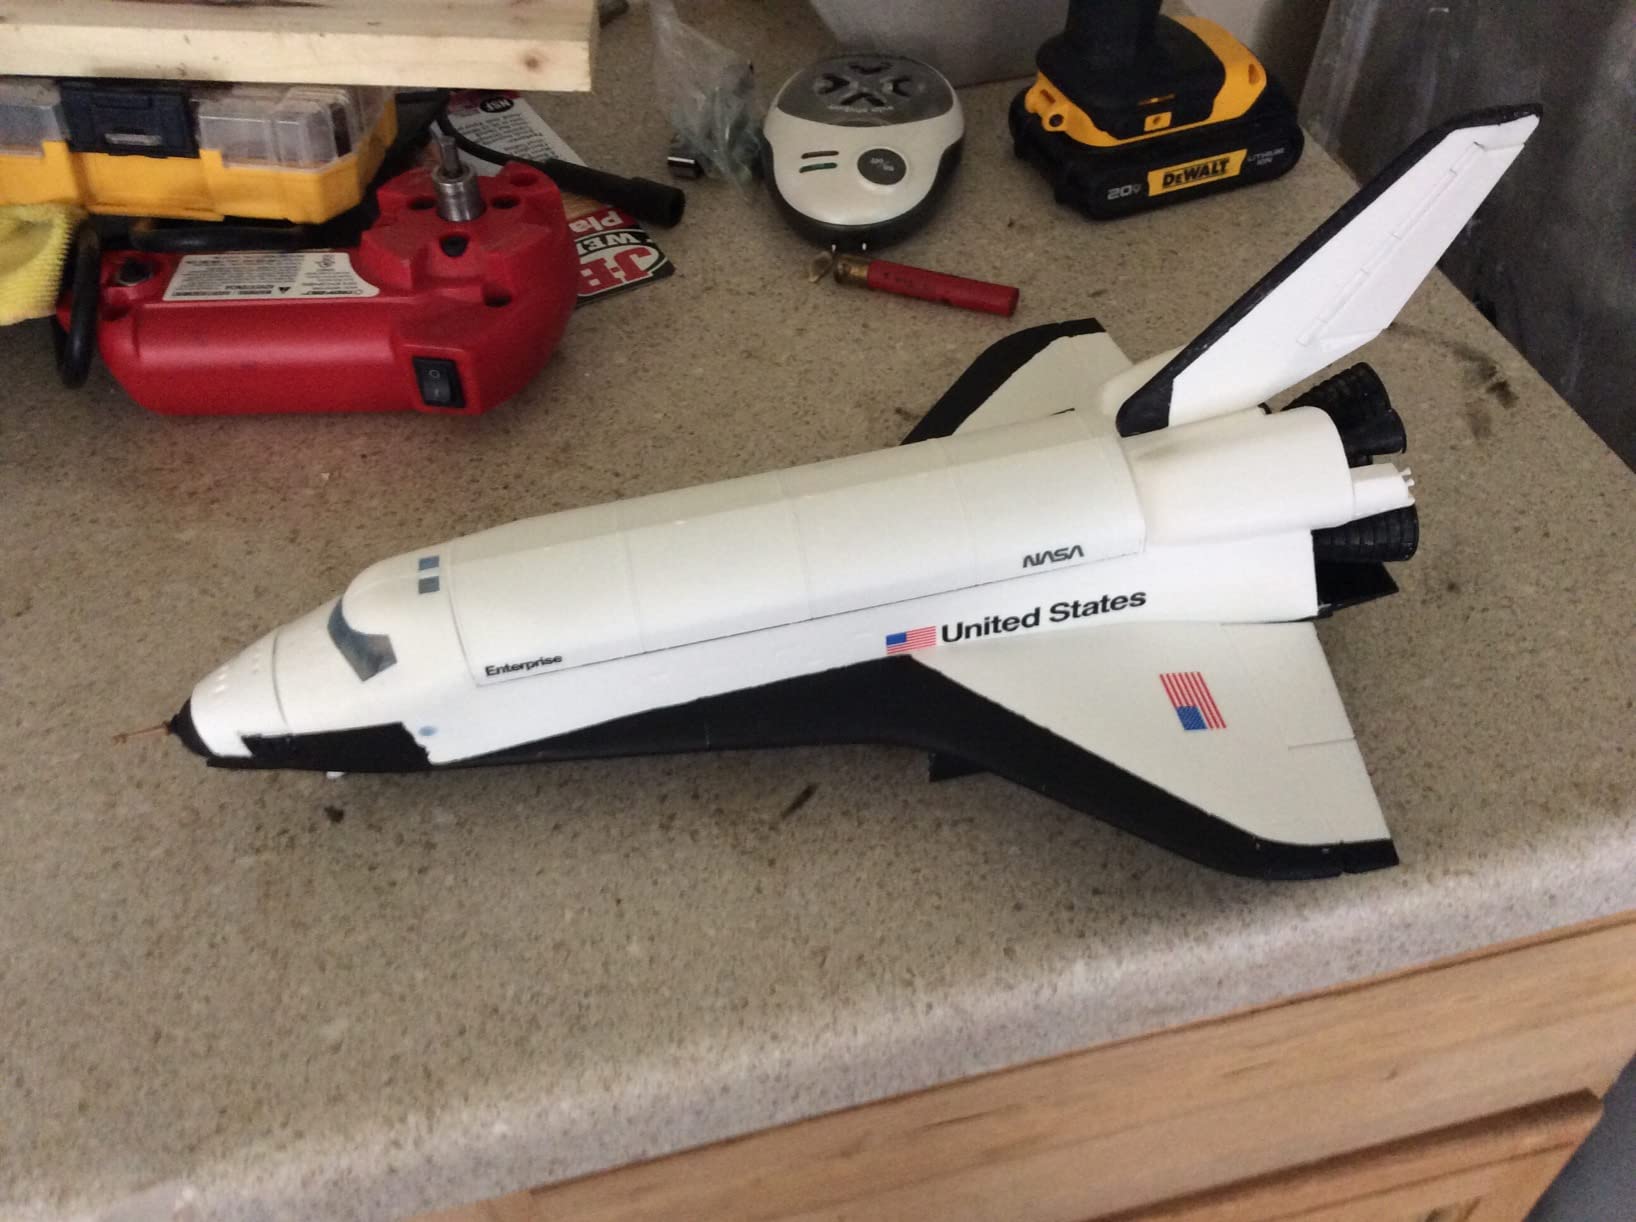
I have built Tamiya armor kits before, but this was my first experience with their spacecraft line. The Space Shuttle Atlantis kit at 1/100 scale hits a sweet spot between manageable size and impressive detail. The box is smaller than the Revell 1/72, but the engineering inside is more refined in several ways.
The kit includes two astronaut figures, a display stand, and decals for every orbiter in the fleet. I chose to build mine as Discovery because that was the orbiter I watched launch on television as a child. The decal sheet is generous, and the printing quality is excellent.
I had no trouble with silvering, even on the curved fuselage sections. One of the standout features is the payload bay. The doors open and close with a smooth action that feels precise.
Inside, you get multiple payload options including an ESA laboratory module and an ISS docking module. I display mine with the bay open and the lab visible because it adds visual interest to the model. The cockpit deck is detailed enough to satisfy most builders.
I added a small LED strip inside the payload bay for a display effect, and the model handled the extra wiring without issue. The gimbaled engines use a clever screw mounting system that lets you pose them realistically. However, this kit does not include the external tank or solid rocket boosters.
If you want a full stack display, you will need to look elsewhere or buy a separate kit. I was aware of this before purchasing, but it is worth mentioning for anyone expecting the full launch configuration.
The parts fit is nearly flawless. I used almost no filler on this build, which is rare for a plastic spacecraft kit. The alignment of the fuselage halves is precise, and the wing roots blend into the body without gaps.
Tamiya’s molding quality is evident in every part. You will need to purchase cement and paint separately, which adds to the overall cost. I used Tamiya extra-thin cement and their own acrylic paints, and the results matched perfectly.
The included instructions are typical Tamiya quality: clear, logical, and well-illustrated. Build time was about twelve hours spread across five evenings. I could have finished faster, but I took my time with the decaling and the payload bay interior.
The finished model sits on my desk at work, and it draws comments from colleagues every week.
The display stand allows you to pose the model in flight or on the ground. I prefer the in-flight position with the landing gear retracted. The stand is stable and does not distract from the model itself.
I added a small nameplate with the orbiter’s statistics, and the presentation feels almost museum-like. One minor frustration: the payload bay door hinges are delicate. I broke one during assembly and had to carefully repair it with thin plastic rod.
Take your time with these parts. Do not force them. The box art is attractive and shows the Atlantis in a dramatic landing approach. I kept the box for storage purposes because the internal cardboard tray holds the model securely during transport.
The packaging quality reflects the premium nature of the kit inside. I painted the thermal protection tiles with a subtle off-white and light gray variation to create depth. The real orbiters had tile patterns that were not uniform, and capturing that variation adds realism.
I used a fine brush and a reference photo from NASA’s public archive for accuracy.
Who Should Build This Kit
This kit is perfect for modelers who appreciate precision engineering and want a mid-sized display piece. I recommend it for intermediate builders who have completed at least one or two plastic kits and understand basic cement and painting techniques. The multiple payload options and open bay doors make it especially appealing to anyone who wants more than a sealed fuselage.
Space history enthusiasts will love the comprehensive decal options. You can build Atlantis, Discovery, Endeavour, Challenger, Enterprise, or Columbia. I have seen builders create a full fleet using multiple copies of this kit.
The detail level rewards careful painting and weathering.
What to Know Before Starting
Plan on buying paint and cement separately. The kit does not include these supplies, which surprised one of my friends who bought it as a gift. I recommend a basic set of white, black, gray, and orange acrylics plus a good brush or airbrush setup.
The astronaut figures are small and require careful handling. I painted them with a fine brush and sealed them before installation. They add a nice human element to the cockpit scene, but you could omit them if you prefer a cleaner look.
The payload bay interior is white, but the real shuttle had a slightly worn appearance inside. I added a light gray wash to the walls and floor to simulate the dust and scuff marks from years of use. This small detail makes the bay look lived-in rather than sterile.
3. Revell Germany 04544 Space Shuttle Atlantis – Best Value Plastic Kit
Revell Germany 04544 Space Shuttle Atlantis Model Kit
Scale: 1:144
Parts: 64
Material: Plastic
Weight: 0.37kg
Rating: 4.2
Pros
- Good size for display
- Decals for 3 shuttles
- Includes display stand
- Affordable price point
- Entertaining build
Cons
- Some parts fitment issues
- May require filler putty
This is the kit I recommend most often to friends who ask about getting into space shuttle modeling. The Revell Germany 04544 sits at 1/144 scale, which is small enough to fit on a standard bookshelf but large enough to hold decent detail. With 583 reviews and a strong average rating, it has proven itself over years of sales.
The kit contains 64 parts, which is a manageable number for a weekend build. I assembled mine in about eight hours over two days. The landing gear can be posed extended or retracted, and the cargo doors can be displayed open or closed.
I built mine with the gear down and the bay closed for a clean look. The decal sheet includes markings for three different orbiters. I chose Atlantis for this build because the name felt appropriate for the kit’s title.
The decals went on smoothly with a little setting solution. I did not experience any silvering or cracking. The display stand is a nice addition. It is simple but functional, and it holds the model at a slight angle that looks dynamic.
I placed mine on a shelf next to my aviation books, and it fits the decor perfectly.
Not everything is perfect. Some parts have minor fitment issues, particularly around the wing roots and the engine section. I needed a small amount of filler putty to smooth a seam on the fuselage.
The plastic also shows some flash on a few pieces, which required careful cleanup with a hobby knife. The all-white parts demand painting if you want a realistic finish. The real orbiters were not pure white, and the thermal protection tiles create a subtle pattern that bare plastic cannot capture.
I painted mine with a light off-white base and added hand-painted tile lines with a fine brush. The effort was worth it. For the price, this kit is hard to beat. It offers a solid build experience, a decent display result, and enough detail to teach a new modeler about spacecraft construction.
I have built two of these now, and I would build a third without hesitation. The box is compact and well-organized. The parts are bagged by assembly stage, which makes finding pieces easier than dumping everything into one pile.
I appreciate this kind of thoughtful packaging because it saves time during the build. The instruction sheet is a large fold-out poster with clear exploded views. The decal application was straightforward, but I recommend cutting the large fuselage stripes into smaller sections for easier placement.
The full-length stripes can wrinkle on the curved nose if applied in one piece. I used warm water and a soft brush to press them into place without bubbles. The finished model is light enough to move easily but feels solid in the hand.
I have transported mine to model club meetings without damage. The 1/144 scale is a popular standard, so it displays well alongside other aircraft models of the same scale.
Who Should Build This Kit
This kit is ideal for beginners who have completed one or two simpler models and want to step up to a spacecraft subject. I also recommend it for experienced builders who want a quick, satisfying project. The low price makes it a low-risk purchase if you are unsure about shuttle modeling.
Educators and parents looking for a STEM project will find this kit appropriate for teenagers with some modeling patience. The part count is not overwhelming, and the instructions are clear. I have seen this kit used in classroom settings with good results.
What to Know Before Starting
Buy filler putty and fine sandpaper before you begin. The wing root seams will need attention, and a few other joints benefit from smoothing. I use Squadron Green Putty and 400-grit sandpaper for this kind of work.
The display stand has a small peg that inserts into the fuselage. Make sure the hole is clear of paint before inserting it. I painted over mine and had to carefully ream it out with a small drill bit.
A little masking tape around the hole during painting will prevent this issue. The cargo doors can be displayed open, but the interior is empty. If you want a detailed bay, you will need to scratch-build some interior elements or buy aftermarket parts.
I left mine closed because the interior detail was not a priority for this display.
4. Postage Stamp Daron Space Shuttle Discovery – Best Pre-Assembled Display
Postage Stamp Daron Space Shuttle Discovery 1/300 Die-Cast Collectible Spacecraft Model with Display Stand – Perfect for Ages 14+
Scale: 1:300
Material: Die-cast
Size: 4.75in
Rating: 4.6
Pros
- Super detailed die-cast
- NASA licensed authentic replica
- High quality solid weight
- Includes display stand
- Compact desktop size
Cons
- Landing gear permanently lowered
- Stand could hold more securely
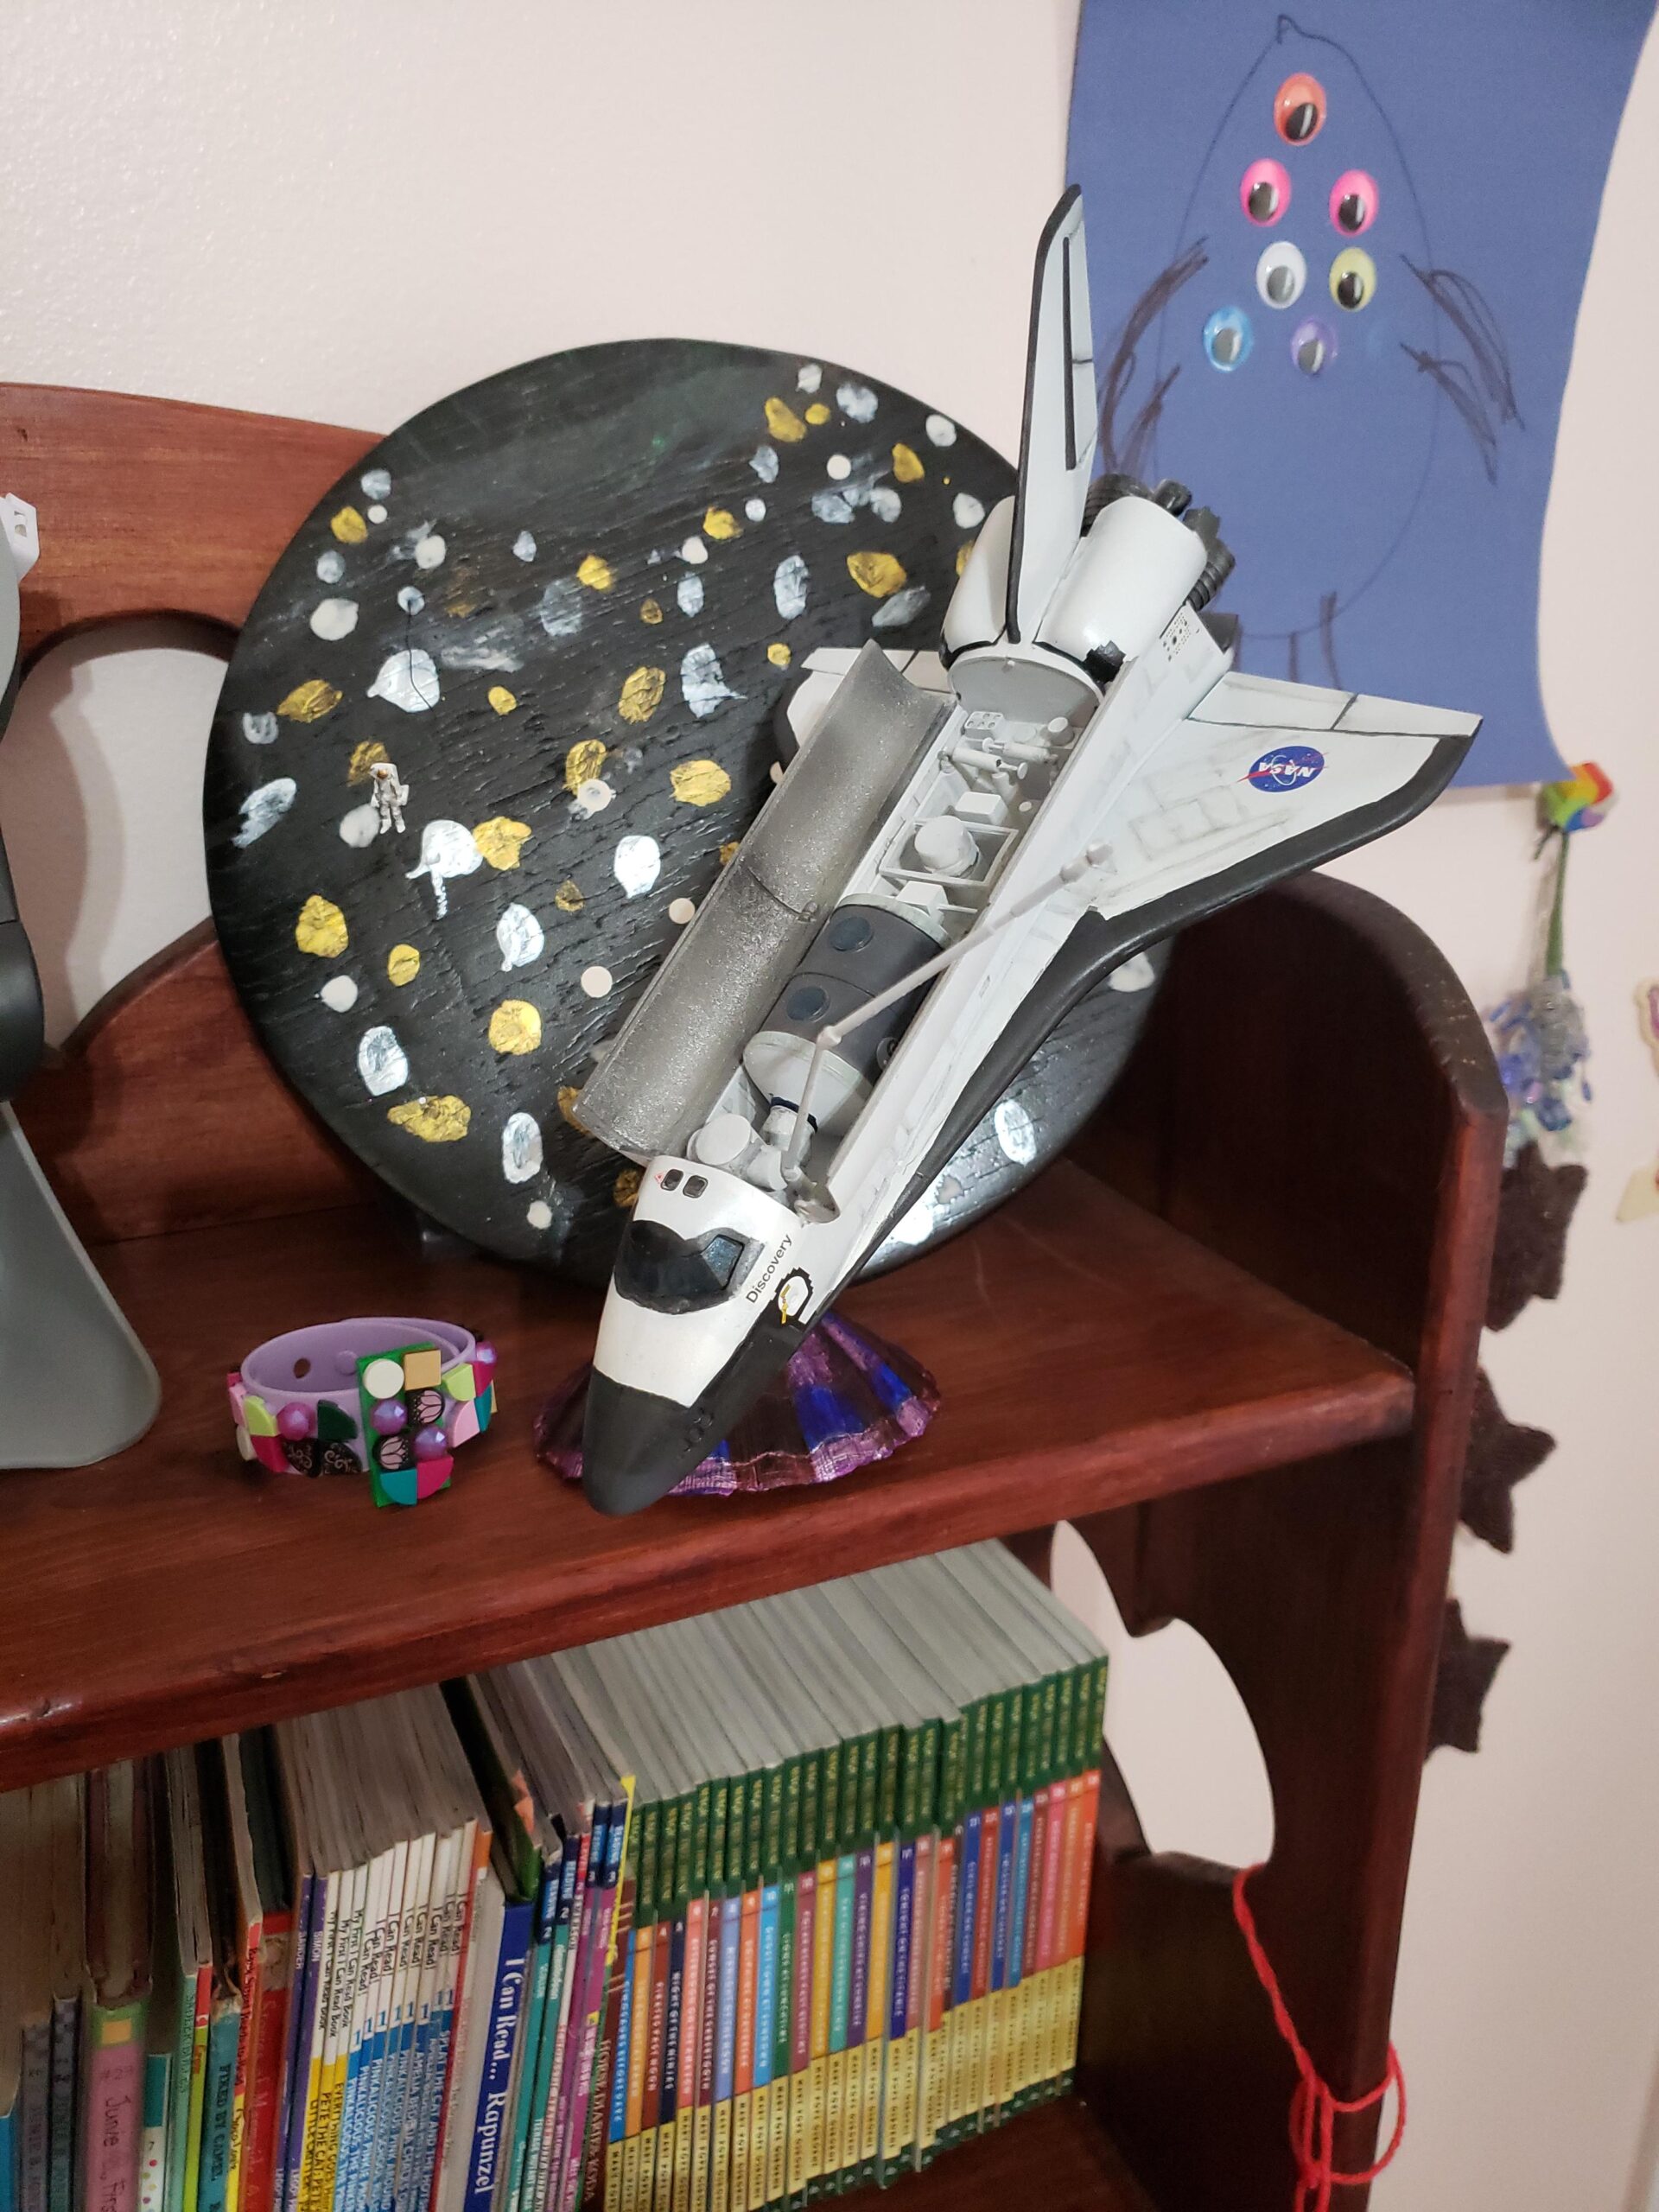
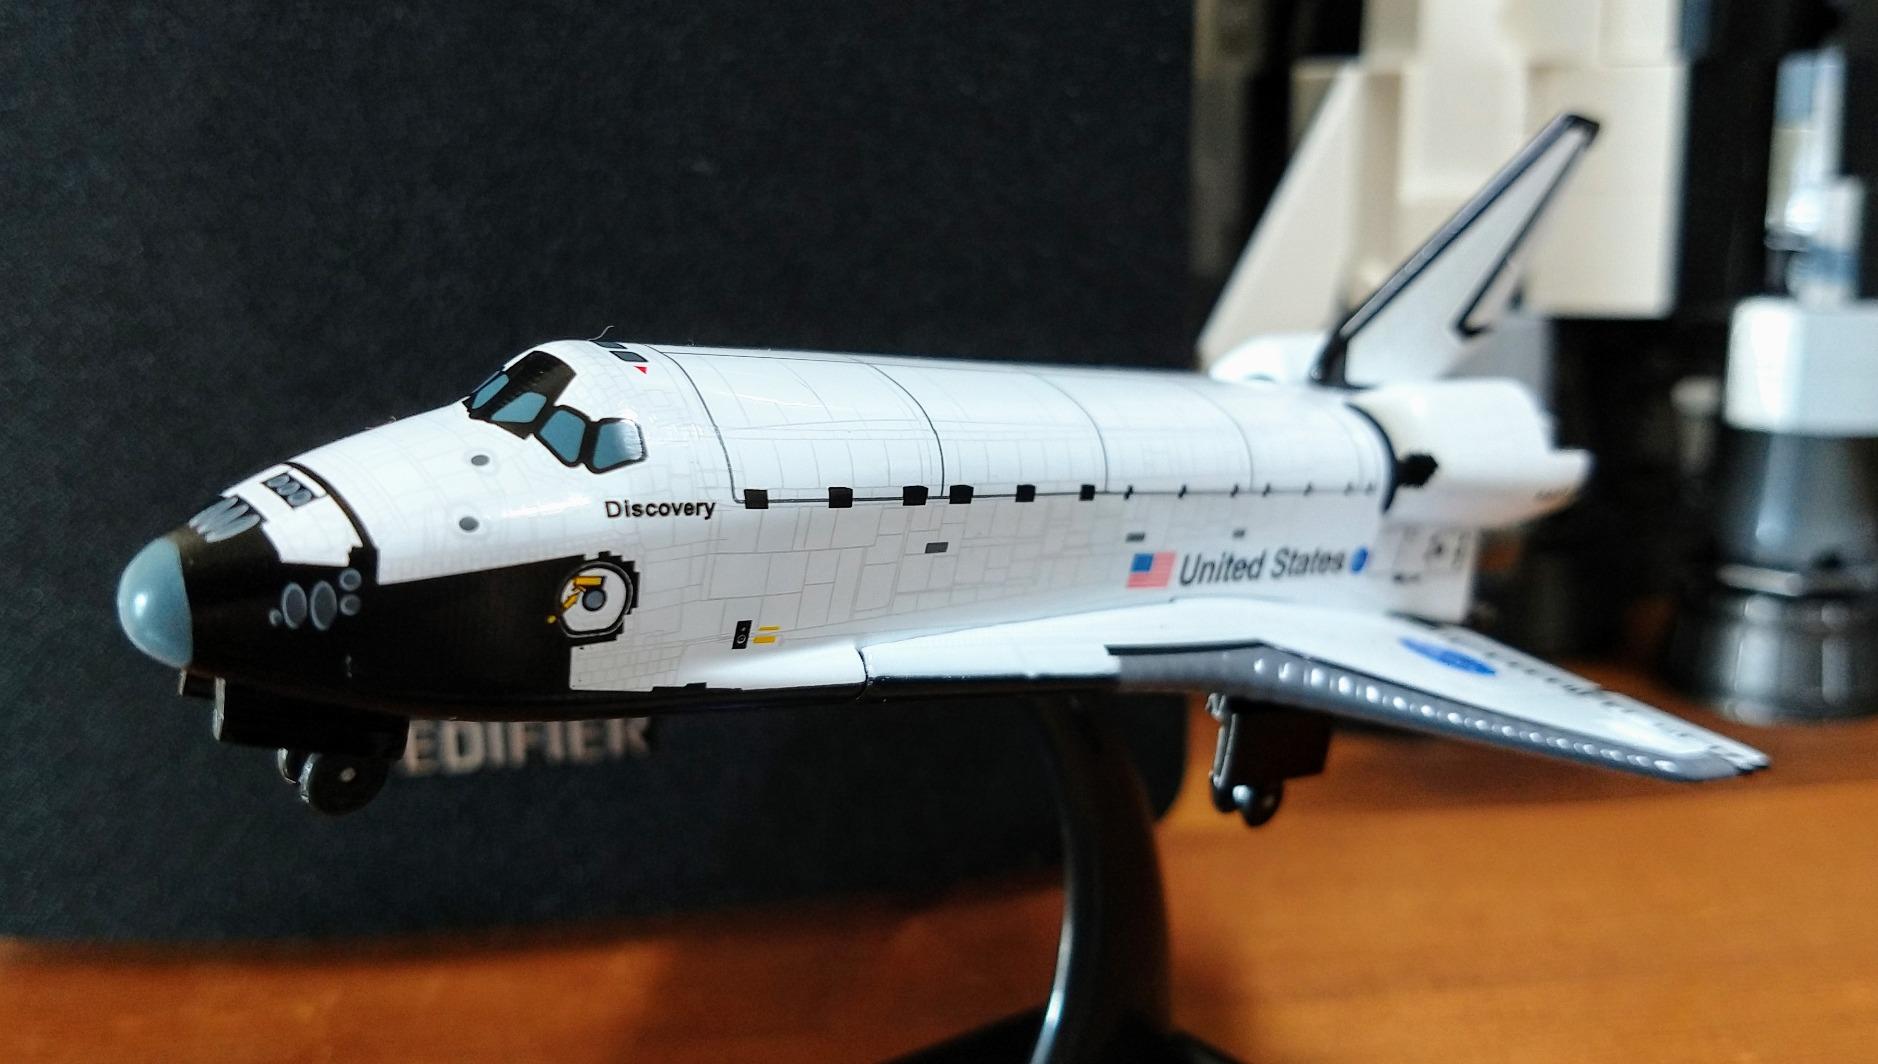
I unboxed this model with low expectations because I usually prefer to build my own kits. The Postage Stamp Discovery proved me wrong within seconds. The die-cast metal construction feels substantial in your hand, and the detail is remarkable for a pre-assembled collectible.
The model is an authentic NASA licensed replica of Discovery, the most flown orbiter in history. Every tile outline is visible, and the panel lines are crisp. The paint is smooth and accurate, with the correct black wing leading edges and the white fuselage.
I compared it to reference photos from the Smithsonian, and the accuracy is impressive. The included stand is a simple black plastic base with a metal support rod. It holds the model at a flight angle, though I wish the connection was slightly tighter.
I added a small dot of removable putty to the base to prevent any wobble. The model itself is the star here, and the stand does not distract from it. At roughly 4.75 inches long, this is a compact display piece.
I keep it on my office desk, and it does not take up much space. The weight is satisfying without being heavy. It feels like a quality object rather than a cheap toy.
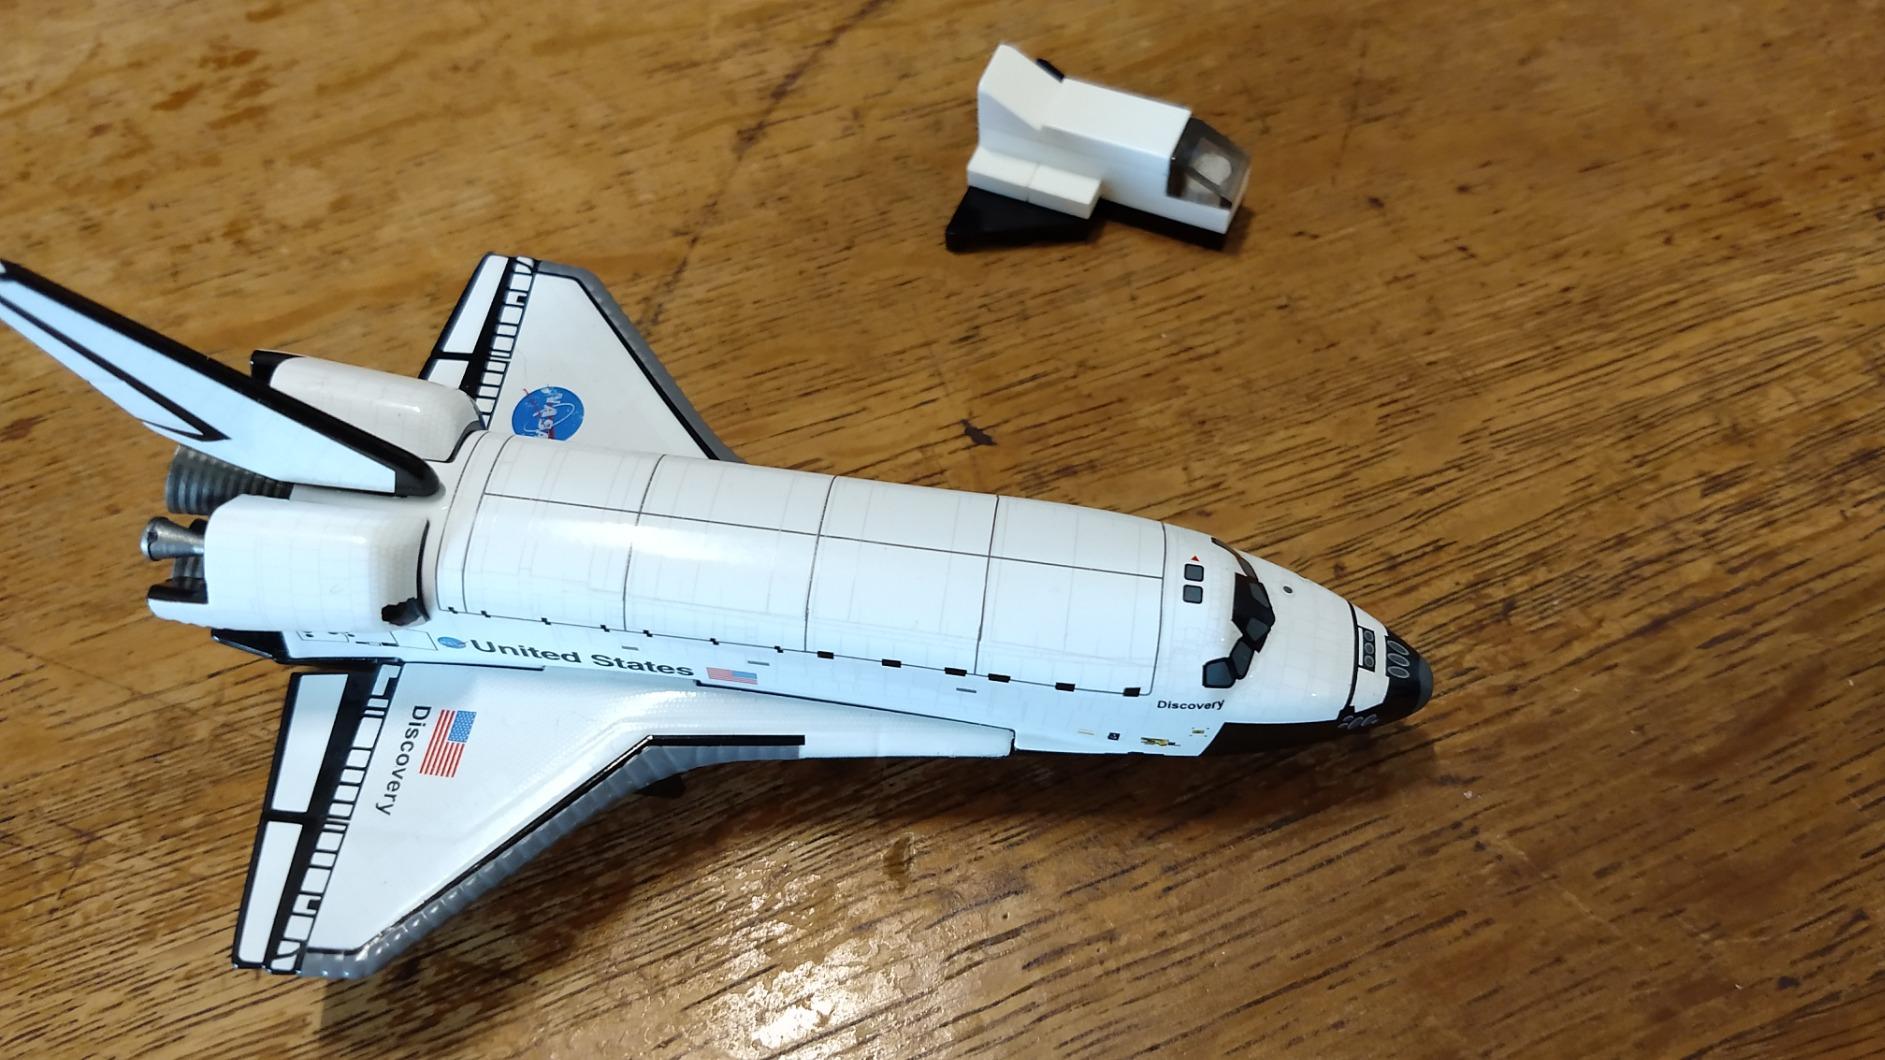
The landing gear is permanently lowered, which is my only real complaint. I would have preferred an option to display it in flight with gear retracted. However, the gear detail is excellent, and the tires are painted with realistic tread patterns.
For a desktop model, the gear-down position is acceptable. This model requires zero assembly, zero painting, and zero cleanup. You remove it from the box and place it on the stand.
For collectors who lack the time or interest to build kits, this is a perfect solution. I bought one as a gift for my father, who is a space enthusiast but not a modeler, and he loved it. The Boeing seal of authenticity adds a nice touch.
The packaging is attractive enough that you could gift it without wrapping. I have seen these displayed in aerospace offices and museums as reference pieces.
One thing I appreciate is the durability. The die-cast metal alloy handles dusting and occasional bumps without damage. I have had plastic models break from similar treatment.
This Discovery feels like it will last for decades. The packaging is a sturdy window box that shows the model clearly without opening. This makes it ideal for gift giving because the recipient can see exactly what they are getting.
The box includes a brief history of Discovery’s missions, which adds educational value. I have seen this model compared to much more expensive resin kits, and the detail holds up surprisingly well. The panel lines are consistent, and the paint is even across all surfaces.
For a mass-produced die-cast piece, the quality control is impressive.
Who Should Buy This Model
This model is perfect for collectors, space enthusiasts, and anyone who wants a beautiful shuttle display without the build process. I recommend it for office desks, classroom shelves, and gift giving. The NASA license and Boeing authenticity make it a serious collectible rather than a toy.
It is also a great choice for older space program fans who may lack the eyesight or dexterity for traditional model kits. My father keeps his on a bookshelf and smiles at it daily. The emotional connection to Discovery’s missions makes this model special.
What to Know Before Ordering
Check the stand connection when you first open the box. If it feels loose, a small piece of tape or putty will solve the problem. The model itself is sturdy and unlikely to have defects.
Do not expect to modify this model. The parts are cast as one piece, and there are no opening doors or removable components. It is a display piece, not a kit.
Buy it for what it is, and you will be satisfied. The model is heavier than it looks. Make sure your display shelf can support the weight if you plan to place it on a narrow ledge.
The metal construction is solid, and the center of gravity is low, which helps with stability.
5. Fascinations Metal Earth Space Shuttle Discovery Color – Best Budget Metal Build
Fascinations Metal Earth Space Shuttle Discovery Color Version 3D Metal Model Kit
Scale: 1:355
Material: Steel
Sheets: 2
Rating: 4.4
Pros
- Color version with metallic paint
- Small palm-sized detail
- No glue needed
- Relaxing hobby project
- Easy instructions
Cons
- Very small delicate parts
- Requires tweezers and clippers
- Not suitable for beginners
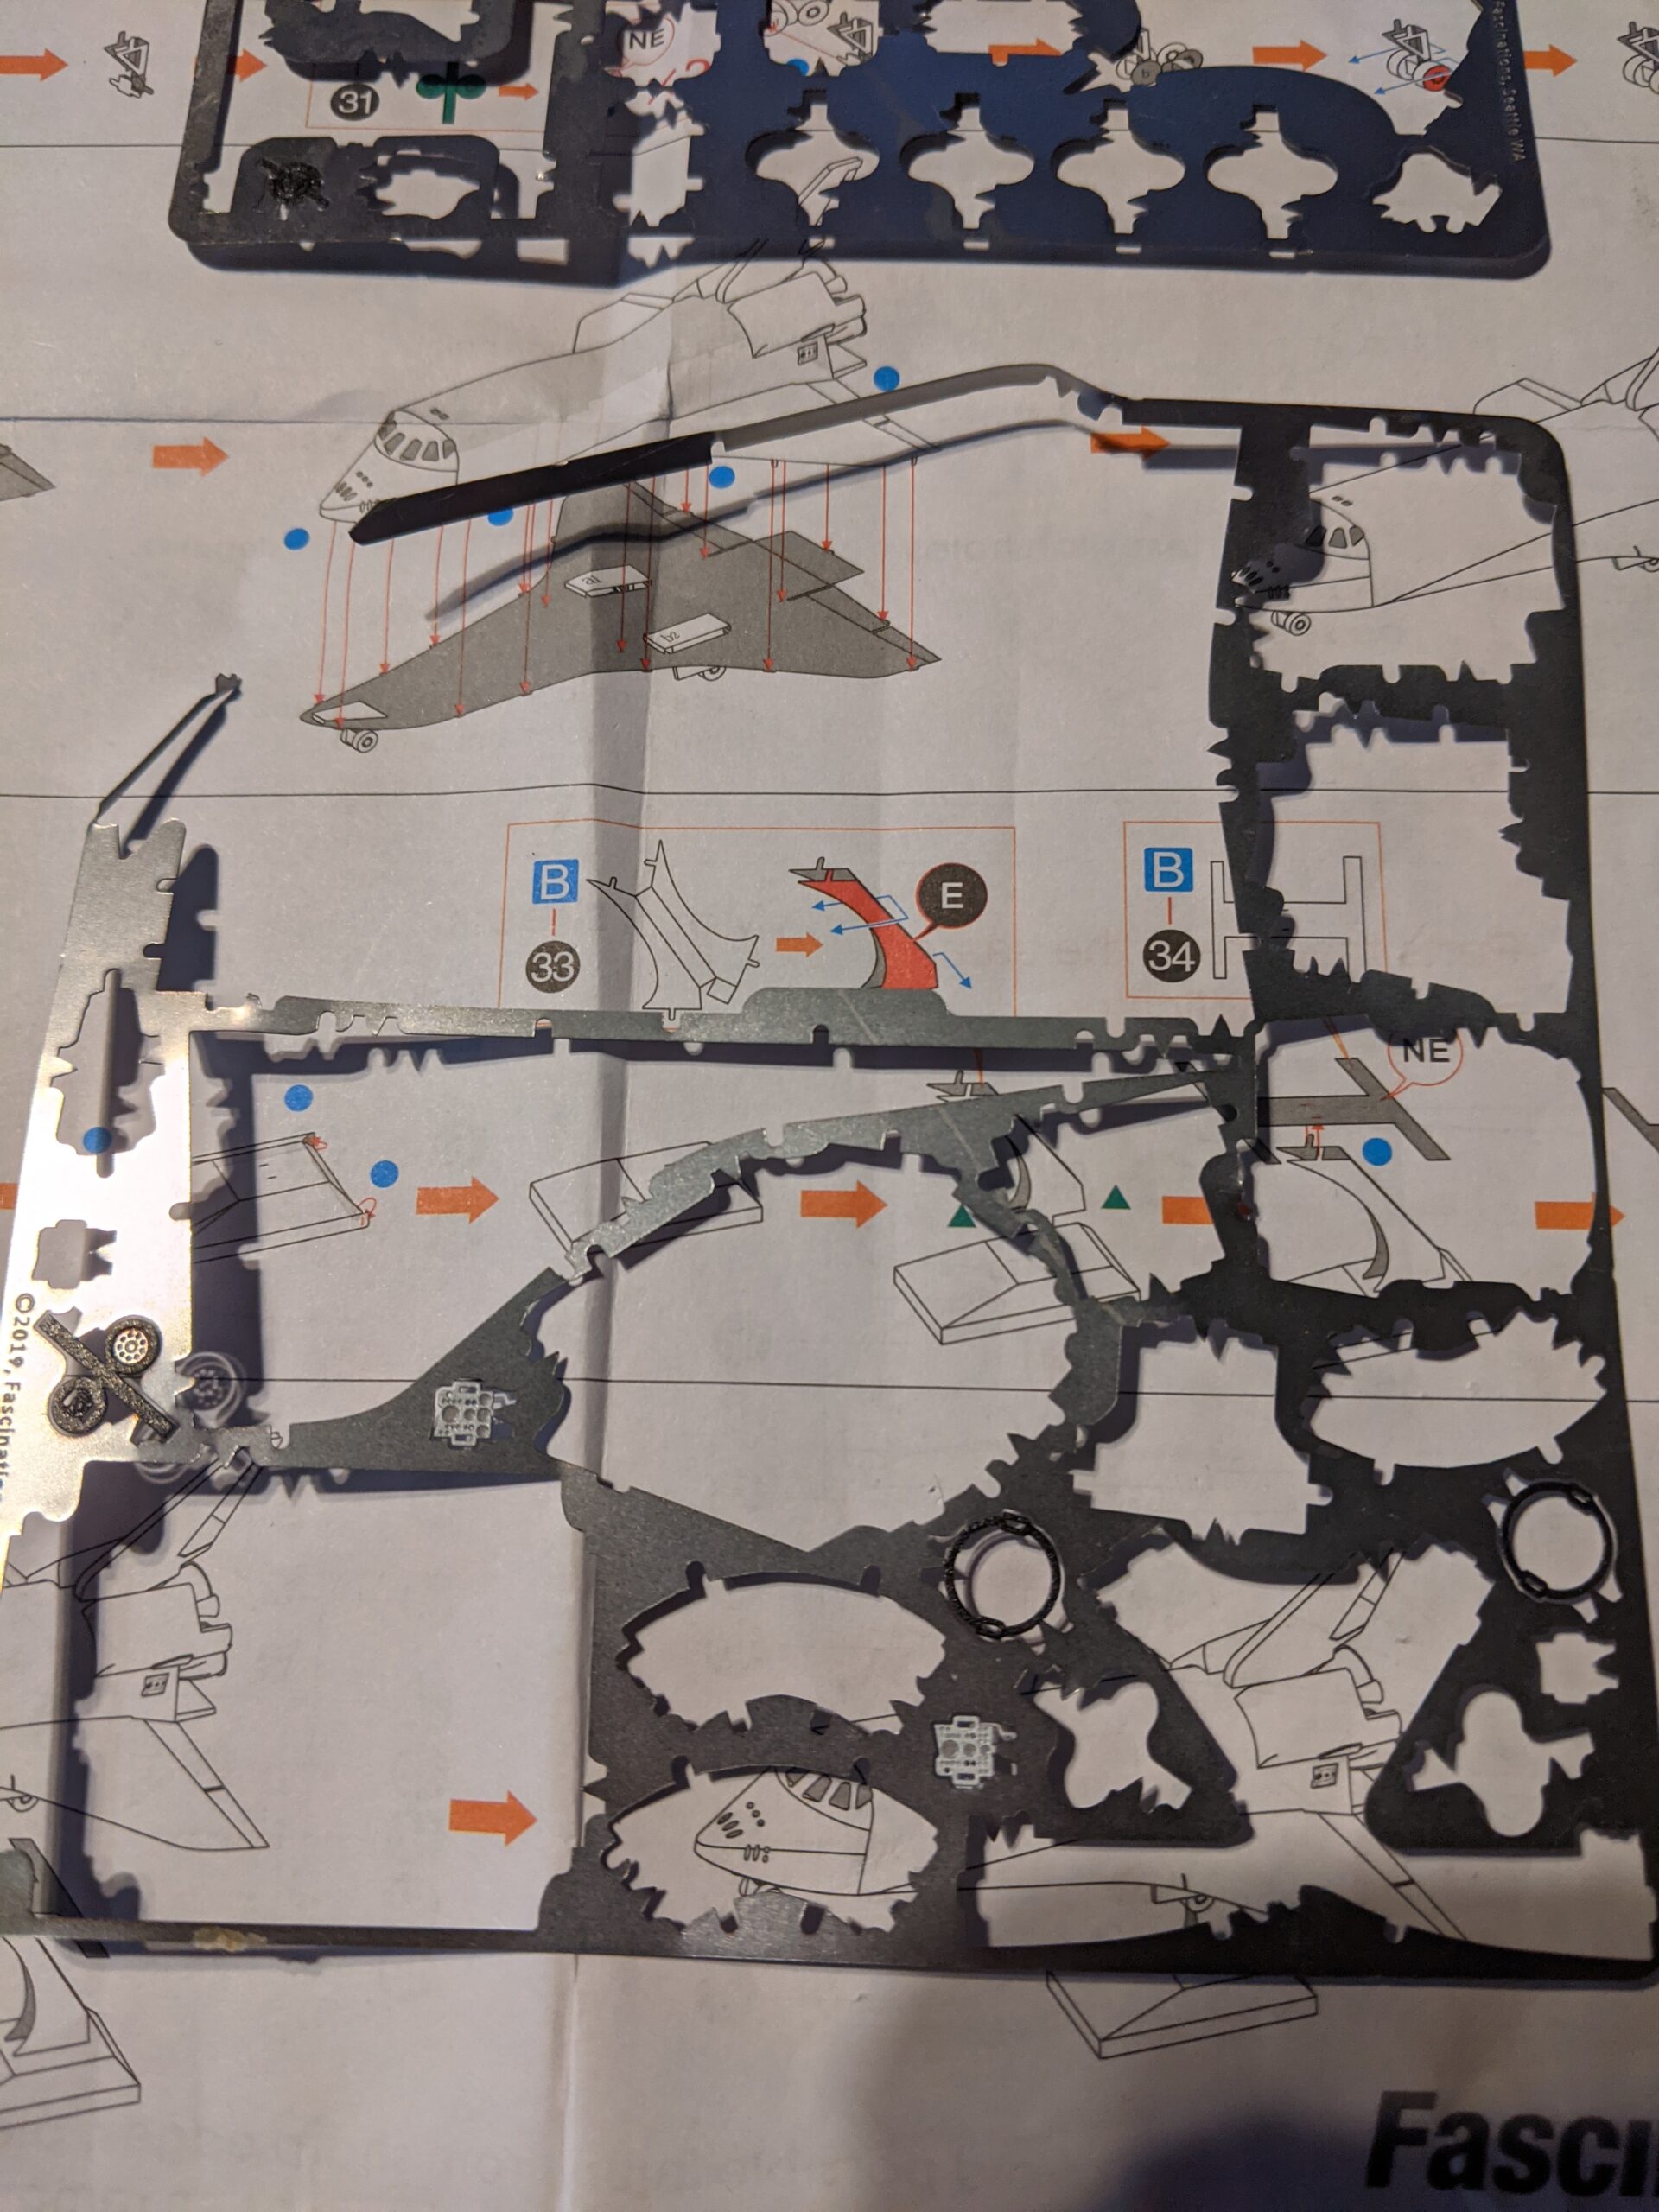
I was skeptical about metal sheet kits until I completed this Discovery Color model. The finished piece sits in my palm, yet it captures the shuttle’s shape with surprising accuracy. At 1:355 scale, it is tiny, but the pre-painted metal sheets give it a texture that plastic cannot match.
The kit includes two steel sheets and a clear instruction booklet. I used a pair of fine needle-nose pliers and wire cutters to remove the parts. The tabs are small, so I worked under a desk lamp with a magnifying glass.
Assembly took about four hours over two evenings. The color version is the key selling point here. The metallic paint covers the orbiter white, black, and orange sections without any brushwork required.
I have built the plain steel version of other Metal Earth kits, and painting them is a separate challenge. This color edition skips that step entirely. Some of the curves are tricky. The nose cone requires gentle rolling and multiple adjustments.
I bent one engine section too sharply and had to carefully flatten it back. The instructions include diagrams for each step, but the small part size means you need steady hands and good lighting.
Once assembled, the model is surprisingly sturdy. I expected a fragile toy, but the interlocking tabs create a solid structure. I display it on a small mirror tile, and the reflection adds a nice visual effect.
Guests are always surprised to learn it is built from flat sheets. This is not a kit for children. The parts are sharp, and the tabs require precision.
I would recommend it for anyone aged fourteen or older who has some patience and enjoys puzzles. The reward is a detailed collectible that costs less than a movie ticket. I watched a few YouTube tutorials before starting, and that helped me avoid common mistakes.
Builders recommend working from the center outward and bending tabs with tweezers rather than fingers. The first few parts feel awkward, but the process becomes intuitive after twenty minutes.
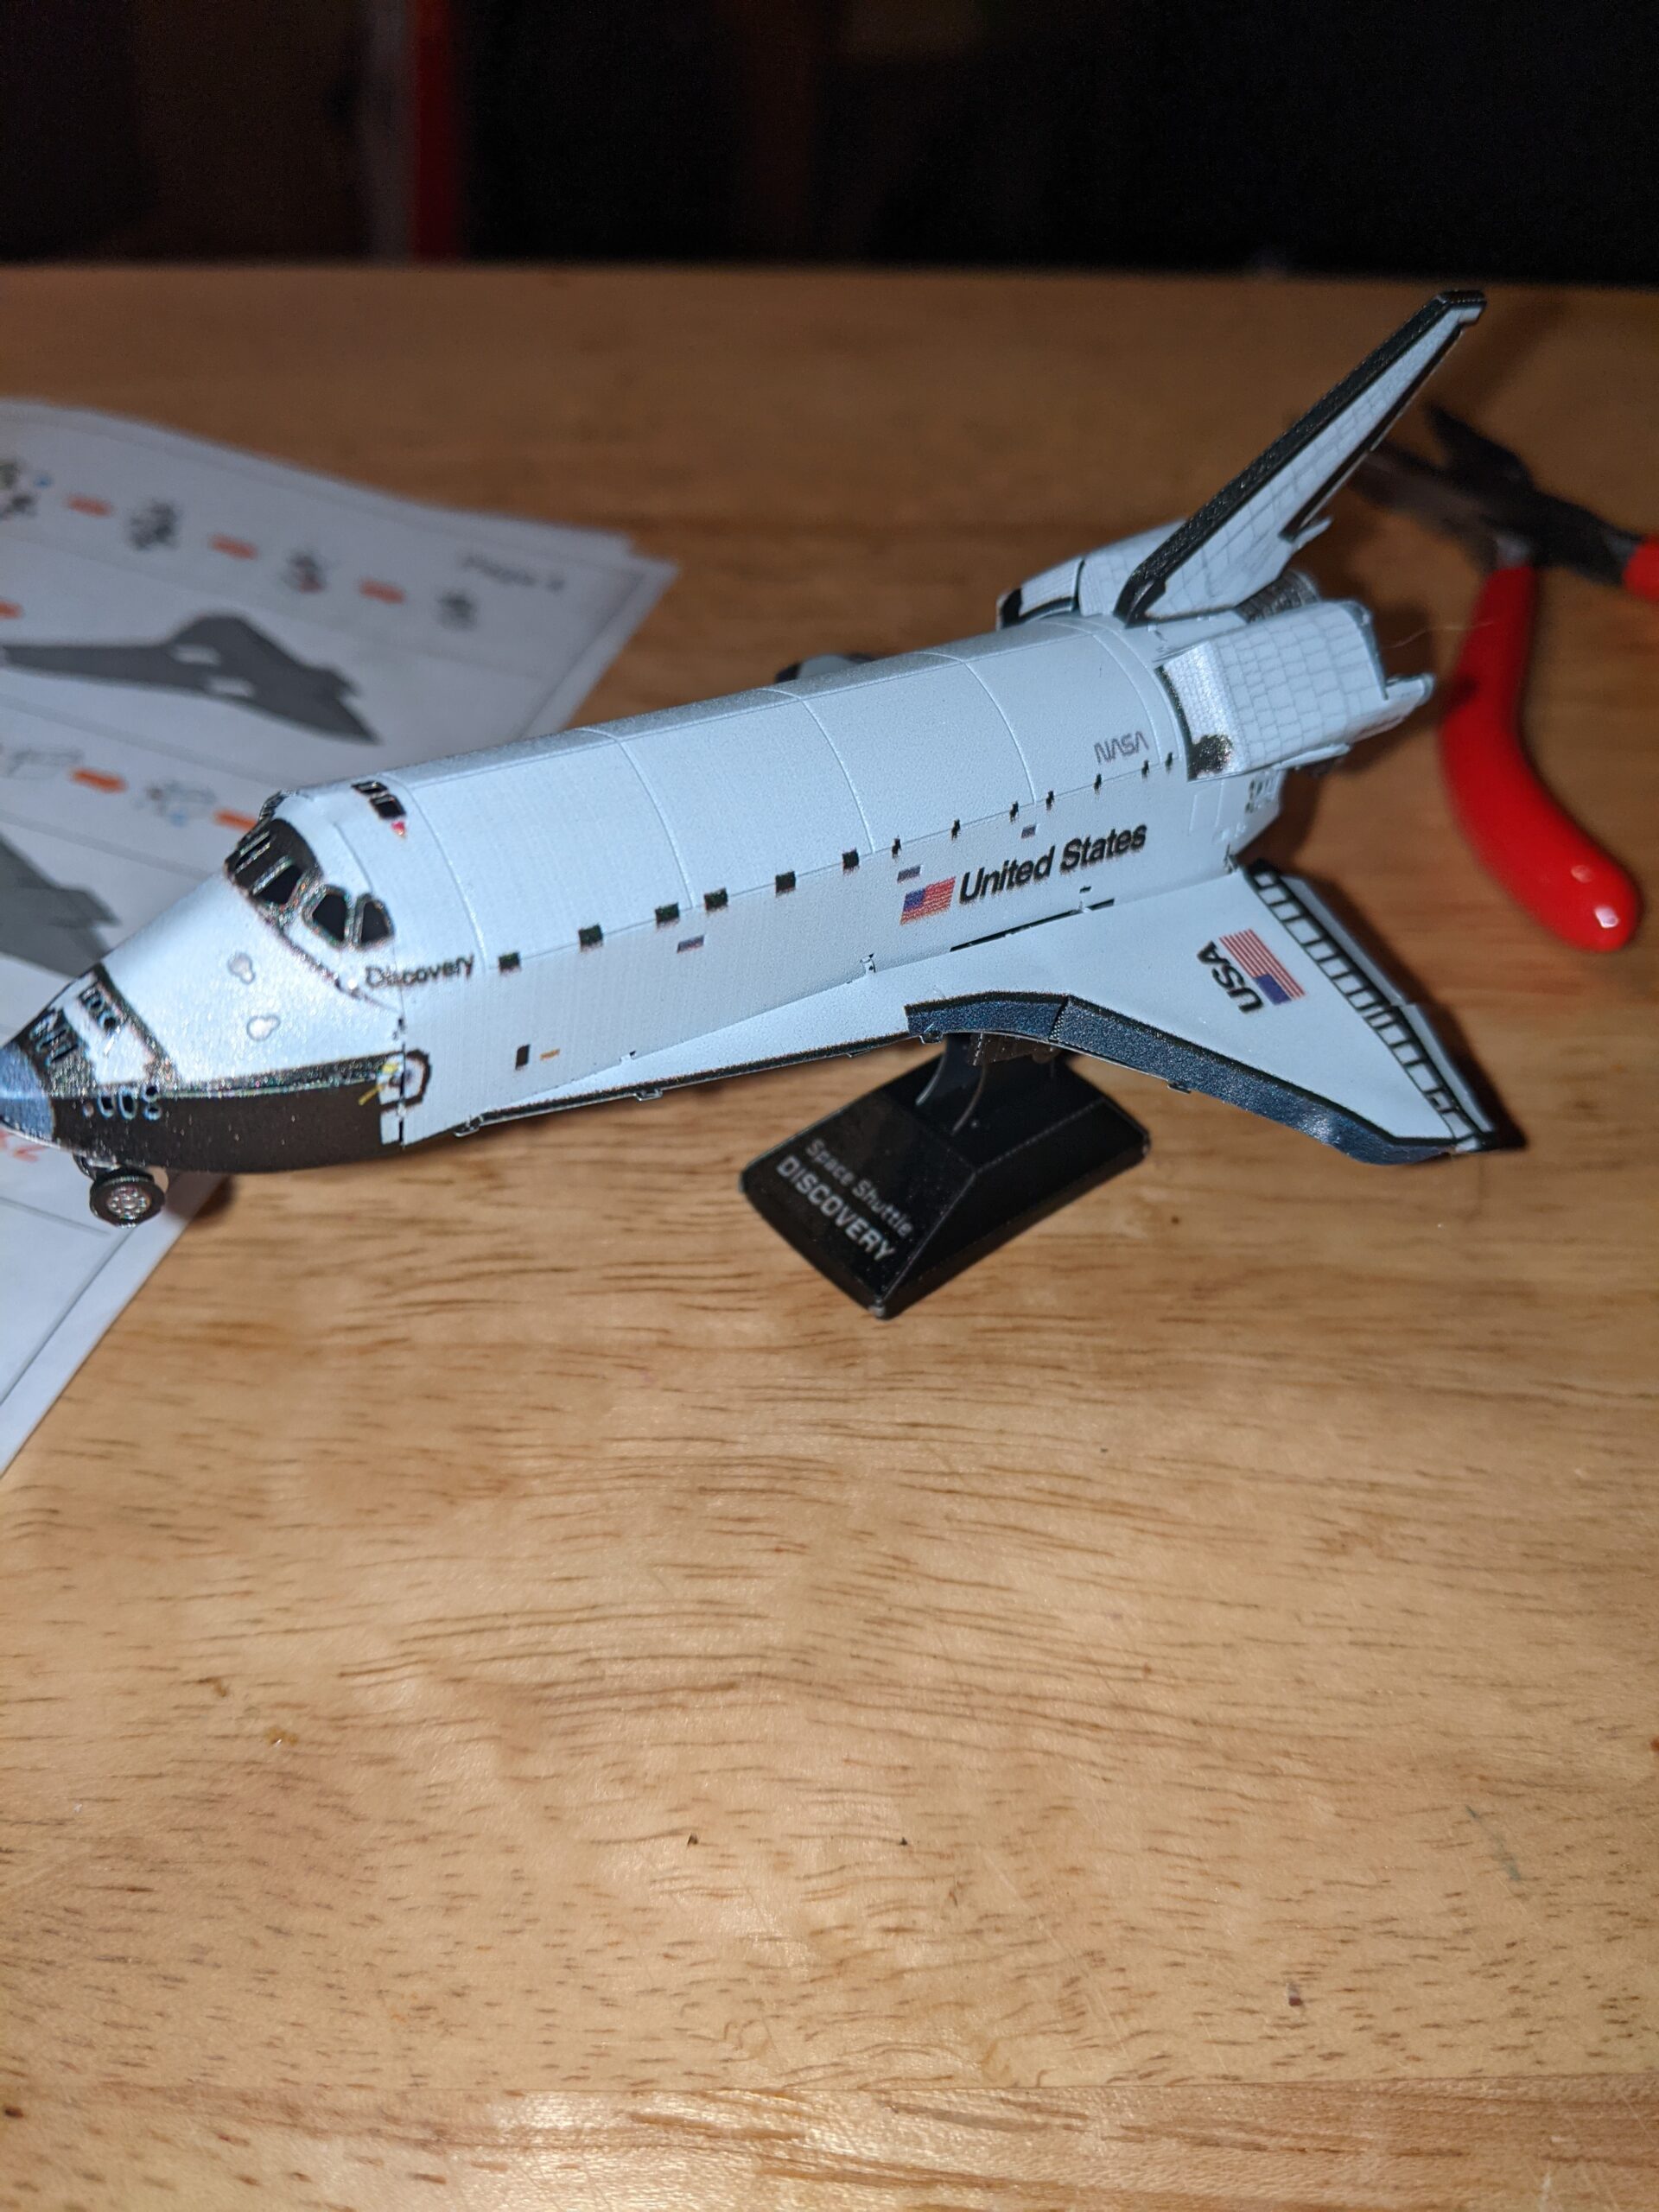
The finished model is small enough to fit anywhere. I have mine on a narrow window sill next to a small succulent. It has survived a few months of direct sunlight without fading, though I eventually moved it to avoid long-term exposure.
The paint quality is better than I expected for the price. The instruction booklet is a single folded sheet with numbered steps. Each step shows which part to attach and where the tabs connect.
I found the diagrams clear, but the small print required my reading glasses. I recommend making a copy at larger scale if your eyesight is aging. The color accuracy is excellent. The white body has a slight pearlescent sheen, and the black wing leading edges are matte.
The orange engine details are bright without being garish. The overall effect is a model that looks like it was professionally painted.
Who Should Build This Kit
This kit is perfect for hobbyists who want a quick, rewarding project without paint or cement. I recommend it for experienced builders who have steady hands and a magnifying lamp. It is also a great gift for a space enthusiast who may not have a full model workshop.
Collectors who want a small fleet of orbiters will appreciate the low price. You can build Discovery, Atlantis, and Endeavour for under fifty dollars total. I am planning to build a second one as Enterprise because the black and white color scheme is simple and elegant.
What to Know Before Starting
Buy good tweezers and wire cutters before opening the package. I tried using my fingers for the first few tabs and regretted it. The right tools make the build enjoyable instead of frustrating.
Work in a well-lit area with a clean surface. The small parts can vanish on a cluttered desk. I use a white plastic tray to catch any pieces that fall.
This simple trick saved me twice during assembly. Do not rush the nose cone. It is the most visible part of the model, and any unevenness will be obvious.
I rolled it around a small dowel about ten times, checking the curve after each pass. The patience paid off with a smooth, realistic profile.
6. Minicraft NASA Shuttle Building Kit – Best for Diorama Projects
Minicraft NASA Shuttle Building Kit, 1/144 Scale
Scale: 1:144
Parts: 50
Material: Plastic
Rating: 4.2
Pros
- Markings for 4 orbiters
- Opening cargo bay doors
- Cockpit and cargo interior
- Position-able landing gear
- Good for dioramas
Cons
- Payload door pins fragile
- Raised panel lines
- Thin fragile walls
I bought this kit specifically for a diorama project I had planned for my display cabinet. The Minicraft 1/144 NASA shuttle offers several features that make it ideal for scene building. The opening cargo bay doors, the position-able landing gear, and the included satellite payload all add storytelling potential to the finished model.
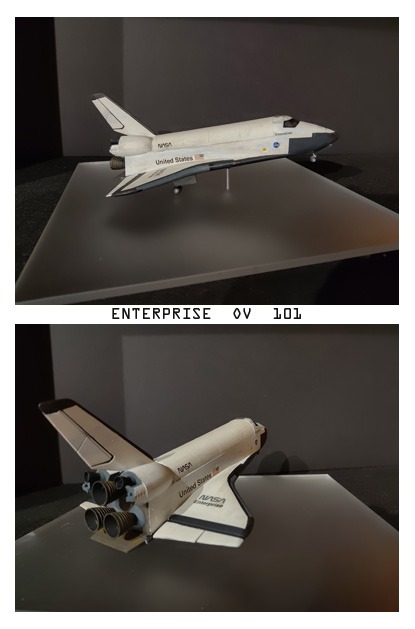
The decal sheet includes markings for four orbiters: Atlantis, Discovery, Endeavour, and Enterprise. I built mine as Enterprise because I wanted the prototype orbiter for a test-flight scene. The decals are thin and respond well to setting solution.
I had no issues with application. The cockpit and cargo bay interiors are detailed enough for a 1/144 scale kit. The cargo bay walls have structural lines and equipment representations.
I added a few scraps of wire and painted details to enhance the interior, but the base plastic provides a good starting point. The landing gear is tiny and delicate. I broke one strut while test-fitting and had to replace it with brass wire.
The gear can be positioned up or down, which is great for diorama flexibility. I recommend handling these parts with extreme care and using tweezers instead of fingers.
The panel lines are raised rather than engraved. This makes weathering more challenging because you cannot use the panel line wash technique easily. I used a dry brush method instead, and the results were acceptable.
Engraved lines would have been better, but at this scale and price, the raised lines are understandable. The side walls of the fuselage are thin and can warp if you apply too much pressure during assembly.
I recommend building the model in stages and allowing the cement to set fully before adding more parts. Rushing this kit will cause alignment problems. Build time was about ten hours.
I spent extra time on the cargo bay interior and the satellite payload. The finished model looks good in my diorama, positioned on a simulated runway with a few ground crew figures. The 1/144 scale is perfect for combining with vehicles and figures from other manufacturers.
The box art shows a dramatic launch scene, which is misleading because the kit does not include the external tank or boosters. I was not disappointed because I knew this before buying, but some customers might expect the full stack based on the cover.
Read the box contents carefully. The satellite payload is a simple rectangular shape with a few molded details. I painted it gold and silver to simulate solar panels and antenna dishes.
It fits snugly into the cargo bay, and the closed doors hold it securely without glue. This is a nice design touch.
Who Should Build This Kit
This kit is ideal for diorama builders and anyone who wants an open cargo bay display. I recommend it for intermediate modelers who have experience with small parts and delicate assemblies. The Enterprise markings are a bonus for fans of the prototype orbiter.
Educators and students working on space projects will find the cargo bay and payload useful for demonstrations. I have seen this kit used in school science fairs with good results. The payload bay interior adds educational value that sealed models cannot offer.
What to Know Before Starting
Handle the cargo bay door pins with extreme care. I broke one and had to repair it with a thin plastic rod. Test-fit the doors before applying cement, and open and close them gently to ensure smooth movement.
The satellite payload is small and fragile. Paint it before installation, and use a small drop of cement to secure it. I added a thin wire antenna to mine for extra detail.
The payload is a nice touch that adds visual interest to the bay. The raised panel lines benefit from a light wash to bring out detail. I used a diluted gray acrylic wash and wiped the excess with a soft cloth.
The lines picked up the wash nicely, and the model gained depth without looking dirty.
7. Metal Earth Fascinations Premium Series Space Shuttle Launch Kit – Best Detailed Metal Set
Metal Earth Fascinations Premium Series Space Shuttle Launch Kit 3D Metal Model Kit
Scale: 1:342
Material: Steel
Sheets: 3
Rating: 4.2
Pros
- Highly detailed etched model
- No glue or solder needed
- Premium series quality
- Includes spare parts
- Great display piece
Cons
- Very small pieces to manipulate
- Thicker metal bends unevenly
- Can take 8+ hours
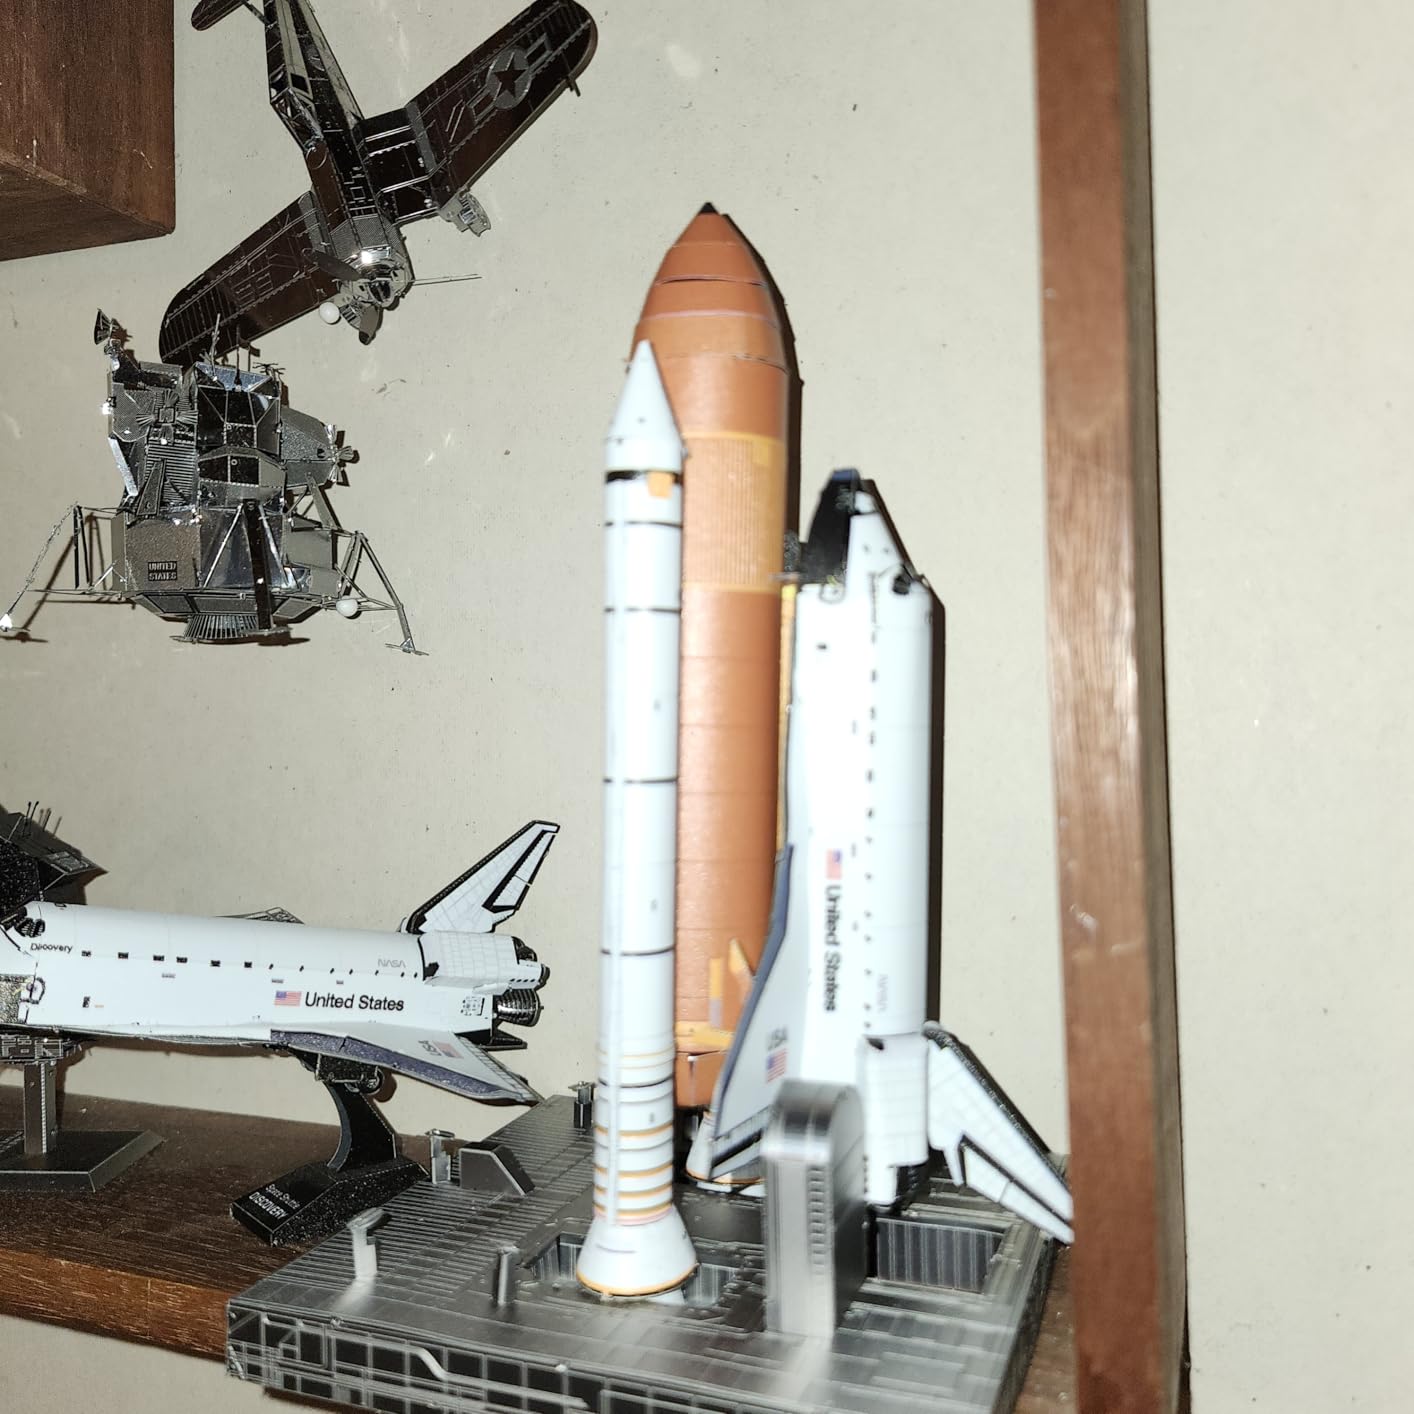
This kit is the most complex metal model I have built from Metal Earth. The Premium Series Space Shuttle Launch Kit includes three sheets of steel instead of the usual two, and the detail level is noticeably higher than their standard Discovery model. The finished piece includes the orbiter, the external tank, and the solid rocket boosters.
The assembly process took me about eight hours spread across three evenings. I worked slowly because the parts are tiny and the connections are unforgiving. The kit includes a few spare tabs, which I used when one of the engine nozzles bent too far.
Having backups included was a thoughtful touch by the manufacturer. The external tank is painted in the correct orange insulation foam color, and the boosters have the white segments with black nose cones. The orbiter itself has the same white and black scheme as the standard Discovery kit.
The full stack display is impressive for a model that fits in the palm of your hand. The thicker metal in this premium series is both a blessing and a curse. It feels more durable than standard Metal Earth kits, but it is harder to bend into smooth curves.
The external tank cylinder required careful rolling to avoid flat spots. I used a round pen barrel as a forming tool, and that helped.
No glue or solder is needed, which is the hallmark of Metal Earth kits. The tabs and slots hold everything together. However, some connections benefit from a tiny drop of super glue if you plan to handle the model frequently.
I left mine dry, and it has held up for months on display. The etched detail is excellent. The shuttle tile pattern is visible, and the panel lines are crisp.
The boosters have separation line details that look realistic. I display this model on a small wooden base with a label, and visitors often assume it is a much more expensive collectible. The instructions are clear, but they assume you have built at least one Metal Earth kit before.
Some of the three-dimensional connections are not obvious from the flat diagrams. I recommend looking at the 3D rendering on the package and comparing it to your progress every few steps.
This kit is not a quick afternoon project. I underestimated the time commitment and ended up working late into the evening on the second night. The results are worth the effort, but beginners should start with the simpler two-sheet Discovery model before attempting this launch configuration.
The packaging is a sturdy envelope with a magnetic closure. It feels premium and protects the metal sheets during shipping. I kept the envelope as storage because the model fits inside when disassembled.
The presentation makes this kit feel like a special purchase. The full stack configuration is unique among metal kits. Most manufacturers only offer the orbiter, so having the external tank and boosters adds significant value.
The proportions are correct, and the orange tank contrasts beautifully with the white orbiter. I display it under a small glass dome for protection.
Who Should Build This Kit
This kit is for experienced metal model builders who want a challenge and a stunning display piece. I recommend it for hobbyists who have completed at least one or two Metal Earth kits and own quality tweezers and pliers. The full stack presentation is perfect for collectors who want the complete shuttle system.
Space program enthusiasts who value the launch configuration will appreciate this model. The external tank and boosters are often omitted from other kits. Having the full stack in etched metal is unique and satisfying.
I plan to build a second one as a gift for a fellow space nerd.
What to Know Before Starting
Set aside at least two full evenings. I tried to rush the external tank and had to rebuild it because the curves were uneven. Patience is the most important tool for this kit.
Do not build it while tired or distracted. The orbiter is smaller than the standalone Discovery model. The parts are more delicate, and the tabs are finer.
I used a magnifying headset for the entire build. Without magnification, I would have struggled to see the connection points clearly. The booster separation lines are small and easy to bend incorrectly.
I recommend forming them around a thin wire or paper clip to maintain a consistent curve. The detail is worth the effort, but these parts will test your patience.
8. Odyssey Toys Space Shuttle Discovery Drone RC – Best Flying RC Option
Odyssey Toys Space Shuttle Discovery Drone RC Flying Toy – Remote Control Spacecraft with LED Lights, 2.4GHz Control, Rechargeable Battery, STEM Learning Toy for Kids Ages 10+
Size: 7in
Material: Plastic
Battery: Rechargeable
Rating: 3.7
Pros
- Real flying RC drone
- Easy 2.4GHz remote
- STEM learning elements
- LED lights for night
- Rechargeable battery
Cons
- Short 6-8 min battery life
- Controller can be tricky
- Does not handle wind well
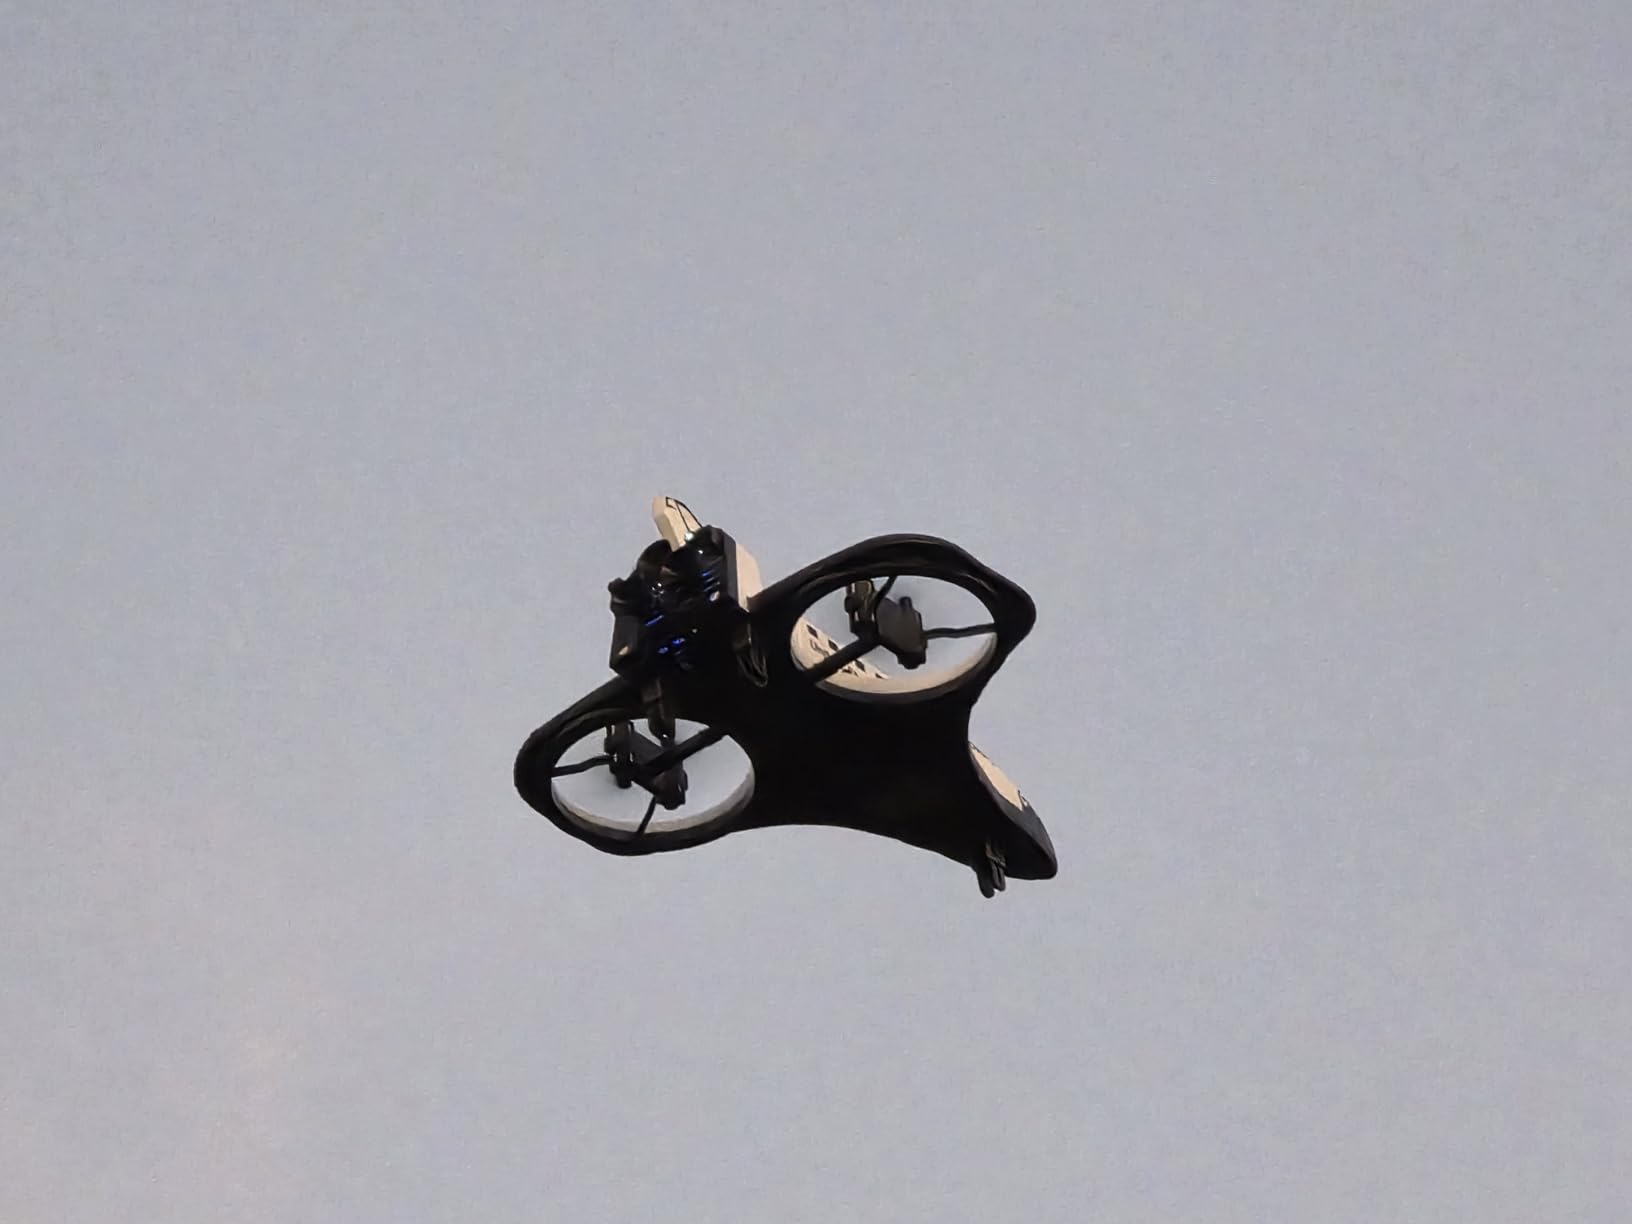
This is the only truly flying RC option in our roundup of the best RC scale space shuttle kits. The Odyssey Toys Discovery Drone is a remote-controlled spacecraft designed for kids and beginners who want the experience of piloting a shuttle-shaped aircraft. I tested it in a local park and in my backyard over several afternoons.
The drone is made of lightweight foam and plastic, which helps it survive crashes. I crashed it three times during my first flight and found no damage beyond a few scuff marks. The construction is durable enough for learning pilots who will inevitably make mistakes.
The 2.4GHz remote provides multi-directional control and one-button takeoff and landing. I found the controls responsive after I spent about ten minutes getting used to the layout. The one-button landing is genuinely helpful for beginners who panic when the drone drifts too high.
LED lights are built into the fuselage, making the drone visible at dusk. I flew it during a sunset session, and the white body with glowing lights looked fantastic against the orange sky. This is a feature that static models cannot match.

The battery life is short. I measured six to eight minutes of flight time per charge. The recharge takes about forty-five minutes, which feels like a long wait when you are having fun.
I recommend buying a second battery if you plan to fly regularly. The controller has a slight learning curve. Two of the buttons are not clearly labeled, and I had to reference the manual a few times.
Once you memorize the layout, flying becomes intuitive. Younger pilots may need adult help for the first few flights. This drone does not handle wind well. I attempted flight on a breezy day and spent most of the time fighting drift.
Stick to calm conditions and wide open spaces. Indoor flight is possible in large rooms, but the prop wash bounces off walls and creates turbulence.
The included playbook adds a STEM education element. It covers basic aerodynamics and space shuttle facts. I read through it and found the information accurate and age-appropriate.
This is a nice touch that separates the Odyssey from generic toy drones. The range is decent for a toy-grade drone. I flew it about thirty meters away without losing signal.
Beyond that, the controls become laggy. I recommend staying within twenty meters for reliable control. The 2.4GHz signal is stable in open areas with minimal interference.
The unboxing experience is fun. The shuttle shape is immediately recognizable, and the remote is sized well for smaller hands. My nephew was excited to see it before we even turned it on.
The packaging includes a quick-start guide that gets you airborne in minutes.
Who Should Buy This Drone
This drone is ideal for kids ages ten and up who are interested in space and remote control aircraft. I recommend it for parents looking for a STEM gift that combines flying fun with educational content. The durable construction and one-button controls make it accessible for younger pilots.
Adult space enthusiasts will enjoy it as a novelty, but the short flight time may frustrate serious RC pilots. I view it as a fun toy rather than a precision aircraft. If you want a realistic flying shuttle model, you will need to build a custom balsa or foam glider with proper radio gear.
What to Know Before Flying
Charge the battery fully before your first flight. The maiden flight will be more stable with maximum power. I also recommend finding a large grassy field with no trees.
The drone is lightweight and can get carried away by gusts. The controller requires three AA batteries, which are not included. Buy a fresh set before you plan to fly.
I used rechargeables and found the controller performance consistent across multiple sessions. The drone itself recharges via USB, so a portable power bank is useful for park sessions.
Start with short flights to learn the controls. The drone is responsive, and sudden stick movements can cause it to climb or dive quickly. I spent my first three flights just practicing gentle turns and altitude holds.
Once you master the basics, flying becomes genuinely enjoyable.
How to Choose the Right Space Shuttle Kits?
After building eight different kits, I have learned that the right choice depends on three things: your available time, your skill level, and your display space. A beginner who buys a complex metal model will likely feel frustrated. An advanced builder who picks a simple foam glider may feel bored.
Matching the kit to your expectations is the key to enjoyment. Our forum research revealed that the most common regret among builders is choosing a kit that is too advanced or too large for their workspace. The RCGroups community consistently recommends starting with a simple project and working upward.
I followed this advice myself years ago, and it saved me from abandoning the hobby. Budget is another practical consideration. The kits in this roundup range from under fifteen dollars to nearly seventy dollars.
Radio equipment for flying models adds even more cost. I recommend setting a total budget before shopping, including paints, cement, and tools for plastic builds.
Picking the Right Scale for Your Space
Scale determines both the finished size and the level of detail you can expect. A 1:72 scale shuttle like the Revell 40th anniversary kit measures nearly 50 centimeters and dominates a display case. The 1:144 scale kits are half that size and fit comfortably on a standard bookshelf.
Metal models at 1:300 and 1:355 scale are palm-sized and work well for desks or small shelves. Forum members consistently mention that larger scale models are easier to detail and paint because the parts are bigger and your fingers have room to work.
However, larger models require more paint, more cement, and more storage space. I recommend measuring your display area before buying any kit larger than 1:144 scale. Flying RC shuttles need even larger scales to accommodate radio gear.
The Model Aviation community has built successful 1:72 scale flying shuttles, but beginners often find 1:26 scale or profile builds more forgiving. The extra wing area and lighter wing loading make these larger models easier to launch and land.
Consider the scale of your existing collection if you plan to display the shuttle with other models. A 1:72 shuttle looks odd next to 1:144 aircraft. I keep my shuttle models in a separate display case to avoid scale confusion.
This also creates a themed space that highlights the shuttle program.
Understanding Build Materials
Plastic injection-molded kits offer the best detail for the price. Revell and Tamiya use high-quality styrene that takes paint well and bonds with standard plastic cement. The downside is that thin parts can break if you force them, and flash or mold lines require cleanup.
Metal Earth kits use etched steel sheets that slot together without glue. The material is durable and gives a satisfying weight, but the tabs are tiny and demand tweezers and patience. I built two of these with a magnifying lamp and still needed to repair a few bent tabs.
The results are stunning, but the process is not relaxing for everyone. Die-cast models like the Postage Stamp Discovery require no assembly at all. They arrive painted and ready for display.
The metal alloy construction feels premium and lasts forever. I dust mine with a soft brush every few weeks, and it looks as good as the day it arrived. These are ideal for collectors who want quality without the build time.
Foam board and balsa are the materials of choice for flying RC shuttles. The Flite Test community has popularized foam board builds that take minutes rather than hours. Balsa offers more traditional model building feel but requires more skill.
Both materials are lightweight, which is essential for flight.
Matching Skill Level to the Kit
Beginners should start with the Odyssey Toys Discovery Drone or a simple foam board kit. These require no cement, no painting, and no small parts. You get the thrill of a shuttle-shaped aircraft without the frustration of a multi-week build.
Our team has given these to younger family members with great success. Intermediate builders with a few plastic aircraft kits under their belt will enjoy the Revell 1:144 and Minicraft 1:144 kits. These demand careful cement work, seam filling, and painting.
The Minicraft kit has fragile bay door pins that require a gentle touch, while the Revell kit is more forgiving with its 64 parts. Advanced modelers should look at the Revell 1:72 gift set or the Tamiya 1:100 Atlantis. These kits reward patience with museum-quality results.
The Tamiya kit in particular has nearly flawless part fit and enough detail to satisfy competition-level builders. I spent three weeks on mine and enjoyed every hour. Metal sheet kits are a unique category.
They require neither cement nor paint, but they demand fine motor skills and magnification. I classify them as intermediate to advanced depending on the part count. The two-sheet Discovery Color is easier than the three-sheet Launch Kit, so choose accordingly.
Flying vs. Static: Know the Difference
Static display models are designed to look accurate on a shelf. They have no radio equipment, no motors, and no concern for weight balance. You can add extra detail, open hatches, and display payloads without worrying about flight performance.
Most of the kits in this roundup fall into this category. Flying RC shuttles are a completely different challenge. The Odyssey Toys Discovery Drone is a ready-to-fly toy with limited range and flight time.
Serious RC builders construct custom shuttles from balsa or foam, using elevon mixing and careful CG placement. The real-world shuttle had a steep glide angle, and models behave similarly. Flight times are short, typically 30 to 60 seconds, and landing requires quick reflexes.
If you want both, consider buying a static kit for display and a separate foam glider for flying. That is the approach I take, and it gives me the best of both worlds without compromising either build. The Model Aviation community has published excellent plans for 1:72 scale flying shuttles if you want to build your own from scratch.
Flight safety is a real concern for powered shuttle models. The Rocketry Forum emphasizes that rocket-powered shuttles require careful launch system design and safe recovery areas. Never fly near people, buildings, or power lines.
The TRUST certification mentioned in RC communities is a good baseline for safe operation.
Budget Considerations
Plastic kits are the most cost-effective way to get a detailed shuttle model. The Revell 1:144 kit offers excellent value at under fifty dollars. The Tamiya kit costs slightly more but includes superior engineering.
Both require additional spending on paint and cement, so factor that into your total. Metal Earth kits are cheap to buy but require tool investment. If you already own tweezers and wire cutters, the cost is minimal.
If you need to buy tools, add fifteen to twenty dollars to your budget. The results are unique, but the per-hour enjoyment cost is higher than plastic kits. Die-cast models like the Postage Stamp Discovery are mid-priced and require zero additional supplies.
You pay once and display immediately. I consider these the best value for non-builders who want a quality piece without any learning curve. The NASA license adds credibility that generic toys lack.
Frequently Asked Questions
What scale are most RC space shuttle kits?
Most RC space shuttle kits come in 1:72, 1:144, or 1:200 scale for static display models. Flying RC versions are often larger, around 1:26 to 1:72 scale, to accommodate radio equipment and maintain stable flight.
How difficult are space shuttle models to build?
Difficulty ranges from beginner-friendly foam board kits that take 15 minutes, to advanced plastic and metal builds requiring weeks of work. Your experience with cement, paint, and small parts determines which kit suits you.
What brands make the best space shuttle kits?
Revell and Tamiya lead the plastic kit market with detailed molds and accurate markings. Metal Earth produces intricate metal sheet models. Daron offers excellent pre-assembled die-cast collectibles for display.
Are there flying RC space shuttle models?
Yes, flying RC space shuttle models exist. The Odyssey Toys Discovery Drone is a ready-to-fly option. Traditional builders also construct balsa and foam gliders with elevon control and rocket-powered boosters.
What materials are used in RC shuttle construction?
Common materials include injection-molded plastic for detail, steel sheets for metal models, die-cast metal for pre-assembled collectibles, and foam board or balsa for flying RC versions.
Final Thoughts
After three months of building, displaying, and flying these models, I can say with confidence that the best RC scale space shuttle kits in 2026 offer something for every type of hobbyist. The Revell 40th anniversary set remains my top recommendation for anyone who wants a large, impressive display piece.
The Revell 1:144 Atlantis delivers the best value for a traditional plastic kit. The Metal Earth Discovery Color proves that even a small budget can yield a beautiful result.
Choose the kit that matches your skill level and your display space. Do not rush the build. Take photos along the way.
The satisfaction of completing a shuttle model is worth every hour you invest. I still look at my finished Tamiya Atlantis every morning and feel proud of the work.
If you are new to modeling, start with something simple and build your confidence. If you are experienced, challenge yourself with the larger scales or the metal sheet kits. Every completed shuttle adds a piece of aerospace history to your home.
Thank you for reading our guide. If you found it helpful, share it with a fellow modeler. We will continue testing new kits as they release, and we will update this guide when noteworthy options arrive.
Happy building.