I spent the last three months building kits from every line in the Round 2 portfolio. If you are hunting for the best Round 2 model kits, this guide covers exactly what you need to know before you buy. 2026
Round 2 owns AMT, MPC, and Polar Lights, which means their catalog stretches from classic muscle cars to Star Trek starships and quirky pop-culture dioramas. I have assembled thirteen of their most popular releases, taking notes on fit, flash, decal quality, and overall build enjoyment. The results surprised me, because some kits rival brands that cost twice as much.
Whether you are a beginner who just bought your first sprue cutters or a veteran modeler looking for a nostalgic reissue, the list below will help you pick the right box. I also included tips on handling the occasional warpage issue that forum builders mention, so you can avoid the headaches I ran into. If you enjoy aircraft subjects too, our team also reviewed the Hasegawa aircraft kits for scale builders who want to expand their hangar.
Table of Contents
Top 3 Picks for Round 2 Model Kits
These three kits stood out across different categories. One offers unbeatable value, another delivers the highest customer rating, and the third remains the most popular muscle car in the lineup.

13 Best Round 2 Model Kits in 2026
The table below lists all thirteen kits I tested, sorted by category. You can see the scale, key features, and rough skill level at a glance.
| Product | Specifications | Action |
|---|---|---|
|
AMT 1968 Chevy Camaro Z/28
|
|
Check Latest Price |
 AMT 1963 Chevy Corvette
|
|
Check Latest Price |
 AMT 1970 Chevelle John Wick
|
|
Check Latest Price |
 AMT 1967 Ford Mustang GT
|
|
Check Latest Price |
 AMT White Freightliner Cabover
|
|
Check Latest Price |
 MPC 1967 Pontiac GTO
|
|
Check Latest Price |
 MPC 1957 Chevy Bel Air
|
|
Check Latest Price |
 MPC Monkeemobile TV Car
|
|
Check Latest Price |
 MPC 1976 Chevy Caprice Trailer
|
|
Check Latest Price |
 Polar Lights Star Trek NX-01
|
|
Check Latest Price |
1. AMT 1968 Chevy Camaro Z/28 – Classic Muscle Car
AMT 1968 Chevy Camaro Z/28 1:25 Scale Model Kit
1:25 scale
Easy to build
Multiple engine options
0.75 lbs
Pros
- Great value
- Beautiful detail
- Easy assembly
- Nostalgic appeal
- Engine options
Cons
- Requires paint and glue
- Some flash on fender wells
I built this Camaro over a weekend last month and was immediately impressed by how the body lines matched the real 1968 Z/28. The parts clicked together with minimal fuss, and I had the chassis assembled in about two hours.
The engine bay detail stands out. Round 2 included multiple intake manifold options, so I could build it as a stock small-block or add a performance twist. That level of choice is rare in a kit at this tier.
On the technical side, the chrome tree is clean and the vinyl tires hold their shape well. I did notice a tiny bit of flash on the inner fender wells, but a quick swipe with a hobby knife took care of it. The decal sheet is sharp, and the stripes aligned perfectly on the finished body.
One thing to watch is the front suspension alignment. If you glue the lower A-arms before the shock towers are fully set, the ride height can end up slightly off. Dry-fit everything first, then add cement in small doses.
Customization Options and Build Variations
This kit rewards builders who want to make the car their own. The optional engine parts let you create a mild custom or a period-correct stock restoration. I added a set of aftermarket wheels from my parts box and the stance looked even better.
The body is molded in black, so you can technically display it unpainted. However, a coat of lacquer really brings out the panel lines. If you plan to enter it in a contest, paint is a must.
Skill Level and Time Investment
Beginners can complete this kit in about 8 to 12 hours. The instructions are clear, and the part count is low enough that you will not feel overwhelmed. I would still recommend a basic set of sprue cutters, tweezers, and a hobby knife.
Intermediate builders will find enough detail to keep things interesting. The multi-piece engine and separate exhaust system give you room to add wiring or weathering. It is a solid stepping stone between entry-level and advanced builds.
2. AMT 1963 Chevy Corvette – Vintage Street Machine
AMT 1963 Chevy Corvette 1:25 Scale Model kit
1:25 scale
3-in-1 kit
163 parts
Retro decals
Pros
- Multiple build options
- Great value
- Fun to build
- Retro styling
Cons
- Directions unclear for hot rod conversion
- Some parts fit issues
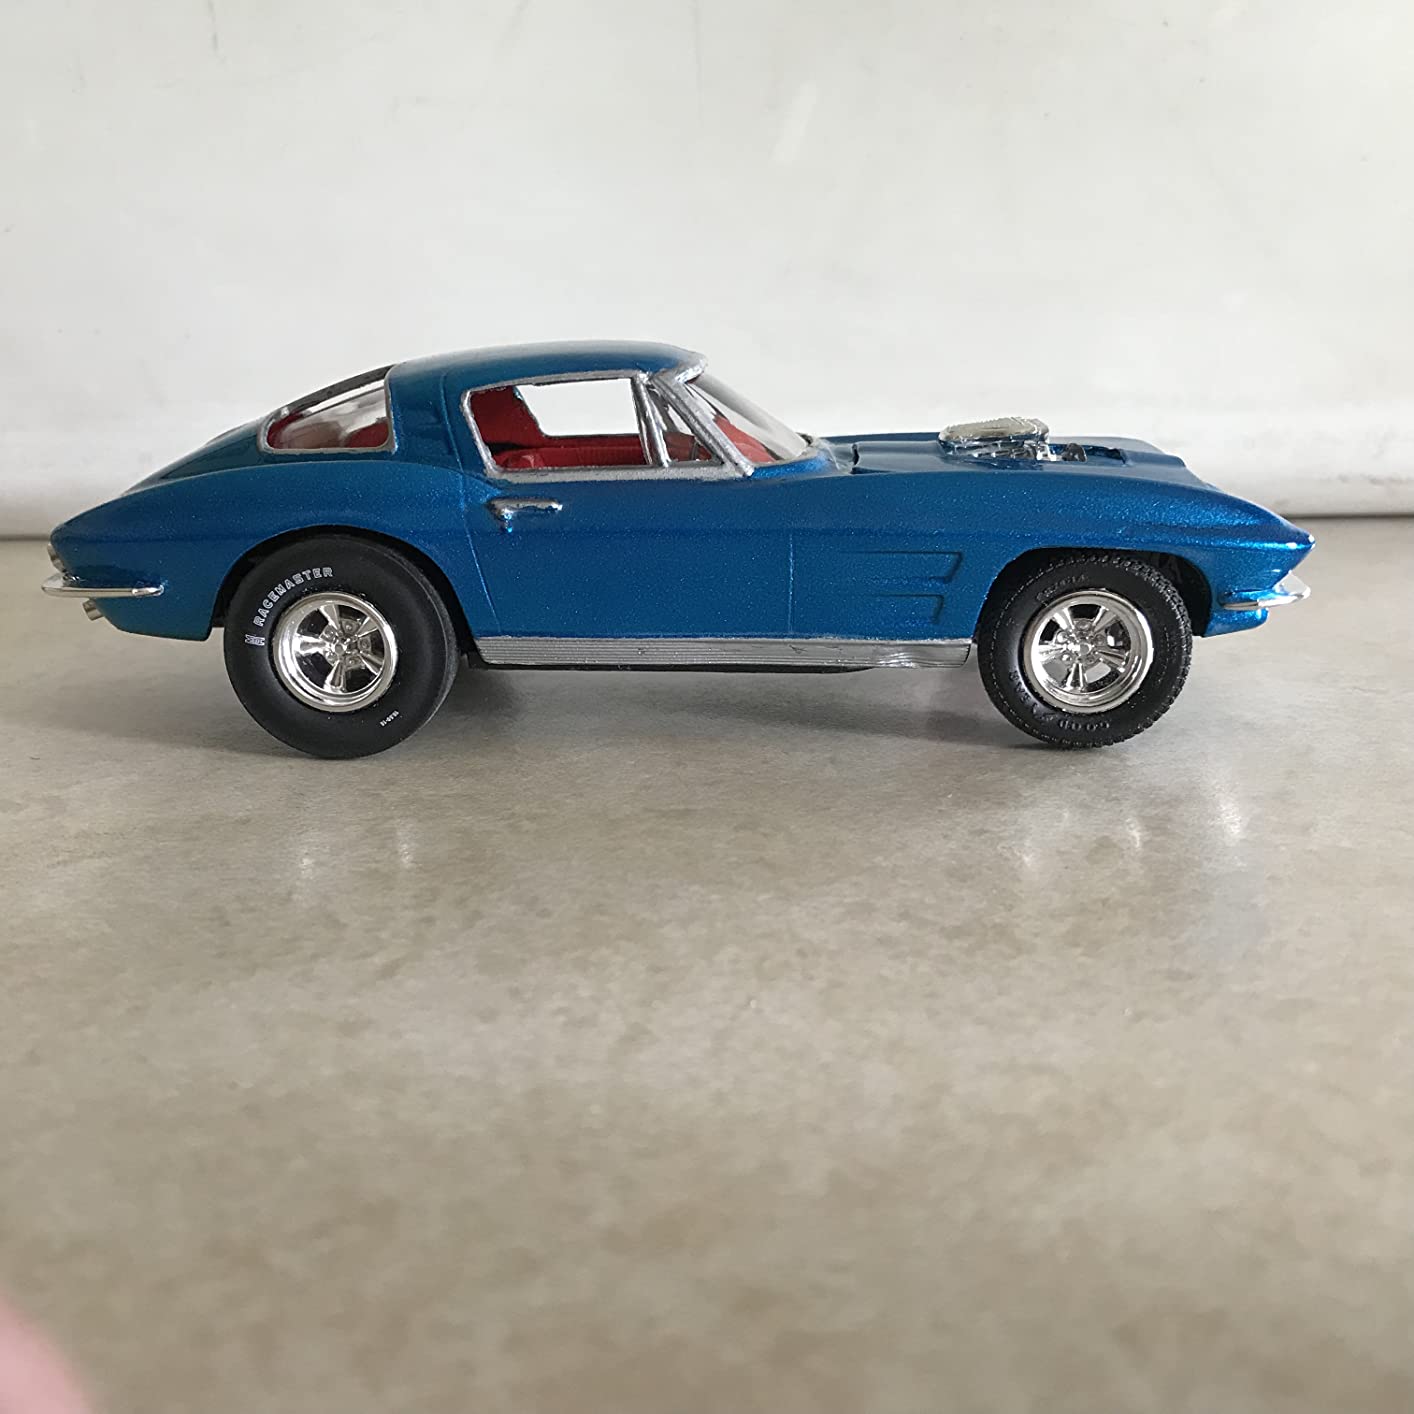
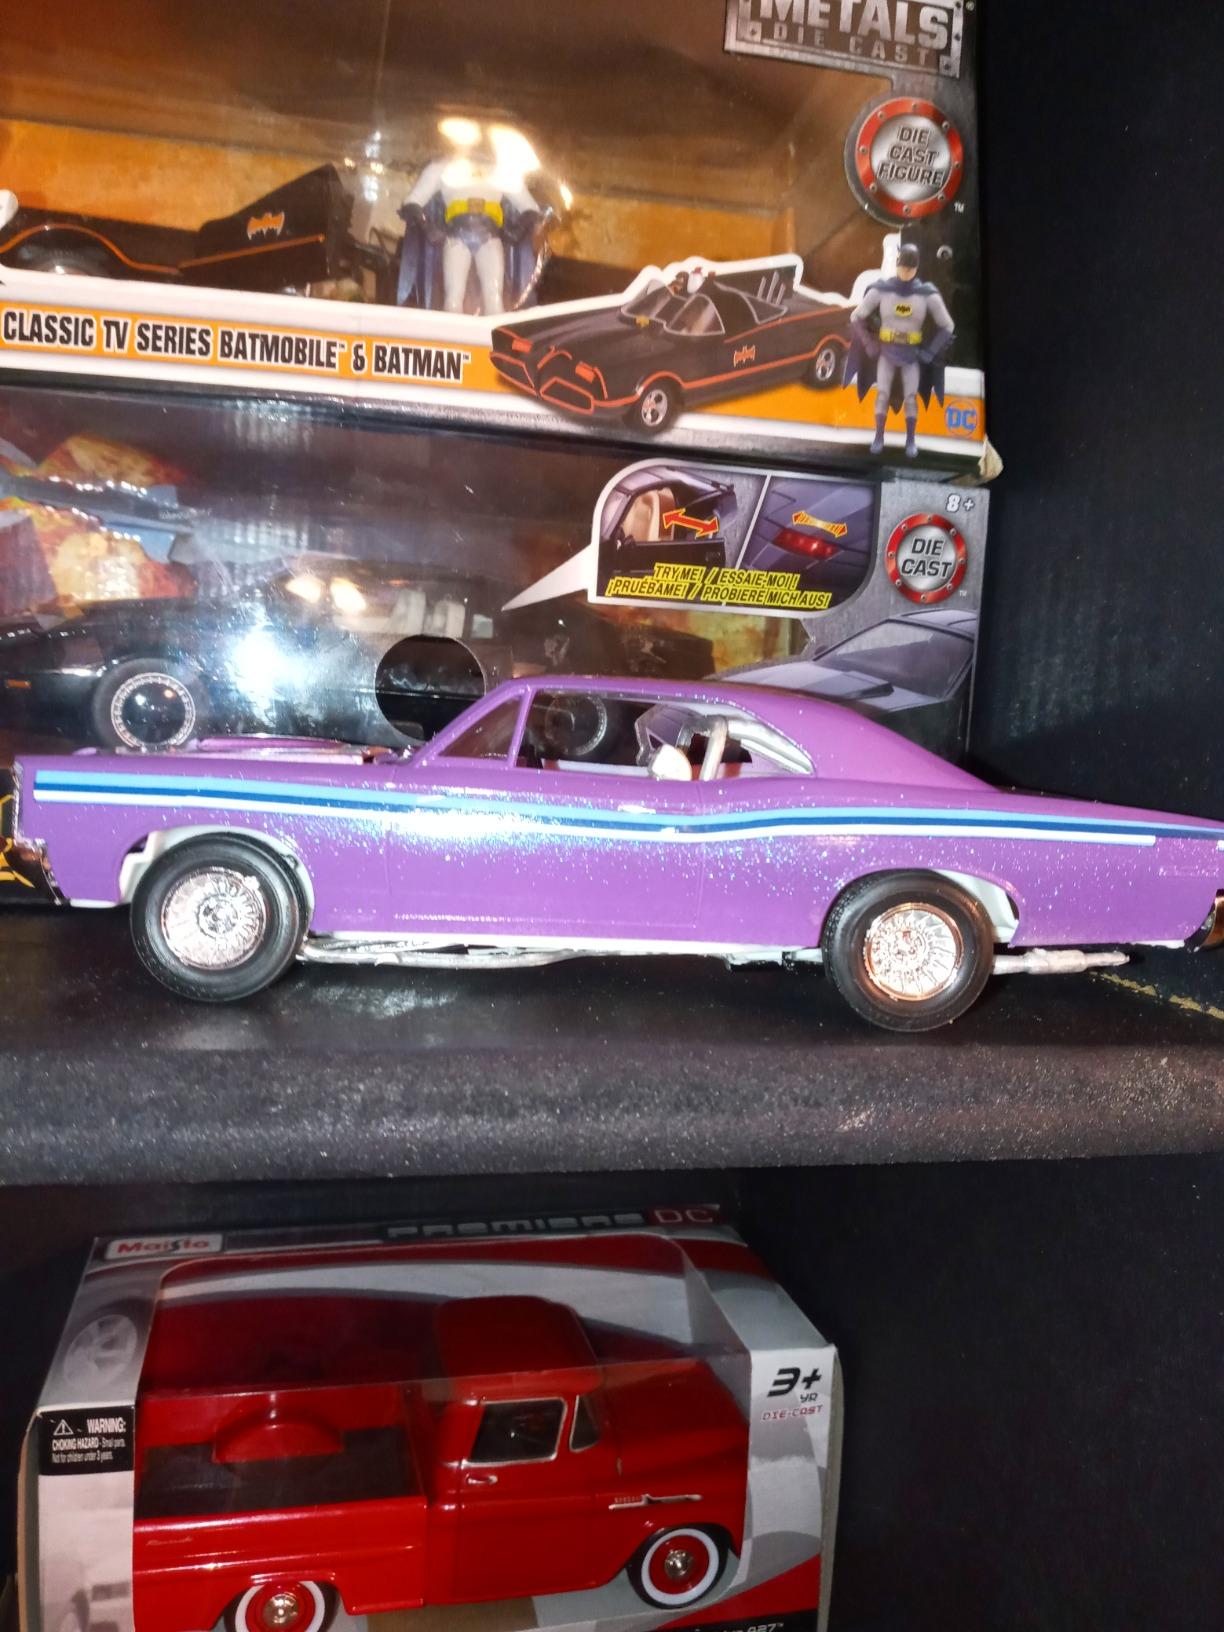
The 1963 Corvette kit is a time machine. I built it as the drag gasser version, and the pre-lettered drag slicks gave the finished model an attitude that no stock build could match. The box art alone makes you want to clear your bench and start cutting parts.
With 163 pieces, this is a denser build than the Camaro. You get stock wheels, custom wheels, and a choice of intake setups. The clear red taillights are a nice touch that adds realism without extra painting.
I spent roughly fifteen hours on mine, spread across three evenings.
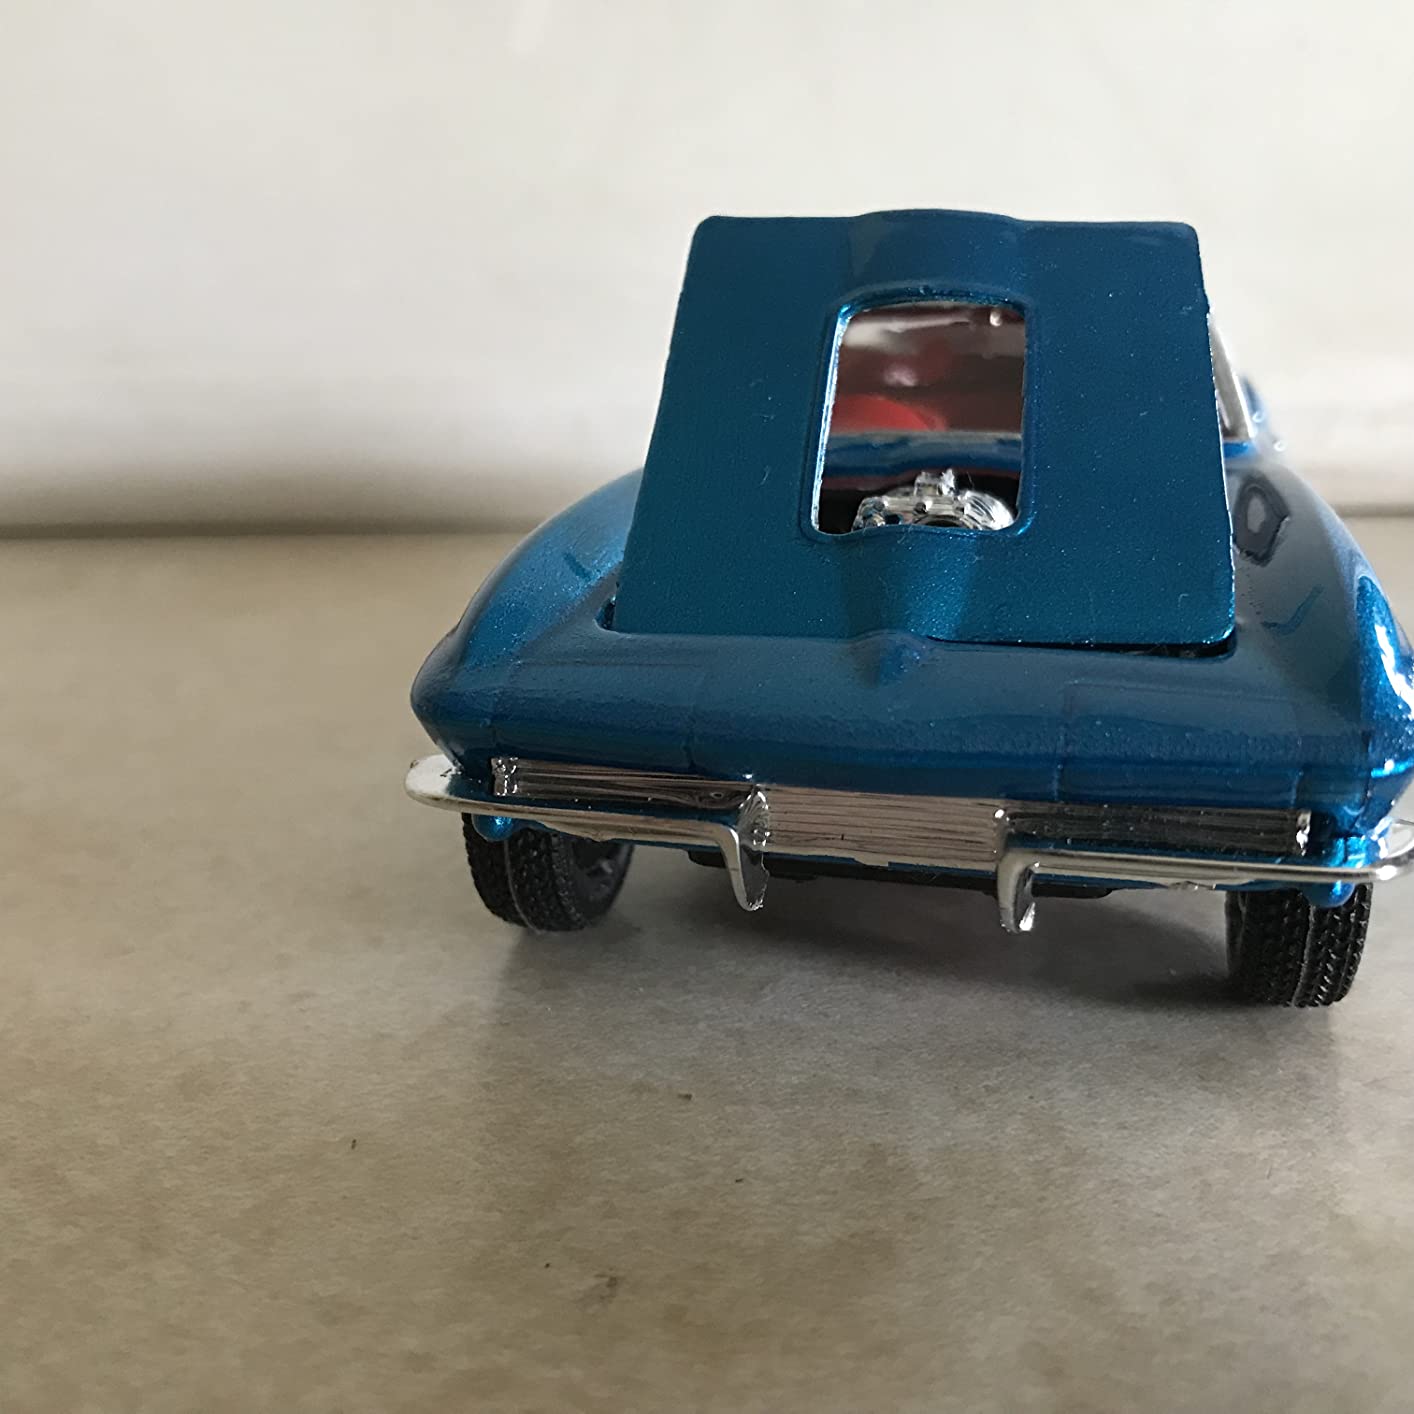
Fit is generally good, but the hood on my example had a slight warp. I used the hot water trick I learned from a forum thread: ten seconds in warm water, flatten on a tile, then cold water shock. The hood sat perfectly after that.
This is the kind of practical fix that makes Round 2 reissues manageable.
The retro decal sheet is full color and responds well to setting solution. I did have to trim the hood scoop opening slightly to get the drag gasser hood to sit flush. A little sanding stick work solved it in five minutes.
Build Configuration and Display Impact
You can build this as factory stock, a street custom, or a full drag gasser. Each version looks completely different on the shelf. I chose the gasser because the high stance and oversized rear tires make it a conversation piece.
The stock version is more elegant and fits a classic display case. The street custom sits in the middle, with mild graphics and aftermarket wheels. Pick the version that matches your collection theme.
Part Quality and Molding Age
Some of the mold lines are older, which means you will see slightly thicker parting lines on the body. A quick pass with 600-grit sandpaper cleans them up. The detail underneath is still crisp, so do not let the flash scare you away.
The chrome plating is thick and bright. I only had to re-plate one bumper after I accidentally sanded through the finish. For a kit of this age, the plating quality is impressive.
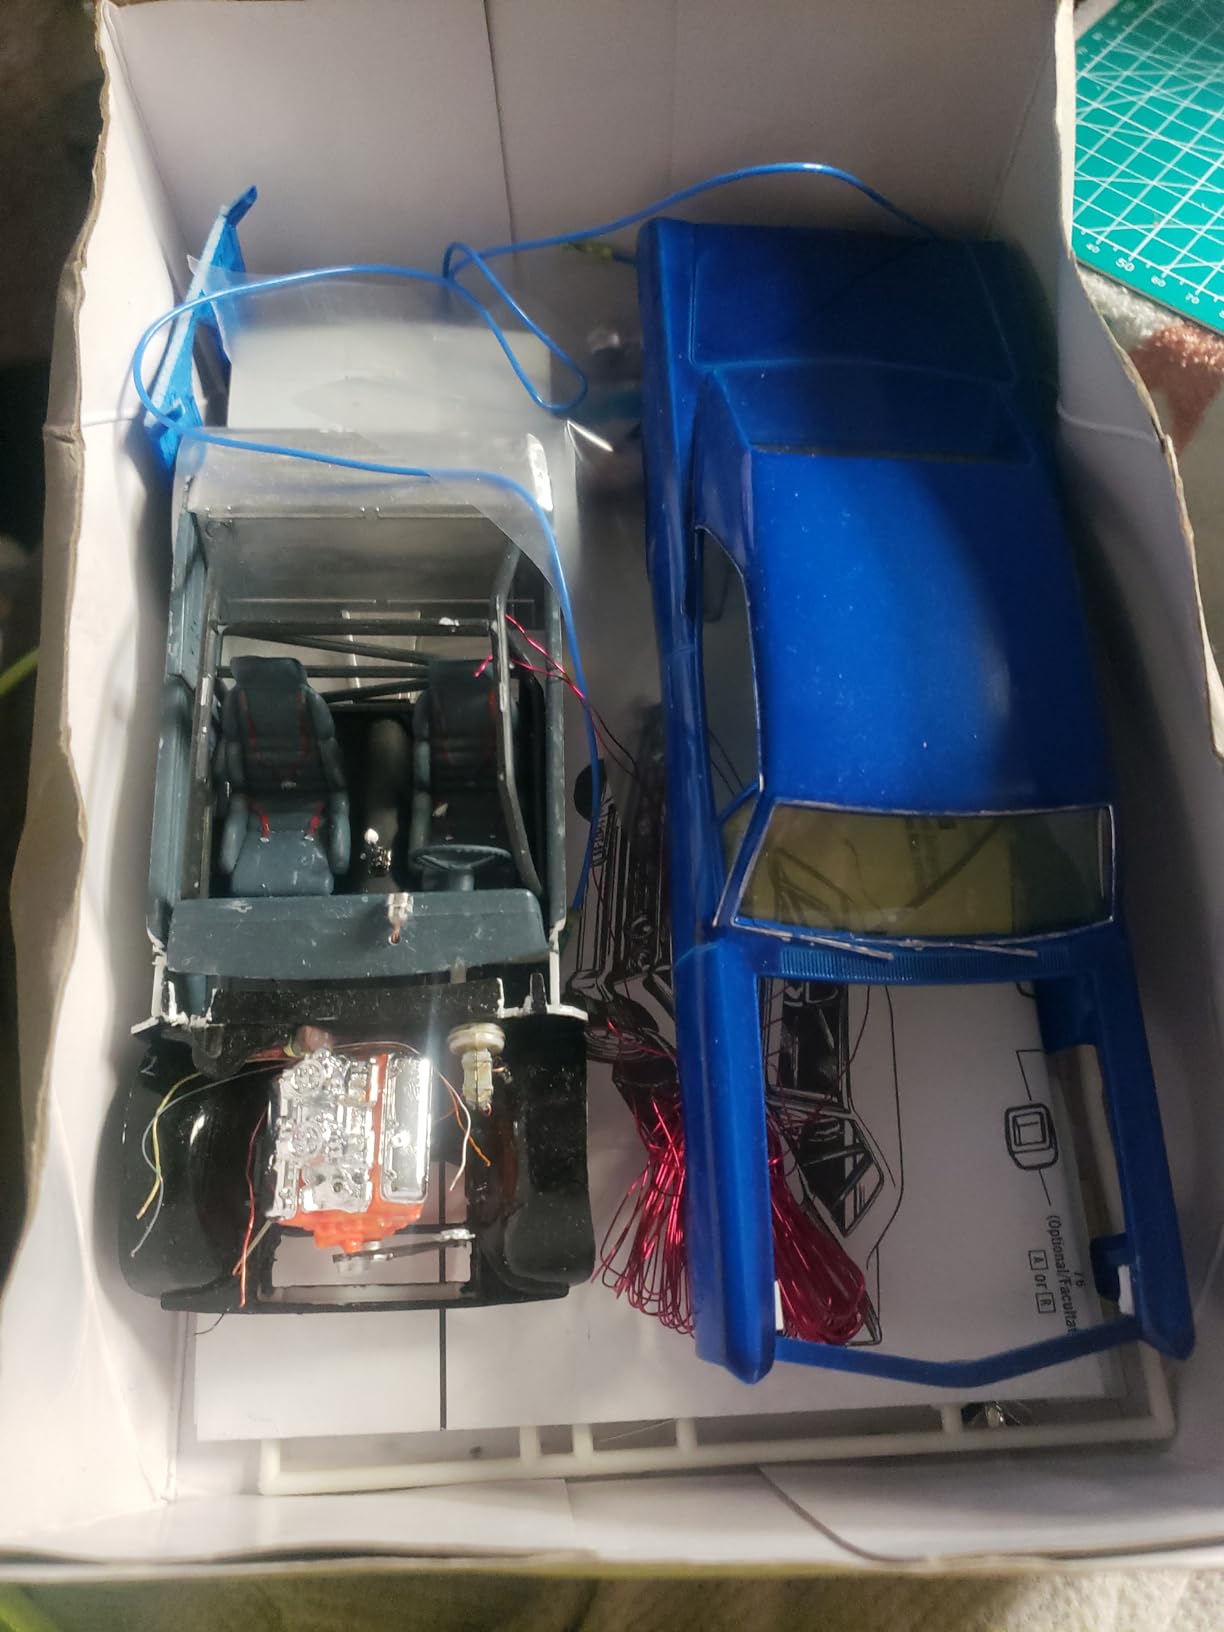
3. AMT 1970 Chevy Chevelle John Wick – Movie Car Replica
AMT 1970 Chevy Chevelle John Wick 1:25 Scale Model Kit
1:25 scale
82 parts
John Wick replica
Level 2
Pros
- Movie car replica
- Detailed parts
- Great quality
- Fun build
Cons
- Paint and glue required
- Not painted out of box
I am a sucker for movie cars, and this Chevelle did not disappoint. The box is clearly aimed at fans of the franchise, but the engineering underneath is pure AMT. Eighty-two parts may sound light, yet the detail is packed into the right places.
The body is molded in white with transparent red and chrome parts. I painted mine in a deep gunmetal gray to match the film car, and the water-slide decals went on without tearing. The metal axle keeps the wheels spinning freely, which is a small touch that makes a big difference during photo shoots.
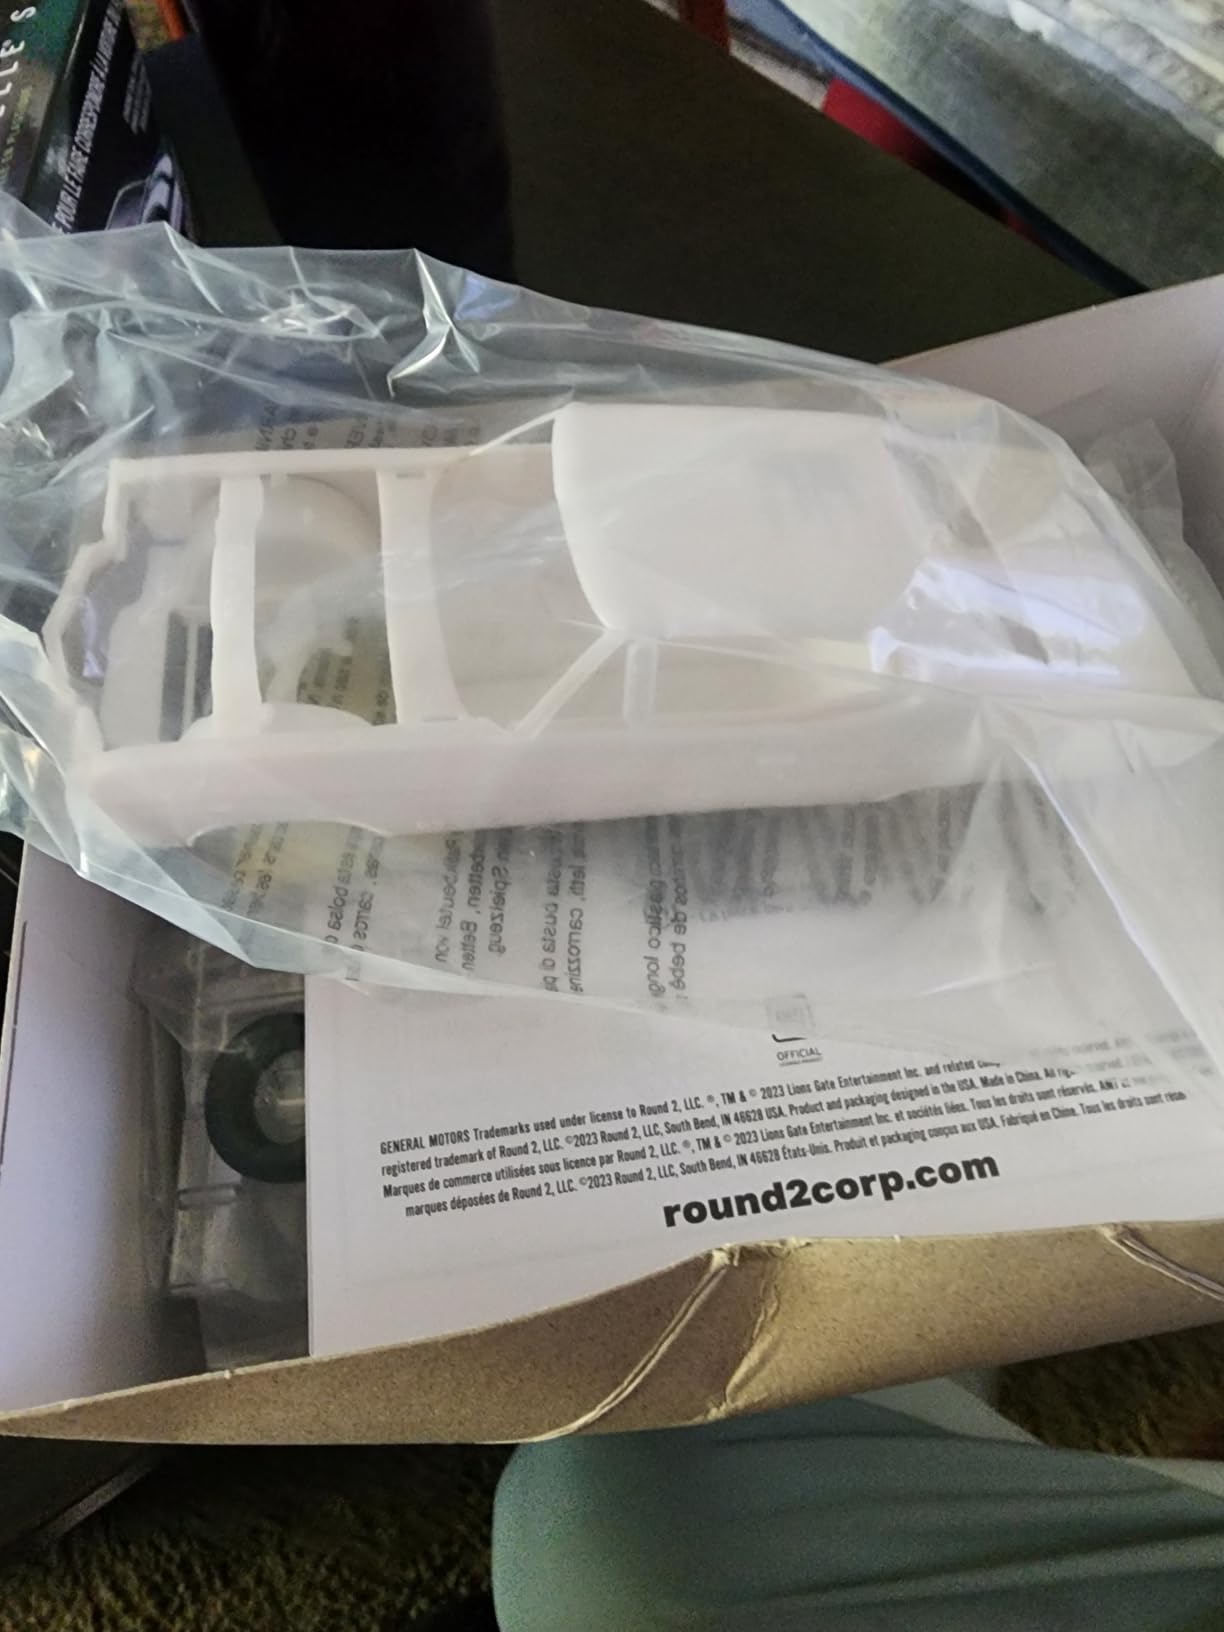
The black vinyl tires have a realistic tread pattern and sit flat against the bench. No warpage here, which is a relief on a kit that is clearly marketed to collectors who may not build often. I would still recommend a basic toolkit, because the parts are small and some flash is present on the chassis pan.
The instructions are clear, but the decal placement guide could be larger. I used a reference photo from the movie to align the graphics, and the result was spot-on. Total build time was around ten hours.
Collector Appeal and Movie Accuracy
This kit is aimed at builders who want a recognizable movie car without a massive part count. The finished model looks exactly like the vehicle from the films. I placed mine next to a die-cast version, and the proportions match perfectly.
If you are buying this as a gift, include a note that paint and glue are required. The box does not include them, and a first-time builder might not realize that.
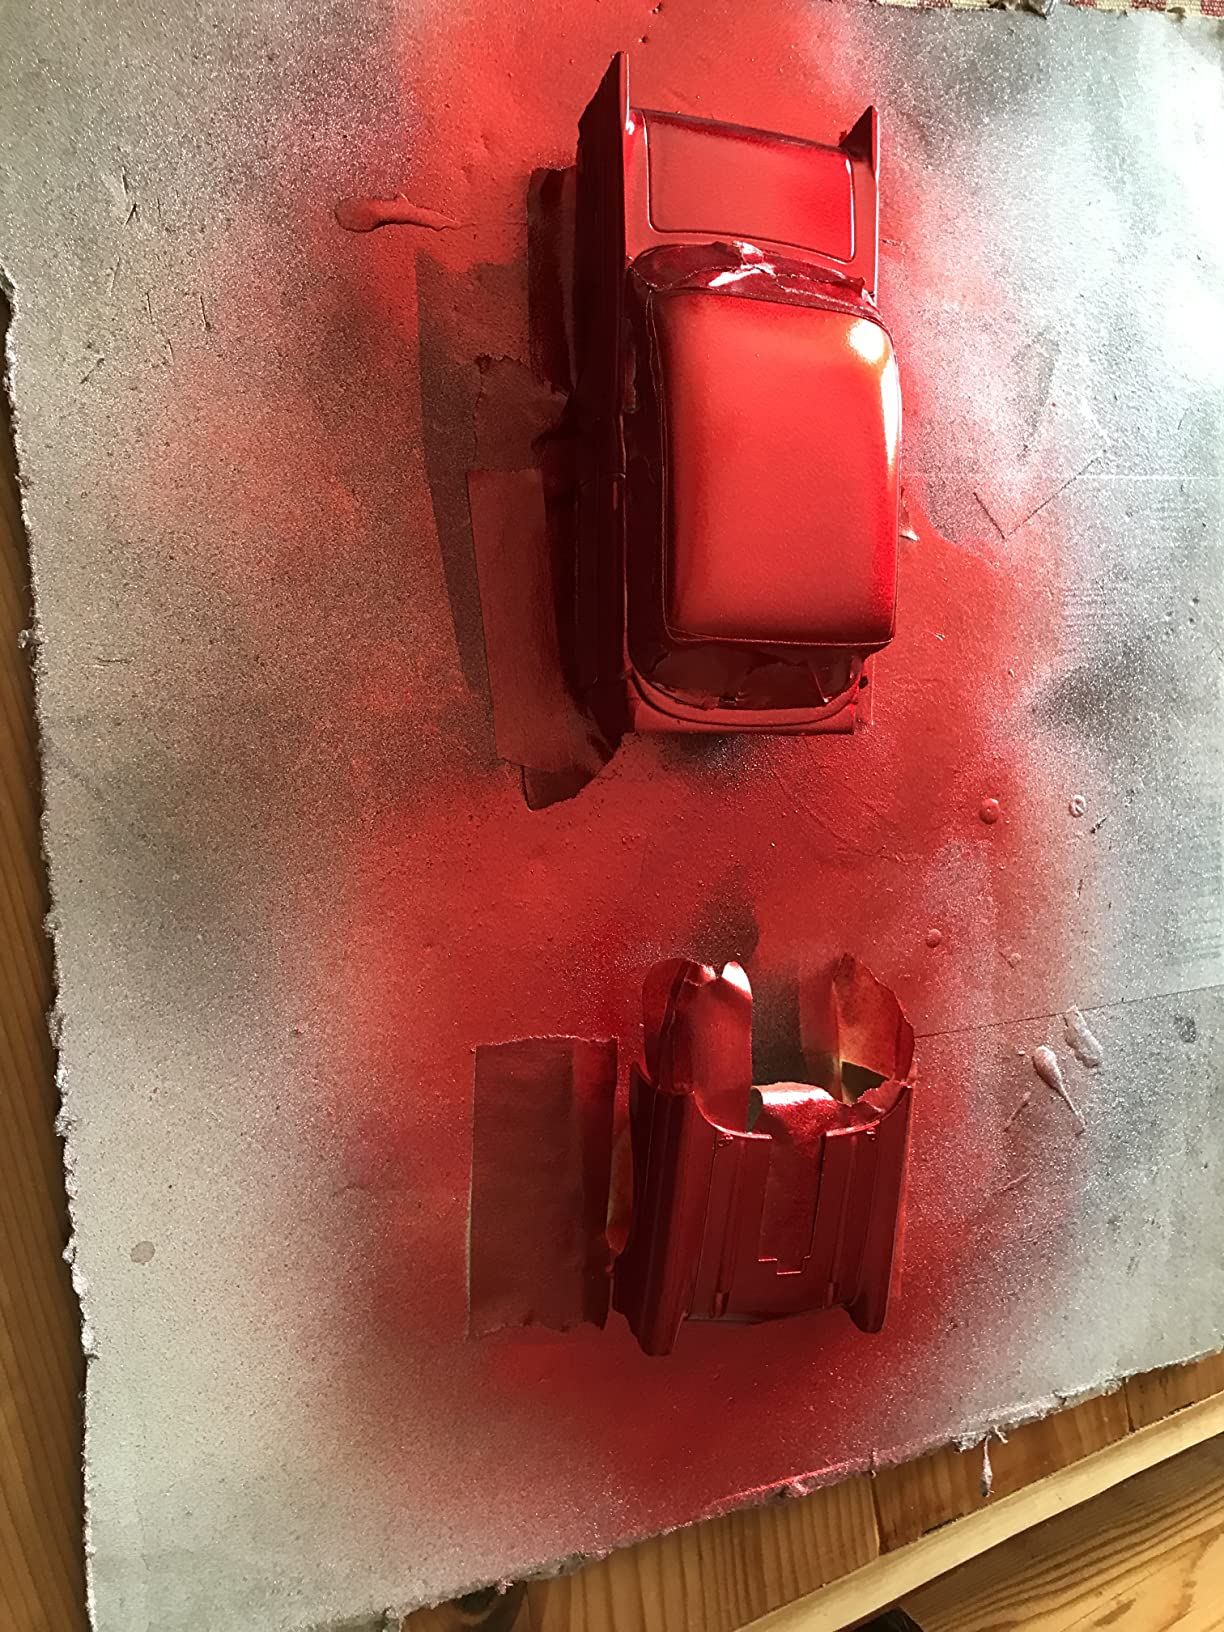
Paint and Finish Requirements
The molded white plastic is a good starting point for any color scheme. I used a rattle-can primer, then a base coat of dark gray, followed by a clear coat. The panel lines are deep enough to catch a wash, which adds instant depth.
The chrome parts are bright enough that you can leave them stock. If you want a weathered movie look, a light dusting of flat black overspray dulls the shine just enough.
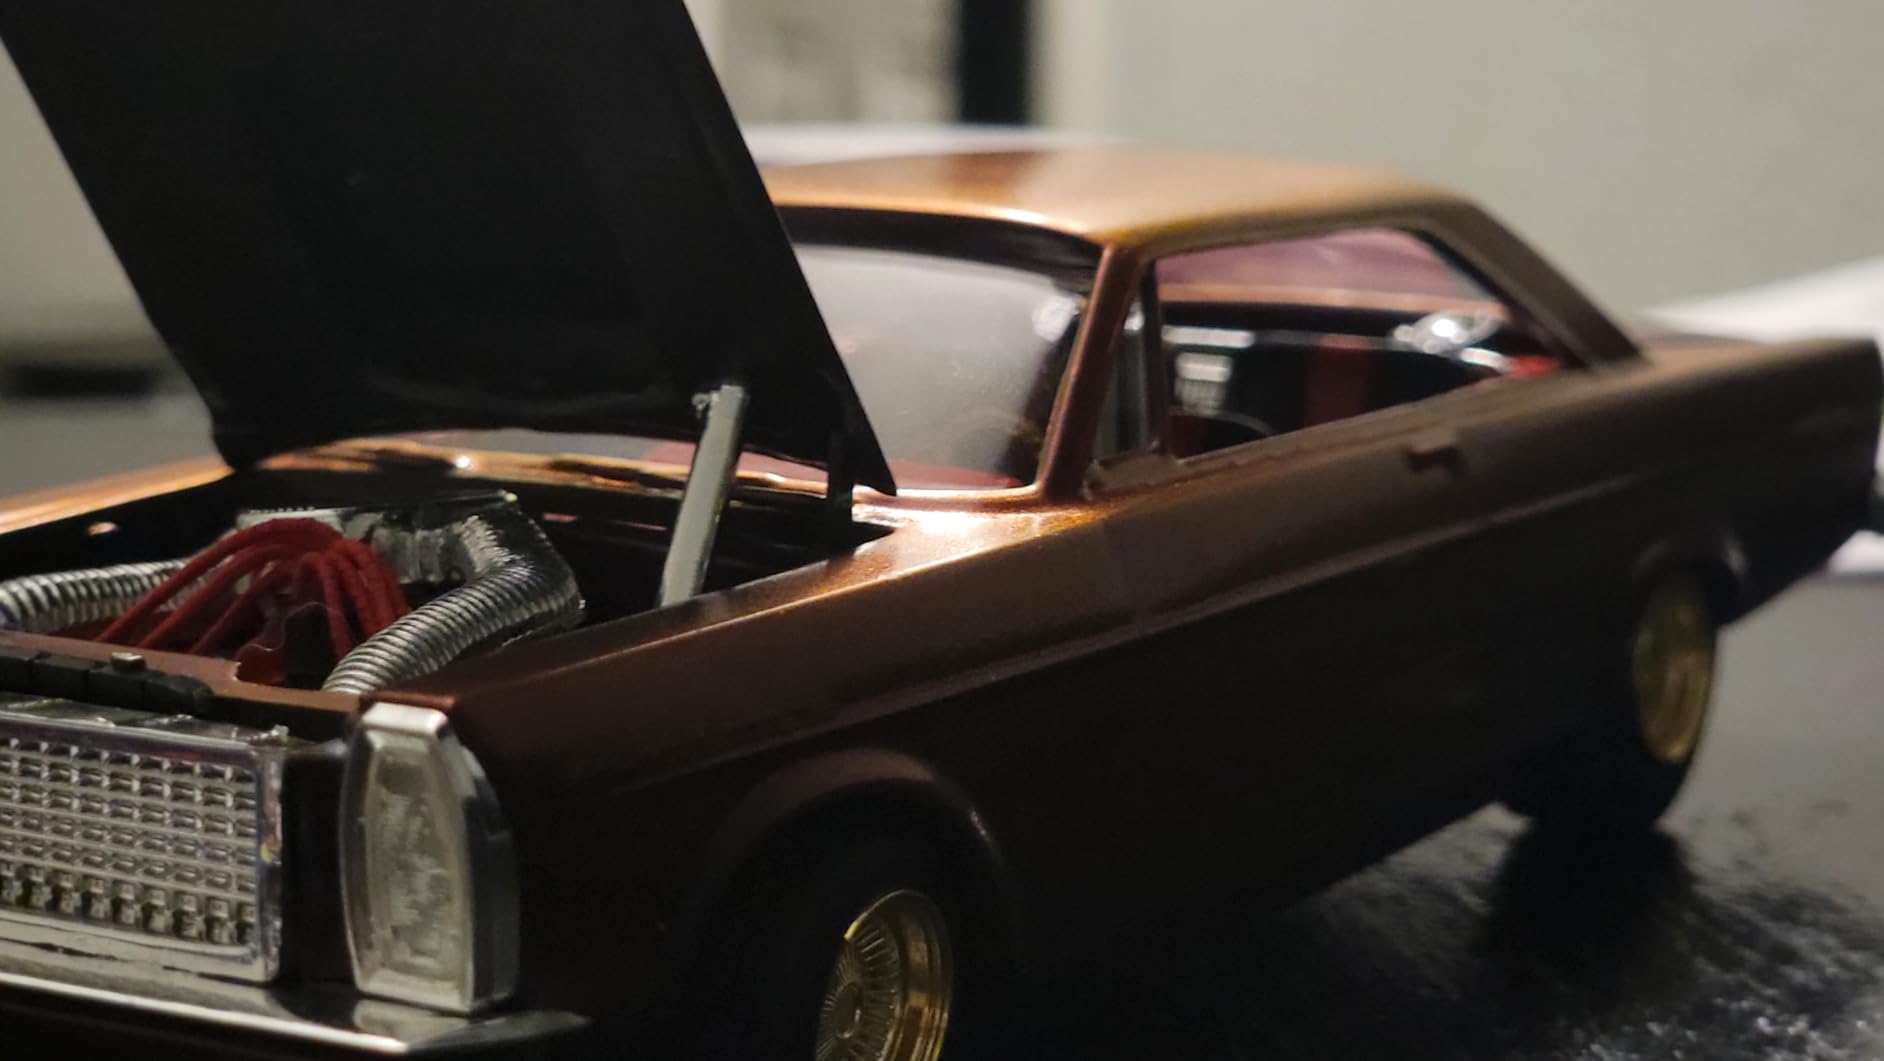
4. AMT 1967 Ford Mustang GT Fastback – American Muscle Icon
AMT Round 2 1967 Ford Mustang GT Fastback 1:25 Scale Model Kit, Chrome (AMT1241)
1:25 scale
Authentic Ford design
Precision parts
Custom options
Pros
- Excellent details
- Beautiful result
- Great for hobbyists
- Authentic design
Cons
- Fit issues on front and rear
- Lots of flash
- Requires putty work
The Mustang GT Fastback is one of the most requested subjects in any model car lineup. I was excited to build this one, and the finished model does look stunning under display lighting. However, this is not a kit for your first build.
The front and rear fit-up requires patience. I had to use putty on the lower valance and the trunk lid seam to get the lines to flow correctly. The body contour is complex, and the few connection points make alignment tricky.
I recommend building the chassis and body separately, then marrying them only after both are fully painted and clear-coated. That approach saved me from a lot of frustration.
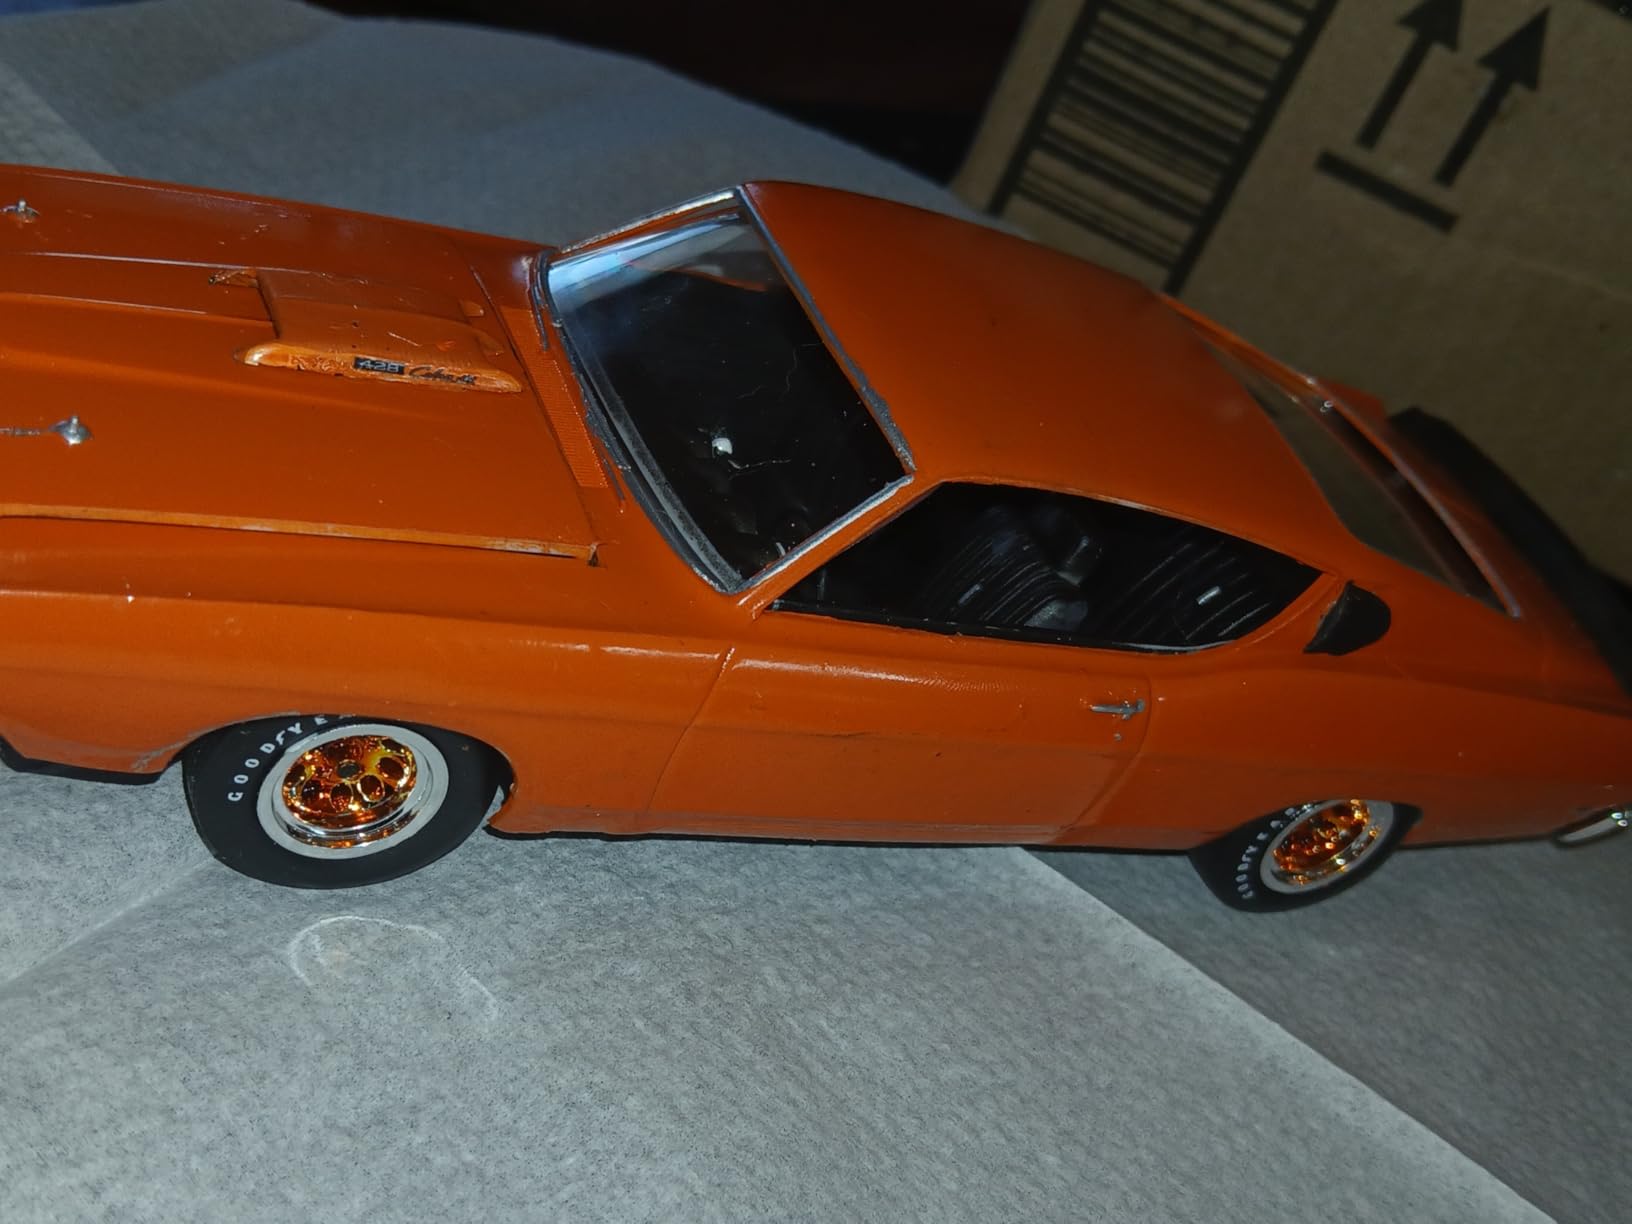
Flash is heavier on this kit than on the Camaro or Corvette. I spent a solid hour cleaning up mold seam lines on the side panels and the hood. The reward is worth the effort, because the final silhouette is unmistakably a 1967 GT Fastback.
The decal sheet is extensive and includes optional striping. I used the plain side scoops without decals for a cleaner look, but the stripe option is there if you want a Shelby-style appearance. The vinyl tires are standard AMT fare and hold their shape well.
Skill Level and Body Work Needs
This kit sits at a solid intermediate level. You will need sanding sticks, filler putty, and a steady hand with the airbrush. I would not hand this to a beginner, because the fit issues could turn a fun hobby into a frustrating afternoon.
Advanced builders will enjoy the challenge. The panel lines are crisp, and the optional parts let you build a custom or a stock version. The engine bay is detailed enough for additional plumbing and wiring if you want to go further.
Display Presence and Shelf Appeal
Once finished, this Mustang commands attention. The fastback roofline is iconic, and the proportions are spot-on. I placed mine on a mirrored base, and the reflection makes the undercarriage detail visible.
It is a showpiece that justifies the extra work.
The scale is 1:25, so it pairs well with other AMT muscle cars. If you are building a collection of American classics, this is a core piece that anchors the display.
5. AMT White Freightliner 2-in-1 Cabover Tractor – Heavy Hauler
AMT White Freightliner 2-in-1 SC/DD Cabover Tractor (75th Anniversary) 1:25 Scale Model Kit
1:25 scale
2-in-1 build
Skill level 3
1.1 lbs
Pros
- Unique build options
- Good quality
- Realistic molding
- Chrome parts
Cons
- Vague instructions
- Front axle too wide
- Not for beginners
This Freightliner is the only truck on my list, and it earned its spot through sheer character. You can build it as a single drive day cab or a dual drive sleeper cab, which means two completely different rigs from one box. I built the sleeper version, and the finished model is over eleven inches long.
The chrome parts are plentiful, including wheels, exhaust stacks, and grille details. The 75th anniversary packaging is a nice collectible touch, but the real star is the decal artwork. The Ned Bard and Son logos are crisp, and the optional stripe graphics let you choose a plain or dressed-up look.
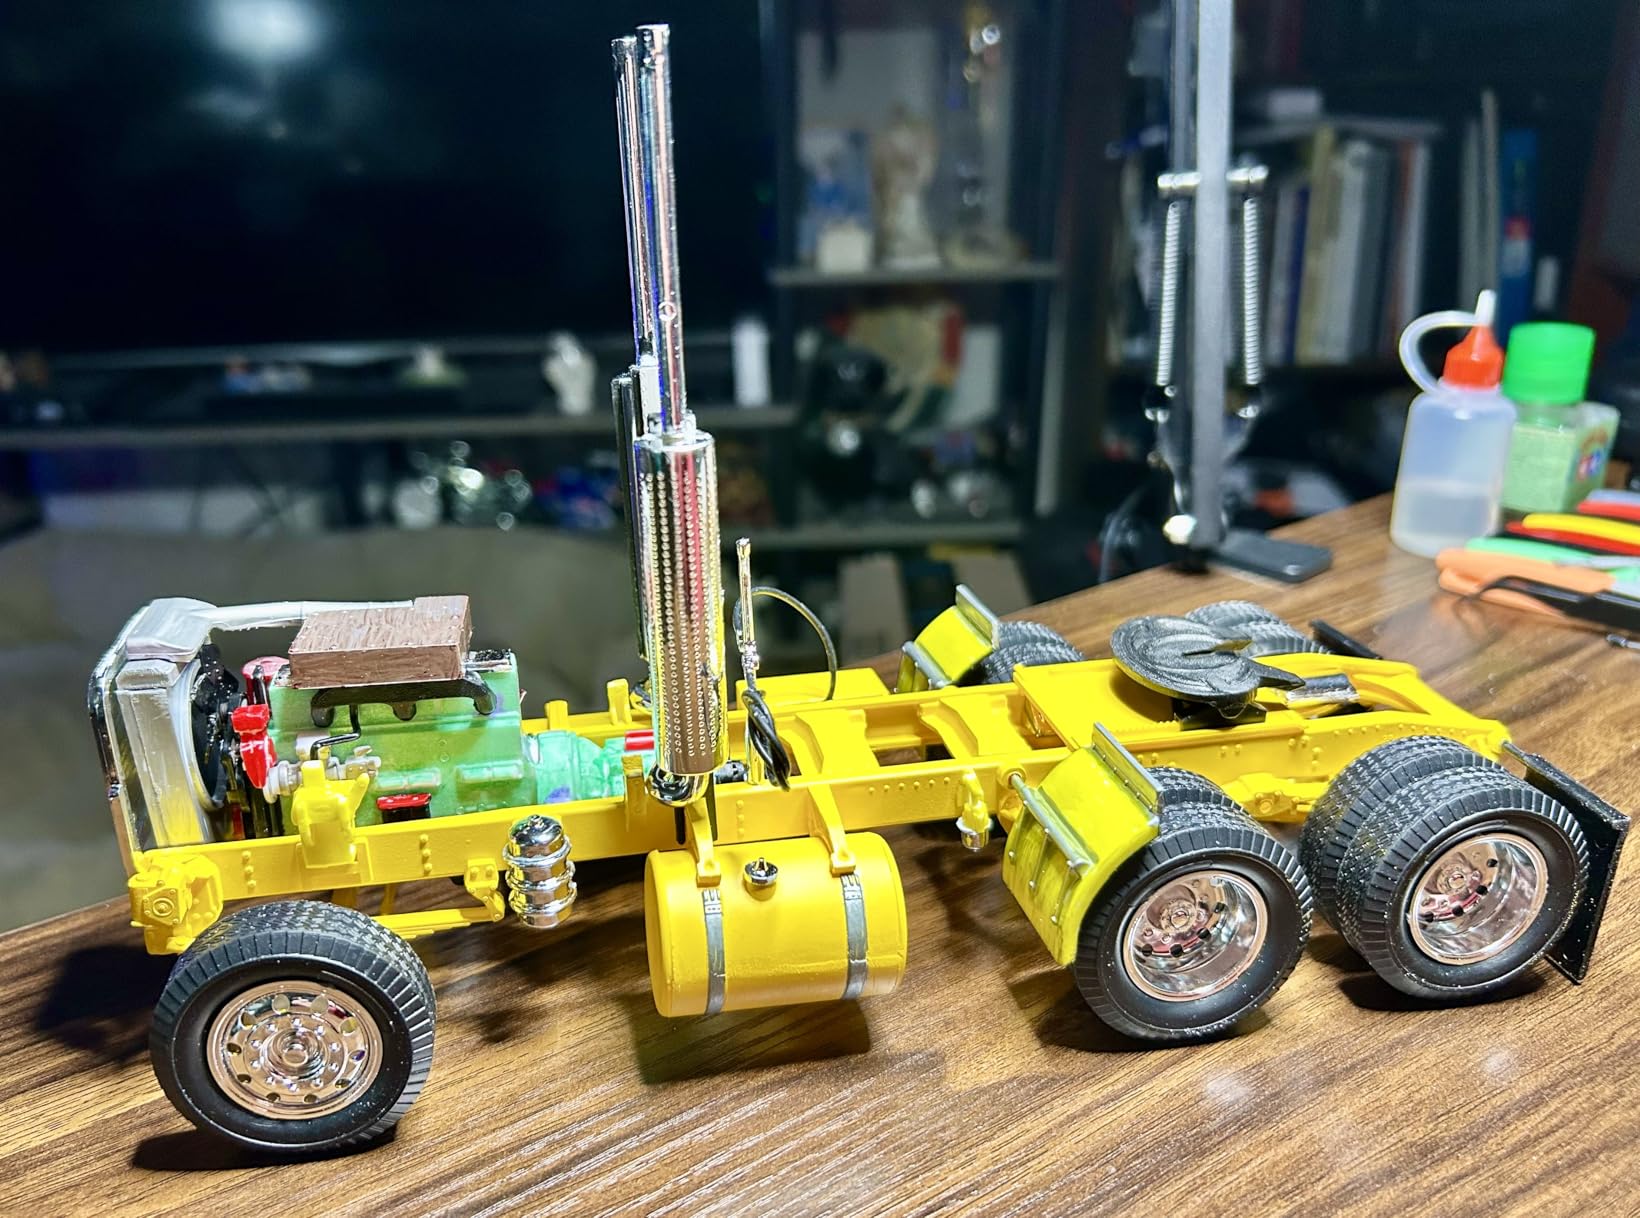
The frame rails on my kit were straight, which is critical on a long vehicle. I have heard horror stories about warped chassis on truck kits, but this one sat flat on the bench immediately. The front axle is a bit wide, so I trimmed the mounting points slightly to narrow the track.
It is a five-minute fix, and the result is a straight-running chassis.
The instructions are the weak point here. I had to re-read the cab assembly steps three times before I understood the order. Take photos of each step as you go, because backtracking is difficult once the cement sets.
The final result is a rig that looks great next to any 1:25 car.
Customization Potential and Aftermarket Support
Truck builders love this kit because it is a blank canvas. The flat cab sides are perfect for custom paint schemes, and the long hood lends itself to aerodynamic fairings. I added a set of aluminum exhaust tips from my parts stash, and the detail level jumped immediately.
The dual drive option is perfect for a heavy hauler diorama. Pair it with a flatbed trailer and a classic car load, and you have a centerpiece that tells a story. The scale works with most 1:25 automotive kits, so mixing and matching is easy.
Build Complexity and Time Commitment
This is a skill level 3 kit, and it earns that rating. I spent roughly twenty hours over two weeks, including paint and decal time. The cab interior is basic, but the exterior makes up for it.
You will need patience and a good reference photo of a real Freightliner to get the colors right. The chrome gates are heavy, so clean them carefully with a sharp blade. I ruined one exhaust stack by cutting too close to the part.
Leave a small nub and sand it flush rather than trying to cut perfectly at the tree.
6. MPC 1967 Pontiac GTO – Muscle Car Bargain
MPC: 1:25 Scale Model Kit - 1967 Pontiac GTO - Blue, 85+ Parts - Skill Level 2, Authentic Vehicle Building Kit, Replica Classic Car, Age 14+
1:25 scale
85+ parts
V8 engine
Optional supercharger
Pros
- Great quality and value
- Easy to assemble
- Engine detailing
- Ideal gift
Cons
- Some parts have flashing
- Requires sanding
- All plastic
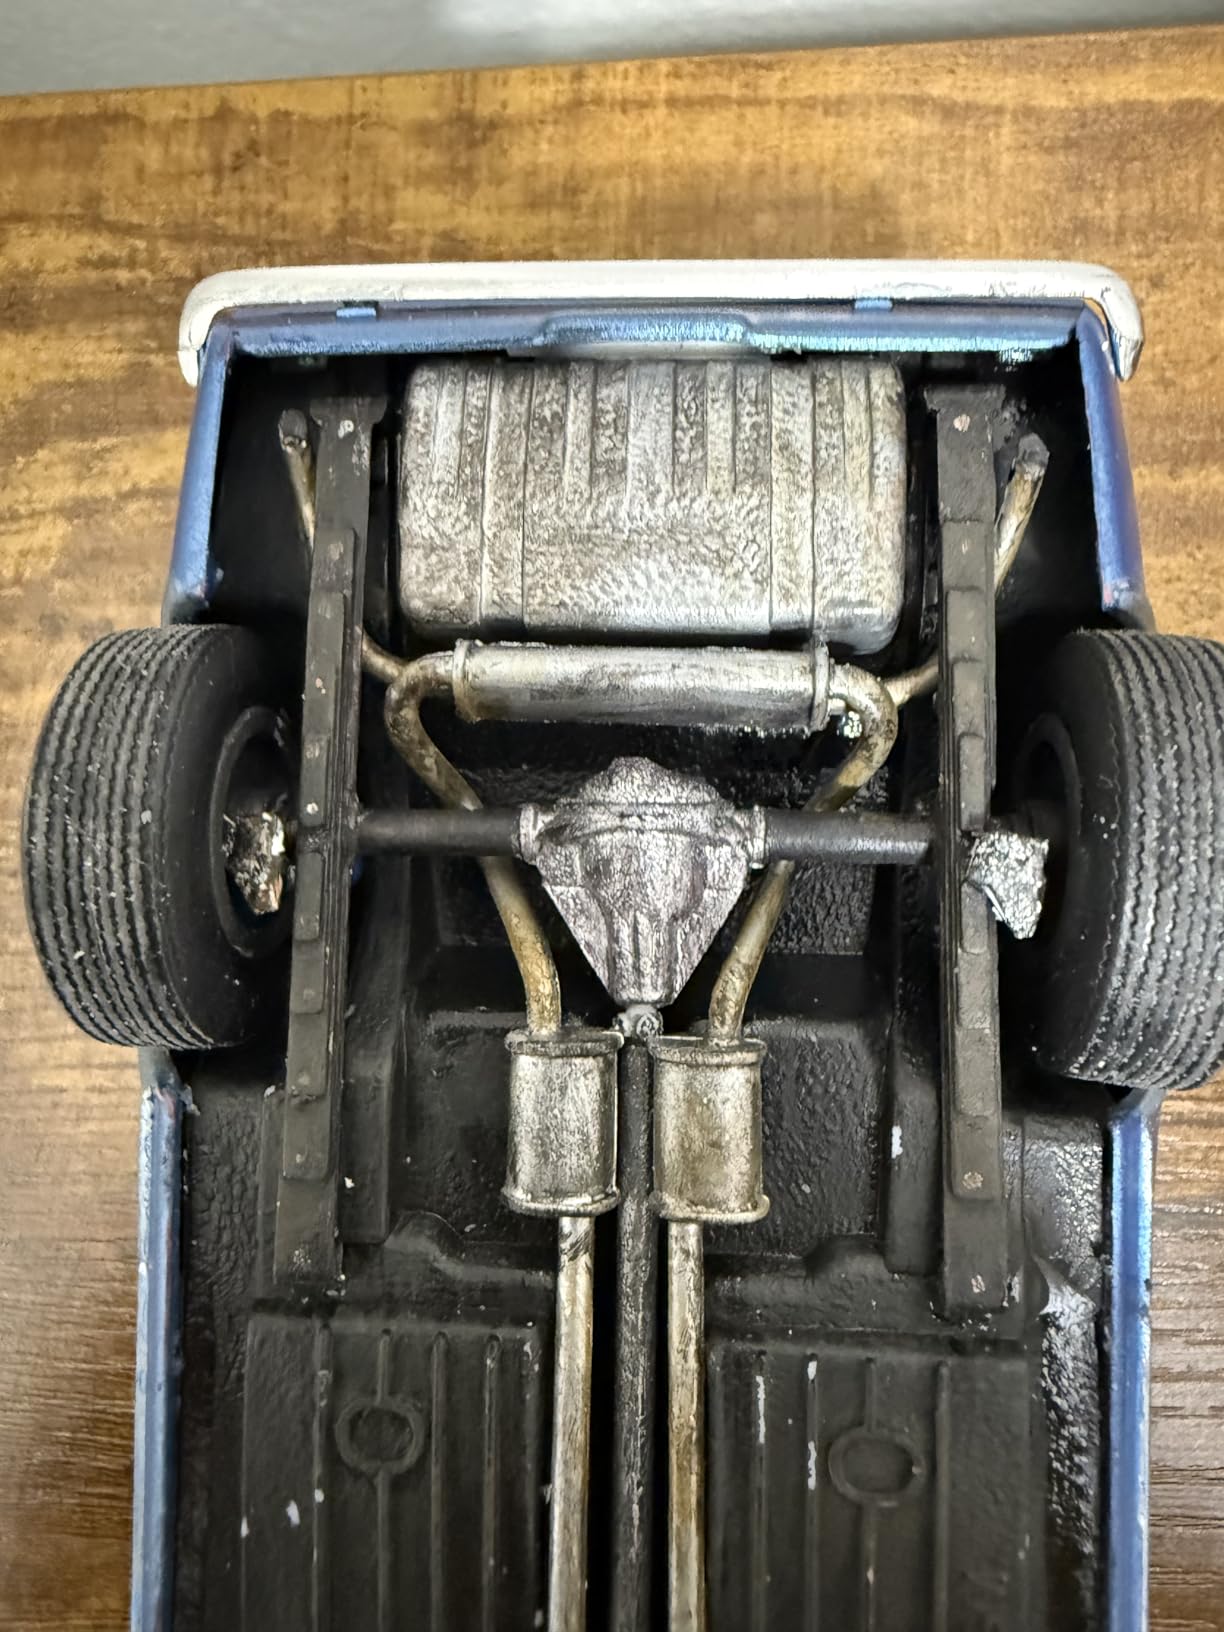
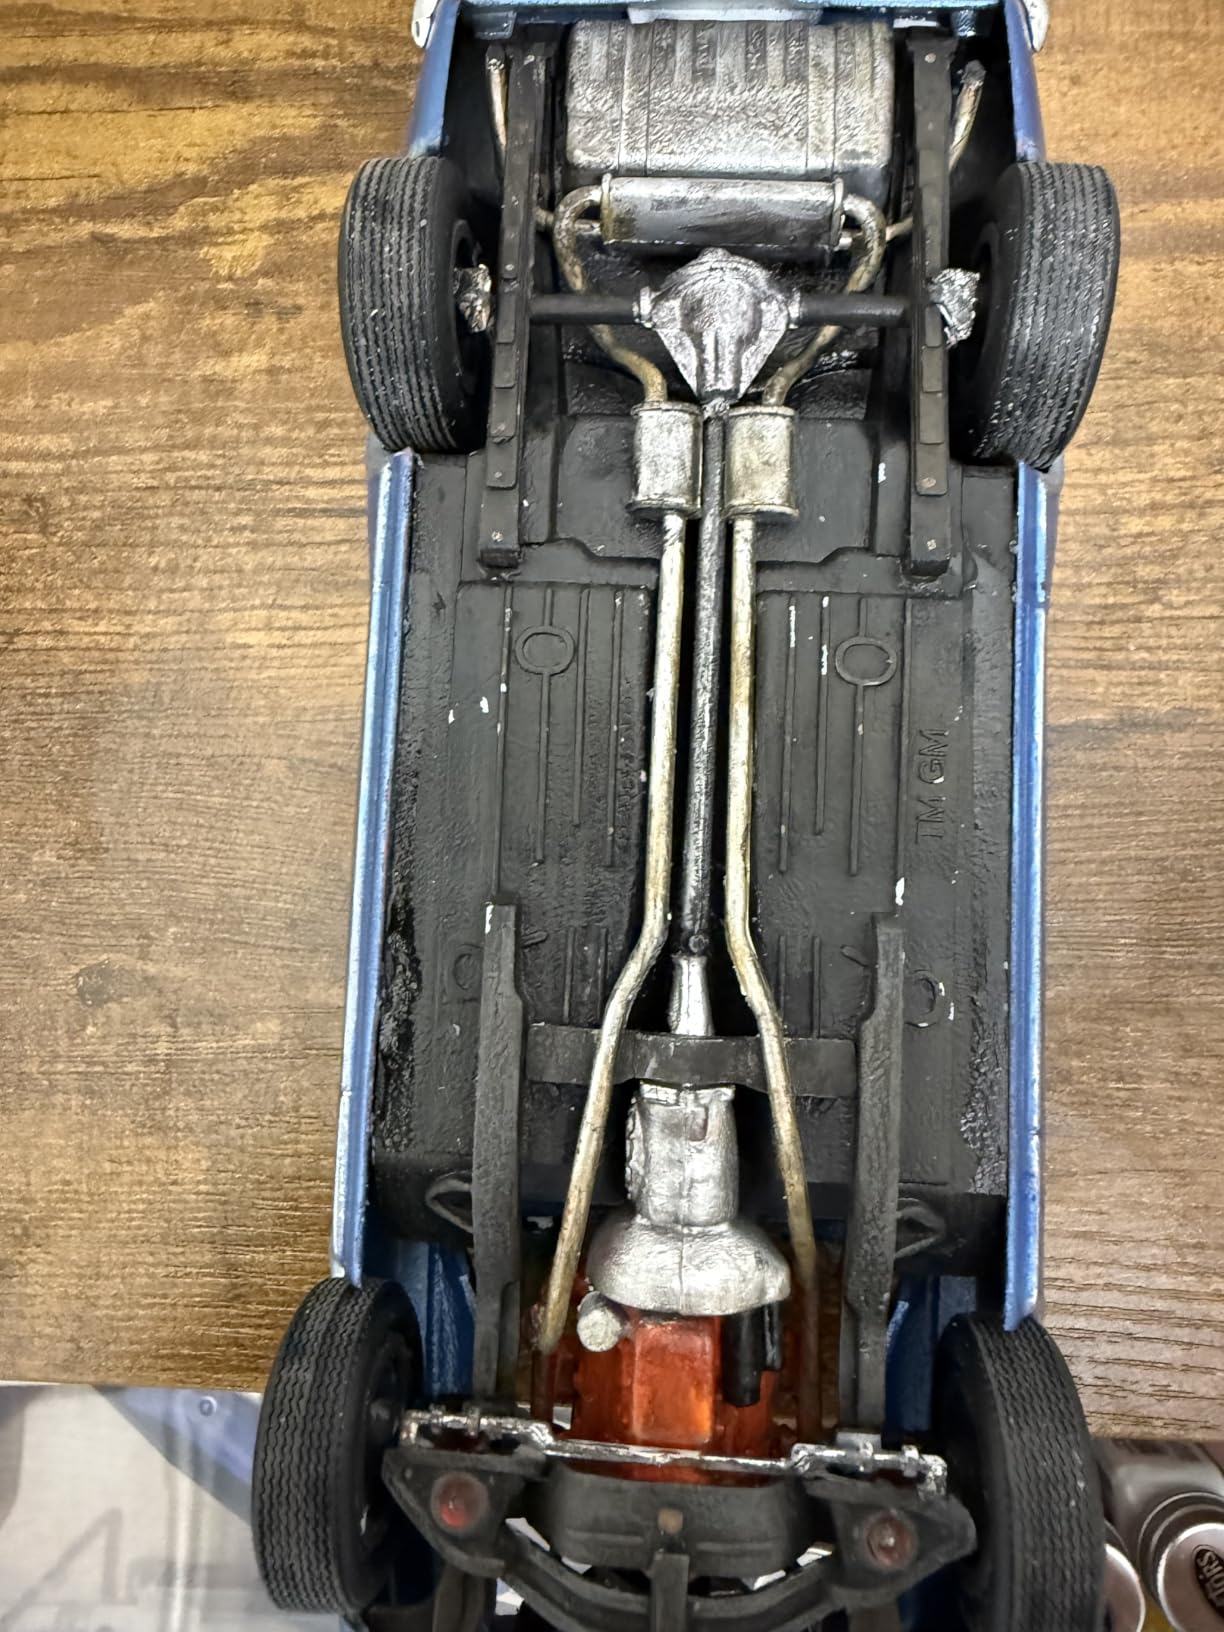
The MPC GTO is a hidden gem in the Round 2 catalog. I bought it on a whim because I wanted to compare MPC quality to AMT, and I came away impressed. The 400 cubic inch V8 engine is detailed enough to stand alone as a display piece, and the optional supercharger is a fun extra that most kits skip.
The separate rear suspension and exhaust pieces let you build the underside with depth. I painted the suspension in a dull steel color, then added a rust wash to the exhaust for a driven look. The bucket seats and floor shifter give the interior a sporty feel that matches the GTO reputation.
Assembly is straightforward. The parts count is manageable, and the instructions are clear enough that I did not have to backtrack once. I noticed some flash on the door panels, but a quick sanding pass fixed it.
The all-plastic construction means no metal parts, which keeps the weight light and the build simple. The clear instructions are a highlight. Each step shows the exact part numbers and the orientation.
I built this kit in a single Saturday, start to finish.
The decal sheet is small but effective, with factory badges and striping that look correct under a clear coat.
Engine Detail and Underhood Realism
The V8 is the star of this kit. The valve covers, air cleaner, and intake manifold are separate pieces, so you can paint them in different colors for contrast. I added plug wires using thin solder, and the result looked almost like a resin aftermarket engine.
The optional supercharger is a nice touch for a custom build. It fits over the stock intake without modification, and the blower belt is molded as a separate piece. I left it off for a stock look, but I appreciated having the choice.
Beginner Friendliness and Build Speed
This is one of the most beginner-friendly kits on the list. The part count is low, the fit is forgiving, and the instructions are clear. I would recommend this to anyone who wants to try their first glue kit after building a few snap-together models.
The build speed is fast. You can go from box to shelf in under twelve hours. The simplicity does not mean boring, though.
The finished car looks sharp, and the proportions are correct. It is a great confidence builder for new modelers.
7. MPC 1957 Chevy Bel Air Spirit of 57 – Fifties Gasser
MPC 1957 Chevy Bel Air Spirit of 57" 1:25 Scale Model Kit
1:25 scale
Flip nose gasser
7.5 inches long
Skill level 2
Pros
- Nice fit and finish
- Great quality
- Beautiful subject
- Good decals
Cons
- Some missing parts reports
- Requires paint and glue
- Quality control issues
The 1957 Bel Air is an American icon, and MPC captures the gasser spirit perfectly. I built mine with the flip nose raised, and the aggressive stance makes it look ready to launch down a drag strip. The kit is molded in white with clear, clear blue, and chrome parts, so you have plenty of color variety straight from the box.
The black vinyl tires have a vintage tread pattern that matches the era. The wheels are chrome and fit snugly onto the axles. I had no issues with wheel alignment, which is a relief on a kit where the stance is so critical to the look.
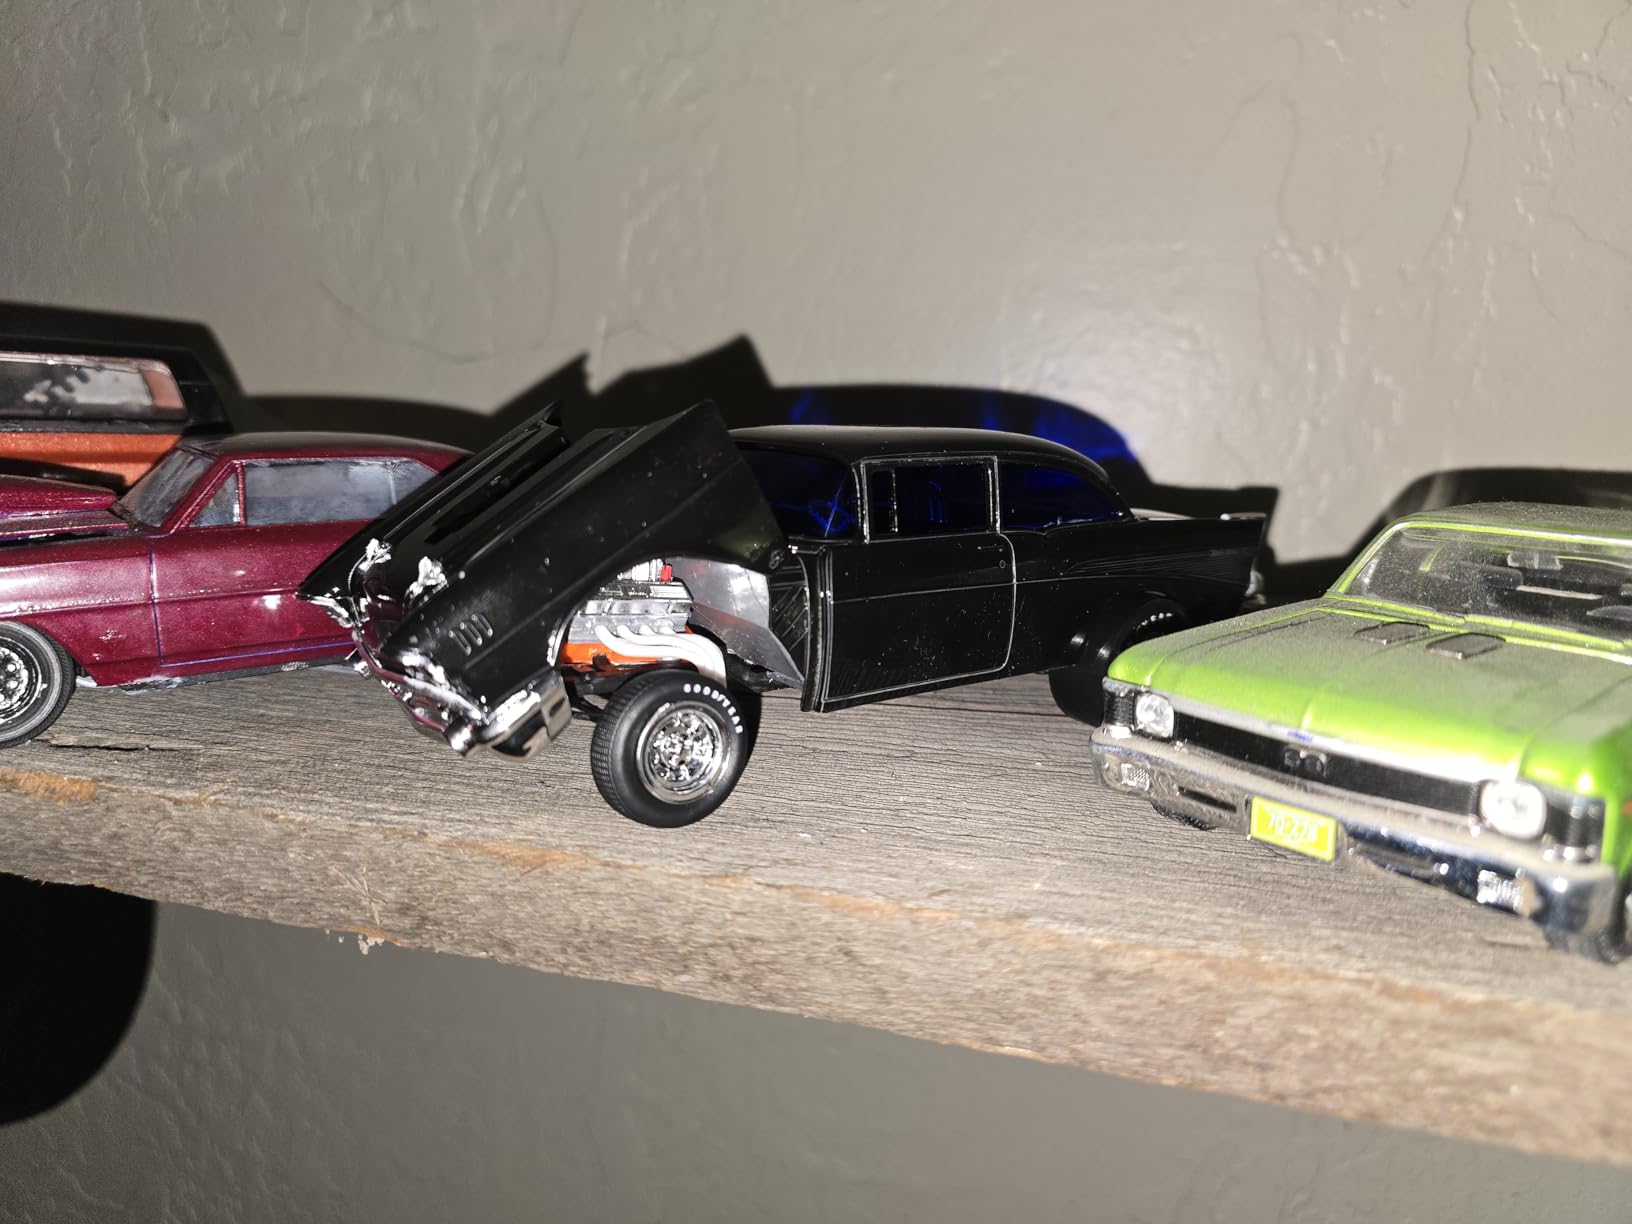
Fit is generally excellent. The hood hinges work smoothly, and the flip nose stays open at the correct angle. I did have to clean up some flash on the inner fenders, but the body panels themselves were clean.
The seven-and-a-half-inch length makes it a noticeable presence on the shelf. The decal sheet includes period-correct graphics that really sell the gasser theme. I used a setting solution to help them conform to the curved surfaces, and the results were smooth.
The clear blue parts are a nice touch for the headlight lenses and the windshield.
Authenticity and Period Correctness
This kit is all about the 1950s hot rod scene. The straight axle front suspension, the raised rear, and the exposed engine all scream nostalgia. I painted mine in a two-tone cream and red scheme, and the factory chrome trim cleaned up perfectly with a polish.
The proportions are accurate. I compared the finished model to reference photos of real 1957 gassers, and the wheelbase and roofline match. If you are building a collection of historic drag cars, this is a must-have piece.
Parts Availability and Kit Condition
My kit arrived in perfect condition, but I have seen forum posts about missing parts in some boxes. Check the parts against the instruction tree diagram before you start building. If something is missing, Round 2 customer service is responsive and will ship replacements.
The chrome quality is good, but the gates are thick. Cut carefully and sand the nubs flush. I used a cotton swab with metal polish to bring the shine back to any spot where I sanded through the plating.
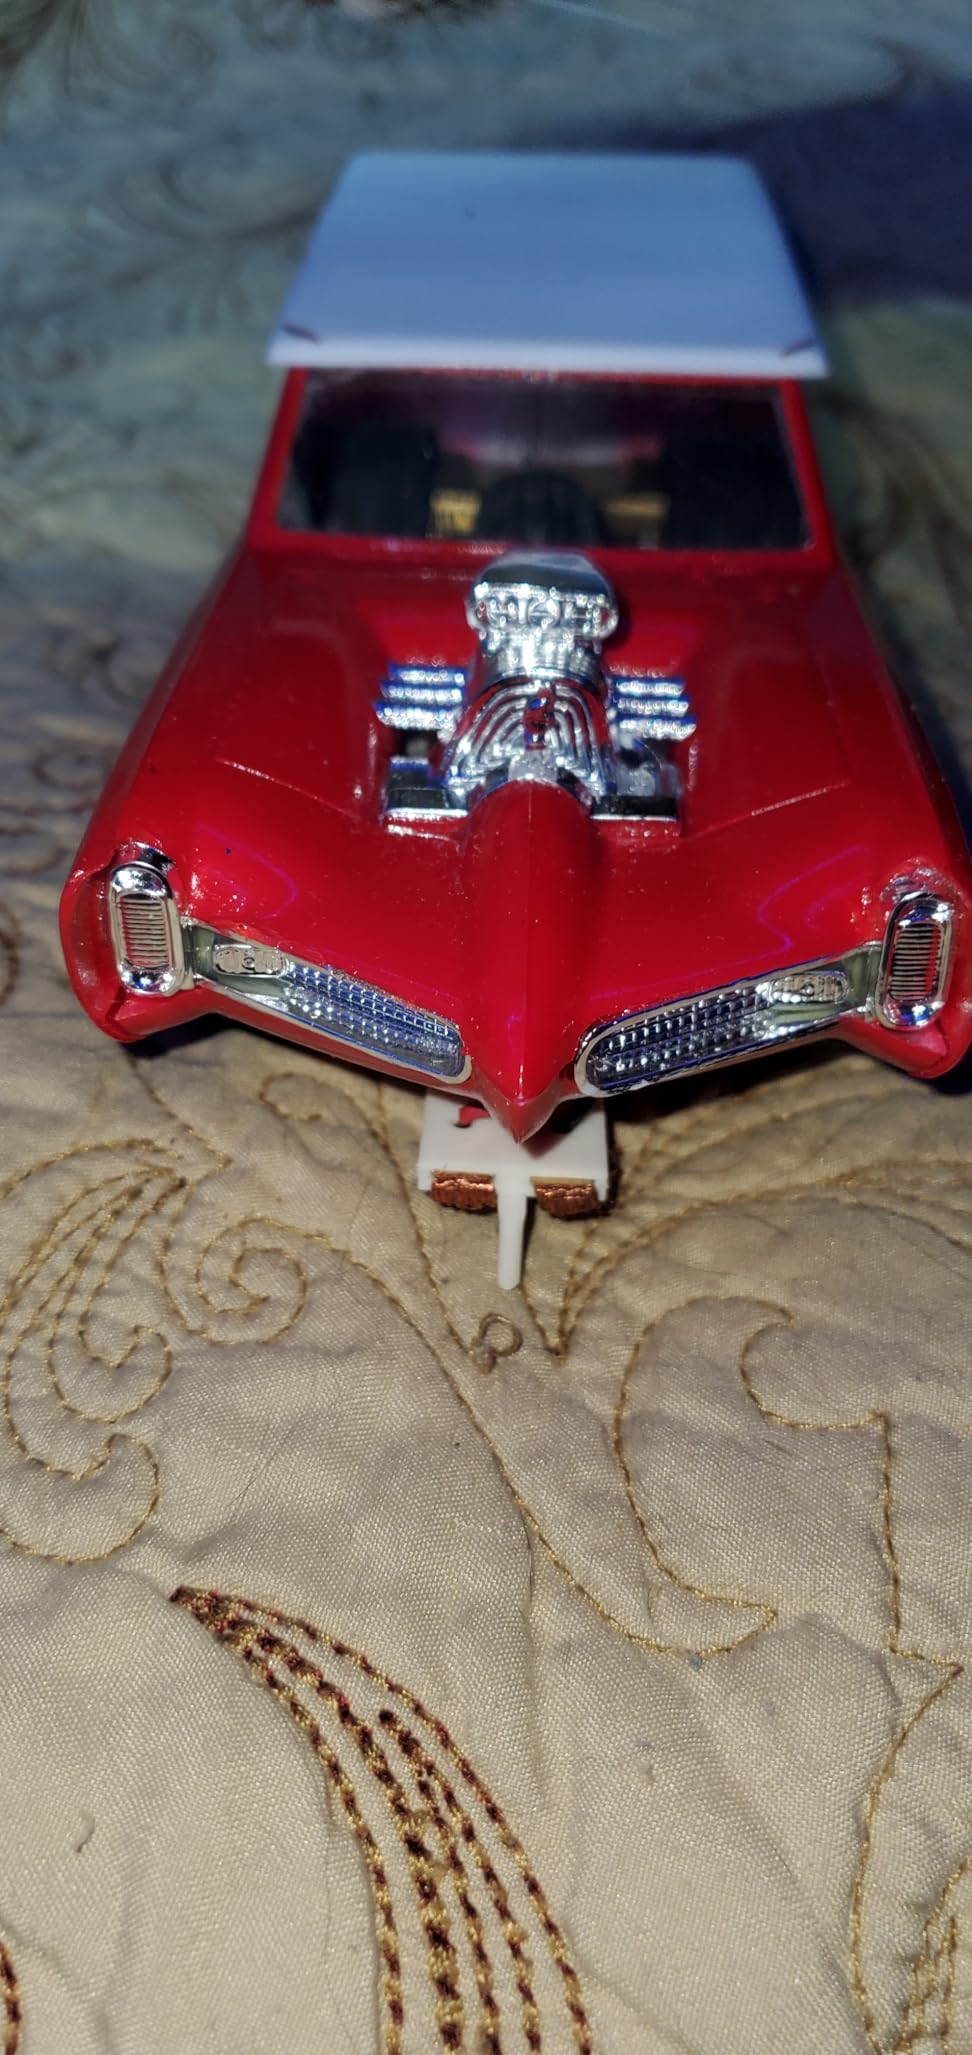
8. MPC Monkeemobile TV Car – Pop Culture Classic
MPC Monkeemobile TV Car 1:25 Scale Model Kit
1:25 scale
81 parts
Pre-decorated tires
Bonus key tag
Pros
- Easy build
- Excellent looks
- Classic TV car
- Good fit
Cons
- Chrome could be better
- No figures included
- Shipping concerns
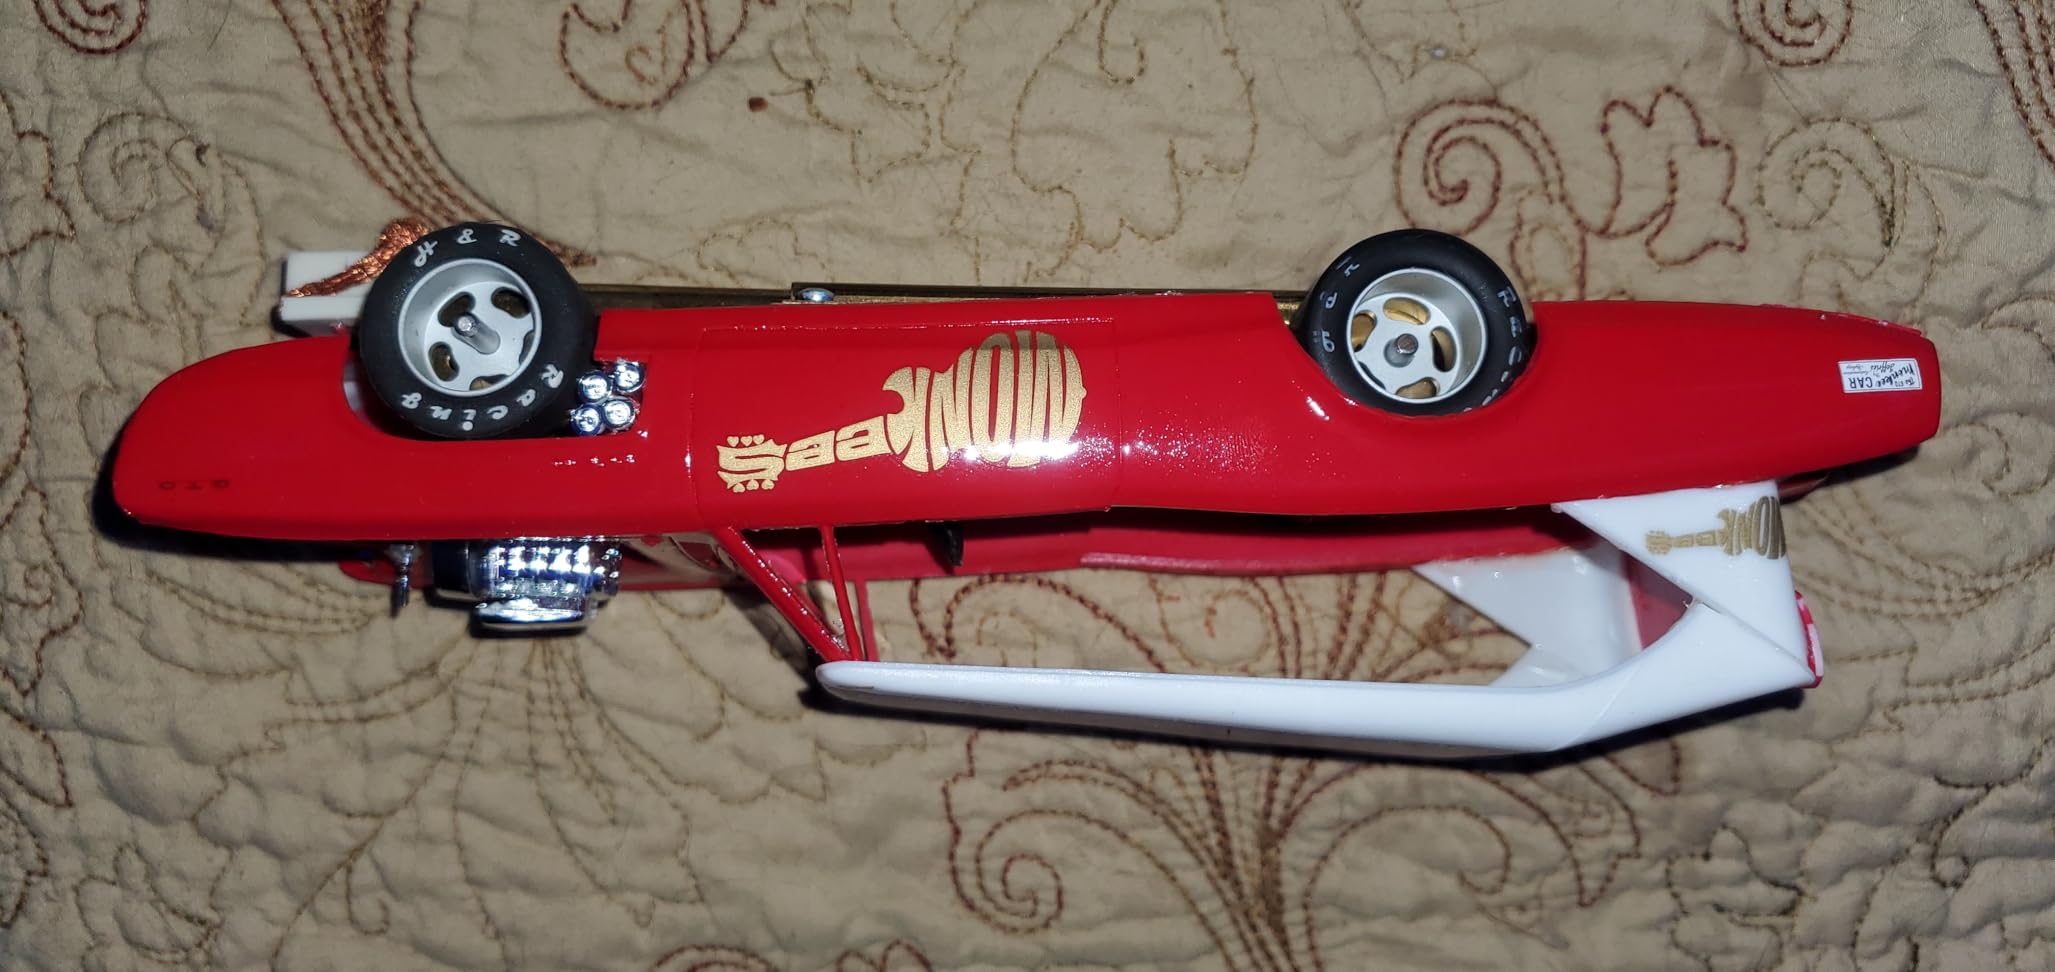
The Monkeemobile is pure fun. I grew up watching reruns, so building this kit was a trip down memory lane. The 81 parts go together quickly, and the pre-decorated Goodyear tires with white lettering save you from painting the sidewalls.
The finished model is nine and a quarter inches long and looks exactly like the car from the show. The blue pinstripe detailing is molded into the body, which means you do not have to mask delicate curves. I painted the body in a metallic blue, and the stripes remained visible as a subtle raised line.
The expanded decal sheet includes two logo options, so you can choose the exact graphic style you prefer.
The bonus plastic key tag is a cute extra that I gave to my nephew. He immediately recognized the car, which proves how iconic the design is. The chrome parts are acceptable, though not as bright as the AMT Camaro.
A quick polish helped.
Fit is good across the board. The split windshield goes in without gaps, and the rear grille snaps into place cleanly. I built this in a single evening, which makes it perfect for a weekend project or a gift build.
The skill level 2 rating is accurate, but a careful beginner could handle it with guidance.
Pop Culture Value and Gift Potential
This kit is a perfect gift for anyone who remembers the show. The box art is colorful, and the subject is instantly recognizable. I built mine as a birthday present for a friend, and he displayed it on his desk the same day.
The low part count means you can finish it quickly without burnout. The result looks far more complex than the build time suggests. It is a great way to introduce someone to the hobby without handing them a thousand-piece kit.
Display Options and Shelf Presence
The Monkeemobile is a shelf magnet. The exaggerated proportions, the open roof, and the massive blower all draw the eye. I placed mine on a black base with a small nameplate, and it looks like a museum piece.
The scale is standard 1:25, so it mixes well with muscle cars and hot rods.
The body is molded in white, which takes paint well. I used a light clear coat to protect the finish, and the gloss level is perfect. The tires are soft vinyl, so they grip the surface and prevent rolling.
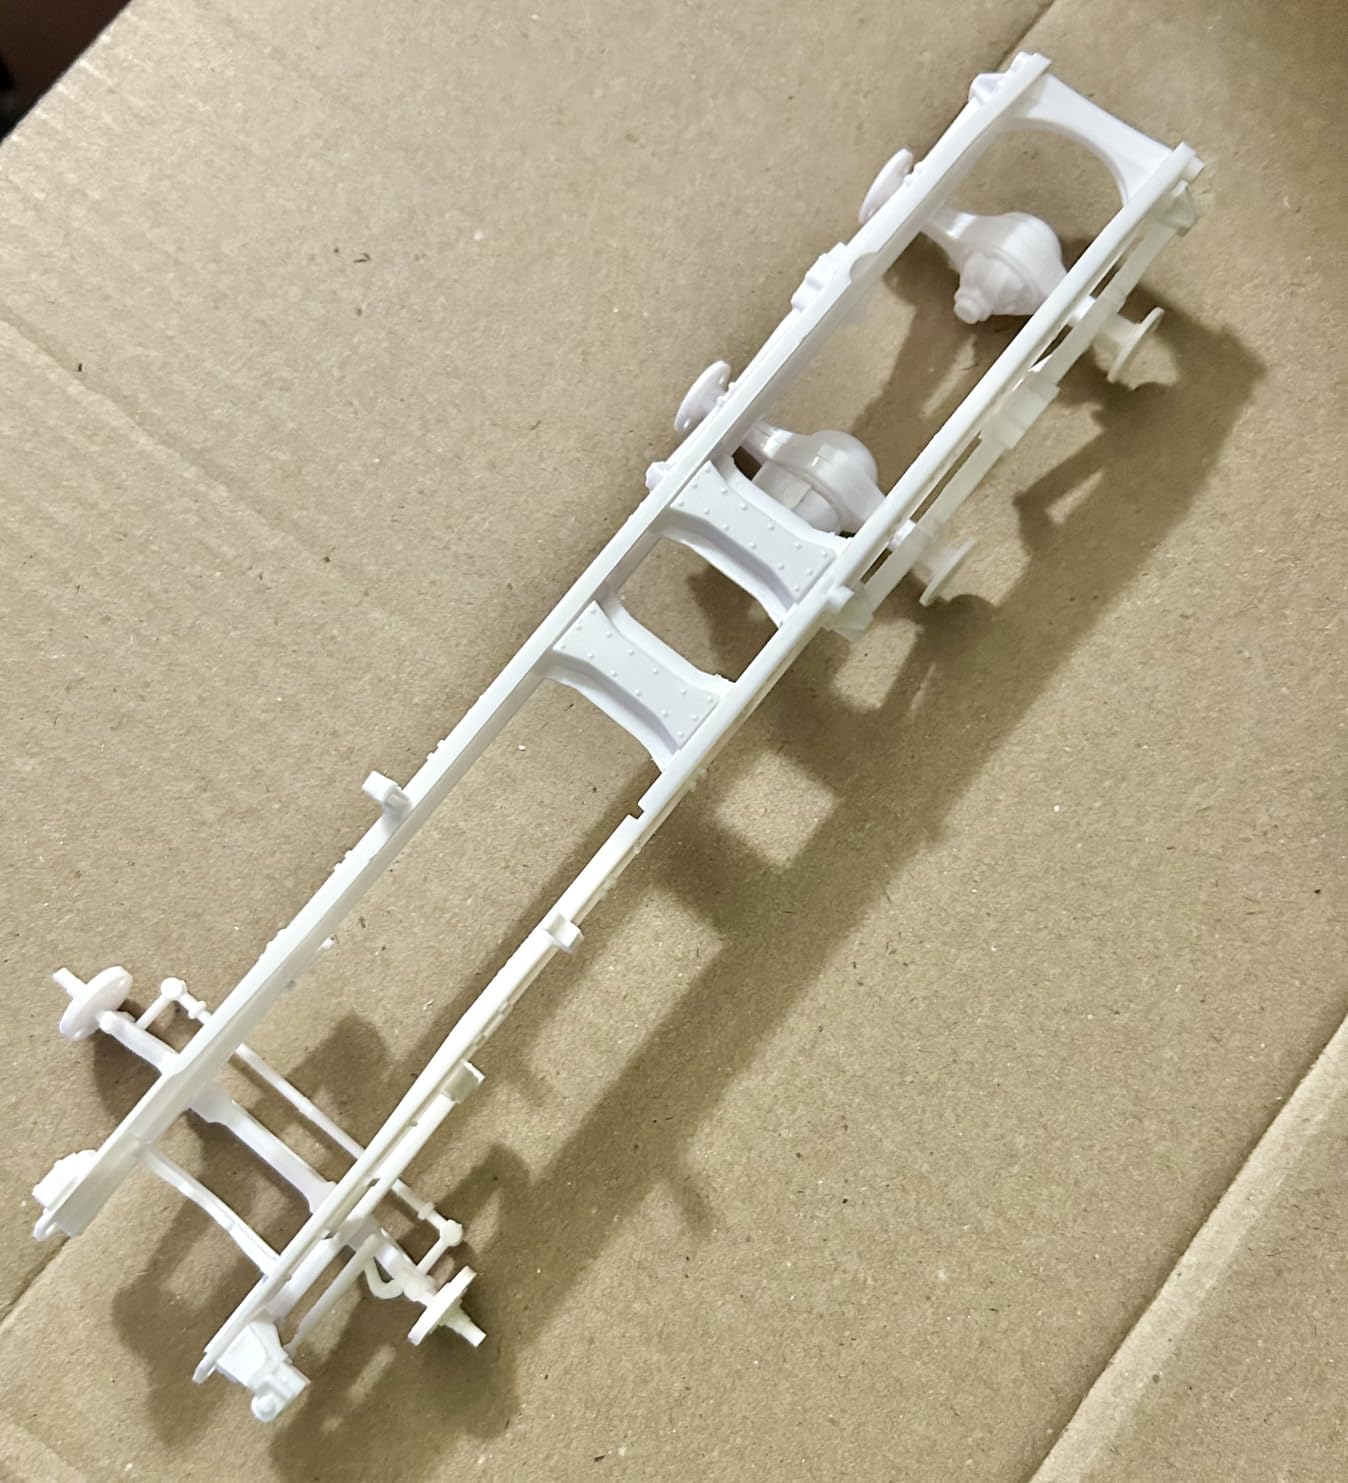
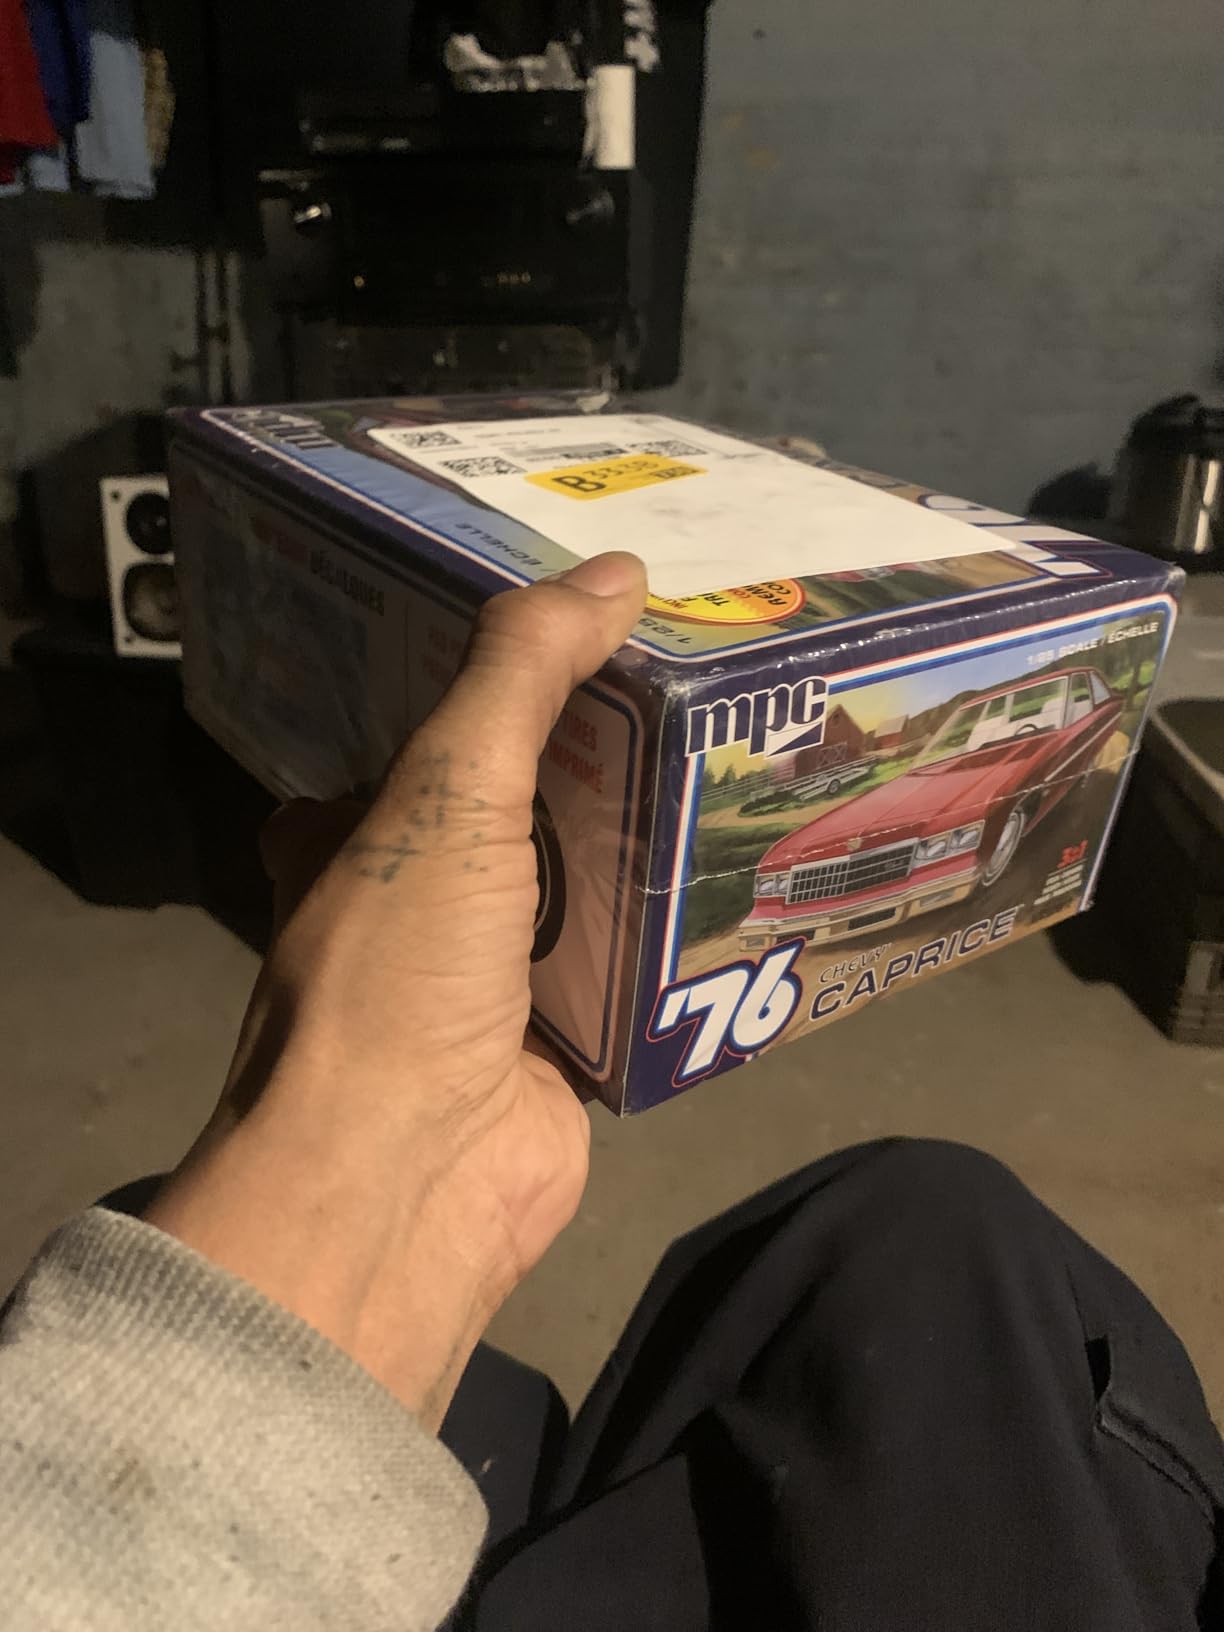
9. MPC 1976 Chevy Caprice with Trailer – Versatile Hauler
MPC 1976 Chevy Caprice w/Trailer 2T 1:25 Scale Model Kit
1:25 scale
3-in-1 kit
Functional trailer
18 inches long
Pros
- Excellent value
- Three configurations
- Great decals
- Easy build
Cons
- Less detail than newer kits
- Missing headlight lenses
- No wipers
This Caprice kit is the highest-rated model on my list, and after building it, I understand why. The 3-in-1 format lets you build a stock sedan, a security vehicle, or a hauler with a functional tilt-bed trailer. I chose the hauler version, and the eighteen-inch total length is impressive on a display shelf.
The trailer is not an afterthought. It has custom wheels, a working tilt bed, and detailed frame rails. The V8 engine is included for the car, and the pad-printed whitewall tires look great straight from the box.
I spent roughly sixteen hours on the full build, including paint and decaling.
The decals are a highlight. They respond well to softener, and the colorful options let you create a period-correct police or security look. The west coast mirrors, radio antenna, and flasher light are separate pieces that add realism.
I did miss the clear headlight lenses, but I substituted a set from my parts box. The fit is good for a kit of this age. The body lines are clean, and the chassis sits flat.
I had to do a small amount of sanding on the rear bumper seam, but the front end went together perfectly.
The overall quality is solid and consistent.
Configuration Flexibility and Diorama Use
The three build options make this kit extremely versatile. The stock sedan is a clean cruiser, the security vehicle looks authoritative with the light bar, and the hauler is perfect for towing a classic car or a small boat. I built the hauler because I wanted a towing rig for my 1:25 muscle car collection.
The trailer is detailed enough for a diorama. The tilt bed works, the wheels roll, and the frame is separate from the deck. I added a chain and hook from a jewelry findings kit, and the result looks like a working tow rig.
Parts Count and Build Approach
With over eighty-five parts, this is a medium-complexity build. The instructions are clear, and the part numbers are easy to read. I built the car and trailer as separate sub-assemblies, then joined them at the end.
This approach makes painting easier and reduces the risk of damage.
The lack of windscreen wipers and door mirrors is a minor omission. I added aftermarket mirrors and scratch-built wipers from wire. Most builders will not notice the absence, but if you want total accuracy, budget for a few small extras.
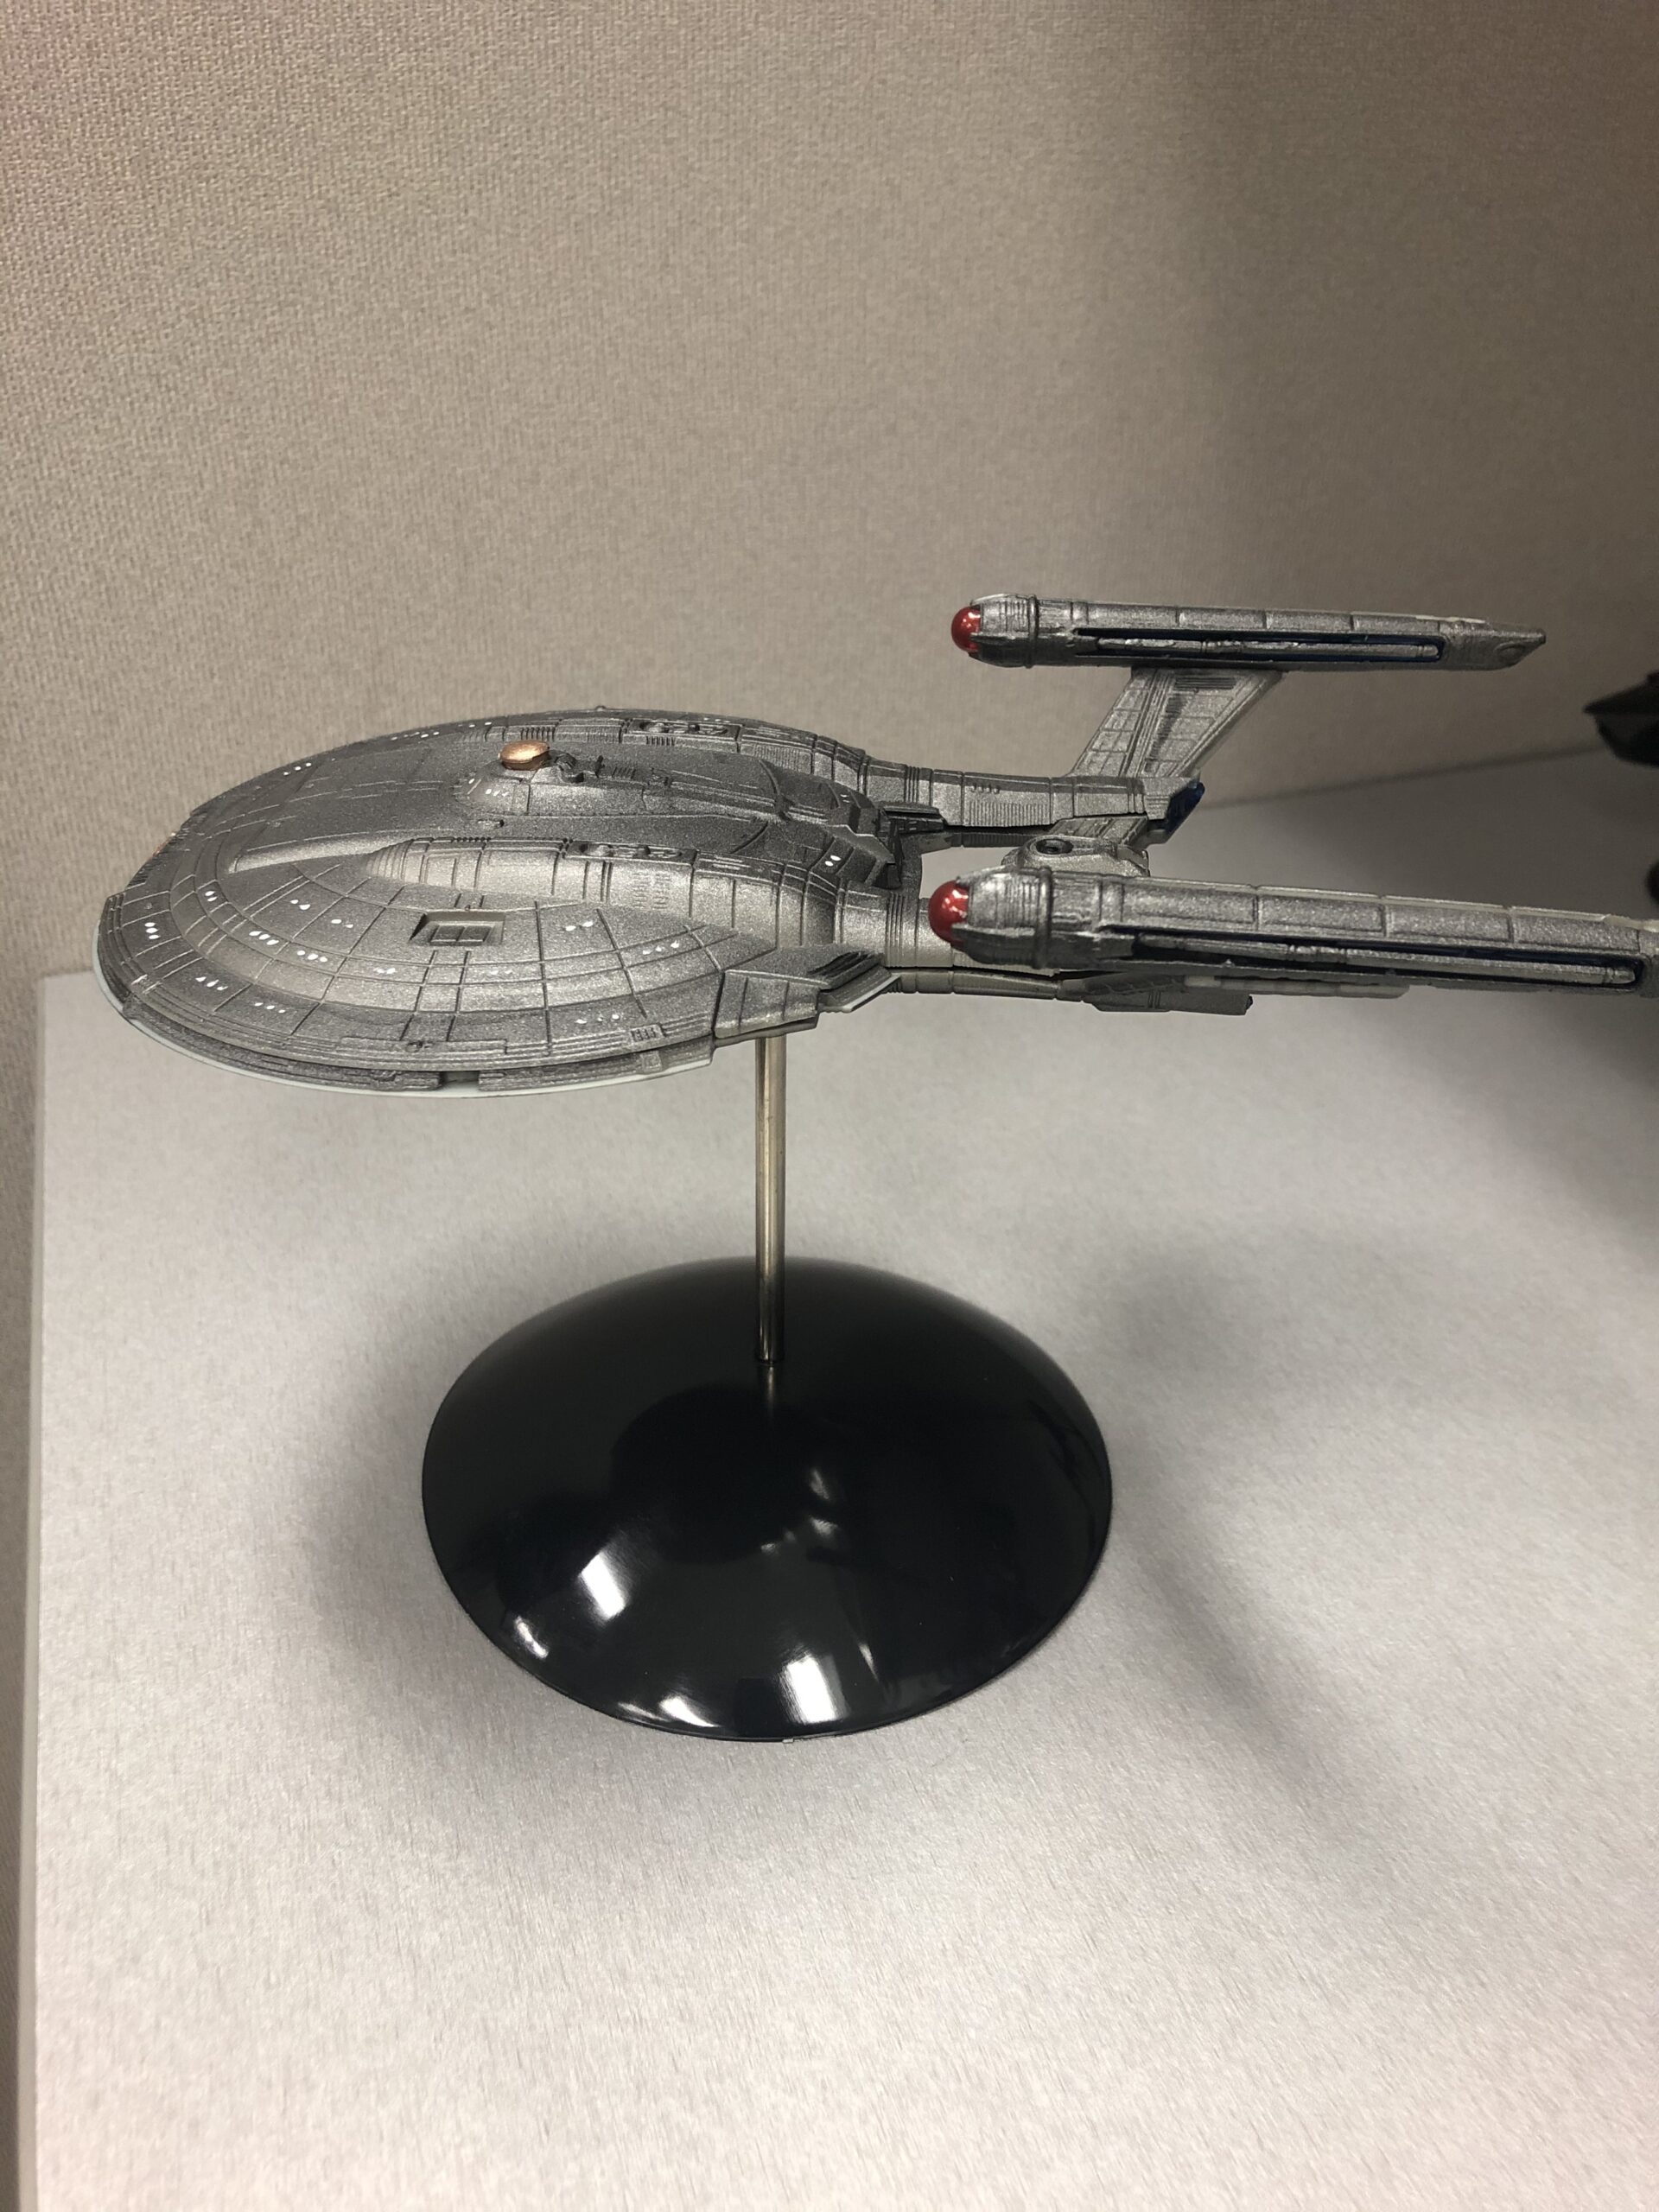
10. Polar Lights Star Trek NX-01 Enterprise – Snap-Fit Starship
Polar Lights Star Trek NX-01 Enterprise (Snap) 2T 1:1000 Scale Model Kit
1:1000 scale
Snap assembly
Two build options
Display base
Pros
- Highly detailed
- Easy snap build
- Good value
- Includes display stand
Cons
- Small parts need tweezers
- Gaps may need putty
- Instructions not helpful
The NX-01 is a snap kit, which means no cement is required. I was skeptical at first, because snap kits sometimes feel like toys. This one proved me wrong.
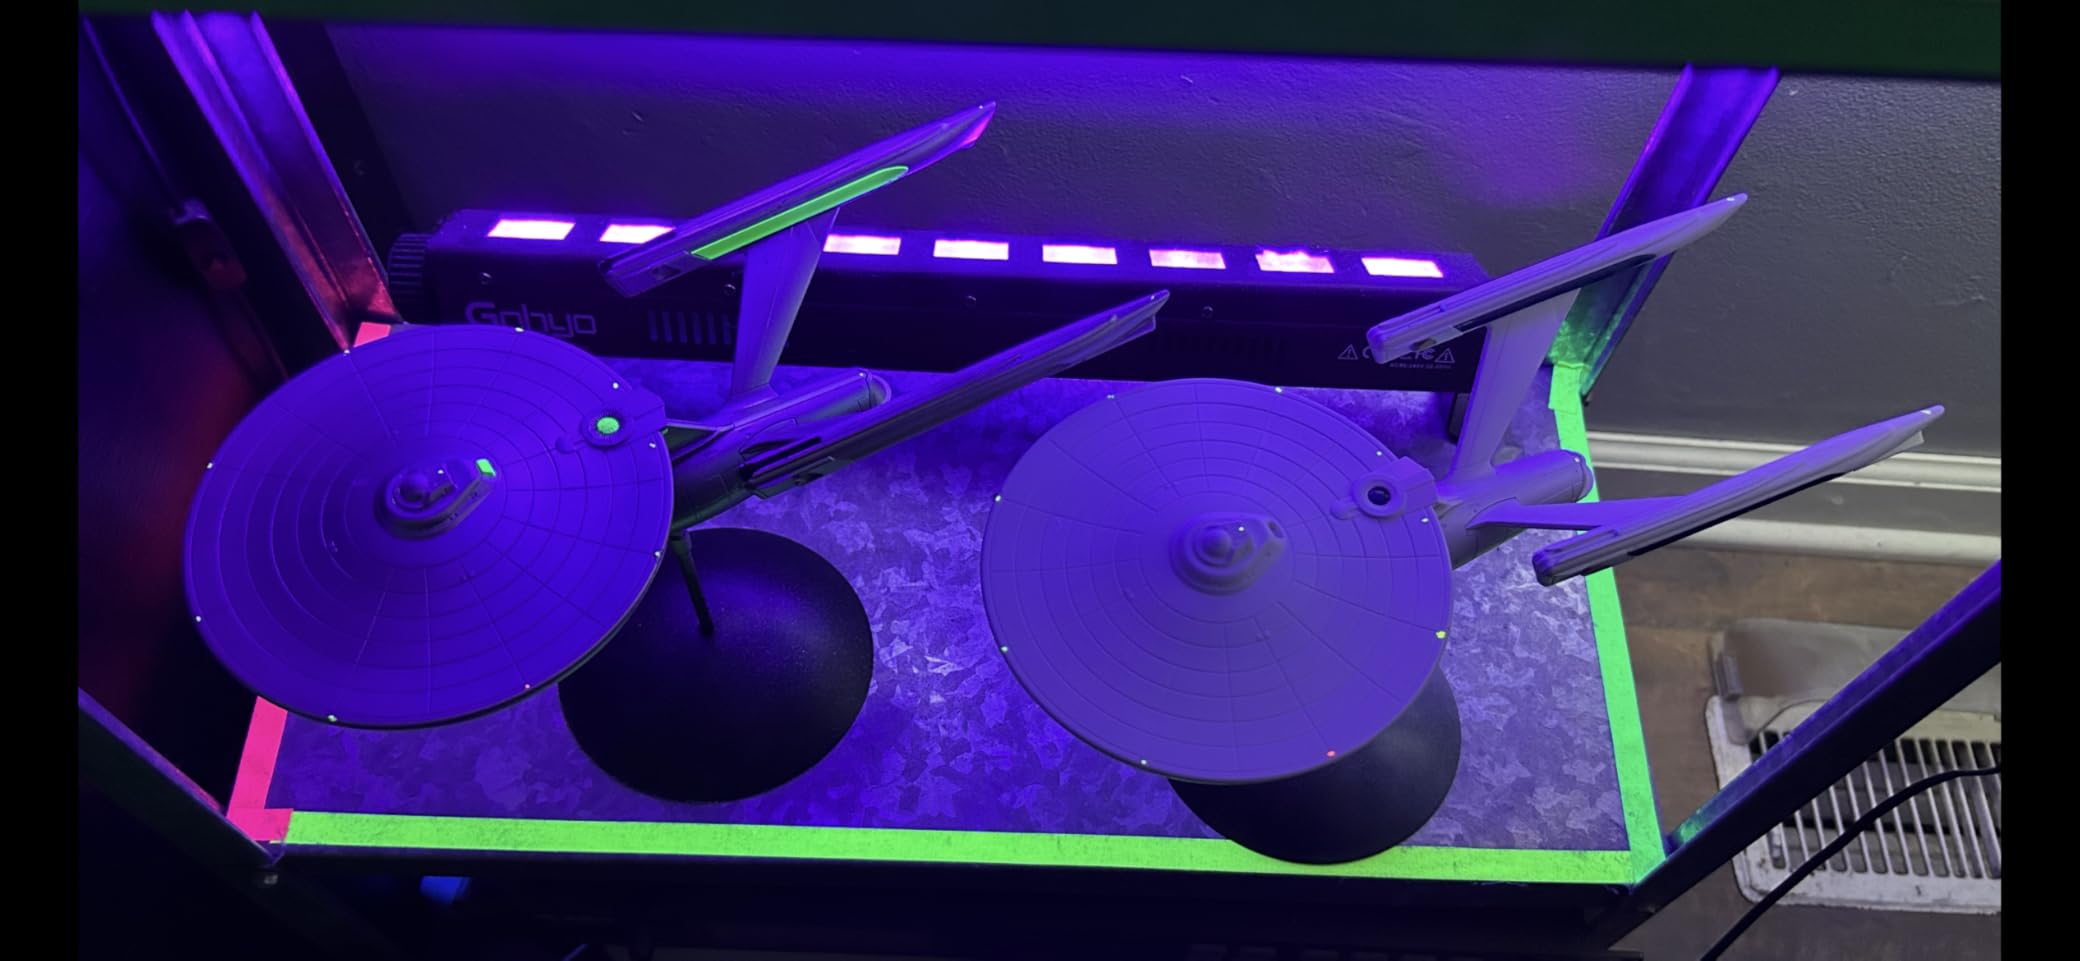
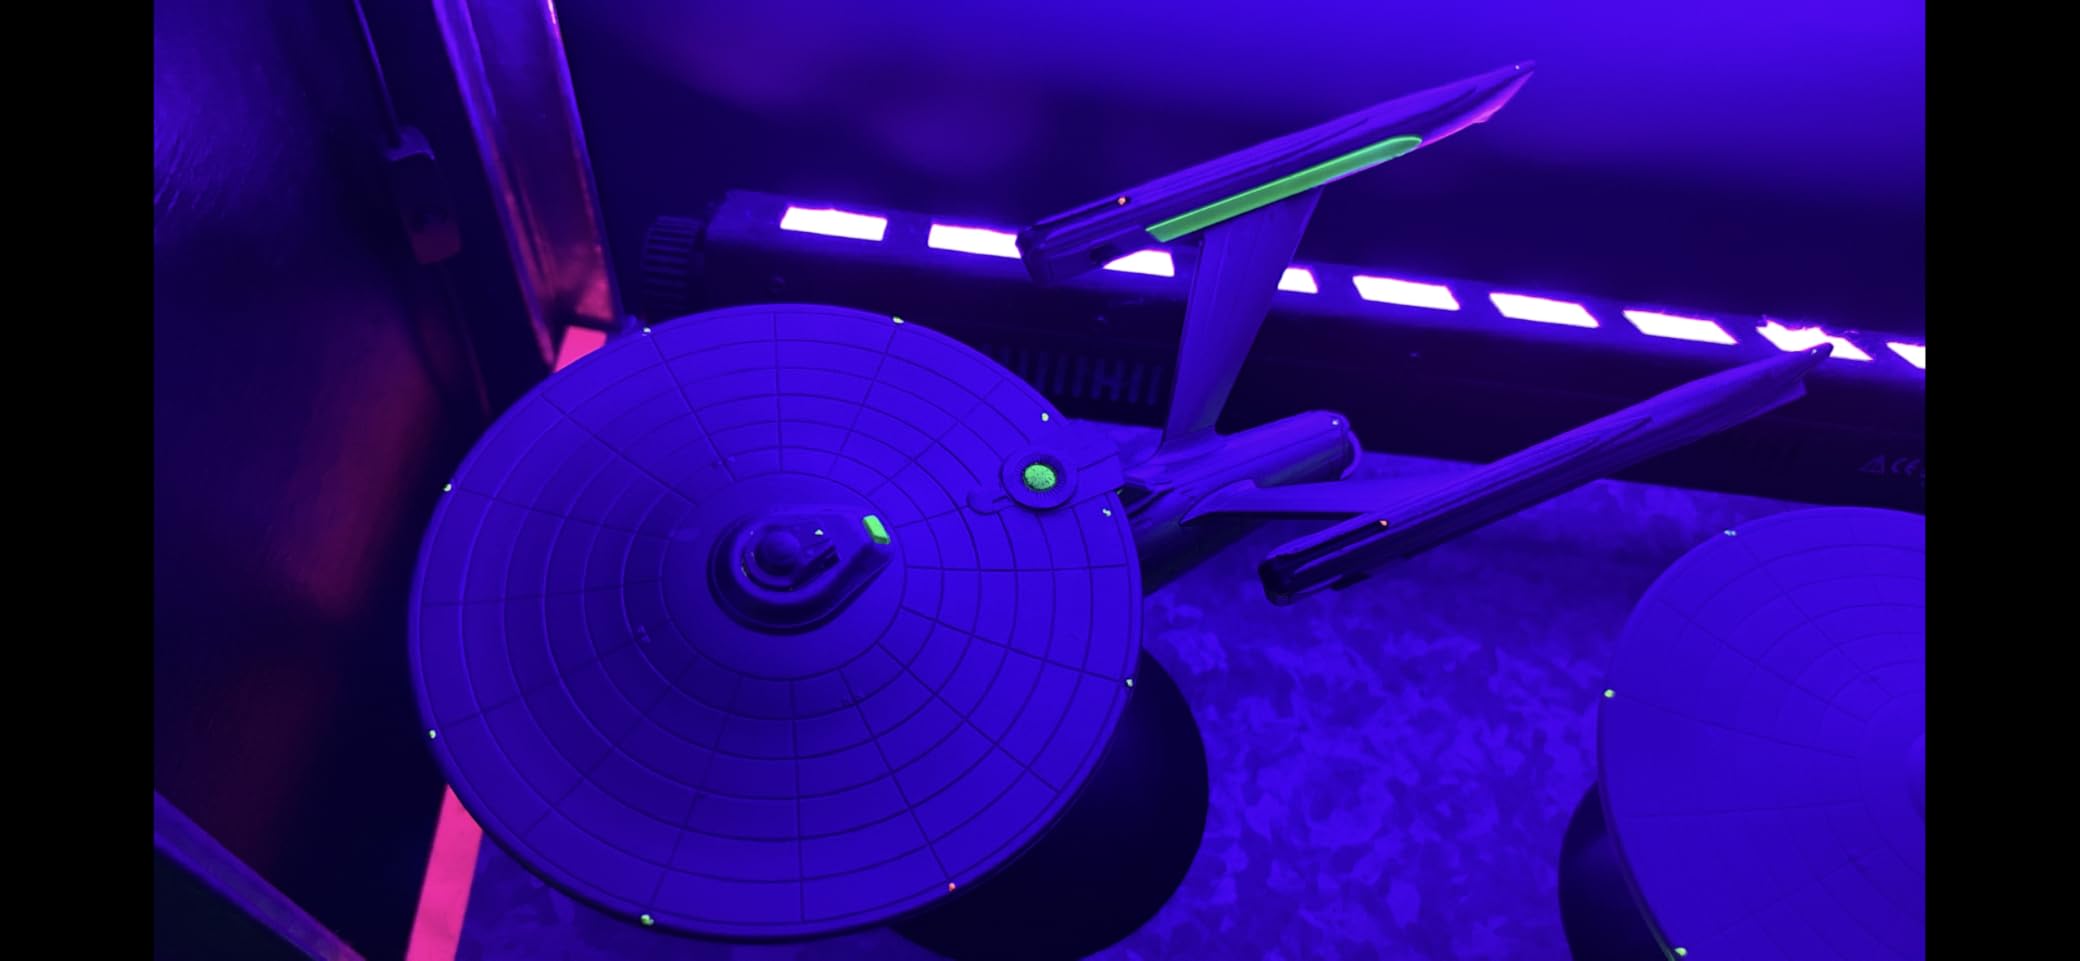
The detail is impressive for a 1:1000 scale ship, and the metallic pewter plastic gives it a finished look even before paint. You can build it as the standard NX-01 or the refit configuration. I chose the refit because the sleeker nacelle struts look more balanced.
The registry and marking decals are crisp, and the dome base with the metal support rod makes the ship look like it is floating. The display presence is excellent.
The small parts are genuinely tiny. I used tweezers for every step after the saucer section, and a magnifying lamp helped me see the locator pins. Some gaps appeared at the seam lines, but a thin bead of putty and a quick sand fixed them.
The instructions are basic, so I referenced online build logs for clarification. Paint is optional.
The metallic pewter plastic is attractive on its own, but a light wash of panel-line gray adds depth.
I used a brush for the windows and a rattle can for the main hull. The result looks sharp, and the decals went on without silvering.
Display Quality and Scale Compatibility
This kit is all about display. The dome base is clear, the metal rod is sturdy, and the ship hangs at a perfect angle. I placed mine under a glass case, and the metallic sheen catches the light beautifully.
It is a conversation starter even for people who do not build models.
The 1:1000 scale is small, but it works well with other Star Trek kits. I have it displayed next to the Refit Enterprise, and the size difference is appropriate. If you collect the entire line, the consistent scale makes for a cohesive fleet.
Assembly Tips for Small Parts
Work on a white surface. The pewter parts are dark, and they disappear against a dark mat. I used a white sheet of paper as my workspace, and I never lost a piece.
A parts tray with small compartments is also helpful, because the sprue connections are tight and pieces can snap off unexpectedly.
Do not force the snap joints. If a part does not click in, check the alignment. I broke one nacelle pylon by pushing too hard, and I had to glue it instead of snapping it.
Patience saves parts.
11. Polar Lights Star Trek Enterprise Refit – Wrath of Khan Edition

Polar Lights Star Trek U.S.S. Enterprise Refit Wrath of Khan Edition 2T 1:1000 Scale Model Kit
1:1000 scale
Snap assembly
Battle damage decals
Refit option
Pros
- Easy snap assembly
- Great display piece
- Good value
- Fun build
Cons
- Gaps at seams
- Aztec panels not included
- Requires paint and glue
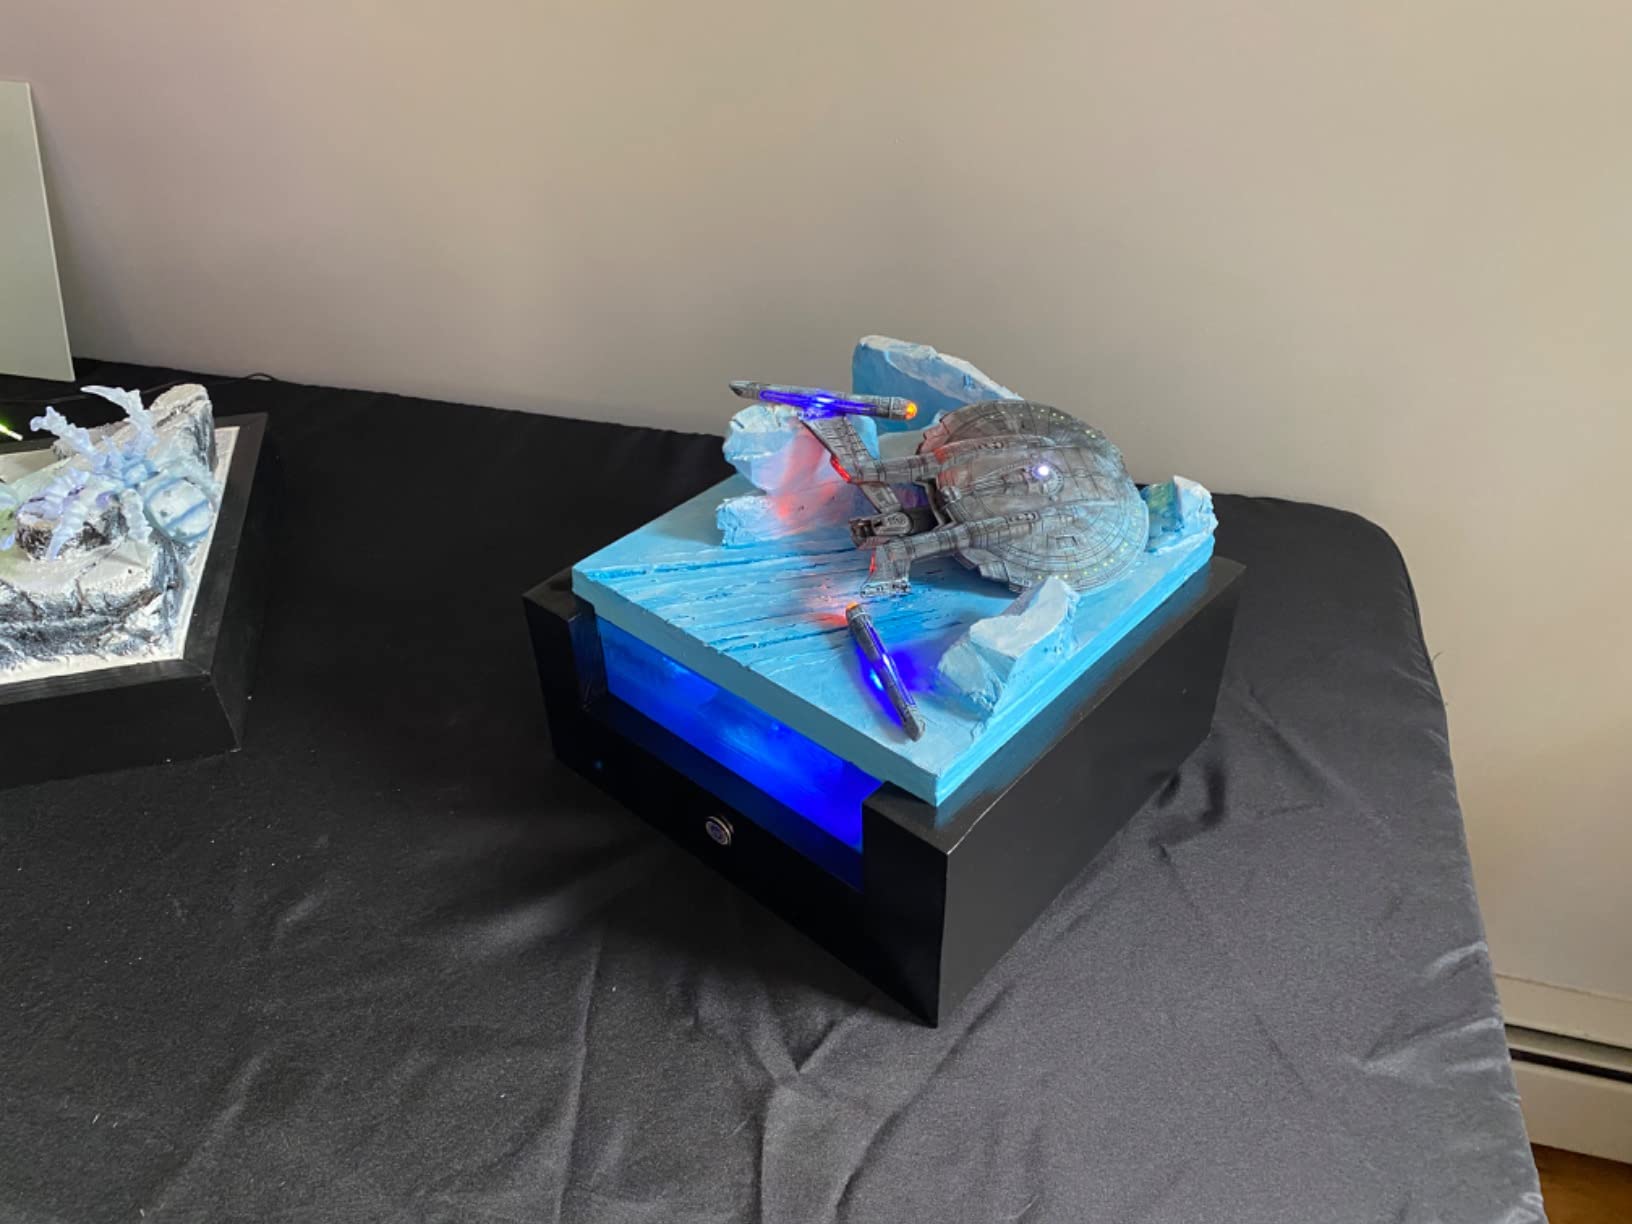
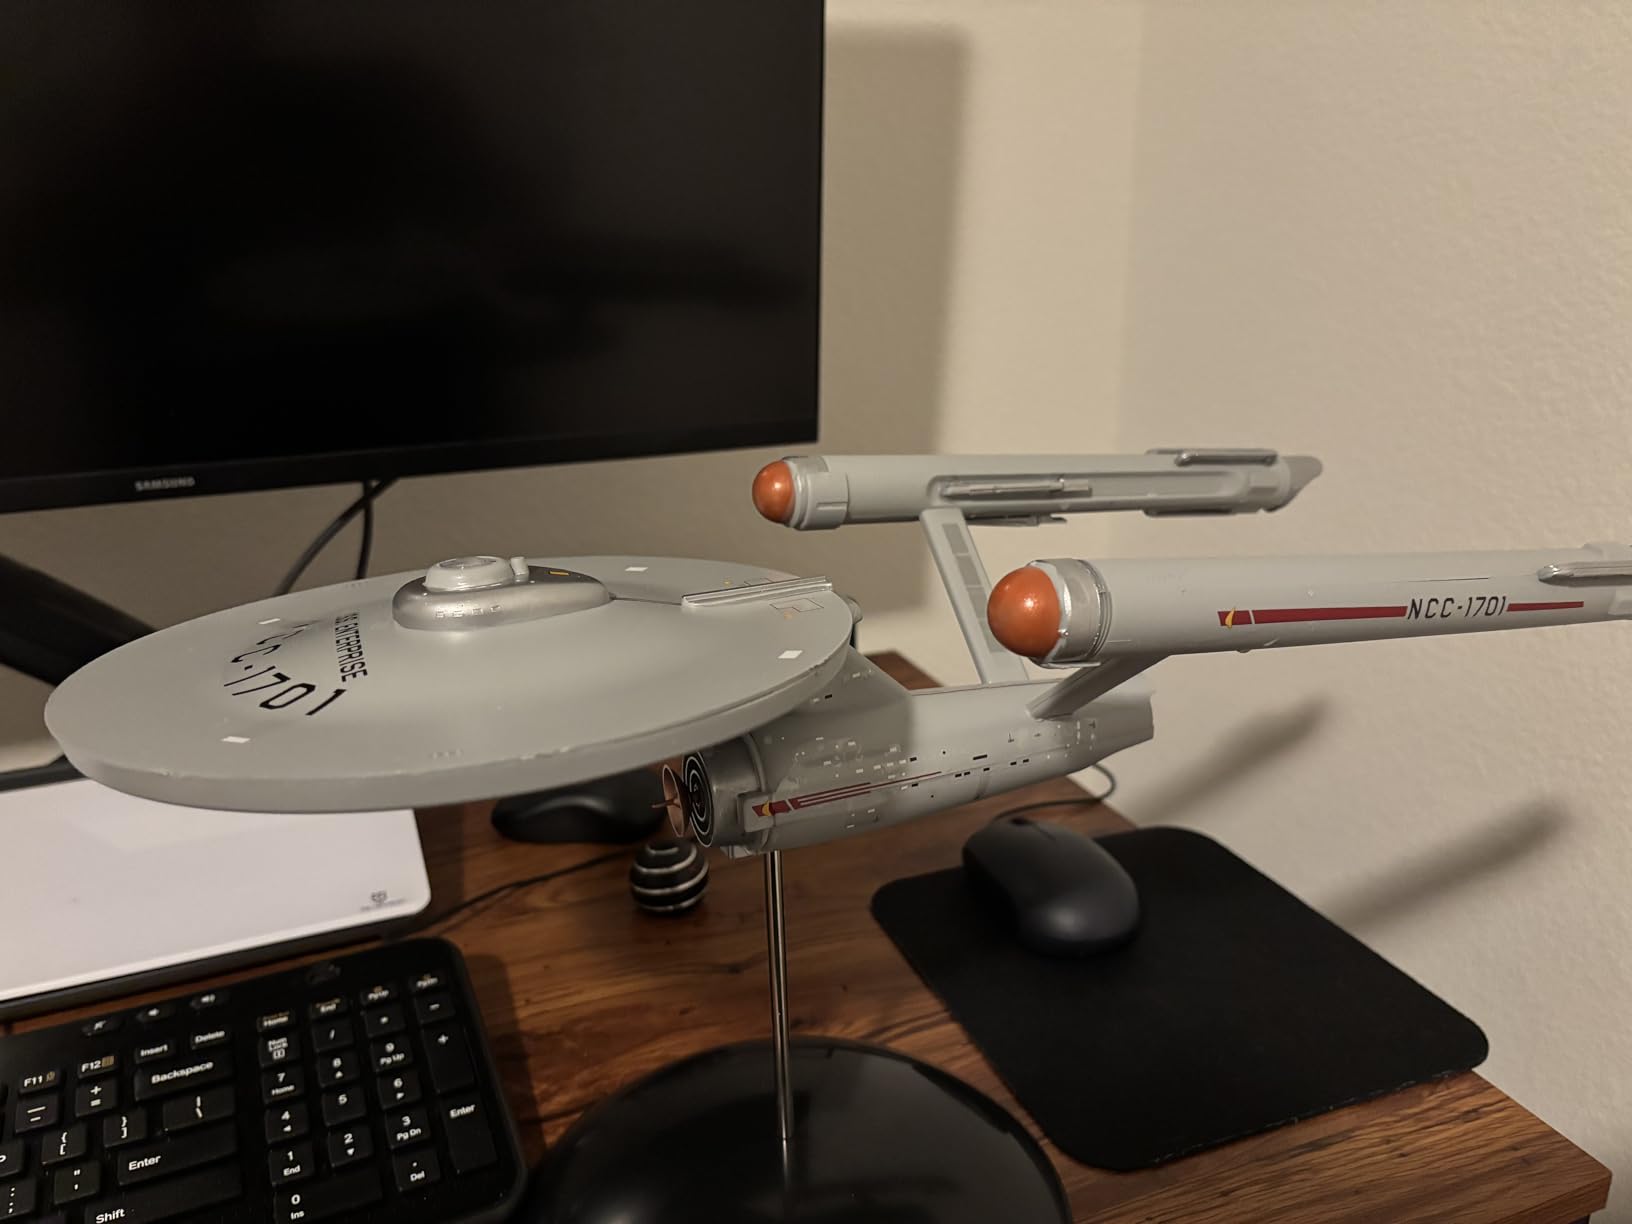
The Enterprise Refit is a reissue of one of Polar Lights best-selling Star Trek kits. I built it as the battle-damaged version from The Wrath of Khan, and the scorch decals add a level of drama that most clean starships lack. The snap assembly is forgiving, but the panel lines are crisp enough to satisfy serious builders.
The white plastic is smooth and takes paint well. I used a light gray base coat with a darker gray panel line accent, and the result looks like a studio model. The registry and strongback decals are accurate, and the new battle damage graphics are a welcome addition to this release.
The articulated dome base is the same as the NX-01 kit, and it works just as well. I set mine at a slight banking angle, and the metal rod holds the weight without sagging. The seams at the saucer edge needed a touch of filler, but the engineering section went together cleanly.
The lack of Aztec panel decals is a common complaint. I used a custom decal set from an aftermarket supplier, but the kit looks fine without them. If you want the full Aztec pattern, budget for an extra decal sheet.
The kit is still a strong value even with that added cost.
Movie Accuracy and Collector Details
This kit commemorates one of the most beloved films in the franchise. The proportions match the studio model closely, and the deflector dish is a separate piece that you can paint in a contrasting color. I added a small LED inside the warp nacelle for a subtle glow effect, and the result is stunning in a dark room.
The battle damage decals are well-designed. They wrap around the saucer rim and the engineering hull without tearing. I used a hair dryer to soften them during application, and they settled into the panel lines perfectly.
Paint Strategy and Finish Options
I recommend a light gray base with a flat clear coat for the standard look. For the battle damage version, I started with the same gray, then added the scorch decals, then weathered the edges with a dark wash. The result looks like a ship that has been through a firefight.
The chrome parts for the warp nacelle grilles are bright. I left them stock, but a light blue tint from a transparent marker would match the film look more closely. The bussard collectors at the front of the nacelles are molded in clear red, which is a nice factory touch.
12. AMT Star Trek U.S.S. Enterprise Bridge – Diorama Set

AMT Star Trek U.S.S. Enterprise Bridge 1:32 Scale Model Kit
1:32 scale
108 parts
Crew figures included
12 inches long
Pros
- Complete bridge set
- Authentic details
- Extensive decals
- Good for beginners
Cons
- Same old tooling
- Fit problems in some areas
- Requires cleanup
This bridge kit is a nostalgia bomb. I built it over four evenings, and the finished diorama is twelve inches of pure 1960s sci-fi goodness. The command crew figures are included, and each one is recognizable.
The decals cover every view screen and navigation station, which saves hours of hand-painting.
The kit is molded in white, so you will need paint. I used a light gray for the walls, a darker gray for the consoles, and flesh tones for the crew. The water-slide decal sheet is extensive, and the tiny labels are readable if you use a magnifying lamp.
I had no issues with decal silvering.
Fit is mixed. The main wall sections go together well, but the console tops needed some trimming to sit flat. I also had to clean up excess plastic on the turbolift doors.
The tooling is vintage, so these minor issues are expected.
A sharp blade and a sanding stick are your best friends here. The crew figures are a highlight.
Kirk, Spock, McCoy, Sulu, Uhura, and Chekov are all present, and their poses are authentic. I added a tiny print of the bridge schematic behind the main view screen, and the depth it added was incredible.
This is a diorama, not just a model.
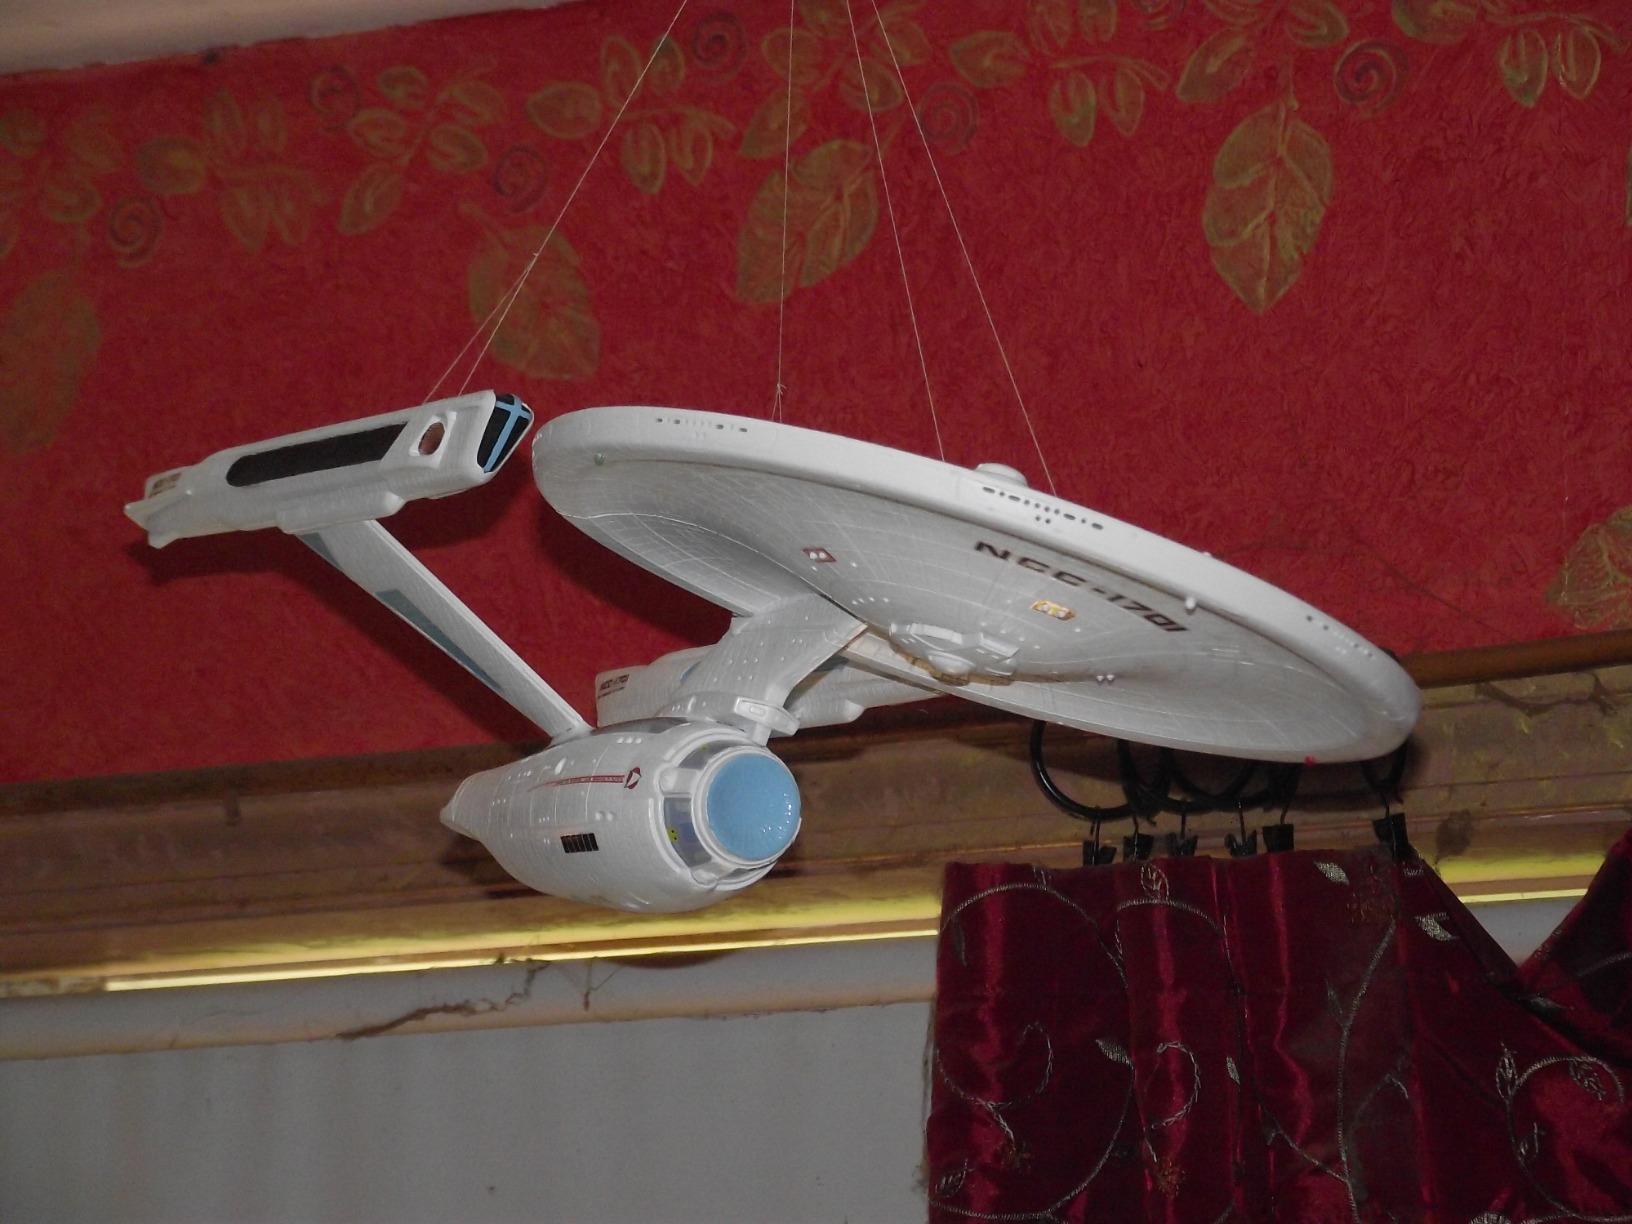
Figure Painting and Detail Work
The figures are small, but they take paint well. I used acrylics with a fine brush, and the uniform colors came out sharp. The faces are soft on detail, so I focused on the hair and skin tones rather than trying to paint eyes.
From a normal viewing distance, they look great.
The extra details like Sulu’s scope and Spock’s viewer are separate pieces. They add character to the scene. I placed Spock at his station with the viewer raised, and the silhouette is instantly recognizable.
These small touches make the kit feel special.
Display Case and Lighting Options
This bridge needs a case. The dust settles quickly on all those flat surfaces, and the figures are fragile. I bought a cheap acrylic display box online, and it protects the build perfectly.
The twelve-inch length fits most standard display cases without modification.
I added a small LED strip above the main view screen, and the glow illuminates the whole bridge. The effect is subtle but powerful. If you have basic wiring skills, this is a simple upgrade that takes the diorama to the next level.
13. Polar Lights Haunted Manor: Play It Again, Tom! – Spooky Diorama

Round 2 Haunted Manor: Play It Again, Tom! (POL984)
1:12 scale
62 parts
Glow-in-dark plastic
9.5 inches tall
Pros
- Well made parts
- Fun to build
- Glow plastic
- Moving features
Cons
- Rubber bands hard to set up
- Confusing instructions
- Requires primer
This is the most unusual kit on my list, and I enjoyed every minute of it. The Haunted Manor diorama is a pipe organ scene with a rubber-band action mechanism that makes the organist hit keys and a mummy pop out. It is nine and a half inches tall when complete, and the glow-in-the-dark plastic is a fantastic party trick.
The sixty-two parts are finely detailed, and the mold quality is excellent. I built the kit in about eight hours, then spent another two painting the organ pipes in a brass and copper scheme. The glow plastic works best under a black light, but it also charges under normal room light and glows softly in the dark.

The rubber band action is clever but finicky. I broke two rubber bands during setup before I realized the tension had to be lighter than I expected. Use the thinnest bands provided, and stretch them gently.
Once dialed in, the mechanism works smoothly and the mummy pops out with surprising speed.
The instructions are a bit confusing for the action sequence. I recommend building the static structure first, then adding the moving parts. The painted result is worth the effort, and the diorama makes an excellent Halloween centerpiece.
This is the last kit in the Haunted Manor series of four, so collectors should grab it before it sells out.

Paint Strategy and Glow Effects
The glow plastic needs a spray primer before you add color. I used a white primer base, then layered acrylics on top. The glow effect still works through thin paint layers, but heavy coats will block it.
Test on a spare part first to find the right balance.
The organ pipes look best in metallic colors. I used gold, copper, and silver on alternating pipes, then added a dark wash to bring out the depth. The mummy is molded in the glow plastic, so I left him unpainted to maximize the effect.
The contrast between the ornate organ and the ghastly figure is striking.
Collectibility and Series Completion
This is the final release in the Haunted Manor series. If you own the previous three, this kit completes the set. The low stock count means it may not be around forever.
I bought two: one to build and one to keep sealed.
That is a common approach among collectors of short-run kits.
The build is simple enough that you can finish it in a weekend. The result is a display piece that looks great year-round, not just in October. I have mine on a bookshelf, and the glow effect is a fun surprise for guests who notice it after the lights go out.
Buying Guide: How to Choose the Right Round 2 Kits?
Before you add a kit to your cart, think about three things: scale, skill level, and subject matter. Round 2 offers everything from 1:1000 starships to 1:12 dioramas, so the first step is deciding what fits your display space.
Skill level is the next filter. Snap kits like the Polar Lights NX-01 need no cement and only occasional paint. Glue-required kits like the AMT Freightliner demand patience, putty, and an airbrush for best results.
If you are new to the hobby, avoid skill level 3 builds until you have completed at least two level 2 kits. That progression builds confidence without overwhelming you.
Subject matter matters more than people admit. A builder who loves Star Trek will finish the Enterprise Refit faster than someone who only bought it because it was on sale. Pick a car, truck, or ship that you actually want to see on your shelf.
That emotional connection pushes you through the tedious sanding stage. One topic that comes up constantly on forums is warpage. I have seen it myself on older reissue frames, especially large chassis rails.
The fix is simple: dip the warped part in hot water for ten seconds, straighten it against a flat surface, then shock it with cold water. It takes two minutes and saves hours of frustration.
Finally, consider paint and glue costs. None of these kits include paint or cement, so budget for a basic set of acrylics, a bottle of plastic cement, and a decent primer. If you want to explore other construction styles, our guide to metal model kits covers a completely different building experience.
Frequently Asked Questions
Who makes the best quality model kits?
Round 2 produces high-quality AMT, MPC, and Polar Lights kits. Tamiya and Revell also rank highly among hobbyists.
Who owns Round 2 models now?
Round 2 is an independent company based in South Bend, Indiana. They own the AMT, MPC, and Polar Lights brands.
What are the best model car kits?
The best model car kits depend on your skill level. Beginners should start with snap-together kits. Advanced builders prefer detailed kits with high part counts.
Are Round 2 model kits good quality?
Round 2 kits are generally good quality, especially newer releases. Some older reissues may have minor flash or warpage that is easy to fix.
Which is better, AMT or MPC?
AMT and MPC are both owned by Round 2. AMT is known for muscle cars and trucks. MPC is known for hot rods, TV cars, and unique subjects.
Conclusion
If you have made it this far, you now have a clear picture of the best Round 2 model kits available in 2026. I recommend starting with the AMT Camaro if you want a safe, satisfying build, or the MPC Caprice if you crave variety. Every kit on this list earned its spot through real bench time and honest evaluation.
Round 2 fills a unique niche by bringing back vintage subjects that no other company touches. The quality is solid, the value is strong, and the range is wide enough that every builder can find something appealing. Grab your sprue cutters, pick a kit from the list above, and start building.
Your shelf will thank you.