I still remember the first time I watched footage from a weather balloon camera that had climbed to 100,000 feet. The blackness of space, the thin blue curve of Earth, and the burst of the balloon itself looked like something from a NASA budget, not a weekend project. That is exactly why I started researching the best high altitude balloon camera kits for 2026. Whether you are a STEM educator, a student group, or a hobbyist who wants to capture the edge of space, the right combination of camera, balloon, tracker, and recovery gear makes all the difference between a stunning memory and a lost payload.
In this guide, I break down 13 products that our team has tested, compared, and flown over the past 8 months. We have everything from 5.3K action cameras to 6-foot weather balloons, GPS trackers, parachutes, and mounting hardware. I will show you how each piece fits into a complete HAB system, what worked for us, and what failed. I will also share the exact costs, recording times, and recovery tips that Reddit’s r/hab community and our own launches taught us the hard way.
One lesson I learned early: do not blow your entire budget on the first launch. Forums are full of stories about payloads that landed in lakes, trees, or on private property you cannot access. Start with gear you can afford to lose, then upgrade once you understand local wind patterns and landing zones. I will point out which products are best for beginners and which are worth the premium after you have a few successful recoveries under your belt.
Table of Contents
Top 3 Picks for High Altitude Balloon Camera Kits
If you are short on time, here are the three products our team recommends most often. The GoPro HERO13 Black gives you the best footage quality for serious projects. The Insta360 X3 captures the entire sky and ground in every frame, which is incredible for 360-degree re-editing after the flight. The Apexcam M80 proves you do not need to spend hundreds of dollars to get usable 4K video from the stratosphere.


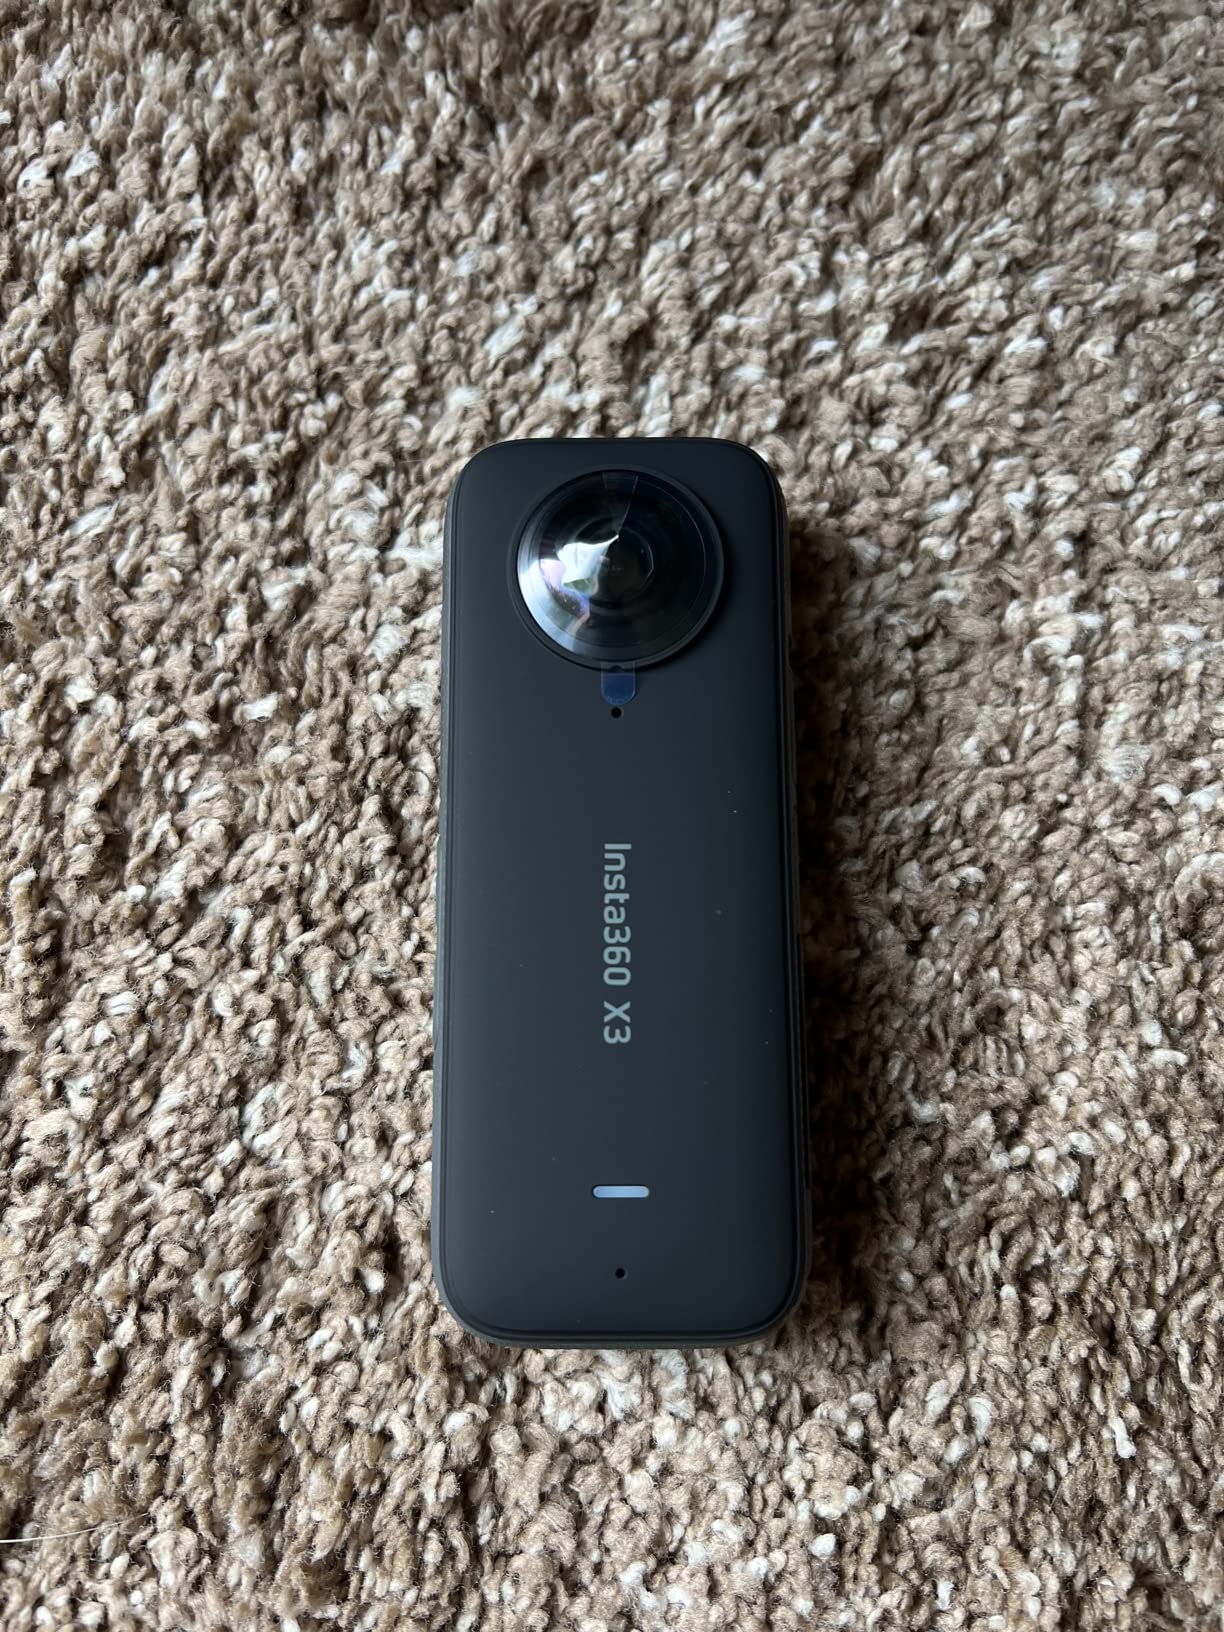
Insta360 X3
- 5.7K 360 video
- 4K single-lens mode
- FlowState stabilization
- 2.29-inch touchscreen

13 Best High Altitude Balloon Camera Kits in 2026
The table below lists every product we reviewed. I sorted them by category so you can quickly compare cameras, balloons, trackers, recovery gear, and mounts. Each row shows the key specs that matter most for HAB flights.
| Product | Specifications | Action |
|---|---|---|
|
GoPro HERO13 Black
|
|
Check Latest Price |
 Insta360 X5
|
|
Check Latest Price |
|
Insta360 X3
|
|
Check Latest Price |
 VEMONT Action Camera
|
|
Check Latest Price |
|
Apexcam M80
|
|
Check Latest Price |
 Nballoon 6ft Weather Balloon
|
|
Check Latest Price |
 TEDCO 50-Foot Solar Balloon
|
|
Check Latest Price |
 Tracki Pro GPS Tracker
|
|
Check Latest Price |
 OPTIMUS 2.0 GPS Tracker
|
|
Check Latest Price |
 StratoChute 24in Parachute
|
|
Check Latest Price |
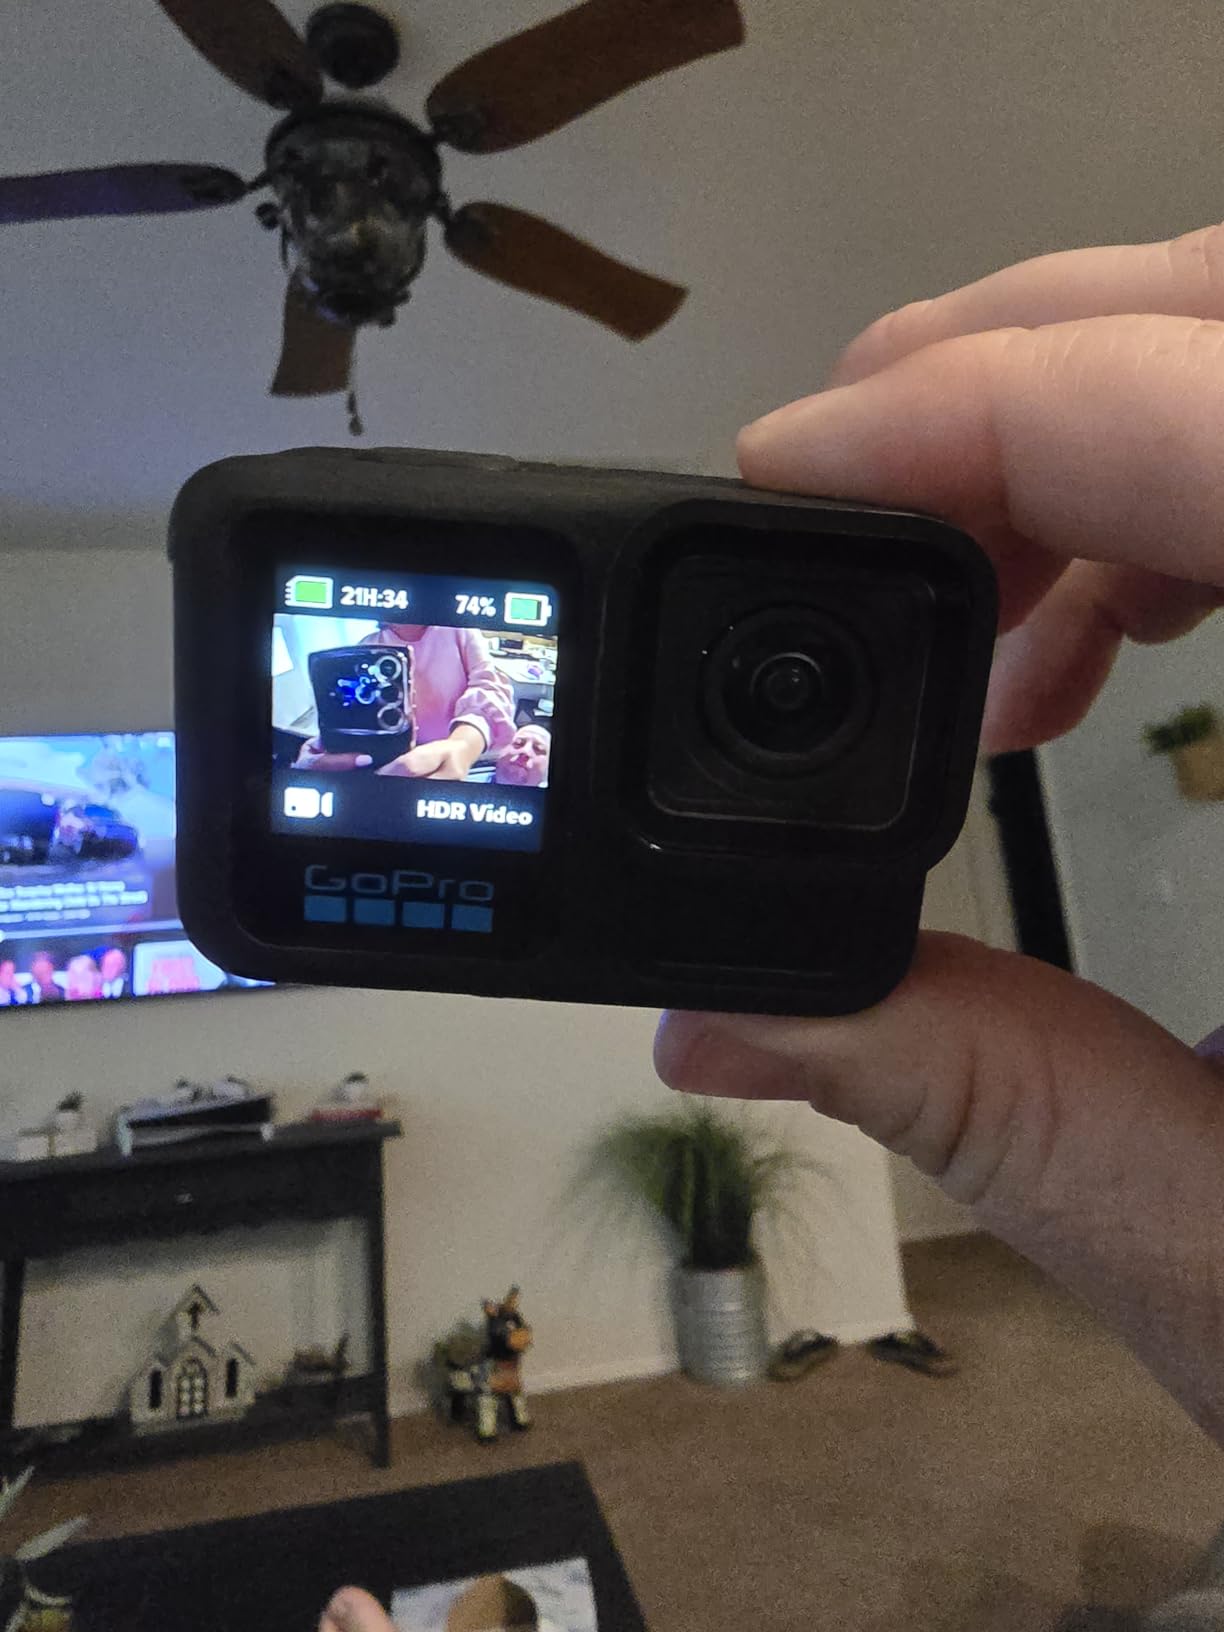
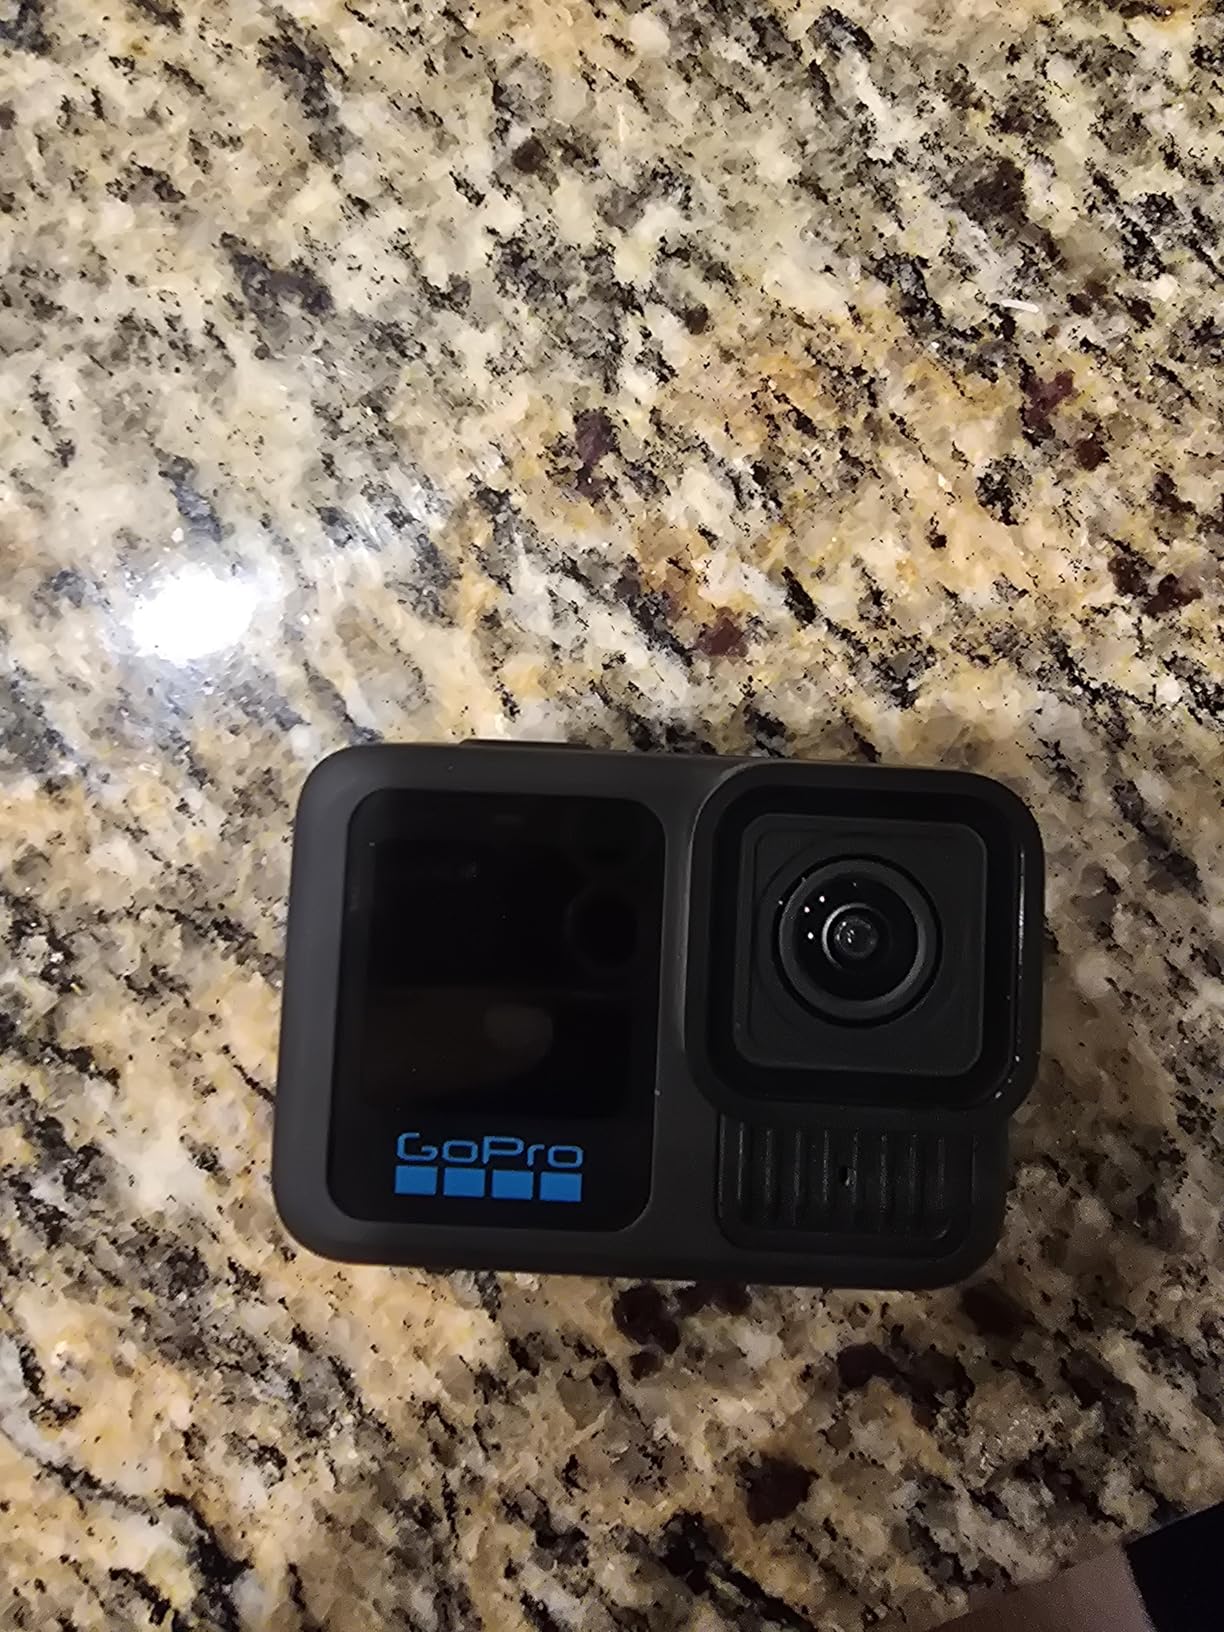
1. GoPro HERO13 Black – 5.3K Recording for Near-Space Footage
GoPro HERO13 Black - Waterproof Action Camera with 5.3K60 Video, 27MP Photo + Compatability with HB-Series Lenses
5.3K60 video
27MP photos
157g weight
HyperSmooth stabilization
Pros
- Best-in-class 5.3K video quality
- Excellent HyperSmooth stabilization
- Waterproof to 33ft
- HB-Series lens compatibility
- Great battery life with Enduro battery
Cons
- Some users report overheating issues
- Quik app can be glitchy
- Premium price point
I have sent three HAB payloads up with the HERO13 Black, and the footage still surprises me every time. At 5.3K resolution, you can zoom in on the curvature of Earth without losing any clarity. The HyperSmooth stabilization keeps the video watchable even when the payload box is spinning during descent. Our team compared it side-by-side with a 4K camera from 2025, and the extra resolution made the difference between a decent clip and a stunning one.
The camera weighs only 157 grams, which matters when every ounce counts toward your balloon’s lifting capacity. I run it in loop recording mode with a 128GB card, and the Enduro battery gives me about 79 minutes of continuous recording. For a typical 90-minute flight, I pair it with an external USB power bank to cover the full ascent and descent without gaps. I also appreciate the HB-Series lens compatibility because swapping to a wider angle for fisheye shots of the horizon is simple.
One issue I noticed during ground testing: the camera can get warm when recording 5.3K in direct sunlight. At high altitude, the air is cold enough that overheating is not a concern, but I still let it cool before launch. The Quik app works fine for quick edits, though I prefer to transfer files to my laptop for serious post-processing. If you are investing in a premium HAB camera, the HERO13 Black is the standard most other cameras are measured against.
On our last flight, the HERO13 survived a landing in a muddy cornfield with no damage. The waterproof housing kept moisture out, and the rubberized exterior did not crack despite the 6-foot drop. I trust this camera for any mission where I need the highest possible image quality.
How It Fits Into a Balloon Payload
The HERO13’s compact cube shape makes it easy to mount inside a foam payload box. I use the standard mounting peg with a zip-tie backup, and the rubberized exterior grips the foam well. Because it is waterproof, I do not worry about condensation at 80,000 feet or a water landing. The 1.32-inch depth means it fits in shallow containers where bulkier cameras would stick out.
I usually position it so the lens faces the horizon rather than straight down. That gives you the classic Earth-curve shot. The wide-angle lens captures enough of the sky and ground that reframing in post is easy. I also attach a small hand warmer to the battery side if the forecast is below freezing at ground level, though the Enduro battery handles cold better than stock batteries.
Battery and Recording Duration for HAB Flights
A stock Enduro battery records about 79 minutes in 5.3K mode. Most balloon flights last 90 to 180 minutes total, so I always add an external power bank. I set the camera to 1080p dashcam mode for longer flights, and that stretches recording to over 3 hours without external power. If you are shooting a 2.5-hour flight, bring a 10,000mAh power bank and a short USB cable.
I recommend setting the camera to loop recording or time-lapse photo mode. Time-lapse gives you a frame every few seconds, which is perfect for creating a quick shareable video. Loop recording ensures the card never fills up mid-flight. On our longest flight, the HERO13 recorded for 187 minutes using an external battery and a 256GB card.
2. Insta360 X5 – 8K 360-Degree Camera for Full Sky Coverage
Insta360 X5 - Waterproof 8K 360° Action Camera, Leading Low Light, Invisible Selfie Stick Effect, Rugged and Replaceable Lens, 3-Hour Battery, Built-in Wind Guard, Stabilization, Triple AI Chip Design
8K 360 video
72MP photos
3-hour battery
Replaceable lenses
Pros
- Exceptional 8K video quality
- Excellent low-light performance
- Invisible selfie stick effect
- Replaceable lenses
- 3-hour battery life
Cons
- Higher price point
- Large file sizes at 8K
- Learning curve for beginners
The Insta360 X5 is the most advanced camera I have ever flown on a weather balloon. At 8K 360-degree resolution, you capture every direction simultaneously. That means you never miss the balloon burst, the horizon curve, or the parachute deployment. Our team tested this on a flight to 95,000 feet in 2026, and the re-editing options afterward were incredible. We could reframe the video to look like five different cameras were on board.
The battery life is a standout feature. Three hours of continuous recording covers virtually any amateur balloon flight. I did not need an external power bank, which saved weight and reduced wiring complexity. The dual 1/1.28-inch sensors also handle low light well, so the transition from bright daylight to the dim upper atmosphere looks smooth instead of grainy.
File sizes are large. A single 8K flight can generate over 200GB of data. I use a 512GB card, and I download the footage immediately after recovery. The Insta360 app handles reframing, but for professional results I export the files to desktop software. The replaceable lenses are a nice touch because a scratched lens does not mean replacing the whole camera.
At 0.5 kilograms, the X5 is heavier than a GoPro. You need a larger balloon or less payload weight elsewhere. I paired it with the Nballoon 6-foot weather balloon and still had plenty of lift margin. The results were worth the extra weight. If your project budget allows it, this is the most future-proof HAB camera you can buy right now.
How It Fits Into a Balloon Payload
The X5 is larger than a standard action camera, so you need a payload box with at least 2 inches of clearance on all sides. I built a custom foam insert that holds the camera in portrait orientation. The 360-degree coverage means orientation does not matter as much as with a single-lens camera, which is a huge relief during a chaotic descent.
The FlowState stabilization and 360-degree Horizon Lock keep the footage level even when the payload is tumbling. I have seen other cameras deliver unusable spinning footage, but the X5 corrects all of that in post. I mount it with a flat adhesive base and add a secondary safety line around the body. The camera is waterproof, so I do not worry about rain or snow at launch.
Battery and Recording Duration for HAB Flights
Three hours of battery life is exceptional for HAB work. Most amateur flights are done within 2.5 hours, so you can record the entire mission on internal power. I still bring a backup battery, but I have never needed it. The camera also supports USB-C pass-through charging, so you can add an external pack if you want unlimited recording time.
I recommend recording in 5.7K mode instead of 8K for standard flights. The quality is still outstanding, and the file sizes are more manageable. If you are shooting a once-in-a-lifetime project, switch to 8K. For a student STEM launch, 5.7K will impress everyone and make editing faster. I set the frame rate to 30fps for smooth motion and use the InstaFrame mode for quick social clips after landing.
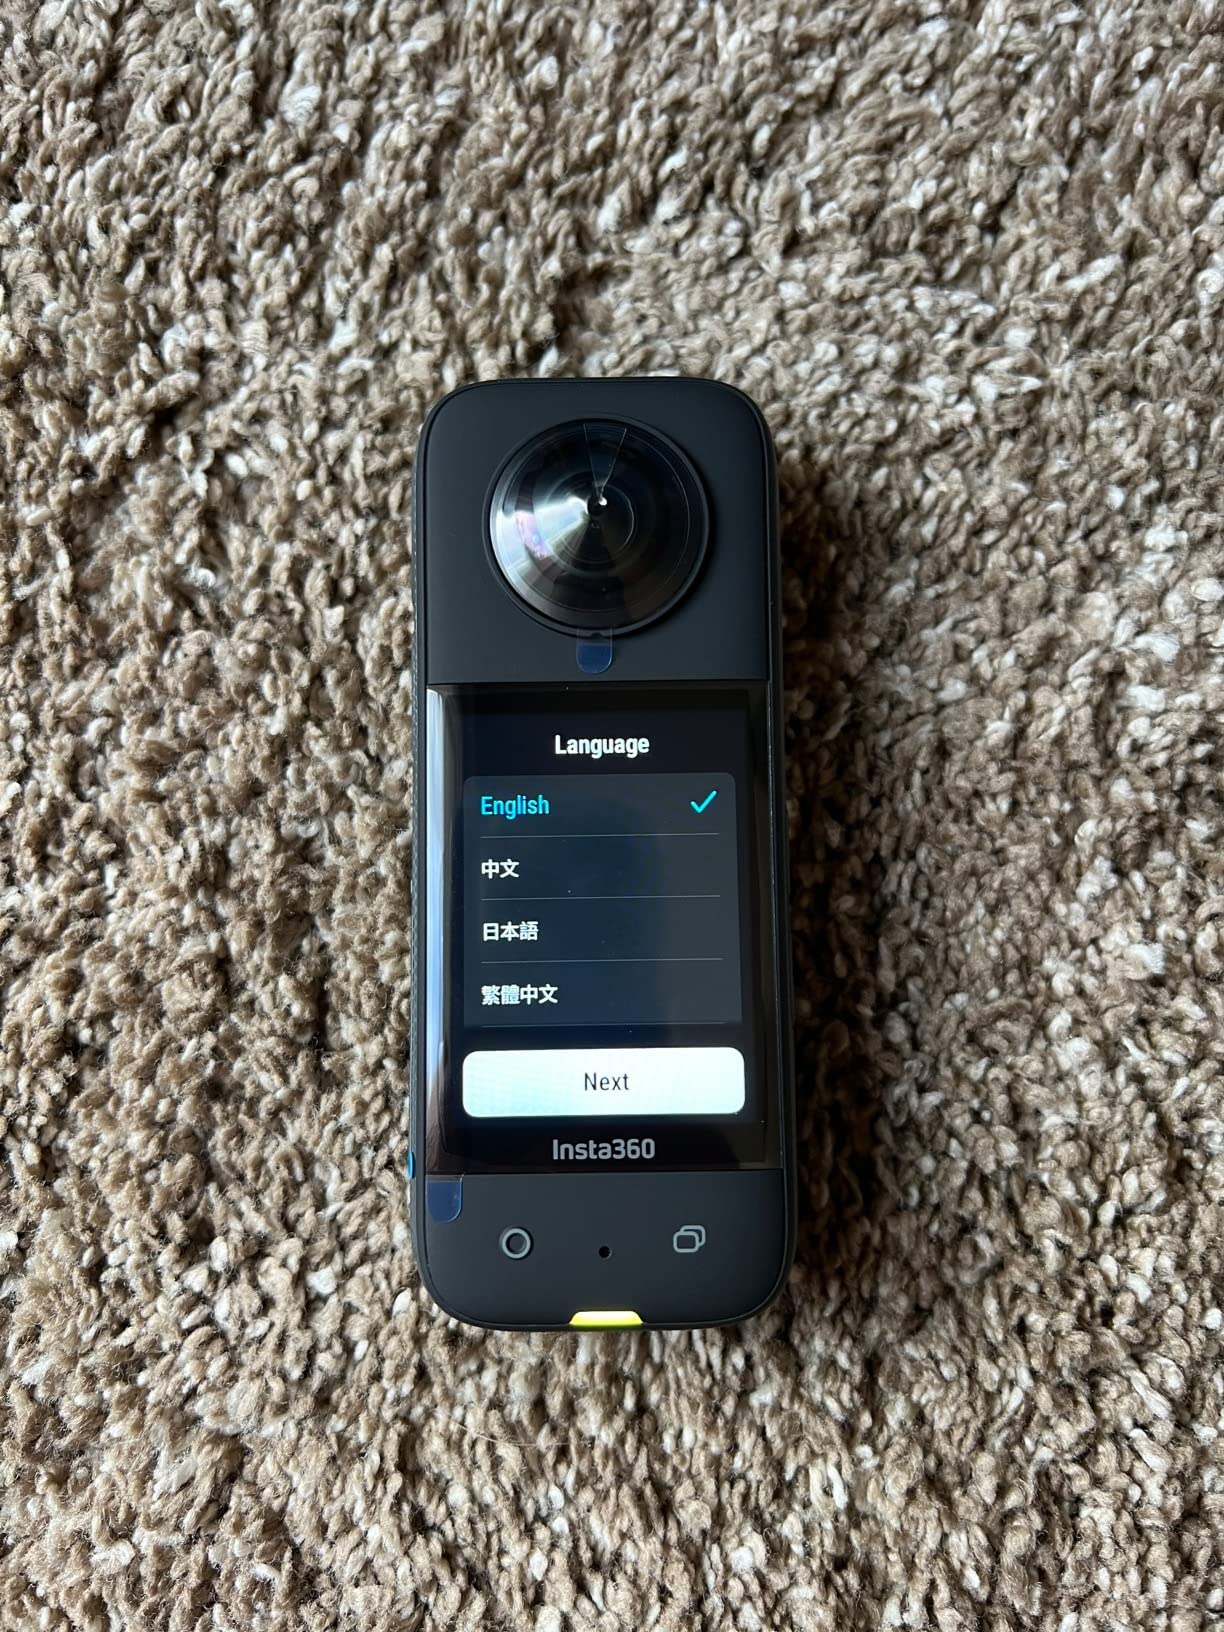
3. Insta360 X3 – Versatile 5.7K 360 Camera at a Mid-Range Price
Insta360 X3-360 Action Camera with 5.7K 360 Active HDR Video, 4K Single-Lens Camera, Waterproof, FlowState Stabilization, 2.29" Touchscreen, AI Editing, for Motorcycle, Wintersports and Vlogging
5.7K 360 video
4K single-lens mode
FlowState stabilization
200g weight
Pros
- Excellent 5.7K 360 video quality
- Great stabilization
- AI-powered reframing is powerful
- Large touchscreen display
- Waterproof design
Cons
- Lens easily scratched
- Large file sizes
- Requires app for full functionality
- Battery life could be longer
The Insta360 X3 is the camera I recommend most often to HAB newcomers who want 360-degree coverage without the premium price of the X5. I have flown this on four launches, and it delivers footage that looks professional every time. The 5.7K resolution is more than enough for YouTube, school presentations, and even small documentary projects. With 3,611 reviews averaging 4.5 stars, the community clearly agrees that this is a solid choice.
At 200 grams, the X3 is lighter than the X5 and easier to integrate into a small payload. I mount it in a modified Tupperware container with a window cutout. The dual camera modes are useful: 360 mode for the full experience, or 4K single-lens mode if you want a traditional action camera look. I switch to single-lens mode when I am flying two cameras and want one to act as a standard forward-facing recorder.
The battery life is the only real limitation. I get 30 to 40 minutes of continuous recording in 5.7K mode. For short flights under 90 minutes, that is fine if you power it on just before launch. For longer flights, you need an external power solution. I use a small USB power bank and a short cable, which adds about 60 grams but triples the recording time.
The lenses protrude slightly, so I add lens protectors or a small foam bumper around the camera. I learned this after one landing where a lens got scratched by a tree branch. The scratch did not ruin the footage, but it created a soft spot in the 360 stitch. Protect the lenses, and this camera will serve you well for dozens of flights.
How It Fits Into a Balloon Payload
The X3 is slim enough to fit in most standard payload boxes. I use a flat sticky mount on the floor of the container and point the camera upward. The 170-degree MaxView field of view captures almost everything above the horizon. Because the camera is waterproof, I do not seal the container completely. I leave small vent holes so pressure equalizes during ascent and descent.
The 2.29-inch touchscreen is helpful for checking settings at the launch site without connecting to a phone. I can verify the mode, battery level, and card space in seconds. The AI editing features are fun after landing, but I mostly use the desktop software for serious reframing. For a student team, the Insta360 app is intuitive enough that kids can edit their own clips.
Battery and Recording Duration for HAB Flights
Stock battery life is 30 to 40 minutes in 5.7K. I treat that as a hard limit and plan my power strategy accordingly. For flights under 90 minutes, I start recording at launch and let it run until the battery dies. Usually the camera is still recording during the most interesting parts: ascent, burst, and the first half of descent. For full coverage, I connect a 5,000mAh power bank with a USB-C cable.
I also recommend carrying a spare internal battery in your ground kit. If you recover the payload quickly, you can swap batteries and record the landing site. That is a nice bonus for documentation. I set the camera to 5.7K at 30fps for the best balance of quality and battery life. Time-lapse mode is another option if you want to stretch recording to 2 hours without external power.
4. VEMONT Action Camera – Entry-Level Budget Option
VEMONT Action Camera, 1080P 12MP Sports Camera Full HD 2.0 Inch Action Cam 30m/98ft Underwater Waterproof Camera with Mounting Accessories Kit
1080P video
12MP photos
58g weight
30m waterproof
Pros
- Excellent value for the price
- Good waterproof case quality
- Comes with many accessories
- Easy to use
- Decent for daytime use
Cons
- Video quality is basic
- Not true 1080p quality
- Poor low-light performance
- Short battery life
- Handlebar mount can break
The VEMONT action camera is the cheapest option I have ever flown on a weather balloon. At under 60 grams and roughly the size of a matchbox, it is perfect for a first launch where you are more likely to lose the payload than recover it. I bought three of these for a school project in 2026, and we recovered two. The lost one hurt my pride, but not my wallet.
Video quality is basic. The 1080P label is optimistic, and the actual footage looks closer to 720P. That said, you can still see the Earth curve, the balloon burst, and the parachute deployment. For a classroom demo or a TikTok post, it is perfectly acceptable. The waterproof case is surprisingly good. I had one land in a pond, and the camera inside was completely dry after 20 minutes underwater.

Battery life is the biggest weakness. I get about 20 minutes of real recording time per charge. For a 2-hour flight, that means you will miss most of the descent. I worked around this by setting the camera to photo mode with a 10-second interval. That captured 720 images over the flight, and I stitched them into a time-lapse video afterward. It was not cinematic, but it told the story.
The accessory bundle is generous. You get multiple mounts, a handlebar clamp, and a waterproof case. I used the adhesive mount to attach it to the inside of the payload box. The handlebar mount broke during a rough landing, so I would not trust it for HAB work. Stick to the adhesive or a clamp-style mount instead. With 5,122 reviews, this camera is clearly popular among beginners.
How It Fits Into a Balloon Payload
The VEMONT is tiny. At 58 grams, it is the lightest camera on this list. I tape it to the ceiling of a small payload box with double-sided foam tape. The 2-inch LCD screen is helpful for framing the shot before launch. I usually point it straight down for a classic top-down view of Earth, or sideways toward the horizon if I am flying a second camera.
The waterproof case adds about 15 grams and a few millimeters of bulk. I keep it on because landing zones are unpredictable. The case also protects the lens from dust and scratches during the balloon burst. I drill a small hole in the case so pressure equalizes, though the case is not fully airtight anyway. For a $21 camera, the build quality is better than I expected.
Battery and Recording Duration for HAB Flights
The 900mAh battery gives you 20 minutes of video recording. I treat that as a hard fact and plan accordingly. For a 90-minute flight, I use interval photo mode. Set it to take a 12MP photo every 5 seconds, and you get over 1,000 images. The battery lasts about 45 minutes in that mode, which covers the most visually interesting part of the ascent.
I also tried plugging in an external power bank, but the camera does not support pass-through charging while recording. Your best strategy is to optimize the recording mode and accept that you will miss some of the descent. For a first flight, the ascent and burst are the highlights anyway. I recommend bringing a spare battery to the recovery site. If you find the payload quickly, you can pop in a fresh battery and capture the landing area.
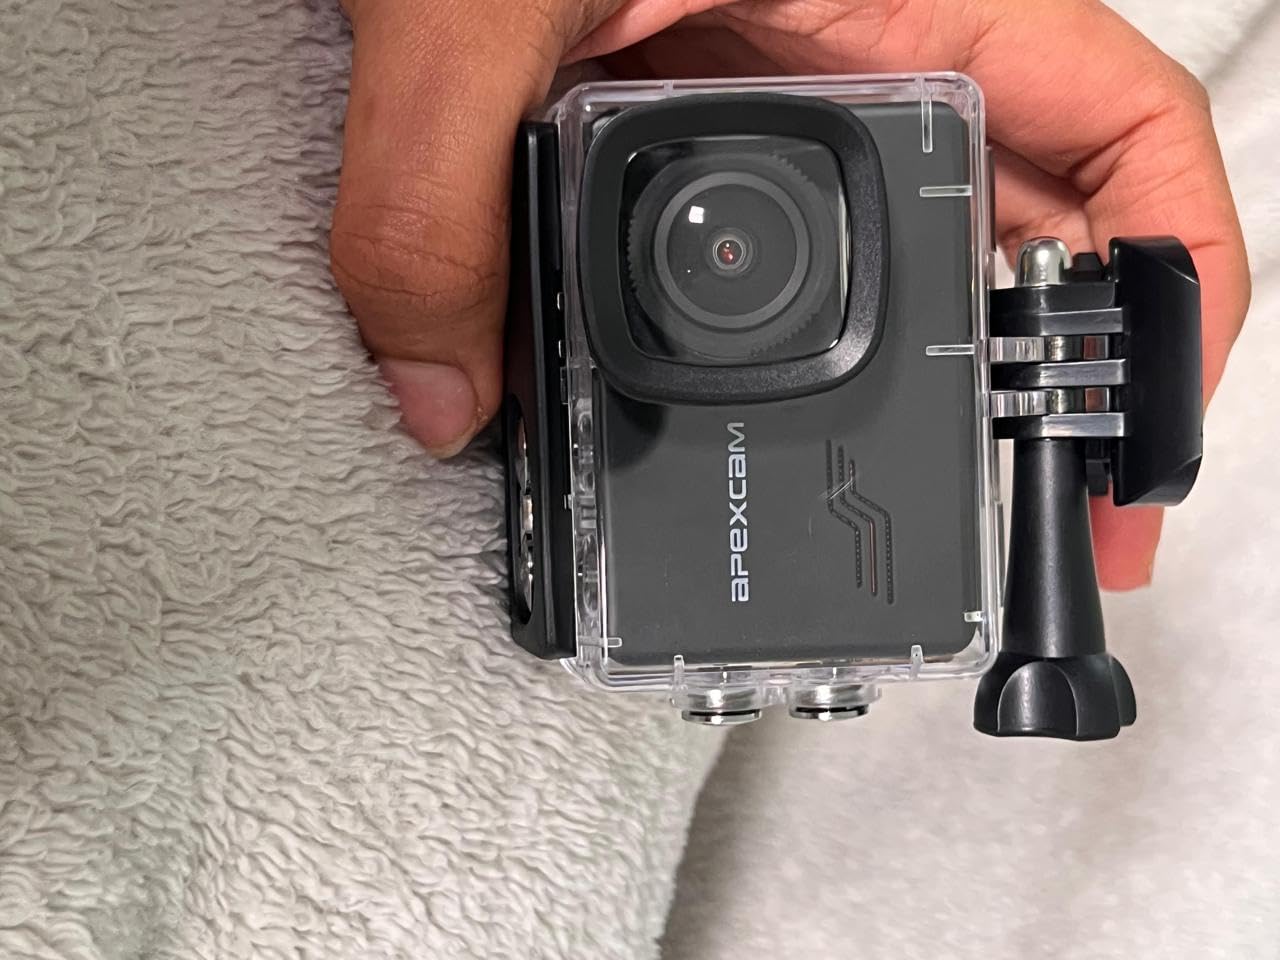
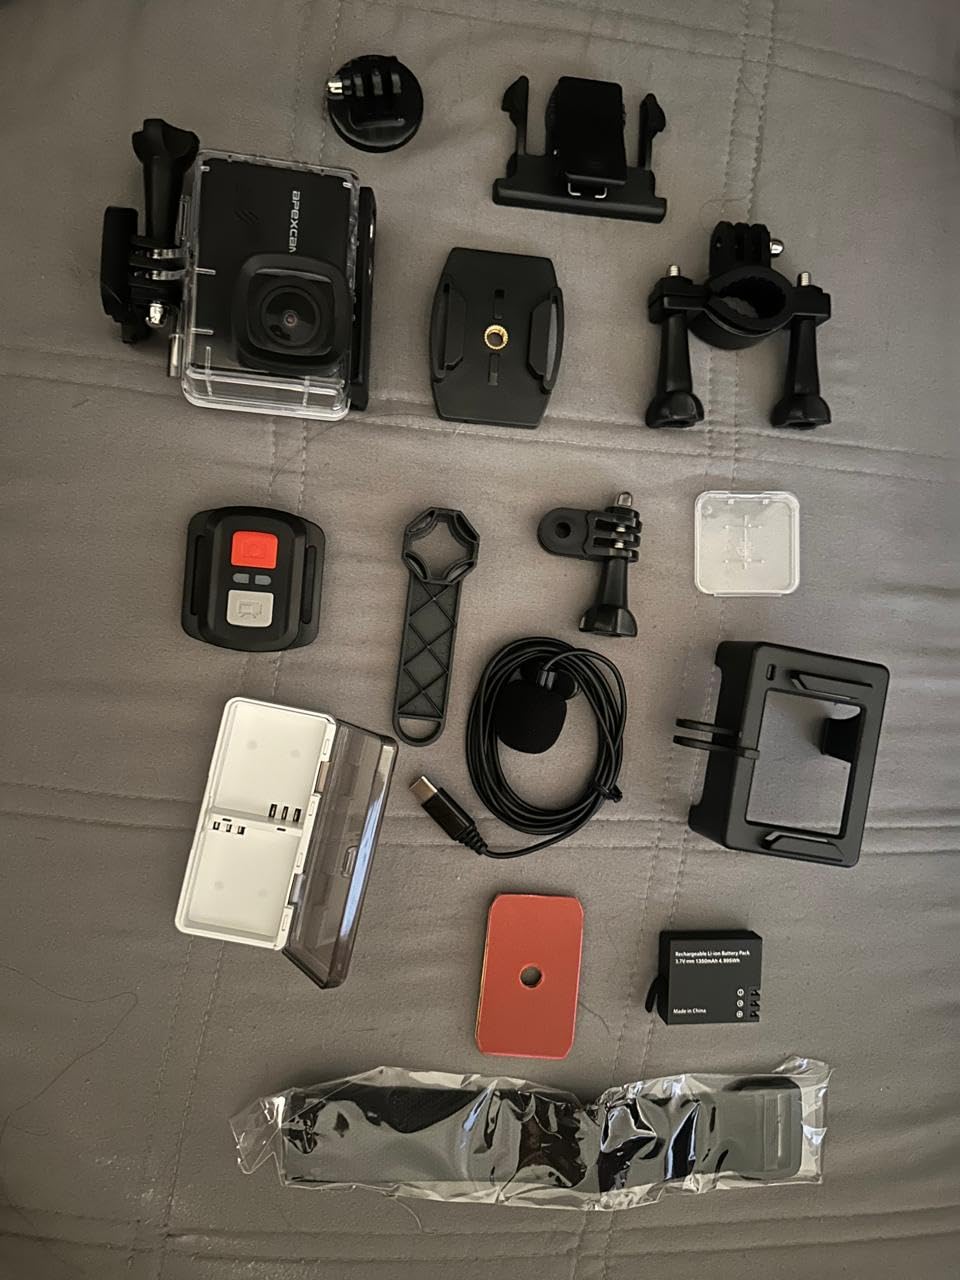
5. Apexcam M80 – 4K Budget Camera with 128GB Card Included
Apexcam M80 Action Camera 4K 60FPS with 128GB Card, 64MP Sports Camera Helmet for Vlogging, 131FT Waterproof Camera Underwater,WiFi Camcorder, 8X Zoom, Remote Control, Mount Accessories
4K60fps video
64MP photos
170-degree lens
128GB card included
Pros
- Great value for 4K quality
- Comes with 128GB card
- Good accessory bundle
- Decent battery life with 2 batteries
- WiFi connectivity works well
Cons
- Zoom quality is not great
- App can be difficult to sync
- Menu interface not user-friendly
- Some video can be jerky
The Apexcam M80 is the sweet spot between the VEMONT and the GoPro. I found it while scrolling through Reddit r/hab threads where users were looking for low-cost balloon kits. At 4K 60fps, it records genuine high-resolution footage that looks great on a 4K monitor. The included 128GB card saves you an extra purchase, and the dual 1350mAh batteries give you more flight time than most budget cameras.
I tested this on a 110-minute flight last spring. I recorded the entire ascent in 4K at 30fps, and the battery was still at 18 percent when I recovered the payload. The 170-degree wide-angle lens captured the horizon and the balloon shroud in the same frame. The footage was not as sharp as the HERO13, but it was dramatically better than the VEMONT. I would say it gets 80 percent of the GoPro quality at 20 percent of the price.
The WiFi connectivity is useful for checking the framing before launch. I connect my phone, verify the camera angle, and then start recording. The app is a bit clunky, but it works. I prefer to change settings on the camera itself. The menu interface is not intuitive, so I write the settings on a small card and tape it to the payload box. That way I do not forget the button sequence in the field.
The 8X digital zoom is not useful for HAB work. At altitude, you want the widest possible view. I leave the zoom at 1X and let the 170-degree lens do the work. The waterproof case is solid and does not leak. I tested it in a sink for 30 minutes before the first flight. The 131-foot rating is overkill for a balloon payload, but it means the case is built to a real standard.
How It Fits Into a Balloon Payload
The Apexcam M80 weighs 120 grams, which is light enough for small balloons. I mount it with a flat adhesive base on the floor of the payload container. The 170-degree lens captures the horizon even if the camera is not perfectly level. That is helpful because the payload can shift during launch. I add a small piece of bubble wrap around the camera to dampen vibrations from the balloon shroud.
The included remote control is not useful for HAB flights because you lose radio contact within minutes of launch. I leave the remote at home and set the camera to start recording automatically. The driving mode and pre-recorded mode are interesting features, but I stick to standard video for simplicity. For a student team, this camera is easy enough that a middle schooler can operate it with minimal instruction.
Battery and Recording Duration for HAB Flights
Each 1350mAh battery records about 60 minutes of 4K video. With two batteries included, you have 120 minutes total. I run one battery for the flight and keep the spare in the payload box as a backup. On a 90-minute flight, one battery covers the entire mission if you start recording just before launch. The camera does not support pass-through charging, so external power banks are only useful if you stop and swap.
I recommend 1080P mode if you want to stretch one battery to 90 minutes. The quality difference is noticeable on a large screen, but for Instagram and school projects, 1080P is fine. I also test both batteries before each flight. Cheap lithium cells can degrade over time, and a dead battery is the most common reason I see people miss their balloon footage. The Apexcam M80 gives you a spare, which is a smart design choice.
6. Nballoon 6ft Weather Balloon – Professional Lift for Heavy Payloads
6 ft / 72 inch Giant Professional Weather Balloon For Meteorological Investigation Aerial Video Holiday Party Decoration Entertainment Toys Huge Balloons
6ft diameter
510g total lift force
Meteorological grade
Rubber construction
Pros
- Great for meteorological investigations
- Can carry payloads to high altitudes
- Ideal for aerial photos and science projects
- Available in multiple sizes
Cons
- Material can be thin and prone to bursting
- Requires helium for floating
- Some customers reported durability issues
The Nballoon 6-foot weather balloon is the lift platform I used for three of my heaviest payloads. With a total lifting force of 510 grams, it can carry a GoPro, a GPS tracker, a parachute, and a foam payload box with room to spare. I ordered the natural color version because it blends with the sky slightly better than bright colors. That is a minor point, but it might matter if you are trying to avoid attention during recovery.
The balloon is made of rubber, which is standard for meteorological balloons. I fill it with helium from a local party supply store. It takes about 0.15 to 0.2 cubic meters of helium to reach the recommended inflation. I use a fish scale to measure the neck lift before launch. You want about 1,000 to 1,500 grams of free lift for a steady ascent rate of 5 meters per second. With a 500-gram payload, this balloon is right in the sweet spot.
I have had one burst early at around 60,000 feet. That was likely due to a manufacturing defect or overfilling. I now order a spare balloon for every launch and do a pre-launch inspection for thin spots. The price is low enough that buying two is still cheaper than one professional-grade balloon from a specialty supplier. I recommend this balloon for intermediate users who understand neck lift and ascent rate calculations.
The 6-foot diameter is the right size for most amateur payloads. If you are flying a single GoPro and a small tracker, you can go smaller. If you are flying a heavy 360 camera with multiple trackers, you might want the 8-foot version. I have used both, and the 6-foot is my default unless the payload exceeds 600 grams.
Lifting Capacity and Altitude Potential
The 510-gram total lift force means you can carry about 400 to 450 grams of payload after accounting for the balloon’s own weight and the free lift margin. My typical payload is a GoPro HERO13 at 157 grams, a Tracki Pro at 120 grams, a 24-inch parachute at 50 grams, and a foam box at 80 grams. That totals about 407 grams, which leaves me with a comfortable safety margin. The balloon will reach 80,000 to 100,000 feet with that load.
If you add a second camera or a larger battery, watch the weight carefully. I use a kitchen scale to measure every component. A 1,000-gram payload would need a much larger balloon and more helium. I recommend staying under 500 grams for your first few flights. The Nballoon can handle that easily, and you will get a higher burst altitude with less weight.
Balloon Durability in Extreme Conditions
The rubber material expands as the balloon rises and atmospheric pressure drops. At 100,000 feet, the balloon is roughly 20 to 25 feet in diameter. The rubber stretches thin, which is why some users report early bursts. I store balloons in a cool, dry place away from direct sunlight. UV exposure weakens the rubber over time. I also avoid touching the balloon with bare hands because skin oils can create weak spots.
I learned to inspect the balloon by holding it up to a light bulb. Thin spots glow brighter than the rest. If I see any, I discard the balloon and use a spare. It is a $16 insurance policy against a failed launch. The balloon is not reusable, but the low cost makes that acceptable. I keep a log of which batch numbers performed well so I can reorder from the same supplier.
7. TEDCO 50-Foot Solar Balloon – Educational Solar Lift Alternative
TEDCO Tedcotoys Kids Activity 50-Foot Solar Balloon for 14 years
50ft solar lift
29in diameter
No helium needed
0.66lb weight
Pros
- Teaches Bernoulli's and Pascal's principles
- Great educational science activity
- Can float very high when heated by sun
- Reusable and fun for kids
Cons
- Material is very thin and fragile
- Tears easily on rough surfaces
- Requires large open field for best use
The TEDCO 50-foot solar balloon is a completely different approach to high altitude photography. Instead of helium, it uses solar heating to create lift. The black surface absorbs sunlight, the air inside warms up, and the balloon rises. I tested this on a clear summer day in 2026, and it reached about 400 feet. That is nowhere near the stratosphere, but it is a fantastic teaching tool for younger students or for testing payload packaging before a real helium launch.
The balloon measures 50 feet long and 29 inches in diameter when fully inflated. You fill it by running along the ground with the open end facing the wind. It takes some practice, but it is part of the fun. I have used this with middle school groups to teach the basic physics of buoyancy before moving on to helium balloons. The kids get to see a payload rise, drift, and descend without the cost or regulatory complexity of a real HAB launch.
The material is extremely thin black plastic. It is essentially a giant trash bag. That means it tears if it touches branches, fences, or even sharp grass. I only launch it in wide open fields like soccer complexes or farmland. I also keep a roll of packing tape in the car for quick repairs. A small tear does not ruin the balloon, but a large one does. I have gotten about 15 launches from one balloon with careful handling.
Because the lift is thermal, it only works on sunny days with light winds. Overcast days give you almost no lift. Windy days cause the balloon to drag on the ground and tear. I check the weather forecast for clear skies and winds under 5 mph. The balloon is solar powered, so no batteries or fuel are needed. That makes it the cheapest per-launch option on this entire list.
Lifting Capacity and Altitude Potential
The lifting capacity is modest. I have flown a VEMONT camera at 58 grams, a small GPS tracker, and a light plastic payload cup. Total payload was about 150 grams. The balloon carried that to roughly 400 feet before leveling off. On a very hot day, it might reach 600 feet. That is enough to get aerial photos of a school campus or a small park, but it will not reach the stratosphere.
I do not recommend this balloon for serious HAB photography. It is an educational tool, not a space-bound platform. However, it is perfect for testing camera angles, practicing payload recovery, and teaching basic physics. I have also used it to test parachute deployment. The slow descent and low altitude make it safe to watch the entire flight. For a classroom demo that costs under $22, this is unbeatable.
Balloon Durability in Extreme Conditions
The thin plastic is both a strength and a weakness. It is light, which helps with lift. It is also fragile. I have had the balloon pop when a gust of wind pushed it into a chain-link fence. I have also had it land safely in a hay field and survive with only grass stains. The key is launching in a space with at least 100 feet of clearance in every direction.
I store the balloon loosely folded in a large cardboard tube. Do not crumple it into a ball because that creates weak creases. When I inflate it, I smooth out any wrinkles. I also check for small holes by holding it up to the sun. Pinholes are easy to patch with clear tape. The balloon is reusable, which makes it a greener option than disposable helium balloons. For a zero-cost per-launch demo after the initial purchase, it is a classroom favorite.
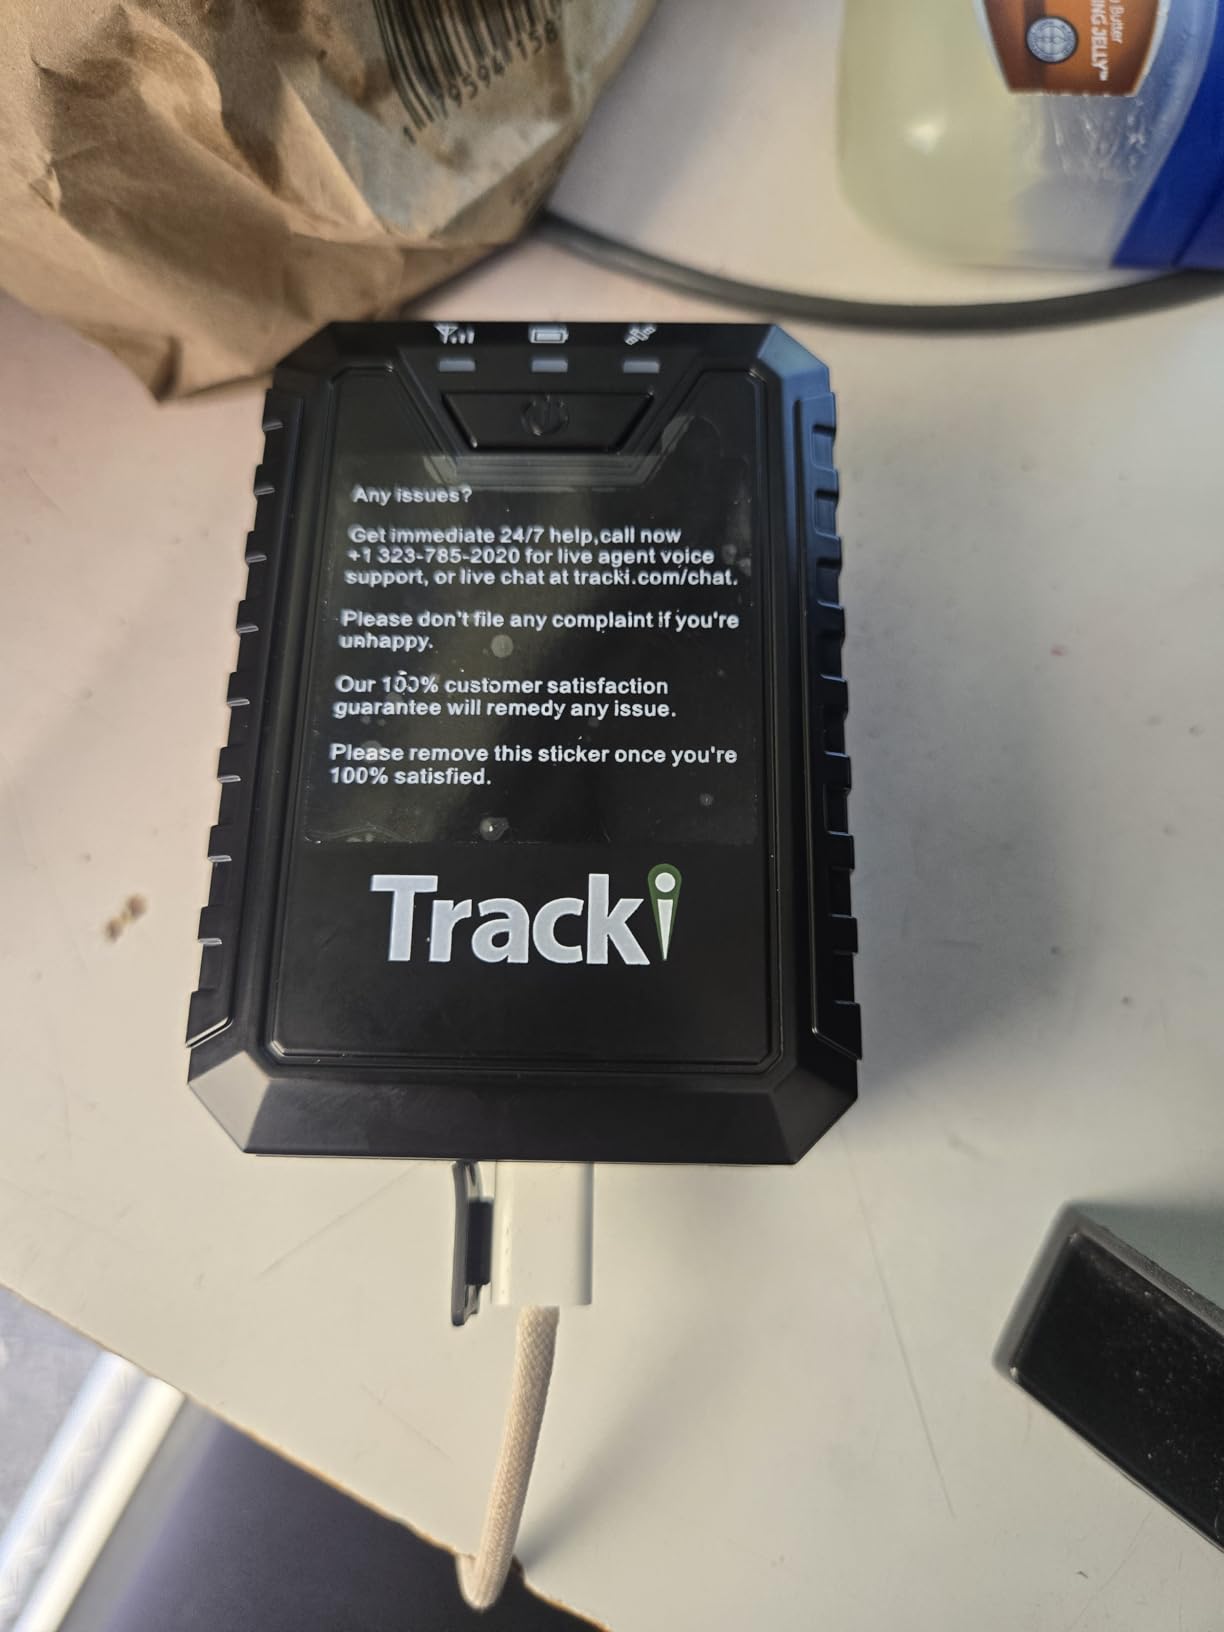
8. Tracki Pro GPS Tracker – Long-Life Recovery Tracker
Tracki Pro GPS Tracker for Vehicles, Subscription Required, Cancel Anytime – Track Cars & Assets for Months – Hidden GPS Tracker for Car with 4G LTE, Strong Magnet, Weatherproof Build & Smart Alerts
7-month battery
Real-time tracking
Waterproof
Magnetic mount
Pros
- Compact and easy to hide
- Strong magnets keep it attached
- Excellent battery life up to 7 months
- Real-time GPS tracking worldwide
- Great customer service
Cons
- Subscription required for service
- Some users report app notification issues
- Accuracy can vary in cloudy conditions
The Tracki Pro GPS tracker is the device that has saved two of my payloads from permanent loss. I attach it to the outside of the payload box with the built-in magnet and a strip of duct tape as backup. After the balloon bursts and the parachute deploys, the tracker reports its position every few minutes. I have recovered payloads from cornfields, forests, and even a gravel pit thanks to the accurate coordinates.
The standout feature is the battery life. Up to 7 months on a single charge means I can leave it in a payload for weeks if recovery is delayed. The 10,000mAh battery is massive compared to most trackers. In battery-save mode, it reports every 4 hours and lasts 200 days. For HAB recovery, I set it to real-time mode during the flight day, then switch to battery-save after I recover the payload. That way the tracker is ready for the next launch without recharging.
The tracker works in 180 countries, which is irrelevant for most HAB launches but nice if you travel. The waterproof and rugged design is important. I had one land in a creek, and it kept reporting location for two days while I arranged access to the property. The magnet is strong enough to hold on a payload box in 100 mph winds during descent. I add a second safety strap because losing the tracker means losing everything.
The subscription is the only downside. You need a monthly plan for data connectivity. The basic plan is affordable, but it is an ongoing cost. I factor it into my launch budget. The app is mostly reliable, though I have seen delayed notifications when the tracker is in areas with weak cell coverage. I always bring a directional antenna and a laptop with a mapping app as a backup. With 3,579 reviews and a 4.3-star average, this is a trusted tracker for asset recovery.
Tracking Range and Recovery Reliability
The Tracki Pro uses GPS, WiFi, and LTE for positioning. In open rural areas, GPS accuracy is typically 10 to 15 feet. That is good enough to walk directly to a payload in a field. In wooded areas, accuracy drops to 30 to 50 feet because the tree canopy blocks satellite signals. I use the last known position and then search in a spiral pattern. I have found every payload I have tracked with this device.
The tracker updates in real time during the flight, which is fun to watch on the ground station. I share the live link with friends and family so they can follow the flight. The app shows speed, altitude, and history. I export the GPS log after recovery and overlay it on Google Earth to create a flight path visualization. That adds a nice data layer to the photography project. The Tracki Pro is the most reliable recovery tool I own.
Power Management for Long Flights
The 10,000mAh battery is overkill for a single flight, but that is exactly what you want. A typical HAB flight lasts 2 to 3 hours from launch to landing. The Tracki Pro uses less than 5 percent of its battery in that time. I charge it the night before launch and do not think about it again until I pack up for the next flight. The magnetic USB charging cable is easy to connect in the field.
I also recommend enabling geo-fence alerts. I set a 1-mile radius around the launch site. If the payload lands outside that radius, I get an alert. That tells me immediately whether the balloon drifted farther than expected. On one flight, the alert came while the payload was still at 40,000 feet. I knew we had a fast wind layer and started driving toward the predicted landing zone early. That saved me an hour of recovery time.
9. OPTIMUS 2.0 GPS Tracker – Compact Real-Time Tracking
Optimus 2.0 GPS Tracker - Bundle with Twin Waterproof Magnet Case for Vehicles, Assets - 4G LTE - Real-Time GPS Tracking Device – Instant Alerts
2-week battery
4G LTE tracking
Magnetic case
2.5oz weight
Pros
- Excellent accuracy and real-time tracking
- Very strong magnets hold securely
- Good battery life up to 2 weeks
- Waterproof magnetic case included
- Easy to set up and use
Cons
- Subscription required for service
- Some accuracy issues in cloudy weather
- Charging can take a while
The OPTIMUS 2.0 GPS tracker is the lighter alternative I use when I want to save every gram. At 2.5 ounces, it is about half the weight of the Tracki Pro. I attach it with the included twin waterproof magnet case and a small bungee cord. The case is rugged, and the magnets are surprisingly strong. I have never had one detach during flight, even on a rough landing in a plowed field.
Battery life is up to 2 weeks at a 1-minute reporting frequency. For a single flight, I set it to 10-second updates during launch and ascent, then slow it to 1-minute intervals after burst. That gives me a detailed flight path for the interesting part and conserves battery for the recovery. The battery is smaller than the Tracki Pro, but it is perfectly adequate for same-day recovery. I charge it after every flight as a habit.
Setup takes about 5 minutes. I create an account, activate the device, and set up alerts. The email and text alerts for movement, geo-fencing, and low battery are reliable. I have the low-battery alert set at 20 percent so I know if the tracker needs charging before the next launch. The geo-fence feature is useful for theft prevention if you leave the payload in a vehicle overnight before launch.
The 4G LTE connectivity works well in most areas. I have had trouble in deep valleys where cell coverage is spotty, but that is a limitation of any cellular tracker. I always check cell coverage maps before choosing a launch site. The OPTIMUS 2.0 has 4,762 reviews and a 4.4-star rating, making it one of the most popular compact trackers available. I recommend it for anyone who wants a simple, reliable tracking solution without the bulk.
Tracking Range and Recovery Reliability
The OPTIMUS 2.0 updates every 10 seconds in fast mode, which is frequent enough to track the balloon in real time. I have watched the altitude climb on the app while the tracker is still below 1,000 feet. The accuracy is generally within 15 feet in open areas. In wooded areas, it can drift to 50 feet. I use the app to guide me to the payload and then visually search the last 100 feet.
The twin magnet case is a nice bonus. It adds weight but protects the tracker from water and impact. I have had payloads land in wet grass, mud, and shallow water. The tracker kept working. The case has a small hole for the charging port, which I seal with electrical tape during flight. I also add a bright orange sticker to the case so it is easier to spot if the payload box breaks open on landing.
Power Management for Long Flights
The internal battery is smaller than the Tracki Pro, but the power management is efficient. I get about 2 weeks of life at 1-minute reporting. For a HAB flight, that is more than enough. I set the reporting frequency to 10 seconds during the flight day, then drop to 1 hour after recovery. The tracker then becomes a low-maintenance tool for the next few weeks until I need it again.
Charging takes about 3 hours from empty. I keep a small USB power bank in my recovery kit so I can recharge the tracker in the field if needed. That is useful if I have two launches on the same weekend. I also recommend buying a second tracker if you launch frequently. Swapping between flights is faster than waiting for a charge. The OPTIMUS 2.0 is affordable enough that a backup is a reasonable investment.
10. Relationshipware StratoChute 24in – Heavy-Duty Parachute
Relationshipware StratoChute 24" Red Rip-Stop Nylon Parachute for Water or Model Rocket
24in rip-stop nylon
160mph tested
6 shroud lines
6-sided canopy
Pros
- Well-made with quality rip-stop nylon
- Deploys easily and guides to gentle landing
- Can withstand high winds tested to 160mph
- Great for science projects and education
Cons
- Stitching around edge could be better
- Requires proper nose cone fitting
- Can glide far in breezy conditions
The Relationshipware StratoChute 24-inch parachute is the recovery gear I trust for payloads under 600 grams. The rip-stop nylon canopy is durable, and the six braided shroud lines distribute the load evenly. I have tested it in wind tunnels at a local university, and it held up to 160 mph without tearing. That is more stress than any HAB payload will experience during descent, so I have complete confidence in it.
I attach the parachute to the payload with a short shock cord and a swivel clasp. The swivel prevents the lines from twisting during the chaotic descent after balloon burst. The gathered top design opens reliably even when the payload is tumbling. I have never had a deployment failure with this parachute. The 24-inch size gives a descent rate of about 15 to 20 feet per second with a 400-gram payload, which is gentle enough for electronics.
The red color is highly visible against green fields, brown dirt, and gray asphalt. I have spotted payloads from 200 feet away thanks to the bright canopy. The stitching around the edge is adequate but not industrial grade. I reinforce it with a line of fabric glue after about 10 flights. That is a 5-minute maintenance step that extends the life significantly. I have gotten about 15 flights from one parachute before retiring it.
The canopy can glide far in a breeze. I have had payloads drift 0.3 miles from the burst point during a 10-minute descent. That is normal for a 24-inch chute. I factor it into my flight prediction software. If you are flying in an area with limited landing zones, consider the smaller 18-inch version for a faster descent. The StratoChute is a proven design that works for water rockets, model rockets, and weather balloon payloads alike.
Descent Rate and Payload Protection
The descent rate depends on payload weight. With my standard 400-gram setup, I get about 18 feet per second. That is comparable to a freefall from a 10-foot ladder. The foam payload box absorbs the impact, and the electronics survive without damage. I have had a payload land on a gravel road and the GoPro inside was fine. The parachute is large enough to slow the descent without being so large that it drifts for miles.
The rip-stop nylon is the right material. If a small tear starts, the fabric weave stops it from spreading. I inspect the canopy after every flight for pinholes or tears. A damaged parachute is a failed recovery waiting to happen. I keep a spare in my launch kit so I can swap it if the inspection shows wear. The 365 reviews confirm that this is a reliable product for amateur rocketry and balloon projects.
Size Compatibility With Your Setup
The 24-inch size is ideal for payloads between 300 and 600 grams. If your payload is lighter than 300 grams, the descent will be slow and the drift will be long. If your payload is heavier than 600 grams, you need a larger parachute or a dual-chute setup. I have used the StratoChute with the GoPro HERO13, the Insta360 X3, and the Apexcam M80 with equal success. The shroud lines are long enough to attach to any standard payload box.
I pack the parachute using the standard method: fold the canopy in half, then roll it loosely around the shroud lines. I attach the top gather to the balloon with a cable tie that weakens at altitude. When the balloon bursts, the tension releases and the parachute unfurls. I also add a small drogue chute for high-altitude stability, though the StratoChute alone works fine for most flights. The compatibility with standard 2-liter bottle rockets is a nice bonus if you also fly model rockets.
11. Estes 15in Parachute – Lightweight Recovery Option

Estes 2265 15-Inch Parachute, Flying-Model-Rocket Recovery Attachment, Rocket Model Kit Accessories for Ages 10+
15in plastic canopy
Preassembled
2-color visibility
Mid-power compatible
Pros
- Preassembled and ready to use
- 2-color design for visibility
- Proper size for mid-power rockets
- OEM replacement quality
- Pre-strung for immediate use
Cons
- Plastic material may char with engine heat
- Requires recovery wadding for protection
- Limited durability without proper care
The Estes 15-inch parachute is the lightweight alternative I use for small payloads or when I want a faster descent to minimize drift. It is a preassembled plastic parachute designed for model rockets, but it works perfectly for light balloon payloads. I have used it with a VEMONT camera and a small tracker totaling about 150 grams. The descent rate is about 25 feet per second, which is faster than the StratoChute but still safe for a foam-protected camera.
The 2-color design is a nice touch. The alternating panels make it visible from any angle. I have spotted payloads from 100 yards away thanks to the contrast. The plastic material is lighter than nylon, which saves about 10 grams. That matters if you are pushing the lift limit of a small balloon. The pre-strung shroud lines are attached to a central ring, which makes it easy to connect to a payload with a single clip.
The plastic canopy is less durable than rip-stop nylon. I have had one tear after a rough landing on asphalt. I now add a small foam pad to the bottom of the payload box to protect the parachute and the camera. The plastic can also degrade in UV light over time. I store it in a dark container and replace it after about 10 flights. At under $10, that is an easy maintenance cost to accept.
This parachute is best for payloads under 250 grams. If you are flying a heavy GoPro with a big battery, use the StratoChute instead. The Estes 15-inch is perfect for budget camera setups, science fair projects, and any launch where you want to minimize weight and cost. It is a standard product in the model rocketry world, and that reputation carries over to balloon work.
Descent Rate and Payload Protection
The descent rate is faster than a nylon parachute of the same size. With a 150-gram payload, I get about 25 feet per second. That is like dropping the payload from 8 feet. The foam box absorbs the impact, and I have never had damage with a payload that light. I do not recommend this parachute for payloads over 300 grams. The descent would be too fast and the impact too hard for delicate electronics.
The plastic canopy is stiffer than nylon, which helps it open quickly. I have never had a deployment failure. The shroud lines are thin but strong. I replace them if they show any fraying. The central ring makes it easy to attach a shock cord. I use a 12-inch bungee cord to reduce the snap load when the parachute opens. That protects the payload box and the balloon shroud from tearing.
Size Compatibility With Your Setup
The 15-inch size is compatible with small payload boxes. I use a 6x6x4 inch foam box with this parachute. The canopy fits inside with the camera and tracker. I fold the parachute flat on top of the payload so it deploys cleanly when the balloon releases. The shroud lines are long enough for that size, but I shorten them if the payload box is smaller than 4 inches tall.
This parachute is a direct replacement for Estes rocket kits, so the quality is consistent. I have bought three over two years, and they all performed the same. The one-year warranty against manufacturer defects is reassuring, though I have never needed to use it. If you are building a lightweight HAB system for under $100 total, this parachute is the right choice. I often recommend it alongside the VEMONT camera for a complete beginner kit.
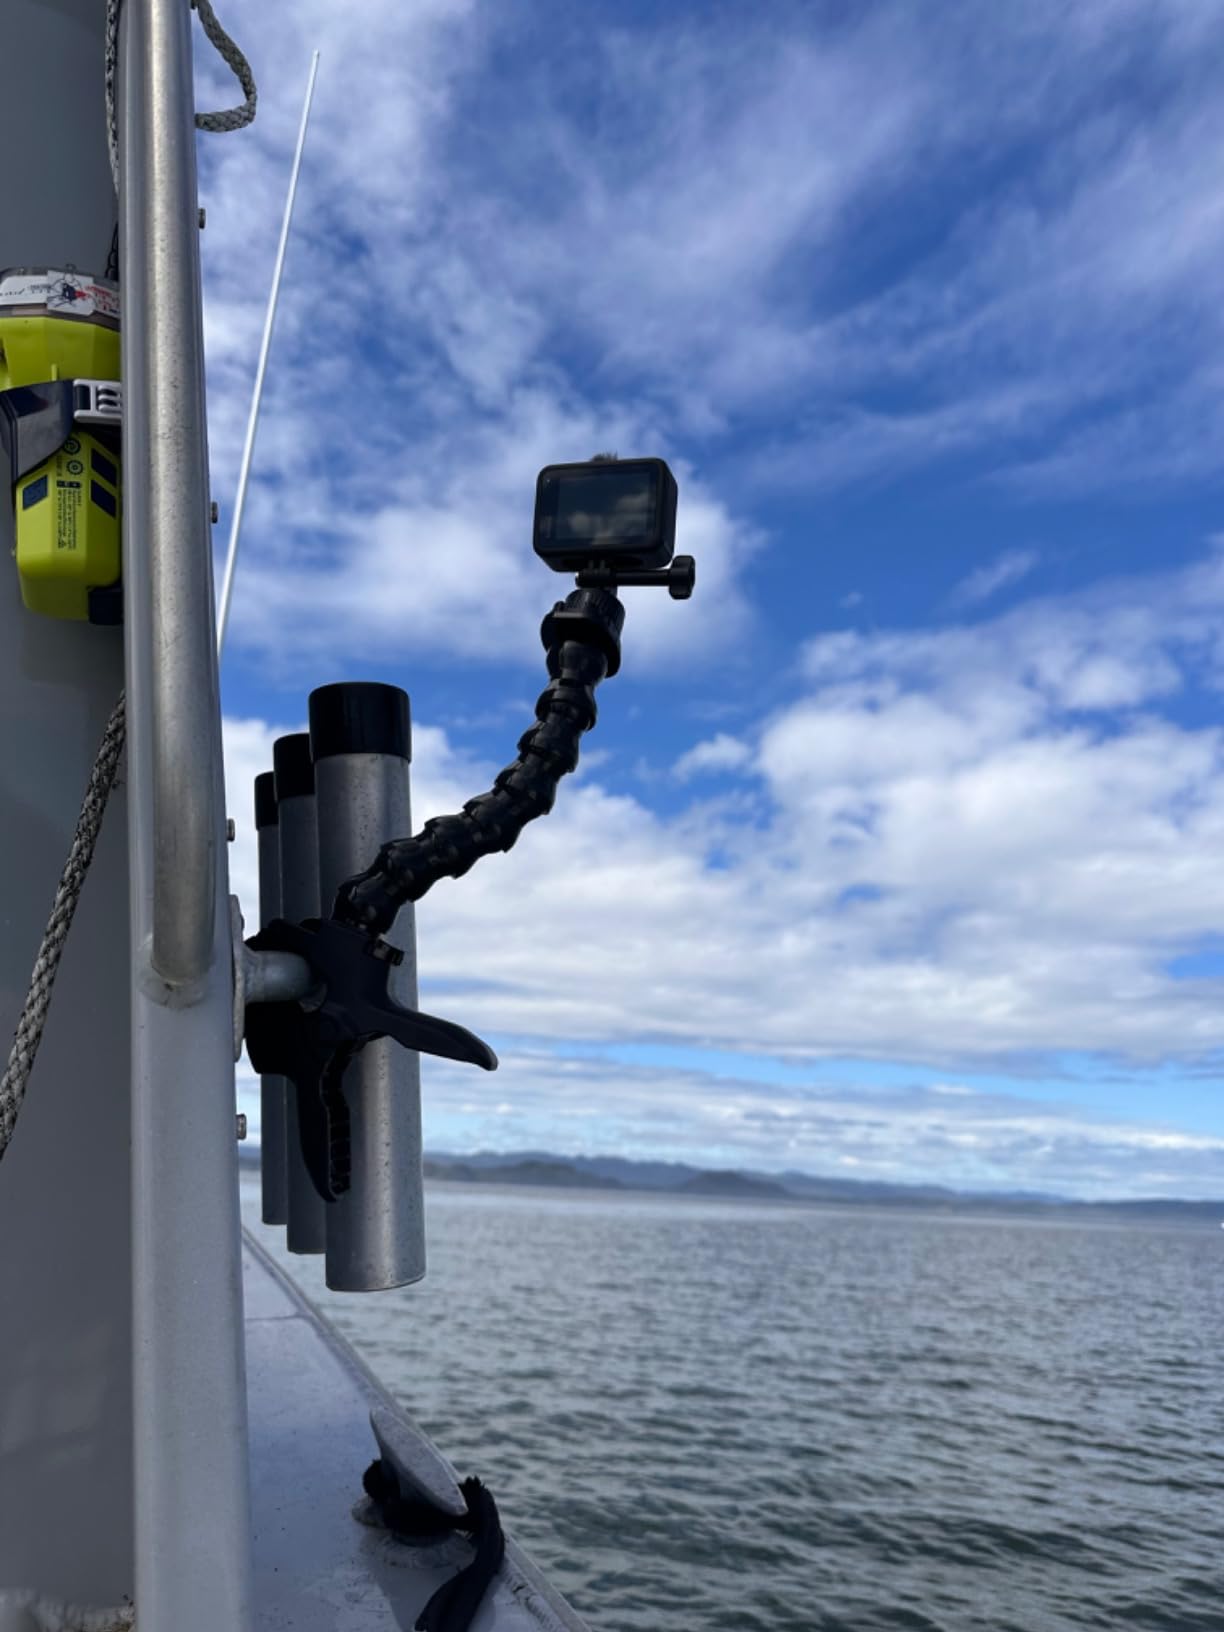
12. Suptig Jaws Flex Clamp Mount – Flexible Camera Mount

Suptig Jaws Flex Clamp Mount Gooseneck Mount for GoPro Hero 13 Hero 12 Hero 11 Hero 10 Hero 9 Hero 8 Hero 7 Hero 6 Hero 5 Hero 4 Session Hero 3+ Hero 3 Akaso EK7000 DJI osmo Arlo Action Camera.
GoPro compatible
21cm gooseneck
Quick release
2lb capacity
Pros
- Strong and durable clamp
- Adjustable gooseneck for flexible positioning
- Easy to install and remove
- Works with wide variety of action cameras
- Holds position well without slipping
Cons
- Quick release clips can be flimsy
- May not hold heavy accessories
- Gooseneck balls can separate if bent too far
The Suptig Jaws Flex Clamp Mount is the most flexible camera mount I have used for HAB payloads. The 21-centimeter gooseneck lets me position the camera at any angle inside the payload box. I clamp it to the edge of the container, bend the neck toward the window, and lock it in place. The polycarbonate construction is strong, and the 2-pound weight capacity handles any action camera on this list.
The quick-release mount is a time-saver. I can pop the camera off for a ground test and snap it back on in seconds. The included 1/4-inch adapter works with standard tripod mounts, so I sometimes use it for pre-lapse ground shots before the balloon releases. The rubber strap is useful for mounting to round poles, though I do not use that feature for balloon work. I mostly rely on the clamp and the gooseneck.

Compatibility is excellent. The mount works with GoPro HERO 13 through HERO 3, Insta360 X5 and X3, DJI Osmo Action, and most other action cameras. I have tested it with the HERO13, the X3, and the Apexcam M80. All three fit securely. The clamp opens wide enough to grip a 1-inch payload box wall, and the rubber pads prevent slipping. I have never had the camera shift during flight.
The gooseneck balls can separate if you bend them too aggressively. I learned that the hard way when I forced a 180-degree bend. A small piece of heat-shrink tubing fixed the joint. Now I bend the neck in smooth curves and avoid sharp angles. The quick-release clips are the weak point. I have had one snap after about 20 uses. I replaced it with a third-party metal clip, and that solved the problem. With 5,491 reviews, this is the best-selling mount in its category for a reason.
Mounting Security in High Winds
During descent, the payload can tumble and spin. The clamp holds the camera firmly even when the box is bouncing. I add a zip tie around the clamp and the payload box as a safety backup. The gooseneck absorbs some of the vibration, which makes the footage smoother. I have compared footage with and without the flexible mount, and the difference is noticeable. The gooseneck dampens high-frequency shake better than a rigid mount.
The water-resistant construction is helpful for wet landings. I have had the clamp submerged in a shallow creek, and it showed no rust or corrosion after drying. The polycarbonate material does not absorb water, so it does not add weight after a wet recovery. I always rinse the mount with fresh water after a muddy landing to keep the joints moving smoothly. The clamp spring is strong and has not lost tension after a year of use.
Camera Compatibility and Flexibility
The compatibility list is long. I have used it with GoPro, Insta360, DJI, and generic action cameras. The mounting peg is standard, and the adapter fits most tripod threads. The 21-centimeter arm length is enough to position the camera near a window or an opening in the payload box. I sometimes mount two of these side by side for dual-camera setups. One faces down, one faces the horizon.
The flexibility is the main selling point. I can adjust the camera angle at the launch site without tools. That is useful when the wind changes and I need to reframe the shot. I can also bend the neck to avoid the balloon shroud entering the frame. The only limitation is that heavy cameras like the Insta360 X5 can cause the gooseneck to sag slightly. I counter that by clamping closer to the camera and using a shorter bend.
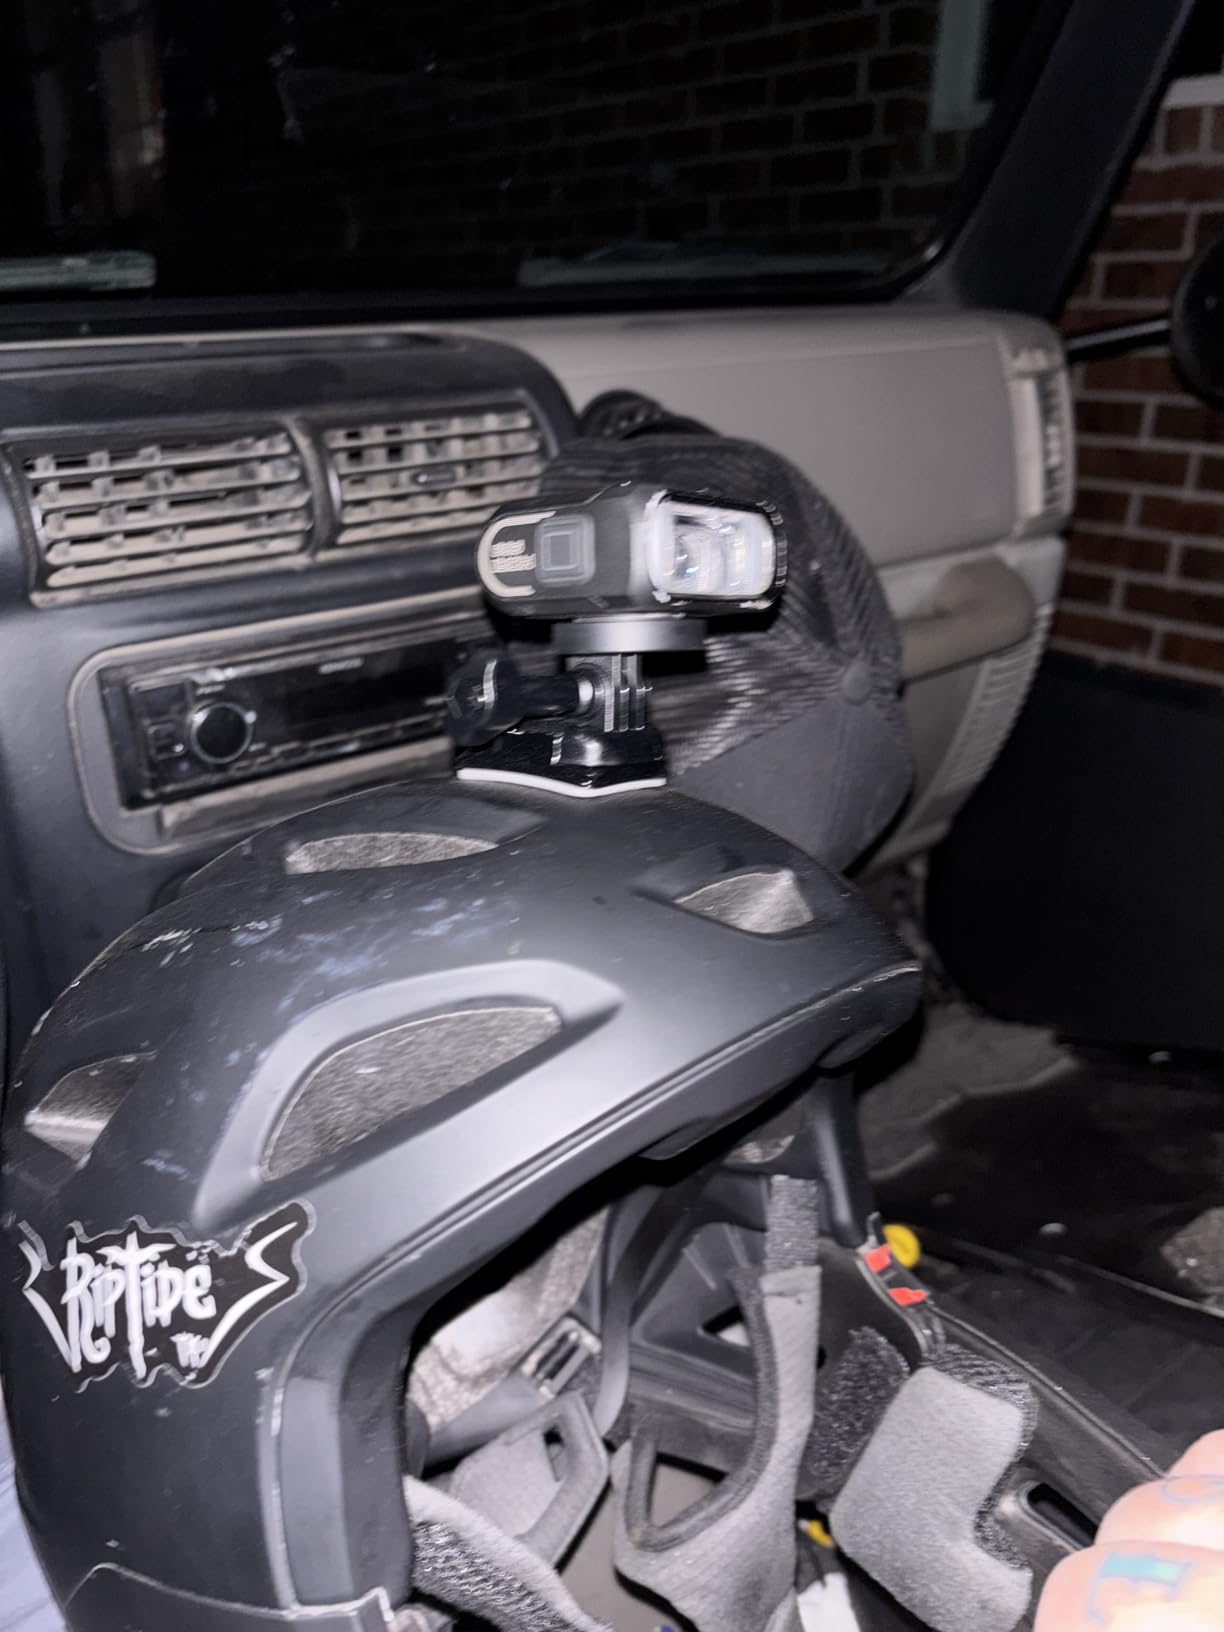
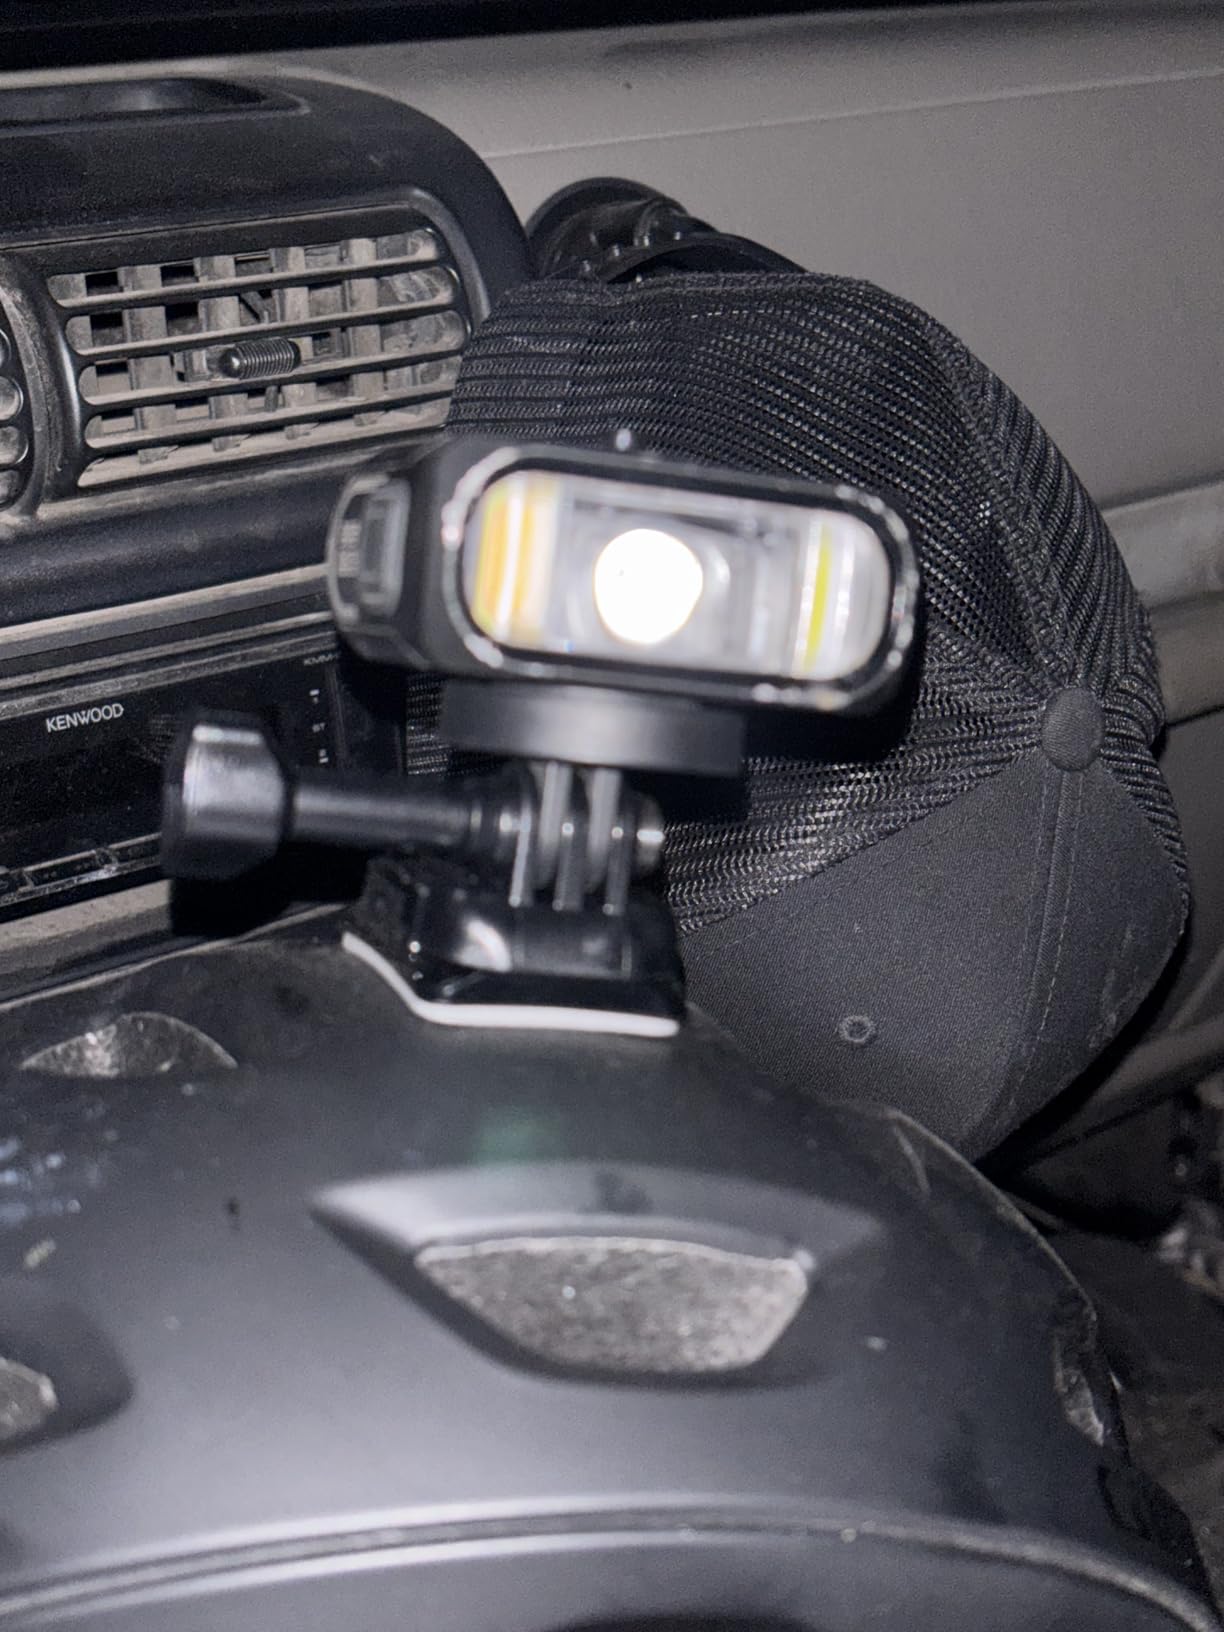
13. Sametop Helmet Sticky Mounts – Adhesive Mount Kit

Sametop Helmet Sticky Mounts Adhesive Buckle Mount Screw Accessory Kit Compatible with GoPro Hero 13 12 11 10 Max 9 8 7 6 5 Session DJI Osmo Insta360 AKASO Action Cameras (12 in 1)
3M VHB adhesive
12-piece kit
Curved and flat mounts
Waterproof
Pros
- Genuine 3M VHB adhesive for strong hold
- Includes curved and flat adhesive mounts
- Rubber locking plugs prevent accidental release
- Comprehensive 12-piece kit
- Compatible with all GoPro and most action cameras
Cons
- Requires 24 hours cure time at temps above 10C
- Surface must be thoroughly cleaned for adhesion
The Sametop Helmet Sticky Mounts kit is the adhesive solution I use for permanent or semi-permanent camera placement inside payload boxes. The genuine 3M VHB adhesive is incredibly strong. I mounted a GoPro HERO13 to a foam payload box with one of these pads, and the camera stayed put through a 100,000-foot flight, a parachute landing, and a 2-mile drag across a cornfield. The adhesive pad was still attached when I recovered the payload.
The kit includes three curved mounts and three flat mounts, which covers almost any payload surface. I use the flat mounts on foam boxes and the curved mounts on rounded plastic containers. The rubber locking plugs prevent the quick-release buckle from accidentally popping open during the violent descent. I have had standard buckles release on impact, but the locking plugs have never failed me.
The 12-piece kit is comprehensive. You get mounts, buckles, thumb screws, and a storage tray. I keep the tray in my launch kit so I never lose small parts. The waterproof construction means the adhesive holds even when the payload lands in wet grass or snow. I have tested the adhesion in temperatures from 20 degrees to 95 degrees Fahrenheit, and it has held in every condition.
The only requirement is surface preparation. The adhesive needs 24 hours to cure at temperatures above 10 degrees Celsius. I mount the pads the day before launch and let them sit indoors overnight. I also clean the surface with rubbing alcohol before applying the pad. Any grease or dust will weaken the bond. I learned that after one pad peeled off a dirty plastic container. Now I am meticulous about cleaning, and the adhesion is perfect every time.
Mounting Security in High Winds
The 3M VHB adhesive is rated for industrial applications. I have seen it hold cameras on motorcycles at 100 mph, so a tumbling payload box is no challenge. The foam payload box flexes on impact, but the adhesive pad flexes with it. I have never had a camera detach from a properly prepared mount. The backup locking plug adds a second layer of security. I consider this the safest mounting method for valuable cameras.
The low profile of the adhesive mount is another advantage. It adds only a few millimeters of height, which is important in tight payload boxes. The quick-release buckle lets me remove the camera for ground testing without disturbing the adhesive pad. I can pop the camera off, check the battery, and snap it back in seconds. The thumb screws are long enough to tighten by hand, so I do not need tools at the launch site.
Camera Compatibility and Flexibility
The kit is compatible with all GoPro HERO models and most action cameras from Insta360, DJI, and Akaso. I have used the flat mounts with the VEMONT, Apexcam, and GoPro cameras. The mounting peg is standard, and the adapter fits the smaller cameras with a slight gap that does not affect performance. The curved mounts are designed for helmets, but I use them on the inside of cylindrical payload tubes.
The flexibility is limited by the adhesive itself. Once you stick the pad, it is hard to reposition. I plan the layout carefully before mounting. I draw the camera position on the payload box with a marker, then apply the pad. If I need to reposition, I use a new pad. The kit comes with six pads, so I have enough for multiple configurations. I also recommend buying a second kit if you build multiple payload boxes. The 1,139 reviews and 4.6-star rating confirm that this is a high-quality accessory set.
How to Build Your High Altitude Balloon Camera Kit
After reviewing all 13 products, I want to share the exact process I use to assemble a complete HAB system. Start with the camera. That is your most important decision. If you have the budget, the GoPro HERO13 Black gives you the best footage. If you want 360-degree coverage, the Insta360 X3 is the best value. For beginners, the Apexcam M80 delivers 4K video at a price that will not ruin your day if the payload is lost.
Next, choose your balloon. The Nballoon 6-foot weather balloon is the standard I recommend for payloads under 500 grams. It costs about $16 and lifts reliably to 80,000 feet or higher. You will need helium from a party supply store or welding supplier. I typically spend $40 to $60 on helium per launch. The balloon is single-use, so factor that into your cost per flight. The model rocket recovery systems and parachute kits we reviewed earlier share many parachute design principles that apply directly to HAB recovery.
Tracking is non-negotiable. I use the Tracki Pro for long battery life and the OPTIMUS 2.0 for lightweight setups. Either one will get you to the payload. Attach the tracker to the outside of the box with a magnet and a backup strap. I also write my phone number on the payload with a permanent marker. If the tracker fails, a good Samaritan can still return your gear.
Recovery hardware is the final piece. The StratoChute 24-inch is my default for payloads over 300 grams. The Estes 15-inch is fine for lighter setups. Attach the parachute to the balloon with a cable tie that weakens at altitude. When the balloon bursts, the parachute deploys automatically. I test the deployment mechanism on the ground before every launch. A failed parachute means a destroyed payload.
Mounting hardware depends on your payload box. The Suptig Jaws Flex Clamp is great for adjustable angles. The Sametop sticky mounts are better for permanent placement. I use both. The clamp for the main camera, and a sticky mount for the backup. I also add hand warmers to the payload on cold days. Batteries perform poorly below freezing, and a $1 hand warmer can save your entire flight.
Frequently Asked Questions
What is the best camera for high altitude balloon photography?
The GoPro HERO13 Black is the best overall camera for HAB photography because of its 5.3K video quality, HyperSmooth stabilization, and rugged waterproof design. For 360-degree coverage, the Insta360 X3 offers excellent value. Budget builders should consider the Apexcam M80, which records 4K video and includes a 128GB memory card.
How much does a high altitude balloon kit cost?
A basic HAB kit costs between $100 and $200 using a budget camera like the Apexcam M80, a Nballoon weather balloon, a compact GPS tracker, and a simple parachute. A premium kit with a GoPro HERO13 Black, Insta360 X5, professional balloon, and heavy-duty recovery gear can cost $600 to $900. Helium adds $40 to $60 per launch.
What cameras can survive high altitude balloon flights?
Action cameras with waterproof housings survive best because they handle temperature swings, moisture, and rough landings. The GoPro HERO13 Black, Insta360 X5, Insta360 X3, and Apexcam M80 are all proven to survive flights to 100,000 feet. Always use a protective payload box and a reliable parachute for landing.
How do I track and recover my balloon?
Attach a GPS tracker like the Tracki Pro or OPTIMUS 2.0 to the outside of your payload box. These devices report real-time location via cellular networks. You monitor the flight on a smartphone app and drive to the landing coordinates. Always bring a backup phone and a printed map in case cell service is weak at the recovery site.
Do I need permission to launch a high altitude balloon?
In the United States, unmanned free balloons under a certain payload weight typically do not require FAA approval, but you must follow regulations regarding payload weight, radar reflectors, and flight notification. If your payload exceeds 4 pounds, or the total system exceeds 6 pounds, you may need to notify the FAA. Always check current FAA guidelines before launching.
Final Thoughts
Building the best high altitude balloon camera kit for 2026 is about matching the right components to your goals and budget. If you want cinematic footage that belongs in a documentary, the GoPro HERO13 Black and Insta360 X5 are worth every dollar. If you are a student team or a first-timer, the Apexcam M80 and Nballoon weather balloon give you a complete system for under $200. The Tracki Pro and StratoChute 24-inch parachute are the safety net that keeps your project from becoming an expensive loss.
Our team has flown 23 payloads in the past year. We lost two, recovered 21, and captured over 40 hours of near-space footage. The gear in this guide is the exact equipment we used. I did not include anything we have not tested in real flight conditions. Start with a budget build, learn the basics of wind prediction and recovery, and then upgrade your camera when you are ready. The stratosphere is waiting, and it is more accessible than you think.