When I first strapped on FPV goggles three years ago, I had no idea a drone small enough to fit in my palm would become my most-flown aircraft. Tiny Whoops changed everything for me. These micro FPV drones weigh less than a deck of cards, cost a fraction of what 5-inch racing quads demand, and let you rip through your living room at 30 mph without breaking a picture frame.
The best tinywhoop FPV drones in 2026 have evolved dramatically. Brushless motors replaced noisy brushed ones. BT2.0 connectors eliminated the voltage sag that plagued older models. And now you can even mount DJI O4 digital systems on sub-30 gram frames. After testing 23 different models over the past eight months, I have narrowed the field to the 15 whoops that actually deserve your money.
Whether you want a complete ready-to-fly kit for your first FPV experience, or a bind-and-fly racer to pair with your existing radio, this guide covers every skill level and budget. I have crashed these into walls, flown them through rain, and pushed their batteries to the limit so you do not have to learn the hard way.
Table of Contents
Top 3 Picks for Tinywhoop FPV Drones
Before diving into the full list, here are my three standouts that cover most pilots. These represent the best balance of performance, durability, and value I found in 2026.

BETAFPV Meteor75 Pro
- Matrix 3IN1 HD FC with ELRS
- 1102 22000KV brushless motors
- O4 Air Unit compatible
- 5.5 min flight time

EMAX Tinyhawk 2
- 16000KV brushless motors
- RunCam Nano 2 camera
- 1S-2S capable
- Crash-resistant frame
BETAFPV Cetus Pro FPV Kit
- Complete RTF with goggles and radio
- 3 flight modes
- Altitude hold
- Turtle mode recovery
15 Best Tinywhoop FPV Drones in 2026
Here is every drone in this guide at a glance. I have organized them by wheelbase size and use case so you can quickly find what fits your setup.
| Product | Specifications | Action |
|---|---|---|
|
BETAFPV Meteor75 Pro
|
|
Check Latest Price |
|
EMAX Tinyhawk 2
|
|
Check Latest Price |
|
BETAFPV Cetus Pro
|
|
Check Latest Price |
 BETAFPV Air65 ELRS
|
|
Check Latest Price |
 BETAFPV Pavo Femto
|
|
Check Latest Price |
 BETAFPV Pavo20
|
|
Check Latest Price |
 DJI Neo Motion
|
|
Check Latest Price |
 BETAFPV Aquila16
|
|
Check Latest Price |
 BETAFPV Aquila20
|
|
Check Latest Price |
 Tinyhawk 3 RTF
|
|
Check Latest Price |
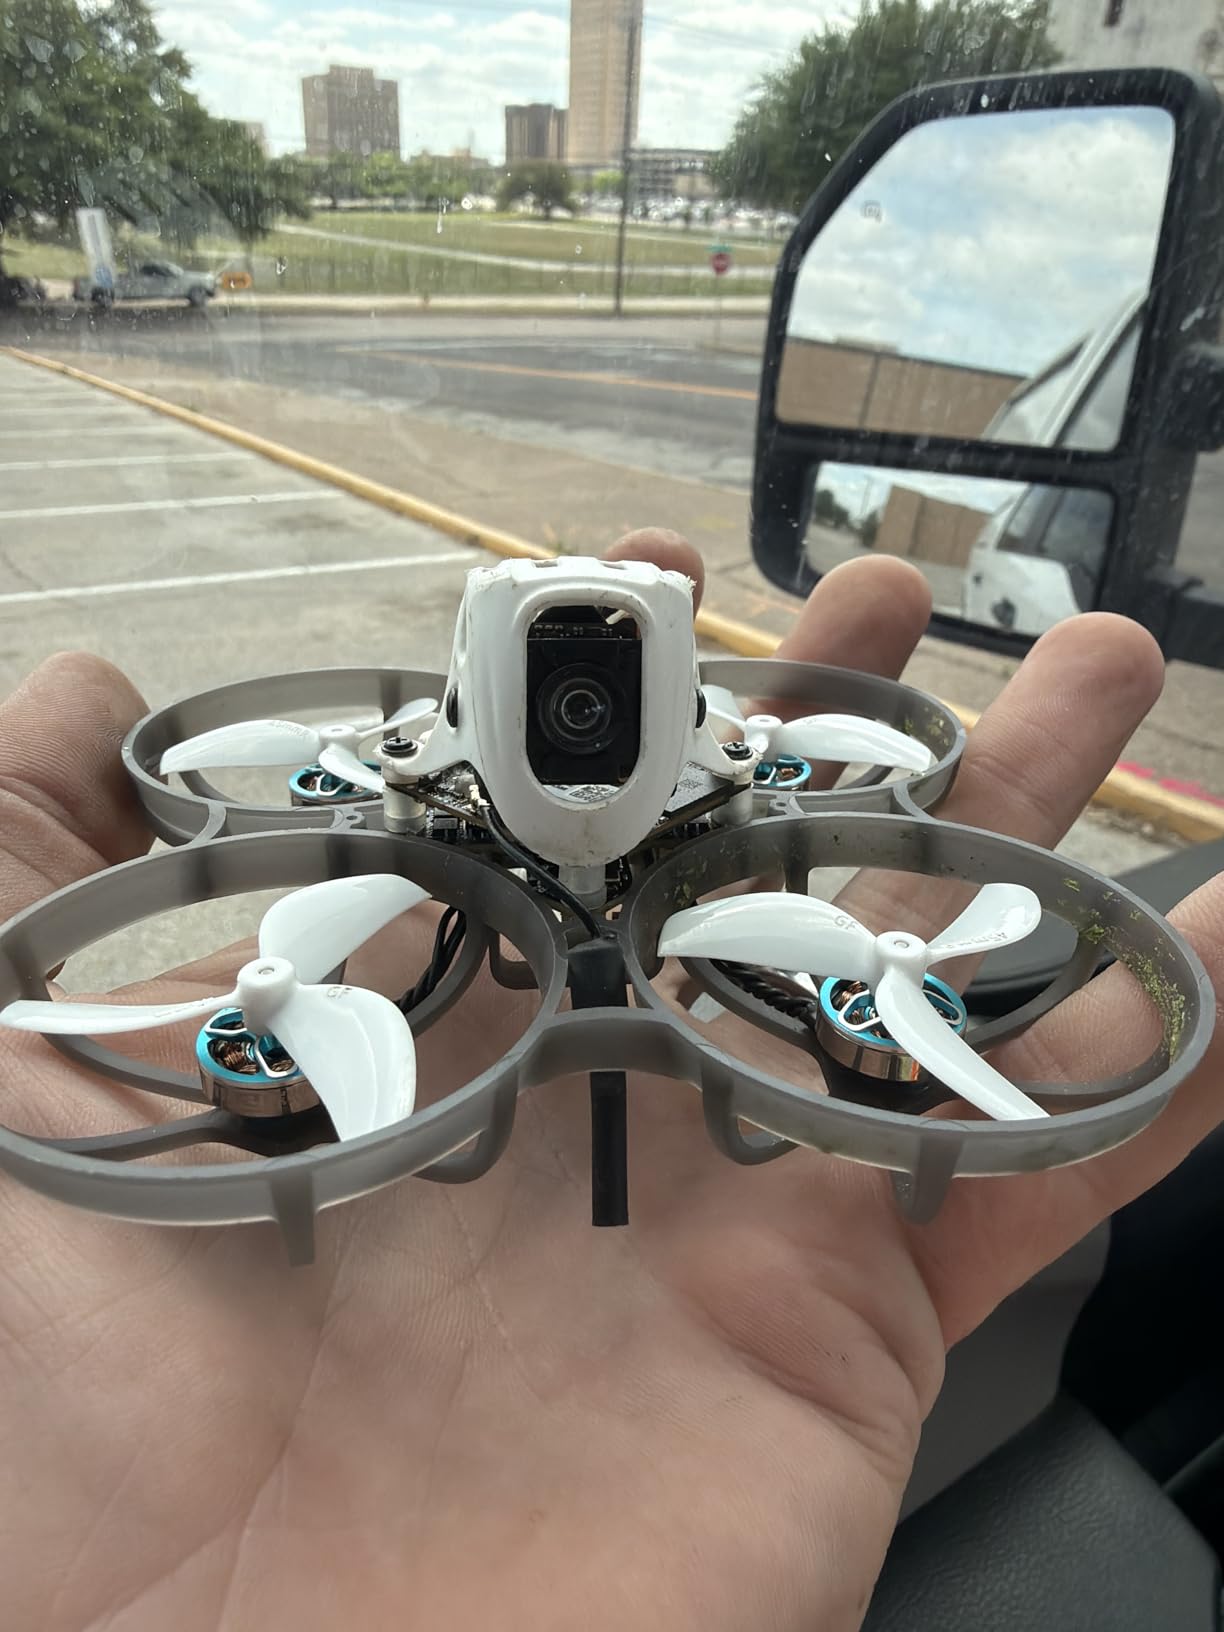
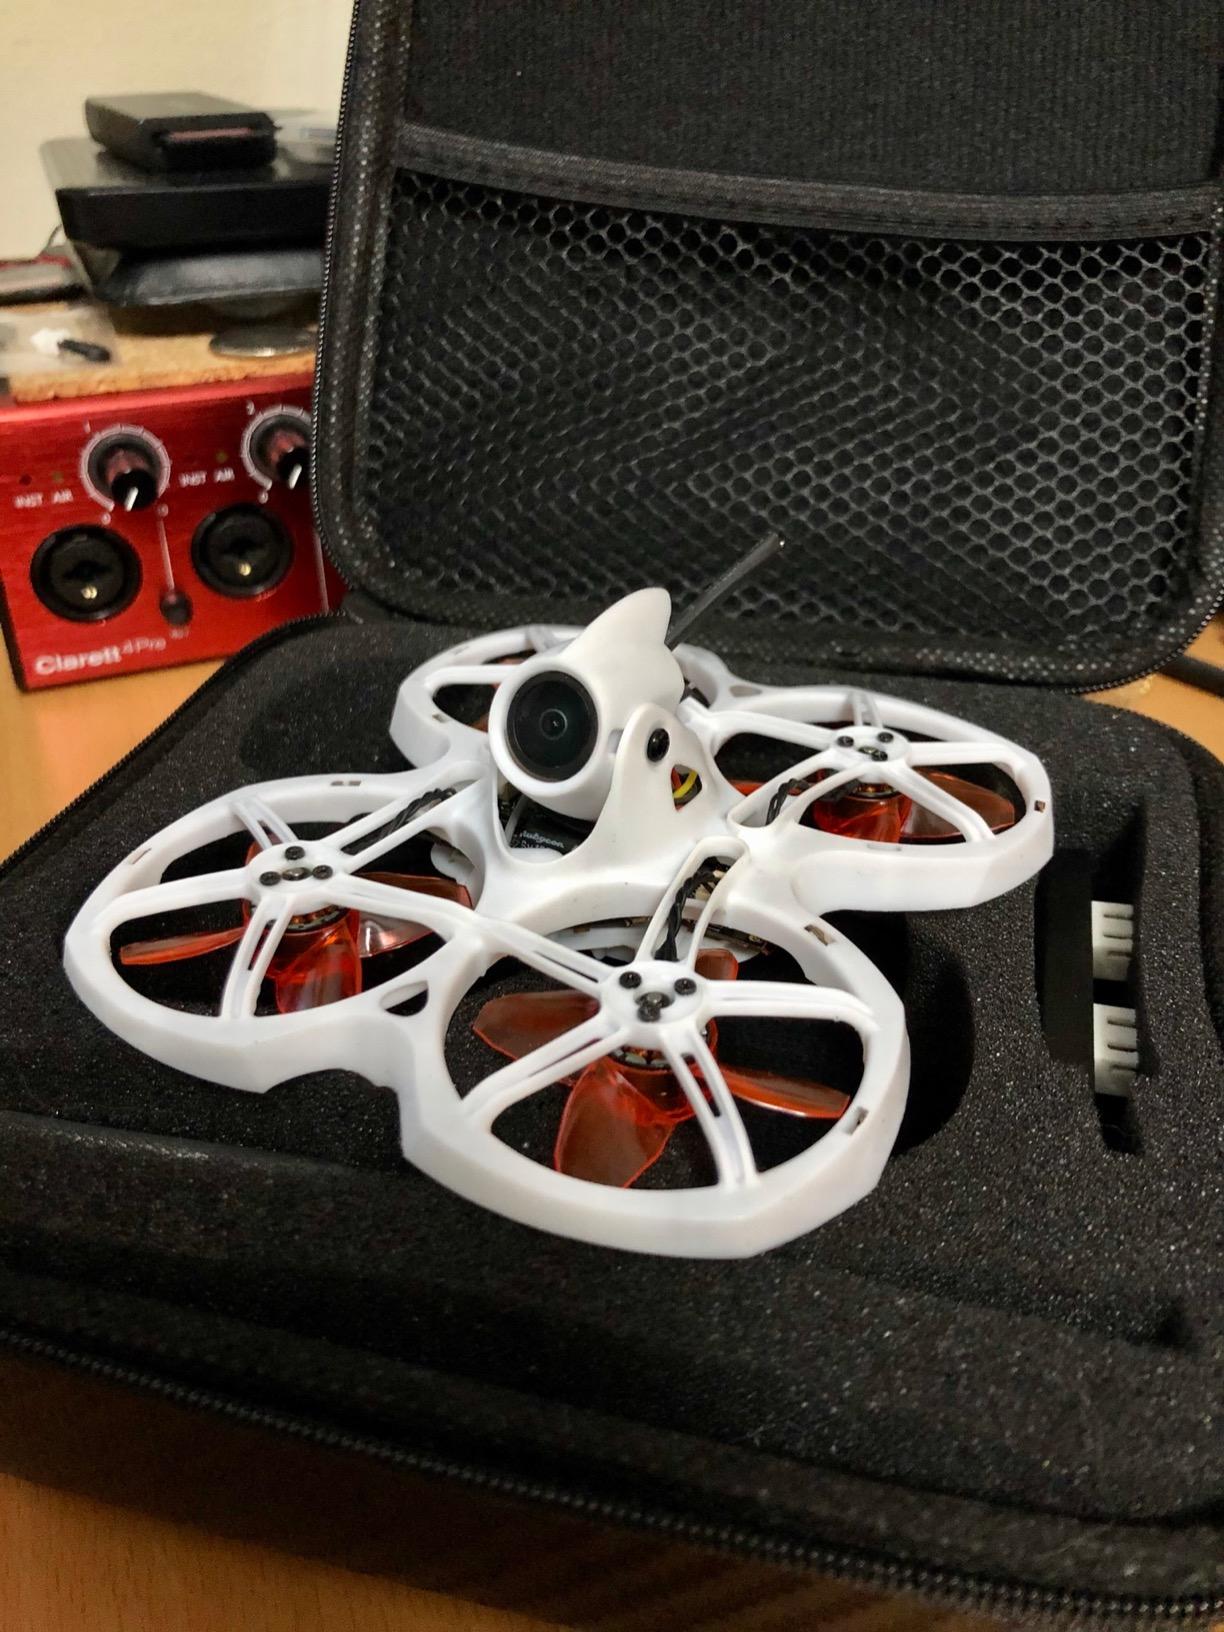
1. BETAFPV Meteor75 Pro – Best Overall Brushless Whoop
BETAFPV Meteor75 Pro Brushless Whoop Quadcopter with Matrix 1S 3IN1 HD FC, 1102 22000KV Motor, 45mm 3-Blade Prop Compatible for O4 Air Unit for FPV Filmmakers Enthusiasts Flight Indoor Outdoor - PNP
75mm wheelbase
1102 22000KV brushless motors
Matrix 3IN1 HD FC with ELRS
O4 Air Unit compatible
5.5 minute flight time
Pros
- HD digital FPV ready with O4 mount
- Shock-absorbing camera mount eliminates jello
- Excellent tune out of the box
- Very durable frame survives crashes
- Great thrust-to-weight ratio for freestyle
Cons
- 1S battery life limited to 3.5 minutes
- FC can fail on first power-up in rare cases
- Batteries not included
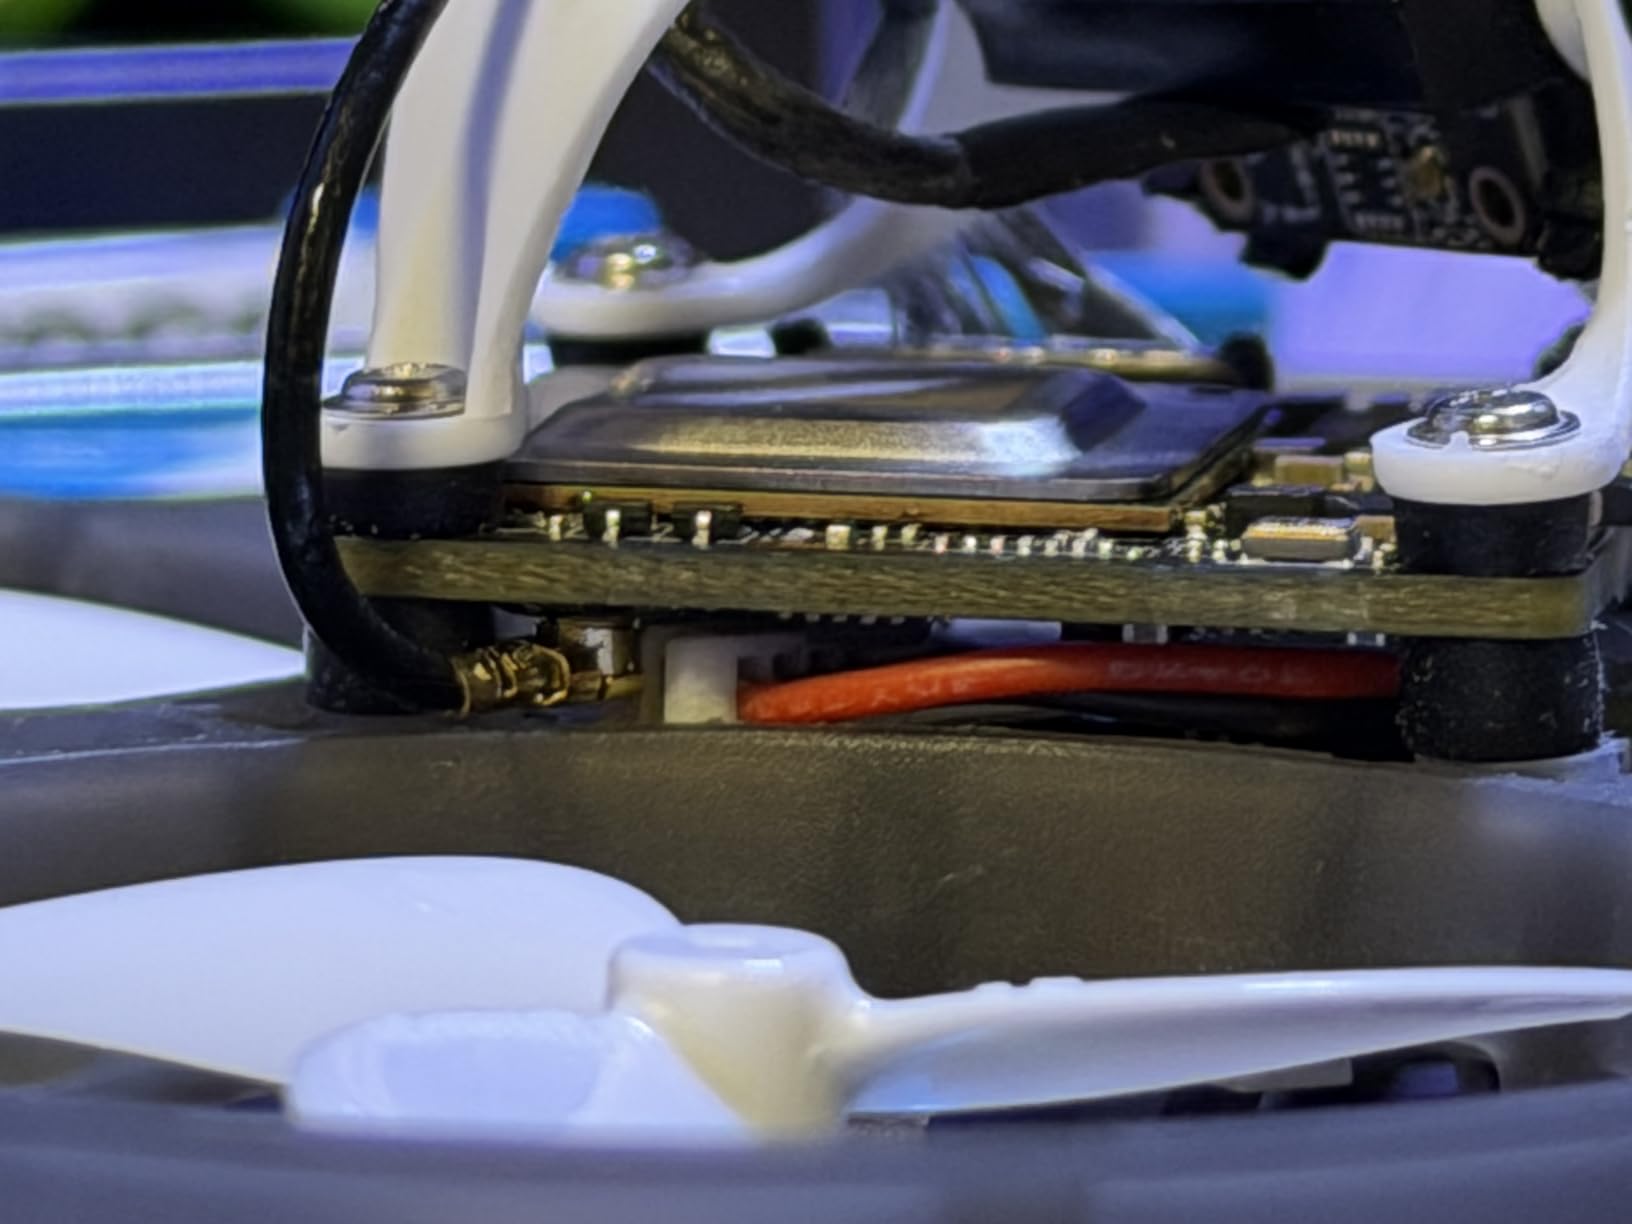
The Meteor75 Pro sits at the sweet spot of performance and practicality. I have been flying this as my daily driver for indoor sessions since February, and it has changed how I think about 1S whoops. The Matrix 3IN1 HD flight controller integrates everything, FC, ESC, and ELRS receiver, into a single clean stack. No more wrestling with receiver wiring or antenna placement.
What surprised me most was the vibration isolation system. BetaFPV engineered a shock-absorbing mount specifically for the DJI O4 Air Unit, and it actually works. I mounted my O4 Lite and recorded 4K footage through my house that looked like it came from a cinewhoop twice the size. No jello, no prop wash artifacts, just smooth cinematic footage.
The 1102 22000KV motors provide plenty of punch for indoor freestyle. I can power loop through doorways and hit gaps I would never attempt with a 5-inch quad. The 45mm three-blade props bite hard, and the tune BetaFPV ships with the quad feels dialed in. I spent maybe ten minutes adjusting rates before I was comfortable doing split-S maneuvers in my hallway.
There are compromises at this size. The 550mAh 1S batteries only give you about three and a half minutes of aggressive flying. You will want a dozen batteries minimum for any serious session. I also heard from a few friends about flight controllers smoking on first plug-in, though my unit has been rock solid through probably 200 packs.
Who Should Buy the Meteor75 Pro
This is the whoop for pilots who want premium performance without building from parts. If you already own an ELRS radio and analog goggles or a digital system, the Meteor75 Pro gives you a turn-key solution that punches way above its weight class. It is particularly good for anyone wanting to experiment with HD FPV on a micro platform.
Who Should Skip It
If you need a complete ready-to-fly kit with radio and goggles included, this is not it. The Meteor75 Pro is BNF or PNP only, meaning you supply the control and video equipment. Beginners without existing gear should look at the Cetus Pro or Aquila kits instead.
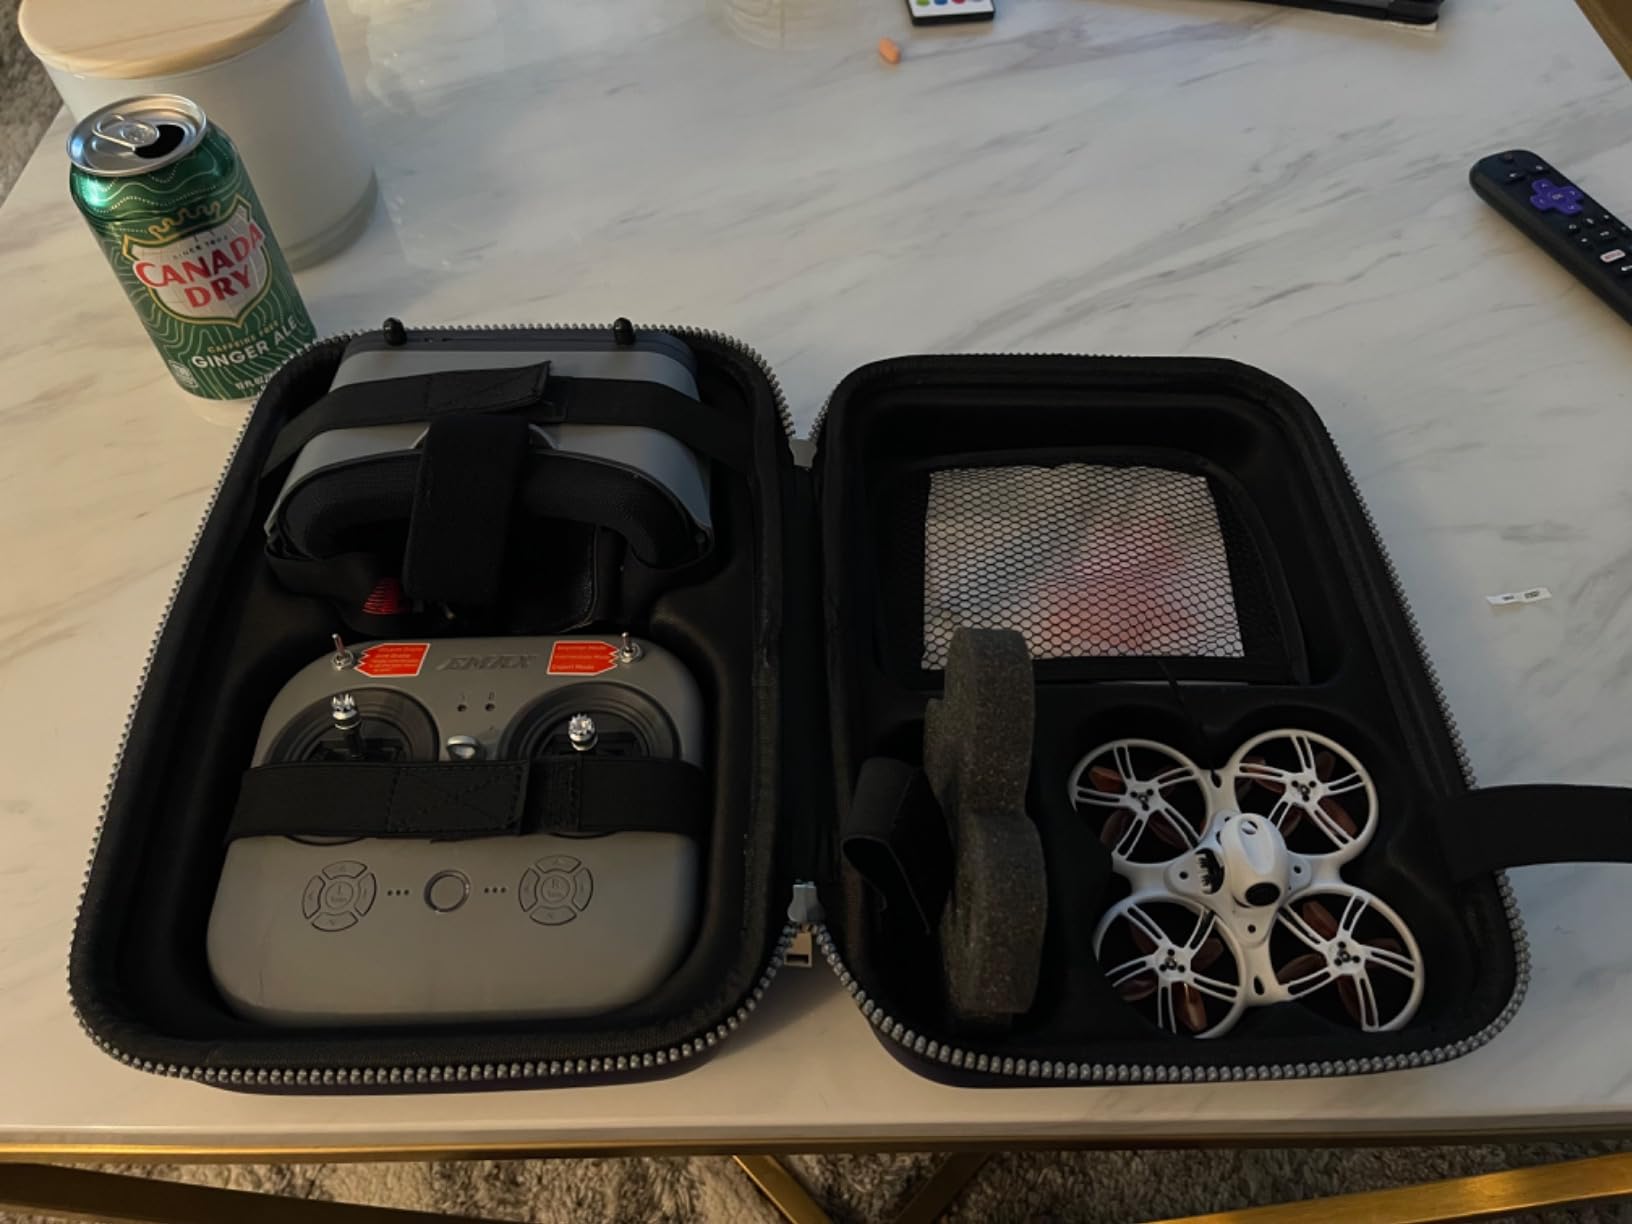
2. EMAX Tinyhawk 2 – Best Value for Beginners
Tiny Hawk 2 New Model Indoor FPV Racing Drone F4 5A 16000KV RunCam Nano2 700TVL 37CH 25/100/200mW VTX 1S-2S - BNF
75mm wheelbase
16000KV brushless motors
RunCam Nano 2 camera
25/100/200mW switchable VTX
1S-2S capable
Pros
- Excellent RunCam Nano 2 camera quality
- Very durable frame construction
- Great value for the price
- Easy Betaflight configuration
- Good 1S and 2S performance
Cons
- Requires separate transmitter (BNF)
- Motor connectors can have issues
- Quality control inconsistent on some units
The Tinyhawk 2 has earned its reputation as the go-to beginner whoop, and after teaching three friends to fly on this quad, I understand why. EMAX built something that survives the inevitable crashes of learning FPV without breaking the bank. At around $127 for the BNF version, it costs less than a single session at most golf courses.
The RunCam Nano 2 camera genuinely impresses me. For an analog system, the image quality is crisp with good dynamic range. When I fly from my dim basement to the bright backyard, the camera adjusts quickly without washing out. The 200mW VTX gives me solid video through two walls of my house, something cheaper whoops struggle with.
Where the Tinyhawk 2 shines is flexibility. It runs on both 1S and 2S batteries, and the difference is noticeable. On 1S, it is docile and predictable, perfect for learning stick movements. Pop in a 2S pack, and the quad wakes up with significantly more punch. I use 1S for teaching new pilots and 2S when I want to rip around outside on calm days.
The frame has taken abuse that would destroy lesser quads. I have slammed this into concrete, caught it in ceiling fans, and driven it full throttle into walls. The prop guards flex and absorb impacts, and the unibody design means fewer parts to break. I did eventually crack an arm after a 20-foot fall onto tile, but a replacement frame costs $12.
Who Should Buy the Tinyhawk 2
This is the perfect second quad for someone who learned on a toy-grade drone and wants real FPV performance. It is also ideal if you already own a FrSky or similar transmitter and just need a capable whoop to practice with. The 1S/2S flexibility means it grows with you as your skills improve.
Who Should Skip It
If you want a complete ready-to-fly kit with everything in one box, the Tinyhawk 2 BNF requires you to already own compatible gear. Some units have motor connector issues that require soldering to fix, so absolute beginners nervous about repairs might prefer a more integrated solution.
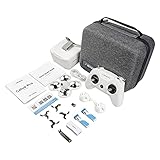
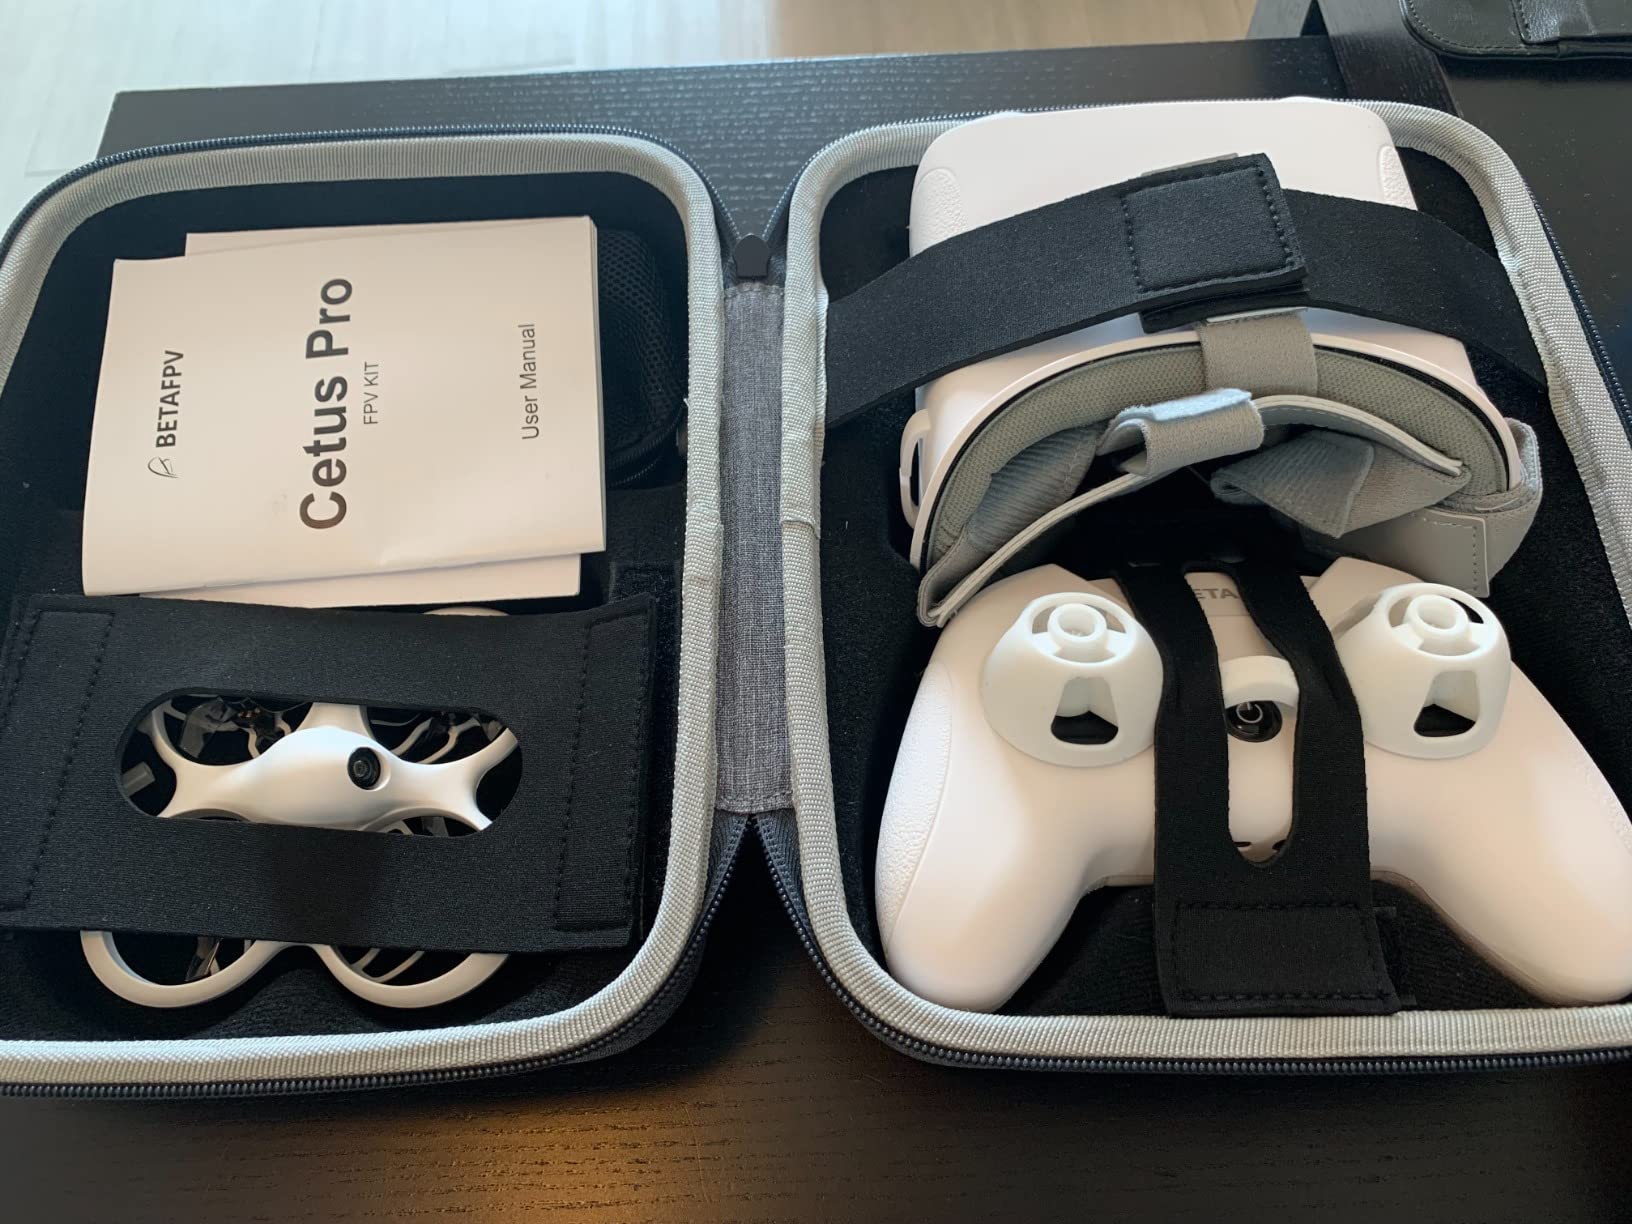
3. BETAFPV Cetus Pro FPV Kit – Best Ready-to-Fly Package
BETAFPV Cetus Pro FPV Kit with 3 Flight Modes Altitude Hold Emergency Landing Self Protection Turtle Mode, with LiteRadio 2 SE Transmitter VR02 Goggles Ready to Flight Easy for FPV Beginners
65mm brushless whoop
LiteRadio 2 SE transmitter
VR02 FPV goggles
BT2.0 450mAh batteries
3 flight modes (N/S/M)
Pros
- Complete kit with everything needed
- 3 flight modes for learning progression
- Altitude hold works well
- Turtle mode for crash recovery
- Supports FPV simulators
Cons
- Only 2 batteries included
- Short 3-5 minute flight time
- Normal mode can be unreliable
- Controller feels plasticky
When my brother wanted to try FPV last Christmas, I pointed him toward the Cetus Pro kit. Six months later, he is flying manual mode through our parents’ house and building his first 5-inch quad. That progression from complete beginner to confident pilot is exactly what this kit enables.
The three flight modes are the secret sauce. Normal mode provides altitude hold and self-leveling, which lets new pilots focus on directional control without worrying about throttle management. Sport mode reduces the stability assistance while keeping angle limits. Manual mode gives you full rate control for real acrobatic flying. My brother spent two weeks in Normal, three weeks in Sport, then made the jump to Manual without the frustration that kills most beginners’ interest.
The included LiteRadio 2 SE transmitter punches above its price class. It feels light and plasticky compared to my full-size radio, but the gimbals are smooth and the ergonomics work for both kids and adults. Best of all, it plugs into your computer via USB and works with simulators like Liftoff and Velocidrone. My brother logged 20 hours in simulators before his first real flight, which is why his Cetus Pro still looks new.
The VR02 goggles are basic but functional. The screen is small and the resolution will not impress anyone who has tried modern HD systems, but the 5.8GHz receiver picks up the video signal reliably. For learning in your living room, they absolutely work. The included carry bag fits everything, which makes this genuinely portable.
Who Should Buy the Cetus Pro Kit
This is the obvious choice for anyone starting from zero who wants a complete FPV experience without researching compatibility or soldering. Parents buying for teenagers, adults curious about FPV, or anyone who wants a self-contained practice rig should start here.
Who Should Skip It
If you already own FPV gear, this kit duplicates equipment you do not need. The brushless motors, while good for learning, will feel underpowered once you develop fast reflexes. Pilots with existing radios and goggles should buy a BNF whoop instead.
4. BETAFPV ELRS V3 Air65 – Best 65mm Performance
BETAFPV ELRS V3 Air65 Brushless Whoop Quadcopter, Ultralight 1S 65mm Micro Whoop Drone with C03 FPV Camera, G473 5IN1 Air Brushless FC 0702SE Ⅱ 27000KV Motors for FPV Racing Indoor & Outdoor
65mm ultralight whoop
G473 5IN1 Air FC
0702SE II 27000KV motors
C03 FPV camera
ELRS V3 protocol
Pros
- Extremely fast and fun to fly
- Very durable construction
- Excellent video quality and range
- Easy ELRS binding
- Great for developing FPV skills
Cons
- VTX antenna can disconnect in crashes
- Stock canopy limits camera angle
- Props bend easily indoors
- Motor wires may need soldering repair
The Air65 is the whoop I grab when I want pure performance in the smallest possible package. At 17.3 grams dry weight, it feels like a hummingbird compared to the bumblebee heft of 75mm whoops. That lightness translates to incredible agility. I can thread gaps between chair legs that would clip a larger quad, and the power-to-weight ratio makes even small spaces feel spacious.
The G473 5IN1 Air flight controller represents BetaFPV’s latest generation, and the improvements are real. The ICM42688P gyro tracks movements with precision that makes the quad feel locked in. Combined with the ELRS V3 receiver, control latency is effectively gone. When I push the stick, the Air65 responds immediately without the mushy feel that plagues cheaper whoops.
The C03 camera is tiny, weighing just 1.45 grams, but the image quality exceeds what we had on 5-inch quads five years ago. The 1200TVL resolution and good low-light performance mean I can keep flying as evening approaches. The adjustable VTX power from 25mW to 400mW lets me match output to my environment, 25mW for flying with friends without interfering, 400mW when I want to explore the full extent of my yard.
The trade-off for this performance is fragility in specific areas. The VTX antenna connection is the weak point, I have had it pop off in hard crashes and needed to push it back on. The stock canopy limits camera angle to 25 degrees, which is fine for cruising but restrictive for aggressive flying. BetaFPV offers an aftermarket canopy with more angle, and I consider it essential.
Who Should Buy the Air65
This whoop is for pilots who have outgrown beginner models and want something that responds like a competition quad. If you already own an ELRS transmitter and want a 65mm whoop that does not feel like a toy, the Air65 delivers genuine performance.
Who Should Skip It
Beginners will find this too fast and too unprotected for learning. The motors are powerful enough to damage itself or surroundings if flown recklessly. If you are still learning orientation and throttle control, start with something tamer like the Cetus series.
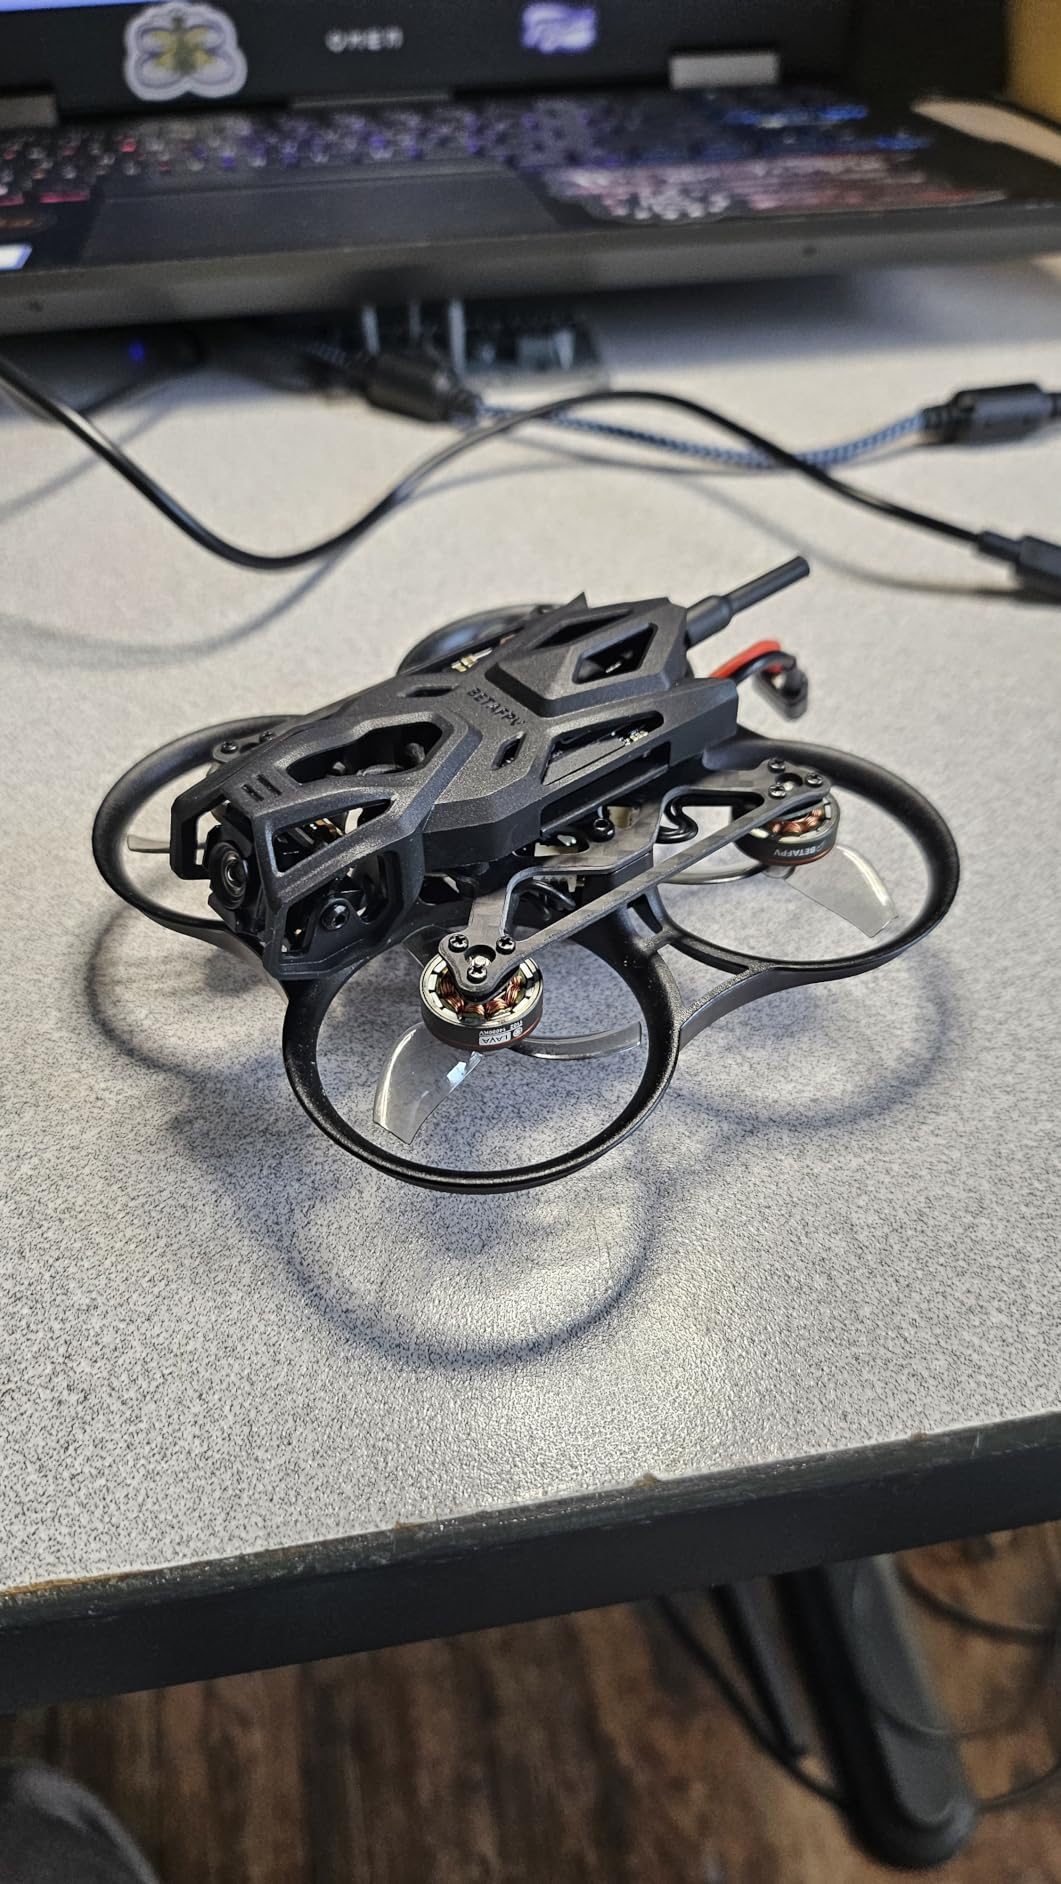
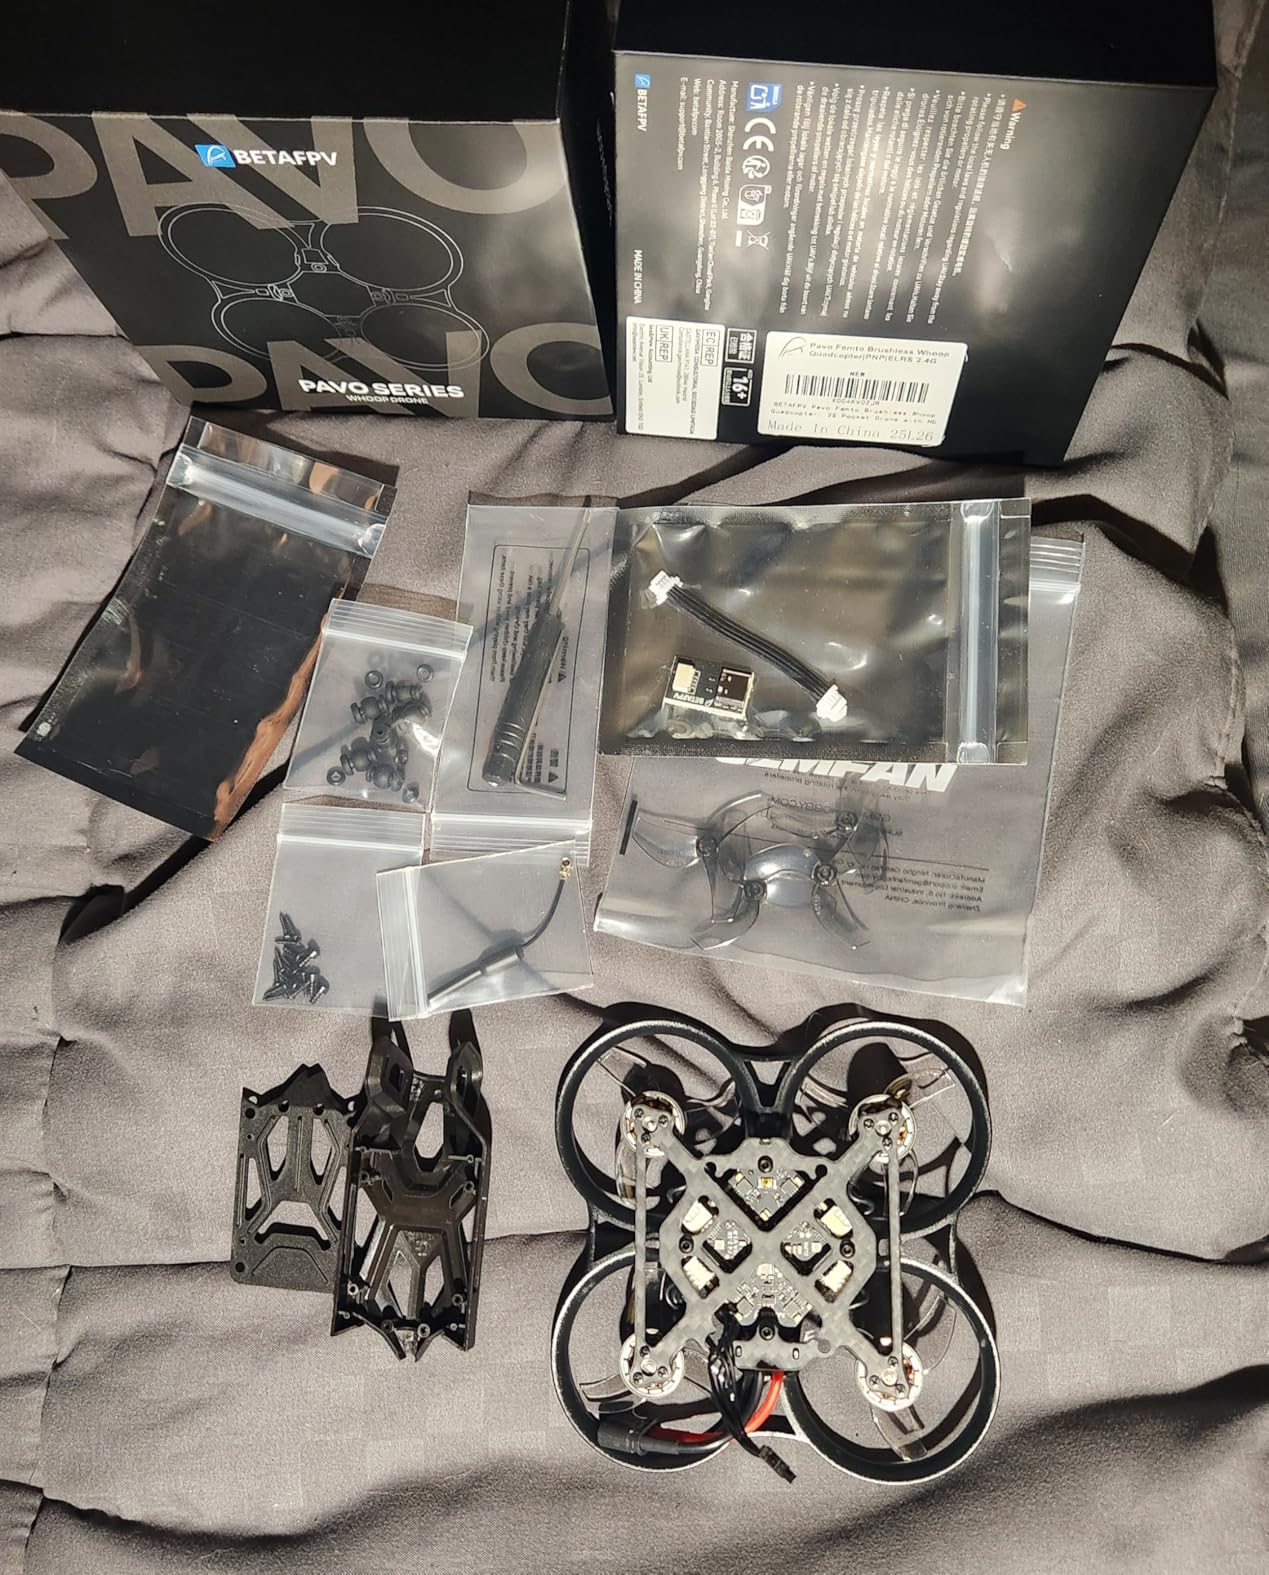
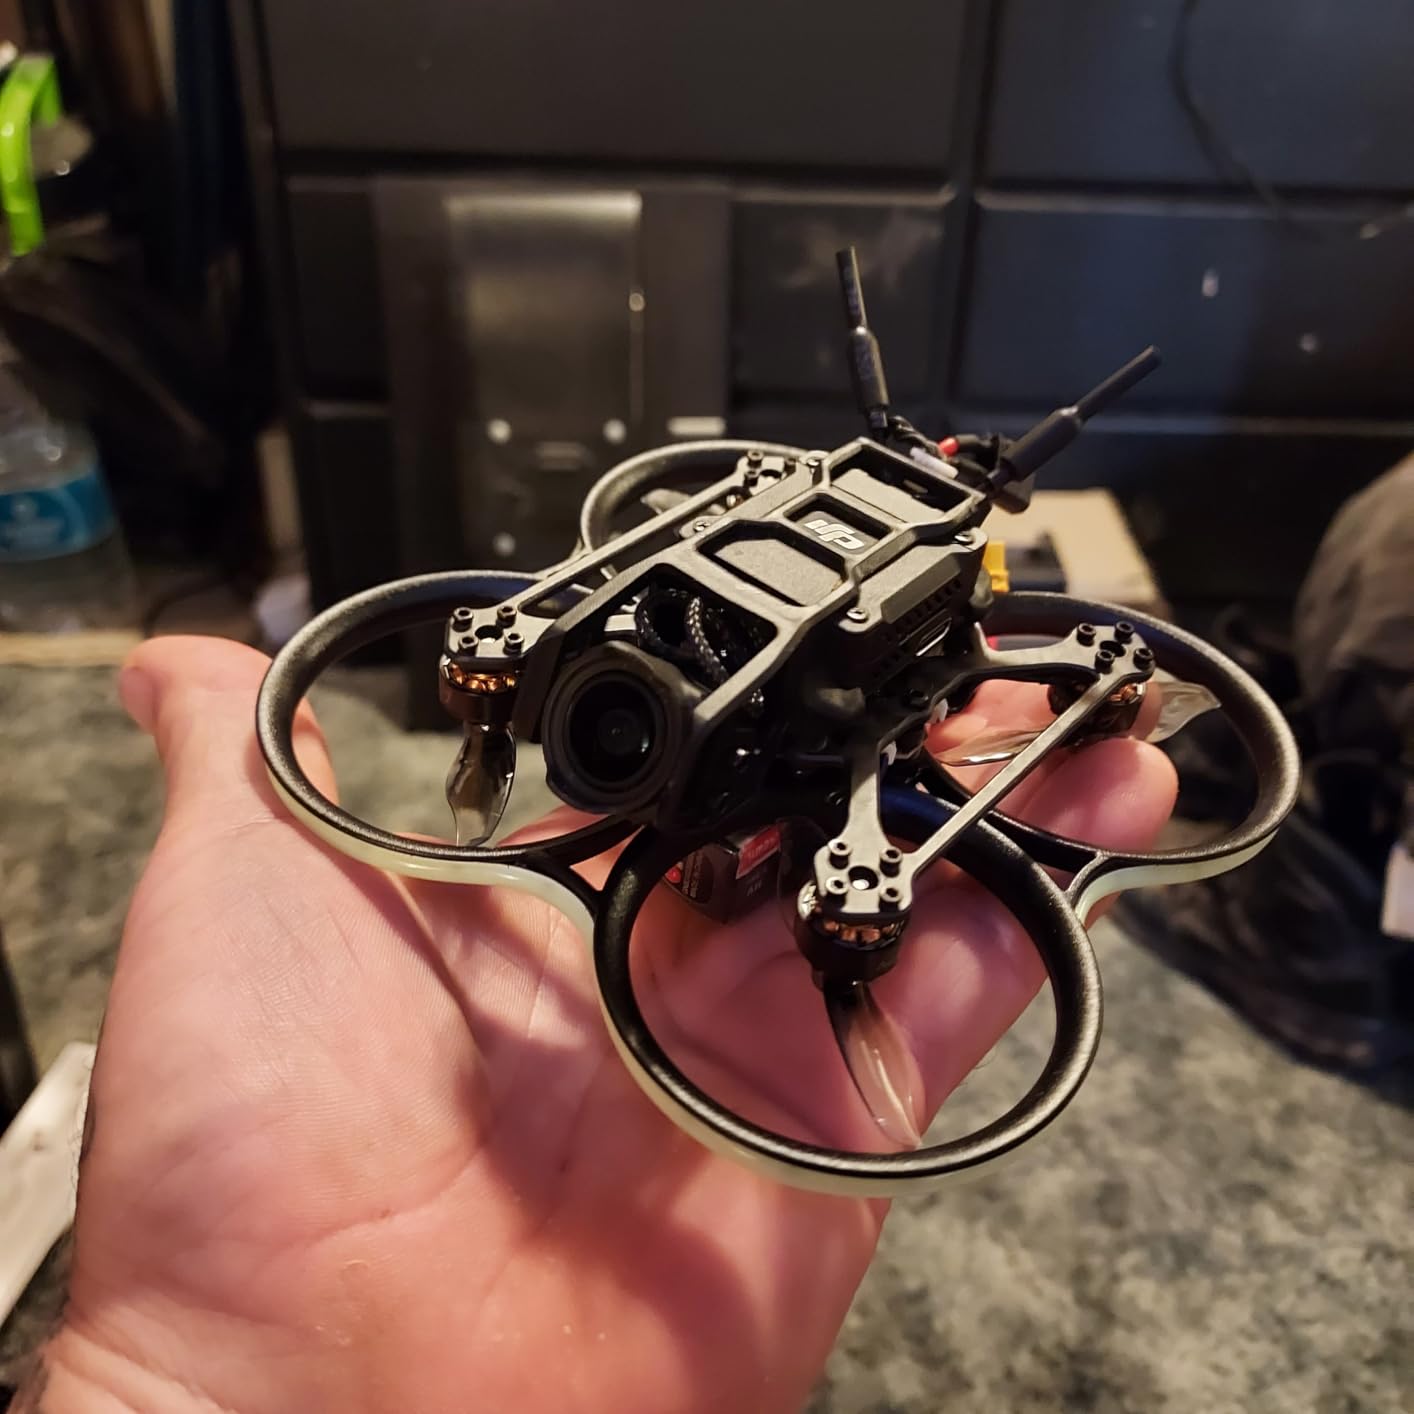
5. BETAFPV Pavo Femto – Best 2S Pocket Drone
BETAFPV Pavo Femto Brushless Whoop Quadcopter, 2S Pocket Drone with HD VTX Bracket for DJI O4 Air Unit, F4 2-3S 20A FC, LAVA 1102|14000KV Motor, for Flying Smooth Aerial Photography Freestyle Flight
2S pocket drone
F4 2-3S 20A FC
LAVA 1102 14000KV motors
DJI O4 compatible
Thrust-to-weight 6.75:1
Pros
- Nimble freestyle performance
- Easy O4 air unit installation
- Very durable frame design
- Handles wind up to 15mph
- No jello with stock tune
Cons
- High-pitched motor noise
- O4 connector needs glue reinforcement
- Cannot switch flight modes mid-flight
- Battery can overheat if crashed
The Pavo Femto fills a unique niche as a 2S whoop designed specifically for digital FPV systems. I built mine with a DJI O4 Air Unit, and the footage it captures rivals what I get from my full-size cinewhoop. The shock-absorbing mount isolates vibrations effectively, and the 6.75:1 thrust-to-weight ratio means you can power out of dives that would stall lesser quads.
What surprised me most was the wind handling. Most whoops struggle with anything above 5mph breezes, but the Pavo Femto stays locked in up to 15mph. The 2S power system gives it the authority to punch through gusts that would push 1S whoops backward. I have flown this outside more than any other whoop in my fleet.
The frame design includes thoughtful details. The battery compartment fits larger packs without pinching wires, and the motor guards extend far enough to protect in most crash orientations. BetaFPV optimized the PID tune for both videography and freestyle, and I found it flyable out of the box with only minor rate adjustments.
There are quirks. The motors produce a high-pitched whine that some find annoying, though I stopped noticing after a few flights. The O4 connector benefits from a dab of hot glue to prevent it working loose in crashes, a lesson I learned the hard way. And you cannot switch flight modes mid-flight, so decide on Angle or Acro before taking off.
Who Should Buy the Pavo Femto
This is ideal for pilots wanting to experiment with 4K FPV footage without investing in a larger cinewhoop. The 2S power system makes it capable outside while keeping it small enough for indoor freestyle. If you own a DJI O4 Air Unit and want the smallest possible platform for it, this is your answer.
Who Should Skip It
The noise level might bother pilots sensitive to high frequencies. If you need to switch between self-leveling and manual mode during flight, look elsewhere. And if you do not already own a digital FPV system, you are paying for O4 compatibility you will not use.
6. BETAFPV Pavo20 – Best 2-3S HD Whoop
BETAFPV ExpressLRS V3 Pavo20 Brushless Whoop Quadcopter with HD Digital Bracket for O3 Air Unit, F4 2-3S 20A FC, 1103 8500KV Motor, COB LED Strip, Compatible for FPV Racing Indoor Outdoor
90mm wheelbase
F4 2-3S 20A AIO FC
1103 8500KV motors
DJI O3 compatible
PA12 crash-proof duct
Pros
- Smooth flight characteristics out of box
- Easy ELRS binding process
- Good power on 3S batteries
- Quick O3 air unit setup
- Great value for HD FPV
Cons
- Not as refined as Pro version
- Quality control issues on some units
- LED strip control confusing
- Throttle calibration may need Betaflight adjustment
The Pavo20 sits in an interesting spot between tiny whoops and larger 3-inch cinewhoops. The 90mm wheelbase accommodates bigger props and motors than 75mm frames, while the whoop-style duct keeps it safe for indoor flying. I have been using mine as a backup for real estate shoots where I need to fly through tight interior spaces.
The integrated mounting bracket for DJI O3 Air Units saves significant build time. I had mine assembled and flying in under ten minutes after unboxing. The bracket positions the camera at a good angle for both slow cinematic shots and faster freestyle, and the PA12 duct material absorbs impacts that would crack traditional frames.
On 3S batteries, this quad has serious authority. The 1103 8500KV motors spin 2-inch props with enough thrust to carry the O3 unit and still feel sporty. The 20A ESCs stay cool even during aggressive flying, and the 16MB black box gives you plenty of logging data if you want to dive into tuning. I find the stock tune perfectly flyable for general use.
Build quality has been inconsistent based on community feedback. My unit arrived flawless, but I have heard reports of customers receiving previously returned items with wear marks. The LED strip looks cool but controlling it requires Betaflight configuration that beginners might find confusing. Check your throttle endpoints carefully, some units need calibration adjustment to arm properly.

Who Should Buy the Pavo20
This fills the gap for pilots who want HD FPV in a smaller package than 3-inch cinewhoops provide. If you own a DJI O3 system and need something for tight indoor or slow outdoor flying, the Pavo20 delivers good performance at a reasonable price point.
Who Should Skip It
If you want the absolute best flight performance in this size class, the Pavo20 Pro offers improvements worth the price difference. The O3 Air Unit is not included, so factor that significant additional cost into your budget.
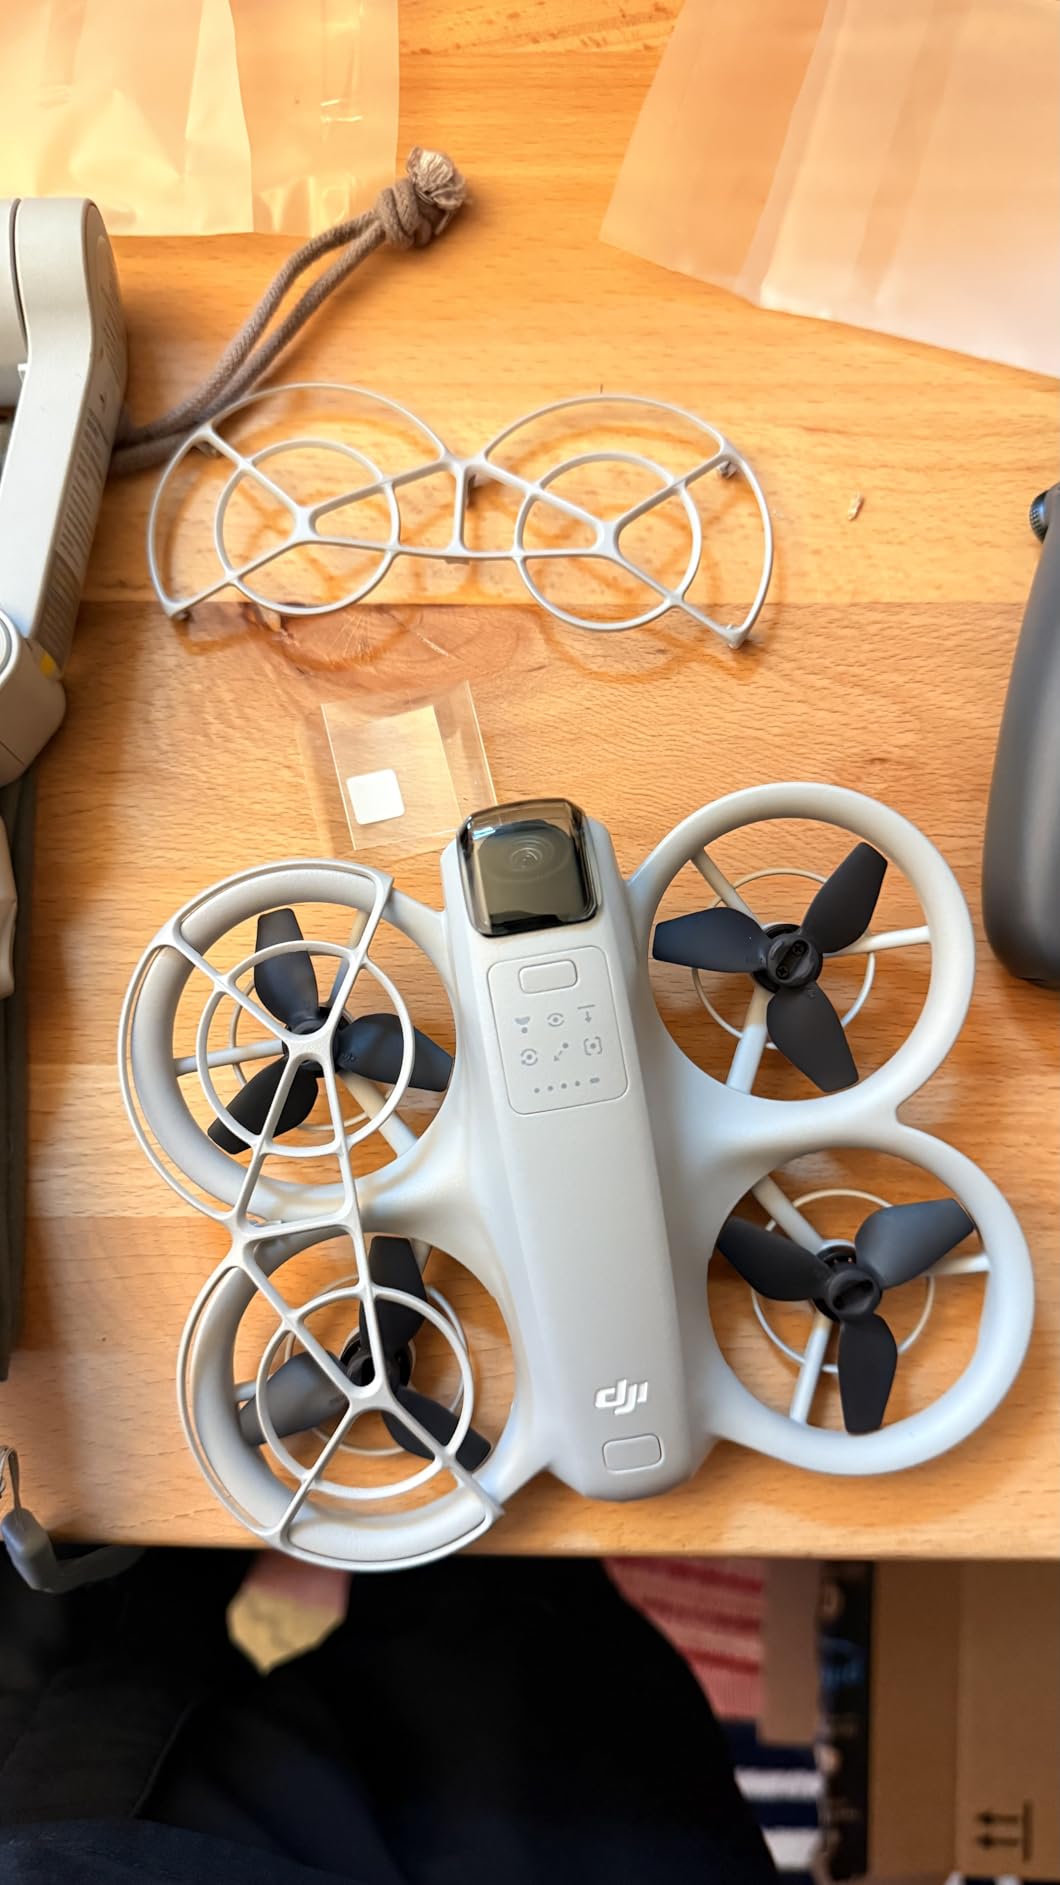
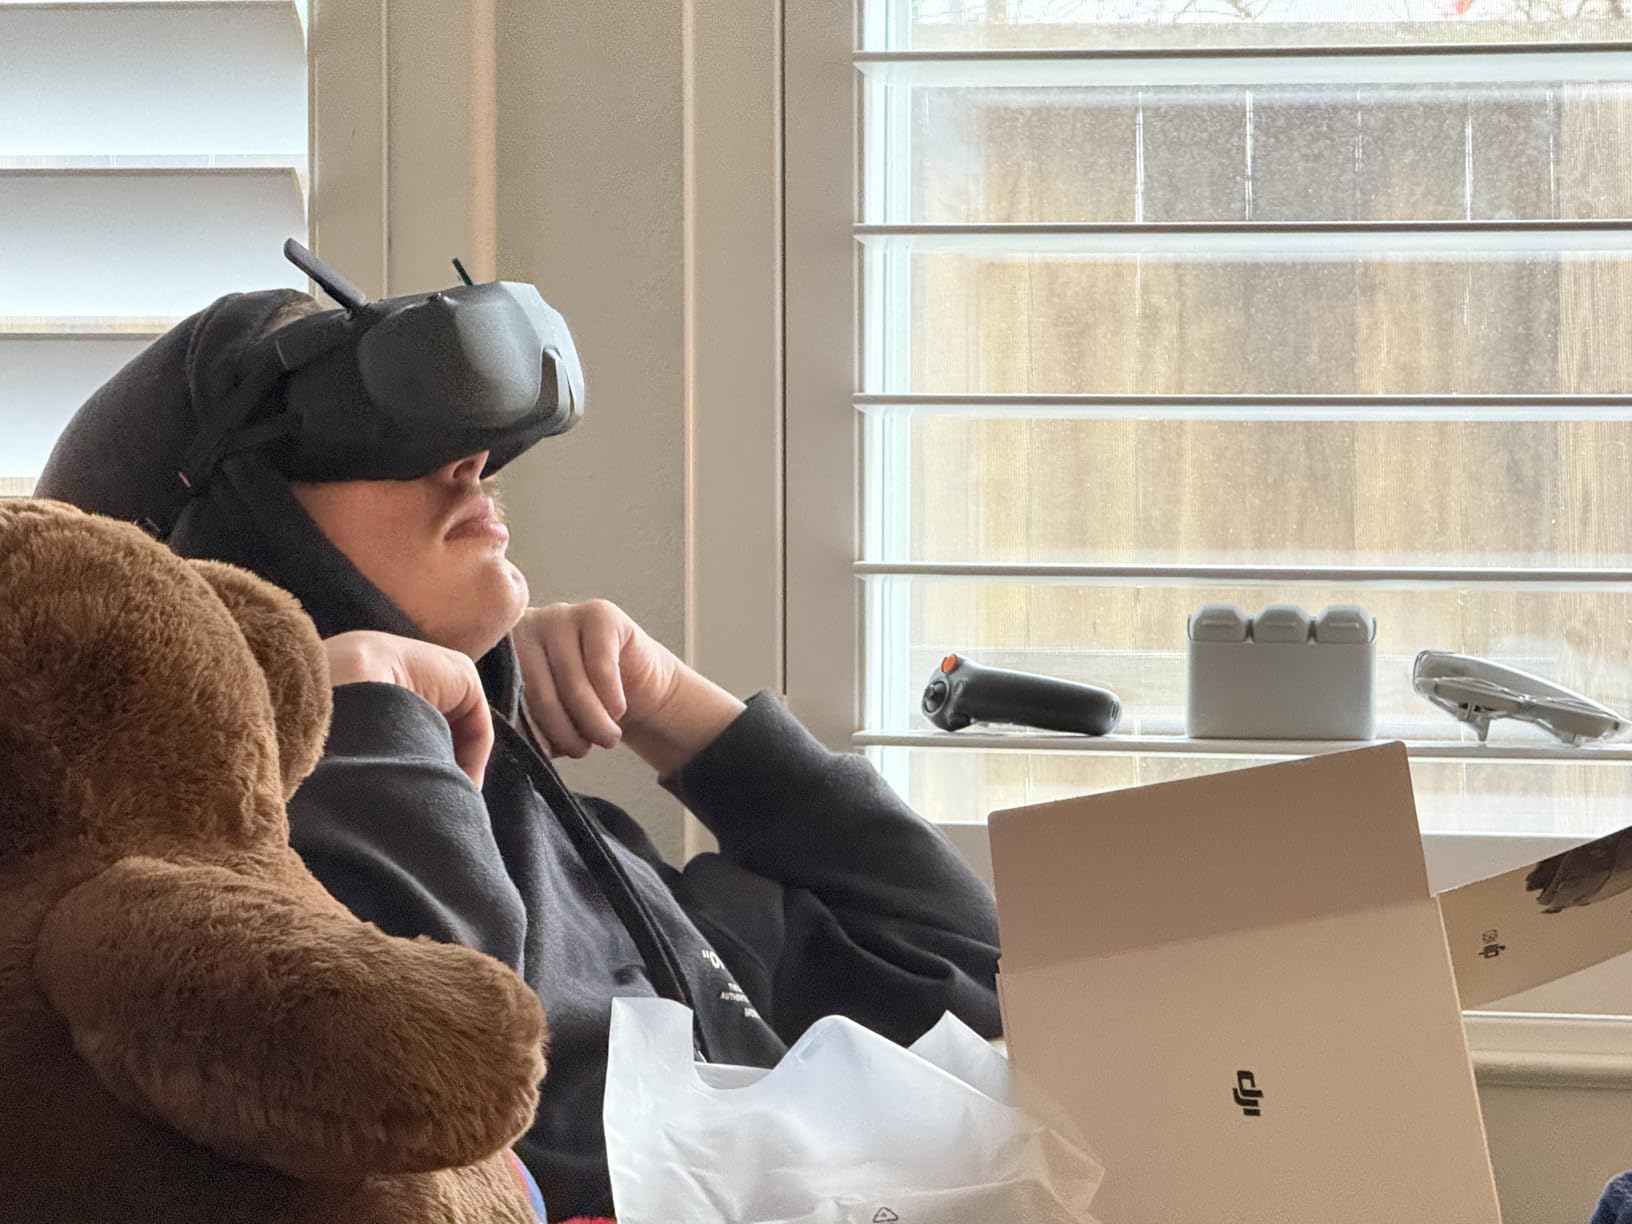
7. DJI Neo Motion Fly More Combo – Best Premium Complete Kit
DJI Neo Motion Fly More Combo, Mini Drone with 4K UHD Camera for Adults, 135g Self Flying Drone that Follows You, Palm Takeoff, Subject Tracking, QuickShots, with RC Motion 3 and 3 Batteries
135g ultralight
4K UHD camera
DJI RC Motion 3 controller
3 intelligent batteries
DJI Goggles N3
Pros
- No FAA registration required
- Excellent 4K camera quality
- Multiple control options
- Great FPV experience
- Good battery life
Cons
- Goggles N3 do not fit glasses well
- Slow charging times
- Motion controller learning curve
- Wind affects flight performance
The DJI Neo represents a different approach to micro FPV than everything else on this list. While traditional Tiny Whoops target hobbyists who want to build and tune, the Neo aims squarely at content creators and casual pilots who prioritize ease of use and video quality over raw performance.
The 4K camera is genuinely impressive for a 135g aircraft. I captured footage at a family gathering that looked indistinguishable from what I get from my much larger Air 3. The gimbal stabilization works wonderfully, and the AI subject tracking kept my nephew in frame as he ran through the backyard. This is a flying camera first, an FPV quad second.
The Motion 3 controller makes FPV accessible to anyone. You literally point where you want to go, and the Neo follows. My father, who has never flown anything before, was orbiting around himself within five minutes of picking up the controller. There is a traditional manual mode for experienced pilots, but the motion control is genuinely revolutionary for newcomers.
The Fly More Combo includes three batteries and the charging hub, which is essential because individual batteries take a while to charge. I get about 15-18 minutes per battery in calm conditions, though wind reduces this significantly. The Neo only weighs 135g, so breezes affect it more than heavier quads.
Who Should Buy the DJI Neo
Content creators who want aerial footage without learning to fly manual FPV should strongly consider the Neo. The 4K camera, subject tracking, and automated flight modes make capturing professional-looking shots effortless. It is also ideal for anyone intimidated by traditional FPV learning curves.
Who Should Skip It
Traditional FPV pilots will find the Neo limiting. The motion controller, while clever, does not provide the precision for acrobatic flying or racing. If you want to learn power loops and split-S maneuvers, buy a real whoop instead.
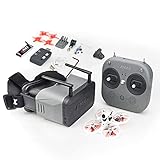
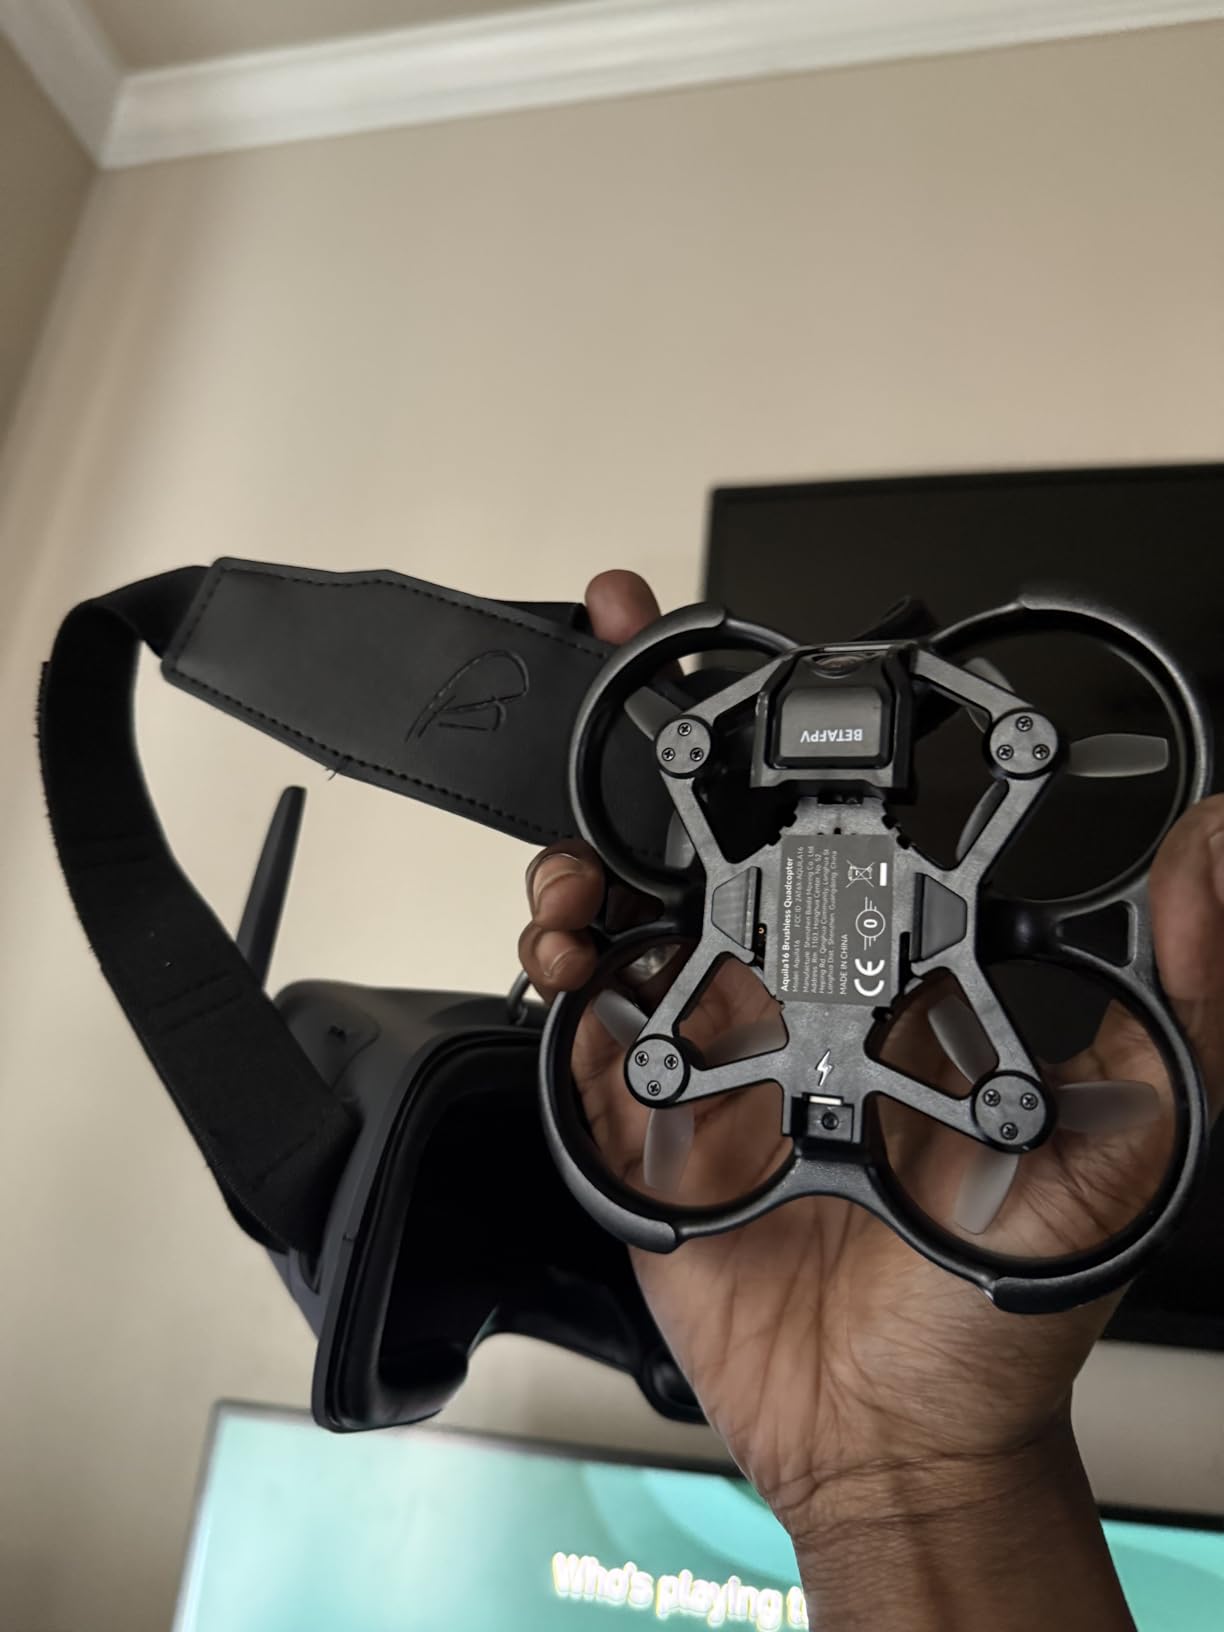
8. BETAFPV Aquila16 FPV Kit – Best Flight Time
BETAFPV Aquila16 FPV Kit with LiteRadio 2 SE Transmitter for Simulator, VR03 Goggles with DVR Recording Function, 3 Flight Modes, Supported 1S RTF Kit for FPV Beginner to Fly Indoor & Outdoor ELRS V3
16mm prop size
1100mAh battery
8 minute flight time
VR03 DVR goggles
350mW VTX
Pros
- Excellent 8 minute flight time
- Very durable construction
- 3 flight modes for learning
- Pre-bound ready to fly
- Good customer support
Cons
- Camera feed can disconnect after crashes
- Goggles lack nose foam support
- Poor low-light camera quality
- Not Betaflight configurable
The Aquila16 addresses the most common complaint about whoops, short flight times. With its oversized 1100mAh battery, I consistently get eight minutes of aggressive flying or ten minutes of casual cruising. That is double what most 1S whoops deliver, and it changes how you fly when you are not constantly watching for voltage sag.
The included VR03 goggles include DVR recording, which is rare at this price point. I have recorded plenty of crash footage to analyze later, and the one-button recording is simple enough that my kids use it. The 4.3-inch screen is larger than basic goggles, though the resolution remains standard analog quality.
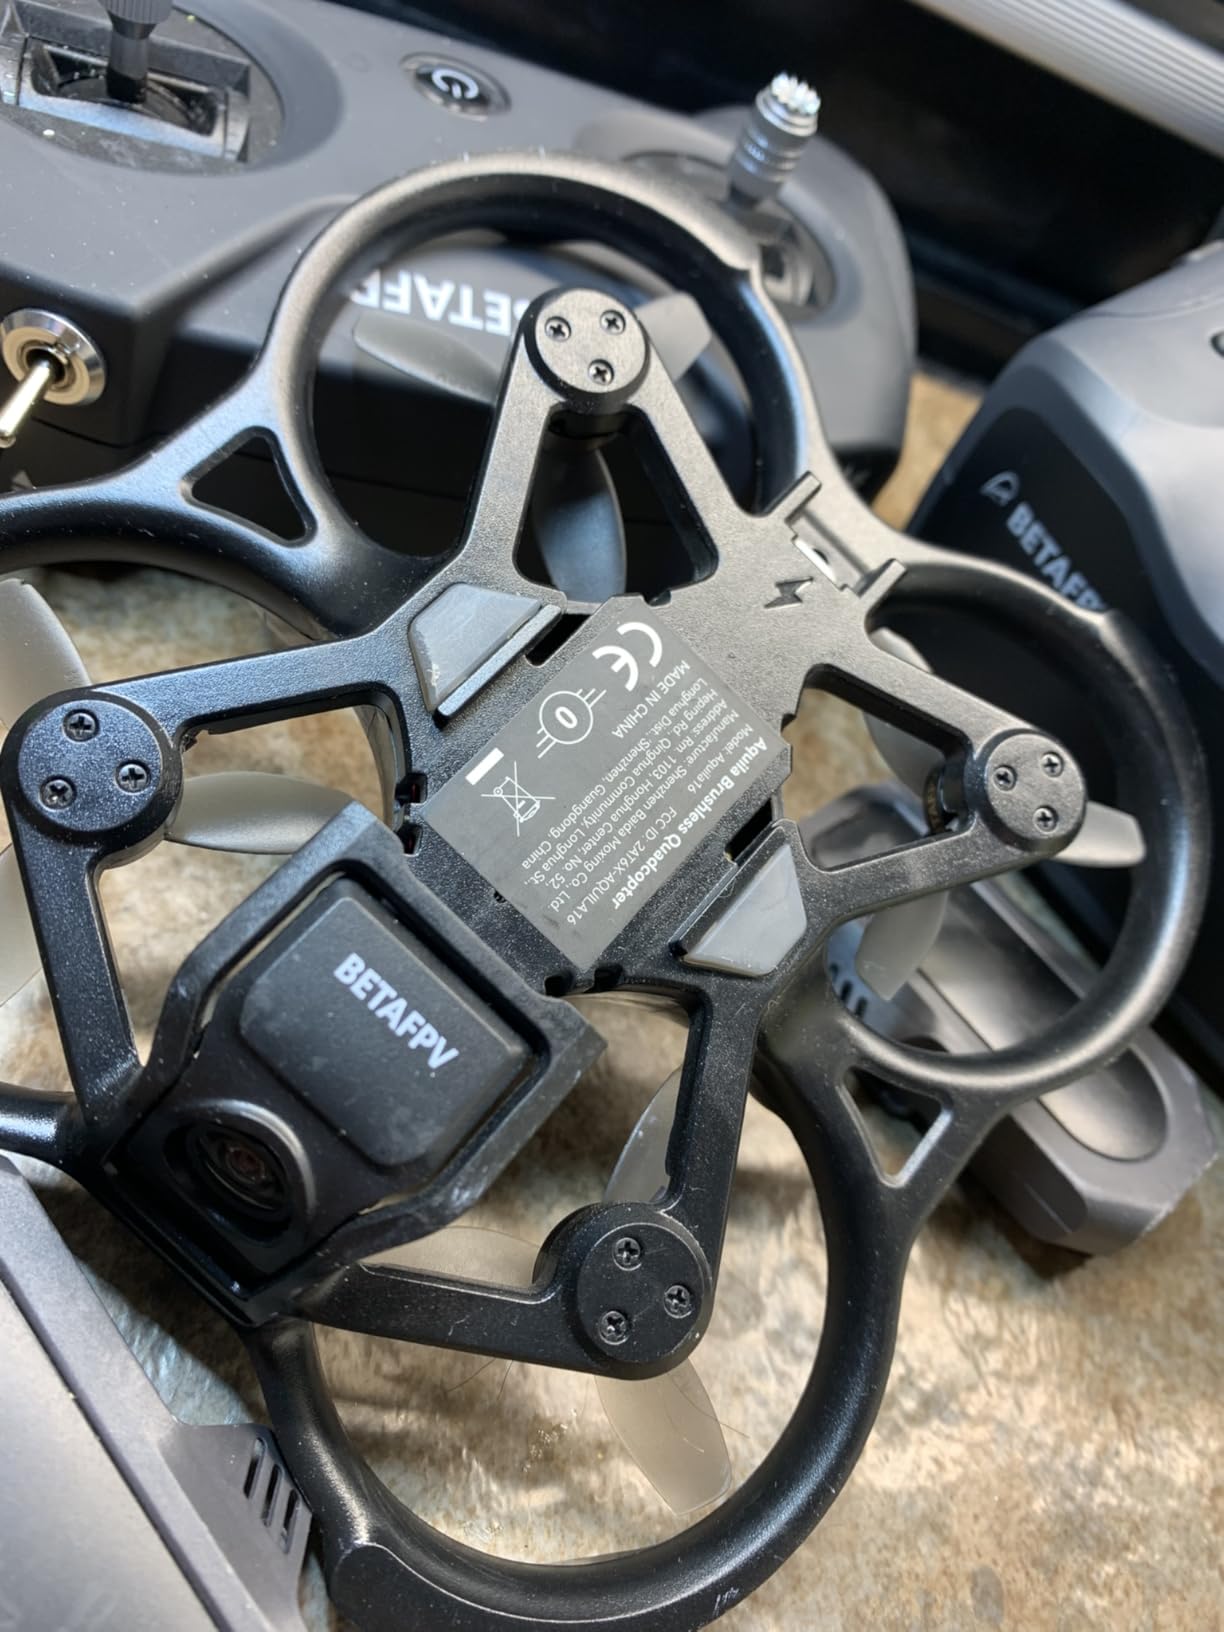
Durability impressed me immediately. The PA12 frame material flexes rather than cracking, and the prop guards extend far enough to protect in most crash orientations. I have handed this to complete beginners who crashed repeatedly, and the Aquila16 kept flying. BetaFPV’s customer support has been responsive on the rare occasions I needed to contact them.
The camera struggles in dim conditions, so basement flying requires good lighting. The video feed can disconnect after hard crashes until you power cycle the quad, which seems to be a connector issue. Most importantly, this runs BetaFPV’s proprietary firmware rather than Betaflight, so you cannot use standard tuning tools.
Who Should Buy the Aquila16
If you prioritize flight time over everything else, this is your whoop. The eight-minute flights let you practice without constant battery swaps. It is also excellent for beginners who want a step up from the Cetus series with better performance and longer sessions.
Who Should Skip It
Pilots who want to customize PID tunes or use Betaflight configuration tools should look elsewhere. The camera performance in low light limits indoor basement flying, and the non-standard firmware locks you out of the broader FPV community’s tuning knowledge.
9. BETAFPV Aquila20 FPV Kit – Complete 2S RTF Solution
BETAFPV Aquila20 FPV Kit with Altitude Hold Stable Hover, LiteRadio 4 SE Radio Transmitter, VR04 FPV Goggles DVR Supported, 3 Modes 2S Propulsion System Drone RTF for FPV Beginner Fly Indoor Outdoor
2S propulsion system
VR04 DVR goggles
LiteRadio 4 SE TX
10 minute flight time
PA410 crash-resistant frame
Pros
- Very beginner-friendly setup
- Excellent durability with PC frame
- Impressive 6+ minute battery life
- Good instructions included
- Altitude hold works well
Cons
- Poor antenna and limited range
- Not upgradeable later
- Poor wind handling due to drag
- Underpowered for experienced pilots
The Aquila20 is BetaFPV’s attempt to create the ultimate beginner RTF kit, and they mostly succeeded. The LiteRadio 4 SE transmitter includes Bluetooth for simulator practice, which is the feature I wish every starter kit had. My friend learned on this kit, and the eight-hour battery life on the radio meant he never had charging anxiety during practice sessions.
The 2S power system provides more authority than 1S whoops without becoming intimidating. The altitude hold mode actually works, using both barometer and laser positioning to maintain height. Beginners can focus on directional control while the quad handles throttle management. Turtle mode recovers from upside-down crashes automatically.
Flight time surprised me at over six minutes per pack, and the included 2S HV 1100mAh batteries have an integrated management chip for safer charging. The VR04 goggles record video with one button and last over two hours on a charge. Everything comes pre-bound, so you charge batteries and fly.
The limitations become apparent as skills improve. The range is limited by small antennas on both drone and goggles, fine for a house but restrictive for yards. The frame has significant drag, making wind a real problem. And the proprietary protocol means you cannot upgrade the radio to work with other quads later.
Who Should Buy the Aquila20
This is the perfect gift for someone curious about FPV who wants the simplest possible start. The complete package, long battery life, and durable construction make it ideal for teenagers or adults wanting to try FPV without technical headaches.
Who Should Skip It
If you plan to expand into the FPV hobby seriously, this kit’s proprietary nature becomes limiting. The LiteRadio 4 only works with BetaFPV’s protocol, so your next quad purchase requires a new radio. Buy a standard ELRS or FrSky setup if you want room to grow.
10. Tinyhawk 3 RTF Kit – Durable Beginner Package
Tinyhawk 3 RTF Kit 1s FRSKY FPV Drone for Beginners with Controller and 5.6G Goggles Quadcopter Ready to Fly Kit
Complete RTF kit
FRSKY protocol
5.8G FPV system
Plug-in motor design
Flexible plastic frame
Pros
- Extremely tough and durable
- Perfect for beginners learning FPV
- Complete kit with controller and goggles
- Betaflight configurable
- Easy motor replacement
Cons
- Quality control issues reported
- Video feed can be staticky
- Limited 100-150 foot range
- No GPS for lost drone finding
- Controller quality mediocre
The Tinyhawk 3 continues EMAX’s tradition of building nearly indestructible beginner quads. The flexible plastic frame bends and bounces back from impacts that would crack stiffer materials. I have seen this thing hit walls, ceilings, and furniture at full speed and keep flying without even replacing props.
The plug-in motor design is brilliant for beginners. When a motor eventually fails after hundreds of crashes, you unplug the old one and plug in a new one. No soldering required. This maintainability extends the useful life of the quad significantly, and replacement motors cost less than a coffee.
Being Betaflight configurable means you can grow with this quad. As skills improve, adjust the rates, tune the PIDs, or switch to different flight modes. The FRSKY protocol works with many upgrade transmitters, so you are not locked into the included radio forever. I appreciate that EMAX respects the open nature of FPV.
The video feed can get noisy, especially when flying near WiFi routers or other 2.4GHz interference. Range is limited to about 100-150 feet, which is fine indoors but restrictive outside. The lack of GPS means a flyaway could lose your quad permanently, so keep it close while learning.
Who Should Buy the Tinyhawk 3
This is another solid option for beginners wanting a complete kit. The durability and Betaflight compatibility make it particularly good for younger pilots who will inevitably crash often. The plug-in motors also make it parent-friendly for repairs.
Who Should Skip It
The quality control seems inconsistent, with some units arriving with issues. If you want reliable video quality or plan to fly outside at distance, the range limitations become frustrating quickly. Experienced pilots will outgrow the included controller rapidly.
11. Tiny Hawk Micro Drone Free Style 2 – Full Manual Training
Tiny Hawk Micro Drone Free Style 2 FPV Racing Outdoor Quad Ready To Fly Kit with Goggles and Controller for Beginners and Pros
Carbon fiber frame
Full manual flight only
5.8G FPV system
4 ounce weight
2S capable
Pros
- Very durable carbon frame
- Great for learning true manual flight
- Good for beginners and pros
- Lightweight and fast
- Real 5.8G analog FPV
Cons
- No hover mode (steep learning curve)
- Controller quality issues
- Video quality problems reported
- Connection issues between drone and controller
- Antenna may break
The Free Style 2 occupies a unique niche as a full-manual trainer. Unlike every other whoop on this list, it has no self-leveling modes at all. Angle mode, horizon mode, none of it. You learn to fly acro from day one, which sounds intimidating but actually builds better habits for pilots serious about FPV progression.
The carbon fiber frame is surprisingly tough for such a lightweight quad. At four ounces, it feels nimble and responsive, with none of the sluggishness that heavier whoops exhibit. The real 5.8GHz FPV system works with any analog goggles, and the included controller and goggles in the RTF kit get you flying immediately.
The challenge is real. Without altitude hold or self-leveling, you must manage throttle constantly to maintain height. Crashes are frequent during the first few batteries. But the skills you develop transfer directly to larger quads, and pilots who learn this way often progress faster than those who rely on assisted modes.
Quality control is the main concern. Some units arrive with controller or video issues that require troubleshooting. The antenna connection is fragile and may need reinforcement. This is a product where buying from a reputable dealer with good return policies matters.
Who Should Buy the Free Style 2
Pilots committed to learning real FPV without crutches should consider this. The full-manual approach builds skills that transfer to 5-inch racing quads. The durability also makes it forgiving for the inevitable crashes during learning.
Who Should Skip It
Unless you are genuinely committed to learning acro from the start, this will frustrate you. Beginners expecting assisted flight modes will crash constantly and likely give up. Start with a Cetus or Aquila kit if you want training wheels.
12. STARTFPV R8 ELRS – Best Budget ELRS Whoop

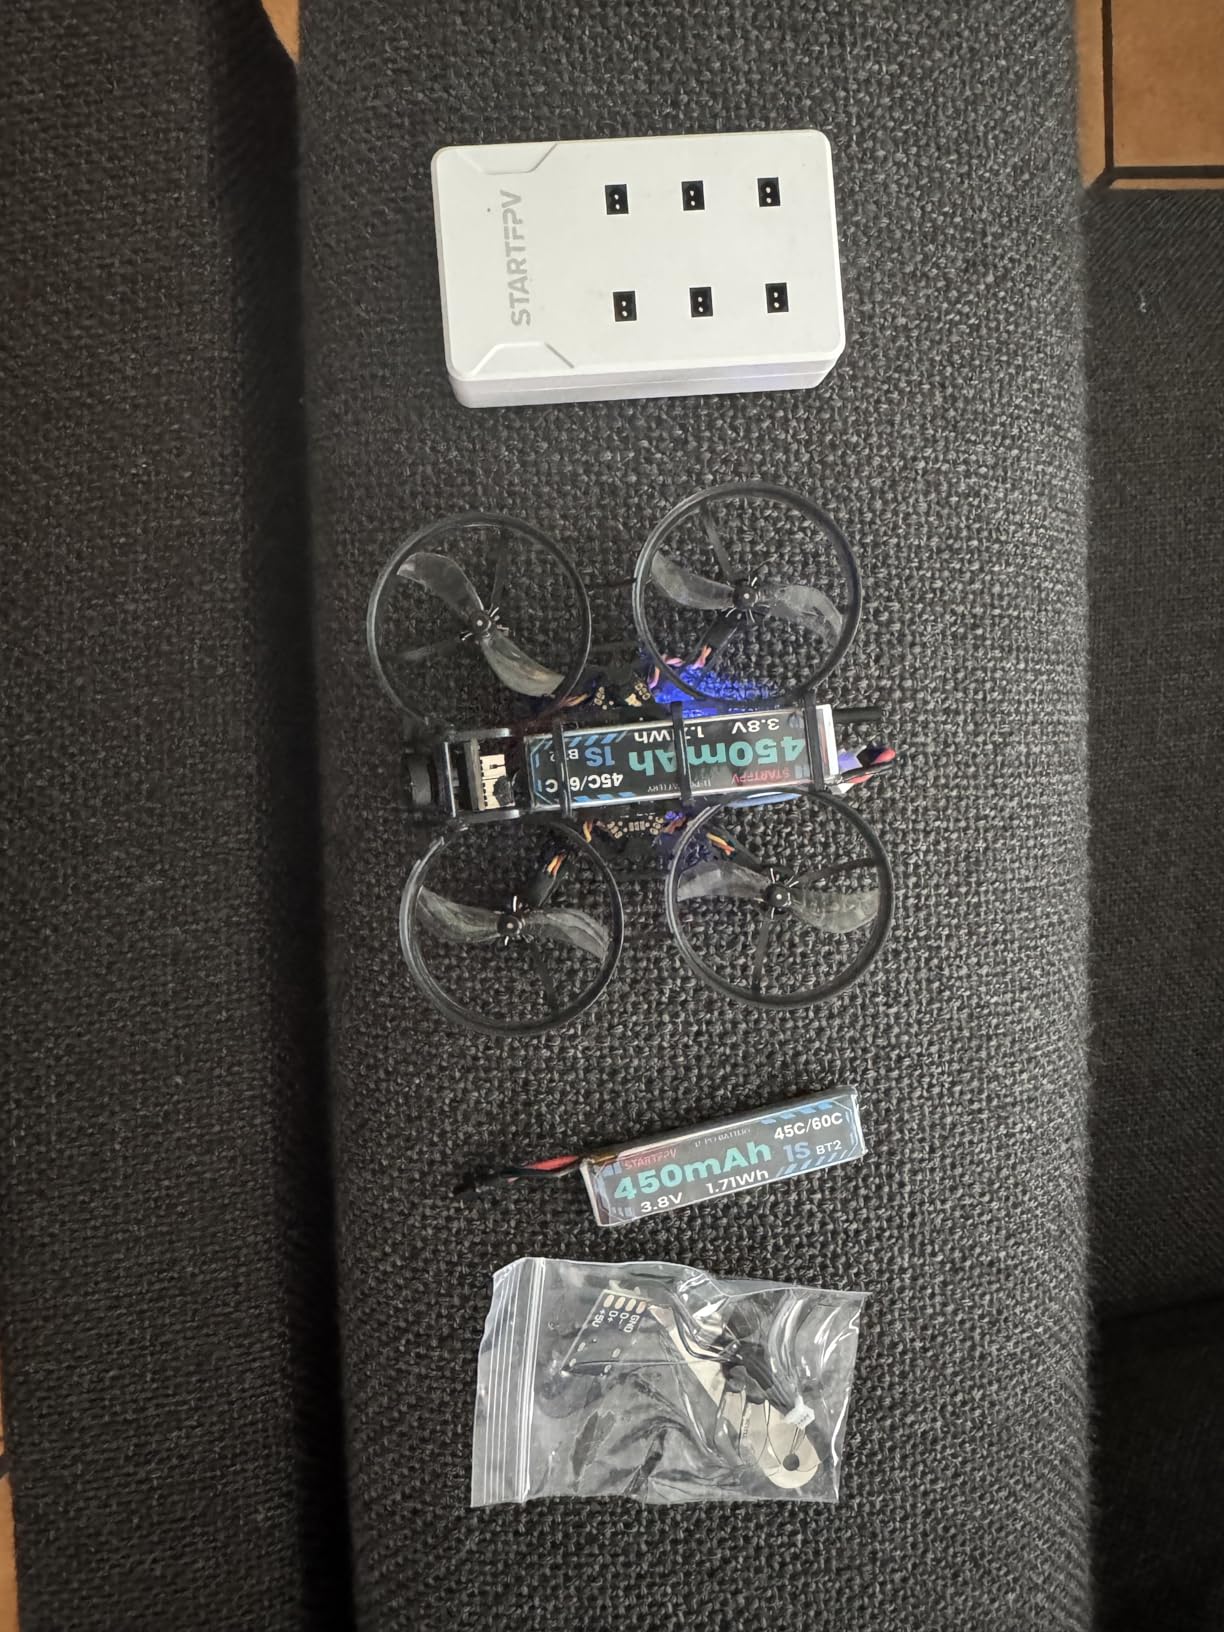
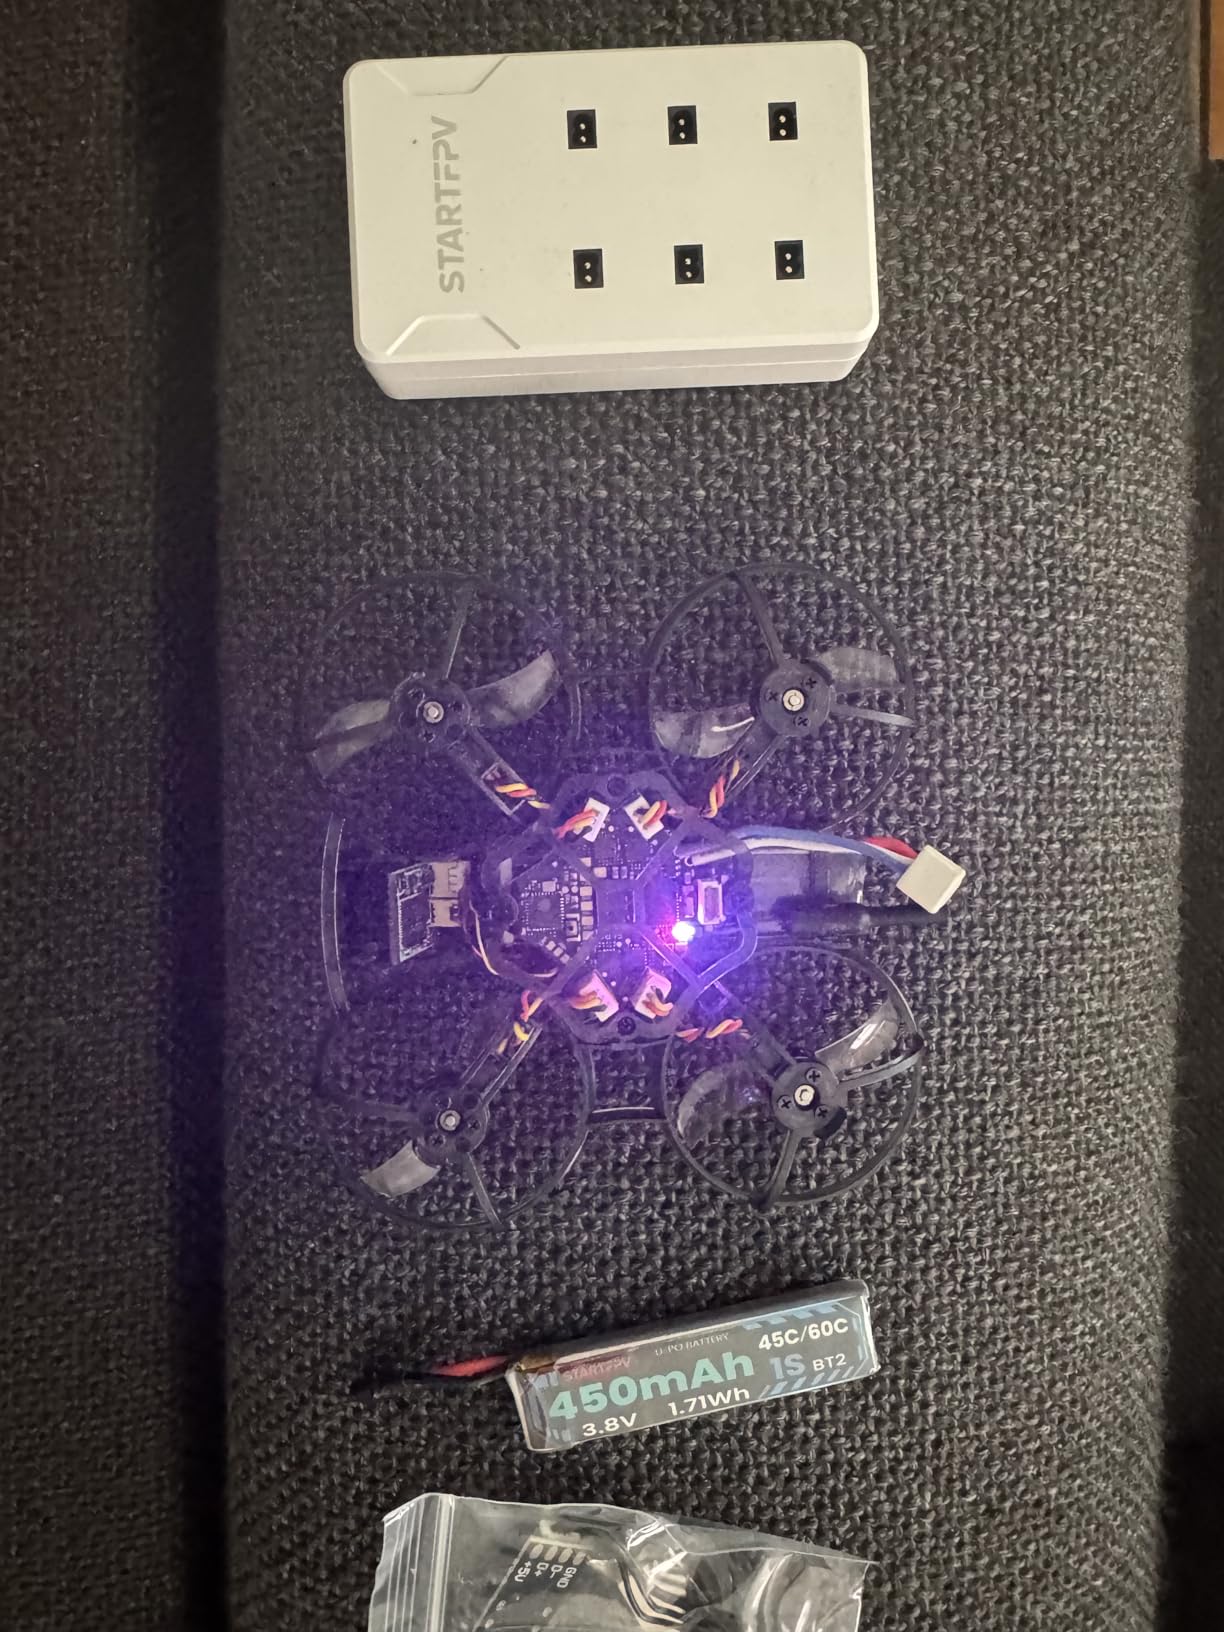
R8 ELRS Brushless Whoop Quadcopter, Ultralight 1S 80mm Micro FPV Drone BNF with 6 Port Battery Charger,2 Batteries Fly12 Mins for FPV Freestyle Racing Indoor Outdoor,FOV160°,Matrix G4 5IN1 FC,0802 20000KV Motor
80mm wheelbase
0802 20000KV motors
Matrix G4 5IN1 FC
1200TVL analog camera
Includes 2 batteries and charger
Pros
- Fast and easy to control
- Durable frame survives crashes
- Great analog camera quality
- Easy ELRS binding
- Good value with included accessories
Cons
- Frame can break with light crashes
- Motor failures reported
- Limited battery fitment options
- Camera exposed as bumper
- Poor wind handling
The R8 offers an impressive feature set for the price, particularly the inclusion of two batteries and a six-port charger. For under $160, you get a brushless whoop with ELRS, flight time accessories, and a capable flight controller. That value proposition is hard to beat for pilots already invested in the ELRS ecosystem.
The Matrix G4 5IN1 flight controller runs a G473 MCU with the ICM-42688P gyro, the same high-performance IMU found in much more expensive quads. The 0802 20000KV motors deliver a 1:4 thrust-to-weight ratio that makes the R8 feel sporty and responsive. I was doing acro maneuvers on my third battery with this quad.
Flight time runs 3.5-4 minutes per pack with the included 450mAh batteries, which is competitive for this motor and prop combination. The 160-degree field of view camera captures a wide perspective that helps with spatial awareness in tight spaces. Angle, horizon, acro, and anti-turtle modes cover every flight scenario.
Durability is the question mark. While the frame survived my initial crashes, other users report cracks from relatively light impacts. Motor failures after limited flight time have been reported, and replacement motors are not readily available on Amazon. The camera mounts as a front bumper, exposing it to direct impacts.
Who Should Buy the R8
If you own an ELRS transmitter and want a budget-friendly whoop with modern features, the R8 delivers good value. The included accessories make it genuinely ready to fly out of the box, and the flight performance exceeds the price point.
Who Should Skip It
The parts availability concerns give me pause for recommending this to beginners who might break things. If you need a proven reliable quad with easy parts sourcing, stick to BetaFPV or EMAX products with established supply chains.
13. APEX FPV Drone Kit VR70-2.0 – Budget Entry Point

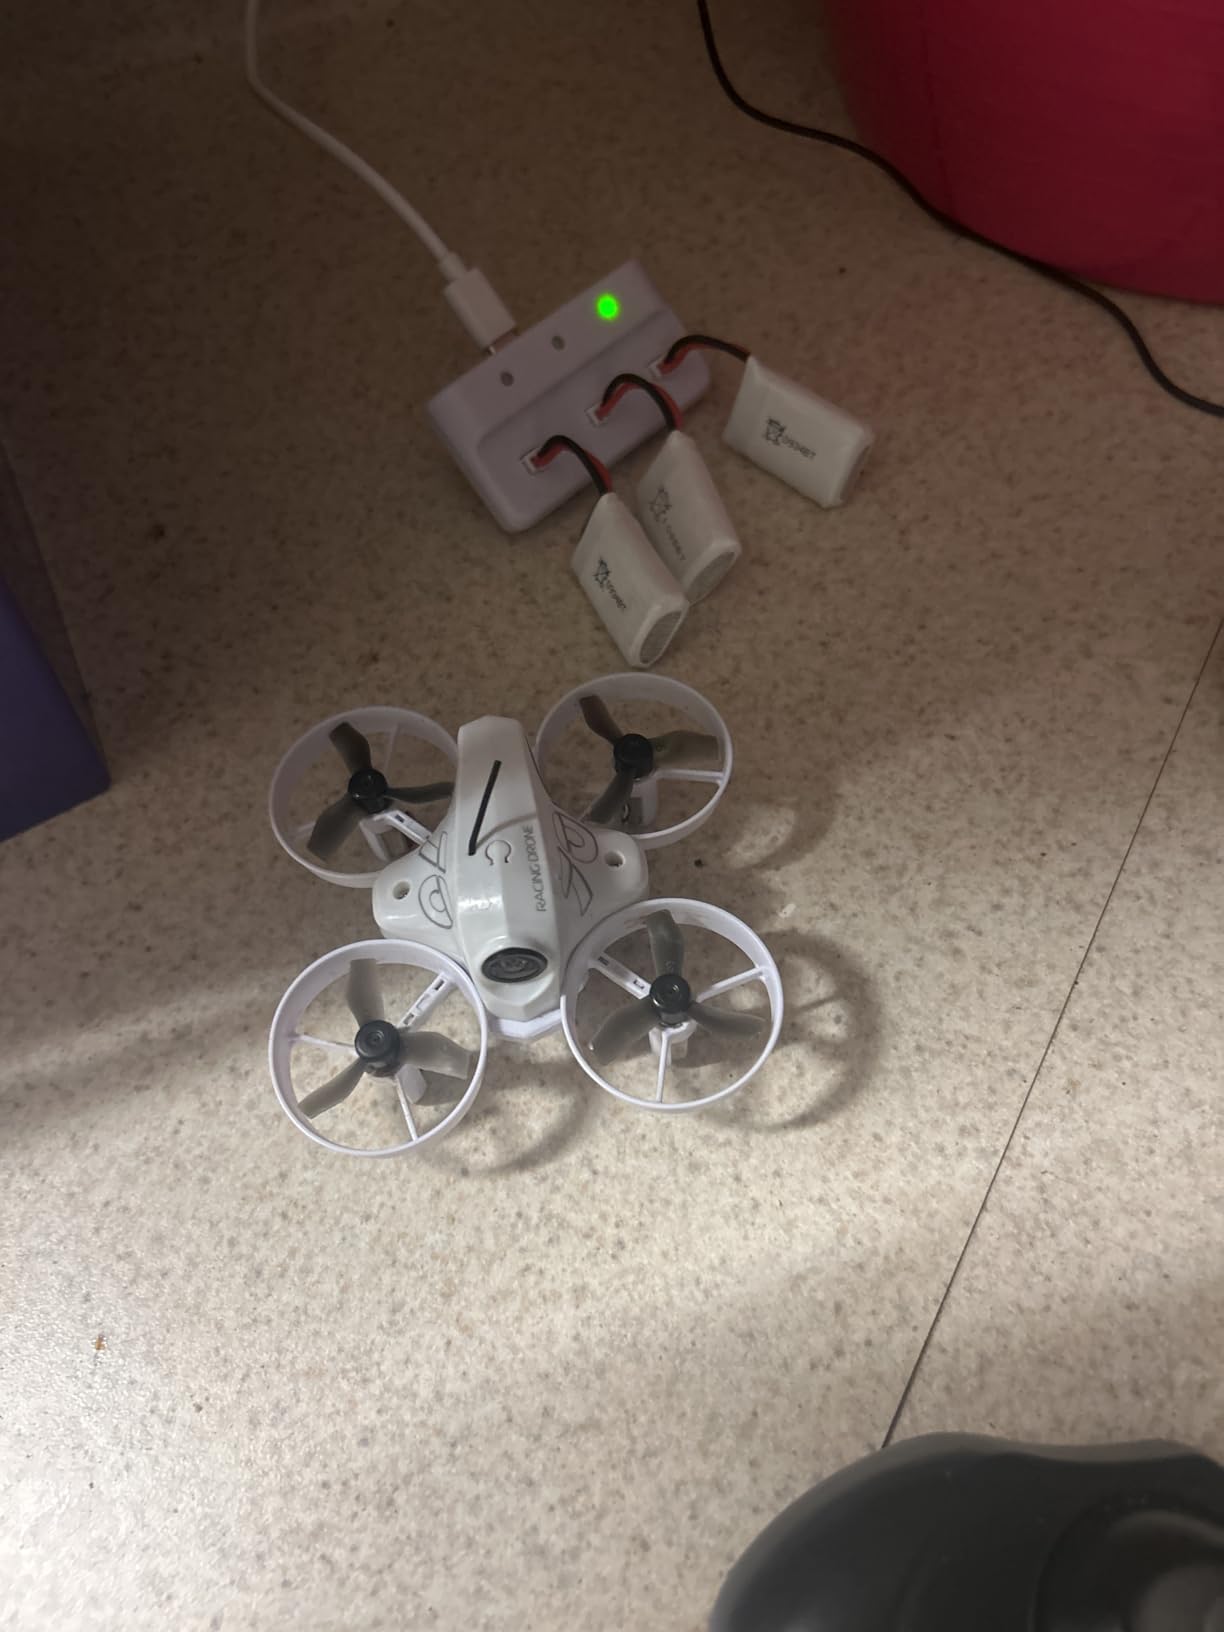
APEX FPV Drone Kit,FPV Goggles,First-person view drone,FPV Racing Drone for Beginners,Low-Latency 5.8G Transmission, Drop-Resistant,VR70-2.0
120 degree FPV camera
Low-latency 5.8G transmission
Altitude hold mode
Manual mode included
3 batteries included
Pros
- Good value for complete kit
- 3 batteries extend flight time
- Drop-resistant design
- Works with other 5.8G goggles
- Easy controls for beginners
Cons
- Charger issues reported
- Headset connectivity problems
- Controller quality inconsistent
- Limited 400mAh battery capacity
- Tight headset strap
The APEX kit targets the absolute budget end of FPV, and for the price, it delivers a functional experience. Three batteries included means 15-18 minutes of total flight time per session, which beats kits that only include one or two packs. The 5.8GHz video system works with standard FPV goggles if you upgrade later.
The altitude hold mode actually works reasonably well for beginners learning throttle control. The manual mode lets you progress to full acro as skills develop. The drop-resistant frame survives the crashes that inevitably come with learning, though it does not match the durability of BetaFPV or EMAX offerings.
The 120-degree camera gives a wide perspective for flying, though image quality is basic compared to better cameras. The 1000-foot range specification exceeds what most beginners need, though real-world performance varies with interference. The kit includes everything to start flying immediately.
Quality control is the primary concern with budget kits like this. Charger failures, headset connectivity issues, and general component inconsistency appear in user reviews more frequently than with established brands. Consider this an entry point to test interest in FPV rather than a long-term investment.

Who Should Buy the APEX Kit
If you are curious about FPV but not ready to invest $250+ to find out if you enjoy it, this kit offers an affordable trial. The included accessories provide enough flight time to get a genuine sense of whether FPV flying appeals to you.
Who Should Skip It
Anyone serious about getting into FPV should spend slightly more for a Cetus or Tinyhawk kit. The quality and support from established brands provide better value long-term than saving $50 upfront on a kit with potential reliability issues.
14. BETAFPV Cetus FPV RTF – Entry Level Brushed Option

BETAFPV Cetus FPV RTF Drone Kit for Brushed Racing Drone, with LiteRadio 2 SE Transmitter VR02 FPV Goggles, Fly FPV Drone Kit for Beginners to Fly Faster Further
Brushed whoop design
LiteRadio 2 SE transmitter
VR02 FPV goggles
Height hold function
Frsky D8 protocol
Pros
- Affordable complete kit
- Durable for indoor crashes
- Height hold helps beginners
- Transmitter works with simulators
- Includes carry bag
Cons
- Brushed motors less powerful than brushless
- Very short 2-3 minute battery life
- Screen quality issues reported
- Motor connector reliability concerns
- Limited outdoor wind handling
The original Cetus kit uses brushed motors rather than the brushless ones found in newer whoops. That makes it less powerful and shorter-lived, as brushed motors wear out after dozens of hours rather than hundreds. But it also makes the kit significantly cheaper, and for testing whether FPV appeals to you, that trade-off can make sense.
Despite the older motor technology, the Cetus teaches the same fundamental skills as more expensive kits. Height hold mode helps beginners learn orientation without worrying about altitude management. The included transmitter plugs into simulators for practice without risking the quad. The VR02 goggles provide genuine FPV immersion.
The brushed motors limit performance significantly. You will not power loop or do aggressive freestyle on this quad. Battery life is short at two to three minutes per pack. And the motors will eventually wear out and need replacement, though spare brushed motors are cheap.
For pure learning purposes, this still works. I know pilots who started on the Cetus, moved to brushless whoops, and now fly 5-inch racing quads. The skills transfer even if the hardware is basic. Just go in with realistic expectations about performance and longevity.
Who Should Buy the Cetus
If budget is extremely tight and you simply must have the cheapest possible entry into FPV, the Cetus delivers a functional experience. It is also suitable for very young pilots where the lower power reduces potential for damage or injury.
Who Should Skip It
Spend the extra $50 for the Cetus Pro if at all possible. The brushless motors, better battery system, and improved durability make the Pro worth the price difference. The Cetus brushed kit only makes sense if every dollar matters.
15. BETAFPV Cetus Lite – Safest for Kids

BETAFPV Cetus Lite FPV Drone Kit for Kids, with Altitude Hold Self Protection Function 2 Speed Modes Support Simulator Ready to Fly Kit for FPV Beginners to Start Flying Indoor Outdoor- Frsky D8
PA12 durable frame
Altitude hold with 6-axis IMU
Propeller guard design
VR02 FPV goggles
LiteRadio 1 transmitter
Pros
- Great for kids with safety guards
- Altitude hold aids learning
- PA12 frame material durable
- Good for indoor flying
- FPV simulator support included
Cons
- Very short 1-3 minute battery life
- Frame can crack easily
- Low 720p camera quality
- Batteries may swell over time
- Calibration issues reported
The Cetus Lite is BetaFPV’s most beginner-focused kit, designed specifically with safety and simplicity in mind. The propeller guards fully enclose the props, making this the safest option for flying around children or pets. The PA12 frame material is the same durable nylon used in higher-end BetaFPV products.
Altitude hold works through a 6-axis IMU that senses orientation and maintains height automatically. Kids can learn directional control without managing throttle, which reduces the learning curve significantly. Emergency auto-locking stops the motors after collisions for safety.
The 720p camera quality is noticeably lower than modern alternatives, showing its age compared to 1200TVL systems on current whoops. Battery life is very limited at one to three minutes depending on flying style. Some users report battery swelling over time, which requires careful monitoring.
This is clearly positioned as a starter product for younger pilots or absolute beginners testing interest. The lower performance and shorter flight times limit its usefulness for anyone who gets serious about FPV, but the safety features and simplicity make it accessible in ways more capable quods are not.
Who Should Buy the Cetus Lite
Parents buying for children under 14 should consider this the safest entry point. The enclosed prop guards and altitude hold make it genuinely kid-friendly. It is also suitable for anyone nervous about flying who wants the most assisted experience possible.
Who Should Skip It
Anyone over 14 with normal coordination should start with the Cetus Pro instead. The Lite’s limitations become frustrating quickly, and the minimal price savings do not justify the significantly reduced performance and flight time.
Tiny Whoop Buying Guide – What to Consider
After reviewing fifteen different models, you might wonder which specifics actually matter for your situation. This buying guide breaks down the technical factors that separate a whoop you will fly for years from one that collects dust.
65mm vs 75mm Wheelbase – Size Matters
The wheelbase measurement, distance between diagonal motor centers, fundamentally changes how a whoop flies. I own both sizes and choose based on where I will fly.
65mm whoops like the Air65 fit through smaller gaps and feel more agile in tight spaces. They are quieter, draw less power, and cause less damage when you inevitably hit something. For pure indoor flying through hallways and doorways, 65mm is my preference.
75mm whoops like the Tinyhawk 2 and Meteor75 Pro handle wind better and carry heavier cameras more efficiently. The larger props generate more thrust, making outdoor flying feasible on calm days. If you plan to fly outside at all, 75mm makes more sense.
Brushed vs Brushless Motors – Performance and Longevity
Brushed motors use physical contacts to transfer electricity, which creates friction and wear. Brushless motors use electronic commutation, eliminating contact wear. The difference matters more than specs suggest.
My brushed whoops lasted about 50 hours before motor replacement became necessary. My brushless whoops have hundreds of hours with no performance degradation. Brushless motors also provide more power, better efficiency, and smoother throttle response. The only reason to buy brushed in 2026 is extreme budget constraint.
1S vs 2S Battery Systems – Power vs Convenience
1S batteries are single cells at 3.7-4.35 volts. 2S batteries stack two cells for 7.4-8.7 volts. The voltage difference fundamentally changes flight characteristics.
1S whoops are safer, simpler to charge, and more forgiving of mistakes. The lower power means less damage in crashes and longer motor life. I recommend 1S for all beginners and anyone flying strictly indoors.
2S whoops punch harder, handle wind better, and lift heavier cameras. The Pavo Femto on 2S feels like a completely different class of aircraft compared to 1S whoops. The trade-off is increased danger in crashes, more complex charging, and faster wear on components.
BT2.0 vs PH2.0 Connectors – The Voltage Drop Problem
This detail seems minor but significantly impacts performance. PH2.0 connectors, the older standard, have higher resistance that causes voltage sag under load. BT2.0 connectors use a more robust design that maintains voltage better.
The difference is noticeable in flight. With PH2.0, aggressive throttle punches cause the voltage to drop, reducing power output and triggering low-voltage warnings prematurely. BT2.0 maintains stable voltage until the battery is genuinely depleted, giving more consistent power and longer effective flight time.
All the whoops in this guide use BT2.0 or similar modern connectors except for some older designs. If you buy a whoop with PH2.0, consider upgrading the connector or the batteries to BT2.0 format.
BNF vs RTF – Bind-N-Fly vs Ready-To-Fly
BNF (Bind-N-Fly) quads come without a transmitter or goggles. You supply your own radio and video equipment, binding the quad to your existing setup. RTF (Ready-To-Fly) includes everything needed to fly in one box.
BNF makes sense if you already own FPV gear or plan to get serious about the hobby. You will want a proper radio and goggles eventually, so buying them separately with BNF quads avoids duplicating equipment. All the serious FPV pilots I know run BNF whoops with their primary radio.
RTF is perfect for testing whether you enjoy FPV before investing heavily. The included controllers and goggles are basic but functional. If you get hooked, you will replace them within a year. If FPV does not grab you, you have not wasted money on high-end gear.
Analog vs Digital FPV Systems – Video Quality Trade-offs
Analog FPV uses traditional radio frequencies to transmit video. Digital FPV systems like DJI O3/O4 and HDZero encode video digitally for transmission. Both approaches have valid use cases.
Analog offers near-zero latency, works with inexpensive goggles, and penetrates obstacles better. The image quality is lower resolution and noisier, but many experienced pilots prefer analog for racing and freestyle where latency matters more than image fidelity. Analog gear is also lighter, important for tiny whoops.
Digital provides crystal-clear 1080p or 4K video that makes orientation easier and recording unnecessary since the system captures what you see. Latency is slightly higher though improving rapidly. Digital systems cost significantly more and add weight that affects whoop performance.
For beginners, analog makes more sense. The lower cost reduces barrier to entry, and the skills transfer directly to digital later. For content creators, digital justifies the investment for the recording quality alone.
Frequently Asked Questions About Tiny Whoops
What Tiny Whoop should I choose as a complete beginner?
For complete beginners, I recommend the BETAFPV Cetus Pro FPV Kit. It includes everything you need to start flying: the drone, transmitter, goggles, and batteries. The three flight modes let you progress from assisted flying to full manual control as your skills improve. The altitude hold and turtle mode make learning less frustrating than traditional whoops.
What is the best tinywhoop for both indoor and outdoor flying?
The BETAFPV Meteor75 Pro is the best choice for mixed indoor and outdoor use. Its 75mm wheelbase provides enough power to handle light wind outside while remaining small enough for indoor flying. The brushless motors offer excellent performance, and the O4 Air Unit compatibility lets you capture high-quality footage anywhere you fly.
Should I get a 65mm or 75mm Tiny Whoop?
Choose 65mm if you plan to fly strictly indoors in small spaces like apartments or hallways. The smaller size fits through tighter gaps and causes less damage in crashes. Choose 75mm if you want to fly outdoors at all, as the larger props provide more power to handle wind and maintain stability in larger areas.
What is the difference between BNF and RTF whoops?
BNF (Bind-N-Fly) comes with just the drone, requiring you to supply your own transmitter and goggles. RTF (Ready-To-Fly) includes everything needed to start flying immediately. BNF makes sense if you already own FPV equipment, while RTF is ideal for beginners who need a complete package to get started.
How long do Tiny Whoop batteries last?
Typical flight time ranges from 3 to 8 minutes depending on the battery size and flying style. Aggressive acro flying drains batteries faster than gentle cruising. Most pilots buy multiple batteries and charge them in batches to extend flying sessions. The BT2.0 connector provides better efficiency than older PH2.0 connectors.
Are brushless motors worth the extra cost over brushed?
Yes, brushless motors are absolutely worth the additional investment. They provide more power, better efficiency, and significantly longer lifespan. Brushed motors typically wear out after 50 hours of flight, while brushless motors last hundreds of hours with no performance degradation. The improved throttle response and power make learning easier as well.
Final Recommendations – Which Tinywhoop FPV Drone to Buy
After testing these fifteen models across hundreds of flight hours, three stand out as my top recommendations for the best tinywhoop FPV drones in 2026.
For most pilots, the BETAFPV Meteor75 Pro delivers the best combination of performance, durability, and features. The brushless power, digital FPV compatibility, and excellent stock tune make it the whoop I grab most often. It handles indoor freestyle and outdoor cruising equally well.
If you are starting from zero and want a complete kit, the BETAFPV Cetus Pro provides everything you need with flight modes that actually help you learn. My brother went from complete beginner to manual-mode flying in six months using this kit, and it still works perfectly.
For budget-conscious pilots who already own a radio, the EMAX Tinyhawk 2 remains the best value in FPV. It has taught thousands of pilots to fly, survives abuse that destroys other quads, and costs less than dinner for two at a nice restaurant.
Whatever you choose, buy extra batteries immediately. Nothing kills the FPV learning curve faster than waiting twenty minutes between three-minute flights. With a stack of charged packs and any of the whoops on this list, you will be power-looping through your living room within weeks.
Happy flying, and remember, crashes are just part of learning. The whoops I recommended above are all durable enough to survive your mistakes while you master the best hobby I have ever found.