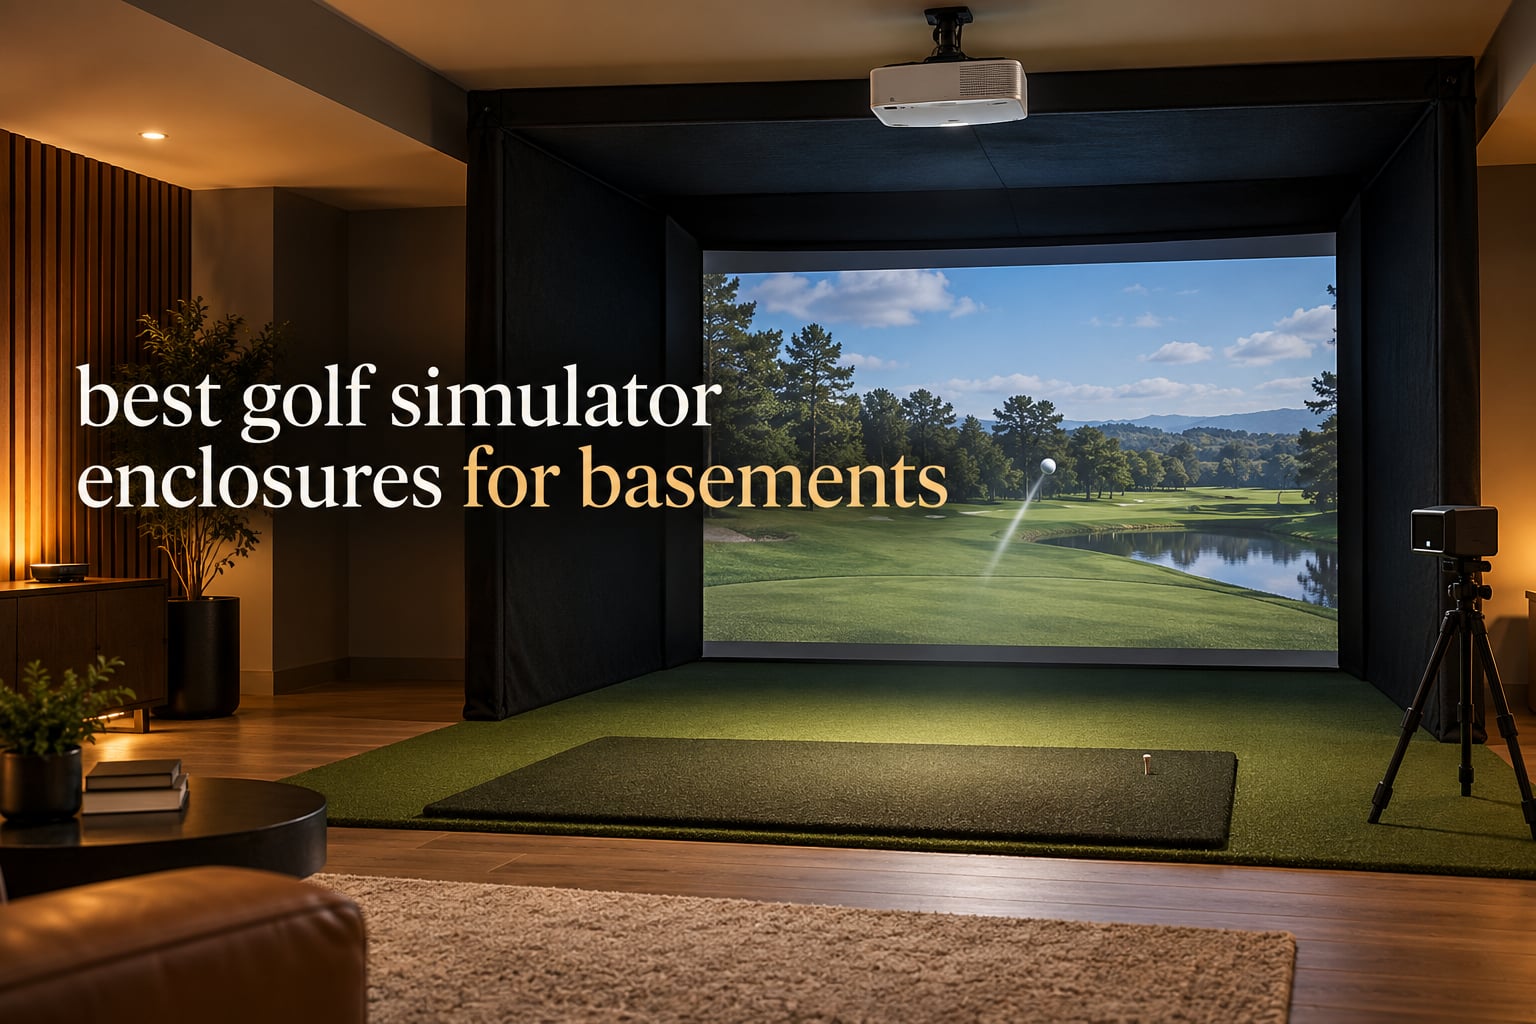
Yes, you can put a golf simulator in a basement, and a basement is arguably the best room in the house for one. Below grade you get natural light control, a floor that shrugs off divots and neighbours who are already too far away to hear a mishit. The trouble is that a basement is also where the ceiling drops, the walls are finished drywall or bare poured concrete, and something is almost always living directly above your hitting bay. So the right golf simulator enclosure for basements is not simply the biggest screen you can find. It is the one whose footprint, frame height and side containment match the exact bay you have, and whose padding handles the wedge shots you will hit at it.
We spent weeks comparing the ten enclosures in this roundup against the constraint that actually decides a basement purchase: room height. Every listing here states its own dimensions, and we have mapped those against real basement ceiling tiers so you can see which ones physically fit before you spend anything. We also read the recurring owner complaints on r/Golfsimulator and the Golf Simulator Forum, where the same three problems come up over and over: rebound off the screen into the drywall, foam padding that is too thin to stop a wedge, and enclosures that look cheap in a room somebody also uses as a lounge.
This guide covers all ten picks, the ceiling-height math, the noise and moisture realities of a below-grade room, and what a complete system actually costs once you add a launch monitor, projector, turf and the mat. If you are still deciding whether to build the bay in permanently or keep it portable, that section is the one to read first. Prices change constantly, so use the buttons to check current listings rather than any figure you might find in a cached review.
If you are also mapping out the rest of the room, our guides to the best flight simulator setups, the best flight simulator yokes and the best racing simulator pedals cover the same conversion work for a different kind of sim bay.
Table of Contents
Top 3 Best Golf Simulator Enclosures for Basements in October

GoSports 10 x 8 ft Enclosure
- Multi-layer impact screen
- True blackout design
- Foam padding
- Three sizes available

ANYTHING SPORTS Cage
- Projector mount included
- Side shank nets
- Three cage sizes
- 12-month warranty

HOMEVOL 2-in-1 Net
- Impact screen plus target cloth
- Foam-padded steel cage
- Top and side nets
- Mat and balls included
All 10 Golf Simulator Enclosures Compared in 2026
The table below is the fastest way to narrow the field. Every one of these is a full-size cage enclosure with an impact screen, so the differences come down to footprint, frame height, how the light is blocked and how much side containment you get. Read it top to bottom, then jump to the review for whichever two or three look closest to your bay.
| Product | Specifications | Action |
|---|---|---|
| GoSports Golf Simulator Enclosure |
|
Check Latest Price |
| ANYTHING SPORTS Complete Cage |
|
Check Latest Price |
| HOMEVOL 2-in-1 Net System |
|
Check Latest Price |
 Durbles Enclosure Kit Durbles Enclosure Kit |
|
Check Latest Price |
 Diandian 10 x 8 ft Kit Diandian 10 x 8 ft Kit |
|
Check Latest Price |
 Sturdum Enclosure Kit Sturdum Enclosure Kit |
|
Check Latest Price |
 ZivPlay 10 x 8 x 5 ft Cage ZivPlay 10 x 8 x 5 ft Cage |
|
Check Latest Price |
 ANYTHING SPORTS Fold Up ANYTHING SPORTS Fold Up |
|
Check Latest Price |
 Silipull 10 x 7 ft Cage Silipull 10 x 7 ft Cage |
|
Check Latest Price |
 Aerixtron 10 x 8 x 5 ft Kit Aerixtron 10 x 8 x 5 ft Kit |
|
Check Latest Price |
Two products in this list name an explicit minimum ceiling: the ZivPlay cage requires a 9 ft ceiling, and Diandian recommends 9 ft as well. Several others give only frame height with no stated ceiling requirement, which is where most basement buying mistakes happen. Our sizing guidance later in the guide shows how to convert each frame height into a room height.
1. GoSports Golf Simulator Enclosure – Best All-Around Basement Bay
GoSports 10 x 8 ft Golf Simulator Enclosure Net – Complete Set with Frame and HD Impact Screen Kit
10 x 8 ft frame
Alloy steel and polyester
79 lb
6 month P&P Imports warranty
Pros
- Multi-layer screen absorbs high-speed impacts
- True blackout dyeing sharpens the projected image
- Quick single-person install with numbered poles
- Foam padding and reduced rebound
- Three footprint options
Cons
- No hanging baffles for high wedge shots
- Shank nets not included at this tier
- Frame feels light until the screen is fitted
GoSports is the one we keep coming back to for a real basement rather than a garage. The 10 x 8 ft frame lands in a typical finished rec-room bay without swallowing the whole wall, and the multi-layer impact screen has the longest owner track record of anything in this roundup at 186 reviews. Owners report it taking thousands of hits with no screen tears and no sagging, and the specialised dyeing process is what makes the blackout effect convincing in a room with a bulb in a ceiling fixture.
The honest weakness is wedge rebound. There are no hanging baffles above the screen, so a high wedge that comes off the face can still travel back toward the room, and the foam on the frame is thinner than the fully wrapped frames further down this list. Several owners worked around it by running turf strips up the wall behind the bay, which is a cheap fix and does something about both rebound and paint scuffing.
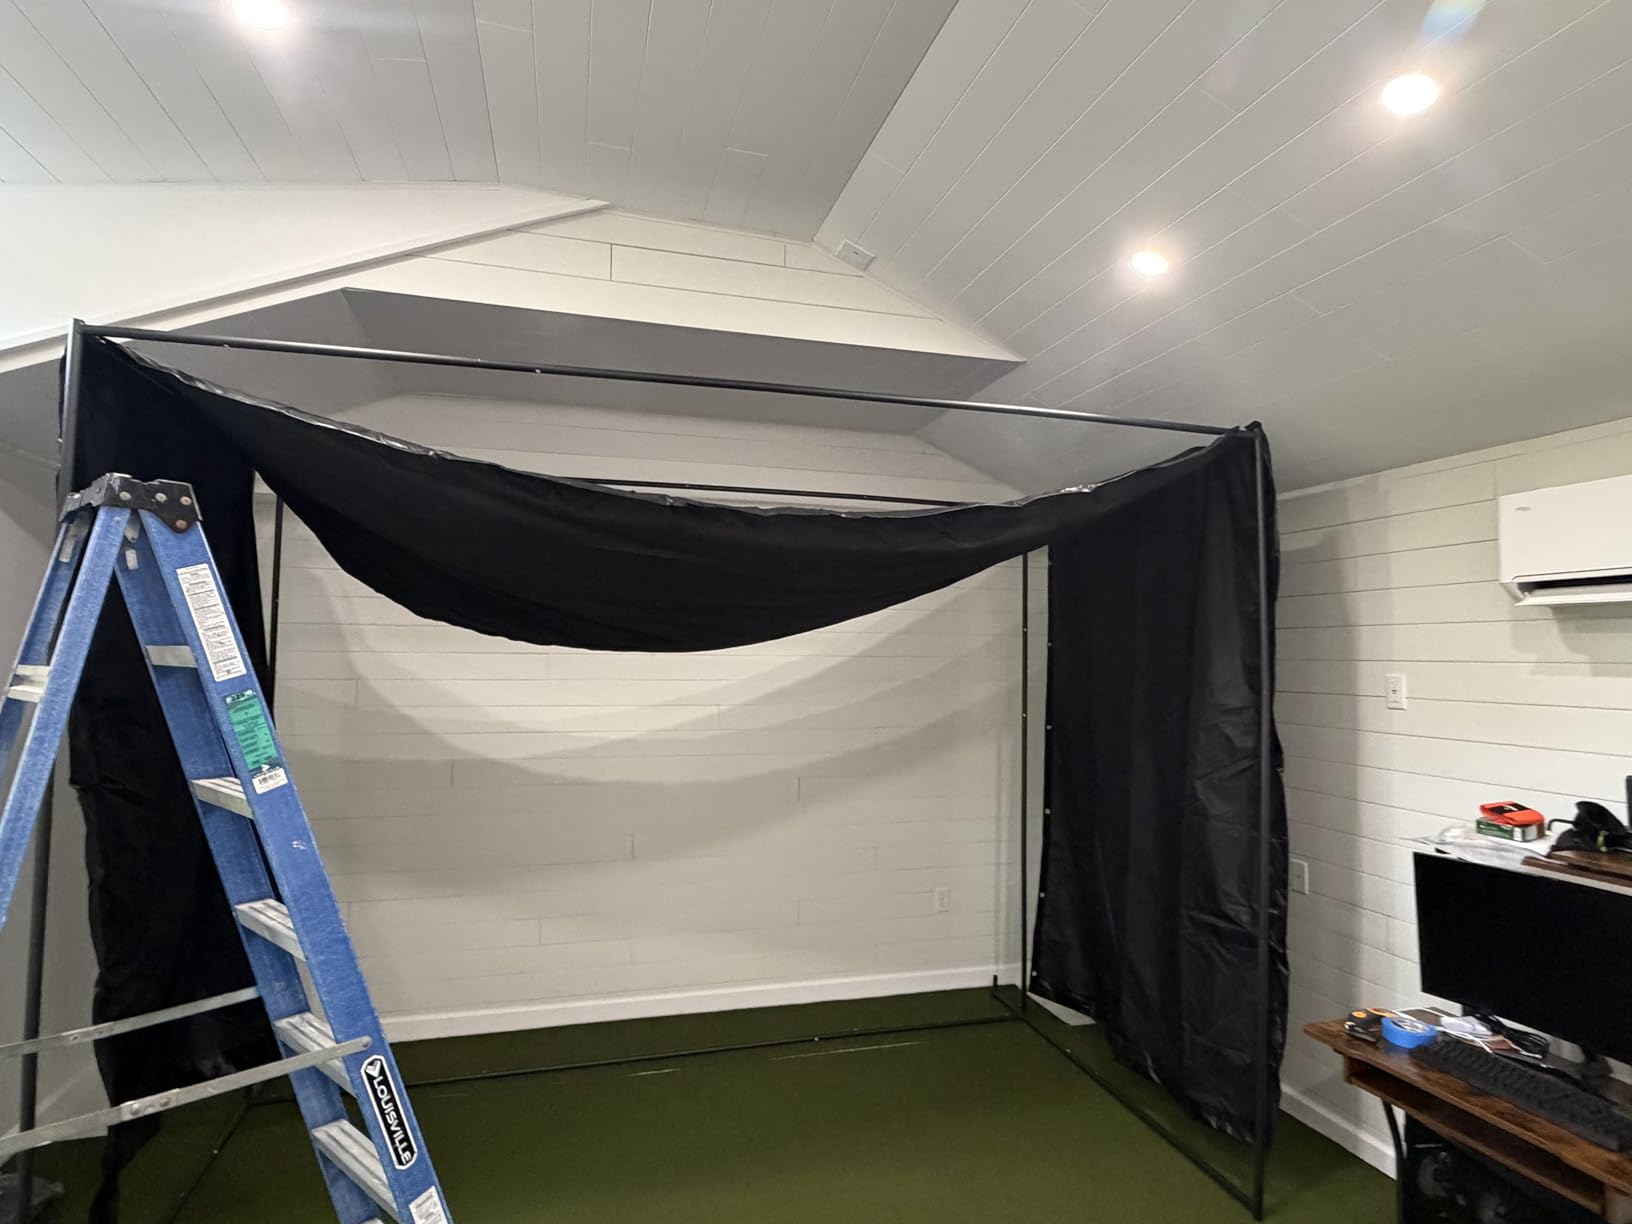
For basement fit, the useful detail is that this kit comes in 10 x 8 ft, 12 x 9 ft and 14 x 8 ft footprints from the same frame design. That means you are not locked into one screen size, and if your bay is wide but shallow you can take the 14 x 8 ft version and keep the same 8 ft depth. At 79 lb it is also light enough for one person to walk it through a doorway, which matters if the basement stairs are narrow.
Assemblies are described as roughly an hour for a single person using the numbered poles, and the P&P Imports warranty runs six months from purchase with the original receipt, which is the shortest coverage in this group alongside Sturdum. Support, though, draws repeated praise: owners report damaged parts replaced without argument, which partly offsets the short warranty window.
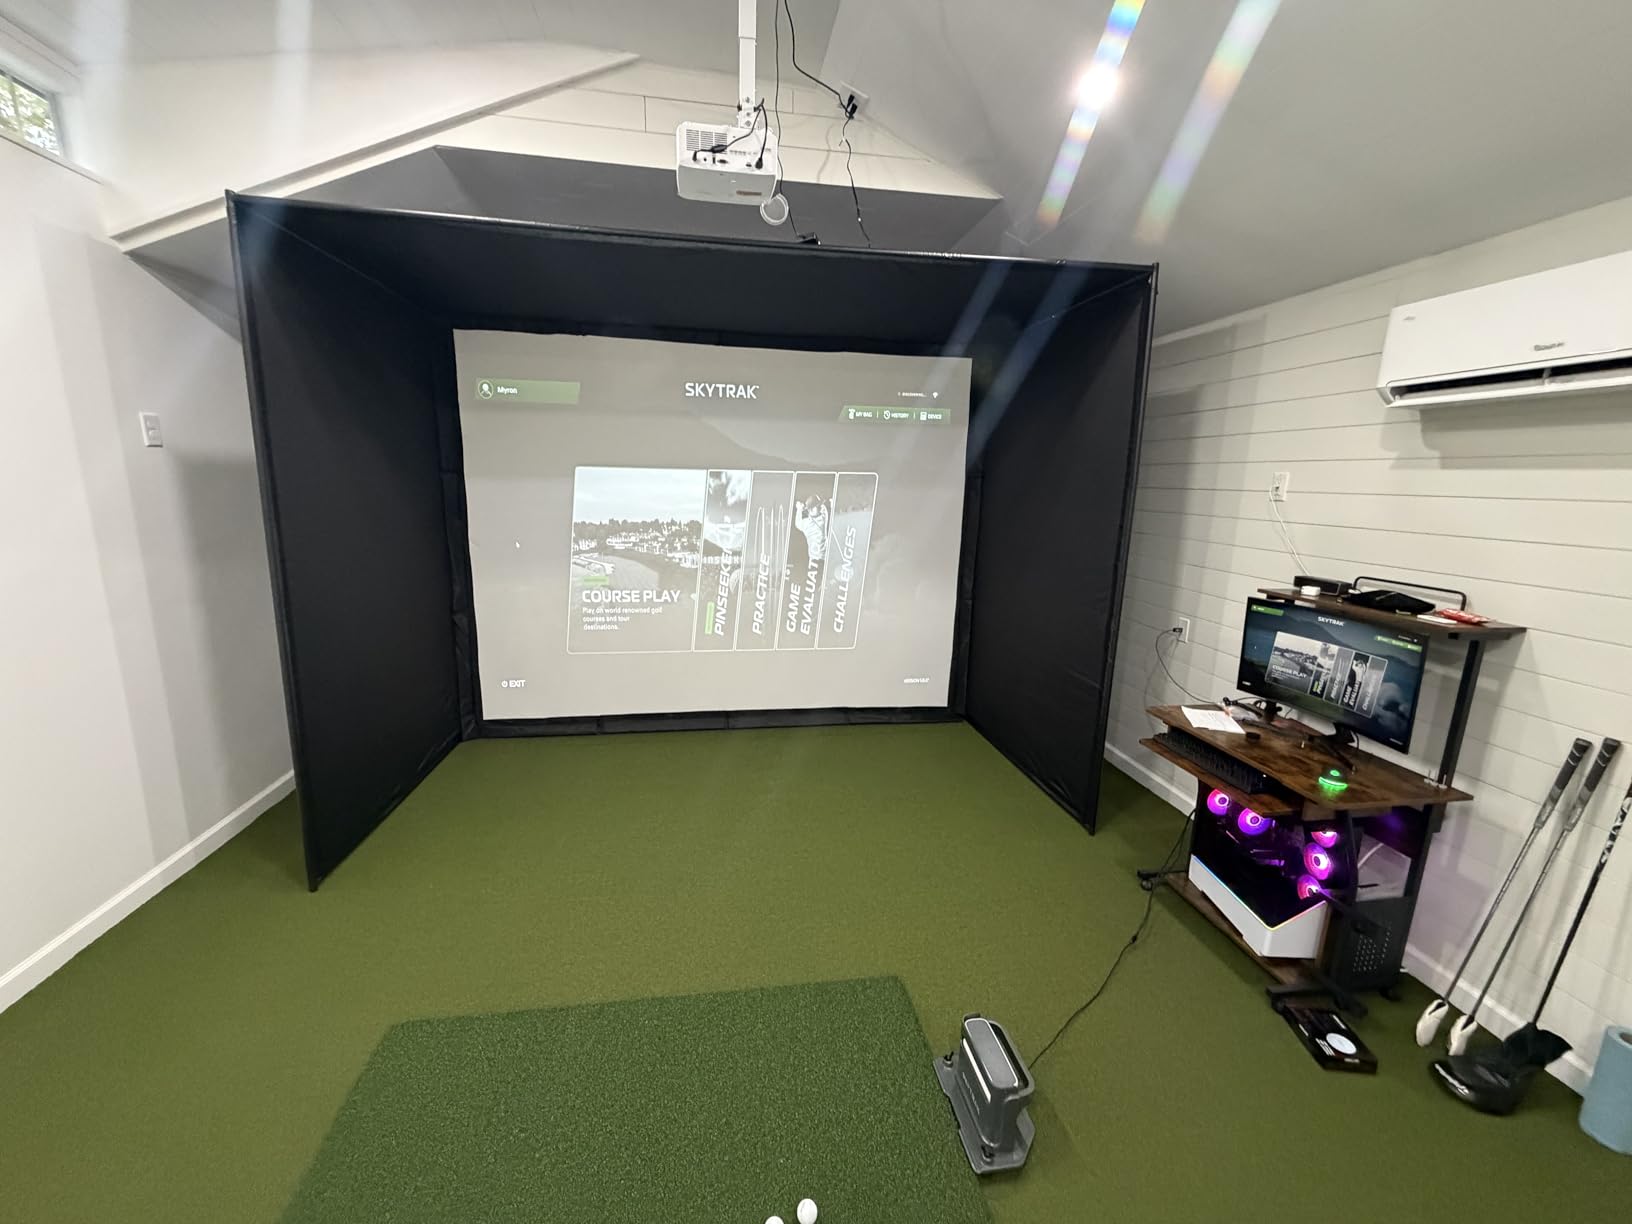
What to check before you order it
Measure the width of the bay at floor level and again at shoulder height. A finished basement wall that is out of plumb by even an inch can stop an 8 ft wide cage from squaring up properly, and this frame needs every inch of its stated width with no slack in the system. Also confirm where your projector will live, because the mount is not part of this kit even though the blackout fabric is tuned for projection.
If the floor above is a bedroom, assume you will be adding your own sound deadening. The reduced-rebound screen helps, but a cage on a bare concrete slab is a louder surface than most people expect.
Who should skip it
Skip it if your wedge game is your main practice and you are hitting hard shots into the screen from a short distance. The triple-layer, fully padded kit lower down handles that better. Skip it too if you need a built-in projector mount today, because buying the cage and the mount separately is exactly the kind of small extra cost that erodes the value of an all-in-one kit.
2. ANYTHING SPORTS Complete Cage Package – Best Value for a Finished Basement
Complete Golf Simulator Enclosure Package – 4K-Ready Impact Screen with Blackout Cage, Projector Mount, Frame Poles, Side Shank Nets | Indoor & Garage Practice | Easy Setup | 12-Month Warranty
12 x 9 ft 4 in frame
Metal construction
Approx. 86 lb
12 month warranty
Pros
- Projector mount bundled in the box
- Screen sized 1 inch under the frame
- Tool-free assembly in under an hour
- Three cage footprints available
- Blackout cage plus side shank nets
Cons
- Projector
- turf and launch monitor sold separately
- Frame needs high tension to stay taut
This package is the one to buy if you want the hardware list finished in a single order. The impact screen, blackout cage, frame poles, side shank nets and an integrated projector mount all arrive together, which removes the single most common complaint we saw about cheaper cages, where buyers end up hunting for a mount that fits a non-standard pole diameter. The screen is sized one inch under the frame, and that small detail is what keeps light bleed off the projected image at the edges.
Buyers consistently name the bundled mount and the blackout cage as the reason this kit makes more sense than assembling parts. Assembly is tool-free and reported at under an hour from opening the box to the first swing. The stated 12-month no-questions-asked warranty is twice what the GoSports kit carries, and support runs through US phone and email rather than a form.
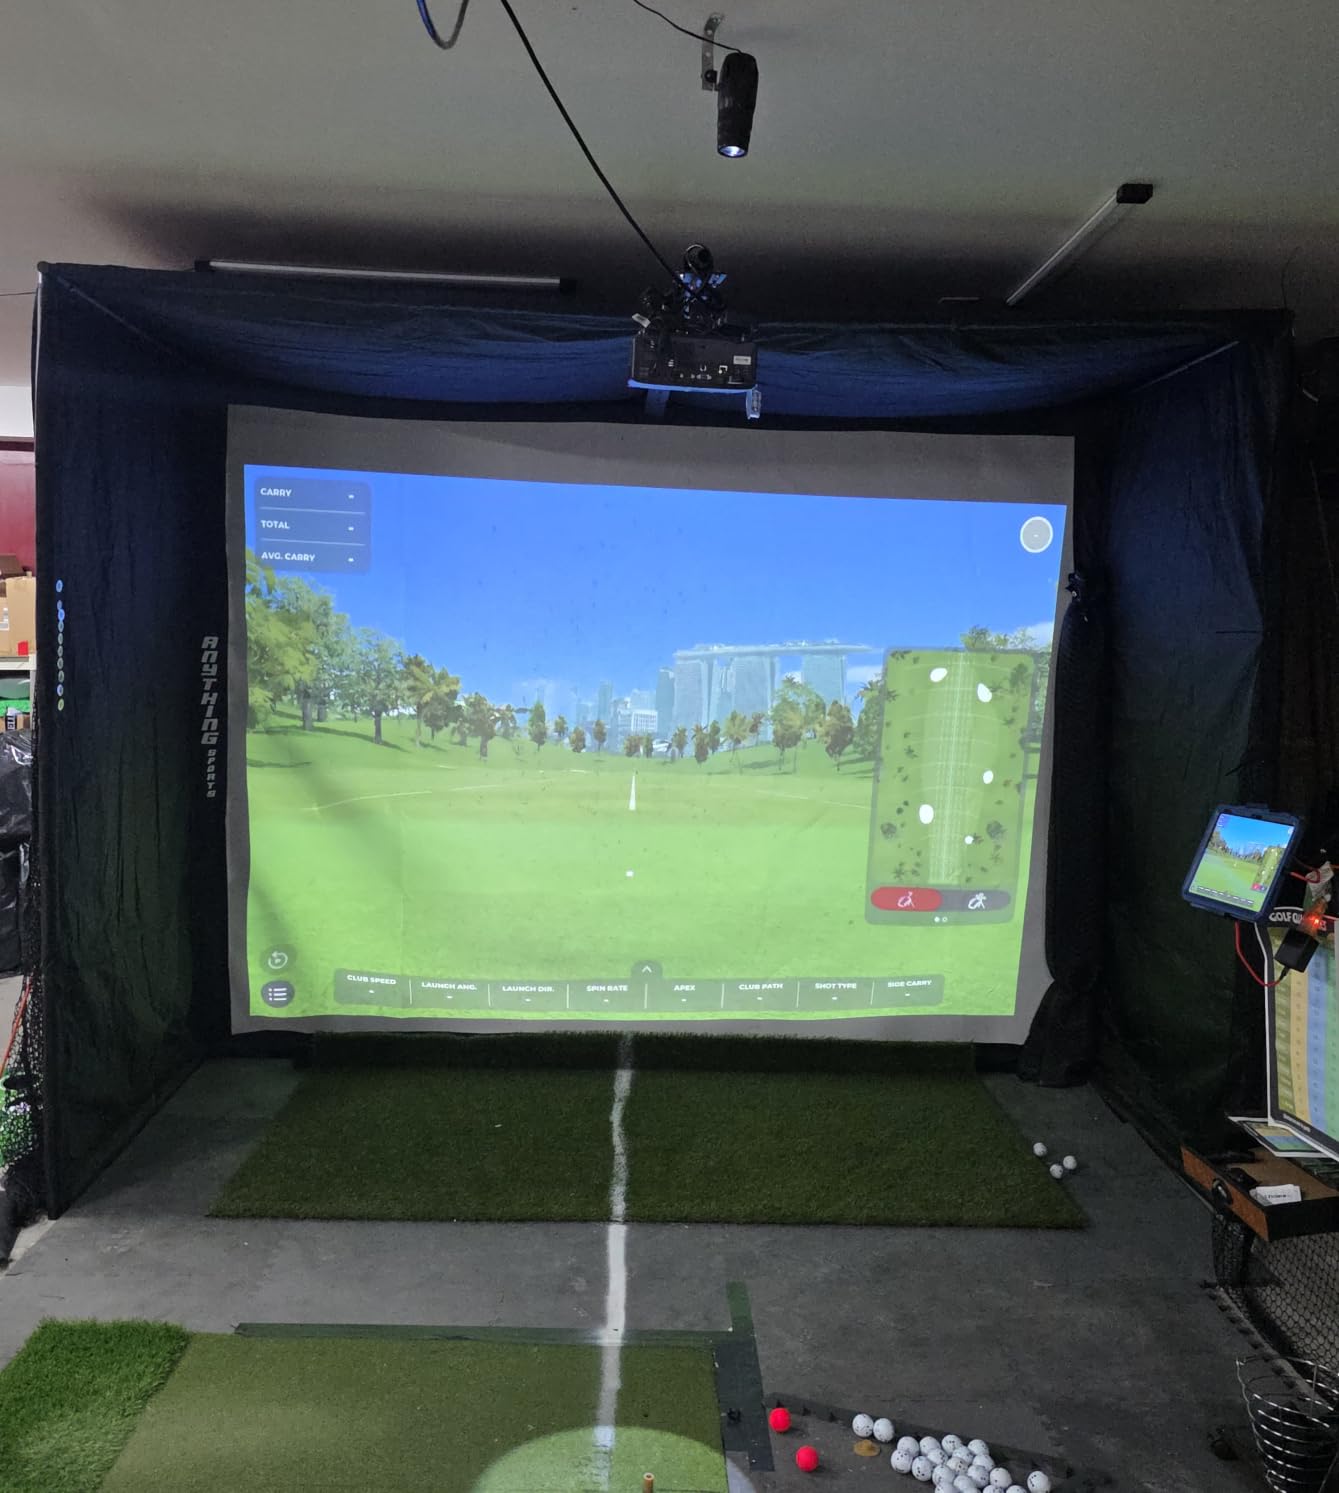
For a basement, the three available footprints are the deciding factor. The 12 x 9 ft 4 in cage suits a wide finished room, the 11 x 8 ft 4 in version fits a narrower bay, and the 8 ft 4 in square option is the one to look at when your ceiling is the constraint. At roughly 86 lb this is a two-person job in a tight stairwell, so plan the move before the box arrives.
The one recurring complaint is that the frame has to be tensioned hard to stay flat over time, and under-tensioned frames are exactly what produce the wrinkle and shadow artefacts that show up in a projected image. Set the tension the day it goes up, and re-check it a month later after the fabric stretches.
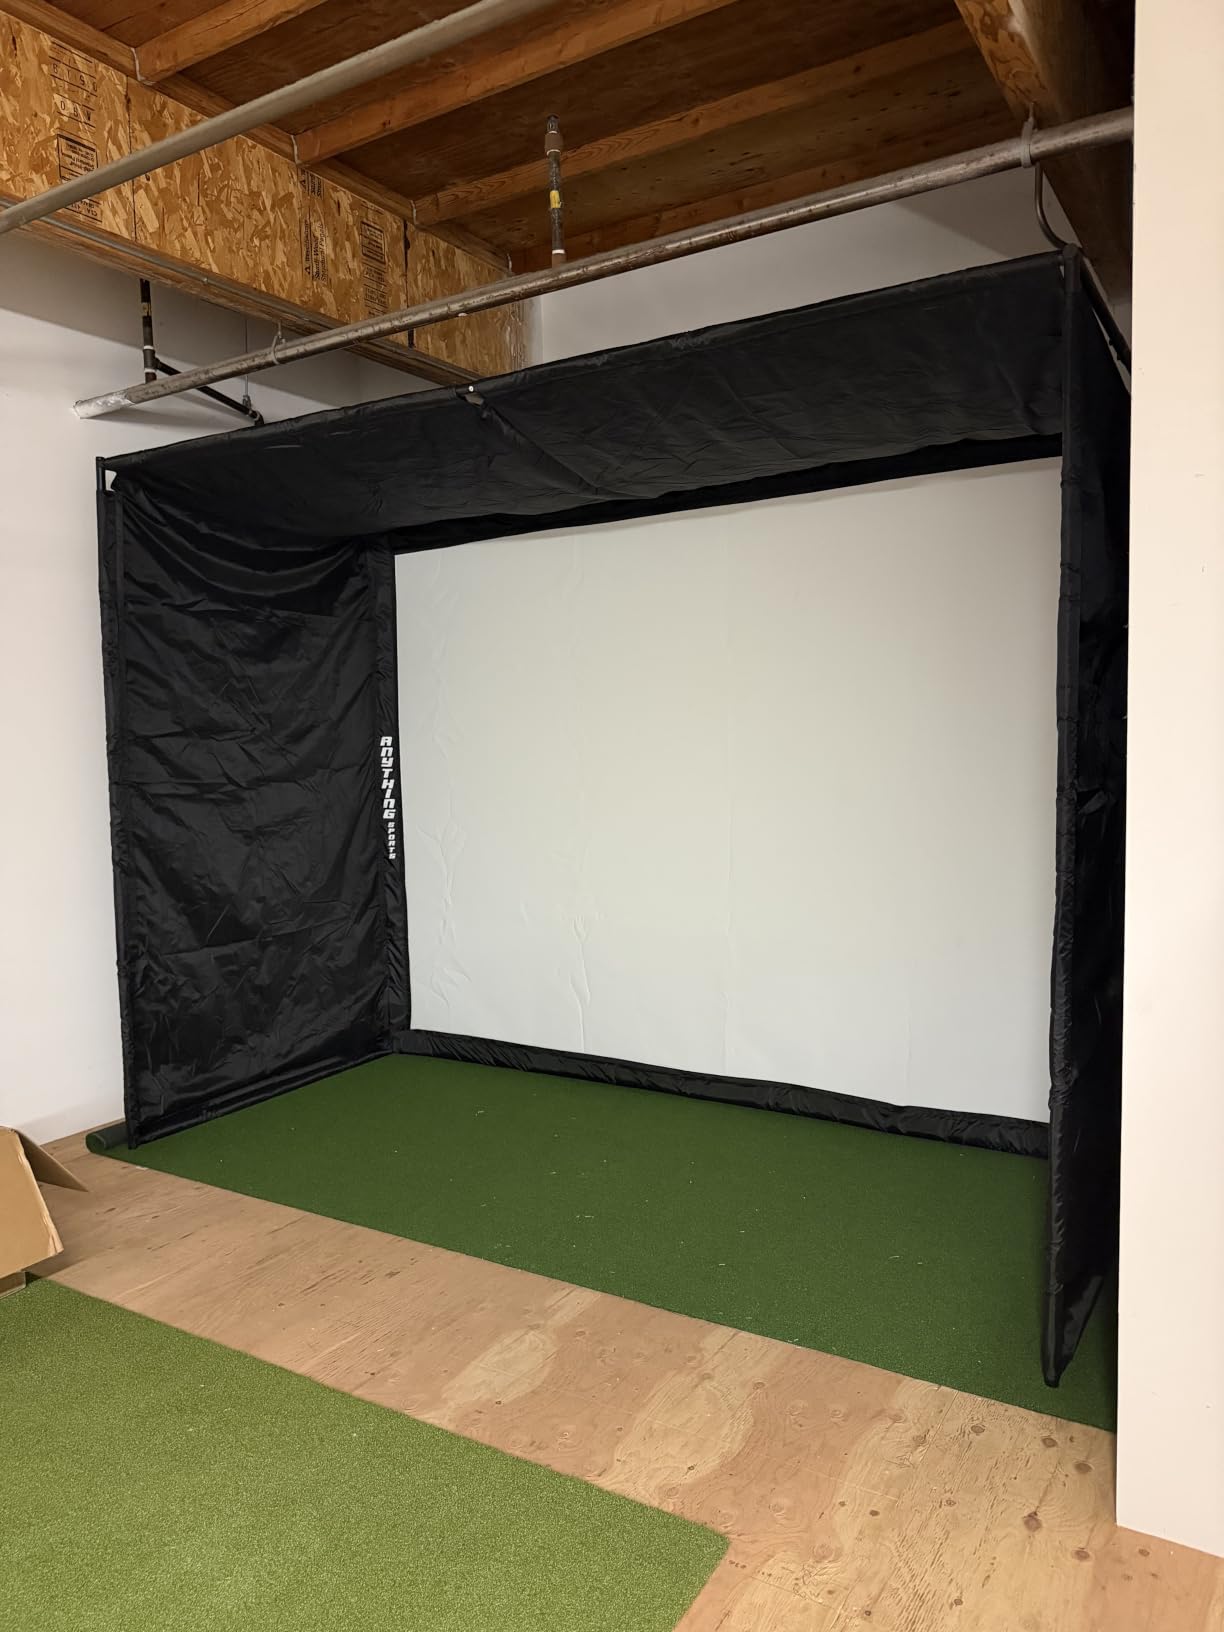
Why this one suits a finished basement
A finished basement is usually a room you look at, and a visible gap between the cage and the drywall is what makes cheap sim corners feel cheap. This cage has full blackout panels rather than a curtain, so the profile is square and consistent against a finished wall. Add the side shank nets and you have containment on three sides without a separate net purchase, which is where a lot of the money goes in a piecemeal build.
The bundled projector mount also means your throw distance decision can wait. You can set the cage up first, stand where you will stand, and choose a projector to match that position rather than guessing and rebuilding.
Where it falls short
Nothing here covers the floor. You will still need a mat, turf or a landing pad, a launch monitor and software, and those three add more than the enclosure does once the system is complete. If your room has an egress window or a bulkhead door, the cage panels will block part of the light path, so check that you are not losing code-required egress width to give it wall space.
3. HOMEVOL 2-in-1 Net System – Best Budget Dual-Practice Bay
2 in 1 Golf Simulator Net System, 10 x 8ft Golf Practice Net Hitting Net with 4K-Ready Impact Screen, Target Cloth, Foam-Padded Steel Frame Cage, Hitting Mat and Balls for Indoor and Outdoor Practice
10 x 8 ft cage
Alloy steel, fiberglass, polyester
2 year manufacturer warranty
Pros
- Two practice modes in one frame
- Top net and side shank nets contain mishits
- Foam-padded steel frame dampens noise
- Mat
- balls
- stakes and bag included
- 4.6 average rating
Cons
- Shorter depth than the caged premium kits
- Frame padding thinner than foam-wrapped poles
The HOMEVOL kit is the most flexible pick for a basement that has to work as a practice room rather than a dedicated studio. The frame carries a 4K-ready impact screen on one face and a printed multi-hole target cloth on the other, so the same cage handles simulated rounds and short putting and chipping work. That dual mode is the reason owners give it a 4.6 average, the second highest in this group on 63 reviews.
The top protection net matters more than it sounds. A cage with side shank nets but nothing overhead will return a high wedge straight back at your ceiling, and in a basement that often means a light fixture, a joist or a drywall pop-out. Owners consistently report the top net and side nets holding off-centre shots indoors, which is a safety consideration if anybody else is in the room.
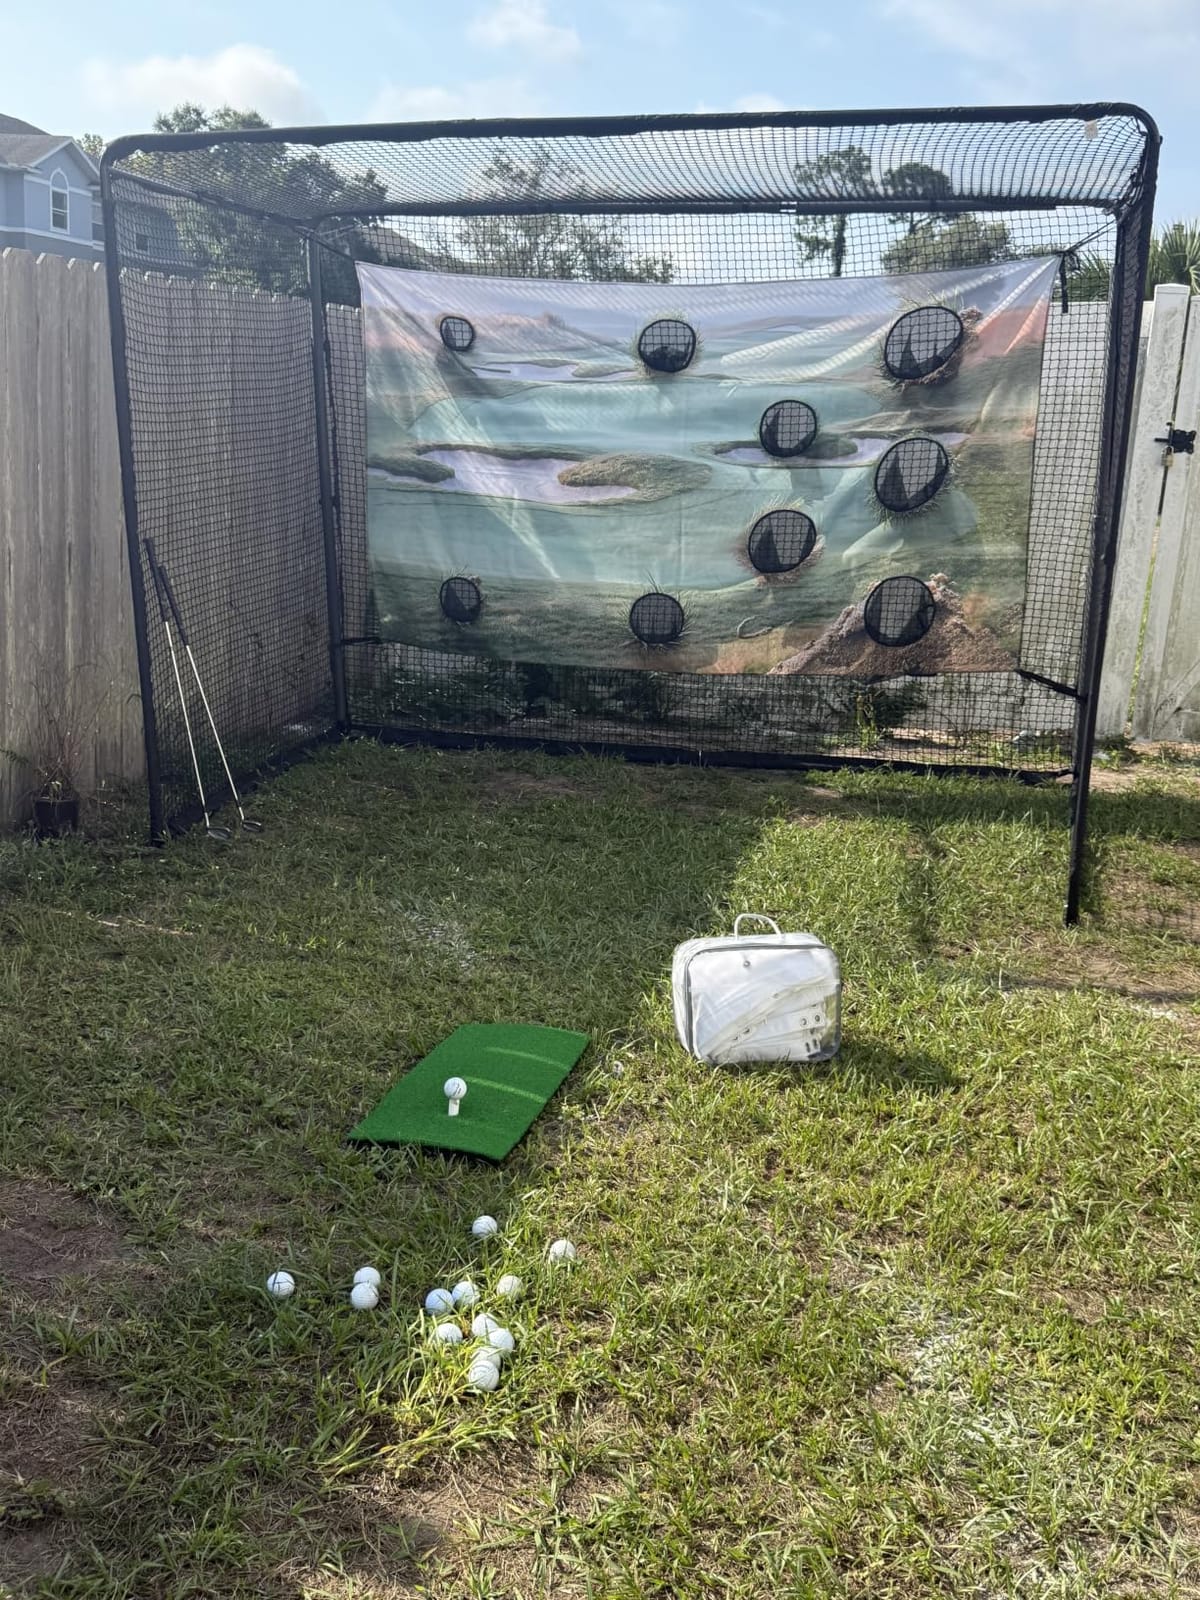
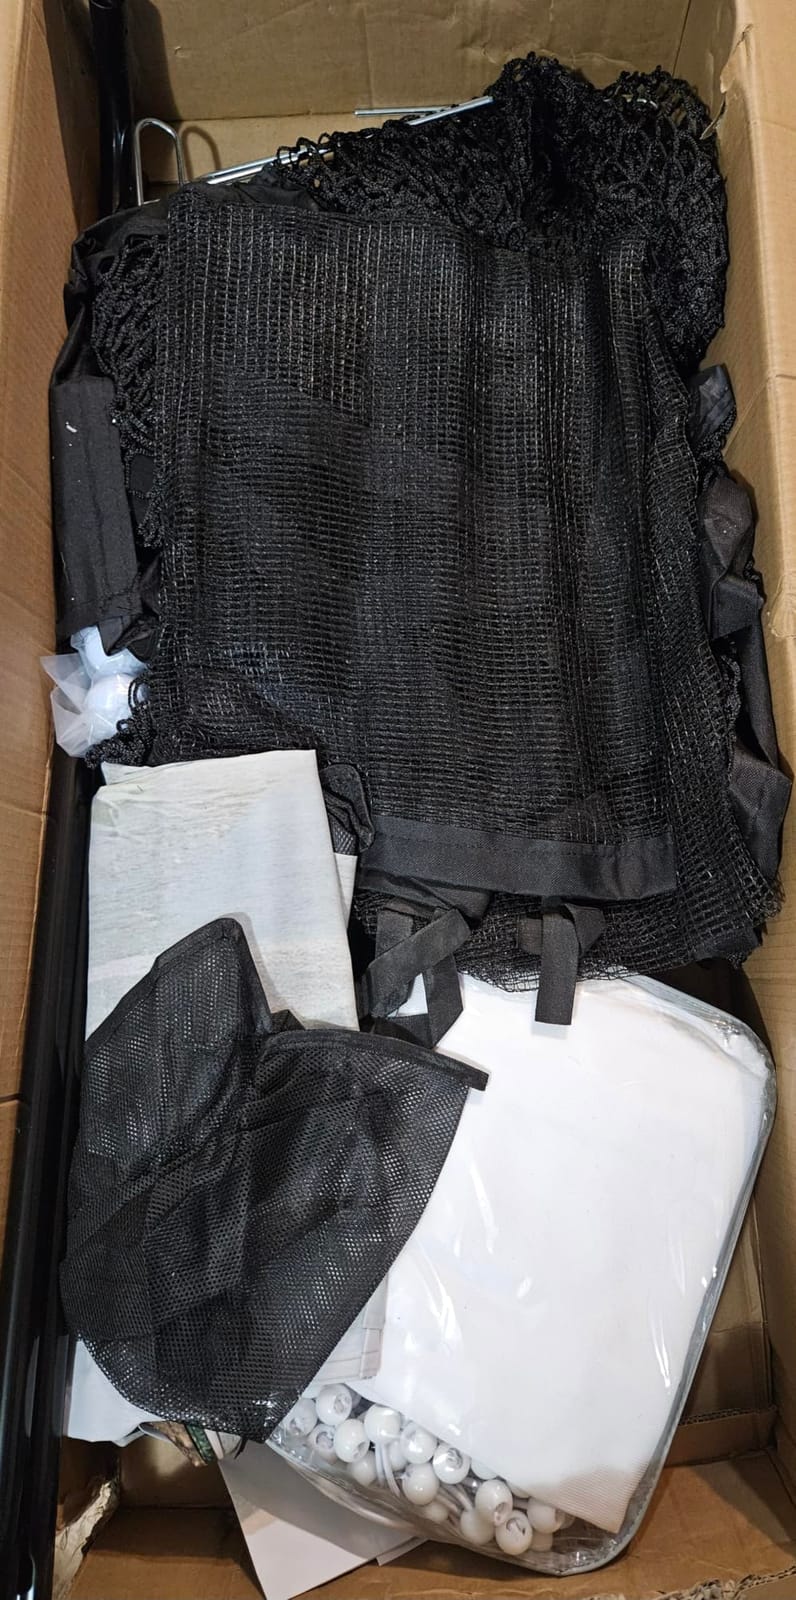
Everything needed to hit a ball arrives in the box: a hitting mat, two practice balls, six ground stakes, side nets and a carry bag. For a basement that doubles as a kids’ practice room or a gym corner, being able to unpack and swing the same afternoon matters. The two-year manufacturer warranty is the longest coverage listed in this roundup.
The foam padding on the steel frame is there to damp impact noise, and it does help with the clang of a mishit into a pole. It is thinner than the fully wrapped frames on the Durbles and Aerixtron kits, so treat it as a comfort feature rather than a real deadening layer if you have a bedroom directly overhead.
Where it fits and where it does not
The 10 x 8 ft footprint suits a standard basement bay without the deep-treadmill-room depth of the larger kits. If you are a taller golfer hitting a driver, check the clearance at full extension before you commit, because the depth here is shallower than the 10 x 8 x 5 ft cages and you will be standing closer to the back of the frame.
This is not a projection-first kit. There is no blackout cover, so ambient light in the room will wash out a projected image. It works well for launch-monitor practice with software running on a laptop or a monitor, and less well for the immersive projected-course experience people build basements for.
Who should buy it instead
Buy it instead of a full blackout cage if your budget is going further into a launch monitor than into the enclosure, or if the bay needs to serve short practice sessions several times a week. Skip it if you plan to film swing video, because a projection screen that is not light-blocked loses contrast in any lit room.
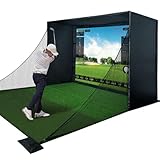
4. Durbles Enclosure Kit – Best for Quiet Wedge-Shot Practice
Golf Simulator Enclosure Kit with Premium HD Impact Screen, Full Safety Padding &Blackout Curtain, Home Golf Sim Setup Launch Monitors Compatible, Indoor Cage Net Golfing Accessories (8.4 x 8.4 ft)
8.4 x 8.4 ft footprint
Alloy steel and polyester
Triple-layer screen
Pros
- Triple-layer screen mutes impact sound
- Full-coverage foam padding cuts ricochet
- Blackout curtain works in a lit room
- Tool-free setup
- Thicker screen than entry kits
Cons
- Instructions assume ceilings over 9.9 ft
- Some poles arrived without foam sleeves
- Frame needs every inch of the stated width
Durbles is the one to buy when the apartment above matters. Its triple-layer commercial impact screen is the quietest surface in this roundup, and reviewers specifically call out the difference in sound over cheaper single-layer screens. The full-coverage thick sponge padding wraps the frame all the way round, which is the mitigation for the wedge rebound problem that comes up constantly on the forums, where owners describe scuffed drywall and lost light fixtures from shots coming back off unprotected frames.
The blackout curtain darkens the screen enough that overhead room lights barely register. That is a real advantage in a finished basement where you probably do not want to install a lighting circuit just for the sim, and the curtain approach keeps the install to a Saturday morning with no electrical work.
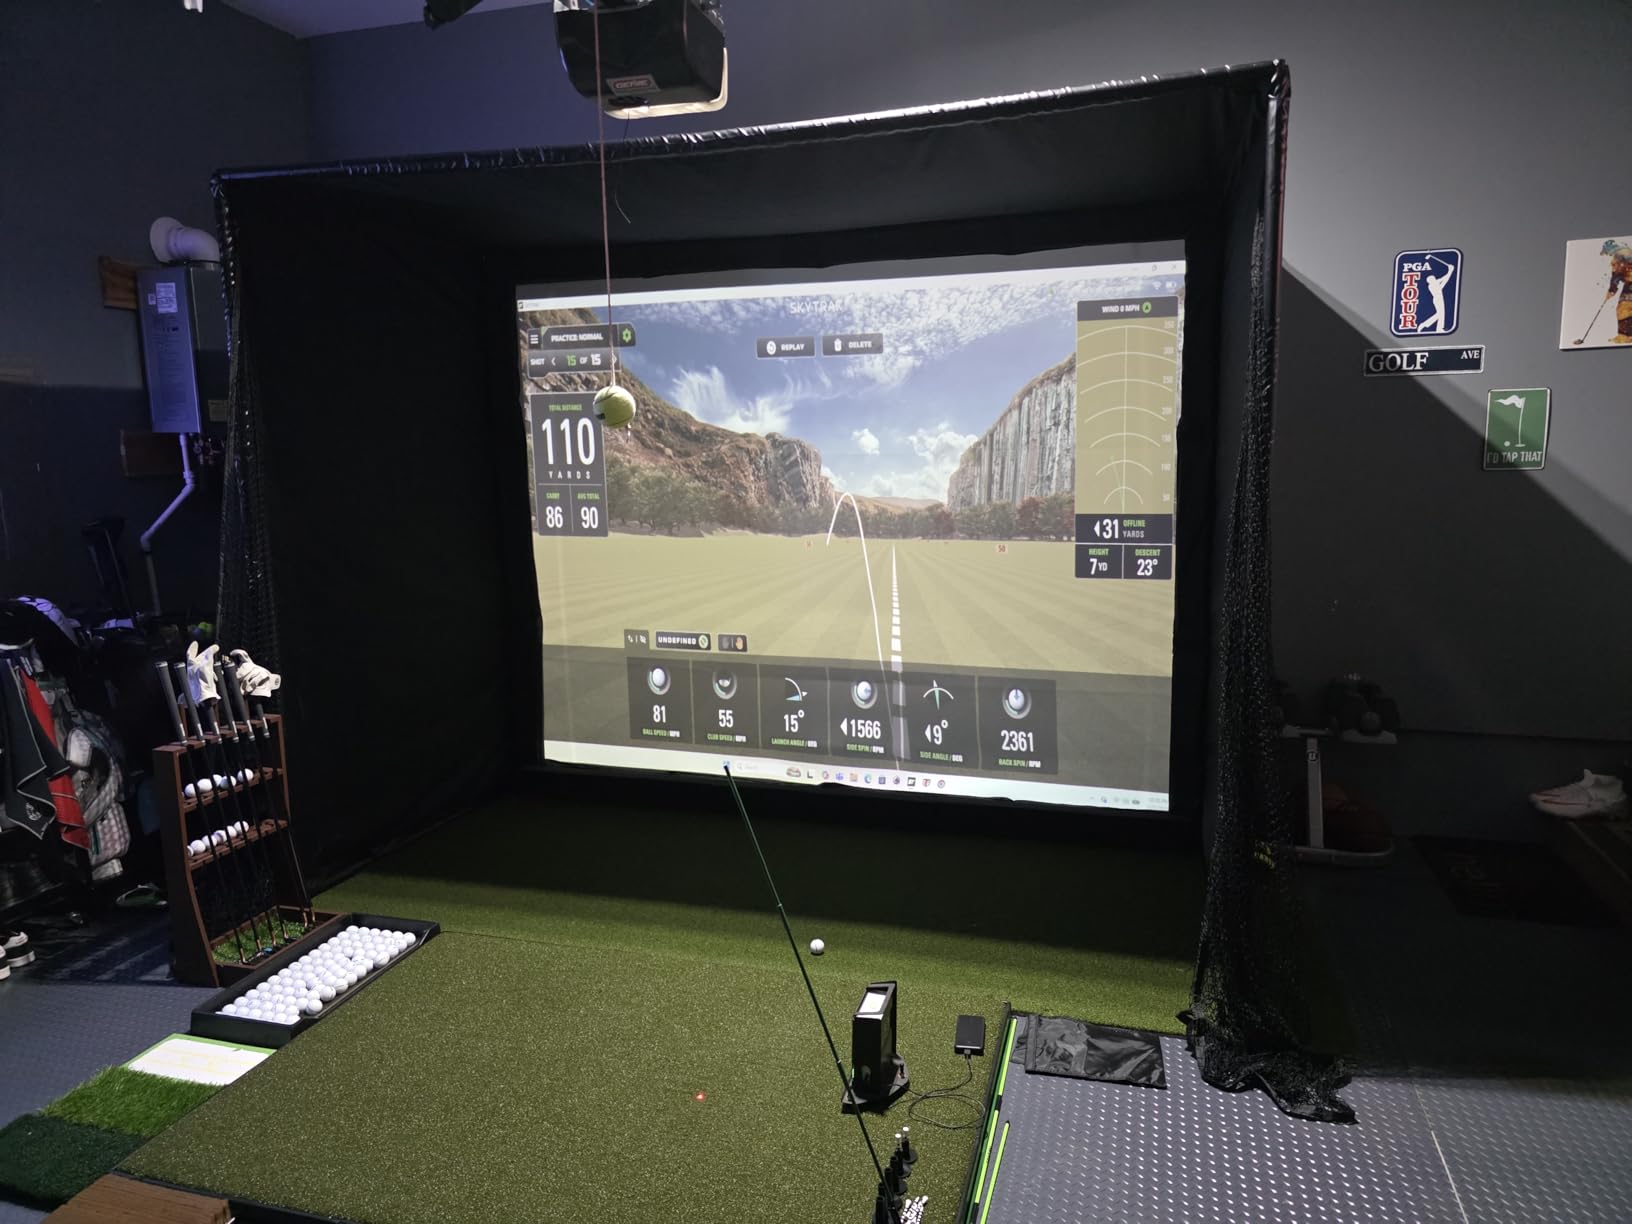
At 8.4 x 8.4 ft this is the most compact square footprint in the group, with a 10 x 8 ft version also offered. In basement terms, small is good: the frame height is low enough to suit a shorter room, and the square footprint leaves more floor around the sides for a hitting mat and a standing area than a deep rectangular cage does.
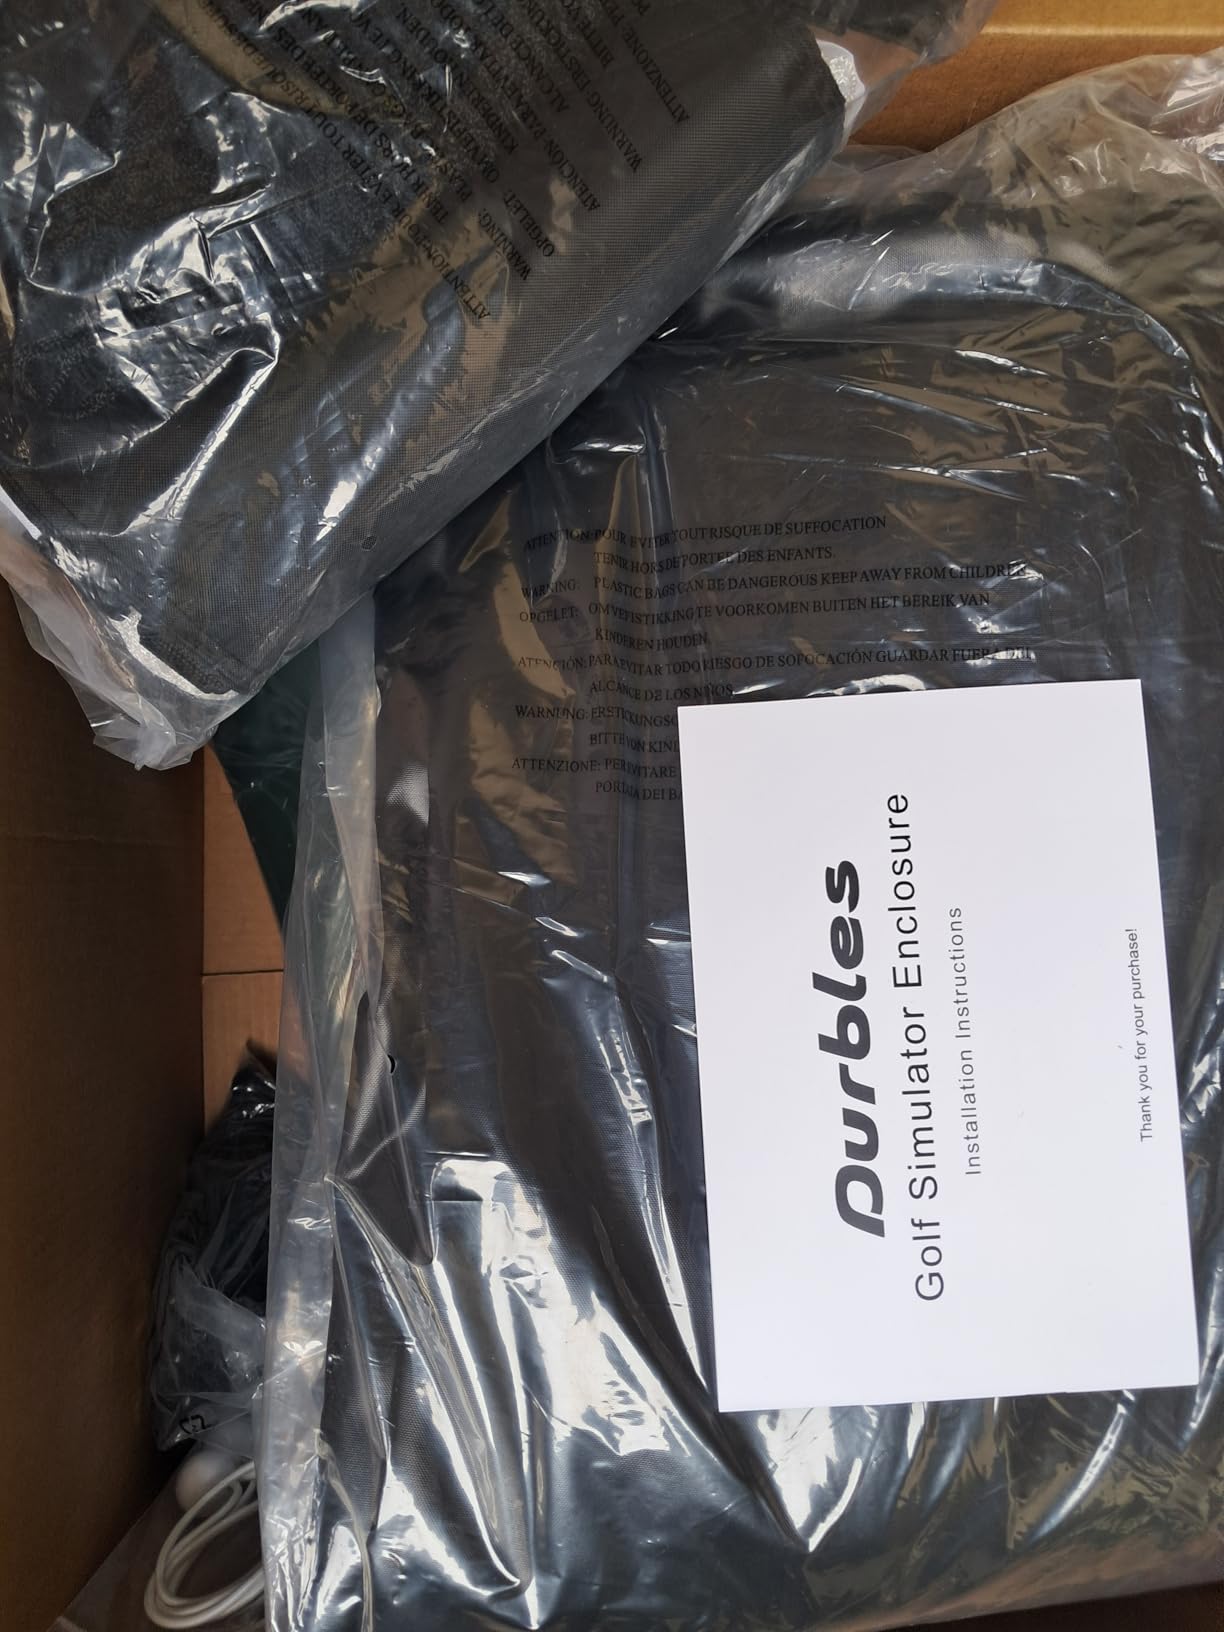
There is a documentation problem worth flagging. The written instructions assume ceilings over 9.9 ft, so owners installing in lower rooms have to study the exploded diagram carefully, and one reviewer ended up modifying the frame as a result. A few owners also received poles without foam sleeves, and some reported the metal tubing feeling thin after a couple of months of use. It is a solid enclosure with uneven assembly finishing.
How to work around the ceiling instructions
Read the frame diagram before you cut open the box and confirm the finished frame height against your lowest ceiling point, not the average. Basements frequently step down where a beam or a duct run crosses the room, and the frame is square, so a single low point can stop the whole install. Measure at the back wall where the screen sits and again at the front pole line.
Check the foam sleeves as you unpack and contact the seller immediately about missing pieces rather than assembling around them. Missing padding is the difference between a cage that absorbs a wedge and one that returns it into the room.
Who should skip it
Skip it if you are a tall, fast swinger who needs maximum swing clearance and does not want to read a diagram before building, since the documentation is clearly the weak point. If your room is roughly 8 ft 4 in or taller and you practise wedges, this is the most forgiving enclosure here for both your walls and your upstairs neighbour.
5. Diandian 10 x 8 ft Kit – Best Screen Size for a Small Bay
Diandian Golf Simulator Enclosure Kit 10 x 8 ft with 4K-Ready Impact Screen
10 x 8 x 5 ft footprint
600D Oxford and carbon steel
75 lb
1 year warranty
Pros
- One-piece blackout wrap with no light leaks
- Dual-layer matte screen reduces impact noise
- Click-lock assembly in 30 to 45 minutes
- Thick foam edge padding and side nets
- Light enough for one person to move
Cons
- Some boxes arrive without printed instructions
- Screen wrinkles and roof sag reported
- Bottom stitching tore for one owner
- No projector mount included
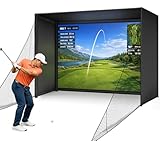
Diandian solves a specific basement problem: getting a large projected image out of a small footprint. At 120 inches wide by 96 inches high with a 10 x 8 x 5 ft footprint, it gives you a full-size screen area without needing a deep room behind the hitting position, and the one-piece 600D Oxford blackout wrap has no seams for light to leak through. Owners rate it as delivering most of the experience of a premium branded kit for a fraction of the outlay.
The screen itself is a dual-layer 4K-ready matte with a mesh backing, and that mesh is what cuts impact noise. For a below-grade room it also has practical value: a matte finish resists the mark and smudge that a glossy screen picks up, which matters in a finished basement with a lower light level and more visible dust.
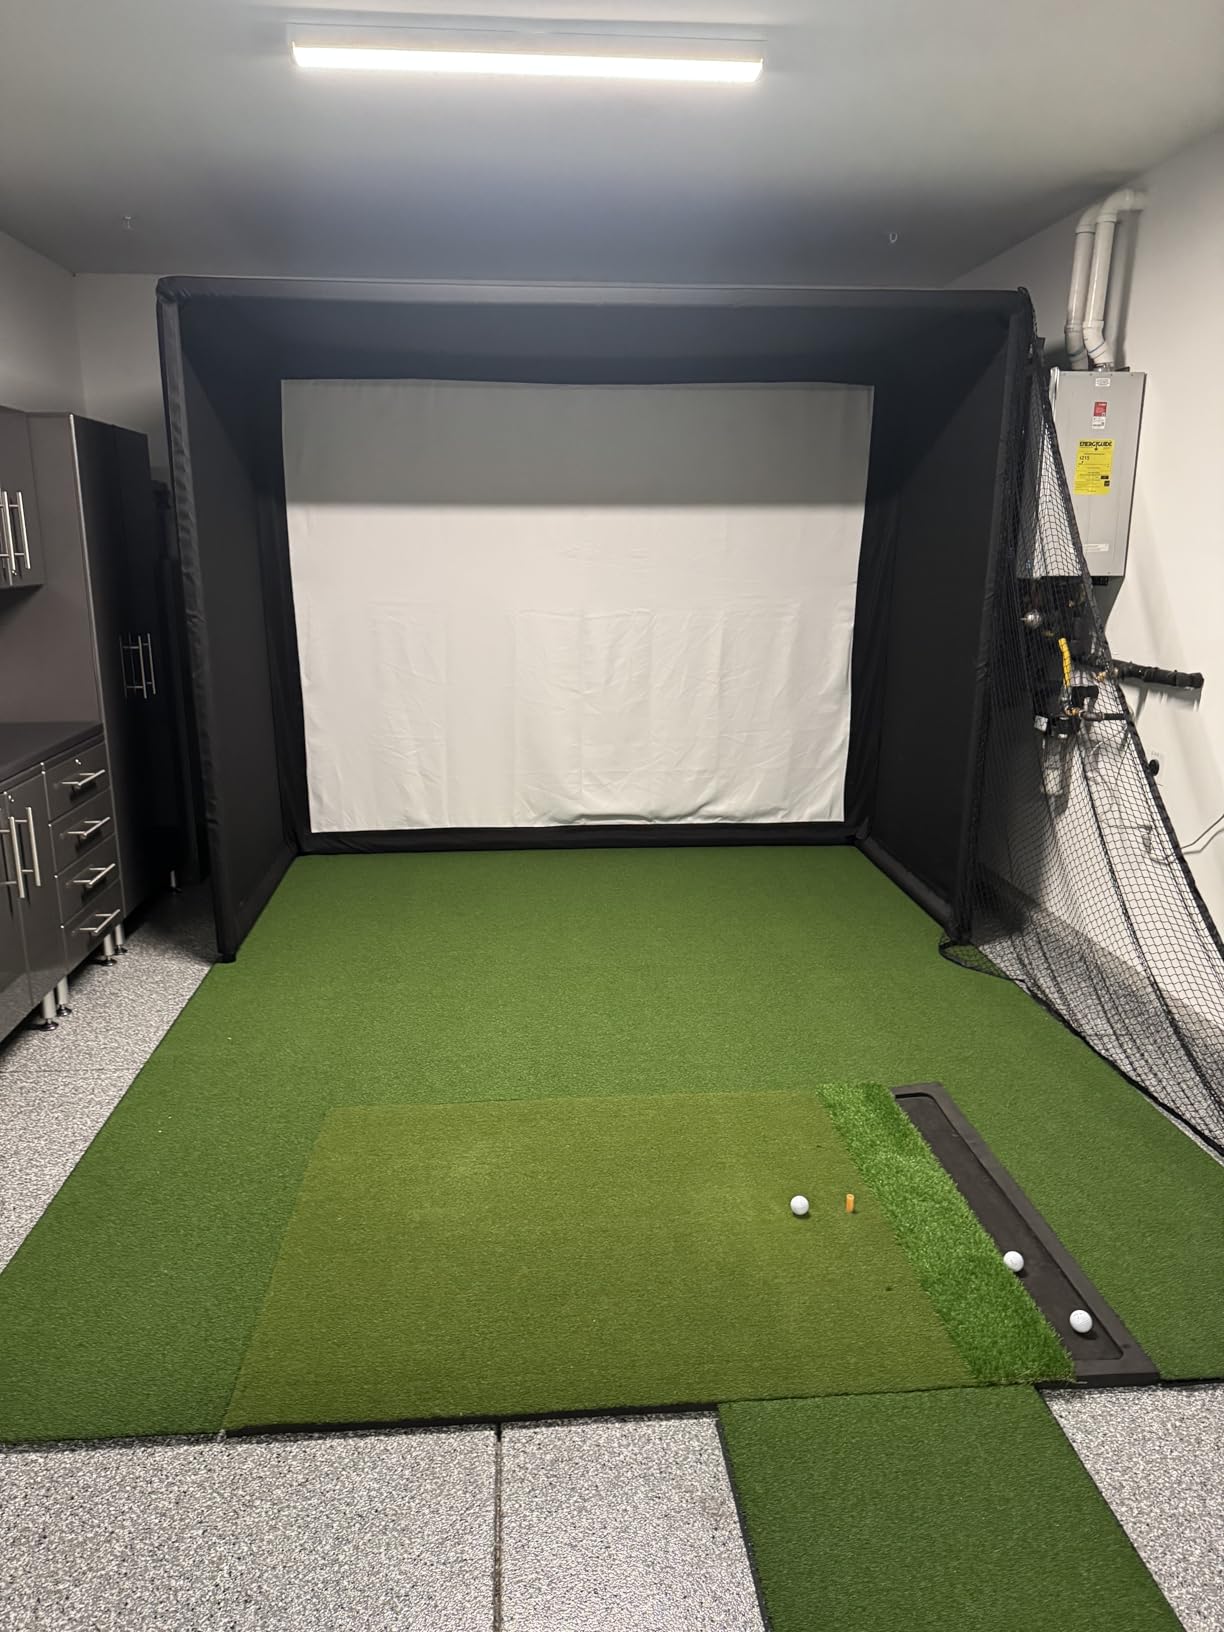
Assembly is a tool-free click-lock that owners put at 30 to 45 minutes for a single person, and at 75 lb the whole unit can be repositioned without help. That light weight and the lack of wall anchoring make it a good fit for a finished basement where you would rather not drill into drywall or into a poured foundation wall. Sandbag it against a stud and the frame stays put during normal swings.
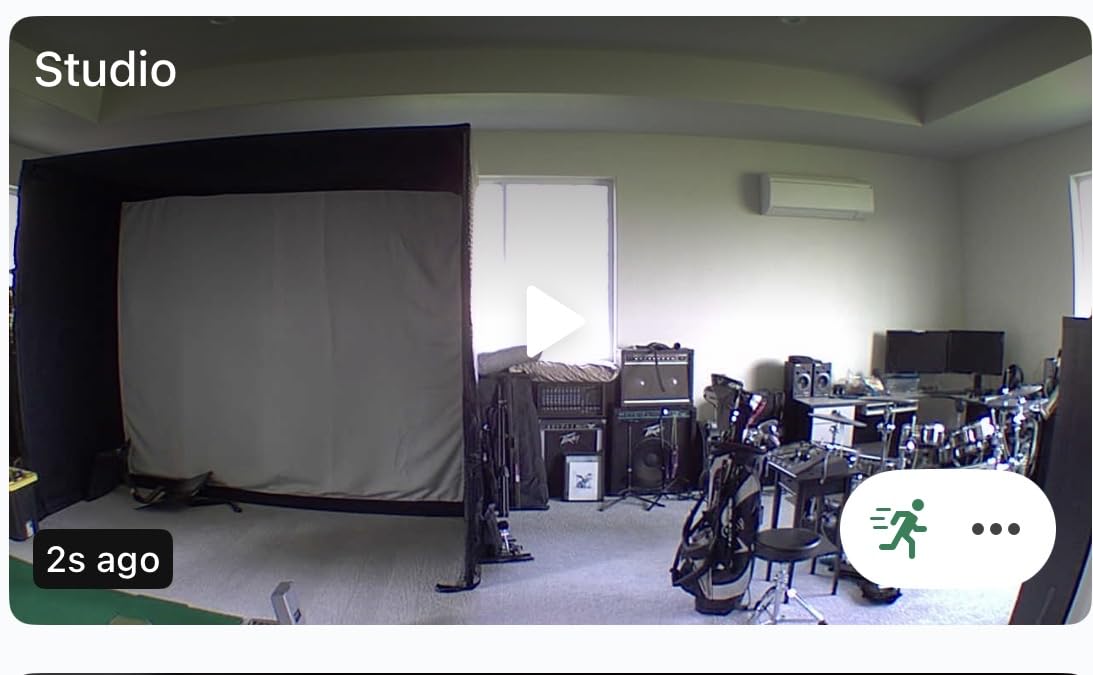
The specification recommends a 9 ft minimum ceiling, so this is not the kit for a low room even though the frame itself is only 8 ft tall. If your basement drops below 9 ft anywhere along the back wall, move to the compact kits further down the list rather than trying to work around it.
Watch the tension from day one
Owners do report wrinkles and some roof sag, and hanging the screen does not fully clear it. Set the click-lock tension evenly across all four sides and walk the perimeter afterwards, because uneven tension is what produces the shaded corner artefacts that a short-throw projector will magnify. The reinforced bottom and side Velcro stitching helps durability, though one owner reported the bottom stitching tearing within days at modest ball speed.
Plan for the missing instructions. Some boxes arrive without a printed manual, and a few mounts have shipped with holes on the wrong side, so allow yourself an evening rather than an afternoon and check the hardware inventory against the parts list before you start.
Who should skip it
Skip it if you cannot reach a 9 ft ceiling, and skip it if you need the frame mounted and locked down permanently, because there is no projector mount and the build quality on smaller parts is inconsistent. If you can live with that, it is one of the strongest screen-per-footprint options available for a compact basement bay.
6. Sturdum Enclosure Kit – Best No-Fuss Starter Bay
Sturdum 10x10ft Golf Simulator Enclosure Kit with HD Screen and Steel Frame
10 x 8 ft footprint
Alloy steel frame
4 mm material thickness
1 year warranty
Pros
- Bundles frame
- curtains
- screen and side netting
- Light-blocking design suits an indoor room
- Launch monitor ready out of the box
- Straightforward alloy steel construction
Cons
- Lowest average rating in the group at 4.1
- Listed material thickness of 4 mm
- Small review base and low category rank
Sturdum does the basic job without drama. You get an alloy steel frame, light-blocking curtains, an impact screen, side netting and a ball net in one package, sized at 10 x 8 ft, with an 8.4 x 8.4 ft variant also listed. There is no folding mechanism, no projector mount and nothing to configure, which makes it a reasonable first bay for someone who wants a contained hitting area in a basement rather than a full studio build.
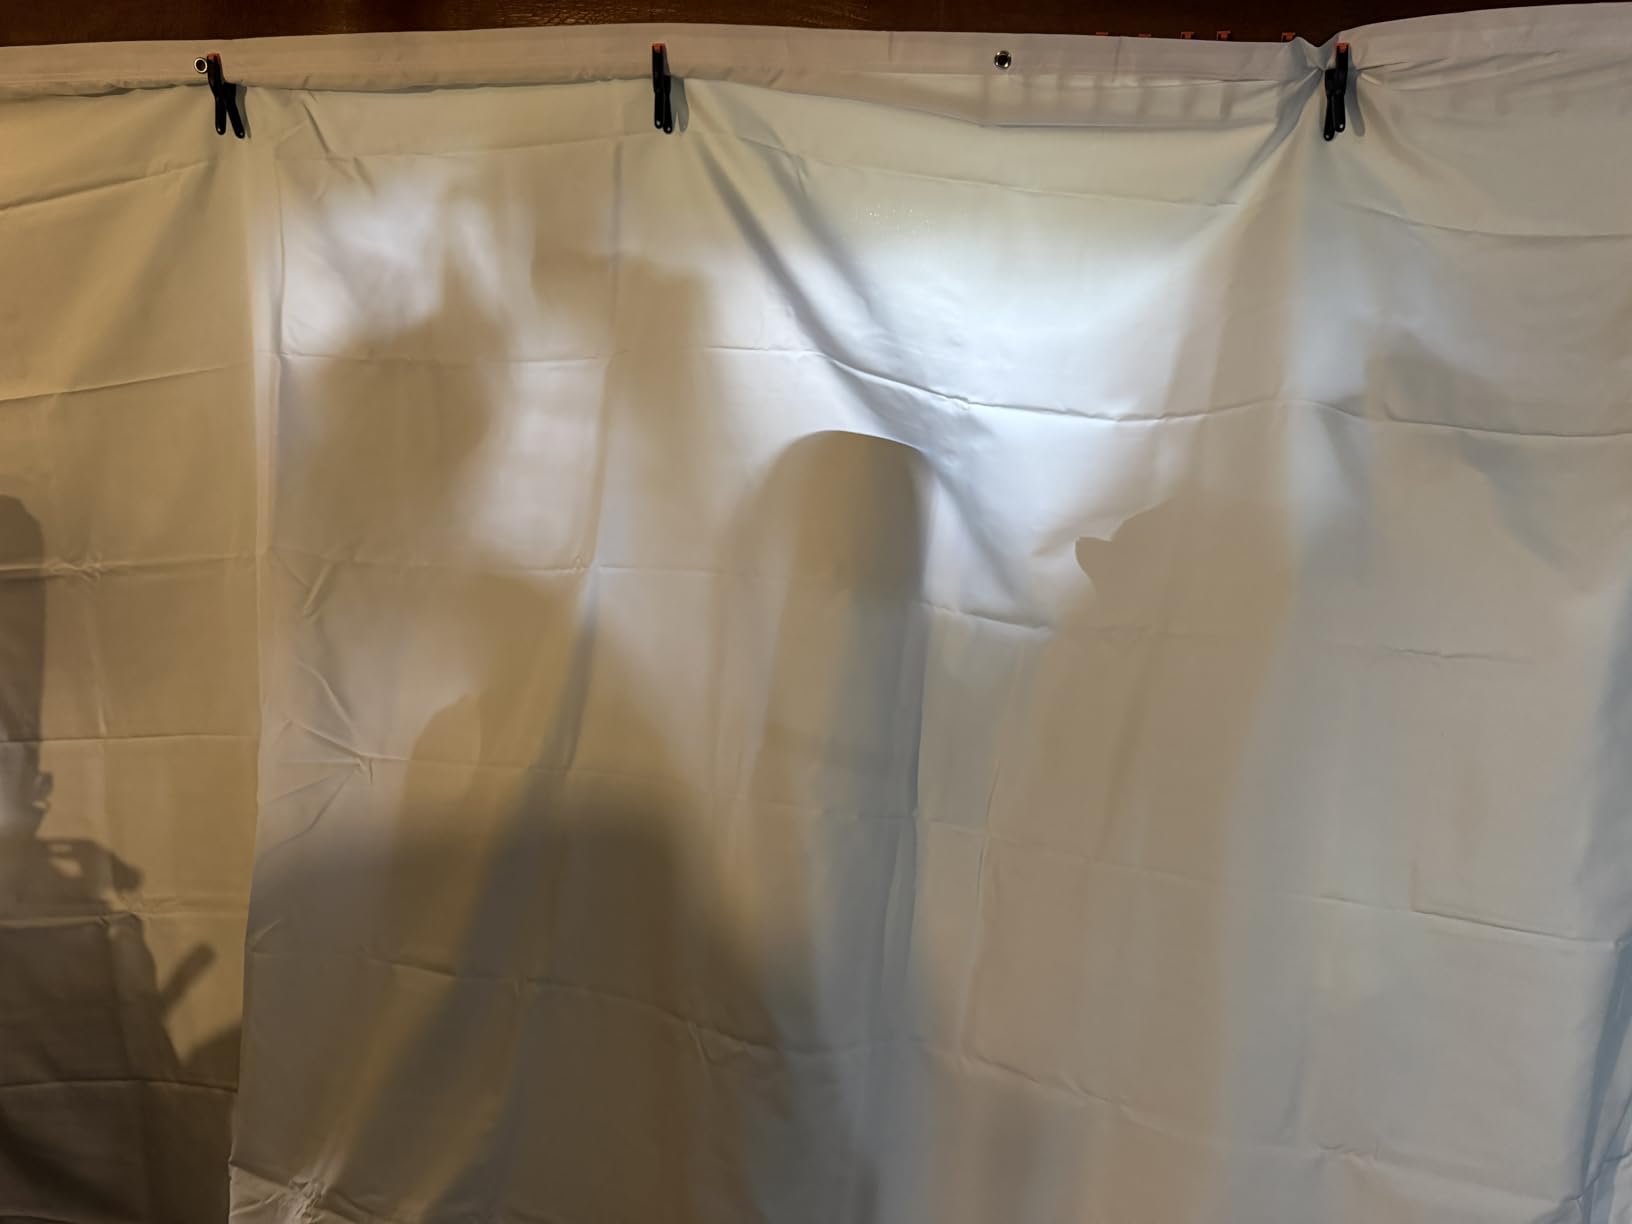
The light-blocking curtains are the useful part for a basement. They do not need a lighting change to produce a readable projected image, and because they hang rather than tension, the install is quick and reversible. Side netting handles the mishits that would otherwise reach the drywall.
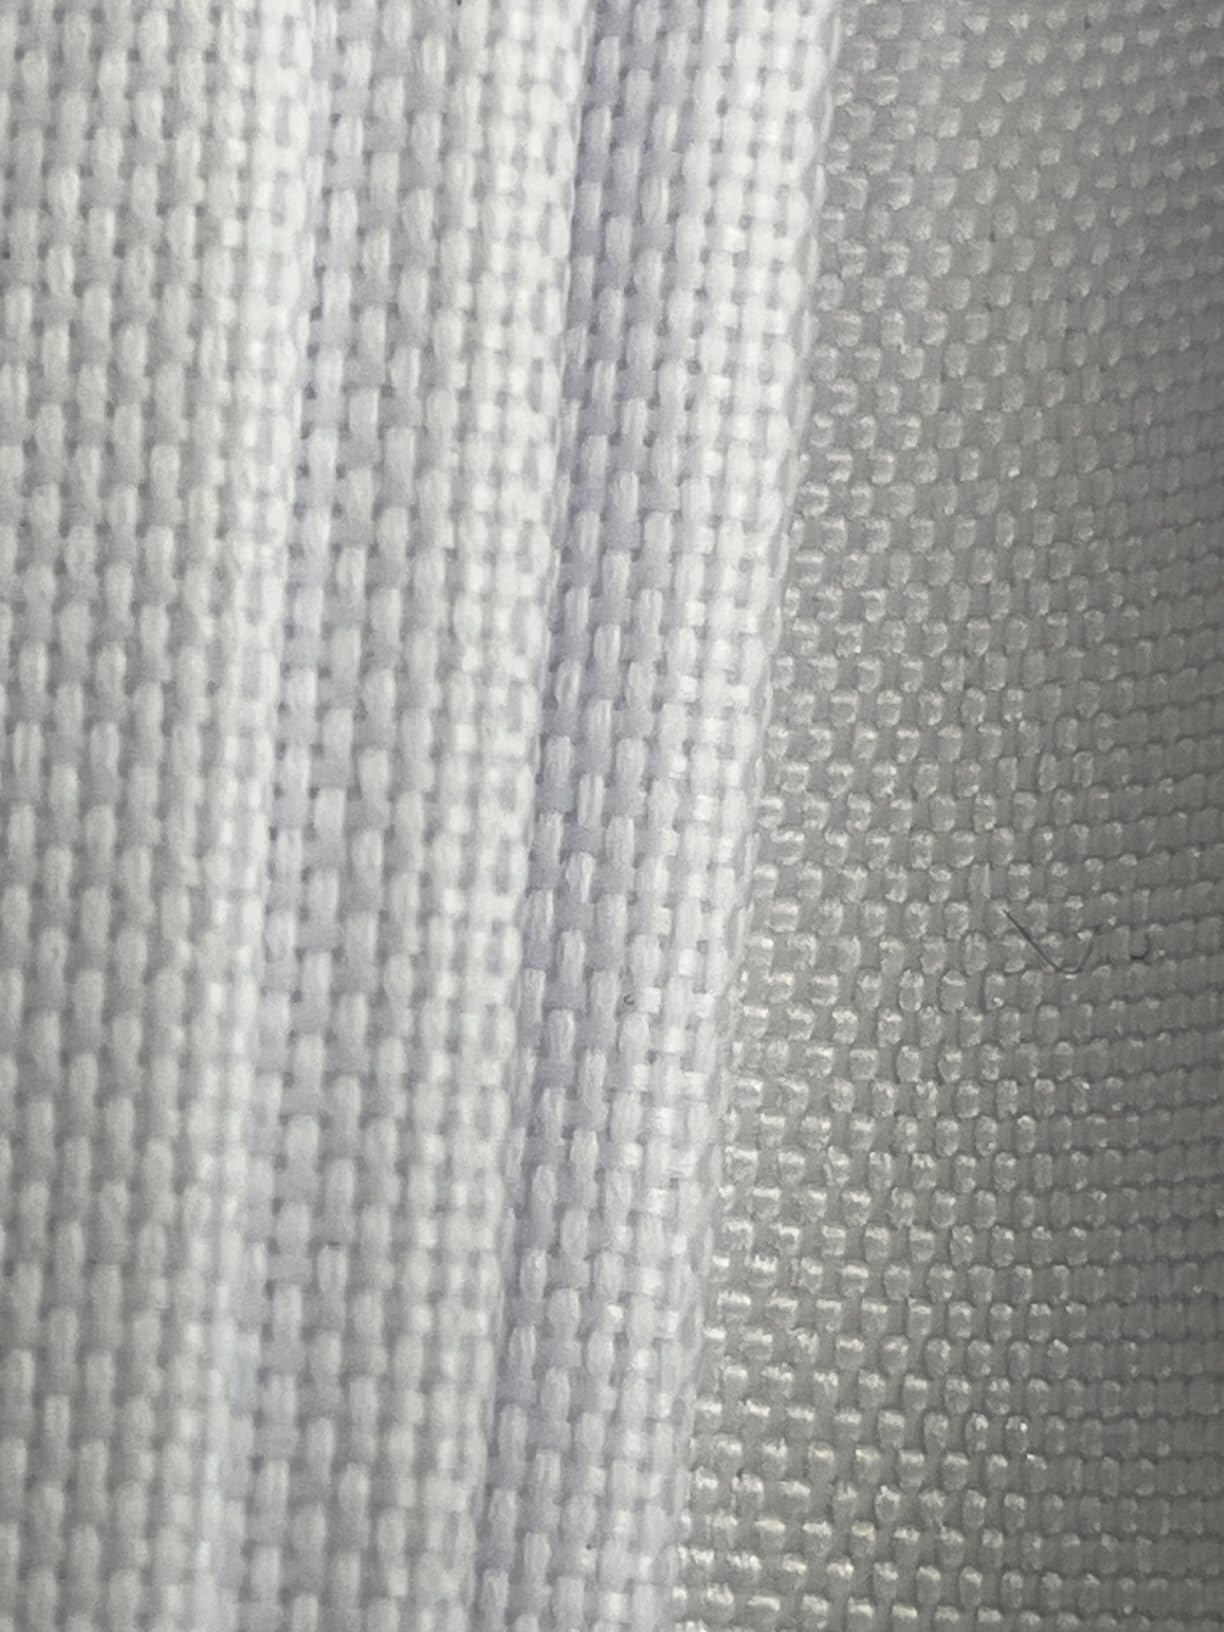
Where we would temper expectations is the 4.1 average and 22 reviews. That is the lowest rating and the thinnest owner history in this roundup, and the rating spread is uneven, with a meaningful share of one-star reviews, which usually points to inconsistent first impressions rather than a settled reputation. The listed material thickness of 4 mm is also the thinnest figure any of these kits publishes.
For a long-term build we would rather see a documented warranty and a larger owner base. The 8.4 x 8.4 ft version, if your ceiling is the issue, is the pick from this listing, since the square footprint uses less height than the rectangular one.
Who it suits
It suits a basement where the sim is one activity among several and the room is used most evenings for something else. Hang the curtains, hit a few balls in front of a launch monitor, and pull the whole thing back when the room needs to be a gym or an office. Reversibility is the feature here, not performance.
It is also the least risky purchase on this list for a first-time buyer, because the total cost of the enclosure is modest and the parts list is short. If the frame finish disappoints you later, replacing it costs less than reworking a heavier cage.
Where it falls down
It falls down on long-term confidence. With a 4 mm listed thickness, a 4.1 average and limited field testing, we would not hang a heavy projector off it or build a permanent install around it without checking the frame joints after the first few hundred swings. Padding is minimal compared with the fully wrapped kits, so treat the screen as a practice target rather than a wedge-shot absorber.
7. ZivPlay 10 x 8 x 5 ft Cage – Best for Wall and Bystander Protection
Golf Simulator Enclosure for Home Garage Indoor Sim Practice with Screen
10 ft 7 in by 8 ft by 5 ft
Steel frame and 500D polyester
70.6 lb
Pros
- Two 8 x 8 ft sandbagged side nets
- Edge foam padding controls pole rebound
- Steel frame assembles solo in 30 to 60 minutes
- 4:3 anti-bounce screen
- Owners rate it well above its tier
Cons
- Requires a 9 ft ceiling
- Instructions poor with no assembly video
- Some mounts shipped with wrong-side holes
- Screen is springy so balls do not always drop
ZivPlay is the containment specialist of this group. The frame itself is a 10 ft 7 in wide by 8 ft high by 5 ft deep steel cage, and around it come two 8 x 8 ft side nets with sandbags. In a finished basement those nets are doing the job that drywall cannot: stopping shanks and low ricochets before they reach a painted wall, a window frame or a piece of furniture on the side of the room.
The frame edges are foam padded, which addresses the other common complaint. Owners report that mishits into a pole are quiet and controlled rather than ringing, and that the steel frame feels solid and assembles solo in 30 to 60 minutes. Several buyers describe it as comparable to kits costing several times more, which is the recurring sentiment in the reviews.
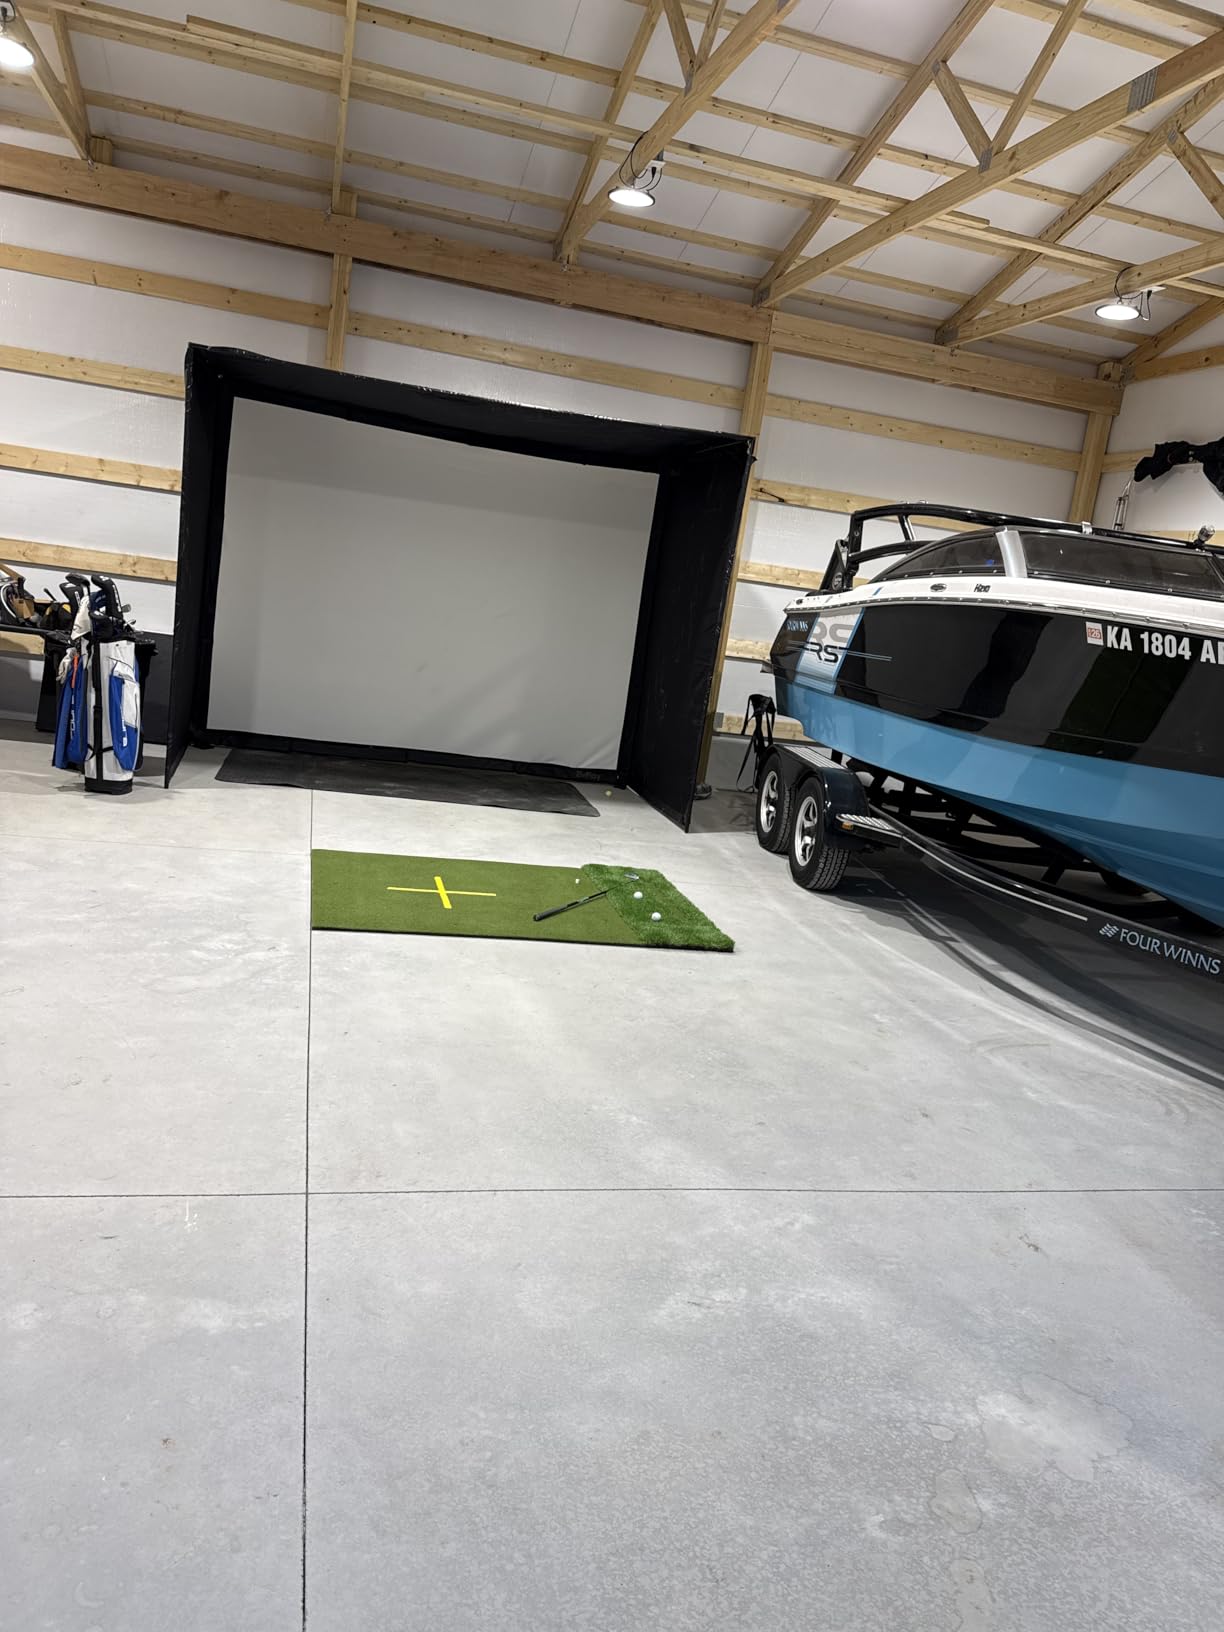
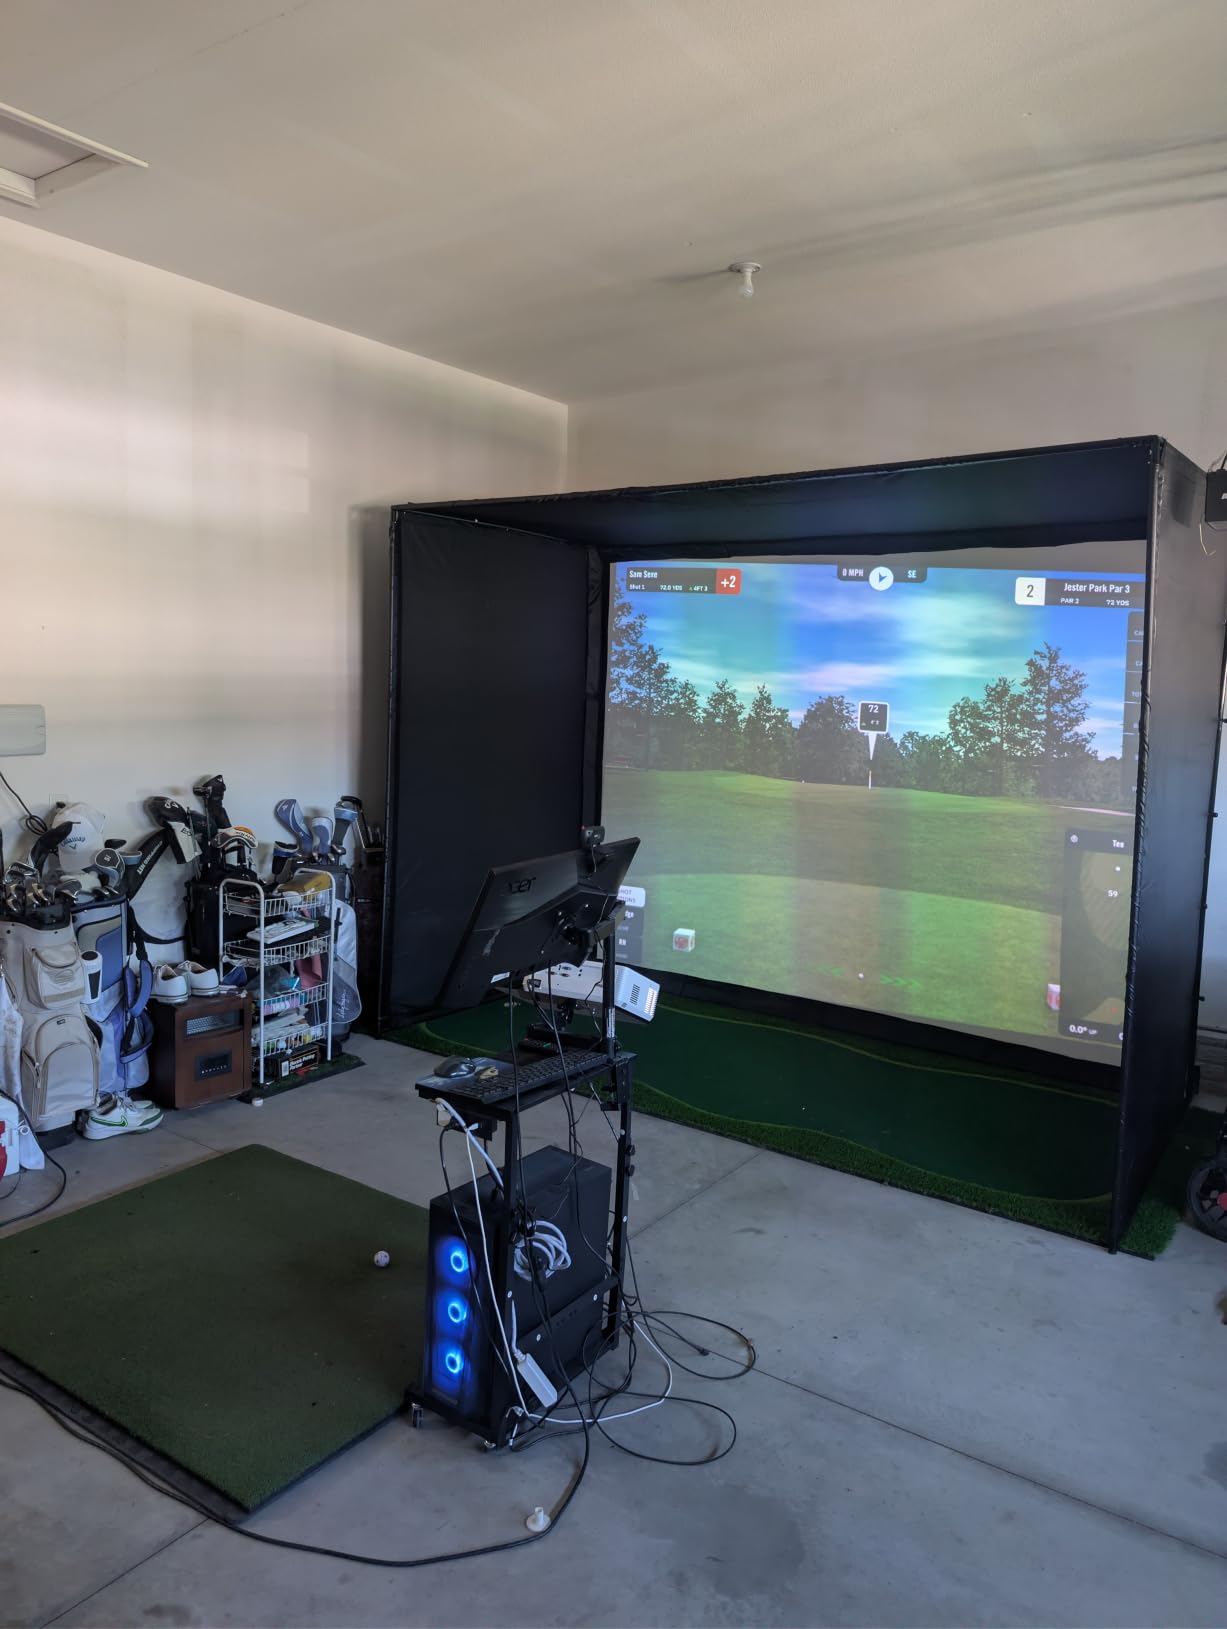
The screen is a 4:3 anti-bounce-back design in high-strength 500D polyester, with a listing weight of 70.6 lb. Be aware that the aspect ratio is narrower than the 16:9-friendly screens on the GoSports, Diandian and Aerixtron kits, so if you plan to run a modern widescreen projector you may end up with black bars either side, or you will be cropping the projected image.
The 9 ft ceiling requirement is the real constraint here. The frame is 8 ft tall, so you need a full foot of headroom above it plus room for your swing. If your basement is anything under 8 ft 8 in at the front pole line, this one will not go up without a modification.
Getting past the installation complaints
The reviews are consistent about the paperwork: instructions are poor, there is no assembly video, and some mounts arrive with holes drilled on the wrong side. Inspect every mount against the frame before you build, and have the parts laid out and counted before you start rather than discovering a mismatch halfway through.
Two smaller issues are worth knowing. The top black tarp is very tight, which makes the front Velcro hard to re-attach if you ever need to open it, and the tarp can leave an orange resin residue on your hands during installation, so wear gloves. Balls do not always drop straight down off this screen, so plan a ball return or a sweep-up routine rather than assuming a clean stop.
Who should skip it
Skip it for a low-ceiling basement and skip it if you want a clean 16:9 projected image without cropping. Choose it when the priority is stopping balls rather than producing a picture, which is the right call for a family basement where a golf ball through a drywall panel costs more than the enclosure did.
8. ANYTHING SPORTS Fold Up Enclosure – Best for Basements That Double as a Lounge
Fold Up Golf Simulator Enclosure (8’4 x 8’4 x 5′)
8 ft 4 in square frame
91 in matte screen
Wall-mounted folding design
1 year warranty
Pros
- Folds flat in about a minute
- Impact screen
- vinyl blackout
- shank nets and mount included
- Suits a 7.5 to 8 ft ceiling room
- Repacks into the original box
Cons
- Very heavy
- needs two people and a dolly
- Needs a flush wall to hang properly
- Hardware must be sorted into three screw lengths
This is the folding unit, and for a finished basement that has to remain a living space it solves the problem that no fixed cage can. The 8 ft 4 in by 8 ft 4 in by 5 ft frame folds flat against the wall in about a minute, which frees the room for a sofa, a treadmill or a table tennis table. Every reviewer in the file buys it for exactly that reason, and the 4.6 average reflects a design that does one thing very well.
It is also a complete package. The kit includes the impact screen, a double-stitched vinyl blackout enclosure, two shank nets, a projector mount and sandbags, so you are not assembling a parts list. The screen is a 91 inch matte panel, and owners report that it absorbs ball energy well while still projecting a sharp image, which is not always true of the thinner screens in cheaper cages.
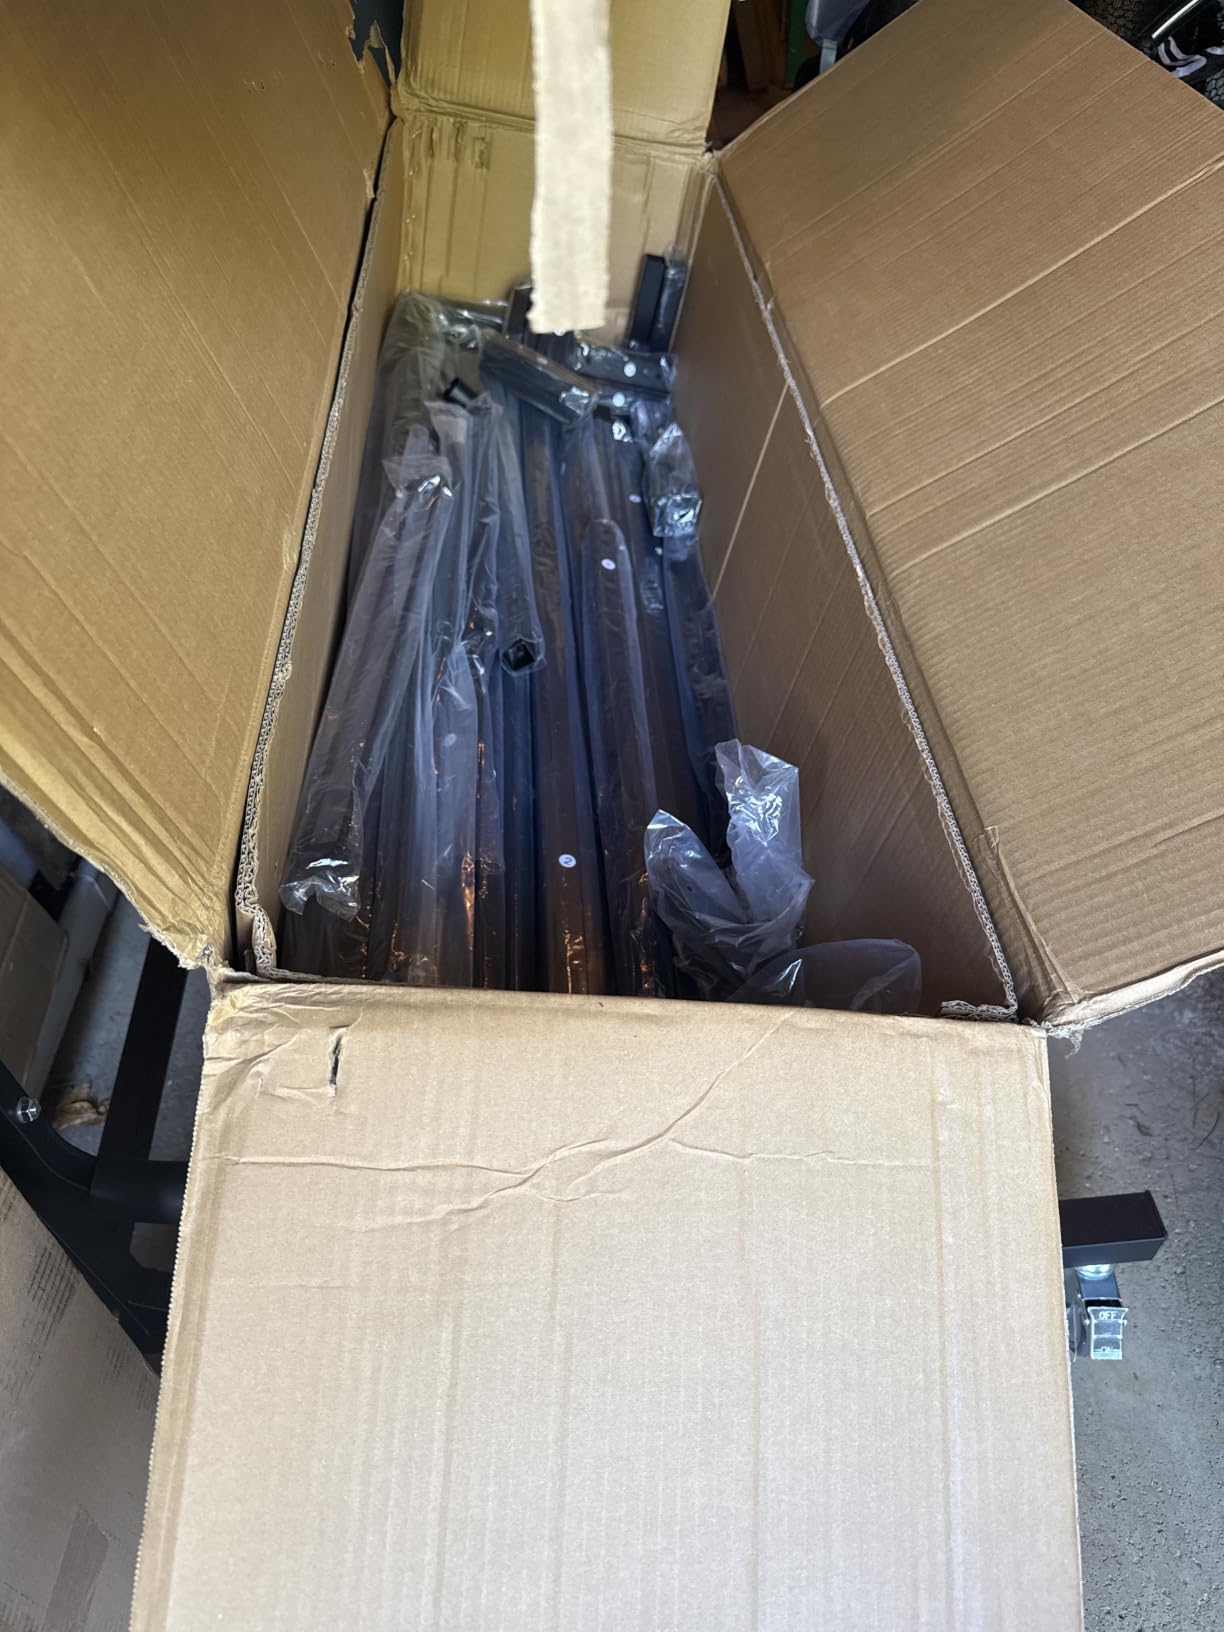
On basement fit, this is one of the few units here that reviewers describe as workable in a roughly 7.5 to 8 ft ceiling room, because the 8 ft 4 in frame height is the lowest of the caged options. That makes it a genuine answer for a low-ceilinged finished basement where a 10 x 8 x 5 ft cage will not go up. It can also be repacked into the original box for storage, which matters if you are renting or finishing a basement you may convert back.
The catch is the install. The unit is heavy enough that a two-person lift and a dolly are required, and it is wall-mounted, so it needs a flush wall to hang properly. A protruding concrete foundation, a stud wall that is not plumb, or a wall with a window in the wrong place will complicate the mounting badly.
Inspect your wall before you commit
Run a straightedge along the wall where the frame will hang and check for a proud foundation lip or a bowed stud. A folding design depends on the wall being flat, and the reviews are explicit that buyers who checked first had no trouble while those who did not, did. Also plan the swing volume in front of the frame, because a folding screen still needs the full depth of the cage when it is down.
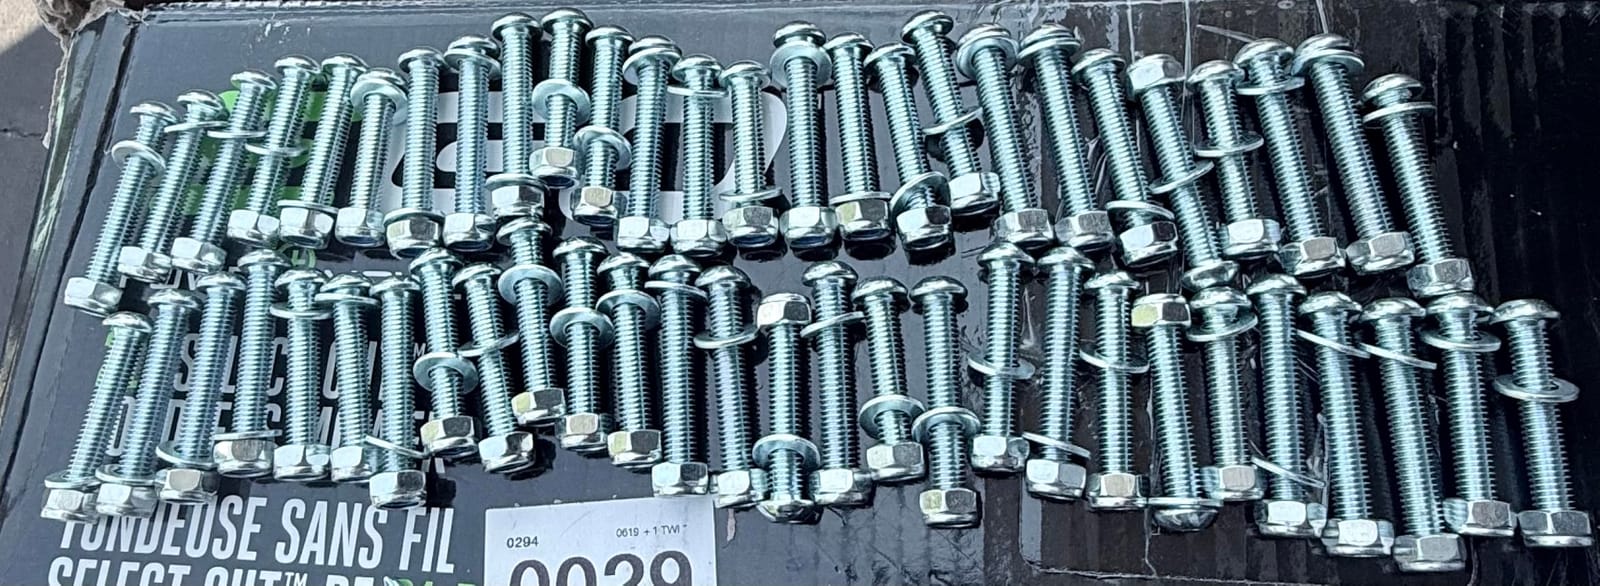
Assembly is required before mounting, and the hardware bag contains 54 similar screws and washers that have to be sorted into three lengths. Budget an evening. The instructions also illustrate round poles while the kit shipped square ones, another reason to unpack and check everything before you start.
Who should skip it
Skip it if your basement wall is concrete, uneven or interrupted by a window, because the wall-mounted requirement is not negotiable. It is also the wrong choice for a room where the sim is the only purpose, since you would be paying for a folding mechanism you never use and a 91 inch screen you could have made larger with a fixed frame.
9. Silipull 10 x 7 ft Cage – Best for Moving the Bay In and Out
Silipull 10 x 7 ft Golf Indoor Simulator Cage Net with Impact Screen
10 x 7 ft cage
Metal, Oxford cloth, polyester
Carrying bag included
Pros
- Full cage
- screen and target cloth in one low-cost kit
- 5-ply netting and 600D Oxford fabric
- 9.2 x 6.6 ft screen takes thousands of impacts
- Two side barriers and sandbag anchors
- Fast setup and takedown
Cons
- No blackout cover so projection contrast is weak
- One report of a top net seam failure
- Shallower 5 ft depth than the premium kits
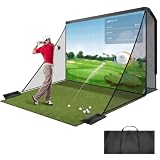
Silipull has the highest average rating in the roundup at 4.7, but that comes from 12 reviews, so treat it as a promising small sample rather than a settled reputation. What it does offer is a complete cage, an impact screen and a target cloth at the lowest entry point of any kit here, with a carrying bag that makes the whole thing genuinely portable between a basement and a garage or a backyard.
Construction is more serious than the price suggests. The frame uses reinforced triangular heavy-duty rust-resistant poles, the netting is 5-ply polyester with 600D Oxford fabric, and the 9.2 x 6.6 ft impact screen is reported to take thousands of impacts without visible wear. Two large side net barriers and two sandbag anchors handle mishits and keep the frame from walking across a concrete slab.
The 10 x 7 ft footprint is narrower and shallower than the premium kits, and that is a feature in a small basement. The screen is 9.2 by 6.6 ft, which is enough for launch-monitor practice and short rounds on a laptop or monitor, and 7 x 7 ft and 10.5 x 8 ft variants exist if your bay allows more. Owners specifically note that it fits into limited-size rooms where a 10 x 8 x 5 ft cage will not.
There is no blackout cover. That means the projected image has noticeably weaker contrast than a caged enclosure, which matters in a lit room and is the reason we would not build a basement cinema-style bay around it. One reviewer also reported a top net seam ripping on the first ball strike, so inspect that seam before swinging.
Where the portability actually pays off
The dual-use angle is real. Owners use the same cage as a backyard movie screen in the warmer months, and the fact that it packs into a carry bag is what makes that possible. If your basement is a rental, a temporary setup, or a room where you cannot fix anything to the walls, this is the enclosure that respects that constraint.
Sandbag anchors rather than bolts also solve the anchoring question for poured concrete basements. Weighted anchors are reversible, leave no holes in the wall and are enough for practice swings, which is exactly the compromise owners make when the walls are finished drywall they do not want to cut.
Who should skip it
Skip it if projection quality is the point of the build, because there is no light blocking. Skip it if you need a large screen for long-distance swing video, since 9.2 by 6.6 ft is a small image. For a golfer who wants short practice sessions, a contained bay and the flexibility to move it, it is hard to argue with.
10. Aerixtron 10 x 8 x 5 ft Kit – Best Lightweight Frame to Carry
Golf Simulator Enclosure Kit with 3D Air Mesh Impact Screen (10x8x5 FT)
10 x 8 x 5 ft footprint
420T Oxford and aluminum alloy
Zippered quick-setup cover
Pros
- Aluminum frame is much lighter than steel
- 3D air mesh screen about 5x thicker
- Zipper and hook-and-loop setup is fast
- Dual-layer blackout panel
- Poles fully foam wrapped
Cons
- Only 5 ratings so far
- Manual omits part counts and dimensions
- Low category sales rank
- Long assembly due to component count
Aerixtron solves the moving problem rather than the swinging one. The frame is foam-wrapped aluminium alloy rather than steel, so it is far lighter to carry down basement stairs or reposition across a room, while still staying rust-resistant and rigid enough for full swings. For a basement reached through a tight stairwell with a turn at the bottom, that is not a small detail.
The screen is the most technically interesting in the roundup. It is a 3D air mesh panel described as about five times thicker than typical canvas screens, with a separate black air mesh blackout panel on a dual-layer build. Owners rate the clarity and the noise reduction very highly, and a thicker mesh is genuinely better at absorbing energy than a thin woven screen, which means less rebound into the room and less sound reaching the floor above.
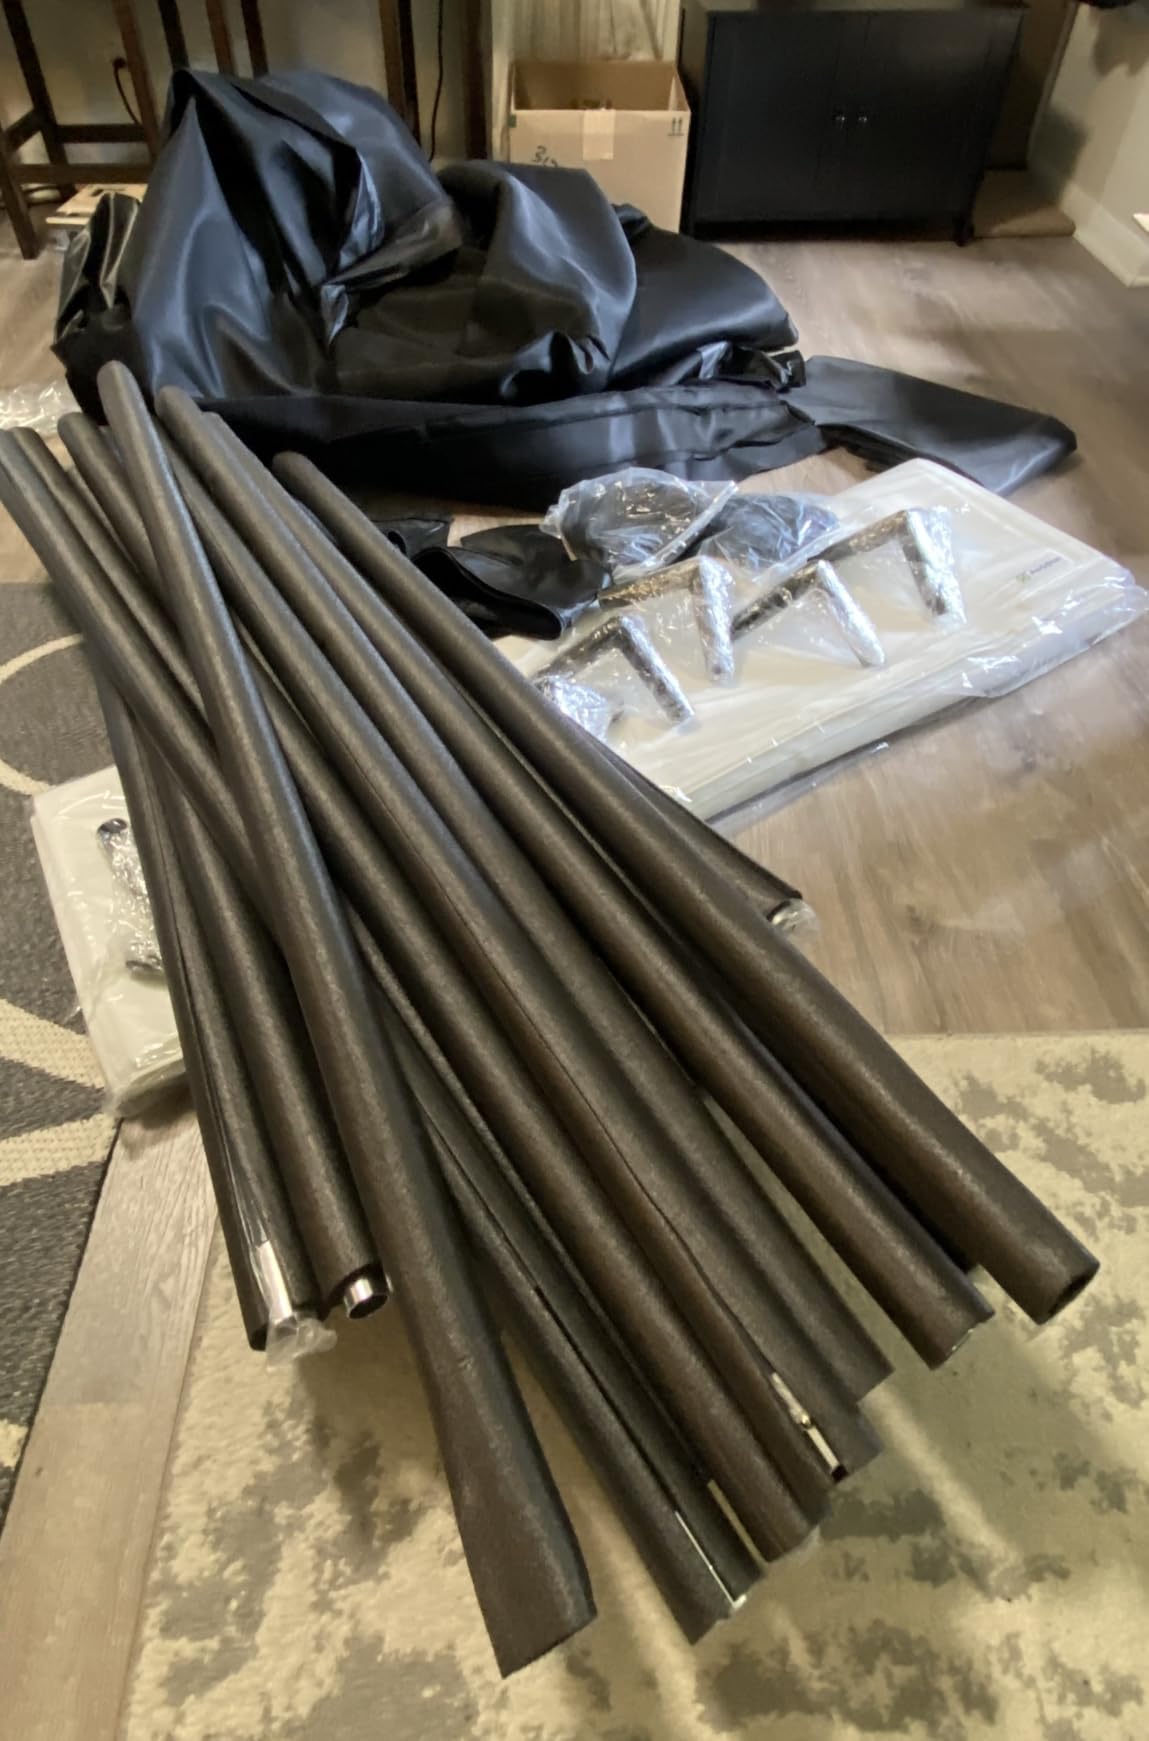
Setup is designed around a zippered cover and hook-and-loop rear panel, and owners put assembly at roughly a third of the time a conventional pole-and-sleeve system takes. The 420T black coated Oxford surround and side nets give better coverage and less light bleed than typical netting, and every pole is foam wrapped so a mishit deflects instead of denting the frame.
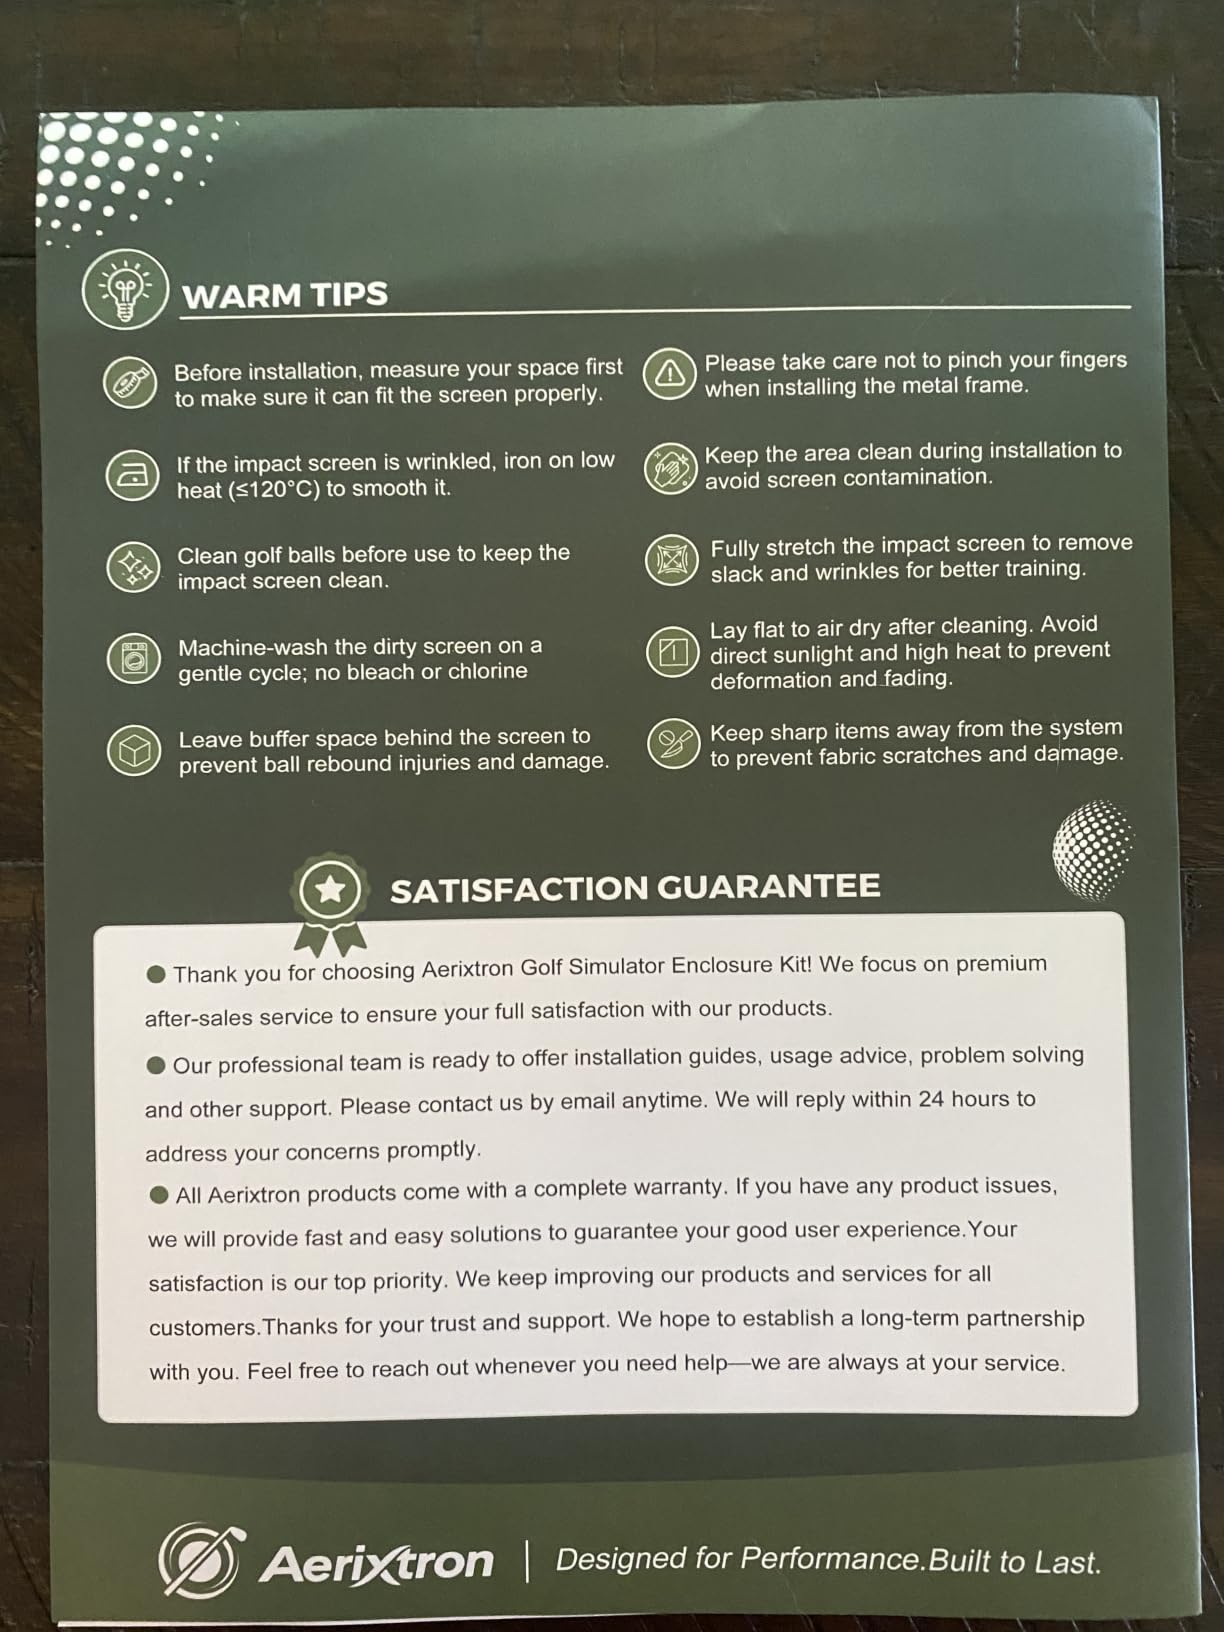
What stops us recommending it more widely is the evidence. Five ratings is a very small base, the manual omits both the parts count and the assembled dimensions, and the category sales rank is far below the established brands. The design looks right on paper and in the reviews; the long-term track record is simply not there yet.
Before you build it
Because the manual leaves out the assembled dimensions and part counts, verify the 10 x 8 x 5 ft footprint yourself against your bay before opening anything, and lay out every component on the floor before you start. Owners report assembly being long simply because of the number of parts rather than any difficulty, so a clear floor and an evening are the sensible approach.
The projector, launch monitor and hitting mat are all extra purchases, and the zippered cover design means you can set up and tear down quickly, which is what makes a carryable aluminium frame worth paying a little more for in the first place.
Who should skip it
Skip it if you want a proven, heavily reviewed enclosure, or if you are not comfortable cross-checking a parts list against a manual that does not include one. Choose it if your bay is difficult to reach and the combination of a light frame, a thick quiet screen and a fast zippered setup matches your particular constraints better than anything else on this list.
How to Size a Golf Simulator Enclosure for Your Basement
Measure your bay before you measure anything else. You need three numbers: the width of the usable wall, the depth from your hitting position to the wall, and the ceiling height at the lowest point along that wall. A basement room that is generous at one end and drops where a beam crosses it will defeat a fixed-height frame, and that is the number one reason enclosures get returned. Add roughly 6 inches of clearance above the frame for a full driver swing at the top of your backswing, and check the depth of your stance plus the frame depth against the room.
The guidance below maps ceiling height to what actually fits. Frame heights are taken from the product specifications, and where a manufacturer states a minimum ceiling we have used that figure rather than the frame height, because the clearance gap matters for a real swing.
Under 7 ft 6 in: No caged impact screen enclosure. Use a floor-level net or reduce to chipping and putting only. A fixed-height frame will not clear the ceiling or your swing, and this is the wall height forum owners describe at 5 ft 7 in.
7 ft 6 in to 8 ft 3 in: Compact 8 ft 4 in square frames, meaning the folding cage and the 8.4 x 8.4 ft kits. Check the lowest point of the ceiling, and the depth you need behind the frame to stand and swing.
8 ft 4 in to 8 ft 10 in: Standard 10 x 8 ft frames with an 8 ft frame height: the GoSports, HOMEVOL, Diandian, Sturdum and ZivPlay units. ZivPlay and Diandian both ask for a 9 ft ceiling, so below that confirm the full driver clearance yourself.
8 ft 10 in and above: Everything, including the 10 x 8 x 5 ft and 12 x 9 ft cages with projector mounts. Use the extra height for overhead containment so wedge shots do not return into the room.
Second, decide what kind of build you are making. A built-in enclosure with a fixed frame and a hung screen looks the most finished and gives you the best screen area, but it commits the wall. A prefab cage kit like most of the ones here is faster and reversible. A folding or portable cage keeps a multi-use basement usable, at the cost of screen size. A DIY frame built from 1 inch EMT is the community favourite for flexibility, and owners on the forums build them specifically so the sides can fold in when the bay is not in use.
Third, plan containment, because it is what protects the room. Every rebound problem reported on the forums traces back to a missing element rather than a cheap one: no overhead net for high wedges, thin padding on the frame poles, or no side shank nets at all. If your ceiling is 8 ft 10 in or more, spending a little on overhead containment pays for itself the first time you hit a wedge that otherwise ends up in your light fixture. If you are under that height, put the money into thick foam on every pole and side nets you can fit.
Fourth, think about noise. A concrete basement floor is a hard reflective surface, and a screen that absorbs energy is the single biggest lever. Triple-layer screens and thick air mesh screens are noticeably quieter than single-layer woven ones. Beyond the screen, rugs, acoustic panels on the ceiling joists and a padded mat underfoot all help, and if there is a bedroom directly upstairs, test a session at your normal volume before you commit to a fully built-out bay.
Fifth, protect the room itself. In a finished basement, do not anchor into drywall. Sandbag or weight the frame, or anchor into a stud, and put a strip of turf or a padded panel on the wall behind the bay to stop paint scuffing. In a poured concrete basement, use anchors rated for masonry if you must fix anything, and keep clear of the damp-prone wall sections. Check the room for a dehumidifier, because a screen fabric stored next to a sweating foundation wall will eventually show it.
Finally, know what the whole system costs. The enclosure is one line in a build that typically runs several times its sticker price once you add the rest. The breakdown below is worth writing down before you buy anything so you do not discover the gap halfway through.
Enclosure and impact screen: frame size matched to your ceiling tier, blackout coverage, side nets and padding. This is the base of the build.
Launch monitor: radar, camera or photometric unit, and it must fit your screen and stance. Often the single largest line.
Projector: short throw for small rooms, with brightness measured against your blackout level. Large, and the second largest line.
Turf or mat: landing pad turf plus a hitting mat sized to your stance. Modest in cost, but it decides how the bay feels.
Simulator software: must be compatible with your launch monitor. Recurring or one-time depending on the package.
Optional install or finishing: anchoring, acoustic panels, wall protection, and an electrician if you change the lighting. Easy to forget.
Build in that order too: enclosure first, then launch monitor, then projector, then software. Owners on r/Golfsimulator consistently describe this as the right sequence, because the screen size and room depth decide which launch monitors and which projector throw distances will actually work. Buying the launch monitor first is the most common way people end up with hardware that does not fit the bay.
Frequently Asked Questions
Can you put a golf simulator in a basement?
Yes. A basement is one of the best rooms for one because it is below grade, naturally darker and quieter than a garage. The three constraints that decide which enclosure fits are ceiling height at the lowest point, the width and depth of your usable bay, and whether the walls are finished drywall or poured concrete. Most fixed frames also need about 6 inches of clearance above the frame for a full driver swing.
How much room do I need for a golf simulator in a basement?
Aim for a bay at least 8 ft wide and 8 ft deep for a compact setup, and 10 ft wide by 8 ft deep or deeper for a full-size cage. Ceiling height matters as much as floor space: an 8 ft tall frame needs roughly 8 ft 10 in of ceiling or more for swing clearance. Measure at the lowest point along the back wall, not the average height of the room.
How much does it cost to put a golf simulator in your basement?
The enclosure is only one line in a full build. A realistic all-in system adds a launch monitor, which is often the largest single cost, then a projector, turf and a hitting mat, simulator software, and optional install and acoustic work. Budget the enclosure and the launch monitor together rather than sizing the room around the cheapest cage, because the enclosure choice constrains both.
Can I use a golf simulator in a room with a low ceiling?
Yes, with the right footprint. Compact 8 ft 4 in square frames suit rooms around 7 ft 6 in to 8 ft 3 in of ceiling. Standard 8 ft frame heights need closer to 8 ft 10 in, and a few kits specify a 9 ft minimum. Below about 7 ft 6 in, a caged impact screen will not clear the ceiling or your swing, and a floor-level net is the realistic option.
Do I need to anchor a golf simulator enclosure to the wall?
No, not for practice swings. Sandbag or weight a frame against a stud and it will stay in place, which is what most basement owners do to avoid cutting finished drywall. If you want a permanent build, anchor into a stud or use masonry-rated anchors in poured concrete. Wall-mounted folding designs are the exception, since they require a flush wall to hang properly.
What is the difference between a golf net and an impact screen enclosure?
A net stops balls with open mesh, which is fine for casual practice but gives you nothing to project onto. An impact screen uses tightly woven multi-layer fabric or air mesh that absorbs ball energy, keeps a flat matte surface for a projector, and blocks ambient light when paired with a blackout cover. A net is cheaper and lighter; an impact screen enclosure is what a basement simulator build needs.
How do I stop wedge shots from damaging my basement walls?
Use three layers of protection. Add a top overhead net if your ceiling allows it, since a high wedge is the main source of rebound. Wrap every frame pole in thick foam, which is the difference between the fully padded kits and the basic ones. And put a strip of turf or a padded panel on the wall directly behind the bay to stop paint scuffing and any shot that gets through.
Which golf simulator enclosure is best for a small basement?
The most compact caged options are the square 8 ft 4 in by 8 ft 4 in frames, including the folding cage and the 8.4 x 8.4 ft kits. They trade screen size for a lower frame height, which is the constraint that matters in a low room. If your bay is narrow rather than low, a 10 x 7 ft portable cage also fits where a 10 x 8 x 5 ft unit will not.
Final Verdict: Which Golf Simulator Enclosure Fits Your Basement
The best golf simulator enclosures for basements are not the same pick for every room, and the ceiling decides more than the budget does. For a standard finished basement with 8 ft 10 in or more of headroom, the GoSports enclosure is the safest all-round buy: a durable multi-layer screen, a genuine blackout dyeing job and 186 reviews of long-term owner feedback. If you want the hardware list finished in one order, the ANYTHING SPORTS package adds the projector mount and shank nets that you would otherwise buy separately.
For a low room, the folding 8 ft 4 in square cage is the one that actually goes up. For a basement above a bedroom, the triple-layer Durbles kit with full foam padding is the quietest. For a portable, reversible build, the Silipull cage and the lightweight Aerixtron frame are the two that move without drama. Build the enclosure first, size it against your lowest ceiling point, add overhead containment if you have the height, and treat the launch monitor and projector as the next two decisions rather than the first.