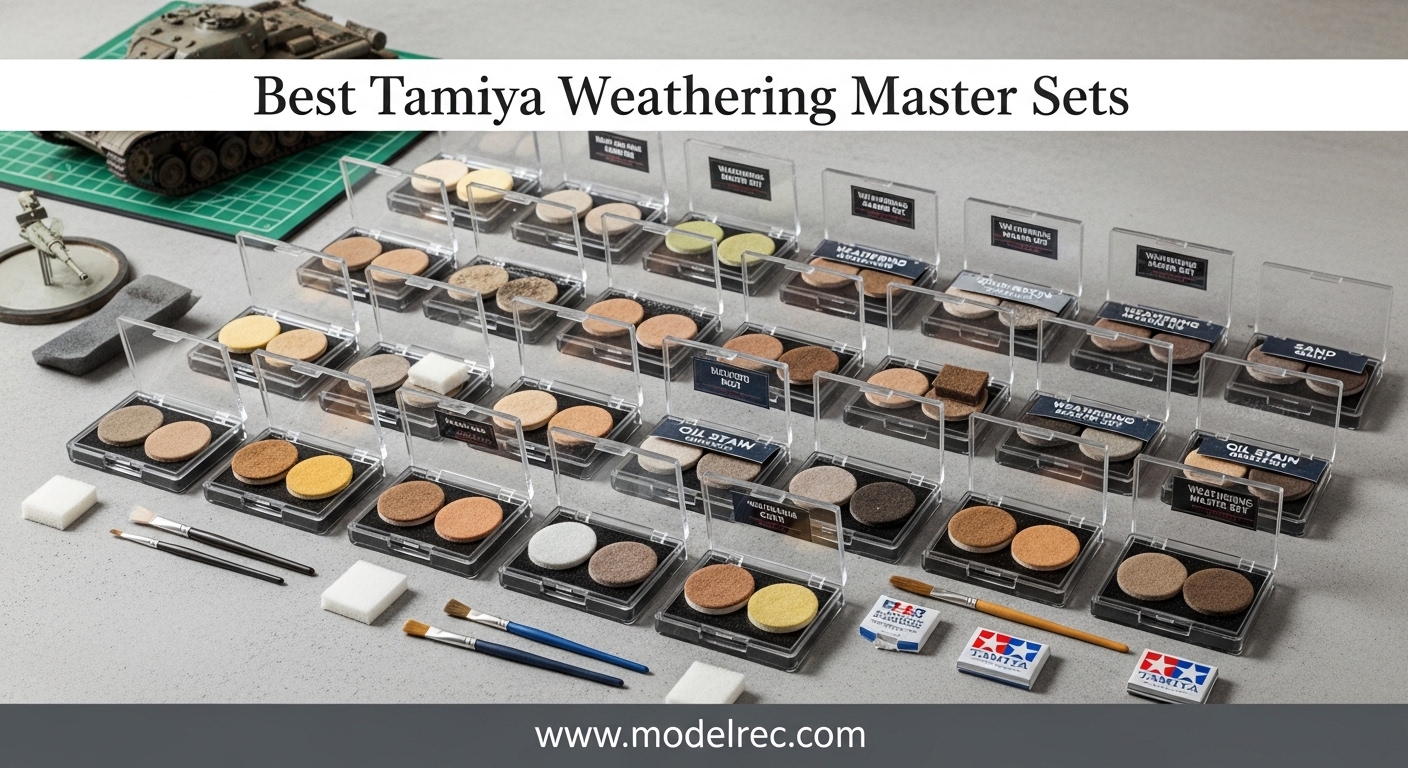
Nothing transforms a clean, freshly painted scale model quite like weathering. That flat plastic sheen disappears the moment you drag a sponge loaded with Tamiya Weathering Master across a panel line or exhaust vent. Over the past three years, our team has tested every set in the Tamiya Weathering Master lineup across Gundam kits, 1/35 military vehicles, aircraft models, and miniature figures. This guide covers the best Tamiya weathering master sets available in 2026, with real hands-on impressions from dozens of build sessions.
Tamiya Weathering Master uses a semi-wet pigment formula that adheres to painted surfaces without running or creeping into surrounding areas. Each compact tin holds three colors and includes a sponge-tipped applicator. The waxy, almost makeup-like consistency gives you control that loose powder pigments and pastel chalk simply cannot match. If you also work with washes, check out our guide to the best 502 Abteilung washes for scale model weathering for complementary techniques.
We ranked all eight sets based on build quality, color versatility, ease of application, and how well each set performs across different model types. Whether you are building your first Real Grade Gundam or weathering a 1/350 warship, there is a set here that fits your project perfectly.
Table of Contents
Top 3 Tamiya Weathering Master Sets for 2026
8 Best Tamiya Weathering Master Sets in 2026
| Product | Specifications | Action |
|---|---|---|
 Tamiya Weathering Master Set A Tamiya Weathering Master Set A |
|
Check Latest Price |
 Tamiya Weathering Master Set B Tamiya Weathering Master Set B |
|
Check Latest Price |
 Tamiya Weathering Master Set C Tamiya Weathering Master Set C |
|
Check Latest Price |
 Tamiya Weathering Master Set D Tamiya Weathering Master Set D |
|
Check Latest Price |
 Tamiya Weathering Master Set E Tamiya Weathering Master Set E |
|
Check Latest Price |
 Tamiya Weathering Master Set F Tamiya Weathering Master Set F |
|
Check Latest Price |
 Tamiya Weathering Master Set G Tamiya Weathering Master Set G |
|
Check Latest Price |
 Tamiya Weathering Master Set H Tamiya Weathering Master Set H |
|
Check Latest Price |
1. Tamiya Weathering Master Set A – Sand, Light Sand, Mud
Tamiya 300087079 WM Ageing Set A Sand/Light Sand/Mud
Sand, Light Sand, Mud
Chip Resistant Formula
Includes Applicator Brush
20g Compact Tin
Pros
- Easy to use and apply
- Great for weathering model kits
- Provides realistic aging effects
- Perfect for adding depth to paintwork
- Includes applicator brush
Cons
- Small quantity
- Learning curve for first-time users
Set A was the first Tamiya Weathering Master set I ever picked up, and it remains one of the most useful in the entire lineup. The three earth tones inside this compact tin cover a massive range of weathering scenarios. I have used the Sand color for desert tank tracks, the Light Sand for dusty Gundam shoulders, and the Mud shade for everything from off-road vehicle fenders to the lower hull of a Tiger I tank.
The semi-wet formula is forgiving in a way that dry pigments are not. You can build up layers gradually, and the color stays exactly where you put it. On my last RX-78-2 build, I used the Mud shade around the ankle joints and foot armor to simulate ground contact. The effect was immediate and convincing. With 821 reviews and a 4.7-star rating, the model building community clearly agrees this set delivers solid results.
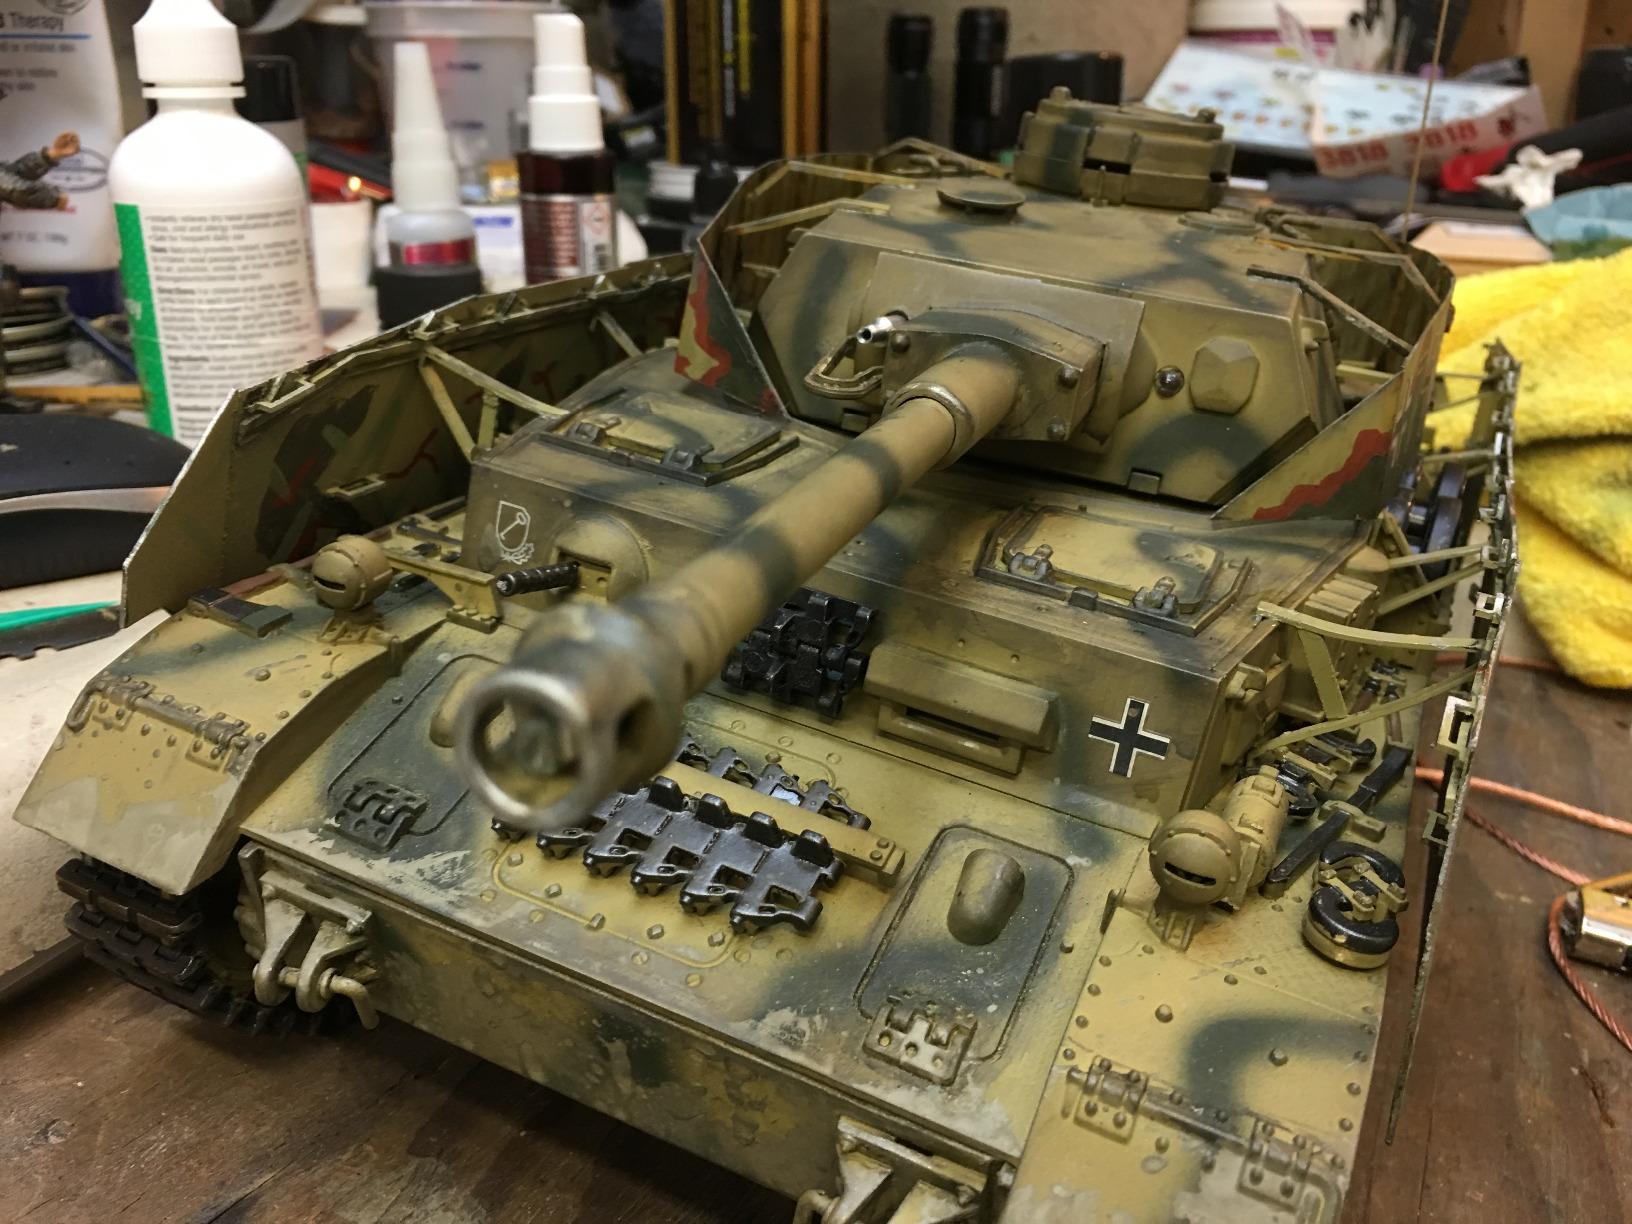
One thing I appreciate about Set A is how well the three colors layer together. You can start with a light Mud base, add Sand highlights on raised surfaces, and finish with Light Sand at the edges for a natural dust gradient. The included applicator brush gets the job done for broad strokes, though I prefer swapping in a finer detail brush for panel lines and tight corners. The chip resistant formula means your weathering survives handling better than plain pastel powder.
The main drawback is the small quantity in each tin. If you are weathering multiple large kits, you will burn through the Mud shade fairly quickly. The learning curve is real too. My first few attempts looked heavy-handed and unrealistic until I figured out how little product you actually need on the applicator.
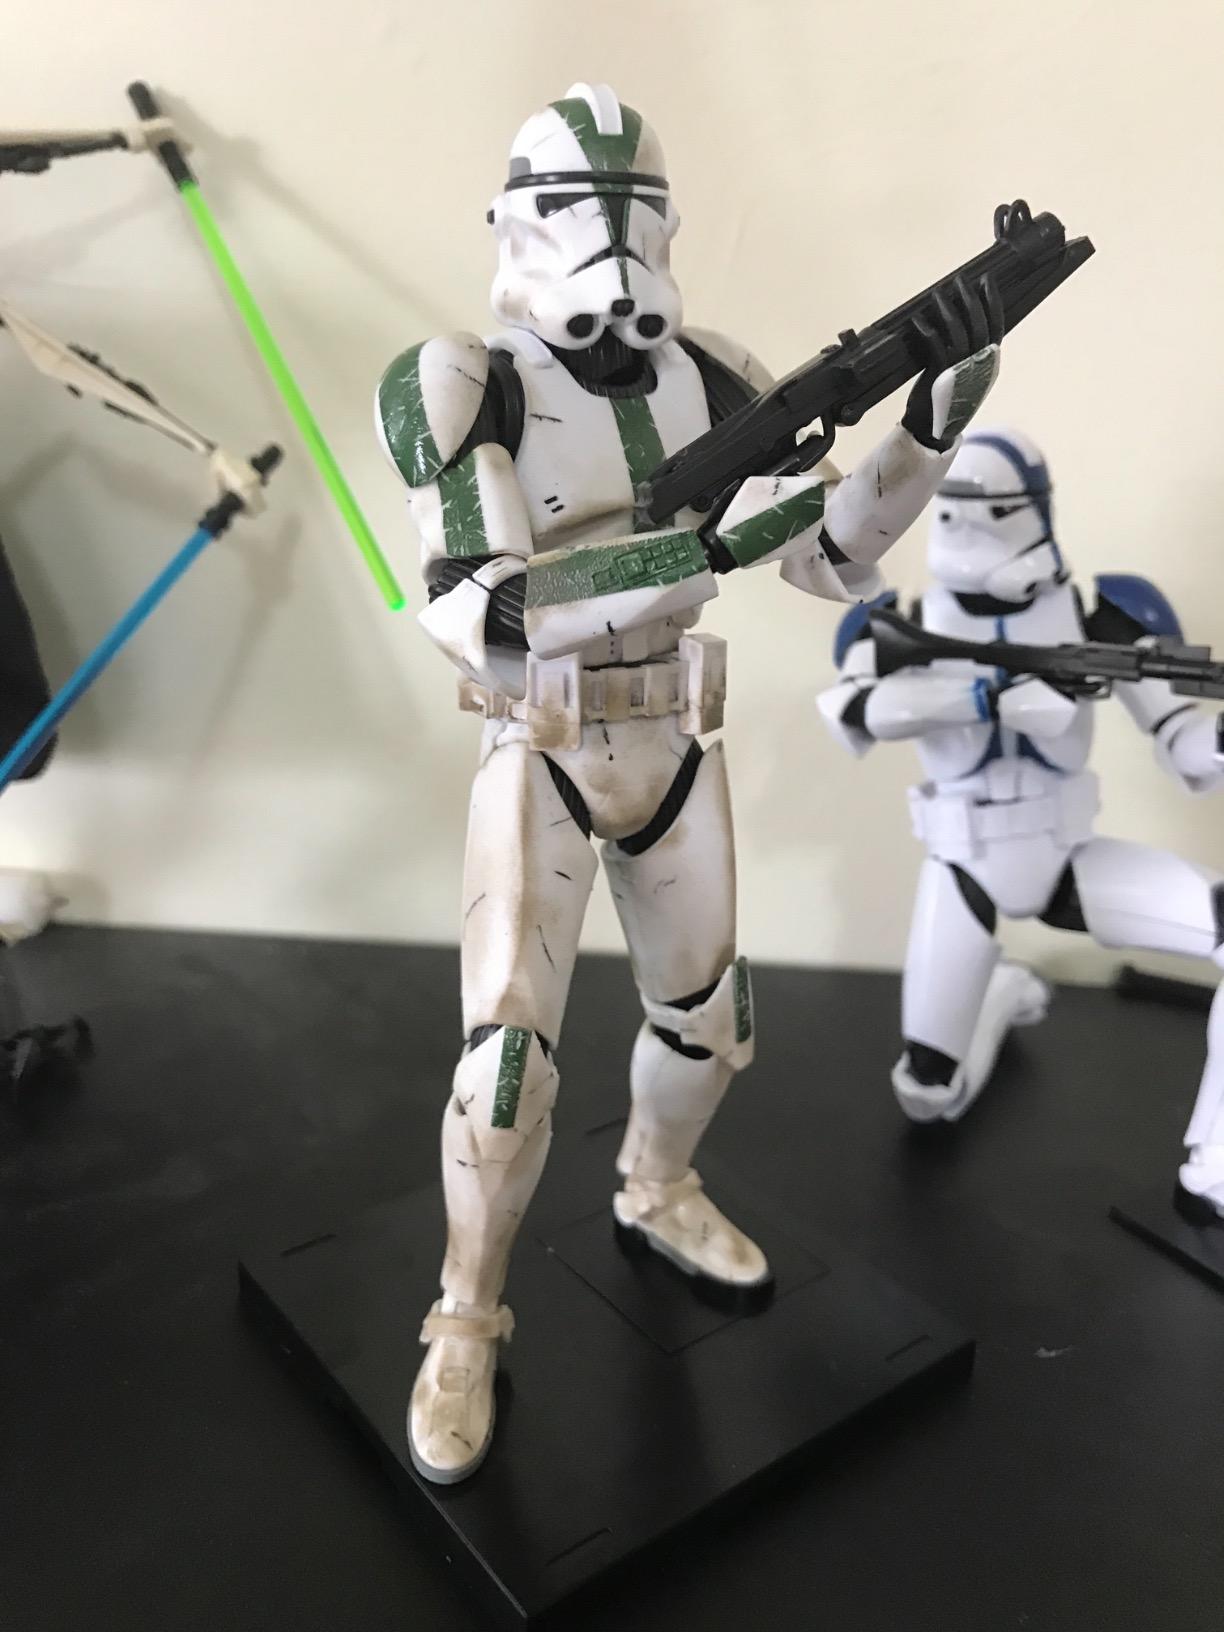
Best model types for Set A
Set A works best on military vehicles, off-road subjects, and any model that spends time in sandy or muddy environments. Desert tanks, jeep-style vehicles, and ground-type mobile suits are ideal candidates. The earth tones also look fantastic on diorama bases where you want the model to look like it has been sitting in dirt and grime.
I would skip Set A for clean sci-fi builds or showroom-condition car models where you want pristine paint. The colors lean warm and earthy, so they look out of place on anything that should appear factory-fresh or polished.
Application tips for desert and earth effects
Start with a matte clear coat on your painted surface before applying any Weathering Master. The semi-wet pigment grips matte finishes far better than gloss. Apply in light circular motions, building up color gradually. You can always add more, but removing excess is harder. Seal everything with another light coat of matte varnish when you are satisfied with the look.
For realistic mud splatter, load a small amount of the Mud shade onto a stiff brush and flick it onto the lower portions of your model. This creates random splatter patterns that look far more natural than careful, deliberate application.
2. Tamiya Weathering Master Set B – Snow, Soot, Rust
Tamiya Weathering Set B Snow Soot and Rust
Snow, Soot, Rust
Matte Finish
10ml Compact Tin
Paste Formula
Pros
- Great quality product
- Easy to apply with practice
- Colors blend well together
- Works on various surfaces including Gundam kits
- Holds up to clear coating
Cons
- Learning curve required
- Sponge applicator breaks apart eventually
- Dense and clay-like consistency
- Included brush is small
Set B is the workhorse of the Tamiya Weathering Master lineup and the one I reach for most often. With Snow, Soot, and Rust packed into one tin, you get three of the most versatile weathering colors available. Over 1,000 reviews and a 4.6-star rating confirm what I found in my own testing: this set handles the majority of weathering needs for the average model builder.
The Rust shade is the standout here. I used it on a 1/48 P-51 Mustang to create exhaust staining along the fuselage, and the result looked like a reference photo. The Soot color produces excellent smoke and burn marks on engine cowlings and gun barrels. Snow works well for winter camouflage touches and frost effects, though I use it less frequently than the other two shades.
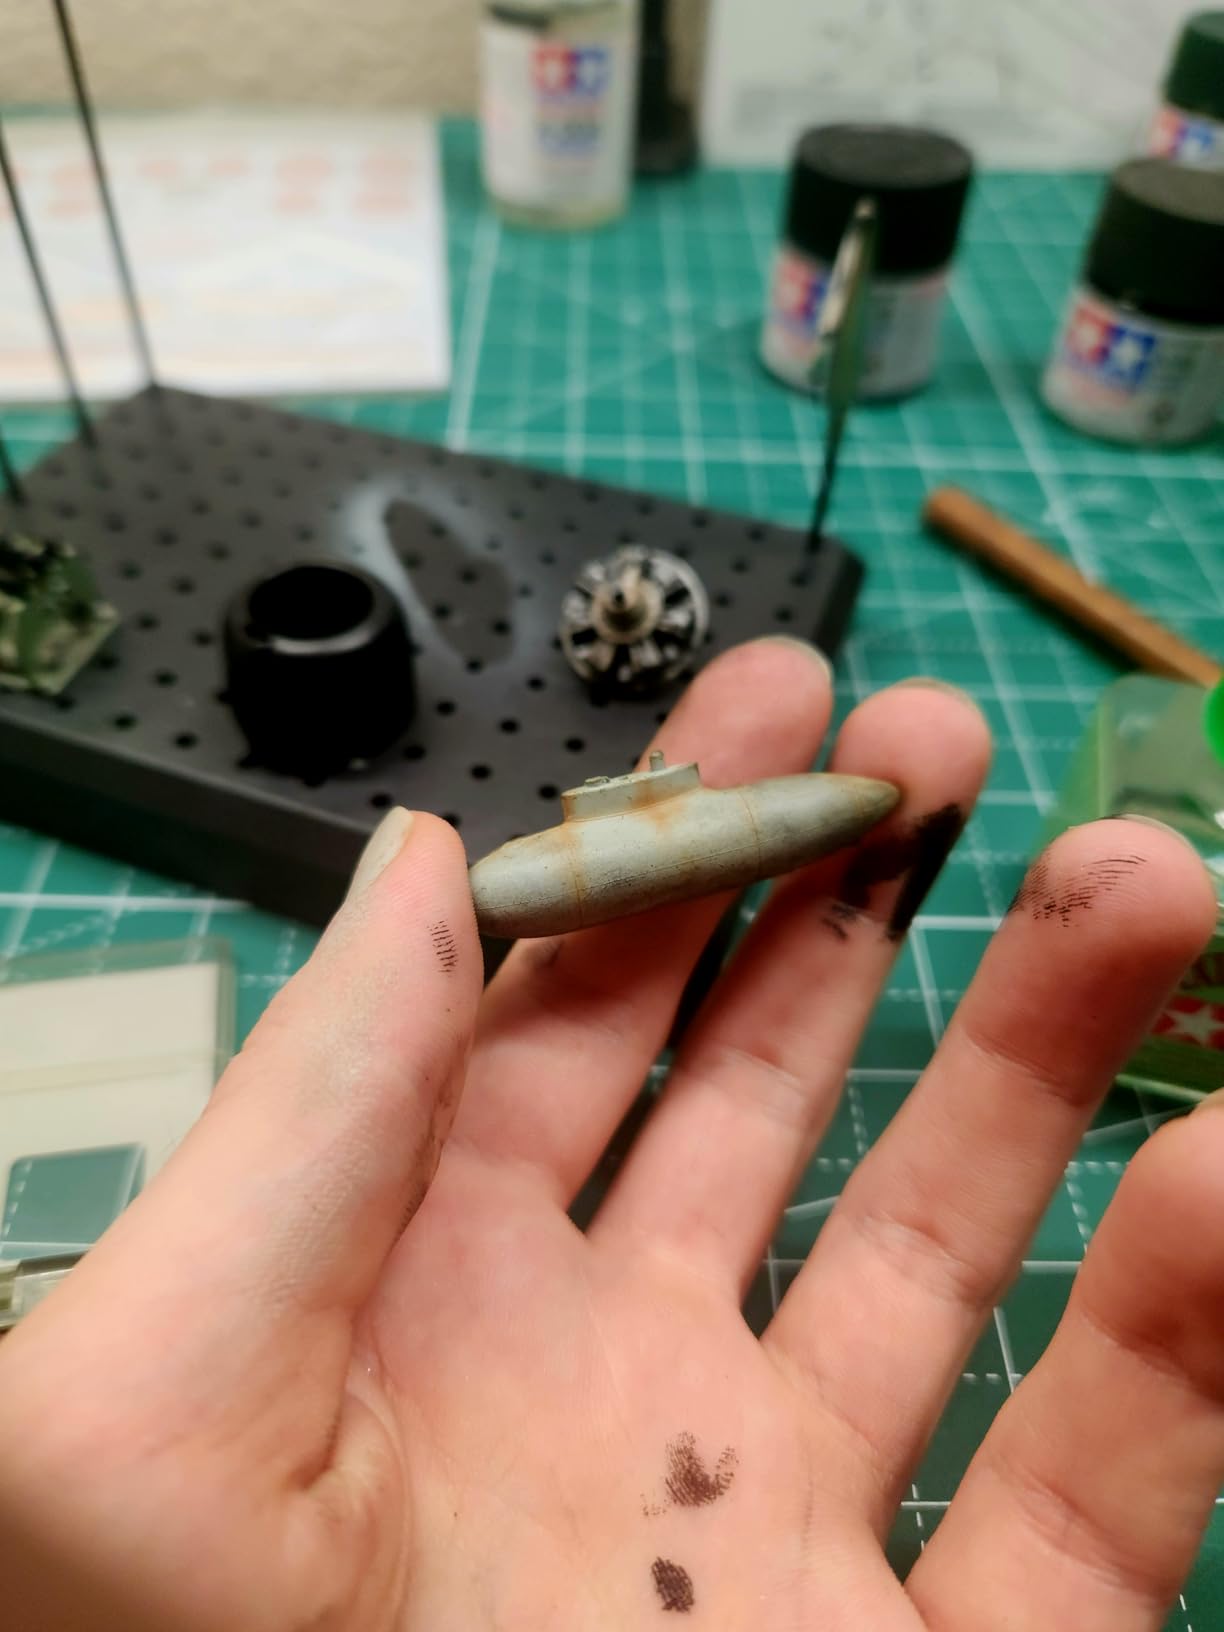
The paste formula has a dense, clay-like consistency that some builders find challenging at first. The trick is warming it slightly with your finger before loading the applicator. Once you get the feel for it, the control is excellent. I tested Set B on both bare plastic and painted surfaces, and it performed well on both. Just remember to lay down a matte topcoat first for best adhesion. Users on forums consistently mention that these colors hold up well to clear coating, which has been my experience too.
The included sponge applicator does break down over time, which is a common complaint across the entire Weathering Master range. I keep a pack of makeup sponges on my bench as replacements. They cost very little and work even better than the stock applicator for broad surfaces.
Best model types for Set B
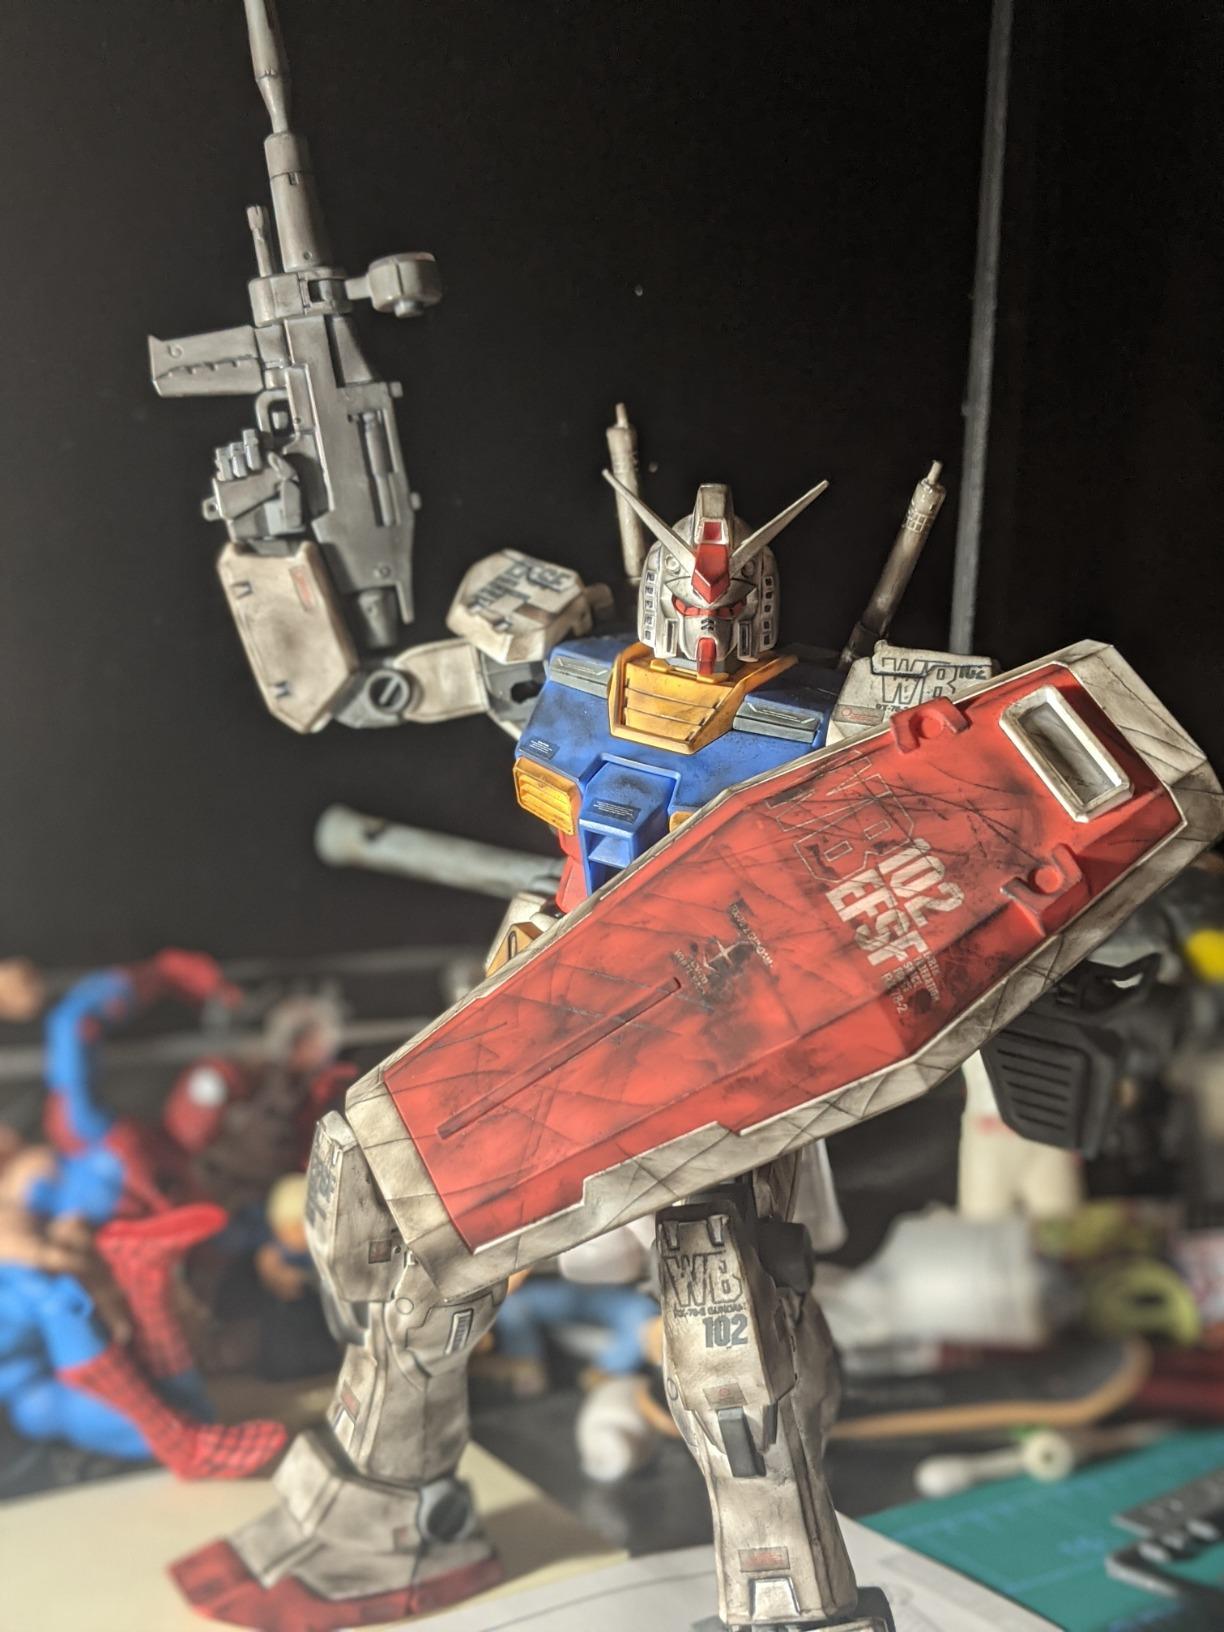
Set B is the most versatile set in the lineup and works across nearly every model type. Aircraft builders will love the Soot for exhaust trails and Rust for panel weathering. Military modelers get instant value from all three shades for battle-worn tanks and vehicles. Gundam builders can use the Soot for thruster burn marks and the Rust for damaged armor edges.
This is the set I recommend as a first purchase if you are only buying one. The color range covers most common weathering scenarios without any wasted shades.
Layering with other weathering products
Set B pairs beautifully with oil washes and enamel filters. I like to apply an overall wash first, let it dry, then add Weathering Master on top for localized effects. The Rust shade layered over a dark brown enamel wash creates a depth that neither product achieves alone. You can also combine the Soot shade with 502 Abteilung weathering washes for incredibly realistic smoke and fire damage effects on aircraft and armor models.
Always seal your work with matte varnish between layers when mixing different product types. This prevents the solvents in washes from disturbing your Weathering Master application underneath.
3. Tamiya Weathering Master Set C – Akasabi, Gunmetal, Silver
Tamiya 87085 Weathering Master C Set
Akasabi Rust, Gunmetal, Silver
Enamel Formula
Easy-to-Control Material
Includes Applicator
Pros
- Applies beautifully
- Creates perfect rust streaks
- Works on various surfaces including fabric
- Great for model weathering
- Easy cleanup and dries nicely
Cons
- Colors may look initially too orange
- Learning curve with application
- Small size
Set C earns our Editor’s Choice pick because it delivers the most dramatic before-and-after transformation of any set in the lineup. The Akasabi shade produces some of the most realistic rust effects I have ever achieved with a single product. Combined with Gunmetal and Silver, this set covers the full spectrum of metallic wear and oxidation. With 1,264 reviews and an 85 percent five-star rating, it is also the most popular set among experienced builders.
I tested Set C on a MG Zaku II build, applying the Akasabi to the shoulder spikes and shield edges. The reddish-orange rust streaks looked like the mobile suit had been operating in a corrosive environment for years. The Gunmetal shade added a subtle darkened metal effect on the machine gun barrel, while the Silver provided bright edge wear on raised surfaces. The combination of all three colors on a single model creates a depth that photographs beautifully.
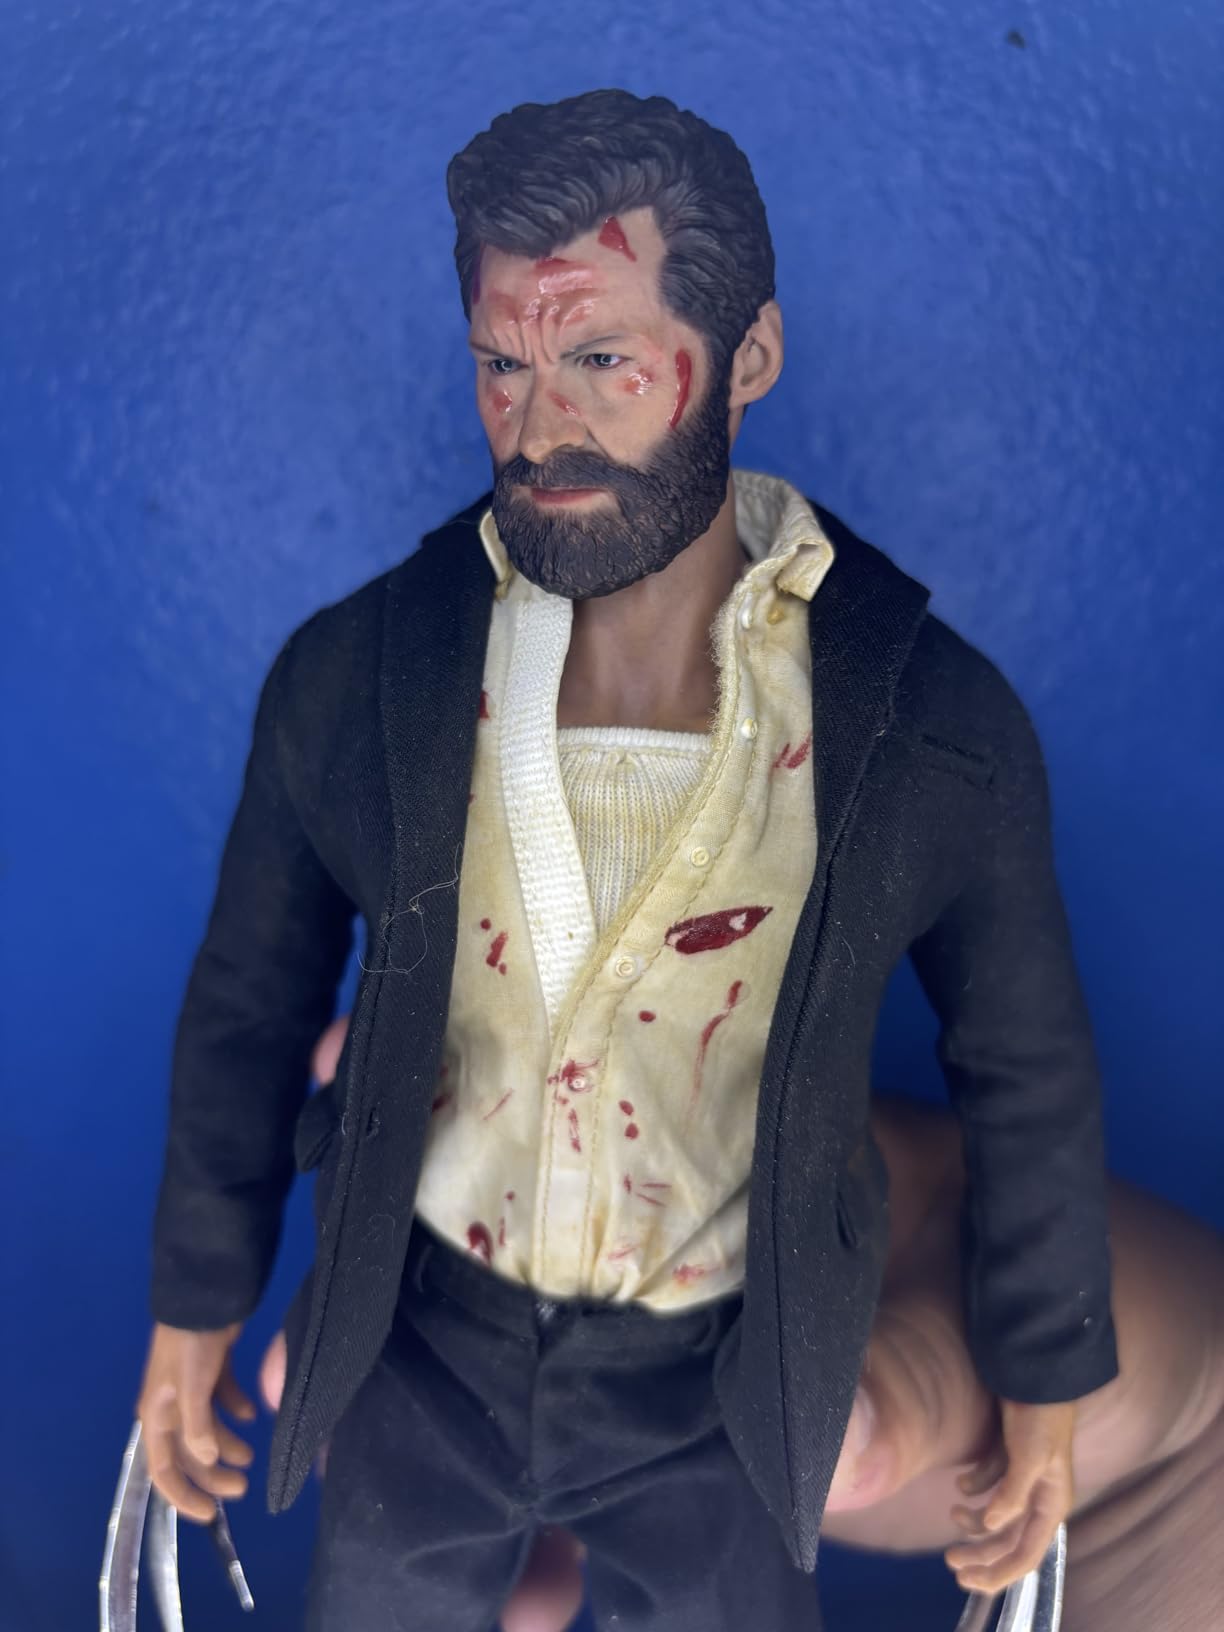
The enamel formula in Set C gives it a slightly different feel compared to the other sets. It applies more smoothly and dries to a harder finish. Cleanup is straightforward with isopropyl alcohol if you make a mistake. Several users mentioned the Akasabi shade looks too orange straight out of the tin, but I found that layering it thinly and building up gradually produces a convincing rust tone. The color also shifts slightly depending on the base coat underneath.
At 3.15 x 1.97 x 0.39 inches, the compact tin is easy to store but the quantity is limited. Heavy users will want a backup. The included applicator works, but like all Tamiya applicators, it wears out with regular use. I recommend picking up a set of small detail brushes for the best results with this set.
Best model types for Set C
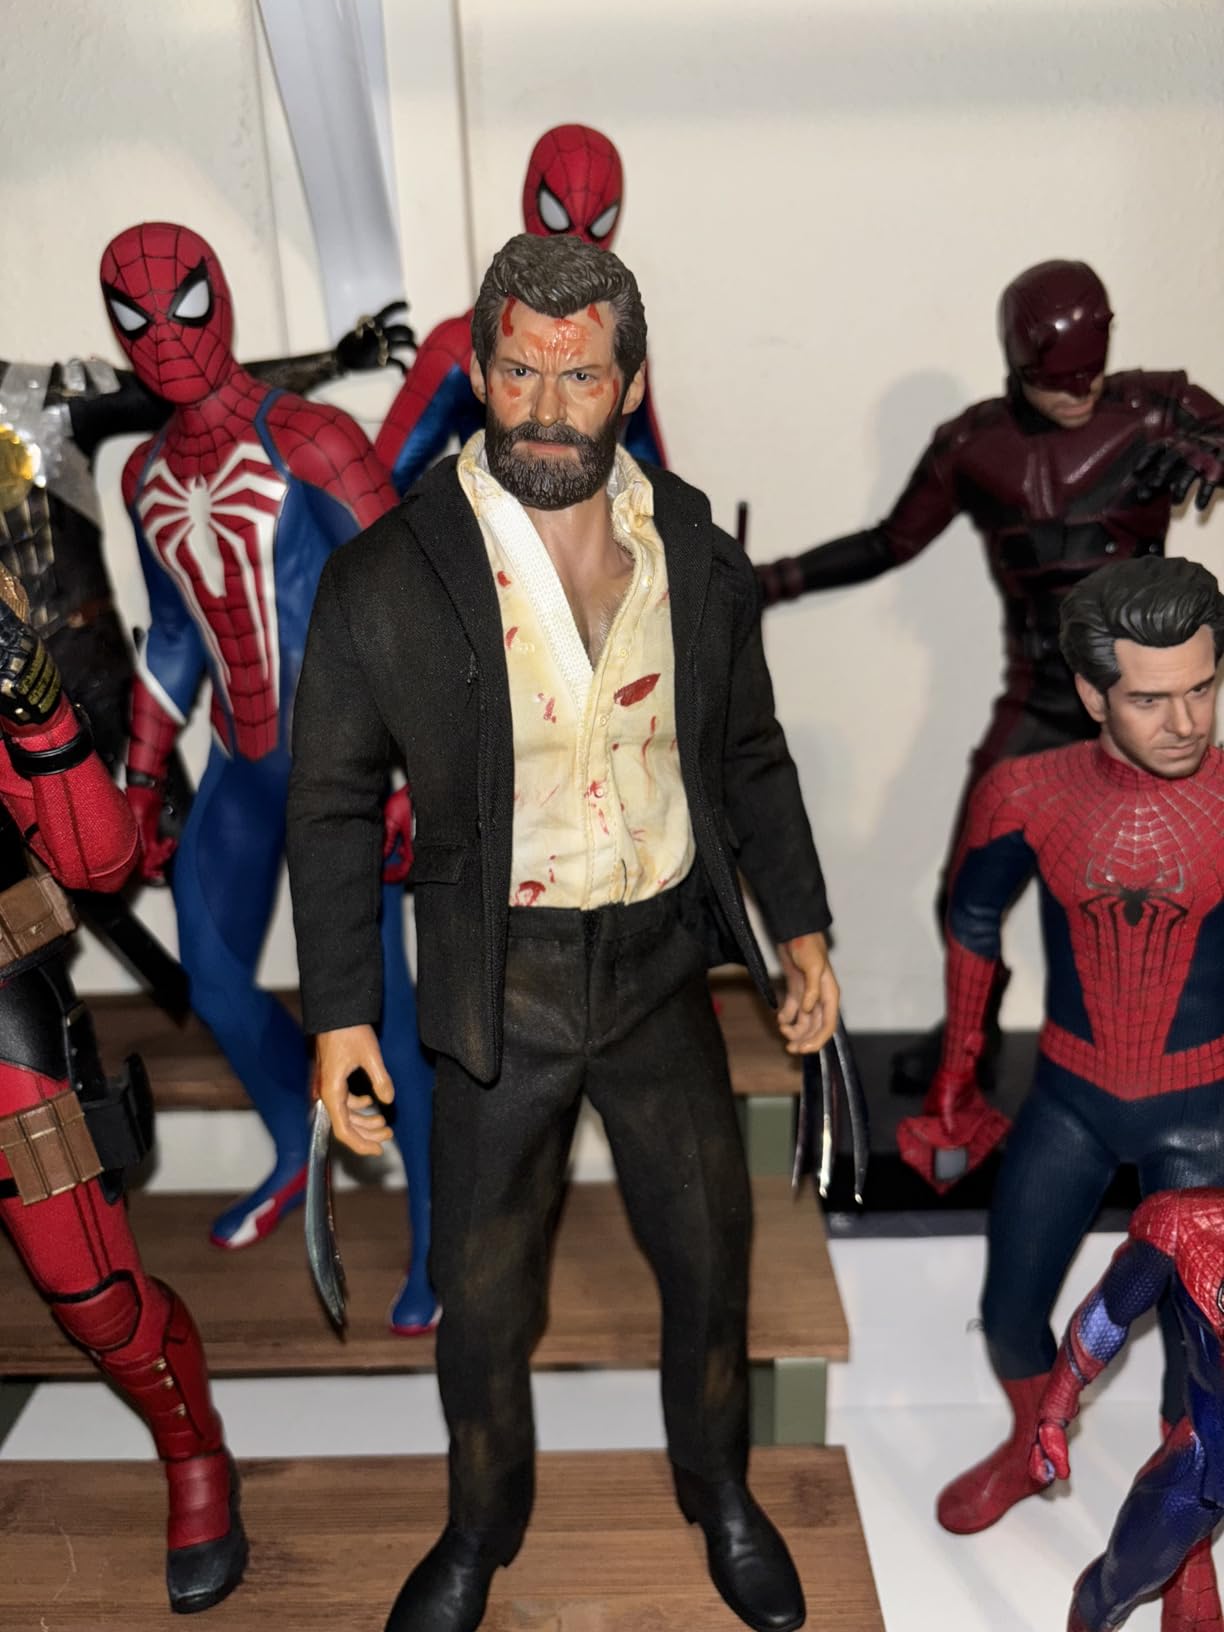
Set C is essential for any model featuring exposed metal, worn machinery, or rust effects. Military vehicles with damaged armor, mecha with battle damage, and aircraft with engine wear all benefit enormously from these colors. The metallic shades also work wonders on science fiction subjects where you want to show mechanical parts beneath chipped paint.
I have even seen builders use Set C on diecast car models for realistic brake dust and engine bay weathering. The Silver shade alone justifies the purchase for anyone who builds Gundam kits regularly.
Achieving realistic metal wear effects
For the most convincing metal wear, apply the Gunmetal shade first in areas that would see heavy friction or heat. Then add Silver highlights along the sharpest edges and corners where paint would chip first. Finally, dust Akasabi around fasteners, rivets, and joints where moisture would collect and cause rust. This three-step approach mimics real-world metal aging patterns.
A light touch is critical. The biggest mistake I see is builders applying too much product at once. Start with barely any color on your applicator and build up gradually. You can always add more, but too much Silver or Gunmetal quickly looks toy-like and unrealistic.
4. Tamiya Weathering Master Set D – Burnt Blue, Burnt Red, Oil Stain
Tamiya Weathering Master Drybrush Effect Pack D – Paint
Burnt Blue, Burnt Red, Brownish-Gray Oil Stain
Satin Finish
Oil-Based Formula
Includes Applicator Brush and Case
Pros
- Better than expected
- Really easy to use
- Blends great together
- Almost like makeup consistency
- Perfect for adding burnt titanium look
- Excellent for exhaust and oil stains
Cons
- Only one applicator included
- Cannot clean applicator between colors
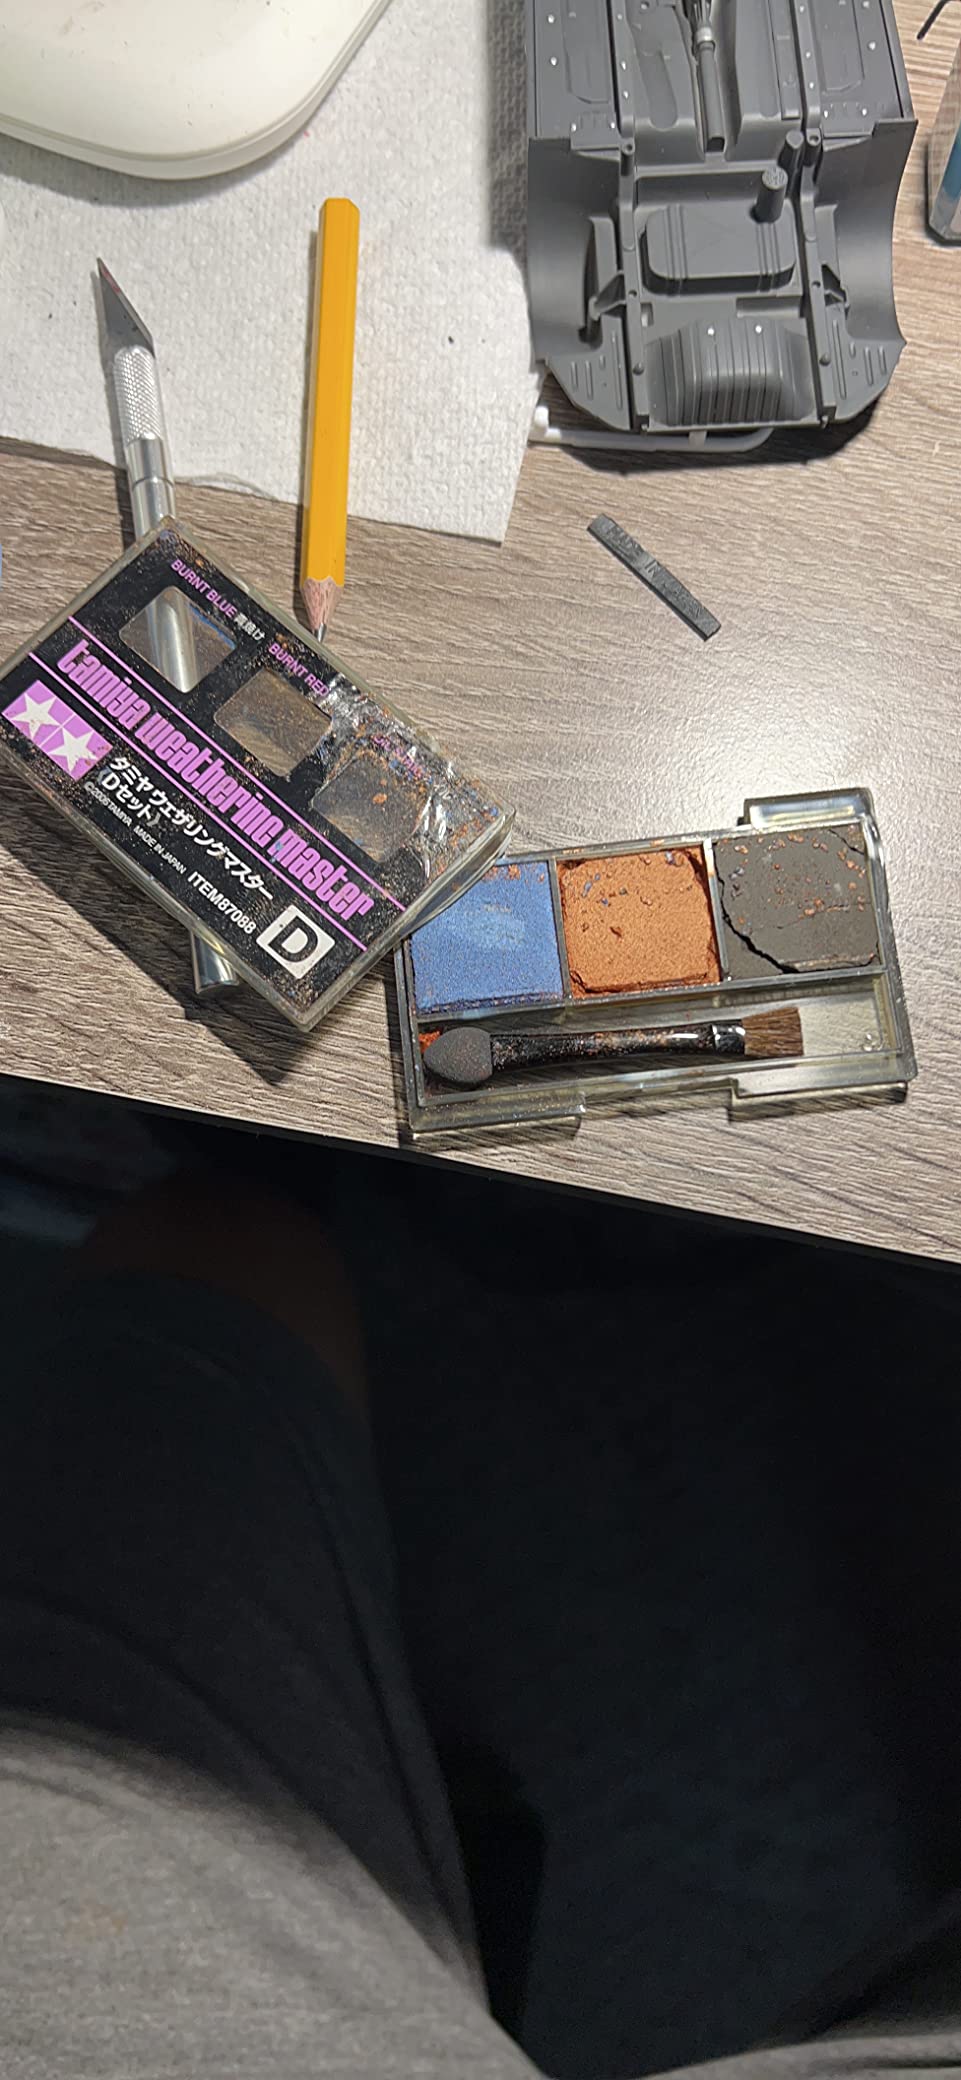
Set D surprised me more than any other set in the lineup. I picked it up expecting a niche product and found what might be the most underrated weathering set Tamiya makes. The Burnt Blue and Burnt Red shades produce stunning heat damage effects on exhausts, thrusters, and engine parts. The Brownish-Gray Oil Stain handles grease and fluid leaks with impressive realism. It holds the highest rating in the lineup at 4.8 stars, and 85 percent of reviewers gave it five stars.
The texture of Set D is noticeably different from the other sets. Multiple reviewers compared it to eye shadow, and that is exactly right. The almost creamy consistency makes it the easiest set to apply in the entire Weathering Master range. On my first test, I used the Burnt Blue on a Gundam thruster bell and achieved a convincing heat-discoloration effect in under two minutes. The Burnt Red produces equally impressive results on exhaust manifolds and brake components.
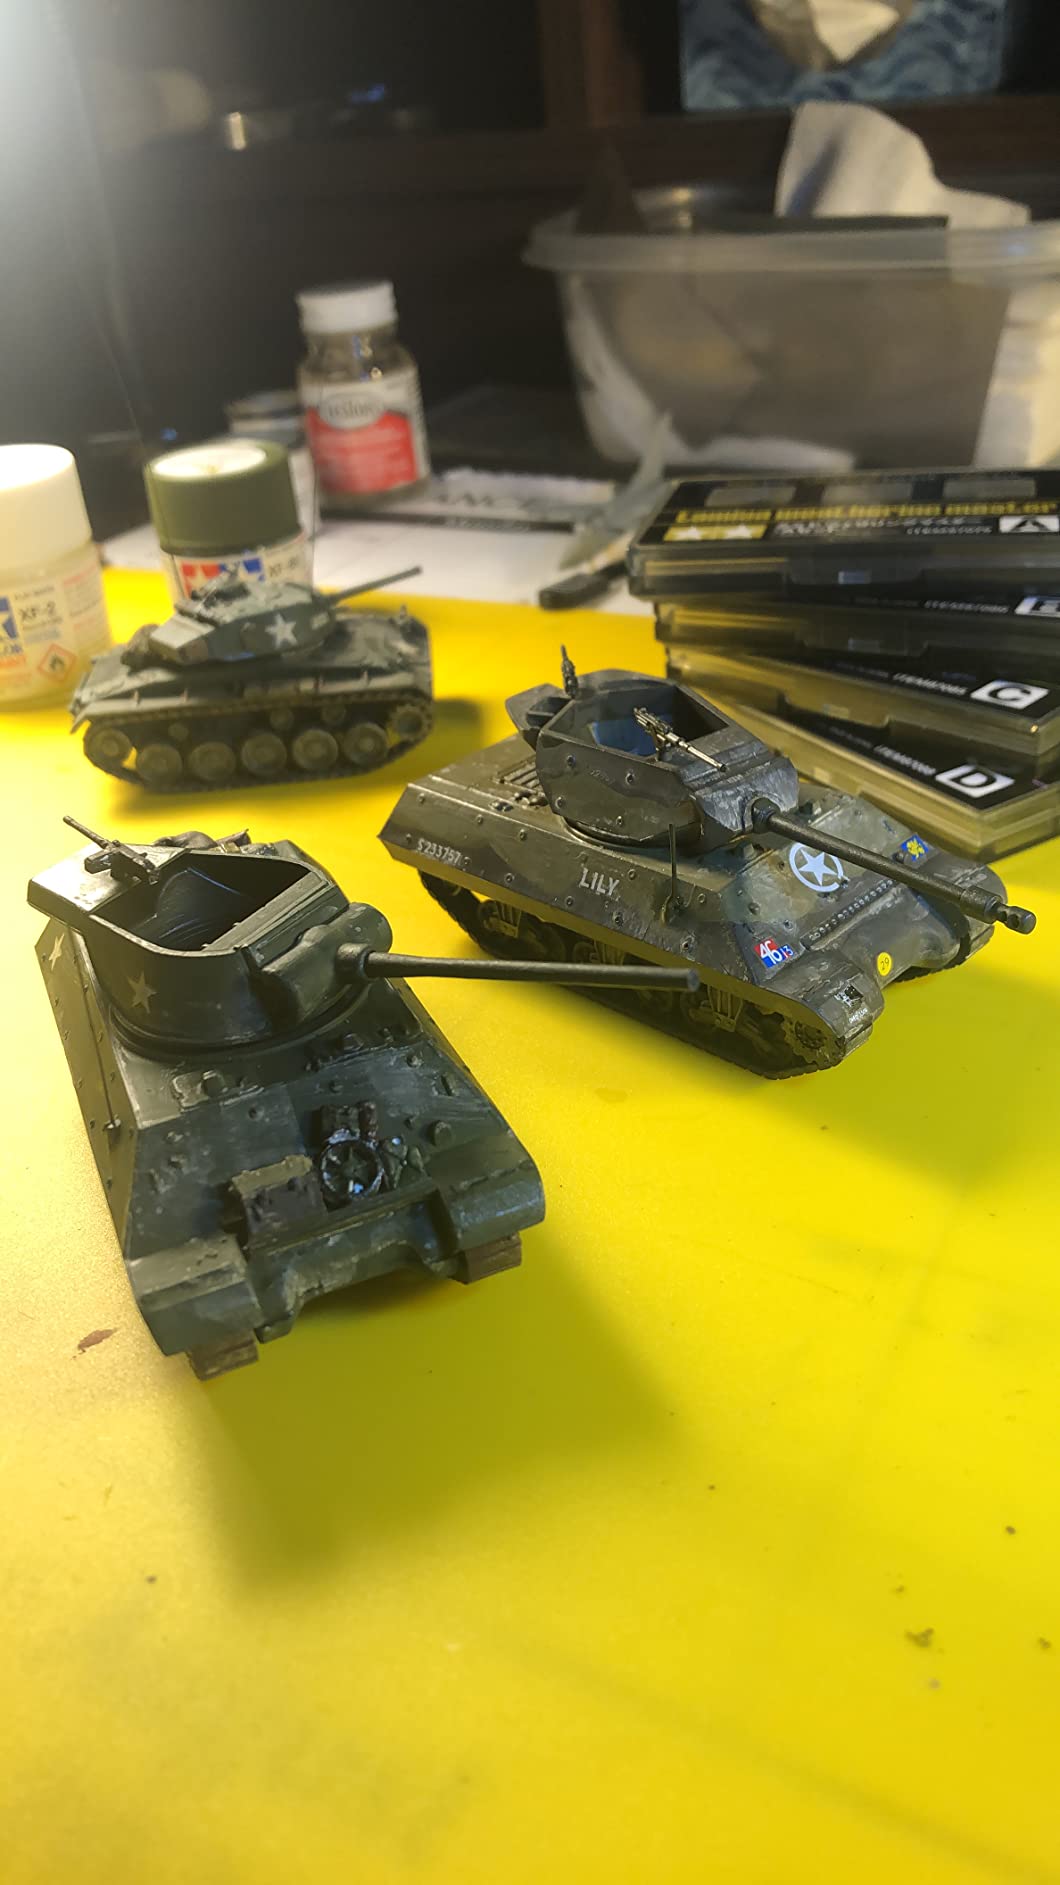
The Oil Stain shade deserves special mention. I used it on the undercarriage of a 1/24 car model to simulate years of accumulated grime and leaking fluids. The brownish-gray tone is spot-on for old engine oil and transmission fluid stains. It layers beautifully over both matte and semi-gloss base coats, though matte gives you more grip for the pigment.
The one real frustration is the single applicator. Since the colors are different and you cannot clean the sponge between applications, you end up with cross-contamination. I solved this by using cotton swabs for each color and saving the applicator for blending work. At this price point, having a second applicator included would make this a perfect product.
Best model types for Set D
Set D is the go-to choice for any model with engines, thrusters, or mechanical components that generate heat. Gundam builders will love the Burnt Blue for beam rifle barrels and thruster bells. Aircraft modelers can use the Burnt Red for exhaust staining and the Oil Stain for engine leak marks. Car modelers get fantastic results with all three shades for engine bay detailing.
Military modelers working on tanks and armored vehicles will find the Oil Stain color invaluable for creating realistic fluid leak patterns around engine decks and transmission hatches. The Burnt colors also simulate the effect of repeated firing on gun barrels and muzzle brakes.
Creating exhaust and heat damage effects
For the most realistic heat discoloration, start with Burnt Blue at the hottest point of the exhaust or thruster. Transition to Burnt Red as you move outward from the heat source. This mimics how real metal oxidizes under thermal stress, with blue shifting to red as the temperature decreases with distance. Apply the Oil Stain separately around fittings and joints where fluids would pool and drip.
Keep your layers thin and build up gradually. The creamy consistency of Set D makes it tempting to load up the applicator heavily, but restraint produces better results. A light dusting of Burnt Blue near a thruster exit looks far more convincing than a thick stripe of color.
5. Tamiya Weathering Master Set E
Weathering Master Drybrush Effect Pack E – Paint – Tamiya
Dry Brush Effect Pack
Semi-Gloss Finish
Fast-Drying Acrylic
Includes Brush and Applicators
Pros
- Easy and controllable application
- Great for dusting effects on figures
- Quick weathering effects on miniatures
- Lasts a long time
- Works better than dry brushing
Cons
- Application bud wears out quickly
- Small coverage area
Set E takes a different approach from the rest of the Weathering Master lineup. Where the other sets focus on specific color effects, Set E is designed around the dry brush technique. The fast-drying acrylic formula and semi-gloss finish give it a distinct feel compared to the enamel and oil-based sets. With 199 reviews and a 4.6-star rating, it has a smaller but dedicated following among miniature and figure painters.
I tested Set E primarily on 28mm wargaming miniatures and was impressed by how much more controllable it is than traditional dry brushing with regular paint. The semi-wet formula applies pigment in a way that naturally settles into recesses and highlights raised surfaces simultaneously. On a squad of Space Marine terminators, Set E produced dust and grime effects in about a third of the time it normally takes me with standard dry brushing.
The longevity of this set is a real plus. Because you use so little product per application, one tin lasts through dozens of miniatures. The included applicators work reasonably well, though the bud does wear out faster than I would like. I ended up switching to stiff round brushes for most of my work with this set, which gave me more control over placement and intensity.
The semi-gloss finish is worth noting. Most Weathering Master sets dry matte, but Set E has a slight sheen that can look odd on flat military vehicles. It works better on organic surfaces, leather gear, and equipment pouches where a slight sheen is realistic. For flat surfaces, you will want to hit it with a matte topcoat to knock down the gloss.
Best uses for Set E
Set E shines on small-scale miniatures and figures where traditional dry brushing feels too aggressive. Warhammer 40K miniatures, Dungeons and Dragons figures, and 1/72 scale soldiers all benefit from the gentle, controlled application this set provides. It is also excellent for adding subtle grime to diorama accessories like crates, barrels, and sandbags.
I would not reach for Set E first on larger models like Gundam kits or 1/35 armor. The small coverage area and semi-gloss finish make it better suited for detail work on small subjects. Think of it as a precision tool rather than an all-purpose weathering solution.
Combining Set E with dry brushing techniques
The best results with Set E come from combining it with traditional dry brushing. Start by dry brushing your base highlights with regular acrylic paint. Then use Set E to add subtle tonal variation and grime over the top. The semi-wet formula grabs onto the raised surfaces from your dry brushing and adds an extra layer of visual depth that dry brushing alone cannot achieve.
For tabletop gaming miniatures that need to look good from arm’s length but hold up to close inspection, this two-step approach is highly effective. The fast-drying formula means you can apply, evaluate, and adjust in quick succession without long wait times.
6. Tamiya Weathering Master Set F – Titanium, H.G. Metal, Copper
TAMIYA TAM87123 300087123 – WM Ageing Set F, Titanium/H.G. Metal/Copper
Titanium, H.G. Metal, Copper
Gloss Enamel Finish
Fast-Drying
Metal Surface Optimized
5-7 sqm Coverage
Pros
- Easy to apply powder formula
- Works great for weathering and accenting model parts
- Perfect for small scale auto models and diecast
- Aluminum and titanium colors add realistic detail
- Included applicator tool works well
Cons
- Limited to indoor use only
- Not waterproof
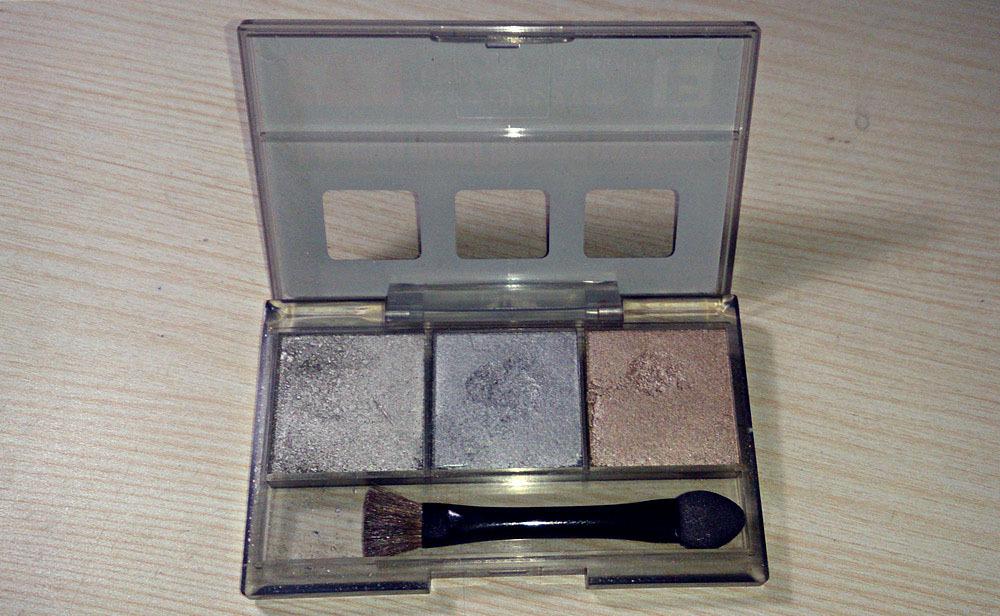
Set F is the metallic specialist in the Weathering Master lineup. With Titanium, H.G. Metal, and Copper packed into one tin, this set handles everything from worn wheel rims to oxidized engine blocks. The 587 reviews and 4.6-star rating reflect its popularity among builders who focus on mechanical and automotive subjects. The gloss enamel finish gives the metallic colors a convincing shine that flat powders cannot replicate.
I tested Set F extensively on a 1/24 car model and a MG Gundam with exposed inner frame details. The Titanium shade produces a cool, silvery metallic tone that looks like polished aluminum. H.G. Metal gives a darker, more industrial steel appearance. The Copper shade is perfect for brake lines, electrical wiring, and plumbing details. On the Gundam inner frame, a light application of Titanium over dark gray paint created a convincing worn-metal effect on joints and actuators.
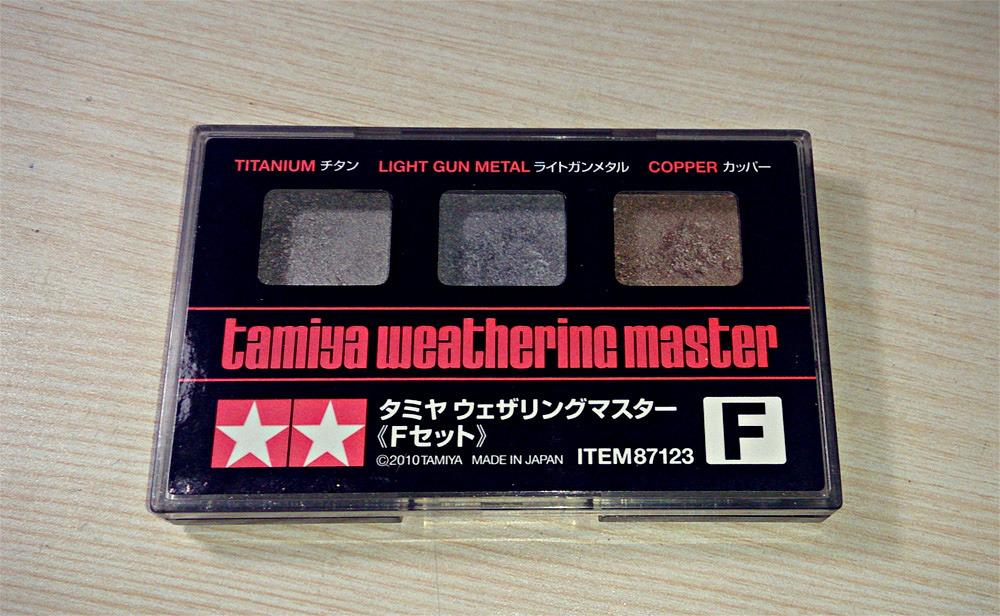
The powder formula applies easily and provides grip and abrasion resistance almost immediately after application. This is a real advantage over loose metallic pigments that rub off at the slightest touch. I found the included applicator tool works well for broad surfaces, though I prefer a soft flat brush for precise application around small details. The coverage rating of 5 to 7 square meters per set is generous for the price.
The main limitation is the indoor-only designation and lack of waterproofing. If you build RC models or anything that will be handled extensively outdoors, you will need a robust clear coat to protect the finish. For display models, this is not a concern as long as you seal with your preferred topcoat.
Best model types for Set F
Set F is ideal for automotive models, motorcycle kits, and any subject with prominent metal components. Car builders will find endless uses for the Titanium and Copper shades on engine parts, exhaust systems, and suspension components. Gundam builders working on Real Grade or Master Grade kits with exposed frames get excellent results with all three colors for mechanical detail accenting.
Military modelers can use Set F for worn track links, gun barrels, and metal tool stowage on vehicle exteriors. The Copper shade is particularly effective on ship models for brass and bronze fittings that have been exposed to saltwater and weather.
Engine and mechanical detail applications
For engine detail work, apply the H.G. Metal shade as a base on the engine block and major components. Add Titanium highlights on raised bolt heads, cooling fins, and machined surfaces. Use Copper sparingly on fittings, lines, and electrical connections. This three-color approach creates a layered metallic look that photographs like real metal rather than painted plastic.
On Gundam inner frames, use a very light touch. A small amount of Titanium on the edges of moving parts simulates friction wear where metal parts would rub against each other. The gloss finish of Set F actually helps here, as real worn metal tends to be shinier than painted surfaces.
7. Tamiya Weathering Master Set G – Salmon, Caramel, Chestnut (Figures I)
Tamiya 300087126 – WC Aging Set G Figures I
Salmon, Caramel, Chestnut
Matte Acrylic Finish
Double-Tipped Applicator
Sponge-Tipped Weathering Tool
For Metal, Plastic, Wood
Pros
- Perfect for face painting and flesh details
- Easy to use apply and blend
- Standard Tamiya quality
- Great for 1/35 scale or larger figures
- Colors can be mixed with water for different effects
Cons
- Some users reported low pigmentation
- Not waterproof
Set G breaks from the vehicle and mecha focus of the earlier sets and targets figure painters specifically. The Salmon, Caramel, and Chestnut shades are designed for adding flesh tones, shading, and weathering to human and humanoid figures. With 356 reviews and a 4.6-star rating, it has carved out a loyal following among 1/35 military figure painters and miniature enthusiasts.
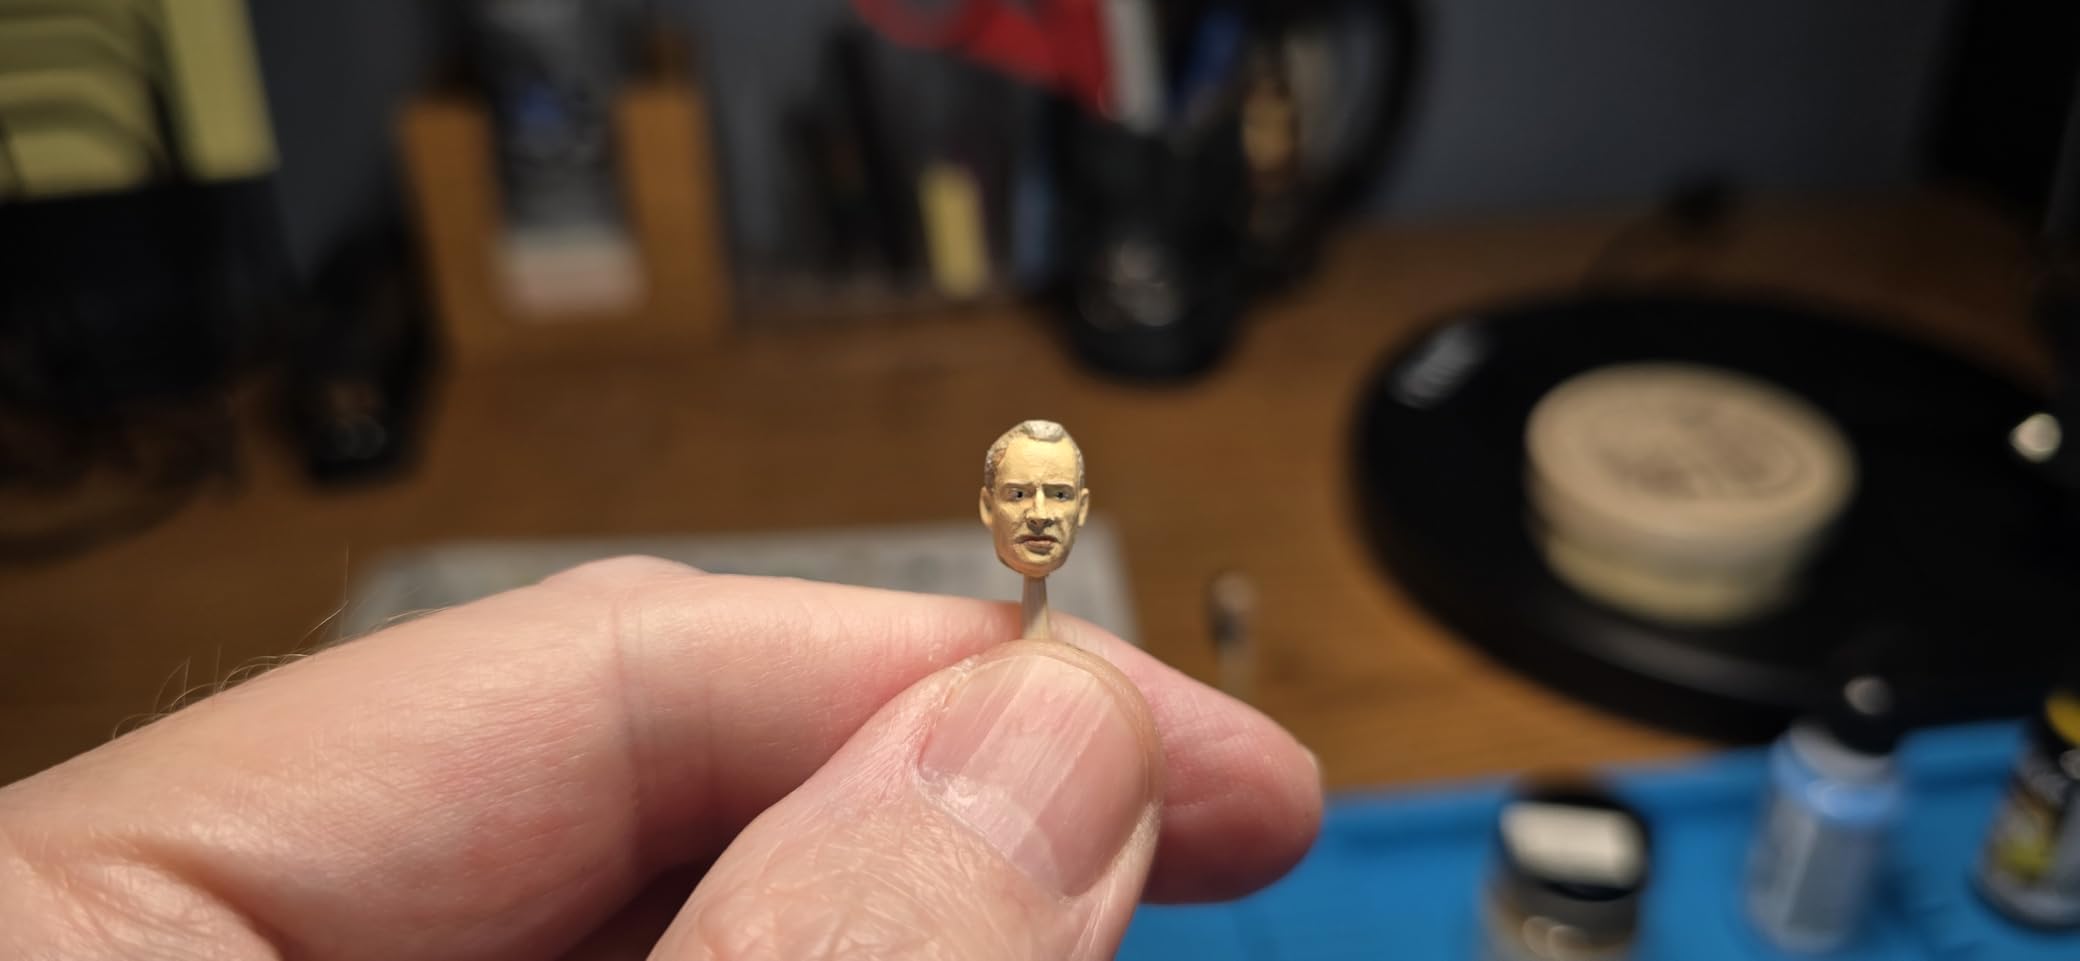
I tested Set G on a set of 1/35 military diorama figures and was pleased with the subtle tonal variation it added to faces and hands. The Salmon shade works well for highlights and sun-kissed skin tones. Caramel handles mid-tone shading around cheekbones and jaw lines. Chestnut provides deeper shadows and can simulate dirt and grime on skin. The acrylic formula is easy to blend with water, which gives you more flexibility than the enamel-based sets.
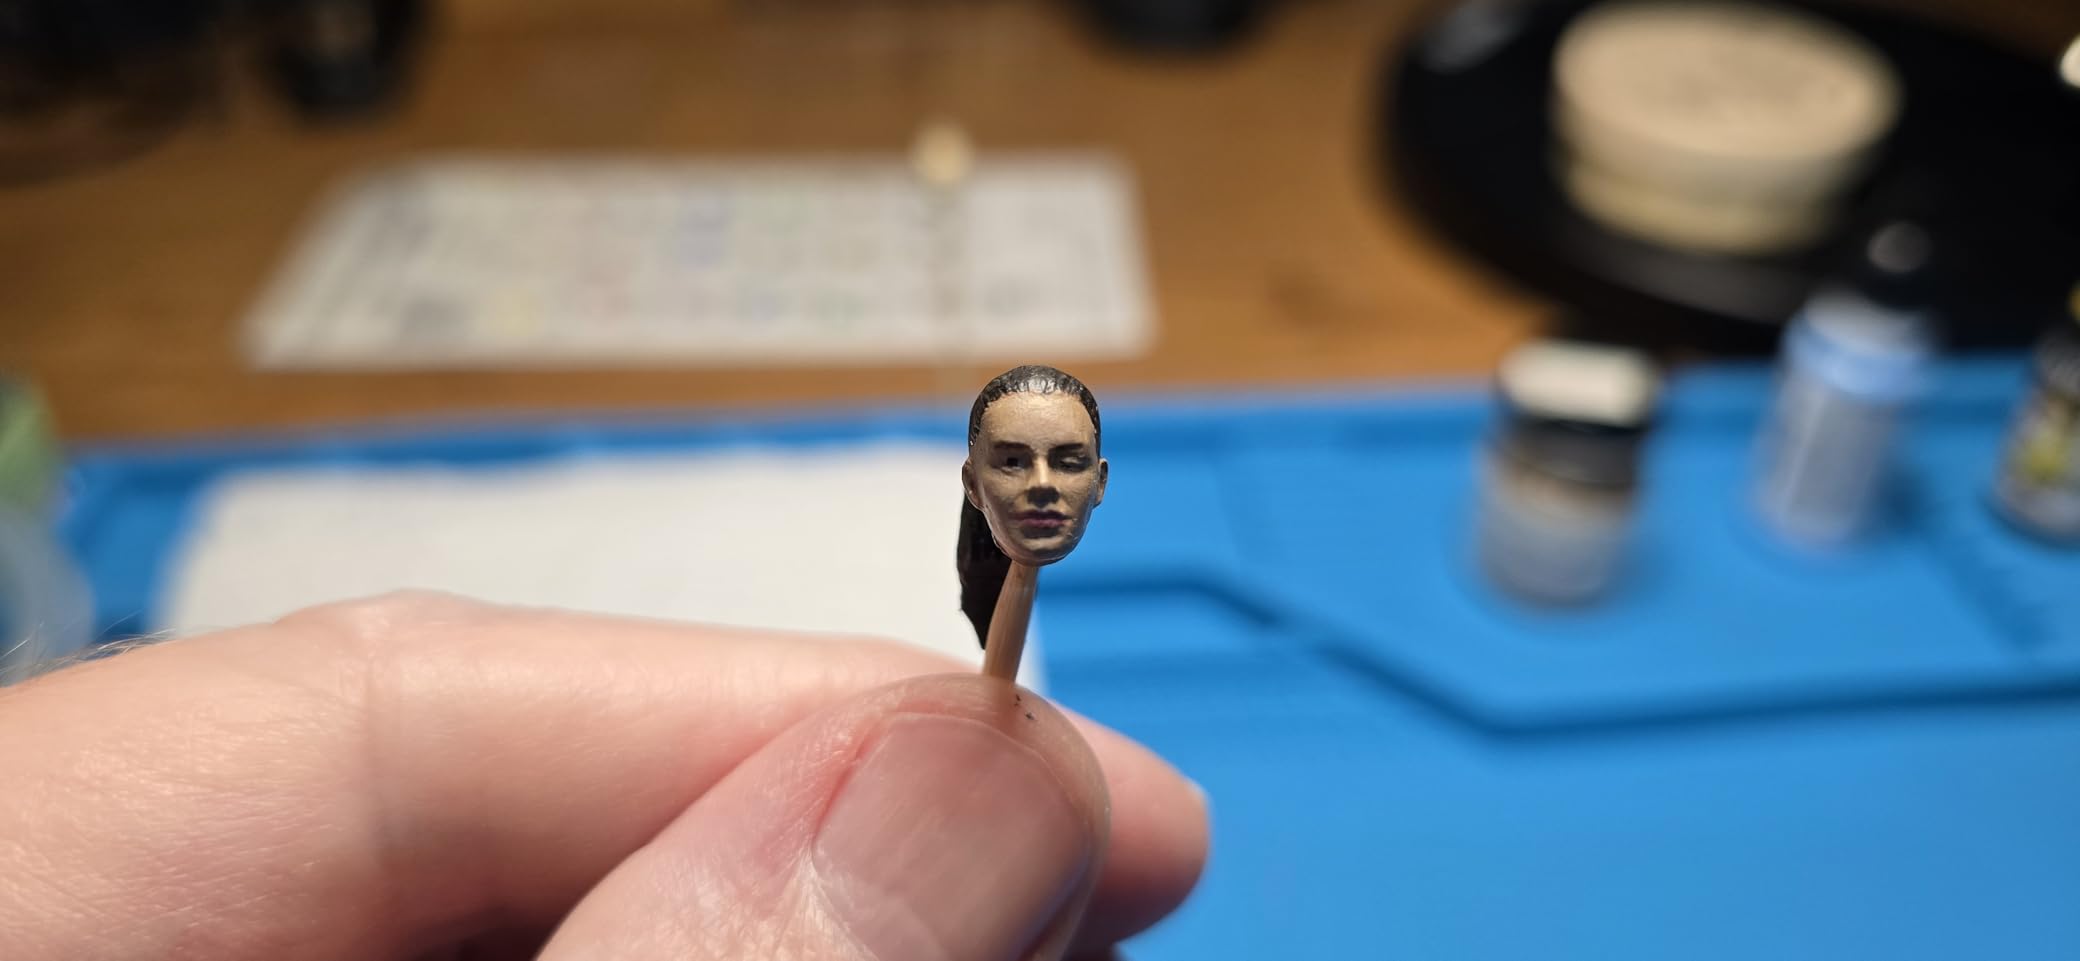
The included double-tipped applicator and sponge-tipped weathering tool are actually more useful than the applicators in other sets. The dual tips give you a fine point for detail work and a broader surface for general application. At 80 x 50 x 10.5mm, the compact size is consistent with the rest of the lineup. The matte finish dries without unwanted shine, which is exactly what you want on skin tones.
Some users have reported lower pigmentation compared to other Weathering Master sets. I noticed this too, particularly with the lighter Salmon shade. It requires more layers to build up visible color. However, for figure painting where subtlety matters more than opacity, this can actually be an advantage. You can build up incredibly gradual transitions that look natural on small-scale faces.
Best model types for Set G
Set G is purpose-built for 1/35 scale military figures and larger figure models. If you build dioramas with human subjects, this set is nearly essential for adding realistic skin tones and facial shading. It also works well on larger scale figures like 1/16 or 1/9 busts where subtle flesh tone transitions make a huge visual difference.
For miniature painters working on 28mm figures, Set G can work but the small scale means you need an extremely light touch. I would recommend this set more for larger scale figure work where you have surface area to blend and build up layers.
Figure face painting techniques
Start with the Chestnut shade to establish shadow areas under the cheekbones, around the eyes, and along the jawline. Then apply Caramel as a mid-tone, blending it into the Chestnut. Finish with a light touch of Salmon on the forehead, nose bridge, and cheekbones for highlights. This three-step approach produces natural-looking flesh tones that bring flat-painted figures to life.
For dirt and grime on figures, use the Chestnut shade dry-brushed onto clothing, boots, and equipment. Mix a small amount with water to create a thin wash that settles into folds and creases on uniforms. The water-mixable acrylic formula makes these techniques easy to execute.
8. Tamiya Weathering Master Set H – Pale Orange, Ivory, Peach (Figures II)
Tamiya 300087127 WM Ageing Set for H Figurines II
Pale Orange, Ivory, Peach
Matte Watercolor Finish
Water Resistant
Indoor/Outdoor Use
Includes Brush and Sponge Applicator
Pros
- Excellent for adding subtle tone and shading to figure faces
- Very pigmented and easy to use
- Works great for blush on plush toys
- Can be applied dry or wet
- Easy to remove and adjust
- Colors last for years with proper storage
Cons
- Some users reported colors too pink and vibrant for realistic flesh tones
- One user noted low pigmentation
Set H is the companion to Set G, offering lighter flesh tone options with Pale Orange, Ivory, and Peach. While Set G handles the mid-tones and shadows, Set H focuses on highlights, fair skin tones, and softer shading effects. The 572 reviews and 4.6-star rating show it has found an audience beyond just figure painters, including crafters who use it for plush toy blush effects.
I tested Set H alongside Set G on the same batch of 1/35 figures. Where Set G added shadows and depth, Set H provided the highlights and lighter accents that completed the flesh tone range. The Peach shade is particularly effective for subtle blush effects on cheeks and ears. The Ivory works well for very fair complexions and as a highlight over darker base skin tones. Pale Orange bridges the gap between the two.
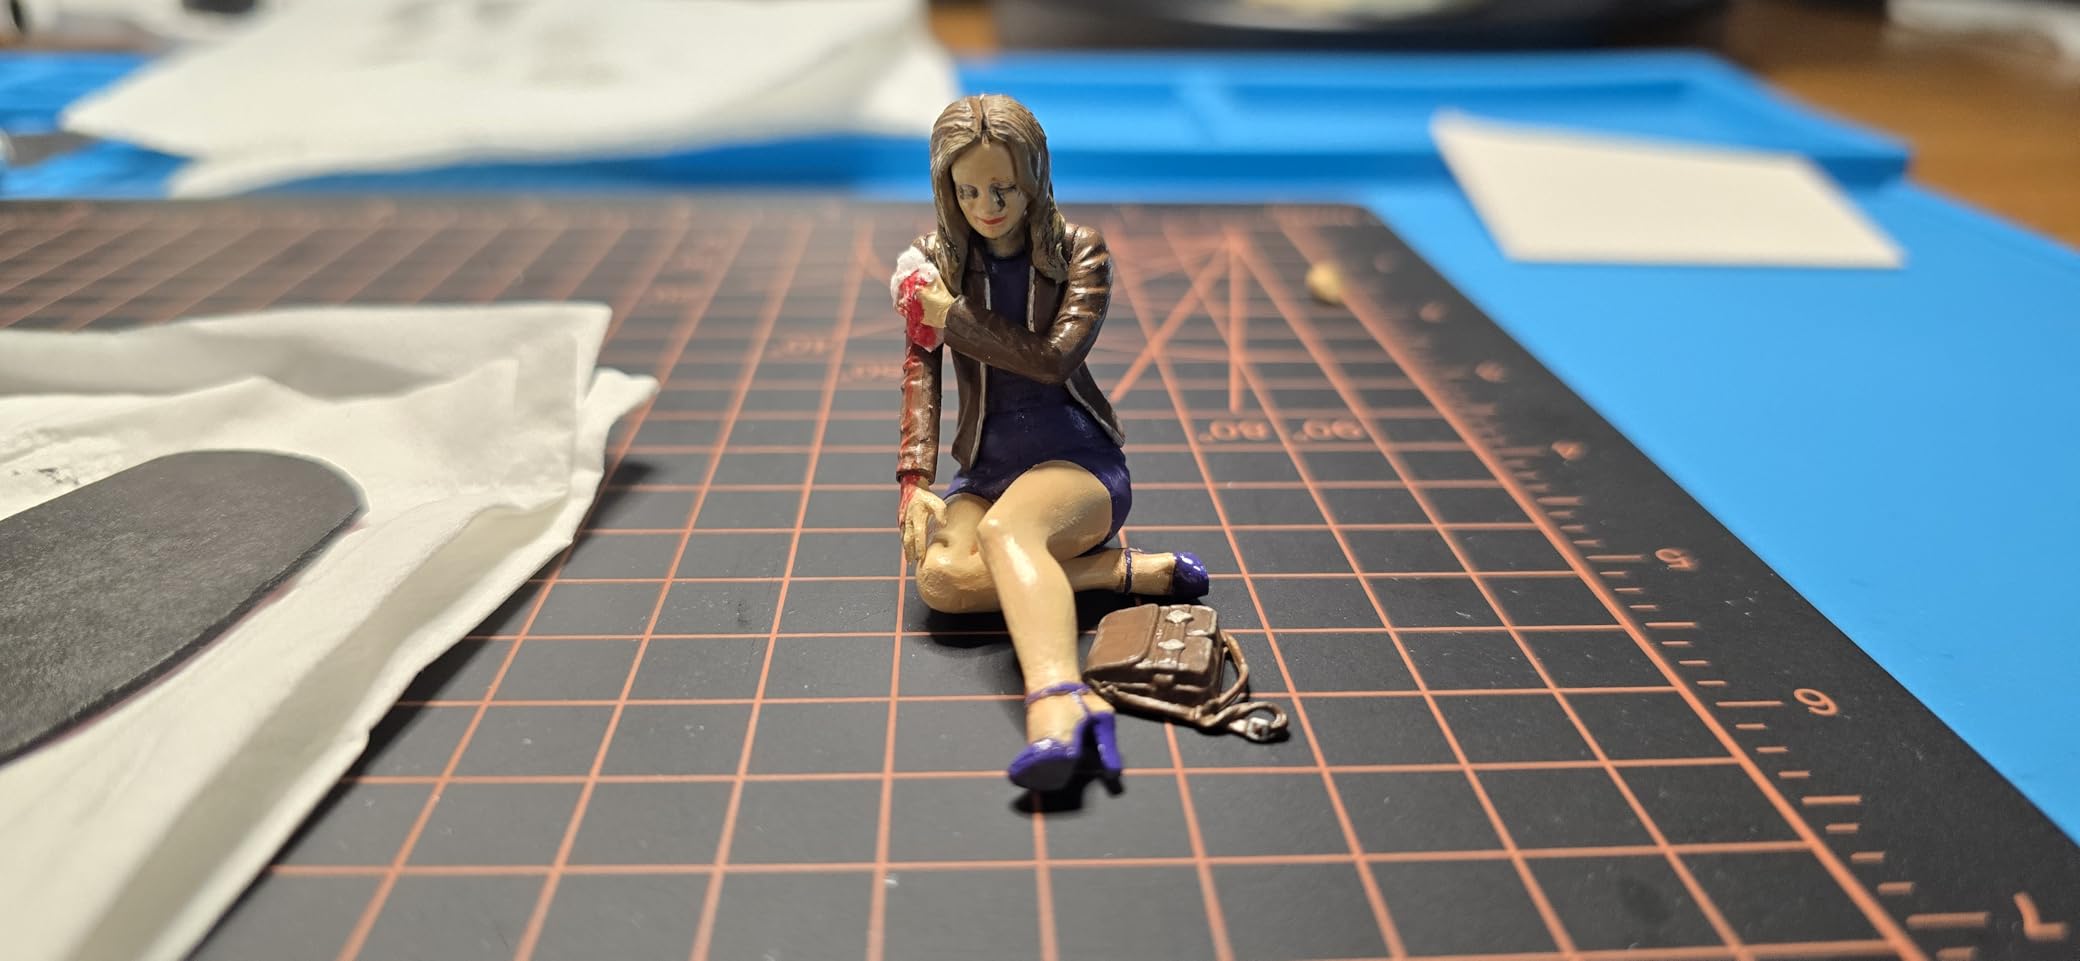
The watercolor formula sets Set H apart from most other Weathering Master sets. It can be applied dry like the others, but it also works beautifully when activated with water for wash-like effects. This dual-use capability makes it more versatile than Set G in some ways. The water-resistant finish after drying means your work survives light handling, though heavy handling still requires a protective topcoat.
The main criticism I have is that the colors can lean too pink for realistic flesh tones on certain figure types. The Peach shade in particular runs warm. Builders working on historical military figures with sun-weathered faces may find these tones too soft. However, for anime-style figures, fantasy miniatures, and lighter skin tones, the color range works well.
Best model types for Set H
Set H complements Set G and is best used in combination with it. If you already own Set G, Set H gives you the full spectrum of flesh tone options from deep shadows to bright highlights. It also works well for anime-style figure models, ball-jointed dolls, and any project requiring softer, warmer skin tones.
The craft applications are worth mentioning too. Multiple users report excellent results applying these colors to plush toys for blush effects. If you work across both scale modeling and crafting, Set H pulls double duty nicely.
When to choose Set H over Set G
If you can only buy one figure weathering set, go with Set G for its more versatile mid-tone and shadow range. Choose Set H when you need lighter highlights, fair complexions, or subtle blush effects that Set G cannot provide. The two sets together cover virtually every flesh tone scenario you will encounter in scale modeling.
For builders working on predominantly light-skinned figures or anime subjects where warmth and softness are desirable, Set H alone may be sufficient. The water-activated formula also makes it the better standalone choice if you prefer wash techniques over dry application.
How to Choose the Right Tamiya Weathering Master Sets?
Picking the right Weathering Master set comes down to three things: what you are building, what effects you need, and how much experience you have. Our team has weathered hundreds of models across these sets, and the guidelines below reflect what actually works in practice rather than theory.
The first consideration is your subject matter. Military vehicle builders should start with Set B for general weathering and add Set C for metallic effects. Gundam builders get the most mileage from Set C for battle damage and Set D for thruster and heat effects. Figure painters need Set G as a baseline, with Set H as a secondary purchase for highlights. Automotive modelers should look at Set F for metallic detailing and Set D for engine stains.
Your experience level matters too. Sets A and B are the most forgiving for beginners because the earth-tone and soot colors are easy to apply convincingly even with heavy hands. Sets C through F require more finesse, especially the metallic shades that can look artificial if applied too thickly. Sets G and H demand the lightest touch of all, as skin tones are unforgiving of mistakes at small scales.
Consider pairing your Weathering Master sets with quality Vallejo Model Color paint sets for your base coats. A solid paint job underneath makes all the difference in how well the weathering pigments adhere and look. You may also want to pick up liquid masking products to protect areas you do not want weathered while you work on adjacent sections.
Sealing your weathering work
Tamiya Weathering Master is not permanent without a sealant. The semi-wet formula resists light handling but will smear and transfer if you rub it firmly. Forum users across Reddit and FineScale Modeler consistently recommend sealing with matte topcoat both before and after applying Weathering Master. The base coat gives the pigment something to grip, and the final coat locks everything in place.
For the best results, apply a light mist of matte varnish, let it dry for 30 minutes, apply your Weathering Master, then seal with another light mist coat. Avoid heavy coats that can dissolve and smear the pigment underneath. Testors Dullcote, Mr. Hobby Mr. Super Clear Matte, and Vallejo Matte Varnish all work well as sealants.
Extending applicator life
The most common complaint across the entire Weathering Master lineup is the included applicator wearing out quickly. The sponge tips lose their shape and eventually crumble. To extend applicator life, avoid pressing hard into the pigment pan. A gentle circular motion picks up plenty of color without destroying the sponge. Store the applicator separately from the tin to prevent the sponge from sitting in residual pigment.
For replacements, cosmetic makeup sponges and cotton swabs work as well or better than the stock applicator for broad work. For detail work, invest in a set of small round brushes in sizes 0 through 3/0. These give you far more control than any sponge tip and last indefinitely with proper cleaning.
Which sets to prioritize on a budget
If you are building your Weathering Master collection gradually, I recommend this order: Set B first for general versatility, Set C second for metallic effects, and Set D third for heat and stain effects. These three sets cover the vast majority of weathering scenarios across Gundam, military, and automotive models. Add Sets A, E, and F as your budget allows and your projects demand them. Sets G and H are worth the investment only if you regularly build and paint figures.
FAQ
What is the best Tamiya Weathering Master set?
Set C (Akasabi, Gunmetal, Silver) is the best overall Tamiya Weathering Master set. It earns our Editor’s Choice pick because the three metallic shades cover the widest range of realistic weathering effects, from rust streaks to worn metal edges. With 1,264 reviews and a 4.7-star rating, it is also the most popular set among experienced builders. If you only buy one set, Set C delivers the most dramatic improvement to your models.
How do you use Tamiya Weathering Master?
Apply a matte clear coat to your painted surface first. Load the included sponge applicator by gently swirling it in the pigment pan. Apply to your model using light circular motions, building up color gradually. Focus on areas that would naturally accumulate dirt, rust, or wear like panel lines, edges, and joints. Seal your work with another light coat of matte varnish when finished. The key is using less product than you think you need and building up in thin layers.
Which Tamiya Weathering Master set should I buy first?
Set B (Snow, Soot, Rust) is the best first purchase because its three colors cover the most common weathering scenarios. Set C (Akasabi, Gunmetal, Silver) is the best second purchase for metallic and rust effects. Gundam builders should prioritize Set C first and Set D second for thruster and heat damage effects. Figure painters should start with Set G. Military modelers get the most value from Set B followed by Set C.
Is Tamiya Weathering Master permanent?
No, Tamiya Weathering Master is not permanent without a sealant. The semi-wet formula resists light handling but will smear or transfer if rubbed firmly. You must seal your weathering with a matte topcoat like Testors Dullcote or Mr. Hobby Mr. Super Clear Matte to make it permanent. Apply the topcoat as a light mist to avoid dissolving the pigment underneath. For best results, seal both before and after applying Weathering Master.
Final Thoughts
The best Tamiya weathering master sets transform clean plastic into battle-worn, weathered replicas with remarkably little effort. After testing all eight sets across dozens of builds, Set C stands out as the overall winner for its unmatched metallic and rust effects. Set B earns the best value spot for general-purpose weathering versatility, while Set D delivers the best heat and stain effects at an accessible price point. For figure painters, the Set G and Set H combination covers the full range of flesh tone needs.
If you are looking for your next project to practice these weathering techniques on, check out our guide to the best 1/350 scale warship model kits for some excellent candidates. Start with one set, learn the application technique, and build your collection from there. The results will speak for themselves.