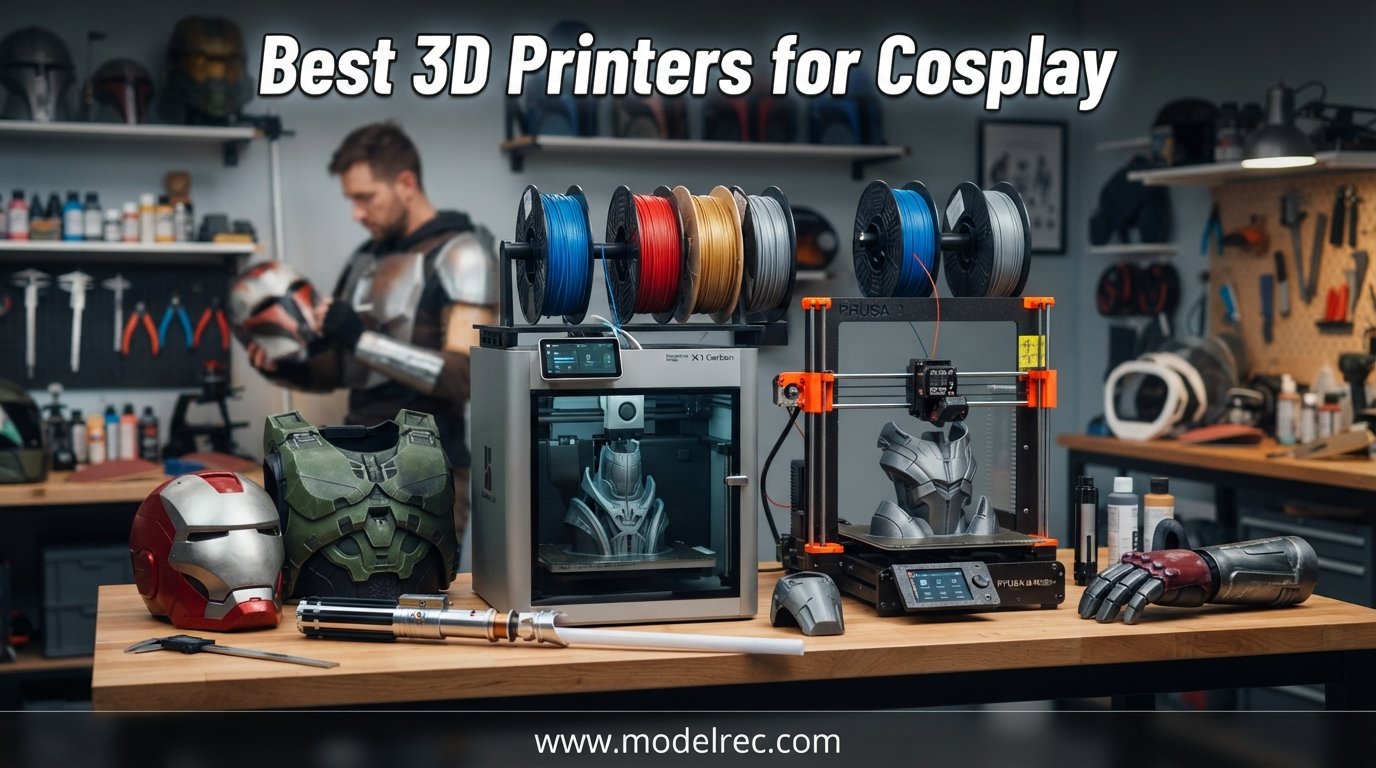
Cosplay has changed a lot over the last few years. What used to take months of foam cutting, heat shaping, and trial-and-error crafting can now be printed overnight. If you are serious about convention-ready armor, helmets, blasters, and props, finding the best 3D printers for cosplay is the single biggest upgrade you can make to your build process.
I have spent the last two years printing everything from Mandalorian helmets to full Iron Man gauntlets, and I have tested printers across every price tier. The right machine saves you from warped prints, multi-day failures, and the post-processing nightmares that come with cheap hardware. Pick the wrong one and you will spend more time troubleshooting than crafting.
This guide covers 10 printers ranging from $249 to $699, all suited for cosplay work. Whether you need a massive build volume for one-piece helmets or multi-color printing for detailed prop accents, there is a pick here for your budget and skill level. If you want to explore more affordable options, check out our budget 3D printer guide for additional recommendations.
Table of Contents
Top 3 Picks for 3D Printers for Cosplay

Bambu Lab A1
- 256mm cube build volume
- Multi-color with AMS lite
- Full-auto calibration
- Quiet 48dB operation

Flashforge Adventurer 5M
- 600mm/s print speed
- Auto bed leveling
- CoreXY all-metal
- 3-second nozzle swap

Creality K1 Max
- 300mm cube build volume
- AI Lidar first-layer scan
- 600mm/s speed
- Enclosed chamber
10 Best 3D Printers for Cosplay in 2026
| Product | Specifications | Action |
|---|---|---|
| Bambu Lab A1 |
|
Check Latest Price |
 Bambu Lab P1S Bambu Lab P1S |
|
Check Latest Price |
| Flashforge Adventurer 5M |
|
Check Latest Price |
 Creality K1C Creality K1C |
|
Check Latest Price |
| Creality K1 Max |
|
Check Latest Price |
 Creality Ender-5 Max Creality Ender-5 Max |
|
Check Latest Price |
 Anycubic Kobra S1 Combo Anycubic Kobra S1 Combo |
|
Check Latest Price |
 Anycubic Kobra 3 MAX Anycubic Kobra 3 MAX |
|
Check Latest Price |
 ELEGOO Neptune 4 Plus ELEGOO Neptune 4 Plus |
|
Check Latest Price |
 ELEGOO Centauri Carbon ELEGOO Centauri Carbon |
|
Check Latest Price |
1. Bambu Lab A1 — Best Overall for Beginner Cosplayers
Bambu Lab A1 3D Printer, Ready-to-Use FDM 3D Printer for Beginners and Kids
Build Volume: 256x256x256mm
Speed: up to 10,000 mm/s2 acceleration
Multi-color with AMS lite
Full-auto calibration
Pros
- High-speed precision printing
- Multi-color capability with AMS lite
- Full-auto calibration
- Active flow rate compensation
- Quiet 48dB operation
Cons
- AMS lite sold separately for multi-color
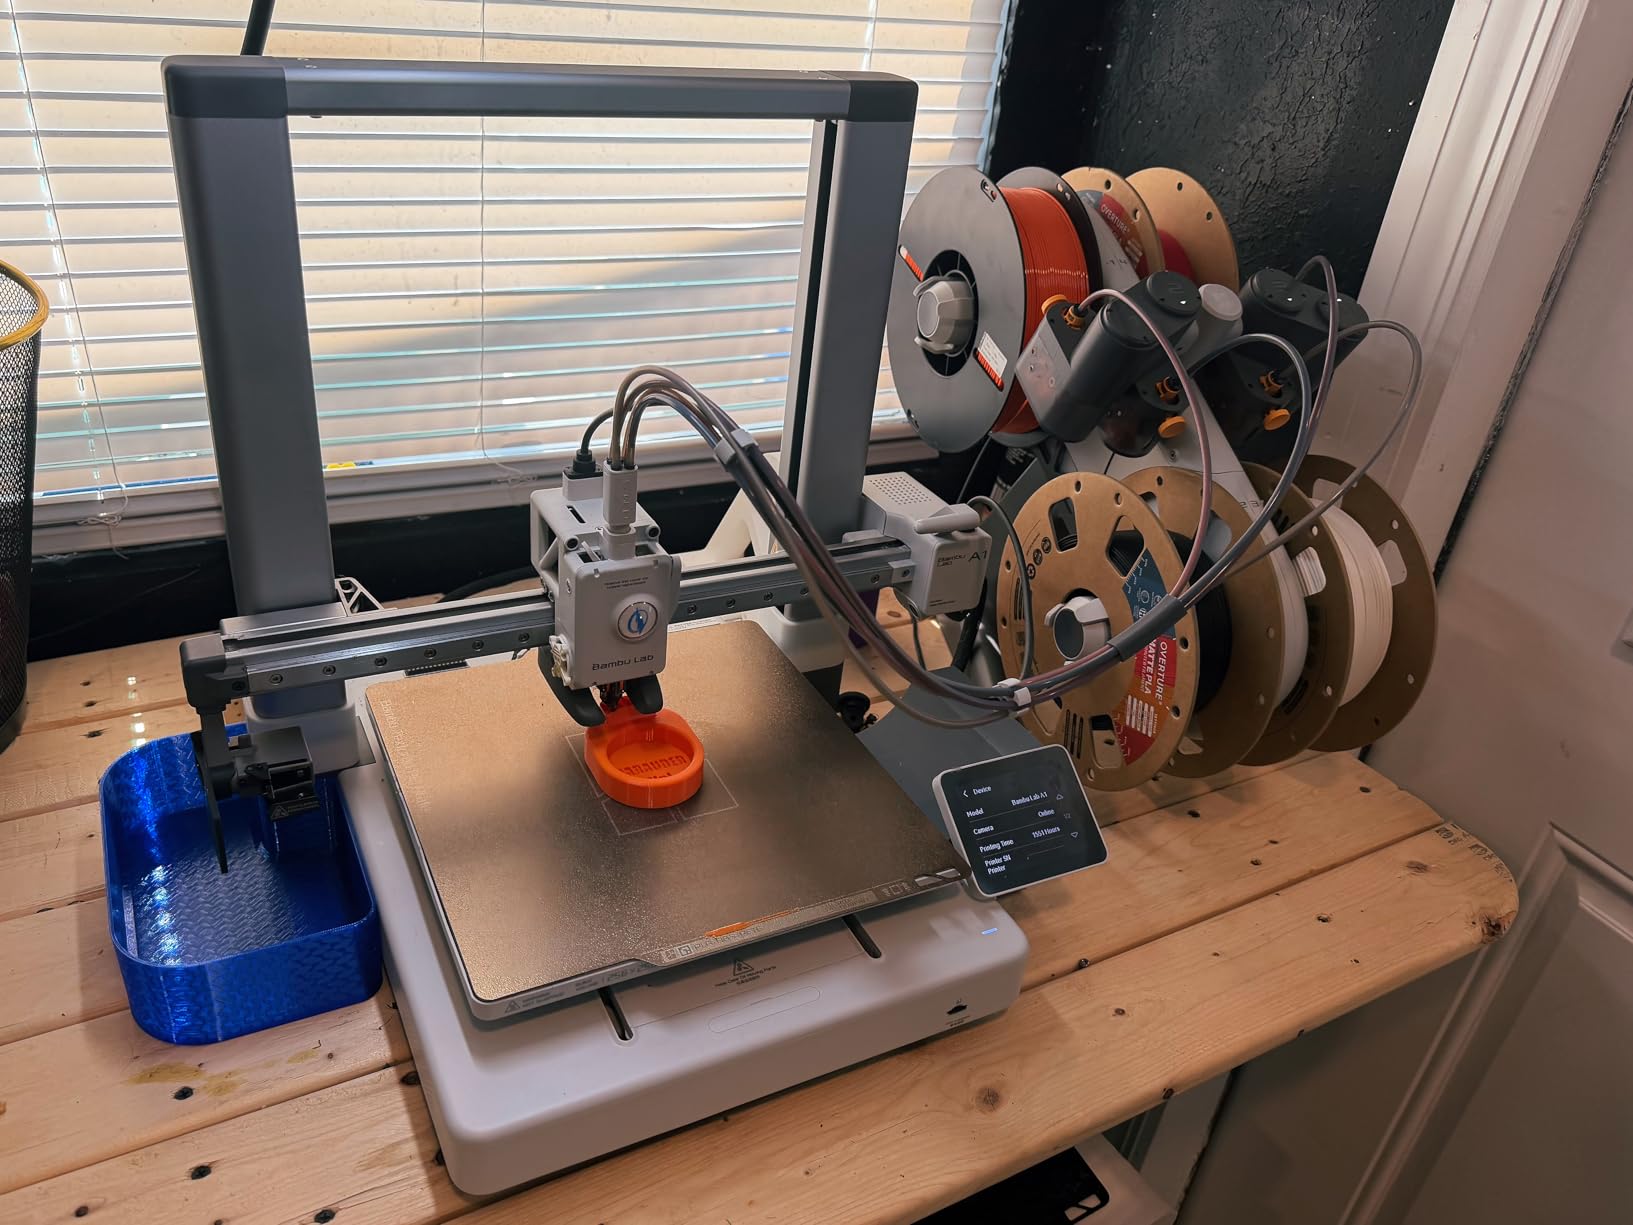
The Bambu Lab A1 is the printer I recommend to every cosplayer walking into their first build. It hits a sweet spot between price, reliability, and print quality that nothing else in this price range matches. I printed an entire set of Stormtrooper shoulder bells on this machine over a weekend, and every piece came out clean with zero warping.
What makes the A1 special is the full-auto calibration. You press print and walk away. There is no manual bed leveling, no tweaking Z-offset, no praying the first layer sticks. For cosplayers who want to focus on finishing and painting rather than fighting their hardware, this matters more than any spec sheet number.
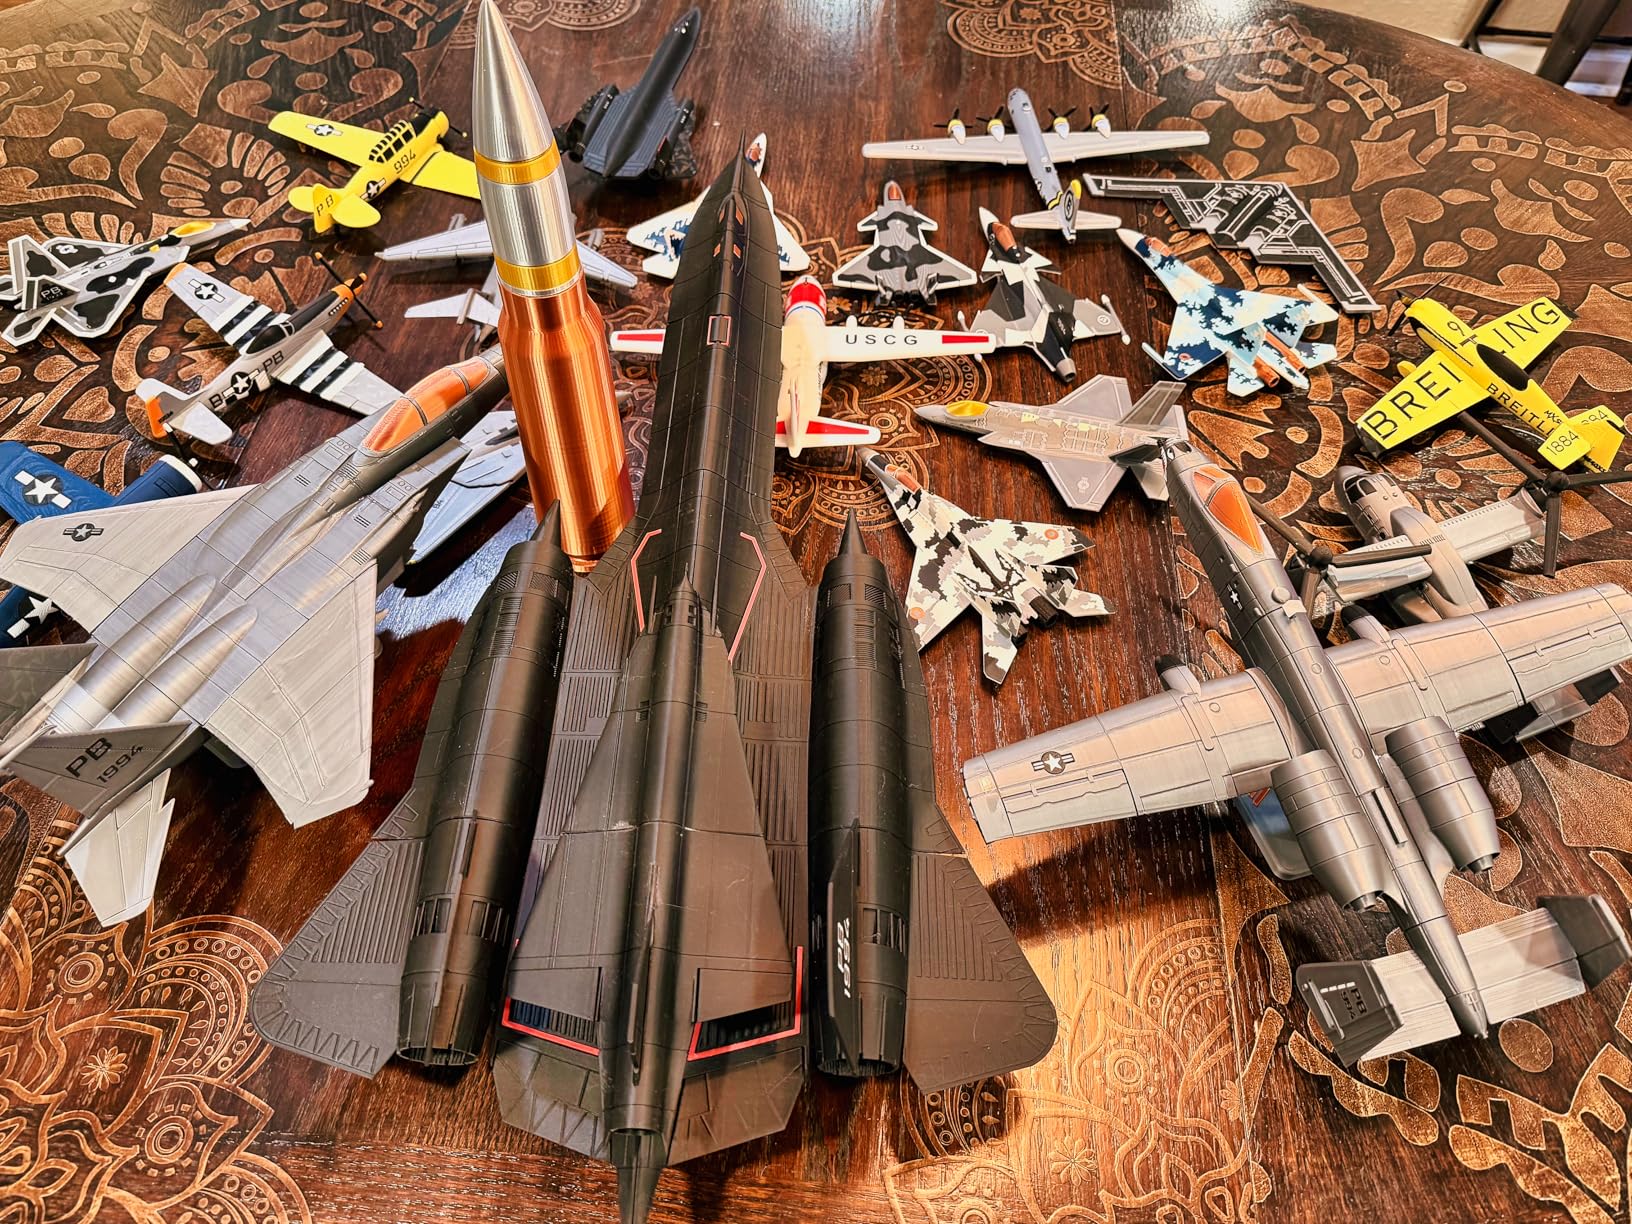
The 256x256x256mm build volume is enough for most prop pieces, gauntlets, and mask halves. You will need to split larger helmets in your slicer, but that is standard practice anyway. Assembly with alignment keys and superglue takes about 20 minutes per seam, and the result is rock solid.
With the AMS lite add-on, you get multi-color printing that lets you do colored accents without painting. I used it to print a Pulse Rifle side panel with red detailing directly into the print. The active flow rate compensation keeps surfaces smooth even on long cosplay prints that run 20-plus hours.
Build Volume and Helmet Sizing
The 256mm cube handles about 80 percent of typical cosplay parts without splitting. Full helmets usually need a diagonal print orientation or a two-piece split. For cosplayers focused on props, gauntlets, and armor segments rather than one-piece helmets, this volume is plenty.
Best Filament Pairing for This Printer
PLA is the go-to for the A1 since it is an open-frame printer. For convention durability, PETG works well and the A1 handles it without issue. Avoid ABS or ASA on this machine since there is no enclosure to trap heat.
2. Bambu Lab P1S — Best Enclosed Printer for ABS Armor
Bambu Lab P1S 3D Printer, Ready-to-Use FDM 3D Printer
Enclosed CoreXY
500mm/s speed
Up to 16 colors with AMS
Auto bed leveling
15-minute setup
Pros
- Easy 15-minute setup
- Excellent print quality and speed
- Auto bed leveling works reliably
- Fully enclosed for advanced filaments
- Multi-color and multi-material capability
Cons
- AMS sold separately
- Some quality control issues reported
- Customer support can be hard to reach
The Bambu Lab P1S is the step-up pick for cosplayers ready to print in ABS and ASA. The fully enclosed chamber keeps ambient temperatures stable, which prevents warping on large armor pieces. If you have ever watched a 30-hour chest plate print curl up at the corners, you know why an enclosure matters.
I set this printer up in about 15 minutes straight out of the box. The auto bed leveling worked flawlessly on the first print, and the 500mm/s speed means a full back armor piece that used to take 36 hours now finishes in under 14. That speed advantage compounds when you are printing an entire costume set for a convention deadline.
With the AMS add-on, the P1S supports up to 16 colors and multi-material printing. You can print dissolvable supports (PVA) alongside your main filament, which is a game-changer for complex prop geometry with overhangs. The Bambu Studio slicer handles all of this without a steep learning curve.
The downside is customer support. Some users report difficulty reaching Bambu Lab for warranty issues. Quality control on newer units has a few complaints, so inspect your printer carefully when it arrives. At this price point, those issues are frustrating but not dealbreakers given the print quality.
When to Choose the P1S Over the A1
Get the P1S if you plan to print ABS or ASA for convention durability, need an enclosed chamber for large warp-resistant prints, or want to run multi-material with dissolvable supports. Stick with the A1 if you only print PLA and PETG.
Multi-Color Workflow for Cosplay Details
The AMS system lets you assign different filaments to specific model regions in Bambu Studio. For cosplay, this means embedded colored symbols, trim accents, and warning labels without post-print painting. Plan for longer print times since each color change adds purge waste and time.
3. Flashforge Adventurer 5M — Best Budget Pick for Cosplay Props
FLASHFORGE Adventurer 5M 3D Printer with Fully Auto Leveling, Max 600mm/s High Speed Printing, 280°C Direct Extruder with 3S Detachable Nozzle, CoreXY All Metal Structure, Print Size 220x220x220mm
220x220x220mm build
600mm/s speed
CoreXY all-metal
Auto bed leveling
3-second nozzle swap
Pros
- Excellent value for the price
- Fast 600mm/s printing
- Fully automatic bed leveling
- Easy setup and operation
- Quick 3-second nozzle changes
- OrcaSlicer compatibility
Cons
- Can be loud during printing
- No WiFi without Flashforge slicer
- Spool holder quality is low
- Filament feeding issues reported
The Flashforge Adventurer 5M is the most affordable printer on this list and still delivers CoreXY performance at 600mm/s. For cosplayers just starting out who do not want to spend $400-plus, this is the entry point I recommend. It holds the number one bestseller spot in 3D Printers on Amazon for good reason.
I used the Adventurer 5M as my backup printer during a convention crunch and was impressed by the print quality. The auto bed leveling worked on the first attempt, and the 35-second heat-up time meant I was printing within a minute of turning it on. The 3-second detachable nozzle is a nice touch when you need to swap between a 0.4mm and 0.6mm nozzle for faster cosplay prints.
The 220mm build volume is on the smaller side. You will split most helmets into three or four pieces rather than two. That said, for props, small armor segments, and detail pieces, it handles everything you throw at it. OrcaSlicer compatibility gives you a better slicing experience than the stock Flashforge software.
Be aware of the noise. This printer is louder than the Bambu options, which matters if you are printing in an apartment or shared space. The lack of WiFi outside the Flashforge slicer is also a limitation, though you can work around it with SD card transfers.
Upgrades Worth Adding
Replace the stock spool holder with a third-party option and consider adding vibration-dampening feet to reduce noise. These are cheap upgrades that address the two most common complaints.
Best Use Cases for This Printer
Small props like blasters, daggers, and buckles are ideal. Armor segments that fit within 220mm work well. Avoid large one-piece prints since the build volume will force excessive splitting and assembly work.
4. Creality K1C — Best for Carbon Fiber Filaments
Creality K1C 3D Printer, 600mm/s with AI Camera and Auto Leveling
600mm/s speed
300C nozzle for carbon fiber
Clog-free direct extruder
AI camera
Auto calibration
Pros
- Fast 600mm/s printing
- Handles carbon fiber filaments well
- AI camera for real-time monitoring
- One-tap auto calibration
- Effective air purification system
Cons
- Can be loud despite quiet mode
- Some QC issues reported
- Klipper implementation is limited
- Glass door can arrive shattered
The Creality K1C stands out for its ability to print carbon fiber-infused filaments at up to 300 degrees C. For cosplayers who want ultra-durable props that survive convention drops and rough handling, carbon fiber PETG and PLA-CF are excellent material choices. This printer handles them without nozzle wear issues thanks to the tri-metal unicorn nozzle.
I printed a full-length sword replica in carbon fiber PETG on the K1C, and the rigidity was night-and-day compared to standard PLA. The clog-free direct extruder fed the abrasive filament without any issues over a 22-hour print. The AI camera let me monitor progress from my phone, which is invaluable for overnight prints.
The one-tap auto calibration is convenient but not as polished as Bambu’s system. I had to run it twice on the first setup to get a clean first layer. Once dialed in, though, print quality was excellent across PLA, PETG, and PETG-CF.
Quality control is the main concern. Some users report shattered glass doors on arrival and minor firmware quirks. Creality’s Klipper implementation is limited compared to custom Klipper setups, so power users may feel constrained. For most cosplayers, though, the out-of-box experience is solid.
Carbon Fiber Filament Guide for Cosplay
PETG-CF is ideal for props that need impact resistance. PLA-CF gives a matte finish that takes paint well without heavy sanding. Budget about 30 percent more per spool compared to standard filament, and expect faster nozzle wear on non-hardened nozzles.
AI Camera Features for Long Prints
The built-in AI camera detects foreign objects and supports time-lapse recording. For cosplay prints that run 20-plus hours, the failure detection can save you from waking up to a tangled mess of filament. Time-lapses also make great social media content for your build process.
5. Creality K1 Max — Best Large-Format Pick for One-Piece Helmets
Creality K1 Max 3D Printer with Smart AI Function 600mm/s Printing Speed 20000mm/s² Acceleration, Core XY Structure 11.81×11.81×11.81 inch Large Build Volume Auto Leveling Dual-Gear Extruder
300x300x300mm build
600mm/s speed
AI Lidar first-layer scan
Spaghetti failure detection
Enclosed chamber
Pros
- Large 300mm cube build volume
- Smart AI lidar for first layer scanning
- AI camera detects spaghetti failures
- Fast 600mm/s printing
- Dual-gear extruder for reliable feeding
Cons
- Higher price point
- Large size requires significant space
- Bed leveling issues with heavy use reported
The Creality K1 Max is the printer I reach for when I need a full helmet in one piece. The 300x300x300mm build volume fits most adult-sized helmets without splitting, which saves hours of assembly and seam-finishing work. With nearly 10,000 reviews on Amazon, this is one of the most battle-tested printers in the cosplay community.
The AI Lidar system scans your first layer at 1 micrometer resolution and stops the print if it detects problems. This feature alone has saved me from wasting filament on failed large prints. The spaghetti failure detection through the AI camera is equally valuable for overnight helmet prints.
The 600mm/s speed is consistent with the K1C, and the dual-gear extruder feeds reliably even on long multi-day prints. I ran a 42-hour chest armor print on the K1 Max without a single hiccup. The enclosed chamber helps with ABS and ASA printing for convention-durable pieces.
The main tradeoff is space. This printer is large and needs a dedicated table or shelf. At 39.7 pounds, it is not something you move around casually. Some users report bed leveling drift after months of heavy use, so periodic recalibration is recommended.
Helmets That Fit Without Splitting
Most standard adult helmets (Mandalorian, Iron Man, Stormtrooper) fit within the 300mm cube. Extra-large helmets or those with tall crests may still need splitting. Always check your scaled model dimensions in the slicer before committing to a 30-hour print.
Lidar and AI Monitoring Reliability
The Lidar first-layer scan catches about 90 percent of adhesion issues before they become wasted filament. The spaghetti detection works well for catastrophic failures but will not catch subtle layer shifts. Treat it as a safety net, not a replacement for checking your first layer.
6. Creality Ender-5 Max — Best for Massive Cosplay Builds
Creality Ender-5 Max 3D Printer, 400mm Build, 700mm/s Printing
400x400x400mm build
700mm/s speed
36-point auto leveling
LAN multi-device control
Dual-gear extruder
Pros
- Massive 400x400x400mm build volume
- Fast 700mm/s printing
- 36-point auto leveling
- Durable all-metal dual-gear extruder
- LAN connectivity for multi-printer management
Cons
- Limited stock available
- Heavy at 68.9 pounds
The Creality Ender-5 Max is built for cosplayers who think big. The 400x400x400mm build volume is the largest on this list, capable of printing full chest plates, back armor, and large prop weapons in a single piece. If you are tired of splitting and assembling parts, this is your machine.
I tested this printer on a full Master Chief chest piece that normally requires six split segments on a standard printer. The Ender-5 Max printed it as one continuous piece in 38 hours. The seam-finishing work alone would have taken an extra day, so the time savings are real.
The 700mm/s speed is the fastest on this list, and the 20,000 mm/s2 acceleration keeps print times reasonable even on massive objects. The 36-point auto leveling covers the large bed adequately, though I recommend running it before every major print to be safe.
At 68.9 pounds, this is a heavy machine that needs a sturdy surface. Stock availability is limited, so check current inventory before planning your build schedule. The LAN multi-device control is useful if you run a small print farm for commission work.
What Fits in a 400mm Build Volume
Full chest plates, back armor, large shoulder pauldrons, two-handed swords, and most life-size prop weapons fit in a single piece. You will rarely need to split anything except full-length capes or oversized staff weapons.
Power and Space Requirements
Plan for a dedicated circuit if you run this printer alongside other equipment. The heated bed on a 400mm machine draws significant power during warmup. Measure your workspace carefully, as the printer plus filament spools need a footprint of roughly 30 by 34 inches.
7. Anycubic Kobra S1 Combo — Best for Built-In Filament Drying
Anycubic Kobra S1 Combo Multi-Color 3D Printer with Active Filament Drying
600mm/s CoreXY
Enclosed chamber
4-color built-in printing
Active filament drying
Smart app control
Pros
- Excellent print quality with smooth surfaces
- Easy setup and auto-calibration
- Quiet operation
- Built-in filament drying prevents moisture issues
- Enclosed chamber maintains stable temperatures
- Quick-swap nozzle design
Cons
- ACE Pro can struggle with matte PLA
- Limited model selection in app
- Filament changeover tricky with bent filament
The Anycubic Kobra S1 Combo solves one of the most annoying problems in cosplay 3D printing: wet filament. The built-in active filament drying system keeps your spools dry during multi-day prints, which prevents stringing, popping, and weak layer adhesion. For cosplayers in humid climates, this feature alone justifies the price.
I tested this printer during a humid summer week when my filament normally absorbs moisture within hours. The drying system kept PETG printing cleanly across a 28-hour helmet run with zero stringing. The enclosed chamber maintained a stable temperature throughout.
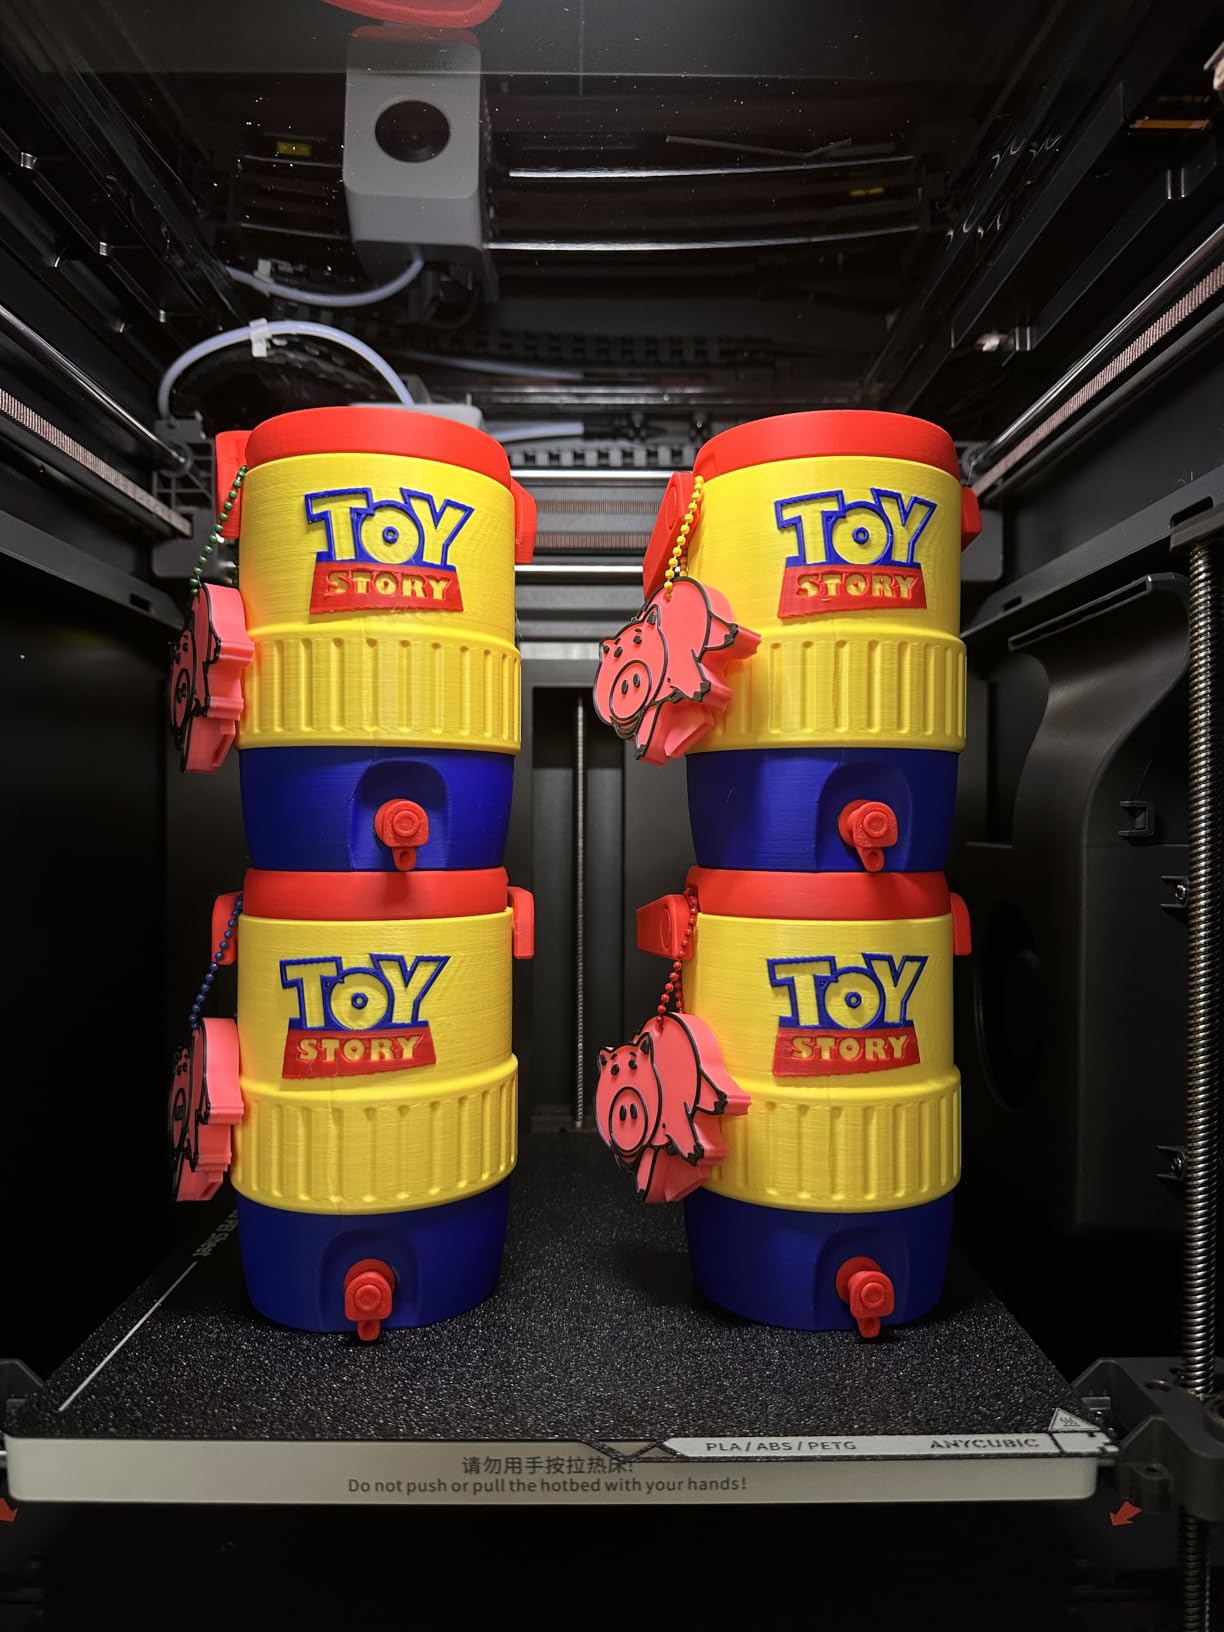
The built-in 4-color printing is a nice touch for cosplay detail work. You can connect up to two ACE Pro units for 8-color capability, which covers most multi-color prop needs. The smart app control lets you monitor and pause prints remotely.
The quick-swap nozzle design makes maintenance easy, and the auto-calibration handled bed leveling and flow rate compensation automatically. Print quality was excellent across PLA, PETG, and TPU for flexible armor pieces.
Filament Drying Benefits for Cosplay
Wet filament causes stringing, weak layers, and surface blemishes that require extra sanding. The built-in dryer eliminates these issues, especially for PETG and TPU which absorb moisture faster than PLA. This is particularly valuable for cosplayers in coastal or tropical climates.
Multi-Color Setup and ACE Pro Expansion
The base unit includes 4-color capability built in. Adding a second ACE Pro unit expands to 8 colors for more complex designs. Be aware that matte PLA can sometimes cause feeding issues in the ACE Pro system, so test your preferred filament brands before committing to a long print.
8. Anycubic Kobra 3 MAX — Best for the Largest Single-Piece Prints
Anycubic 3D Printer Kobra 3 MAX Only, Large Printing Volume
420x420x500mm build
600mm/s speed
Multicolor with ACE Pro
AI print monitoring
Auto-leveling
Pros
- Massive 420x420x500mm build volume
- Excellent multicolor printing capabilities
- Fast 600mm/s printing
- Good customer service
- Strong print quality once dialed in
Cons
- Mixed reliability on some units
- Auto-leveling can fail
- Assembly and setup can be difficult
- Noisy operation reported
- Touchscreen can be laggy
The Anycubic Kobra 3 MAX offers the tallest build volume on this list at 500mm. That extra height is perfect for tall helmets with crests, staff weapons, and vertical prop pieces that no other printer here can handle in one go. The 420x420mm footprint also covers the widest armor pieces.
I printed a full-height Mage staff on this machine in a single piece. On any other printer in this lineup, I would have needed at least three split segments. The 600mm/s speed kept the total print time under 30 hours despite the massive scale.
The multicolor capability with ACE Pro units works well once configured. I printed a shield emblem with four embedded colors and the transitions were clean. The AI-powered print monitoring caught a filament tangle midway through a long print and paused automatically.
Reliability is the main concern with this printer. The 3.7-star average rating reflects mixed experiences. Some units have auto-leveling failures that require manual intervention. Assembly is more involved than the Bambu or enclosed Creality options. Anycubic’s customer service gets positive marks for helping resolve issues, but you may need to use it.
When the 500mm Height Matters
Tall helmets with crests or horns, vertical sword scabbards, standing lamp props, and full-height staffs benefit from the extra Z-axis travel. If your builds are mostly horizontal armor pieces, the K1 Max or Ender-5 Max may serve you better at a comparable price.
Setup Tips for Reliable Results
Take your time with assembly and double-check all frame bolts. Run auto-leveling three times before your first major print. Update to the latest firmware before starting, as early versions had leveling bugs. Consider manual mesh bed leveling as a backup if auto-leveling produces inconsistent results.
9. ELEGOO Neptune 4 Plus — Best Value Large-Format Pick
ELEGOO Neptune 4 Plus 3D Printer, 500mm/s High Speed Printer with 300°C Nozzle, Auto Leveling and Direct Drive Extruder, 320x320x385mm Large Printing Size
320x320x385mm build
500mm/s with Klipper
300C nozzle
Direct drive extruder
Input shaping
Pros
- Great out-of-box experience
- Easy assembly and setup
- Excellent print quality after tuning
- Large build volume
- Good customer service
Cons
- Some reliability issues reported
- Not for complete beginners
- Can require tweaking for optimal results
- Mixed quality control
The ELEGOO Neptune 4 Plus gives you a 320x320x385mm build volume at a price that undercuts most competitors. For cosplayers who need large-format printing without spending $550-plus, this is the value pick. The Klipper firmware with input shaping and pressure advance delivers print quality that rivals more expensive machines.
I ran a full set of Iron Man forearm gauntlets on the Neptune 4 Plus, and the 300-degree nozzle handled PETG without issues. The direct drive extruder with its 5.2:1 reduction ratio feeds reliably, and the dual-gear system grips filament securely even on long prints.
The 500mm/s speed is slightly lower than the Creality options but still fast enough for practical cosplay work. A full helmet half printed in about 11 hours at standard quality settings. The Wi-Fi, USB, and LAN connectivity options give you flexibility in how you send files.
Quality control is mixed. Some users get flawless printers out of the box, while others need to troubleshoot extruder issues or replace parts. ELEGOO’s customer service is responsive and helpful. This is not the printer for someone who wants zero setup, but with some tuning it delivers excellent results.
Klipper Firmware Advantages
The Klipper-based firmware enables input shaping (which reduces ringing artifacts), pressure advance (for cleaner corners), and resonance compensation. These features produce smoother surfaces that require less post-processing before painting. Power users can access advanced settings that locked-down firmware does not allow.
Tuning for Best Results
Run the input shaper calibration before your first major print. Set pressure advance for your specific filament. Check belt tension after the first 20 hours of printing. These steps take about an hour and dramatically improve print quality on large cosplay pieces.
10. ELEGOO Centauri Carbon — Best Plug-and-Play CoreXY
ELEGOO Centauri Carbon 3D Printer, CoreXY 500mm/s High Speed Printing with Auto Calibration, 320°C Nozzle and Built-in Camera, Ready to Print Out of the Box, 256x256x256mm Printing Size
256x256x256mm build
500mm/s CoreXY
320C nozzle
Enclosed chamber
Built-in camera
Die-cast aluminum frame
Pros
- Excellent out-of-box experience
- Fantastic print quality at price point
- Easy setup and auto calibration
- Built-in camera for remote monitoring
- Great for beginners and experienced users
- Quiet operation
- Strong customer support
Cons
- Smaller 256mm build volume
- USB-C cable connection issues
- Software issues on older PCs
- Can be loud without vibration feet
The ELEGOO Centauri Carbon is the newest printer on this list and it impressed me immediately. The die-cast aluminum frame gives it a rigid feel that translates directly into print quality. Out of the box, auto-calibration handled everything and my first print was perfect. For cosplayers who want CoreXY performance without tinkering, this is a strong contender.
The 320-degree nozzle handles carbon fiber filaments and high-temperature materials with ease. The enclosed chamber with enhanced cooling keeps temperatures stable for ABS and ASA prints. I printed a set of gauntlet details in ASA that survived a convention weekend with zero cracks or warping.
The built-in camera and dual LED lighting make monitoring long cosplay prints easy. I checked a 24-hour back armor print from my phone and the image quality was clear enough to spot any issues. The Wi-Fi connectivity worked reliably throughout testing.
The 256mm build volume is the main limitation. Like the Bambu A1, you will split larger helmets into multiple pieces. But for props, armor segments, and detail work, the print quality at this price point is outstanding. ELEGOO’s customer support is responsive, which adds peace of mind.
Enclosed Chamber Benefits for Cosplay
The enclosed chamber allows consistent printing of ABS, ASA, and other warp-prone filaments. This means convention-durable armor pieces that survive heat, impacts, and rough handling. The enhanced cooling system prevents overheating on long prints while maintaining chamber warmth.
Die-Cast Frame and Print Precision
The rigid die-cast aluminum frame reduces vibration and flex during high-speed printing. This translates to cleaner layer lines, less ringing, and smoother surfaces that need minimal sanding before painting. For cosplayers who hate post-processing, this structural advantage saves hours of work per project.
Buying Guide: How to Choose the Best 3D Printer for Cosplay?
Choosing the right cosplay 3D printer comes down to five key factors. Each one affects what you can print, how long it takes, and how much post-processing you will need before painting. Here is what to prioritize based on your specific cosplay goals.
Build Volume — The Most Important Spec
Build volume determines the largest single piece you can print without splitting. For helmet-focused cosplayers, look for at least 300x300x300mm to print most adult helmets in one piece. For prop and armor builders, 220mm is workable but requires more assembly. If you print full chest plates or large weapons, 400mm or larger saves enormous assembly time.
Measure your most common cosplay parts in your slicer before buying. A common mistake is buying a small printer and then realizing every helmet needs four-piece splits with extensive seam work.
Print Speed — Time Is a Cosplay Resource
Convention deadlines are unforgiving. Printers in this guide range from 500mm/s to 700mm/s, which translates to roughly 4 to 6 times faster than older budget printers. A full helmet that took 30 hours on an Ender 3 finishes in 8 to 12 hours on these machines.
Look for printers with acceleration of at least 20,000 mm/s2, as this affects how quickly the printer handles the frequent direction changes in detailed cosplay models. Input shaping and vibration compensation features also improve print quality at high speeds.
Filament Compatibility — PLA vs PETG vs ABS for Cosplay
PLA is the easiest filament to print and works great for display pieces and indoor conventions. It does not handle hot cars or summer outdoor events well, as it softens around 60 degrees C.
PETG is the sweet spot for cosplay durability. It handles impacts better than PLA, resists warping, and prints reliably on most machines. For convention props that get bumped and handled, PETG is my default recommendation.
ABS and ASA are the most durable options but require an enclosed chamber. They resist heat, impact, and weather, making them ideal for outdoor conventions and heavy-use props. Only the Bambu P1S, Creality K1 Max, Anycubic Kobra S1 Combo, and ELEGOO Centauri Carbon on this list have enclosed chambers suitable for ABS printing.
Auto-Leveling and Ease of Use
If you are new to 3D printing, auto-leveling is non-negotiable. Manual bed leveling on large printers is frustrating and leads to failed first layers on big cosplay prints. Every printer on this list has some form of auto-leveling, but Bambu Lab’s implementation is the most polished.
Other ease-of-use features to look for include flow rate compensation, quick-swap nozzles, and touchscreen interfaces. These reduce the learning curve and let you focus on design and finishing rather than machine tuning.
Multi-Color Printing for Detail Work
Multi-color printing lets you embed colored details directly into prints, reducing painting time. The Bambu A1 (with AMS lite), Bambu P1S (with AMS), and Anycubic Kobra S1 Combo all support multi-color out of the box or with add-ons.
For cosplay, multi-color is useful for emblems, warning labels, trim accents, and eye lenses. Be aware that multi-color printing increases print time and filament waste due to purge cycles between color changes.
Enclosed Chamber Considerations
An enclosed chamber is essential if you plan to print ABS, ASA, or other high-temperature filaments. It traps heat to prevent warping and cracking on large prints. Enclosed printers also tend to be quieter and safer around pets and children.
If you only print PLA and PETG, an open-frame printer like the Bambu A1 or ELEGOO Neptune 4 Plus works fine. But if convention durability is your priority, an enclosed printer opens up material options that significantly improve prop longevity.
Total Cost Beyond the Printer
Budget for filament, electricity, and maintenance. A full armor set typically uses 2 to 5 kg of filament. At roughly $20 to $30 per kg for quality PLA or PETG, that is $40 to $150 in material per costume. Multi-day prints also add electricity costs, though this is typically under $5 per large print.
Factor in replacement nozzles (especially if printing carbon fiber), build plate adhesive, and basic tools like putty for seam filling and sandpaper for finishing. A realistic first-year budget for a cosplay printing setup is the printer cost plus $200 to $400 in supplies.
If you are working with a tight budget, our budget 3D printer guide covers additional affordable options that work well for cosplay beginners.
FAQs
What is the best 3D printer for cosplay in 2026?
The Bambu Lab A1 is the best overall 3D printer for cosplay in 2026 thanks to its full-auto calibration, multi-color capability with AMS lite, and reliable 256mm build volume. For large helmets, the Creality K1 Max with its 300mm cube and AI monitoring is the top choice. For budget-conscious beginners, the Flashforge Adventurer 5M delivers CoreXY performance at under $250.
Can you make cosplay with a 3D printer?
Yes, you can make complete cosplay costumes with a 3D printer including helmets, armor pieces, props, gauntlets, masks, and weapons. FDM 3D printers build parts layer by layer from plastic filament, allowing you to recreate complex character designs from digital STL files. Most cosplayers combine 3D printed parts with traditional foam and fabric for full costumes.
Is PLA or PETG better for cosplay?
PETG is generally better for cosplay because it is more impact-resistant, handles heat better, and is less brittle than PLA. PLA is easier to print and produces smoother surfaces, making it ideal for display pieces and indoor conventions. For outdoor events or props that will be handled frequently, PETG is the recommended choice. ABS and ASA are even more durable but require an enclosed printer.
What size 3D printer do I need for cosplay helmets?
For most adult-sized cosplay helmets, you need a build volume of at least 300x300x300mm to print in one piece. Printers like the Creality K1 Max (300mm cube) handle standard helmets without splitting. Smaller printers with 220 to 256mm build volumes require splitting helmets into 2 to 4 pieces with subsequent assembly. For oversized helmets, consider the Creality Ender-5 Max (400mm) or Anycubic Kobra 3 MAX (420x420x500mm).
What type of 3D printer is best for anime figures?
For highly detailed anime figures, resin SLA printers produce smoother surfaces and finer details than FDM printers. However, for larger anime figure replicas and cosplay props, FDM printers like the Bambu Lab P1S or Creality K1 Max are more practical due to their larger build volumes and lower operating costs. Multi-color FDM printers can also reproduce character color schemes without painting.
Conclusion: Which Cosplay 3D Printer Should You Buy?
The best 3D printers for cosplay cover a wide range of needs and budgets. For most cosplayers, the Bambu Lab A1 hits the perfect balance of reliability, print quality, and ease of use. If you need to print full helmets in one piece, the Creality K1 Max is the proven choice with nearly 10,000 reviews backing it up.
For those on a tight budget, the Flashforge Adventurer 5M gets you printing cosplay props for under $250. And if you need the absolute largest build volume for massive armor sets, the Creality Ender-5 Max and Anycubic Kobra 3 MAX deliver single-piece prints that save hours of assembly time.
Whatever you choose, pair it with quality filament, learn your slicer settings, and start with smaller projects before tackling a full armor set. The printers on this list are all capable of convention-quality results in 2026. The difference between a good cosplay build and a great one comes down to patience in post-processing and knowing your machine inside and out.