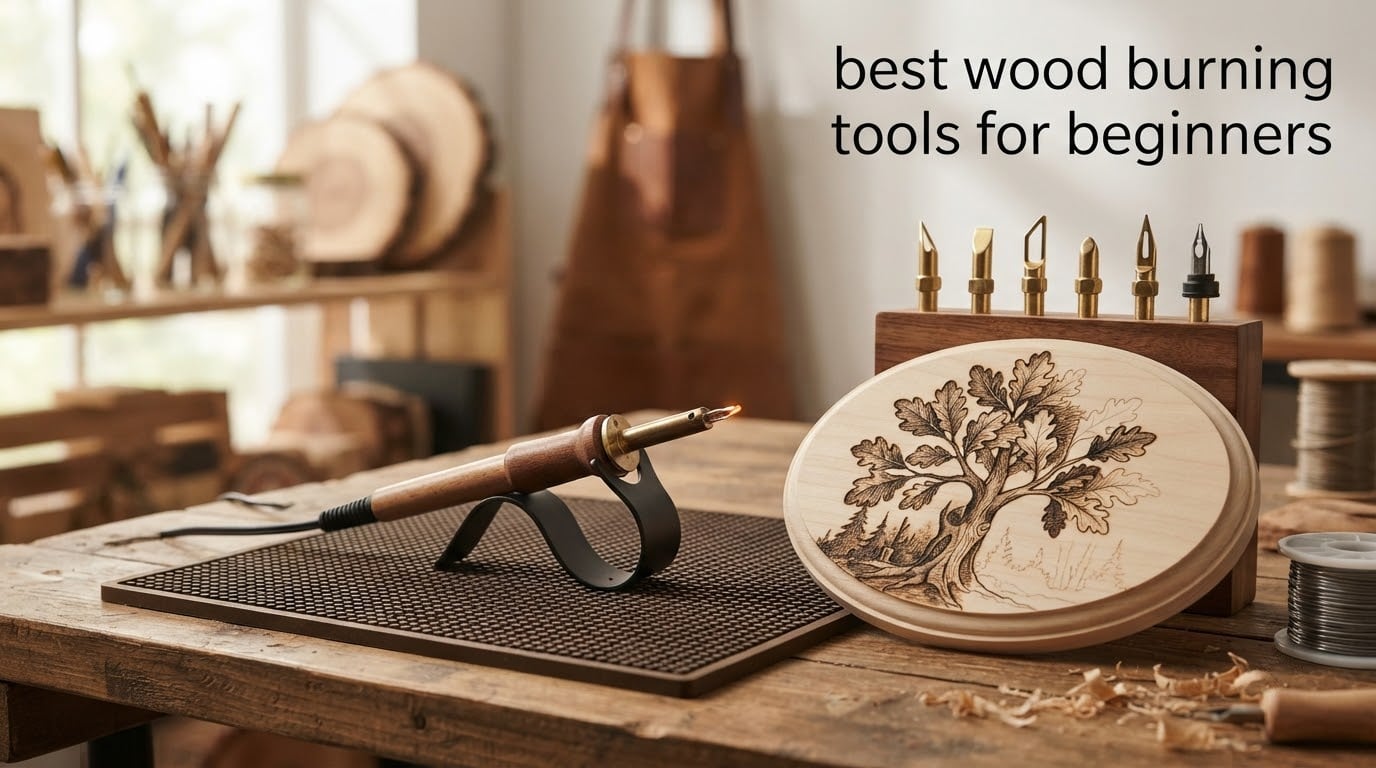
A wood burning tool is a heated pen with interchangeable tips that burns designs into wood, leather, or gourds. Electric current heats a brass tip or a wire nib to somewhere between 200°C and 750°C, and pressing it into the surface carbonises the material into permanent lines and shading. That is pyrography, and the wood burning tools for beginners on this list all do that same job with different levels of control.
The one decision that matters more than any other is adjustable temperature. A fixed-heat pen scorches everything at one setting, which is why people on r/Pyrography keep steering new burners away from the cheapest models and toward tools with a dial or a digital readout. The second decision is solid-tip versus wire-nib, and we explain that head to head further down.
We put ten wood burning tools for beginners through the same six checks: heat range, line quality, heat-up time, grip, tip and accessory value, and build support. Three of them are wire-nib stations, four are general kits with adjustable heat, and three run on a single fixed temperature. Every pick below carries the wattage, temperature range, tip count and weight the manufacturer lists, so you can match it to the kind of work you want to do.
Table of Contents
Top 3 Best Wood Burning Tools for Beginners in 2026
All 10 Wood Burning Tools at a Glance in October
| Product | Specifications | Action |
|---|---|---|
 YIHUA 939-II YIHUA 939-II |
|
Check Latest Price |
 Craft Culture Kit Craft Culture Kit |
|
Check Latest Price |
 IVSUN 116-Piece Kit IVSUN 116-Piece Kit |
|
Check Latest Price |
 Weller 25W Kit Weller 25W Kit |
|
Check Latest Price |
 FIRElood Dual Pen FIRElood Dual Pen |
|
Check Latest Price |
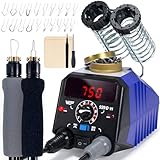 WEP 939D-VI WEP 939D-VI |
|
Check Latest Price |
 QLOUNI 171-Piece Kit QLOUNI 171-Piece Kit |
|
Check Latest Price |
 Plaid Burning Tool Plaid Burning Tool |
|
Check Latest Price |
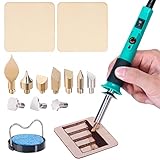 YIHUA 930-IV YIHUA 930-IV |
|
Check Latest Price |
 ArtSkills 14-Tip Kit ArtSkills 14-Tip Kit |
|
Check Latest Price |
1. YIHUA 939-II Wire-Nib Station – Best Overall for Line Work
YIHUA 939-II Wood Burning Kit Station Pyrography Pen 250~750℃/482~1382℉ Temperature Adjustable with 20 Wire Nibs, 1 Stable Pen Holder, 2 Stencils, 2 Scrap Wood, 1 S/S Tweezers, and 1 Pliers (Blue)
25W station
250-750°C range
20 wire nibs
LED dial
110-127V
Pros
- Wire-nib lines owners rate far above screw-tip burners
- 250-750°C covers light shading through dark burning
- 20 nibs for calligraphy stippling and crosshatching
- Detachable pen on a stable base for long sessions
Cons
- Nibs buzz and cut heat if set screws sit loose
- Tip housing on top of the pen knocks off easily
- Dial is calibrated in Celsius only
We spent the most time on this one because wire-nib stations are where most beginners plateau. The 939-II runs from 250°C to 750°C across a single knob, which is a genuinely wide working range, and the detachable pen means you can set it down without rewiring your hand every five minutes.
The nib is the difference. Instead of a screw-in brass point, you screw a short length of shaped wire into the head, and the wire glows along its whole length. That gives you a fine, even line that a stick tip cannot match, which is why owners coming from cheap screw-tip burners describe it as a night-and-day upgrade. We found the same reaction in a r/Pyrography thread where new users asked directly what to buy first.
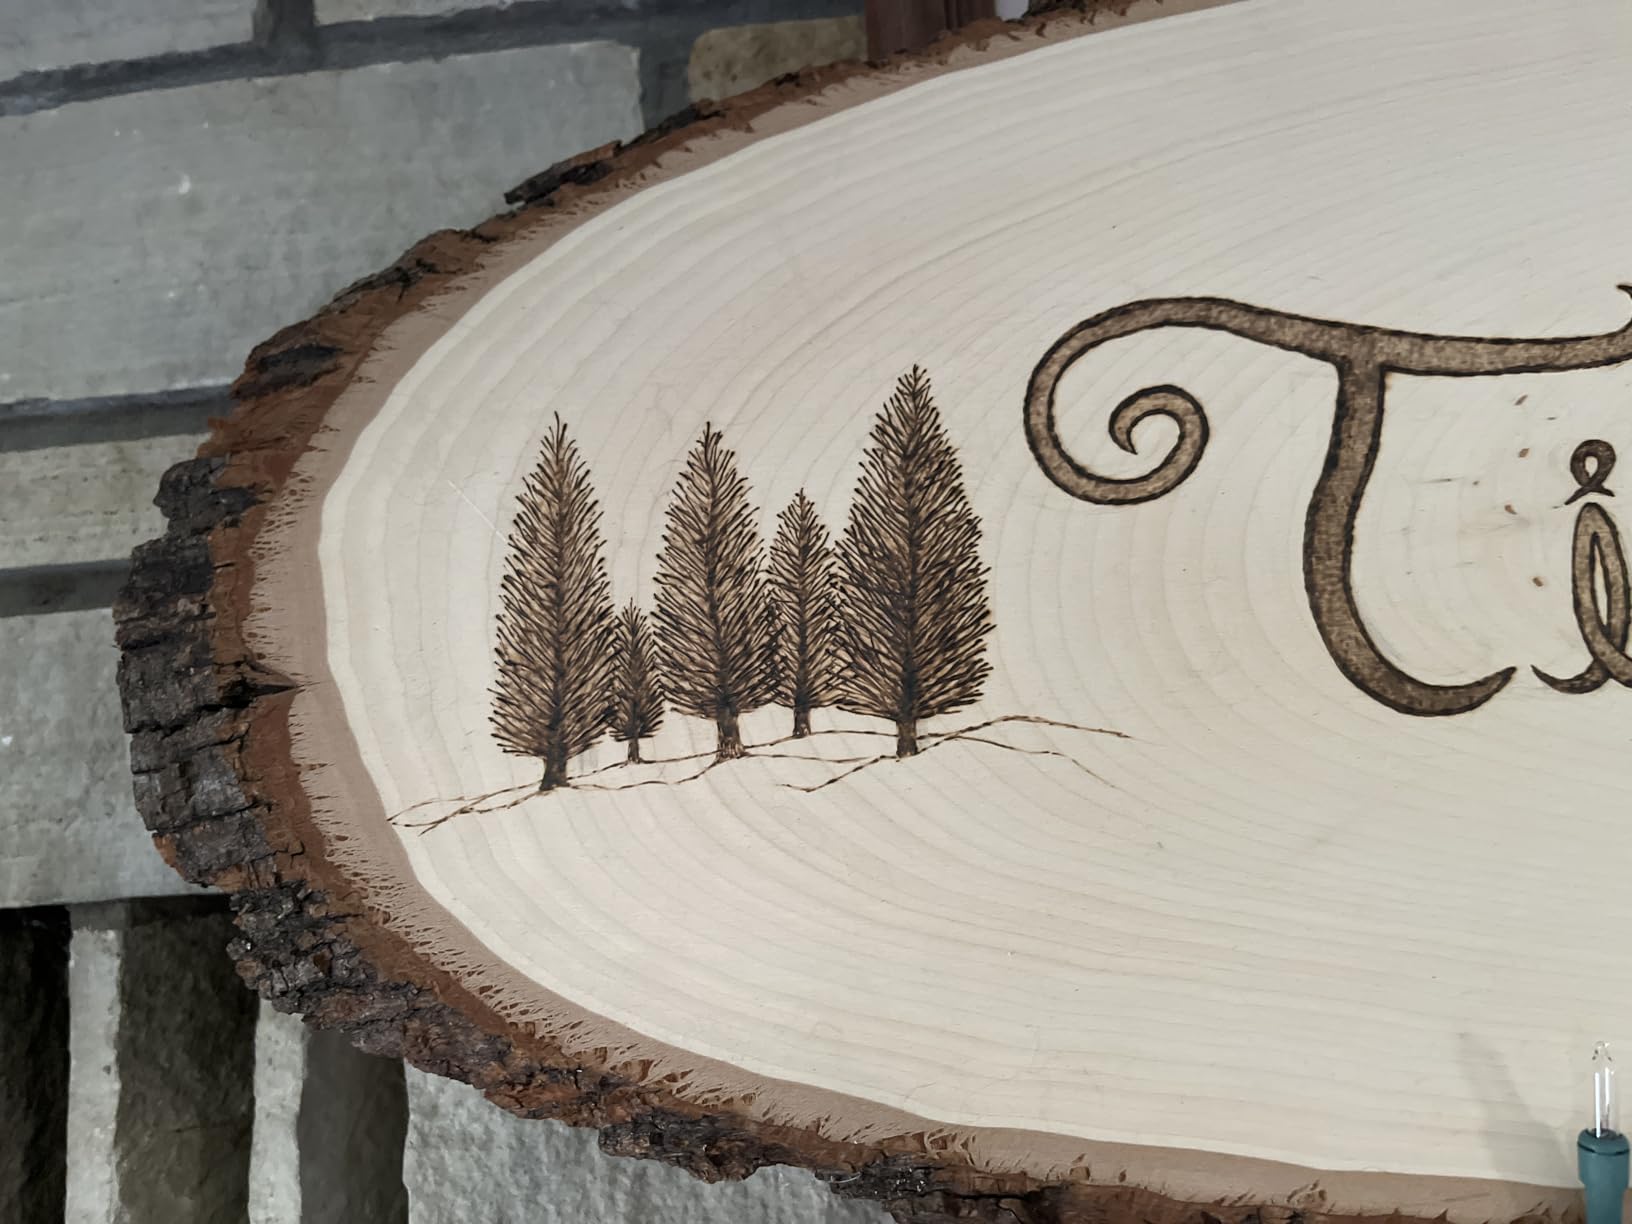
Twenty nibs come in a collector tin: skew, wire and shader shapes for outlines, stippling, feather burning, calligraphy and crosshatching. You do not need all twenty. The skew nib for outlining and the shader nib for shading cover most of what a first project needs, and the rest can wait.
Heat-up is quick and the LED readout shows your current setting, though it displays in Celsius, which takes a little getting used to for anyone working in Fahrenheit.
Why the wire nib is worth the learning curve
The whole learning curve on this station is tip installation. If a nib is not pushed fully home and the set screw is not tightened, the pen buzzes and refuses to reach temperature. Once the nib is seated properly, the line quality is the best in this roundup and stays consistent as the temperature changes.
Line variety is where this tool pulls ahead of the fixed-heat pens. At the low end of the range you get pale, fast-moving shading; at the high end you get dark, deep lettering that reads clearly from across a room.
When this station is the wrong choice
Skip it if your only goal is a gift project for a child. The nibs are consumable, they bend if you force them, and the 250°C floor is higher than you need for light decorative marks.
The 110-127V plug means this station is built for 110V mains power. Buying it in a 220V country means a transformer, and skipping that step is how people burn out the heating element. Check your voltage before anything else.
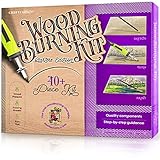
2. Craft Culture Complete Woodburning Kit – Best for Guided First Projects
Craft Culture Beginners Wood Burning Kit for Kids, Teenage Boys & Girls – Easter Gifts for Boy & Girl – Craft Projects Birthday Gift Idea for Children Teen Woodburning DIY Hobby Kits Art Activities
Fixed heat
5 tips
8 pre-sanded plaques
6 templates
12 watercolors
Pros
- Eight finished projects possible without a second purchase
- Step-by-step booklet written for a real first-timer
- Finger safety guard and ergonomic rubber grip
- Pre-sanded blanks with carbon paper and watercolors
Cons
- No temperature adjustment or digital readout
- Five tips is thin beside 20-tip kits
- Teens outgrow the fixed heat quickly
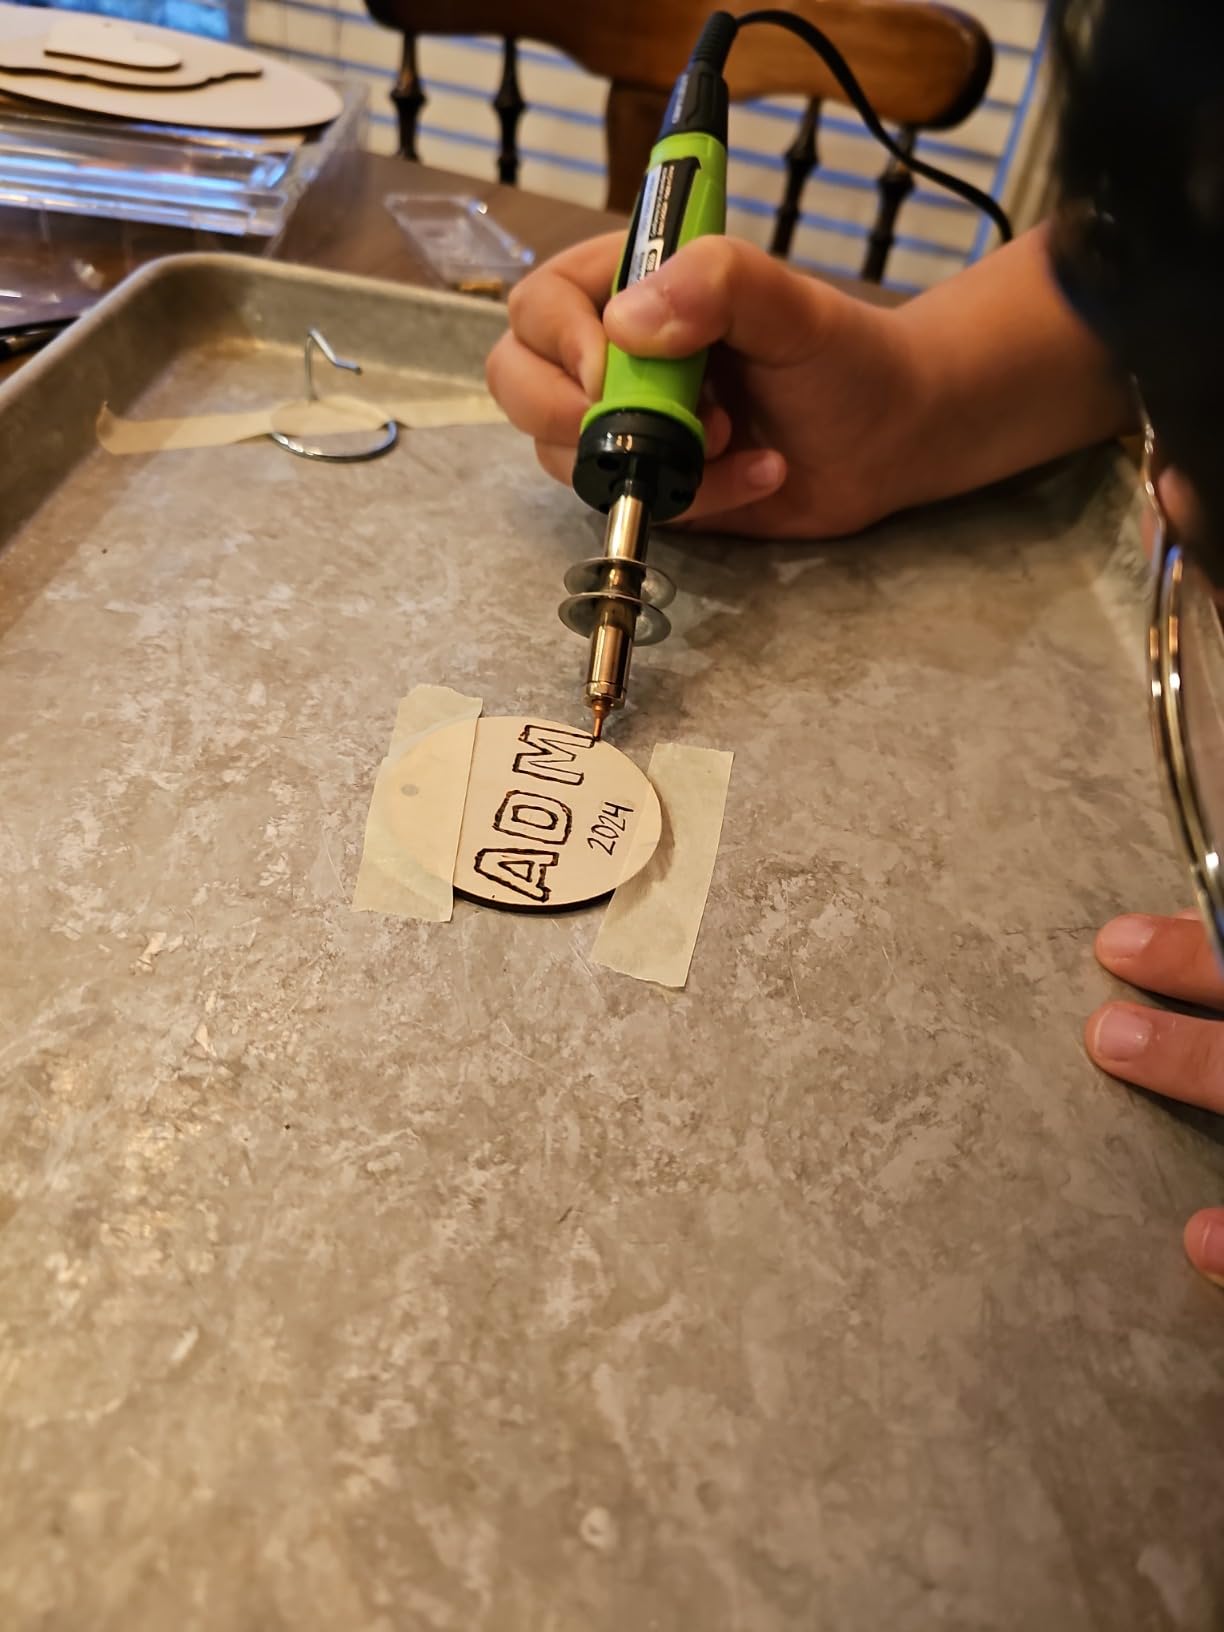
Forum threads keep circling the same complaint: new burners stall at the what do I even make question. This kit is built around that exact blocker. You get eight pre-sanded plaques, six traceable templates, a letter stencil, carbon paper and twelve watercolors, which is enough material to finish eight separate pieces.
The tool itself is a fixed-heat pencil-style burner with five tips covering chisel, flow, mini-flow, cone and textured stroke work. It has an ergonomic rubber grip and a finger safety guard, and at 16 ounces the whole package is light enough for a teenager to use comfortably.
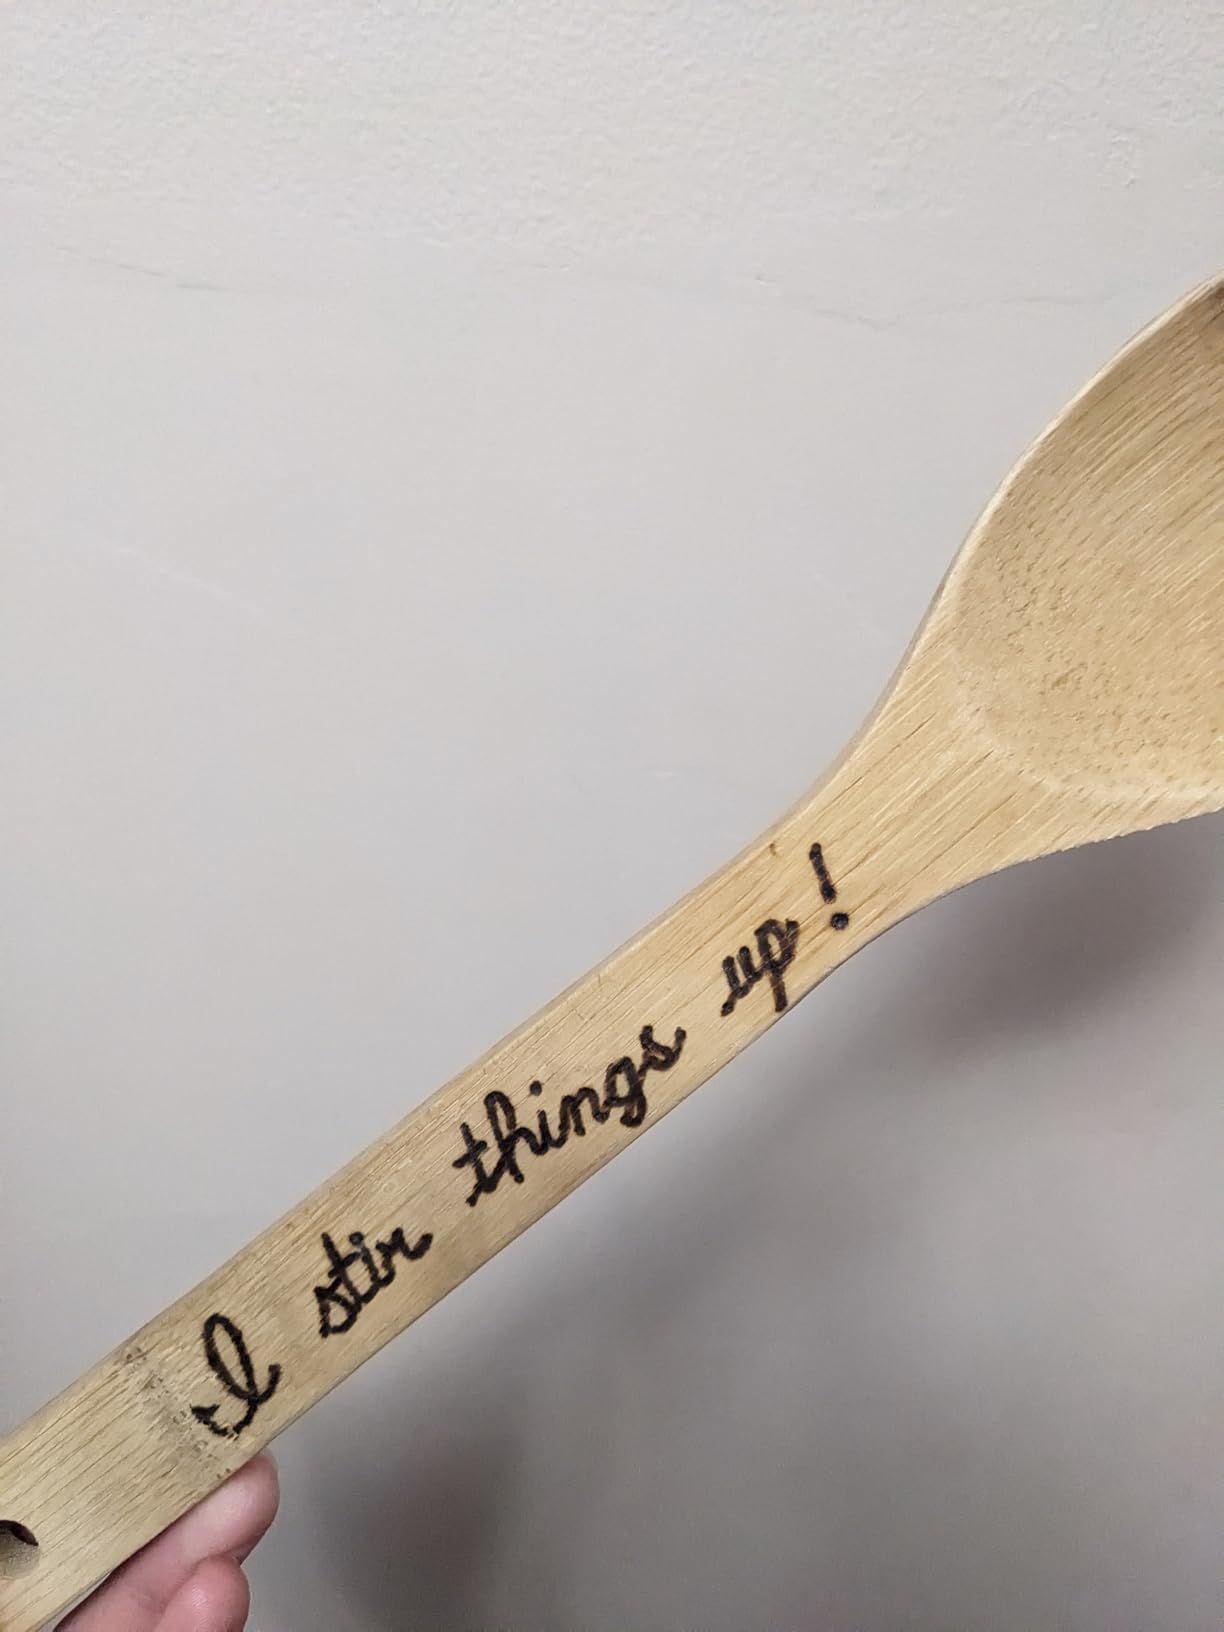
The instruction booklet walks through sketch, burn and paint for each of the eight projects in order. We think that sequencing matters more than the specs: a beginner who finishes a small piece in the first sitting is a beginner who keeps going.
This is the pick we recommend when the person buying is a beginner who has never held a pyrography pen and does not want to research tips, wood and transfer paper before starting.
What you can finish in the first session
The traceable templates are the reason this works. You lay carbon paper on a plaque, tape a template on top, trace the outline, and the design transfers onto the wood for you to burn. That removes the drawing skill barrier that stops most first-timers.
Then a watercolour pass finishes the piece, which gives an early result that looks intentional rather than like a scorch test.
When you outgrow it
Fixed heat is the ceiling here. Once you want pale gradient shading one minute and dark lettering the next, you will be waiting for the tool to cool or working around a single compromise setting.
Five tips also means less room to experiment with stroke width and texture. If the plan is fine detail work or portraits, look at a kit with twenty or more tips rather than growing out of this one sideways.
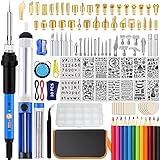
3. IVSUN 116-Piece Adjustable Kit – Best Value
116pcs Wood Burning Kit, Adjustable Temperature 220~480℃ for Beginners
60W ceramic element
220-480°C
30s heat-up
59 tips
116 pieces
Pros
- Adjustable 220-480°C dial for repeatable shade
- Heats in about 30 seconds
- 59 tips plus stencils carbon paper and blanks
- Works on wood leather cork foam and circuit boards
Cons
- 116 pieces can overwhelm a first-time buyer
- Tips mark and gouge the wood if you press hard
- 480°C ceiling sits below 750°C stations
This kit has the highest review volume of anything we looked at, and the reason is the balance between price and feature count. You get a 60W ceramic element with an adjustable dial running from 220°C to 480°C, which is a real control range rather than a switch between two heat levels.
The accessory count is where it gets complicated. You are counting 116 pieces here, and that includes 59 tips, twelve colored pencils, ten carbon papers, fourteen stencils, ten wood pieces, a solder kit, tweezers, a stand and a carry bag.
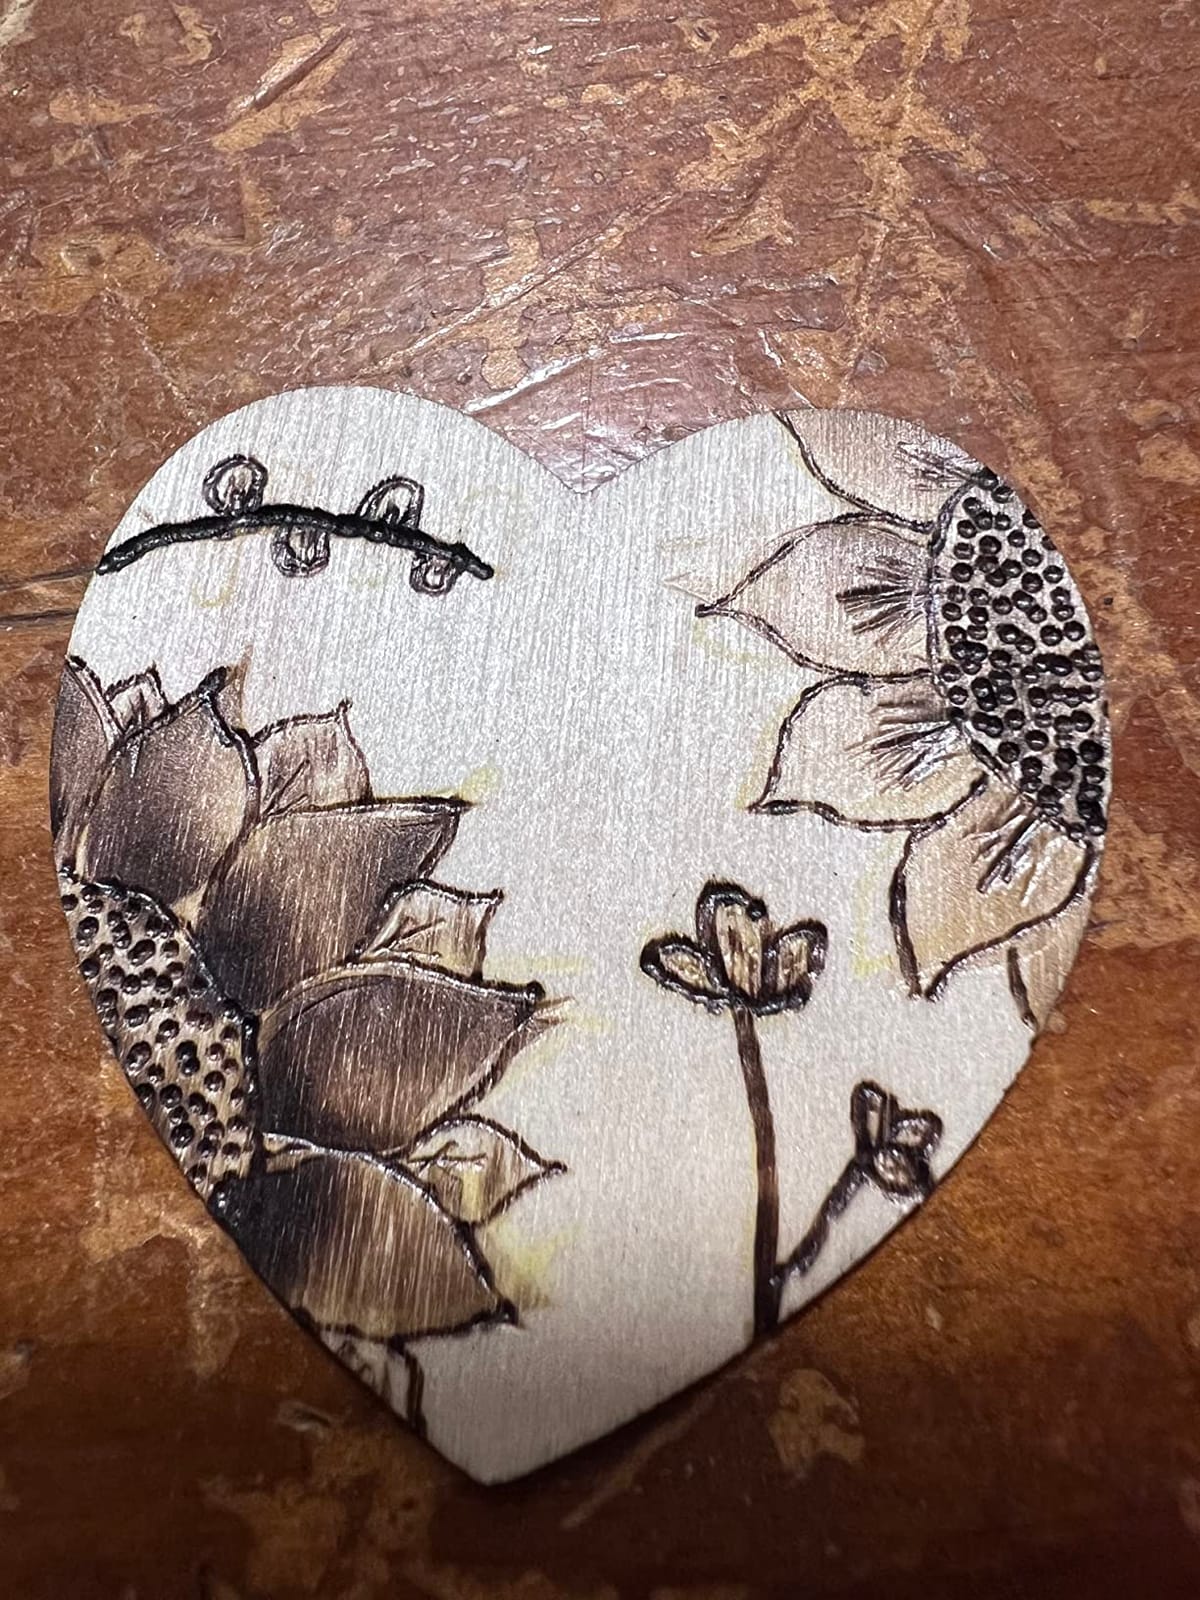
Most of that is genuinely useful rather than filler. The carbon paper and stencils solve the design transfer problem, the carry bag keeps the tips from scattering, and the extra blanks mean you can keep practicing after the included pieces run out.
Heat-up in roughly 30 seconds is fast enough that you are not waiting by the time you have picked up your piece. Instructions were revised based on earlier customer feedback, which is a small sign the manufacturer listens.
How to use the accessory list without drowning in it
Ignore the piece count on day one. Pull the pen, a point tip, a shading tip and a chisel tip out of the case and put the rest in a drawer. The tip shapes that matter most early on are the point for line work, the spoon or shading tip for gradients and the chisel for filling.
The manufacturer advises light pressure. Push hard and the tips dig into softwood and leave gouge marks you cannot sand out, so let the heat do the work rather than the weight of your hand.
Where it stops short
The 480°C ceiling is the honest limitation. If you plan to burn hardwood, cut thicker wood or push dark heavy lettering, a station rated to 750°C will keep going where this one starts to labour.
The scale of the box is also a real factor for some people. If a 116-piece kit reads as clutter rather than value to you, the smaller boxes below cover the same ground with less to sort.
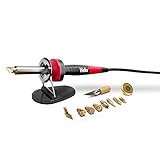
4. Weller 25W 15-Piece Kit – Best Brand-Name Soldering-Iron Style Burner
Weller Genuine 15 Piece 25W/120V Woodburning Kit | WLIWBK2512A
25W
400°C maximum
10 tips
stay-cool handle
1 year warranty
Pros
- Soldering-grade brand build that outlasts generic kits
- Stay-cool handle and heat deflector cut hand fatigue
- Short tip-to-grip distance improves precision
- On-board safety rest holds the hot iron
Cons
- 25W feels underpowered on hardwood
- Fixed temperature with no dial or readout
- Plastic case must never hold a hot tip
Weller builds soldering tools for a trade, and this kit borrows that engineering. The stainless steel element runs at 25W to a 400°C maximum, which is not the hottest tool here, but the handle design is the part that matters over a long session.
The stay-cool handle and front heat deflector keep heat away from your working hand, and the short tip-to-grip distance gives you real control on small pieces. Owners who upgraded from unbranded burners call this the reason the tool outlasts what they had before.
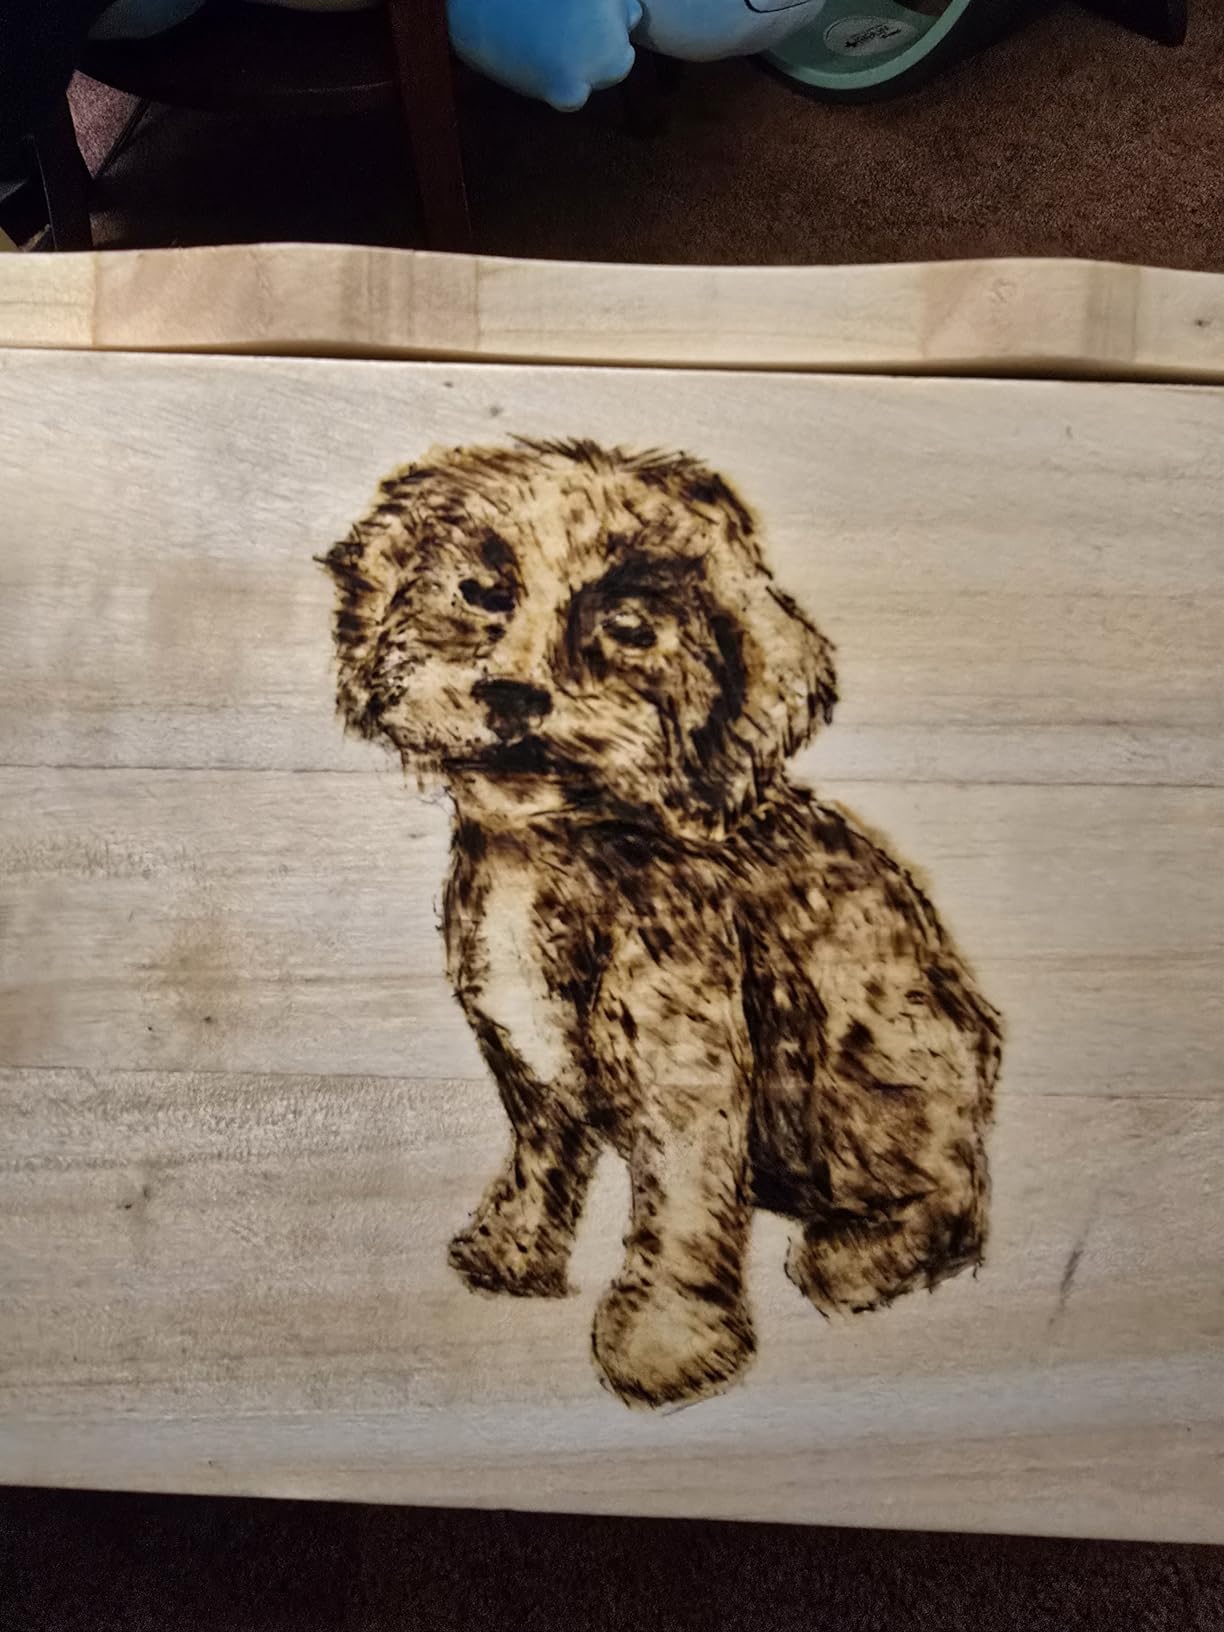
Ten tips come in the box: one soldering tip, three branding tips and six woodburning tips, all changing quickly at the head. The whole thing is rated for 120V AC and carries a one-year manufacturer warranty, which is more support than most kits in this price range offer.
This is also the pick if your projects go beyond wood. The same iron handles leather embossing well, and the branding tips work for pyrography on leather, cork and light plastics.
Where the 25W ceiling shows up
Some users report it lacks power for deeper engraving on hardwood, and that matches the specification. On basswood and plywood it moves fine; on oak, walnut or anything thick, you will be waiting and re-heating.
The fixed temperature is the other trade-off. There is no adjustment dial and no readout, so you are working at one heat level and managing shade through speed and pressure instead.
The case warning worth reading twice
The plastic storage case liner and lid can melt if you set a hot tip inside it. Let the iron cool fully before you put it away, which is also the right habit for every tool on this list.
We like this pick for anyone who already has a pyrography habit going and wants one tool that handles wood and leather without a second purchase.
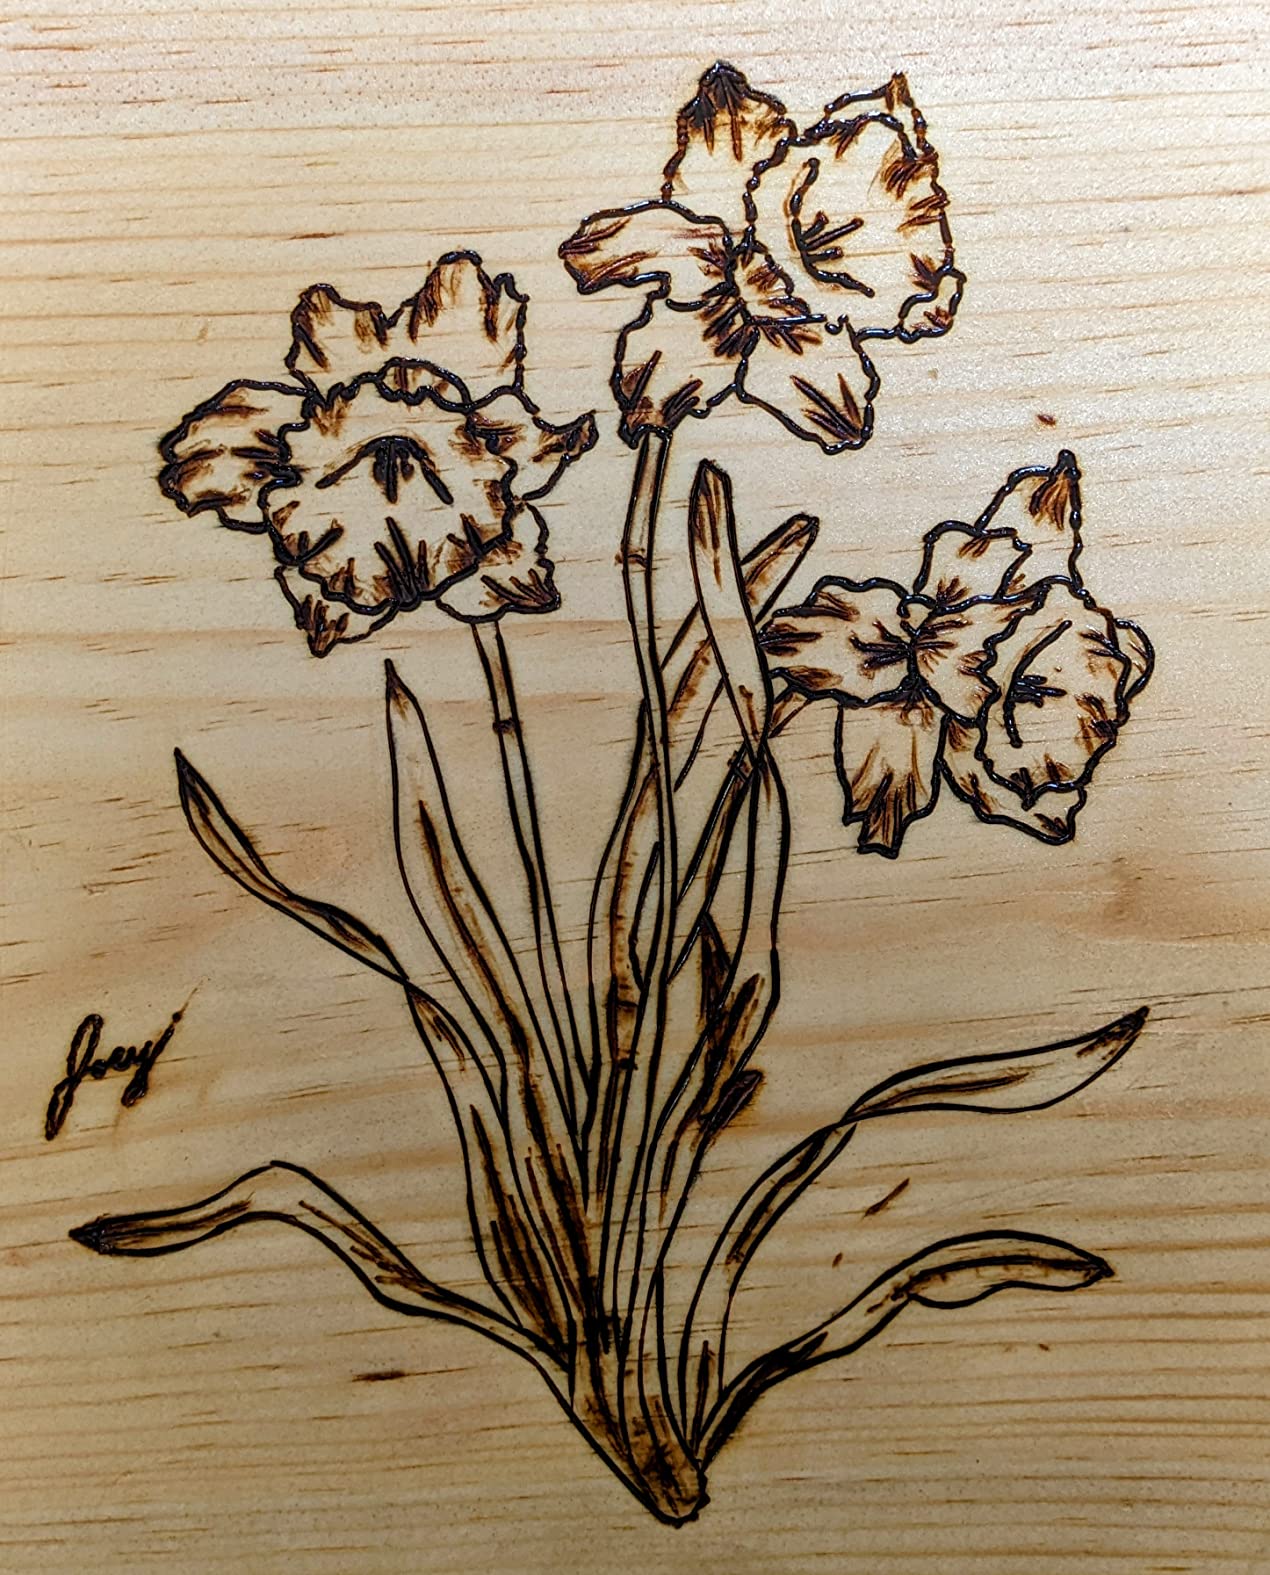
5. FIRElood Dual Pen Station – Best for Two-Pen Workflow
FIRElood Wood Burning Tool, Wood Burner kit Pen 25~750℃, Wood Burning kit with Digital Thermometer Temperature Adjustable Temperature, 2 pyrographic Wood Burning pens, 30 Wood Burning Pen Tips
27W
up to 750°C
2 pens
30 tips
5-10s heat-up
digital
Pros
- Two pens let you swap nibs without waiting for cooldown
- Digital readout makes repeatable shading easy
- 30 nibs plus a screwdriver for tip screws
- Only one pen powers on at a time as a safety feature
Cons
- Handles warm up during long sessions
- Power cord is short and runs warm
- Temperature drifts on a loose wire connection
The idea behind this station is simple and it works. Two detachable pyrography pens sit in a holder, only one powers on at a time, and you flip between them with a switch instead of unscrewing a tip and waiting for it to cool.
That matters more than it sounds. On a single-pen tool, changing from a fine point to a shading tip costs you a minute every time. Here you keep a fine nib loaded and a broad one loaded, and move between outline and shading in seconds.
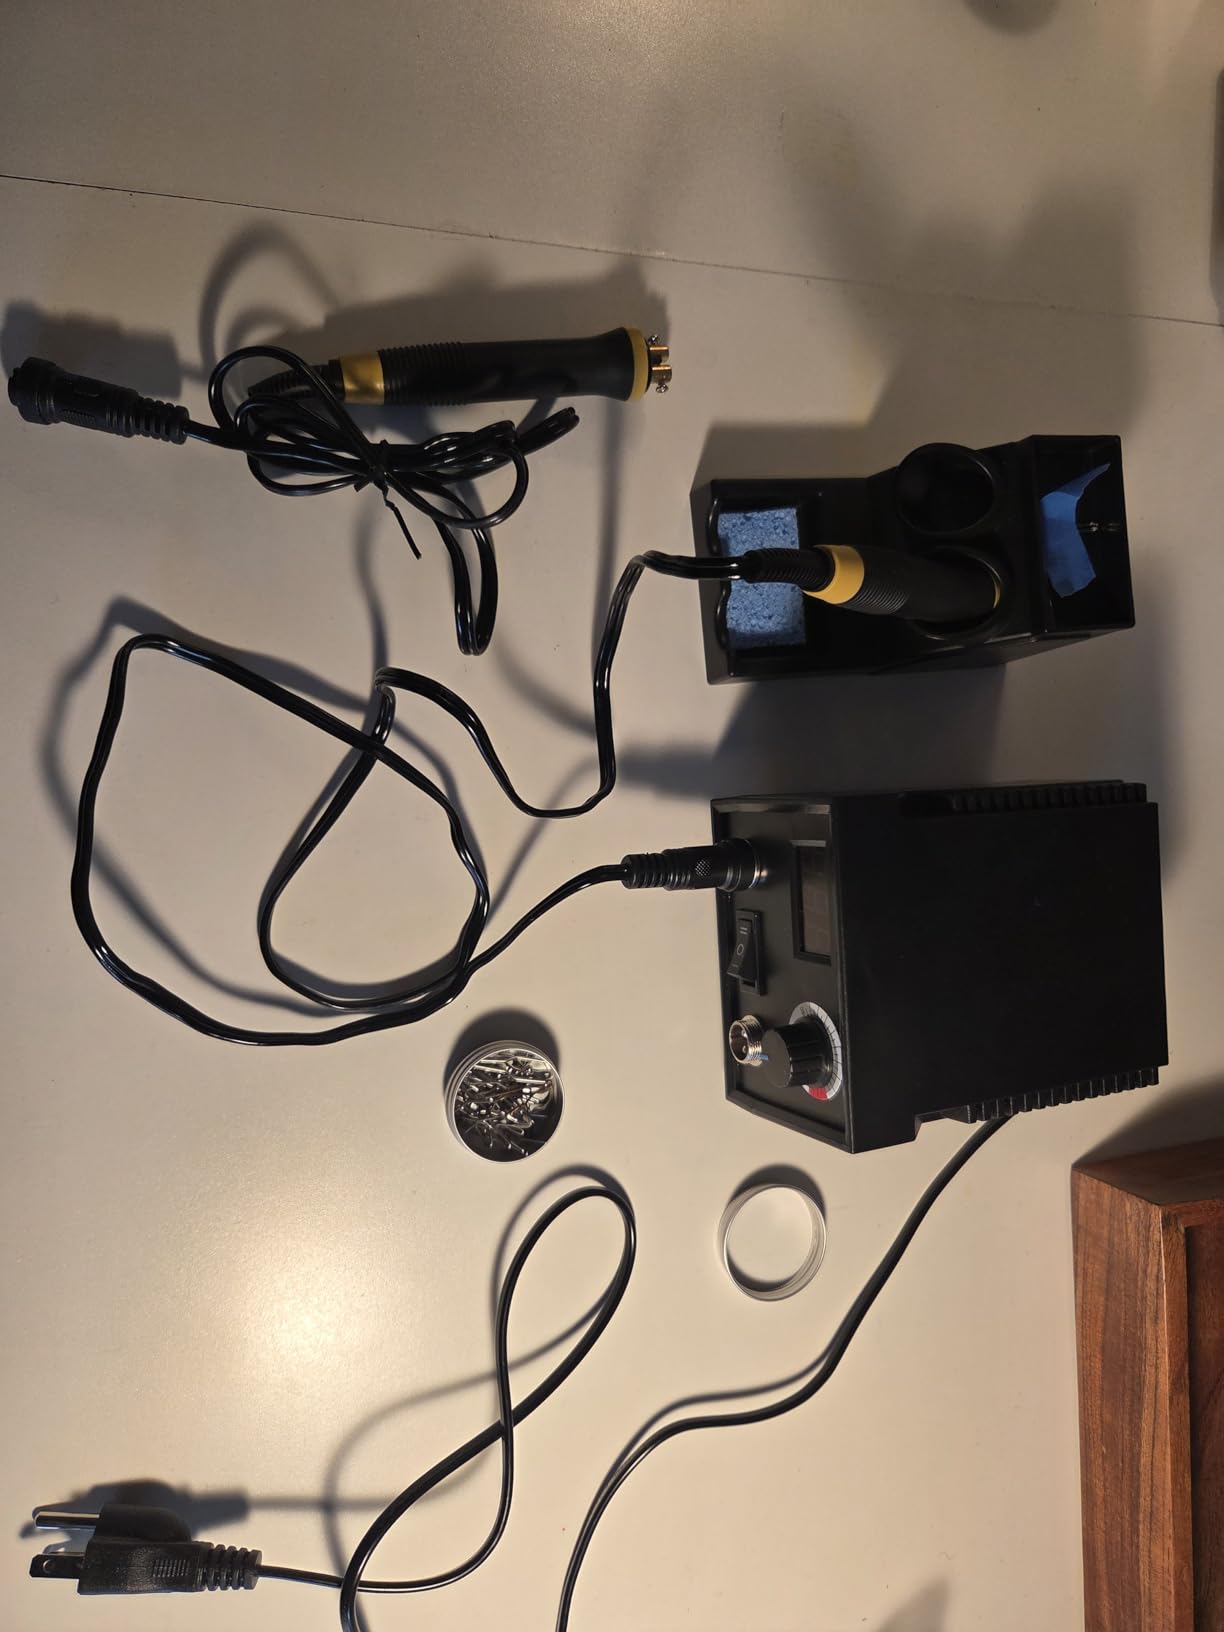
The digital temperature display is the other real gain. It runs up to 750°C, heats in five to ten seconds, and the readout makes shade repeatable once you learn which number suits which wood. Thirty metal nibs ship in the box, far more than kits at similar cost typically include.
The pen spec is specific in a useful way: 0.75 inch diameter, 33 grams, with a bakelite heat barrier under a non-slip silicone cover. The box also includes a double pen holder, metal control box, screwdriver, cleaning sponge and a small practice board.
What the dual pens change in practice
Shading gets much more relaxed. On one pen you keep your settings constant because you cannot afford to change them, so you learn to shade at one temperature. With two mounted nibs you run the point tip hot for lines and the shader tip cooler for gradients.
Long-term owners report years of use from the metal box, and the nibs are reported not to warp like cheaper brands do.
Where it gets uncomfortable
Handles get warm during long sessions, and some users wear a glove. That is the most common complaint in the reviews and it is worth knowing before a six-hour session rather than after.
The power cord also runs warm and is on the short side, which pushes some people toward an extension cord. And if a wire connection loosens, the displayed temperature drifts from what the tip is actually doing, so tighten those tip screws with the included screwdriver every so often.
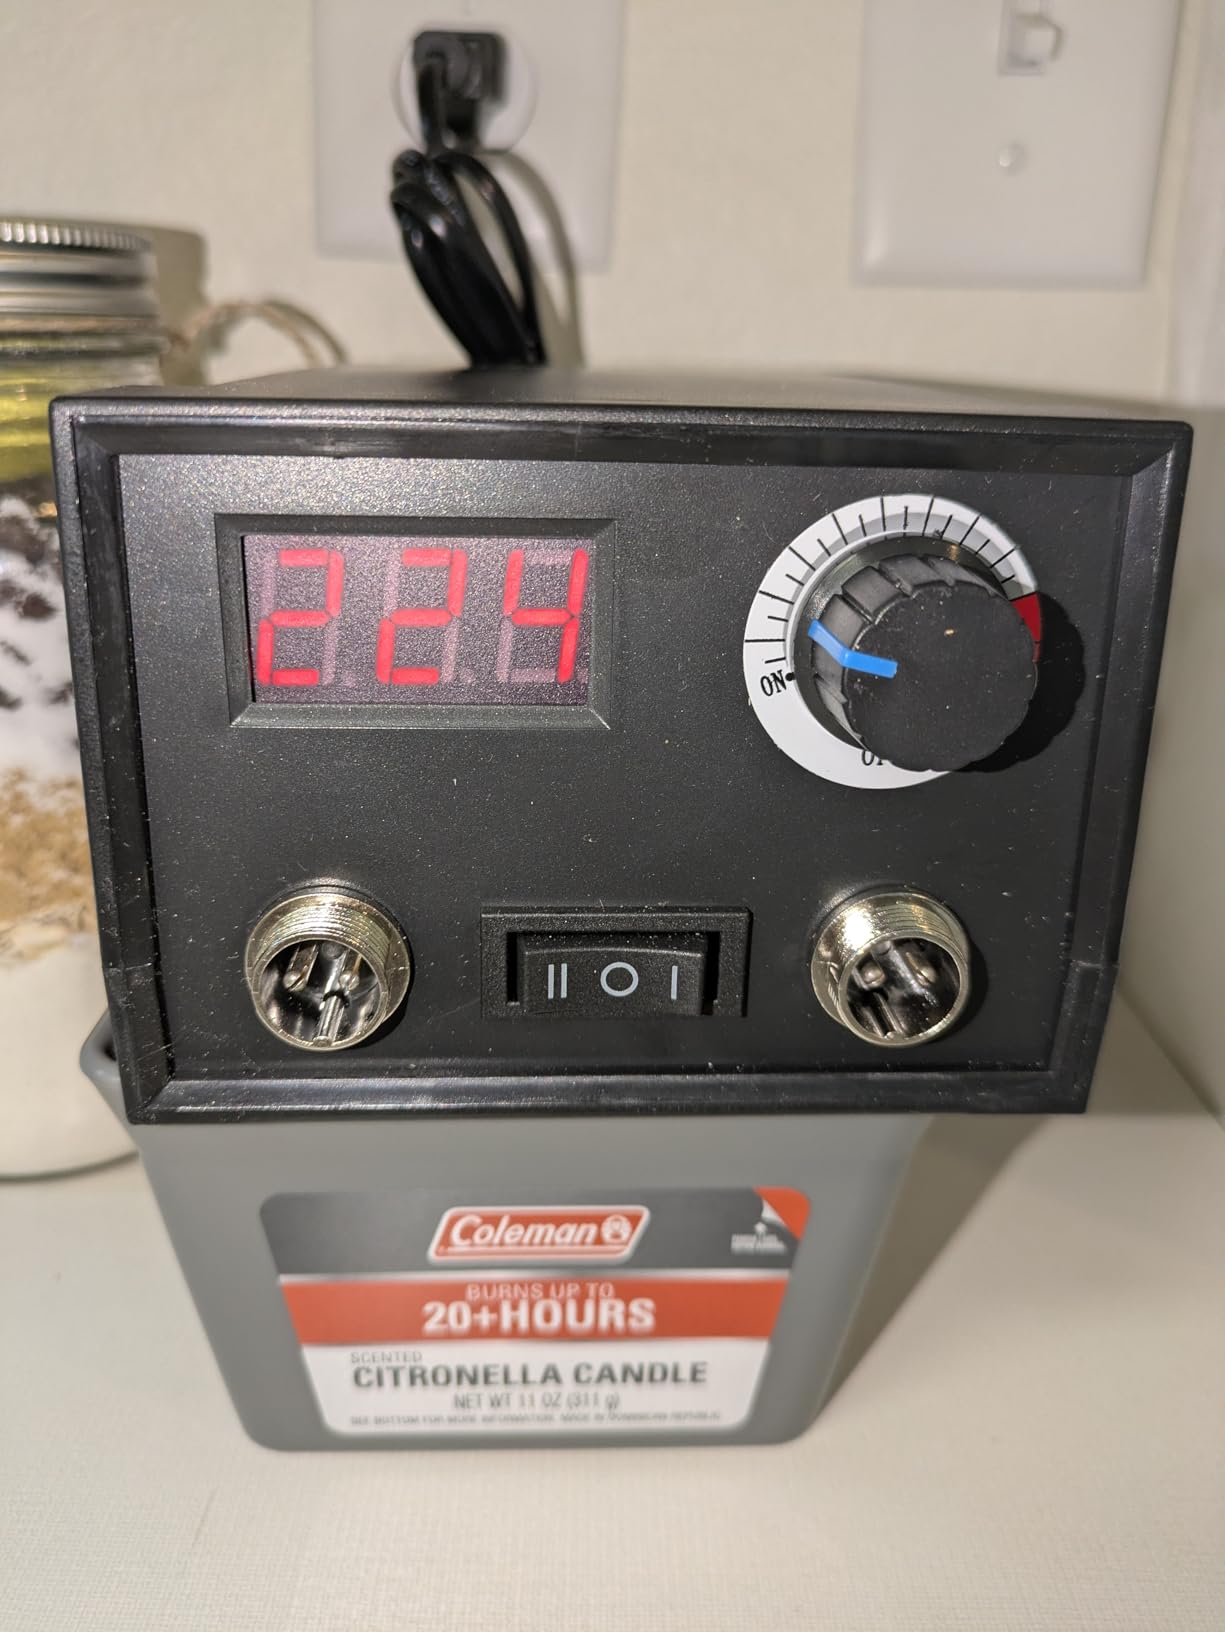
6. WEP 939D-VI Dual Pen Station – Best Wire-Nib Step-Up
WEP 939D-VI Dual Pen Wood Burning Kit 250-750℃/482-1382℉ A/B Toggle Wood Burning Tool with 2 Detachable Pens, 20 Wood burner Tips, Dual-Barrel Holder. Suitable for Pyrography, Leather Burning Kit
30W
250-750°C
A/B toggle
2 detachable pens
20 wire nibs
Pros
- A/B toggle switches between two loaded nibs instantly
- Output genuinely hot and moves through wood quickly
- Insulated grips on both pens
- Tip collector tin docks into the unit body
Cons
- One to two minutes of warm-up before it stabilises
- Temperature dips on very large continuous pieces
- Five of the twenty tips repeat rather than add shapes
This is the same hardware family as the YIHUA 939-II but with a second pen and an A/B toggle instead of a single channel, so it fits into our guide as the step-up option for anyone who liked wire-nib work and wants both pens mounted.
The toggle is the feature to understand. A red LED shows which side is live, and flipping it moves power to the other pen instantly without cooling or re-heating. Twenty wire nibs, a screwdriver, tweezers, spare screws and two wood pieces come in the box.
The base weighs 3.5 pounds and the holder-in-body design keeps the footprint small at roughly 5 by 3.5 inches, so it fits a normal desk. The tip tin docks into the unit itself, which owners call out as a small convenience that stops loose nibs migrating around the desk.
At 30W with a 250-750°C range, it gets through wood quickly even below maximum setting, and the insulated grips on both pens kept heat away from hands in longer sessions.
Why buyers treat it as a step-up rather than a first tool
It needs one to two minutes of warm-up, plus a short settling period before the temperature stabilises. That is fine once you have a routine and frustrating if you want to sketch ideas fast. Beginners tend to prefer tools that are usable within seconds.
The tips also sit a little further from your fingers than some competing pens, so there is a short adjustment period for line control.
Where it falls down
On very large pieces under continuous use, the temperature dips and recovers after a rest. Break long jobs into sections and this stops mattering.
Of the twenty tips, five are duplicates rather than ten distinct shapes, and it is rated for 110-127V only. If you want the second pen but do not need the wide heat range, the FIRElood station above is the more flexible option.
7. QLOUNI 171-Piece 100W Kit – Best for Lettering and Names
171PCS Wood Burning Kit, 100W Digital Wood Burner Tool, Adjustable Temp Pyrography Pen Set with Tips, Letter Number Stamps, Stencils, Transfer Papers, Carving Tools, Case for Adults & Beginners
100W
180-520°C digital
36 letter and number stamps
171 pieces
Pros
- Thirty-six letter and number stamp tips for names and dates
- Digital display across 180-520°C
- Trace burn carve and colour workflow in one case
- Includes heat-resistant gloves and a metal stand
Cons
- 520°C ceiling is low against 750°C stations
- 171 pieces are intimidating for a first buyer
- Warranty is listed as none
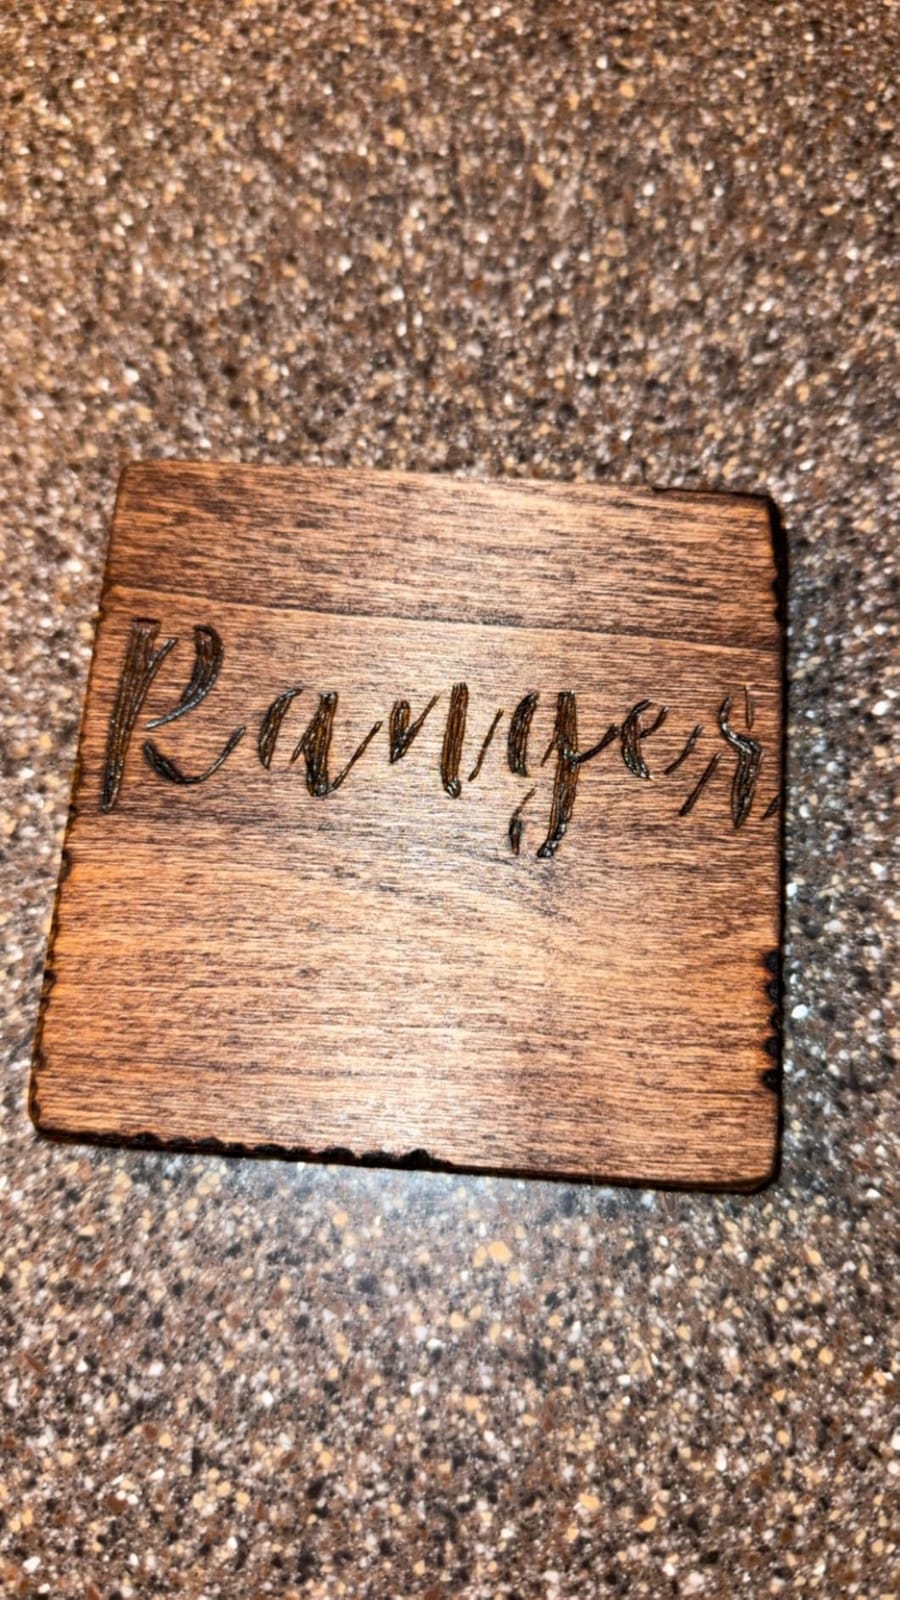
Thirty-six letter and number stamp tips are the reason this kit exists. You screw in a character and press it straight into the wood, which means consistent names, dates and tags without freehand lettering or a calligraphy nib.
That is a beginner-friendly shortcut. Freehand lettering is one of the hardest pyrography skills to pick up, and stamps remove it entirely, which makes this a good fit for personalised gifts, ornaments and name tags.
The 100W element heats quickly and holds steady heat on wood, leather and cork across a digital 180-520°C range. Alongside the stamps you get 28 wood burning tips, five soldering tips, ten carving tools, 50 transfer papers, 18 colored pencils, seven stencils, ten wood pieces, tweezers, gloves and a stand, all in a zippered case.
Safety extras are notable: heat-resistant gloves and a metal stand with a cleaning sponge are in the box, and the instructions say to work in a ventilated area and let tips cool before changing them.
Where stamps beat drawn lettering
Every character comes out identical, which matters when you are making a set of matching tags or a batch of personalised ornaments. Freehand burns always vary slightly, and at beginner level that variation usually looks like an error.
The transfer papers also make the workflow continuous: trace a design, burn it, carve detail, then colour it with the included pencils without leaving the kit.
Where it falls down
The 520°C ceiling is well below the 750°C stations above. That is fine for most decorative work but it means less headroom on hardwood or thick pieces.
The 171-piece count is daunting if you are new. Review volume here is among the smallest in the roundup, and the warranty is listed as none, so treat it as a complete project kit rather than a tool you would expect to service for years.
8. Plaid Wood Burning and Stencil Cutting Tool – Best for Stencil Work
Plaid wood burning and stencil cutting tool,
Fixed heat
4 burning plus 2 stencil tips
stand included
5.92 oz
Pros
- Cuts stencil material deco mesh and foam cleanly
- Heats fast and holds a consistent heat
- Tips swap easily while the tool is powered off
- Suitable for leather engraving as well as wood
Cons
- No temperature control at all
- Very hot barrel with no heat guard
- Threaded tips can loosen and strip
This is the odd one out in the roundup because it does two jobs. Alongside four wood burning tips it includes two stencil cutting tips that slice through stencil material, deco mesh and foam cleanly without fraying the edges, which is the part no other tool here does.
At 5.92 ounces it is the lightest option on the list. A stand is included, and the tips swap while the tool is powered off, so you are never changing a hot tip.
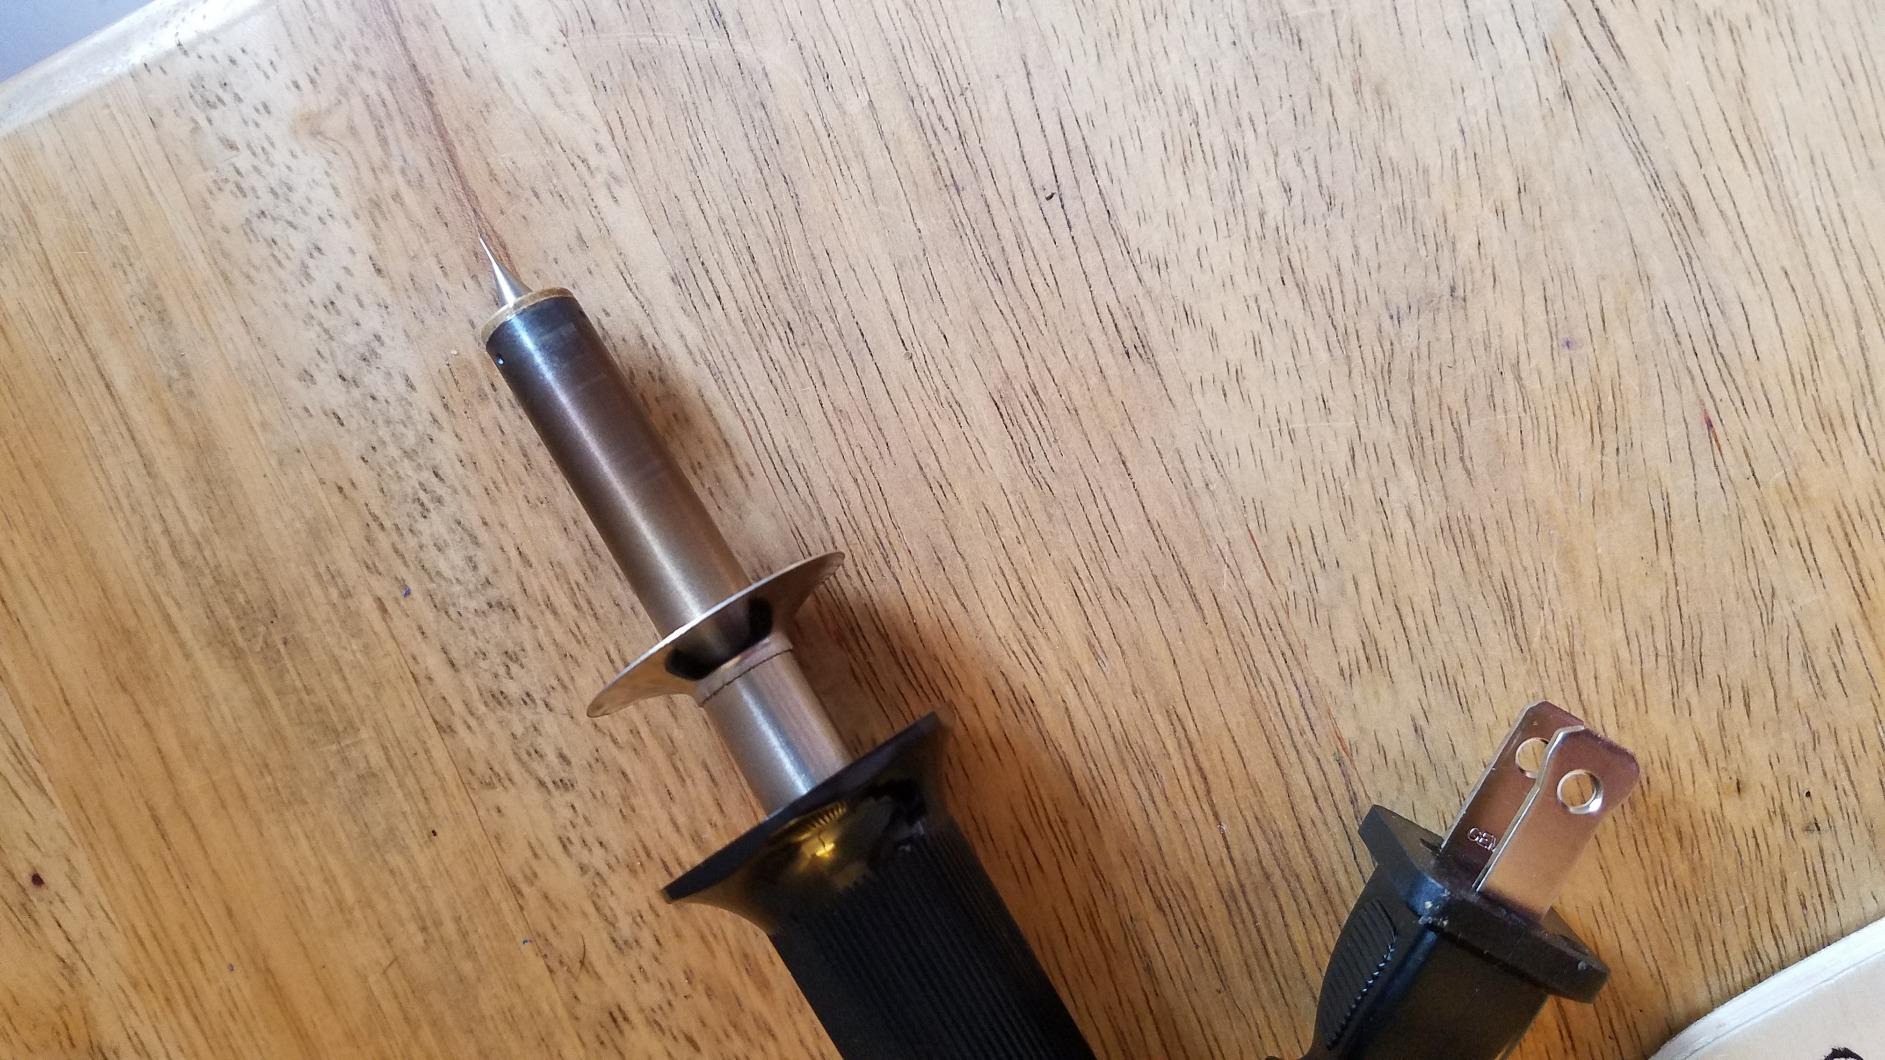
Plaid is an established craft brand, and owners rate it as a capable first tool that heats quickly and holds heat consistently. It also handles light leather engraving, and the listing notes it works for cutting stencils and transferring images.
Heat is fixed, and the barrel runs hot with no heat guard over it, so this is a short-session tool rather than an all-day one.
When the stencil tips are worth it
If your project involves layered stencils, mesh or thin foam, nothing else on this list cuts them. That capability is what separates this tool from a generic wood burning pen at a similar cost.
For plain wood burning on its own, the same money spent on a tool with adjustable heat buys you far more control over shade.
What to watch out for
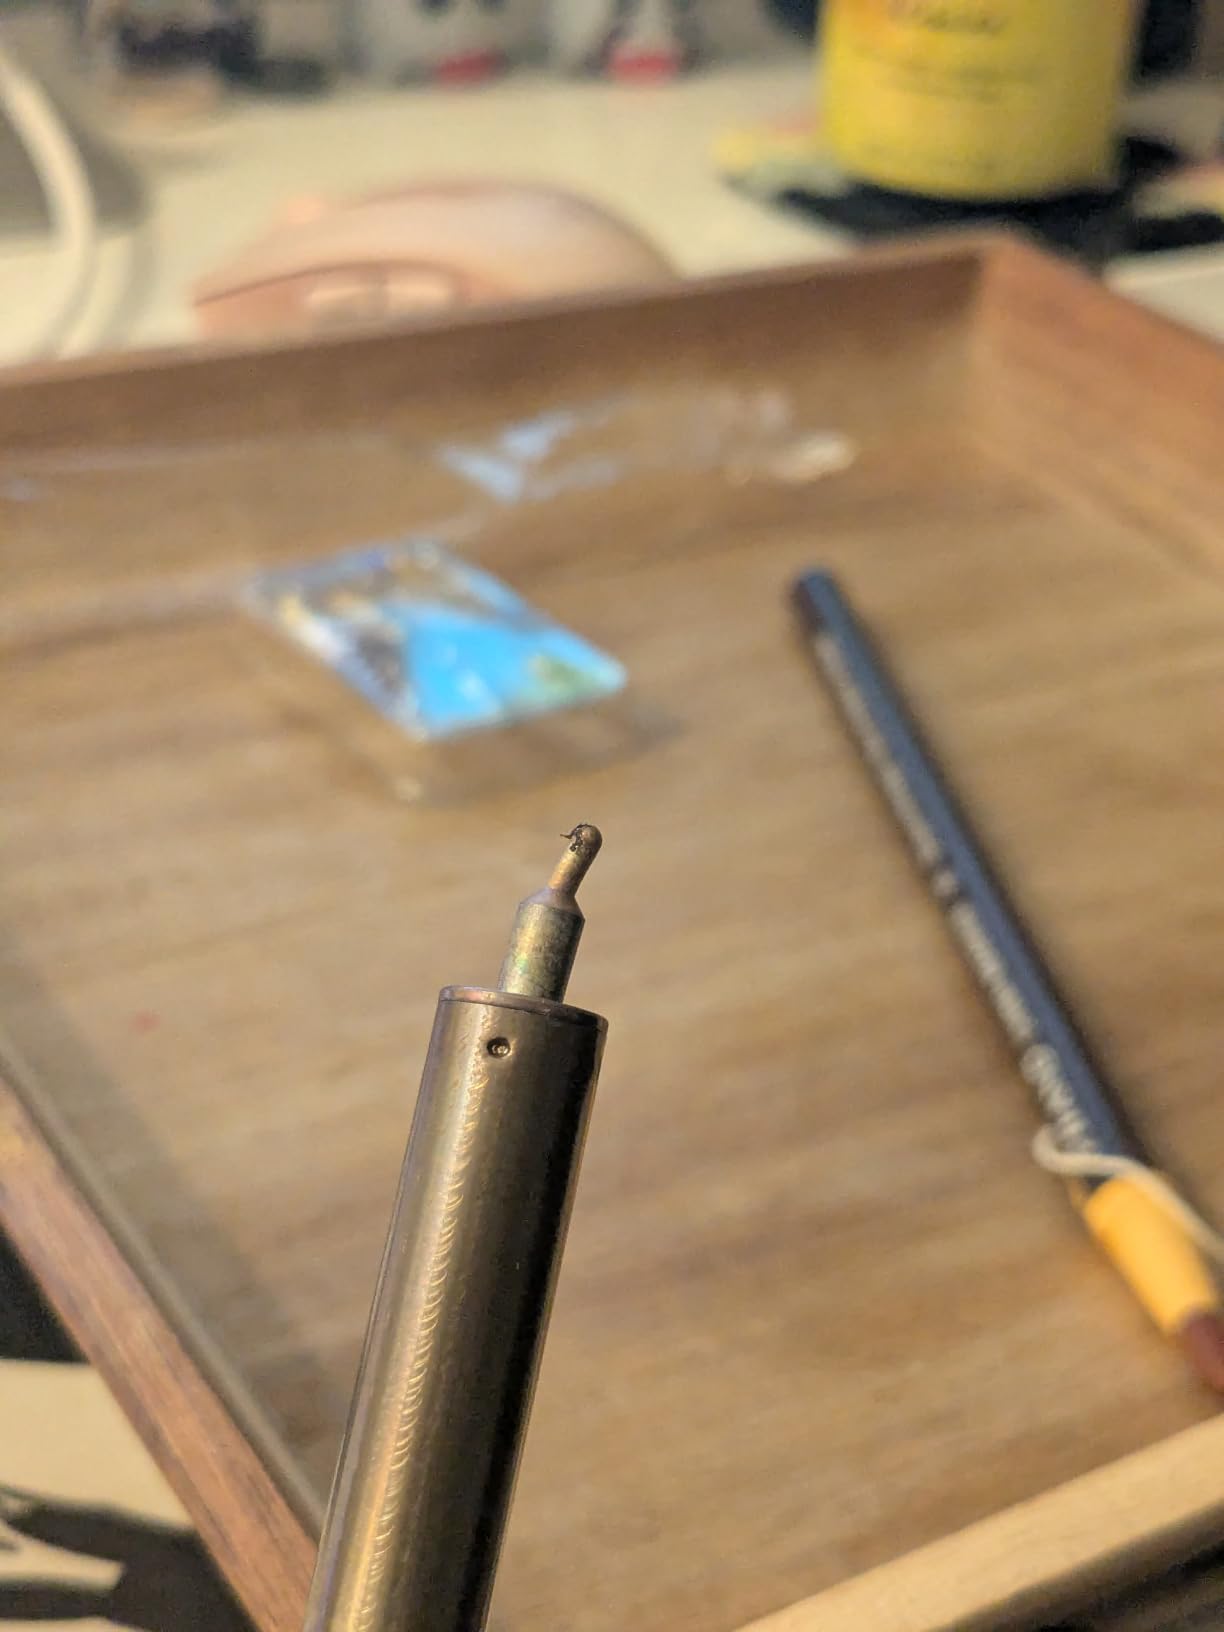
The threaded tip mount is the weak point. Some reviewers report tips loosening during use, and a minority report threading damage that stopped the tool accepting new bits afterwards. Check the thread feels secure before you start a long piece.
There are also reports of the tool failing shortly after first use. If you go this route, test the tool fully on scrap wood before you commit to a project blank.
9. YIHUA 930-IV Adjustable Pen Kit – Budget Pick
YIHUA 930-IV Pyrography Wood Burning Pen Kit Adjustable Temperature, Power Switch, Heat Deflector, Rubber Grip with 10 Pyrography Tips, 2 Wood Pieces, Flip-Up Pen Stand, for Woodburning DIY Crafts
Dial heat control
10 tips
7.8 oz
flip-up stand
110-127V
Pros
- Dial adjusts heat level to control shade intensity
- Front heat deflector protects the working hand
- Soft non-slip grip improves drawing feel
- Light 7.8 oz body with a flip-up stand
Cons
- Single pen with no temperature readout
- Ten tips and two blanks make a thin bundle
- Silicone cover must be removed before use
The simplest answer to the adjustable-heat question at the lowest cost. The 930-IV has a real heat dial rather than an on-off switch, so you can darken a burn by turning the knob instead of changing your speed, which is the single most useful upgrade a first tool can offer.
The heat deflector and soft non-slip rubber grip solve the two complaints beginners raise most about cheap burners: a hot barrel and an uncomfortable hand after an hour.
Ten pyrography tips, two unfinished wood pieces, a flip-up pen stand and a cleaning sponge make up the kit. The built-in power switch can be toggled while the tool stays plugged in, and an indicator light shows when it is live.
At 7.8 ounces it is the lightest adjustable tool here, and the 110-127V plug plus twelve-month manufacturer technical coverage match the other station in this roundup.
What you get for the money
Dial heat control at this level is the win. You can hold a pale shade on basswood and then push the temperature up for dark lettering on the same piece, which is the specific thing fixed-heat pens cannot do.
Light weight also matters for practice. Light tools reduce hand fatigue during the repetitive drills that build line control.
Where the budget shows
Ten tips is a modest assortment, and there is no stencil, no carbon paper and no starter wood beyond the two blanks. You will be buying basswood and transfer paper separately.
There is also no digital readout, so you are judging shade by eye. Remove the silicone cover before use and tighten tips while the tool is cool, or you will get an uneven burn.
10. ArtSkills 14-Tip Kit with Hot Knives – Best for Cutting and Carving
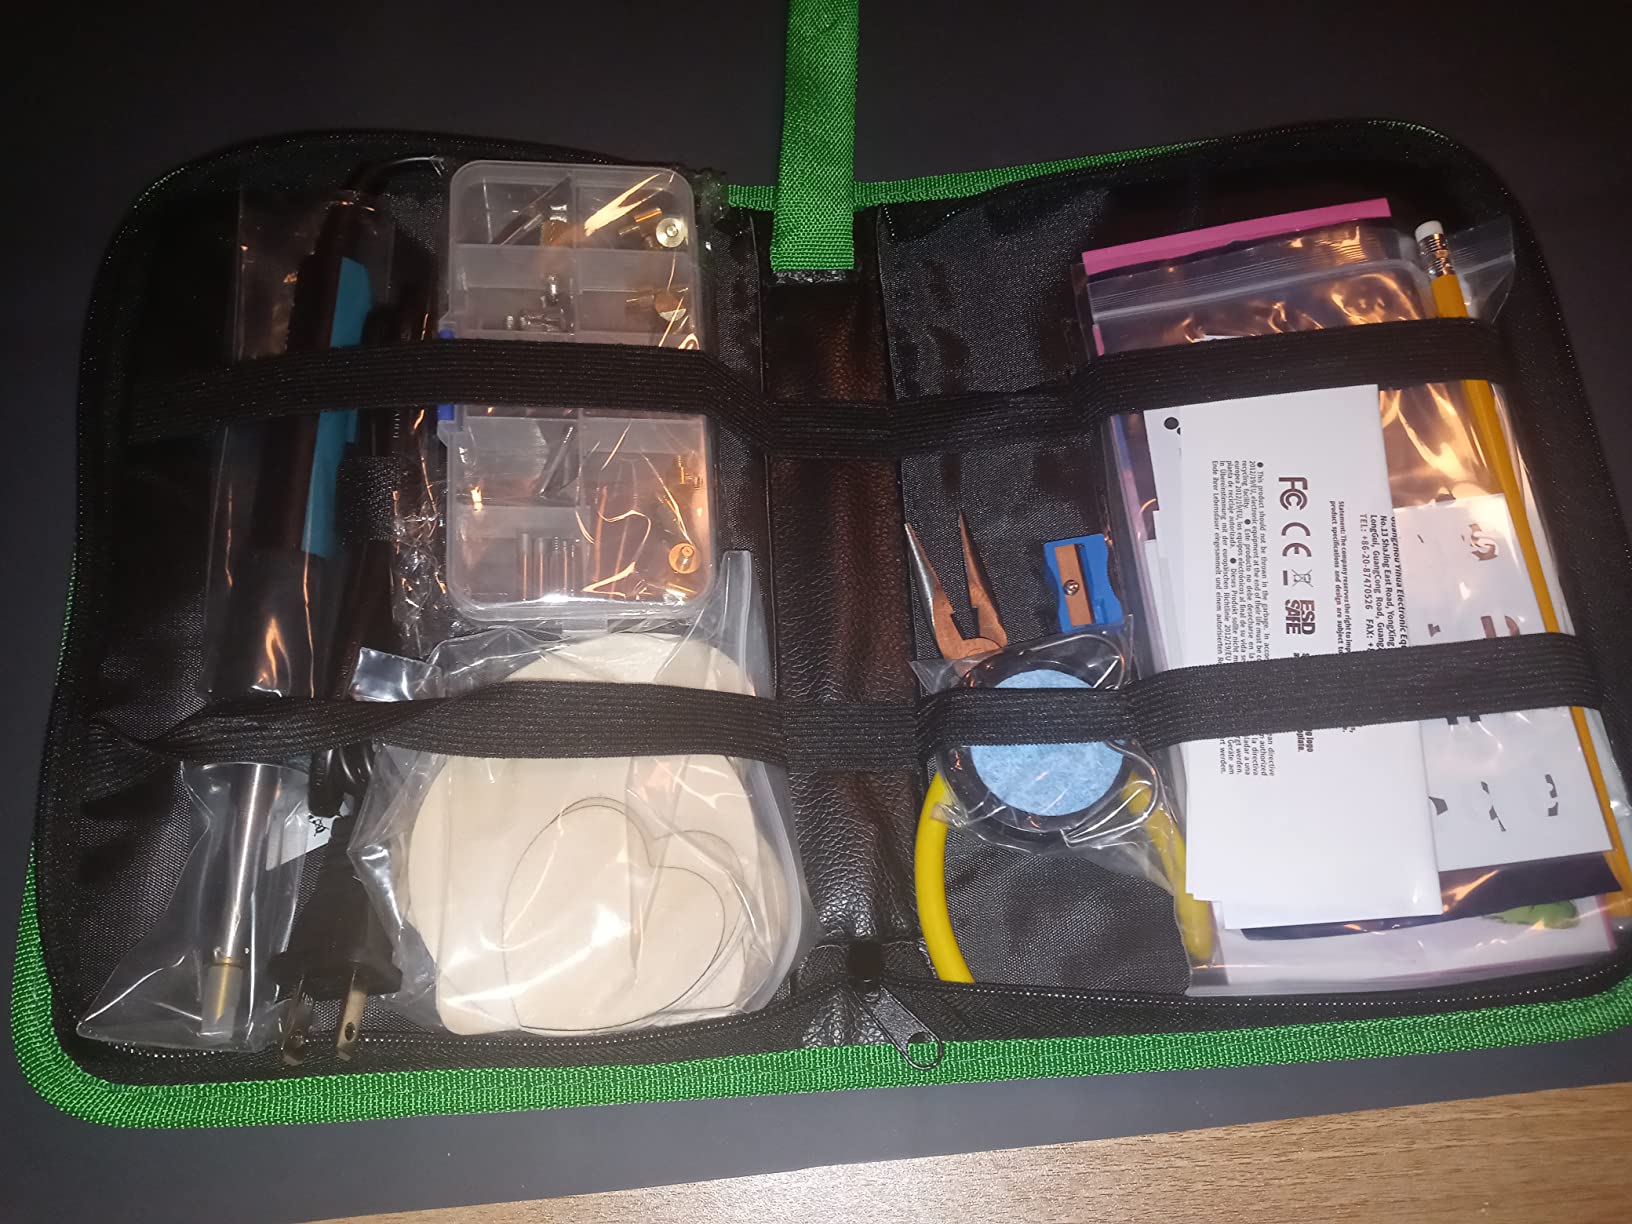
ArtSkills Wood Burning Tool Kit – Wood Burning Pen 14 Tips w/Hot Knife
Nichrome element
14 tips plus 2 hot knives
0.18 kg
3.25 ft cord
Pros
- Fourteen tips plus two hot knife blades in the box
- Tip shapes cover thick strokes hatching and stippling
- Hot knives cut foam wax and rubber
- Lowest cost entry with a usable tip range
Cons
- No temperature adjustment or digital readout
- Lowest rating here with 13% one-star reviews
- Thirteen percent report early tip or element failures
Two hot knife attachments are the distinguishing feature. They let you cut and carve foam, wax and rubber rather than only burn, which opens up craft projects well beyond a standard pyrography pen.
The 14 soldering iron tips cover thick strokes, large filled areas, fine detail lines, stippling and hatching, which is a more useful spread than the count alone suggests. The tool itself is a lightweight 0.18 kg nichrome pencil pen on a 3.25 foot cord.
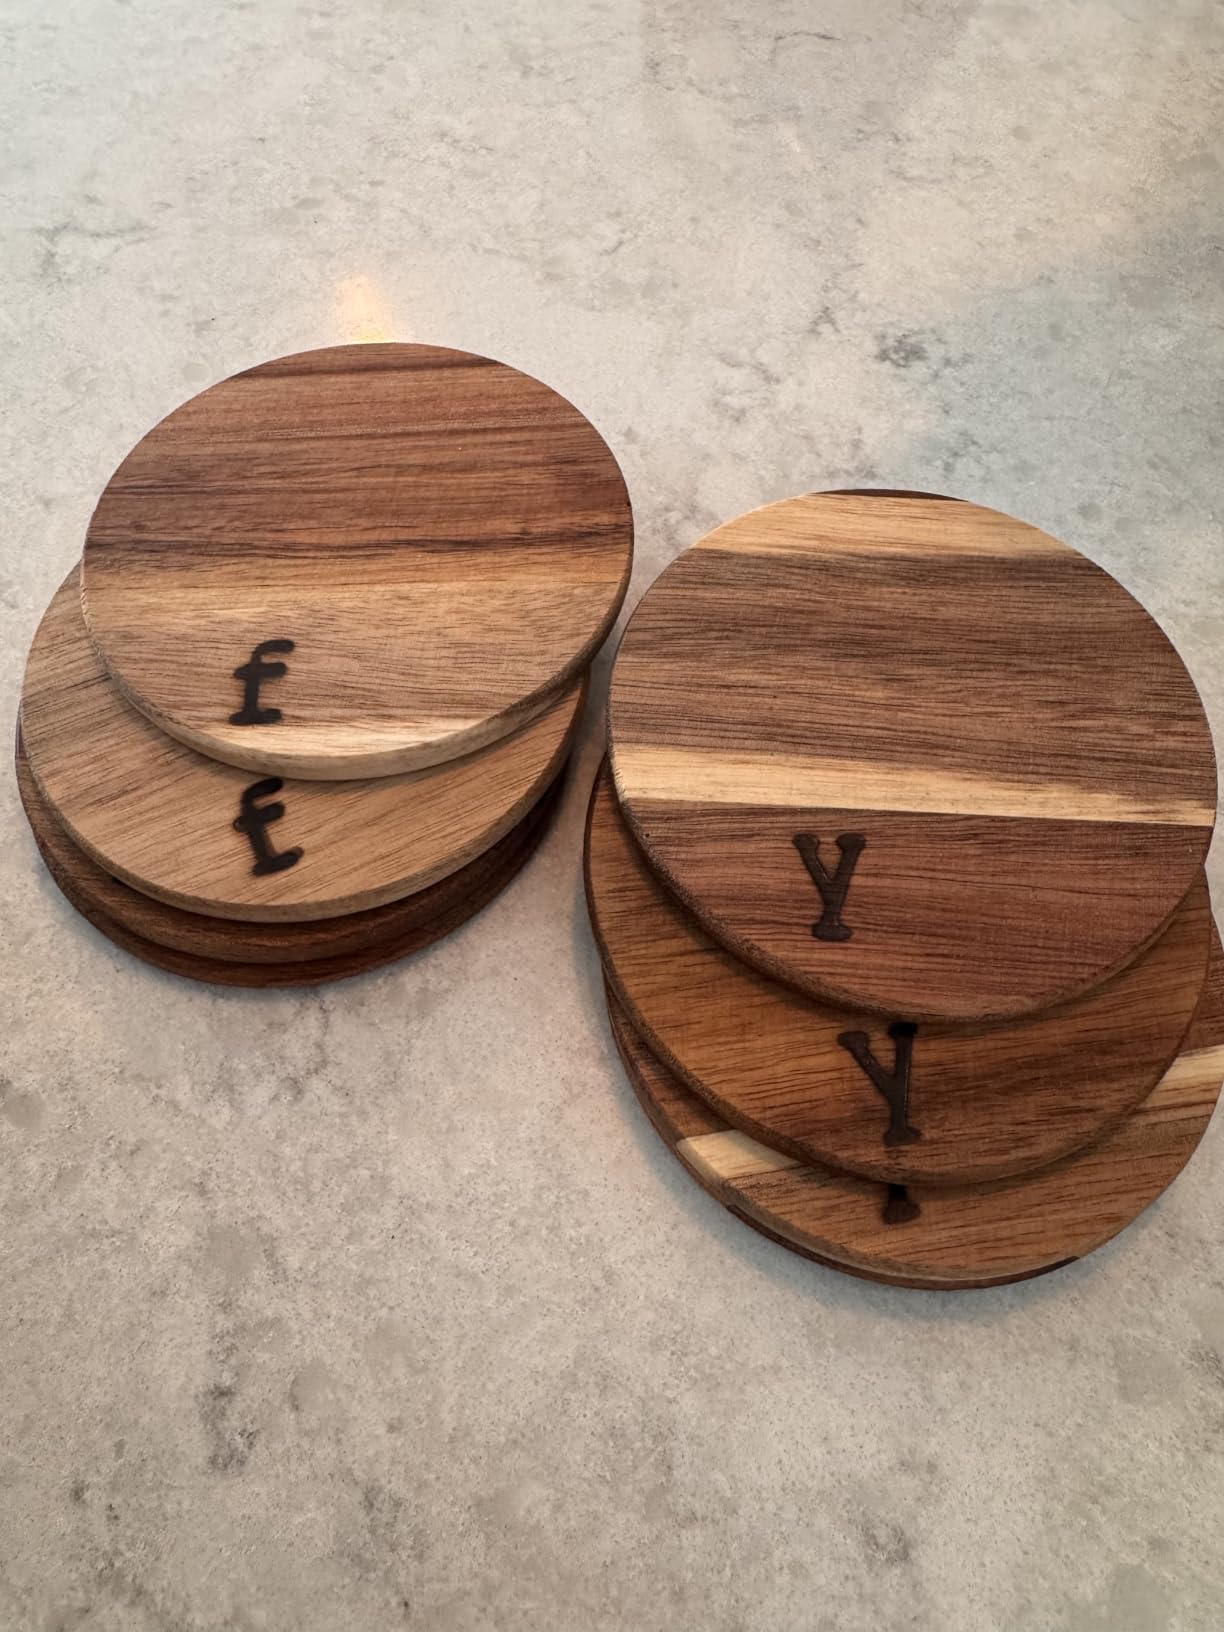
Results are good enough for casual beginner projects and home decor, and the tip-to-price ratio is the strongest in the roundup at this level.
What you give up is control. There is no temperature adjustment and no readout, so every burn happens at one heat level and you manage shade through movement speed alone.
What the hot knives actually do
A hot knife pushes through foam or rubber rather than scorching it, which means clean cut edges and shaped forms in materials a burning tip would just blacken. For kids’ crafts, costume pieces and lightweight foam models, that is genuinely useful.
They are not a woodburning upgrade though. Think of this as a two-tool package that happens to share one handle.
Where the rating spread comes from
This has the widest star spread of the ten. About 13% of reviews are one-star, and the recurring theme is tip or heating element failure early in use, alongside the absence of temperature control.
If reliability matters more than tip count, choose a brand-backed tool with a warranty instead. If you want the most shapes and cutting capability for the least money, this one delivers that.
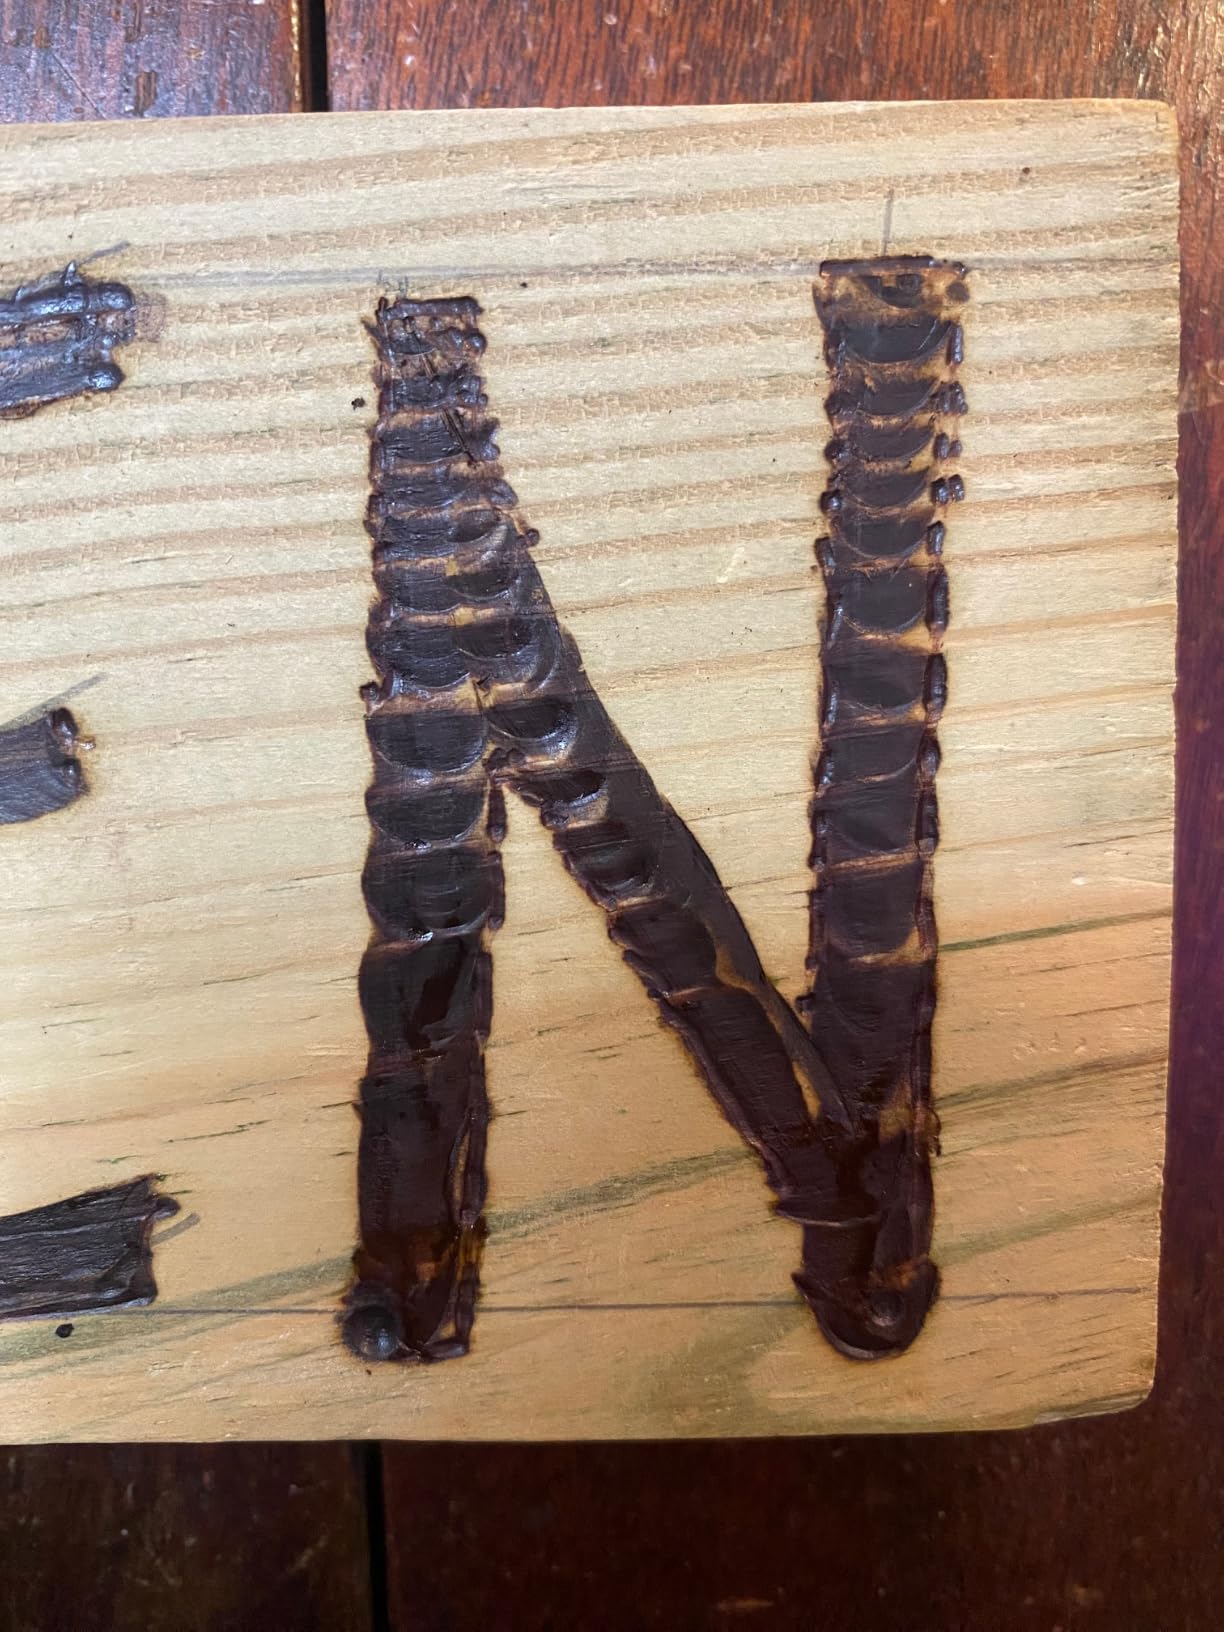
How We Evaluated Wood Burning Tools
Six criteria, applied to every tool in the same order. Adjustable heat range came first because it decides whether you can work between pale shading and dark lines on one piece.
Line quality and tip response came second. We looked at whether tips seat securely, whether the head stays at a steady temperature, and whether nibs stay seated under load.
Heat-up time decided how often you can pause. A tool ready in five to ten seconds suits sketching ideas; one needing two minutes suits sitting down to a finished session.
Ergonomics covered handle weight, grip diameter, heat conduction to the hand and whether a stand or holder is included for parking the tool.
Tip and accessory value counted what you can actually use rather than the piece count on the box. A 14-tip kit with distinct shapes beats a 59-tip kit with duplicates.
Build and support came last: named manufacturers, warranty coverage and US technical support carried more weight than unbranded boxes with long lists of parts.
How to Choose Wood Burning Tools for Beginners
Solid-tip or wire-nib is the first fork in the road. A solid-tip burner is a soldering iron with a shaped brass point screwed into the end. It is simple, robust and cheap, and it does most line work well enough.
A wire-nib burner runs current through a shaped length of wire, so the whole nib glows and transfers heat across its width. Lines are finer and more even, shading is smoother, and shade control across a piece is far better. The trade is consumable nibs and a steeper first-week learning curve.
Our rule: buy solid-tip if you are making one gift project or a batch of stamped items. Buy wire-nib if you expect to make more than a dozen pieces, because the difference shows on anything with shading.
A soldering iron is not a substitute. It will burn lines, but you have no temperature control, no shade range and usually no shield between the barrel and your hand. Several beginners on r/Pyrography ask whether they can start with one, and the honest answer is that you can get through a first practice piece but you will burn everything at one heat level.
Adjustable temperature is non-negotiable. A dial or digital readout lets you match heat to wood hardness and technique, which is the difference between a pale gradient and a black smear.
Tip shapes matter more than tip count. The decoder below covers what each one actually does.
Point tip: outlines, line work and detail. The one tip you cannot work without.
Spoon or shading tip: gradient shading and filling large areas. The second most useful shape.
Calligraphy tip: lettering and script with a chisel edge.
Flow tip: flowing decorative lines and repeated patterns.
Stamp tip: letters, numbers and shapes pressed straight in.
Hot knife: cutting foam, wax and rubber rather than burning.
Thread compatibility trips people up when they order replacement tips. Tips are not universal across brands or models, so check the thread on the pen before you buy a bulk pack of spare nibs. If you plan to buy tips separately, buy from the same manufacturer as the pen.
Voltage matters if you are outside the US. Most of these tools list 110-127V 60Hz. A plug adapter does not convert voltage, so a 110V tool on 220V mains needs a transformer, and skipping that is how heating elements burn out.
Finally, do not let a 100-piece count drive the decision. Count distinct tip shapes, then add the things you will actually need: a pen stand, carbon transfer paper, a heat-resistant mat and basswood blanks. Our related roundups on beginner wood burning kits and quality wood burning kits cover the kit format in more depth, and if you are also cutting your own blanks, our guide to wood lathes covers the preparation side.
Wood Choice and Burning Safety for Beginners
Basswood is the beginner wood for a reason. It burns fast, the grain is soft enough to take a line without splitting, and the marks stay inside the surface so mistakes can be sanded out.
Start with a milled basswood sheet or a small practice tile. Live-edge rounds are for finished pieces, because the bark edge and irregular surface make them a poor place to learn pressure control.
Never burn treated, painted, stained or manufactured wood. Pressure-treated lumber, plywood, MDF and particle board all contain glues, resins or chemicals that produce toxic fumes when heated. That is not a subtle risk worth taking.
Ventilate every session. Open a window, work near an extractor fan, or move outside when the weather allows. Wood smoke from pyrography is fine in small doses and unpleasant in quantity, and resinous softwoods produce noticeably more of it.
Park the tool in its stand every time you put it down. A silicone or heat-resistant mat protects the desk and catches debris, and a stand means you are never balancing a several-hundred-degree tip in mid-air.
Treat the tip as hot at all times, not just when you think it is. Let it cool fully before you swap tips or close a plastic case, and keep the cord clear of your working hand so you cannot drag the tool across your piece.
Your First Four Wood Burning Projects in Order
Step one is a scrap tile. Take an offcut of basswood and draw straight lines, curves, a spiral and a filled square. The goal is not a good result; it is learning how long you can pause before the tip stops transferring heat.
Step two is a stencil. Tape a stencil down, burn the outline, then remove it carefully while the wood is still warm. This teaches you slow, even pressure without needing drawing skill.
Step three is a transferred design. Place wax-free carbon paper on the blank, tape your drawing on top, trace firmly, then burn the transferred lines. This is the step where real projects start.
Step four is a live-edge round. Only now move to the thick, finished blanks, because by this point your heat control is predictable enough that the irregular edge will not catch you out.
Frequently Asked Questions
What is a good beginner wood burning kit?
A good beginner kit needs one adjustable-temperature pen, at least a point tip and a shading tip, a stand, and a piece of softwood to practice on. The YIHUA 939-II is our overall pick for line quality, the Craft Culture kit is the easiest for guided first projects, and the IVSUN 116-piece set gives you the most accessories in one box. Skip any kit whose only selling point is piece count.
What is the difference between wood burning and pyrography?
They are the same craft under two names. Wood burning is the everyday term and pyrography is the formal one used by brands, classes and suppliers. Both describe burning a design into wood, leather, cork or gourds with a heated tip. When a tool is advertised as pyrography equipment it usually means the same thing as a wood burning tool.
Is pyrography difficult to learn?
The first three or four sessions are frustrating because heat control takes practice, not because the technique is complex. Outlining a stencil takes about ten minutes to learn. Shading and gradient work take longer because you are coordinating temperature, speed and pressure at the same time. Most beginners produce a usable piece within a week and a piece they are happy with within a month.
What is the worst firewood to burn for pyrography?
Never burn treated, painted, stained or manufactured wood. Pressure-treated lumber, plywood, MDF, particle board and anything with glue or resin in it release toxic fumes when heated. The safest options are kiln-dried basswood, birch, beech and similar untreated hardwoods. Check that a round is bare wood with no finish before you start.
Which is better for pyrography, a soldering iron or a pyrography pen?
A pyrography pen, because it gives you adjustable temperature and usually a handle shield between the barrel and your hand. A soldering iron runs at one heat level, so you get dark scorch marks or pale weak lines with no way to adjust between them. A soldering iron is fine for practice drills on scrap wood, but it is a frustrating way to shade a finished piece.
How hot should a pyrography pen be?
For light shading on basswood, stay near the bottom of the range. Medium temperatures around the middle handle line work and general decorative burning. Push toward the top of the range for dark lettering, deep engraving and hardwood, and for cutting with a hot knife. Adjustable tools let you move between these without changing tools.
Should I buy a solid tip or wire nib wood burner?
Buy a solid tip for a handful of projects, for stamped lettering, or if you want the simplest possible tool. Buy a wire nib if you expect to make a dozen or more pieces, because nib lines are finer and shading is smoother. Wire nibs are consumables and the first week takes longer to learn, but the line quality stays ahead afterwards.
Do I need adjustable temperature for wood burning?
Yes, if you plan to do anything beyond a single decorative piece. Adjustable heat lets you hold a pale gradient and then darken the same piece for lettering. Fixed-heat tools force you to manage shade entirely through movement speed, which is the reason most beginners say their lines scorch before they look right.
Our Verdict on the Best Wood Burning Tools for 2026
The YIHUA 939-II is our choice for the best wood burning tools for beginners because wire-nib lines and a 250-750°C range solve both of the problems beginners hit first: line quality and shade control. Install the nib properly, tighten the set screw, and it out-performs everything cheaper here.
Buy the Craft Culture kit instead if you want guided projects rather than a tool. Buy the IVSUN kit if you want the most complete box. Buy the Weller if you want one brand-backed tool that also does leather and comes with a warranty.
Whatever you choose, start on basswood offcuts, keep the tip moving, and never burn treated or manufactured wood. Ten minutes of practice on a scrap tile will tell you more than any spec sheet.