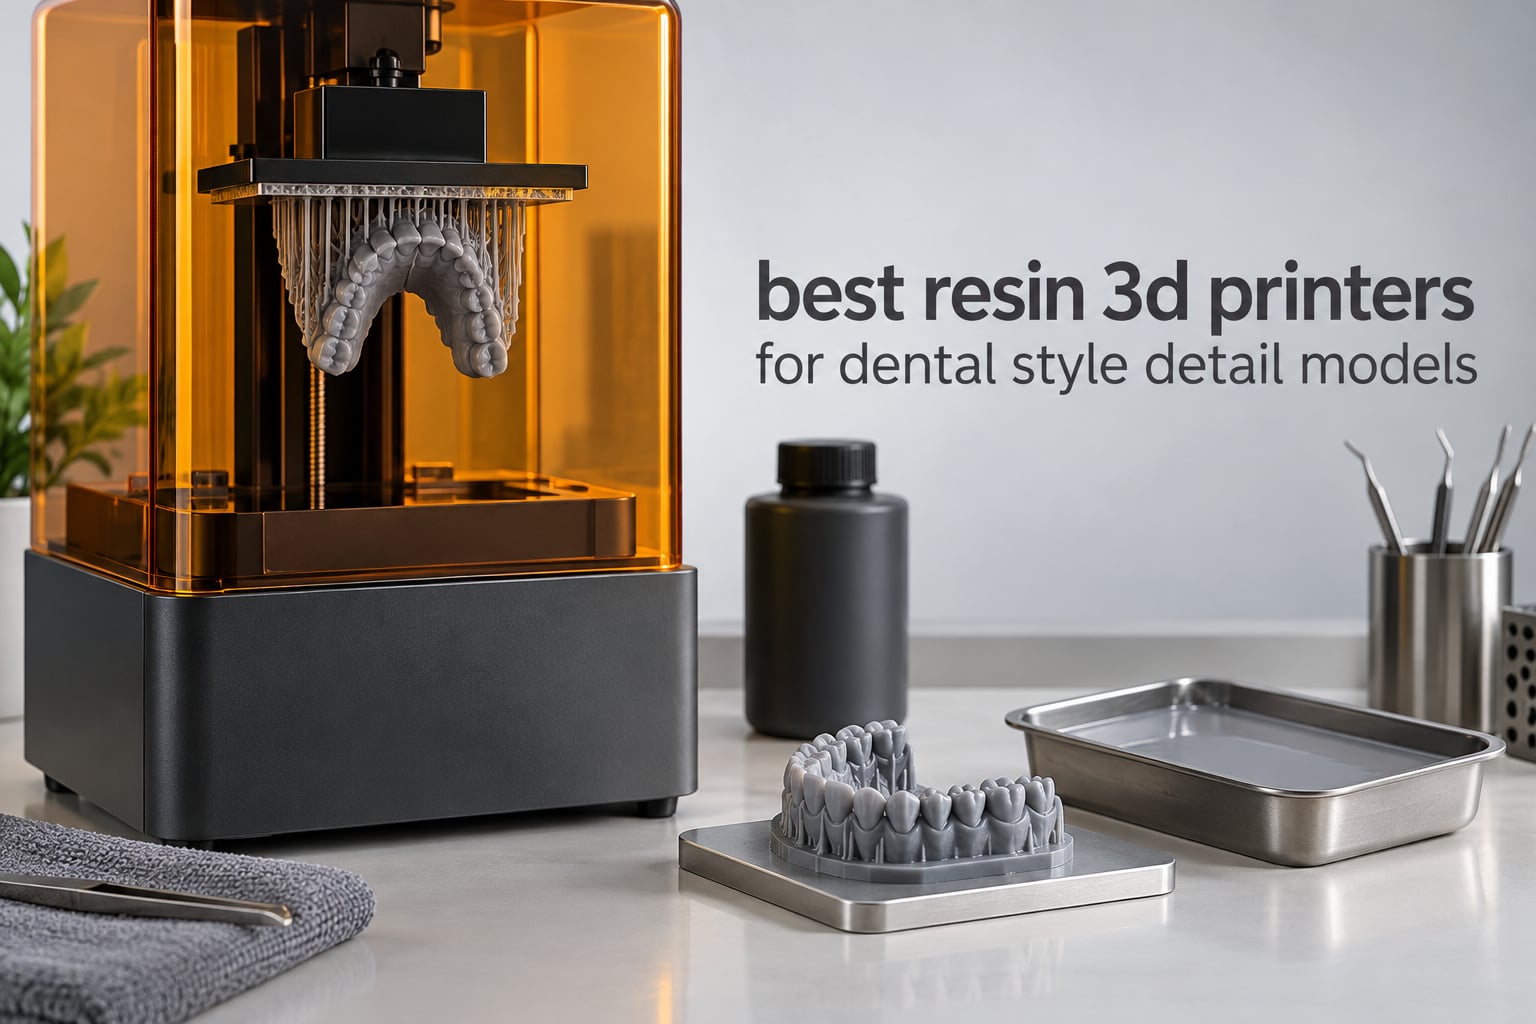
Resin printing is the only realistic way to reproduce dental-style detail at a desk, and the gap between a machine that makes a decent study model and one that resolves a gingival margin cleanly is a couple of numbers wide. The best resin 3d printers for dental style detail models are the masked LCD and laser-scanning units with sub-25 micron pixel pitch, auto-leveled platforms, and a build volume large enough to lay out a full arch.
That phrase needs unpacking, because people use it for two very different jobs. A dental student, a hobbyist, and a collector want study models, orthodontic models, denture base mock-ups, dioramas, and miniature display pieces. A dental lab wants surgical guides and dimensionally validated working models. The second group is regulated, and no consumer machine on this list can carry that work no matter what its spec sheet says. The first group is what these nine printers actually serve.
Every pick below is a consumer or prosumer LCD/MSLA machine. That is the honest constraint of the available lineup, and it shapes the whole guide: instead of pretending a home printer is a lab printer, we normalize all nine on the specs that actually decide whether a fine feature survives printing, then show you where each one stops short. We are spec-based evaluators, with owner review data used to weigh reliability, not a lab that ran every unit for a month. Where owners report something specific, we say so.
If you want a broader view of the format first, our guide to resin printers under 500 dollars for hobbyists covers the entry end, and resin printers for tabletop gaming figures goes deep on the miniature side of detail work. This page is for the dental-adjacent buyer specifically.
Table of Contents
How We Evaluated These Resin Printers
We scored each machine on the numbers that decide dental-style outcomes, then used the owner review record to judge how reliably it delivers them in practice.
The first number is XY pixel size, the physical width of one pixel of the light engine. It governs how cleanly a thin feature like a gingival margin or a cusp tip renders. The second is layer height, which governs the stair-stepping you see on a curved surface. A user in a dental-adjacent role on r/resinprinting described the buying filter plainly: they wanted better than 50 micron XY accuracy and 25 to 50 micron layer heights. That is a good target, and it is the filter we applied.
Then we looked at the things that break detail prints in practice: whether the build plate is auto-leveled, whether the resin vat is temperature controlled, whether release force is low enough to protect thin unsupported geometry, whether the Z-axis is stiff enough to hold layer height over a long print, and whether the machine can run the viscosity of resin you want to use. Finally we counted review volume, because a 4.7 rating on 25 reviews tells you far less than a 4.4 on 667.
One forum pattern reinforced the approach. Practitioners in a dental lab network thread comparing resins noted that a lower-viscosity resin was less brittle at thin support pins and attachments than a higher-viscosity one on the same platform. Resin choice interacts with printer release force, and that is a detail most roundups skip.
Top 3 Picks for Best Resin Wash and Cure Stations Reviewed in October

ANYCUBIC Photon Mono 4 10K
- 17x17µm XY pixel size
- 10K mono LCD
- 153.4 x 87 x 165mm build volume
- 4-point leveling

ELEGOO Saturn 4 Ultra 16K
- 16K mono LCD
- resin tank held at 30 °C
- tilt release up to 150 mm/h
- AI camera
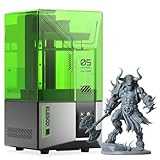
ELEGOO Mars 5 4K
- 4K mono LCD with COB source
- one-click auto leveling
- pre-print self-check
- residue sensor
Best Resin Wash and Cure Stations Reviewed in 2026
| Product | Specifications | Action |
|---|---|---|
| ANYCUBIC Photon Mono 4 10K |
|
Check Latest Price |
| ELEGOO Saturn 4 Ultra 16K |
|
Check Latest Price |
| ELEGOO Mars 5 4K |
|
Check Latest Price |
 Phrozen Sonic Mini 8K S Phrozen Sonic Mini 8K S |
|
Check Latest Price |
 ANYCUBIC Photon Mono M7 Pro ANYCUBIC Photon Mono M7 Pro |
|
Check Latest Price |
 ELEGOO Mars 5 Ultra 9K ELEGOO Mars 5 Ultra 9K |
|
Check Latest Price |
 ANYCUBIC Photon P1 14K ANYCUBIC Photon P1 14K |
|
Check Latest Price |
 Phrozen Sonic Mega 8K S Phrozen Sonic Mega 8K S |
|
Check Latest Price |
 Heygears Reflex RS Turbo Heygears Reflex RS Turbo |
|
Check Latest Price |
1. ANYCUBIC Photon Mono 4 10K — The Smallest Pixel Pitch With the Biggest Owner Base
ANYCUBIC Photon Mono 4, Resin 3D Printer with 7” 10K Mono LCD Screen
17x17µm XY pixel size
9024 x 5120 mono LCD
153.4 x 87 x 165mm build volume
4-point leveling
Pros
- 17x17µm is the smallest pixel pitch in this roundup
- 667 reviews give a deep reliability record
- near-invisible layer lines on small models
- easy one-and-done plate leveling
- quiet and compact for a home office
Cons
- Vat and LCD parts have a reputation for early failure and self-install replacement
- needs constant exposure and temperature tuning
- build volume is smaller than buyers expect
I kept coming back to the Photon Mono 4 because of a simple arithmetic. Its 9024 by 5120 panel over a 7 inch screen works out to 17 by 17 microns, and that is the tightest pixel pitch of any machine in this roundup. When the goal is a dental-style detail model rather than a diorama, that number is the headline.
The LighTurbo matrix light source is what makes that pitch usable rather than theoretical. A single-point source on a cheap screen leaves hot spots that under-cure the edges of a layer, and under-cured edges are exactly where a thin gingival margin dies. Owners consistently describe the layer lines as near invisible on small parts, and several print lost-wax jewelry waxes and game miniatures on it, which is the same fine-detail geometry a study model needs.
Set-up is the other quiet strength. Four-point leveling is manual but genuinely one-and-done, and the laser-engraved Print Platform 2.0 gives strong first-layer adhesion, which matters when the model is a tall arch form rather than a flat plaque. Power-loss resume also protects a long print, and at 7.7 pounds the whole unit is easy to move to a ventilated corner of a room.
What I would not gloss over is the tuning burden. Owners report that default profiles are not reliable and that exposure time, lift speed, and temperature all need attention per resin. That is normal for LCD resin printing at this level, but it means the machine is not a set-and-forget appliance. If you have never printed resin before, budget a weekend of calibration before you judge the output.
The build volume is the practical limit. At 153.4 by 87 by 165mm you can fit a full arch model, but the 87mm width means you are laying out one arch at a time with little room to spare. Buyers expecting a general hobby printer often find this restrictive within a week.
The recurring complaint in the review record is hardware longevity rather than print quality. Vats and LCD screens are reported to fail or break early, and replacement is a self-install job. Eight percent of reviews are one star, mostly clustered around that hardware and around support responsiveness after the return window. That is a real cost of ownership line item, and it is why a mono LCD replacement budget belongs in your plan.
What you should check before printing a dental model
Check that your model fits inside 153.4 by 87 by 165mm with the supports you actually need, because supports on a margin-heavy model eat volume fast. Second, check the resin viscosity you plan to use against the printer’s release behavior, since the Mono 4 uses a standard upward lift and higher-viscosity dental model resins increase peel force on every layer.
For orientation, print the arch flat against the plate with a small brim if you have never run this machine. A tilted orientation reduces supports but introduces a stair-stepped surface on the occlusal plane, which is the one surface a dental model is judged on.
Where the Mono 4 is the wrong tool
Skip it if you need to print in volume, because the plate is small and there is no automation beyond four-point leveling. Skip it if you work in a cold room and cannot warm the resin and the plate first, since first-layer adhesion fails without it. And skip it if you intend to print surgical guides or anything that needs dimensional validation, because this machine carries no validation data and none of its owner reports suggest the accuracy is documented.
2. ELEGOO Saturn 4 Ultra 16K — The Heated Vat That Handles Tougher Resin
ELEGOO Saturn 4 Ultra 16K Resin 3D Printer
16K mono LCD
Tank held at 30 °C
Tilt release to 150 mm/h
35.5 lb
Pros
- 16K panel gives very sharp surfaces on small models
- heated tank at 30 °C cuts bubbling and layer separation
- automatic leveling makes it plug and play
- built-in AI camera with chamber light for remote monitoring
Cons
- Large footprint and 35.5 lb weight are impractical for a home desk
- AI camera detection varies with geometry and resin
- 13 percent of reviews are one star around components and support
The Saturn 4 Ultra is the machine I would point at if your dental-style work involves resin that is thicker than a standard low-viscosity model resin. Its smart tank heating holds resin at 30 °C, and that single feature changes more than any resolution bump.
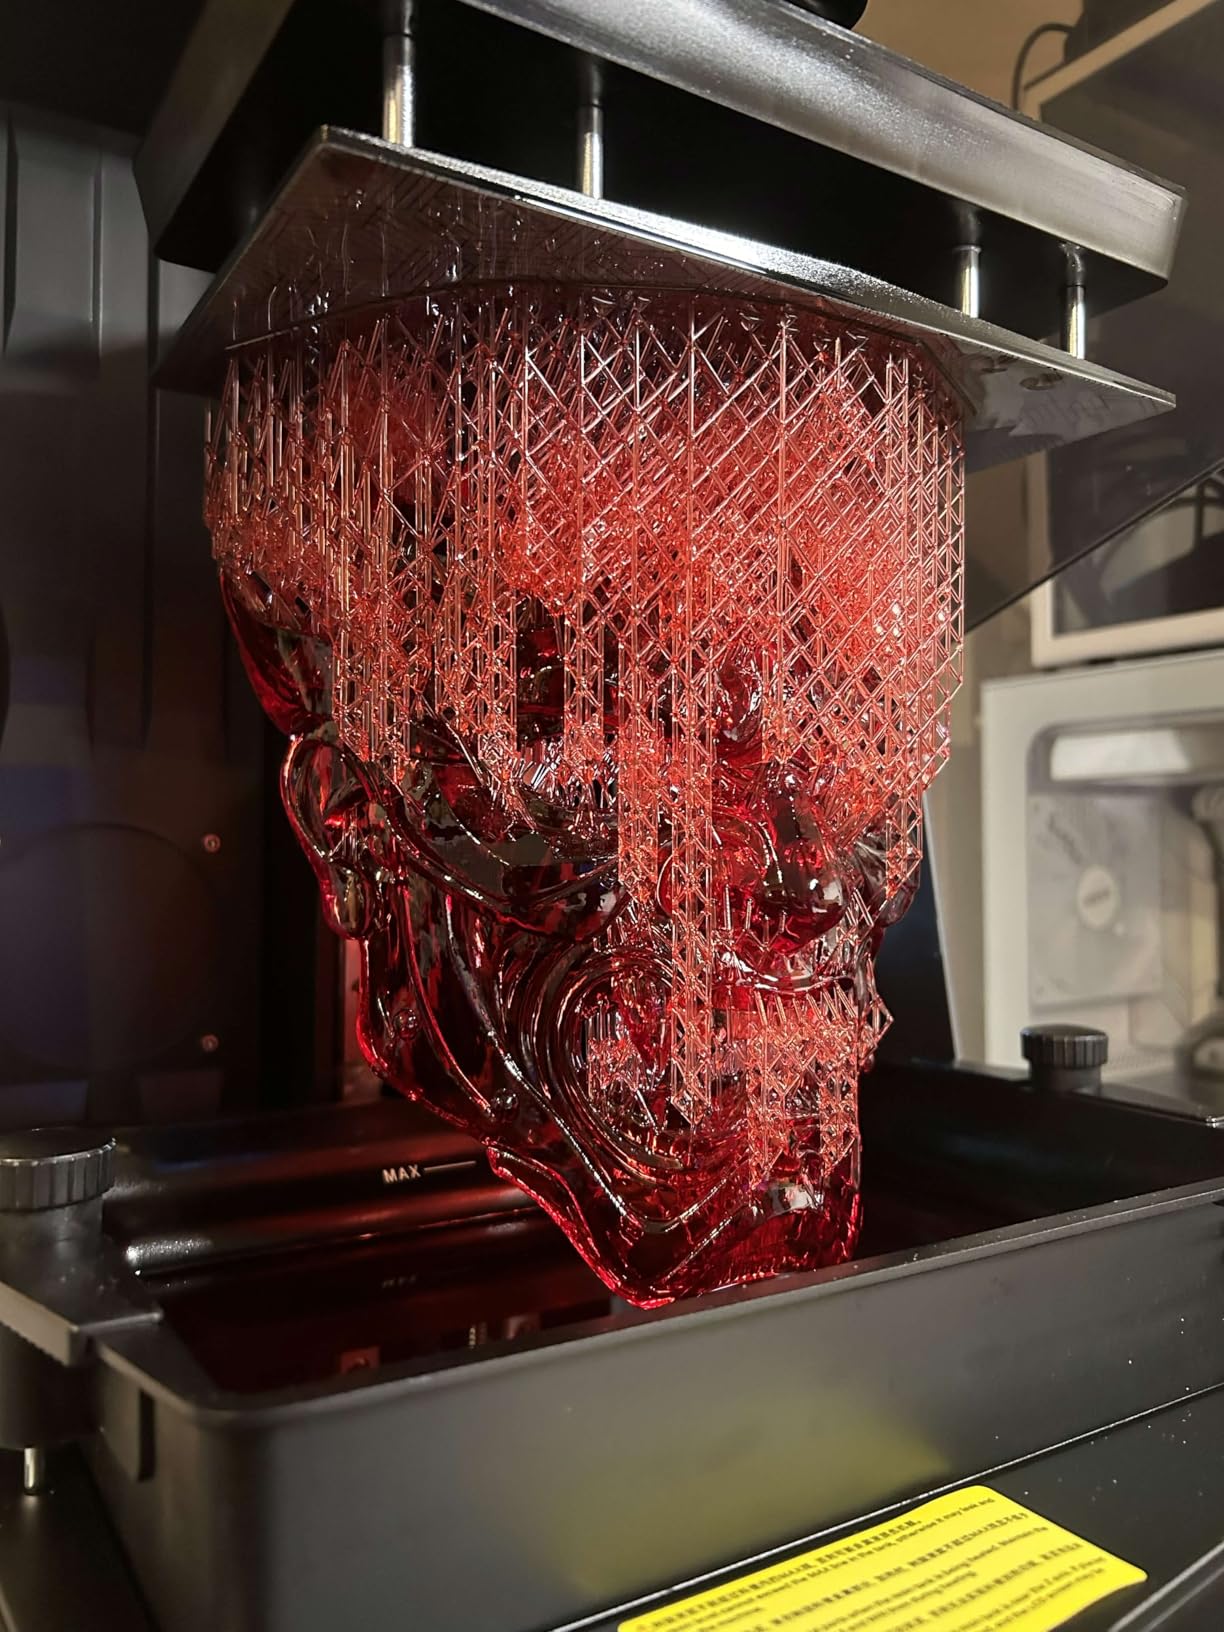
Viscosity is temperature dependent. Cold resin is thick, and thick resin needs more force to separate from the release film, so peel force goes up and thin features fail. Heating the vat to 30 °C reduces bubbling and layer separation, which is the mechanism behind owners reporting better layer adhesion and more consistent thin features on this machine than on unheated peers at similar resolution.
The 16K panel is the other headline, and owners consistently describe the surface as sharp on small models. The tilt release system runs up to 150 mm/h, which shortens print time compared with a straight lift, and because the vat tilts to peel rather than the plate yanking upward, the separation force is spread differently. For a model with a thin margin, gentler separation matters more than raw speed.
Automatic leveling removes the single most common reason first layers fail, and the smart mechanical sensor watches for residue, resin shortage, and leveling failure, then alarms. The AI camera with a chamber light lets you watch a print without cracking the lid and letting UV-adjacent light in, and it captures time-lapses for review.
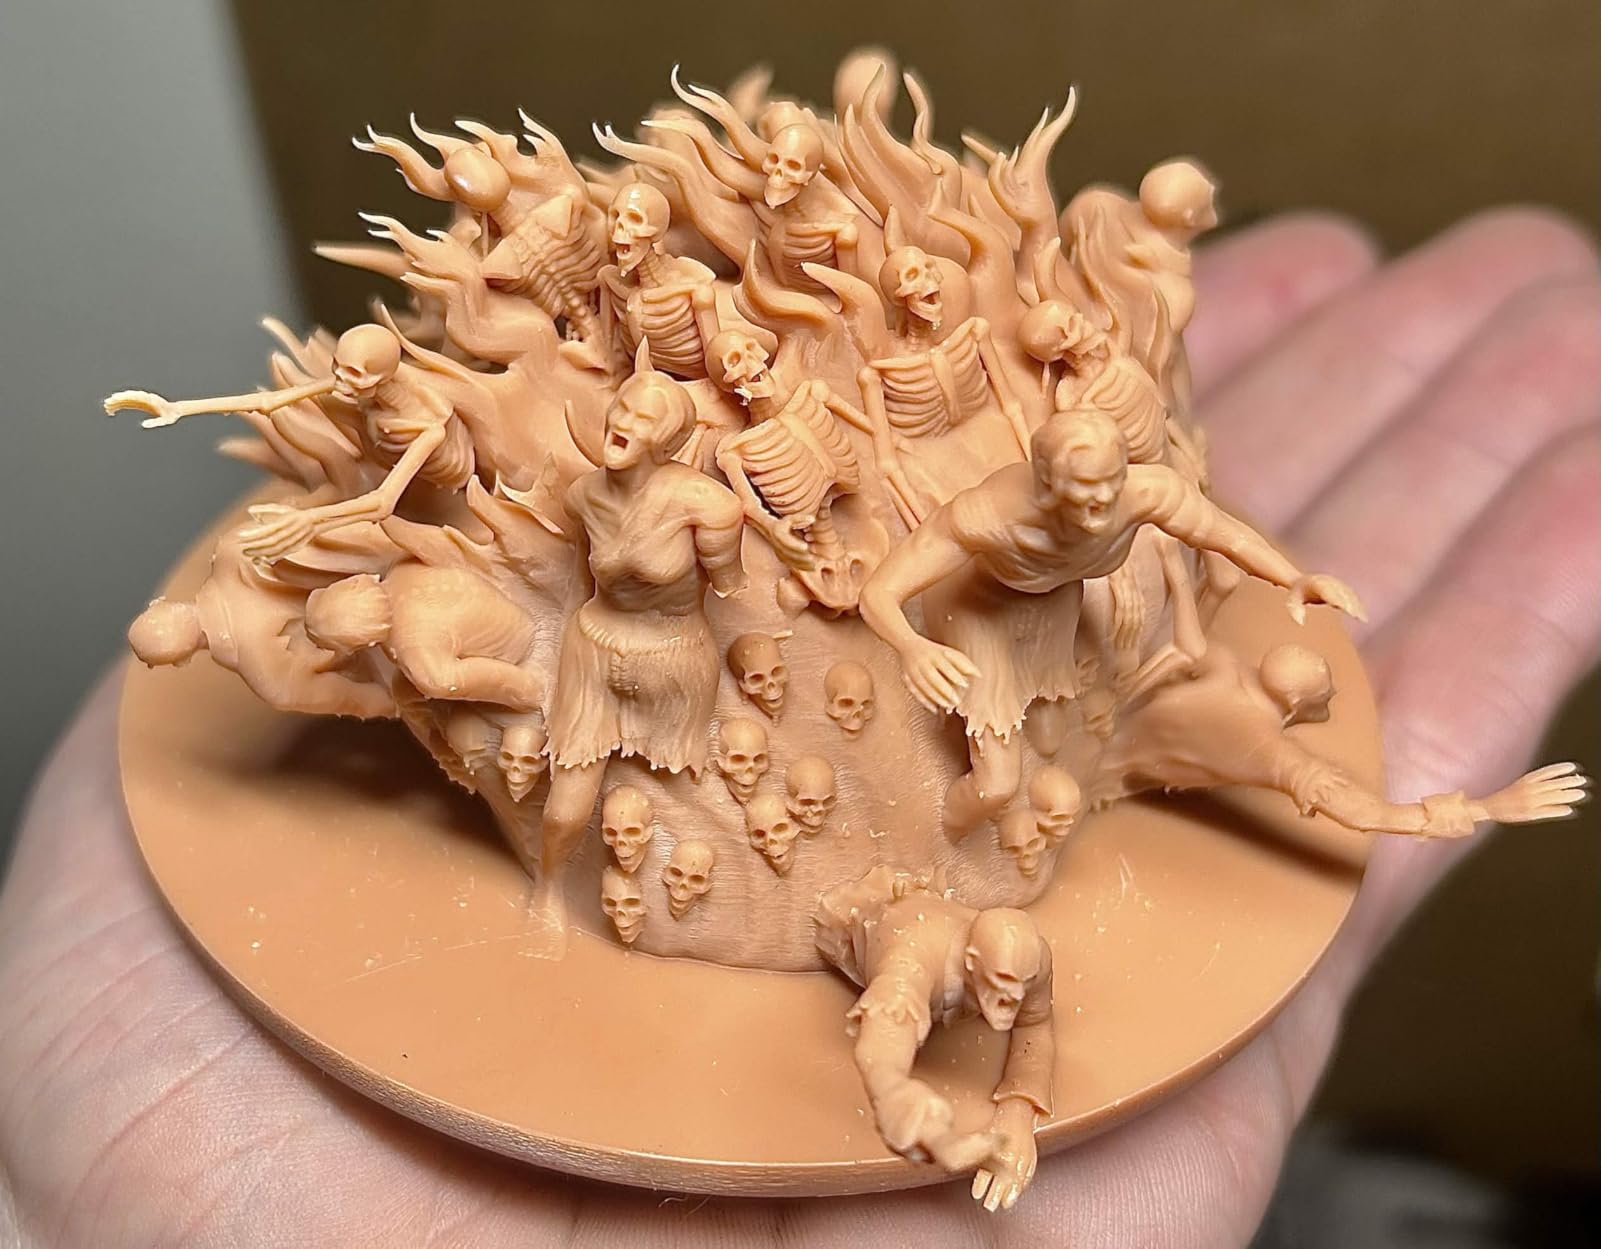
The trade-off is physical. At 35.5 pounds and 24 by 17 by 15 inches, this is a machine that wants a dedicated shelf and its own corner with ventilation, not a desk in a home office. If you have a garage, a workshop, or a spare room with a window, that is fine. If you do not, the Saturn 4 is a difficult machine to live with.
Treat the AI camera as a convenience rather than an instrument. Owners report that its detection accuracy varies with the environment, the model geometry, and the resin type, and it will occasionally call a good print a failure. It saves you from lifting the lid, which is worthwhile, but do not let it be your only quality gate.
On the negative side, 13 percent of reviews are one star, which is higher than the roundup average. Reports cluster around early component failures and support friction rather than print quality, so the risk here is durability and service, not capability. A useful comparison for anyone shopping at this level is our roundup of resin vat replacements, since the vat is the part most likely to need swapping.
What you should check before printing a dental model
Check the build area against your largest arch model, and confirm you can vent a 35.5 pound machine that runs warm. Then check your resin: if you plan to use a filled or guide-grade resin, the heated tank is the feature that makes it viable, and you should factor the vat heating into your energy budget rather than treating it as a convenience.
For orientation, use the tilt release to your advantage and print at 20 to 30 micron layers with the base layer anchored well, because the extra peel force on a 16K panel is the main risk to a thin margin. A slightly heavier base or a raft gives the first layers a better anchor than a bare plate contact.
Where the Saturn 4 Ultra is the wrong tool
Skip it if space is tight or if you need a quiet home-office footprint, since the weight and footprint are not adjustable. Skip it if you are only printing a handful of study models a month, because the heated vat and the camera add cost and complexity that a simpler machine does not need. And skip it for validated clinical work, for the same reason as every other machine here.
3. ELEGOO Mars 5 4K — The Cheapest Credible Way Into Resin Detail Work
ELEGOO Mars 5 Resin 3D Printer
4K mono LCD, COB source
One-click auto leveling
Pre-print self-check
14.52 lb
Pros
- One-click auto leveling with no manual calibration
- pre-print self-check cuts wasted resin and time
- residue sensor protects the LCD
- overheat protection halts the print above 80 °C
- lowest entry cost in the roundup
Cons
- 4K pixel pitch is too coarse for the finest dental detail
- 14 percent one-star share is among the roughest tails here
- touchscreen and hardware reliability concerns
The Mars 5 exists to remove the two things that stop beginners: fiddly leveling and the anxious wait to find out whether a print is going to fail. The one-click automatic leveling and the pre-print self-check do most of that work, and for a student building a first dental study model, that matters more than pixel pitch.
The 4K mono LCD with a COB light source is a real panel, not a gimmick, and owners describe the detail as good for the class rather than exceptional. That is an honest way to put it. If your work is a full-arch study model, a denture base mock-up, or a large teaching cast, the 4K panel renders the anatomy clearly enough to work from. If your work involves a 0.3mm margin detail, it will not hold it.
Feature-wise it punches above its weight. The smart mechanical sensor detects residue before it can damage the LCD, which is the most common way budget machines get retired early, and the overheat protection halts the print and alarms if the LED source passes 80 °C. Both features extend component life on a machine that people tend to leave running.
The COB light source is also doing real work on uniformity, which is what determines whether layer lines read as even or as bands. Combined with the self-check, it means a first-time user is less likely to waste a bottle of resin on a failed first layer.
The rating distribution is the thing to weigh here. Fourteen percent of reviews are one star, one of the roughest tails in this roundup, and those reports concentrate on touchscreen problems and hardware reliability rather than print quality. A 4.1 overall with 164 reviews tells you the average experience is fine and the tail is not.
There is a family relationship worth knowing. The Mars 5 sits below the Mars 5 Ultra, which shares the mechanical sensor and adds a 9K panel, tilt release, a camera, and WiFi. If your budget stretches a little, the Ultra is the better buy for dental-style work, and we cover it further down.
At 14.52 pounds and 15.75 by 18.5 by 9.06 inches, the Mars 5 is also the most portable machine here after the Sonic Mini. That matters if your printing happens in a shared room and the printer has to go away when you are done.
What you should check before printing a dental model
Check your margin requirements against a 4K panel honestly, and be willing to move up a tier if the geometry is fine. Also check that you have a wash and cure station already, because the purchase price here is not the total. Our wash and cure station roundup covers that side of the system.
For orientation, print flat and slow on your first attempt, and treat the first three layers as the accuracy layer. Once the base is solid, raise the speed. On a 4K panel, 50 micron layers are a reasonable starting point for a study model, dropping to 30 microns only if the occlusal surface stair-stepping bothers you.
Where the Mars 5 is the wrong tool
Skip it if the whole point of your purchase is fine detail, because you are paying twice at the next tier up and the 4K panel will disappoint you. Skip it if you print in a cold room, since there is no heated vat here and first-layer adhesion is on you. And skip it if you are sensitive to a rough review tail, because the one-star share runs high here and the touchscreen failures cluster early in ownership.
4. Phrozen Sonic Mini 8K S — 22 Microns In a Footprint That Fits a Shelf
phrozen Sonic Mini 8K S LCD Resin 3D Printer, 7.1″ Monochrome LCD, Tabletop 3D Resin Printer with 22µm XY Resolution, 6.5 * 2.8 * 6.7 Inch Printing Volume for Models, Miniatures and Action Figures
22µm XY resolution
8K mono LCD, 7.1 inch
16.5 x 7.2 x 17cm volume
Open slicer support
Pros
- 22µm resolution gives crisp small models
- precise Z-axis calibration for even layers
- works with Lychee
- Chitubox and Tango slicers
- compact tabletop footprint
- 79 percent of reviews are five star
Cons
- Narrow 7.2cm print width limits batch layouts
- fewer automation features than the Mars 5 and Saturn 4 series
- some owners report dial-in time before results are consistent
The Sonic Mini 8K S is the machine I would put on a shelf in a small apartment. At 22 pounds and 11.4 by 11.4 by 16.9 inches it is a genuinely compact unit, and the 22 micron pixel pitch is close enough to the leaders that most dental-style study models come out clean.
Z-axis calibration is the underrated part here. A consistent Z lift is what keeps layer height honest, and owners credit the calibrated axis for even layers and repeatable results. For a dental model where you are comparing two arch forms and looking for differences, repeatability is worth more than a two-micron pixel advantage.
Open slicer support is a real convenience. It runs Lychee, Chitubox, and Tango, so if you have profiles from another machine you can carry them across instead of relearning an interface. That matters more to a new buyer than it sounds, because the slicer is where layer height and support strategy are actually decided.
The rating record is the strongest in the roundup proportionally. Seventy-nine percent of reviews are five star, and the recurring praise is specific rather than generic, which usually means the hardware is doing what people bought it for.
The 7.2cm print width is the real constraint. A full-arch model fits, but a batch of small diagnostic pieces does not, and you will be running one arch at a time. For a hobbyist or student producing one or two models a week, that is fine. For a lab technician, it is a bottleneck.
Feature set is also a step behind the current generation. No tilt release, no built-in camera, no automatic leveling beyond the calibrated Z. You are doing more manual work per print than on a Saturn 4 Ultra, and owners do report dial-in time before prints are consistent.
On the plus side, the machine supports up to 22 pounds of load capacity, which is more than enough for a dental arch and means the Z assembly is not the weak link. The 16.5 by 7.2 by 17cm volume suits a tall arch form better than a wide, shallow model.
What you should check before printing a dental model
Check that your widest arch model is under 7.2cm including supports, and measure the actual arch rather than the tray. Then check that you are comfortable with a manual workflow, because you will be setting exposure and lift parameters yourself rather than leaning on auto leveling and a mechanical sensor.
For orientation, print vertically or at 30 to 45 degrees with a solid raft, because the calibrated Z-axis handles a tall print well. Keep layer height at 20 to 30 microns and let the Z calibration do the work rather than over-tuning lift speed.
Where the Sonic Mini 8K S is the wrong tool
Skip it if you need batch output, since the narrow plate rules that out. Skip it if you want remote monitoring or speed features, because the newer Mars 5 and Saturn 4 generations have tilt release and cameras that this machine does not. And skip it if you need heated resin, because there is no vat temperature control here and thick dental resins will be harder to separate layer by layer.
5. ANYCUBIC Photon Mono M7 Pro 14K — Detail and Speed Together
ANYCUBIC 14K Resin 3D Printer Photon Mono M7 Pro with 170mm/h High Speed
14K mono LCD, LighTurbo 3.0
Up to 170 mm/h
223 x 126 x 230mm volume
Temp-controlled vat
Pros
- 14K panel with Fresnel lenses reveals fine surface nuance
- 170 mm/h is the fastest rated speed in the roundup
- generous build volume in a compact body
- temperature-controlled vat improves cold-room reliability
- resin auto-fill reduces handling mess
Cons
- Auto-fill unit and Airpure filter are separate purchases
- smaller review base than the established Photon Mono 4
- learning curve for high-speed profiles in Photon Workshop
The Photon Mono M7 Pro is the fastest machine in this roundup by a clear margin, rated up to 170 mm/h, and it does not trade away the pixel density you need for fine work. The 14K optical system uses Fresnel lenses with front-facing reflectors at three degrees or less, which is a way of saying the light engine is built to project evenly across the whole panel.
That optics detail is what makes the speed credible rather than just a headline. A fast layer rate on a badly lit engine produces under-cured edges, and under-cured edges are where a thin margin fails. Owners here report that the combination of 14K detail and high throughput is the standout feature, and that the roomy build volume holds a good number of small models at once.
Two practical features matter for dental-adjacent work. The temperature-controlled resin vat adjusts resin temperature dynamically, which helps in cold rooms where a standard vat would make first layers hard to hold, and the LighTurbo 3.0 system supports 0.1mm layer thickness with the high-speed resin.
The build volume of 223 by 126 by 230mm is the second largest in the roundup, and at 11.02 pounds the machine is lighter than most of its size class. That combination of roomy plate and low weight is unusual and genuinely useful for a machine you have to move to a ventilated corner.
Two accessories mentioned in the feature set are not included. The resin auto-fill unit and the Anycubic Airpure odor filter are separate purchases, and while auto-fill is convenient for long unattended runs, odor filtration matters if you are printing indoors in a space that is not a workshop. Budget for both if your setup needs them.
At 98 reviews, the sample is smaller than the established Photon Mono 4, so treat the record with appropriate caution. There is also a learning curve with Photon Workshop for the high-speed profiles, which is a real cost if you have never used resin slicing software before.
Speed is a feature you only get paid for if you actually run long prints. At 170 mm/h a tall dental arch model goes from a multi-hour job to a much shorter one, but the number is a peak with a specific resin and specific settings. Treat it as the ceiling, not the average.
What you should check before printing a dental model
Check that the accessories you want, particularly odor filtration, are budgeted separately, because the purchase price does not include them. Then check your room temperature: the temperature-controlled vat helps in a cold space, but the machine still needs ventilation regardless of the vat.
For orientation, use the larger plate to print several arch models at once at 25 to 35 micron layers rather than pushing to 20 microns. On this machine, throughput and resolution are more usefully balanced together than maximized on either axis.
Where the M7 Pro is the wrong tool
Skip it if you need the highest pixel density in the roundup, since the 14K panel here is a step behind the 16K and the 17 micron machines. Skip it if you want the largest review record, because 98 reviews is thin for a purchase of this size. And skip it if you need the very high viscosity resins, because its viscosity ceiling is not the 8000 cps class the Photon P1 handles.
6. ELEGOO Mars 5 Ultra 9K — The Most Connected Machine on a Mid Budget
ELEGOO Mars 5 Ultra 9K MSLA Resin 3D Printer, Smart Mechanical Sensor
18µm XY resolution
7 inch 9K mono LCD
Tilt release to 150 mm/h
WiFi and AI camera
Pros
- 18µm pixel size gives very crisp detail on models and terrain
- tilt release speeds production
- built-in AI camera and WiFi cluster printing add real monitoring value
- bundled Pro software simplifies setup
- 92% COB light uniformity
Cons
- Resin and plate must be warmed in cold rooms or first layers fail
- build plate is extremely adhesive and hard to release from
- some owners report touchscreen failure after about a month
- resin is not included
The Mars 5 Ultra is the machine I would recommend to someone who runs more than one printer, or who cannot be in the room while a print runs. WiFi cluster printing moves files over a local network without a USB stick, and the built-in AI camera with time-lapse capture means you can check a long dental arch print from a phone.
The panel is 9K monochrome on a 7 inch tempered glass screen, giving 85,204,320 pixels at 18 microns. That puts it in the same pixel class as the Photon Mono 4, and owners describe crisp results on miniature and terrain geometry, which is the same kind of sharp-edged surface detail that a dental arch form needs.
Light uniformity is the spec I would watch most closely. The COB source is stated at 92% uniformity, and that is the number that keeps layer lines from banding. Tilt release handles separation at up to 150 mm/h, and the smart mechanical sensor with one-click calibration watches for low resin, foreign objects, and high light board temperature.
Set-up is the other argument for it. Owners consistently describe the touchscreen as beginner-friendly and the bundled software as straightforward, and several report it as a large step up from an earlier generation they owned.
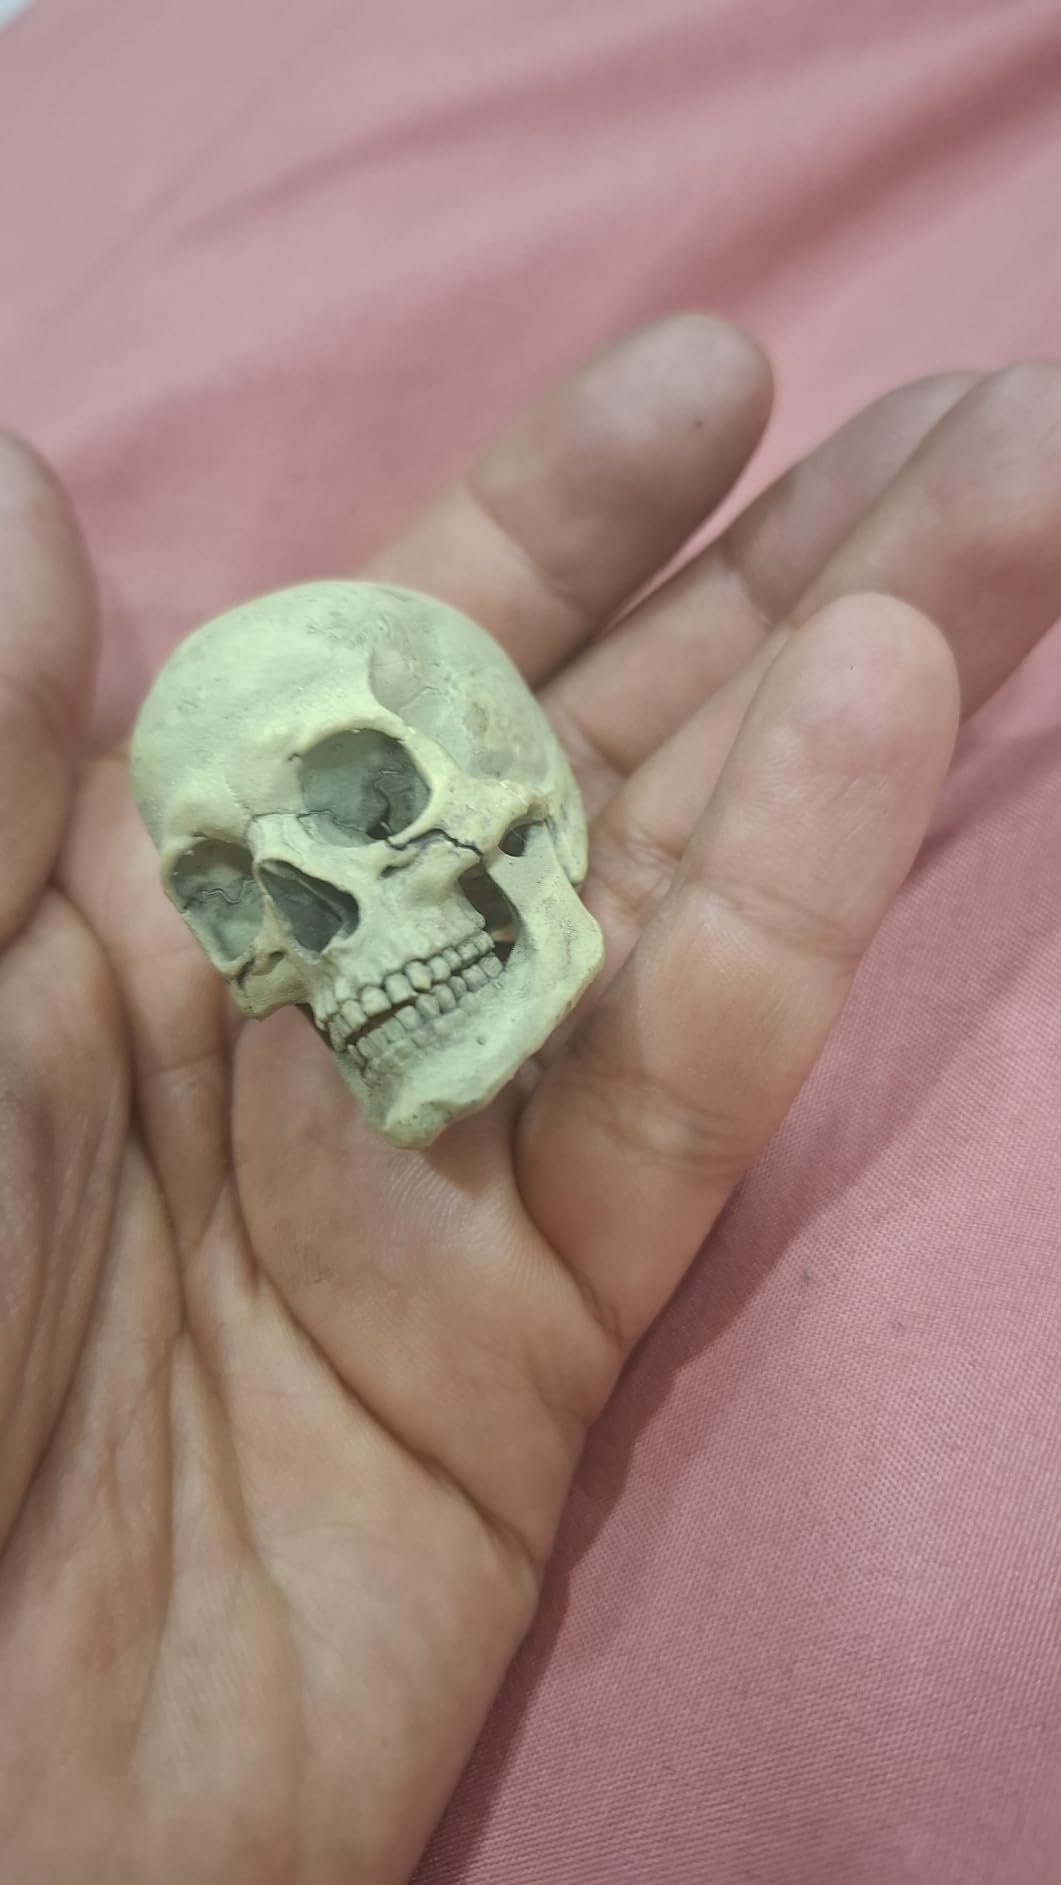
The first-layer warning is the one to internalize. Owners report that resin and the build plate must be warmed in a cold room or adhesion fails outright. If your workshop is unheated in winter, this is not a small inconvenience; it is a rule you have to follow every time, and on a machine with no heated vat you are doing it manually.
The second warning is the build plate. It is described as extremely adhesive, which is good for the first layer and bad for the last, because finished prints are hard to separate. Owners also note that flexible magnetic plates are not officially supported, which removes the usual workaround.
Two smaller items: a minority of owners report touchscreen failure after about a month of use, and the resin is not included. At 89 reviews the record is meaningful but not deep, and the Chiubox learning curve is real for people coming from FDM printing.
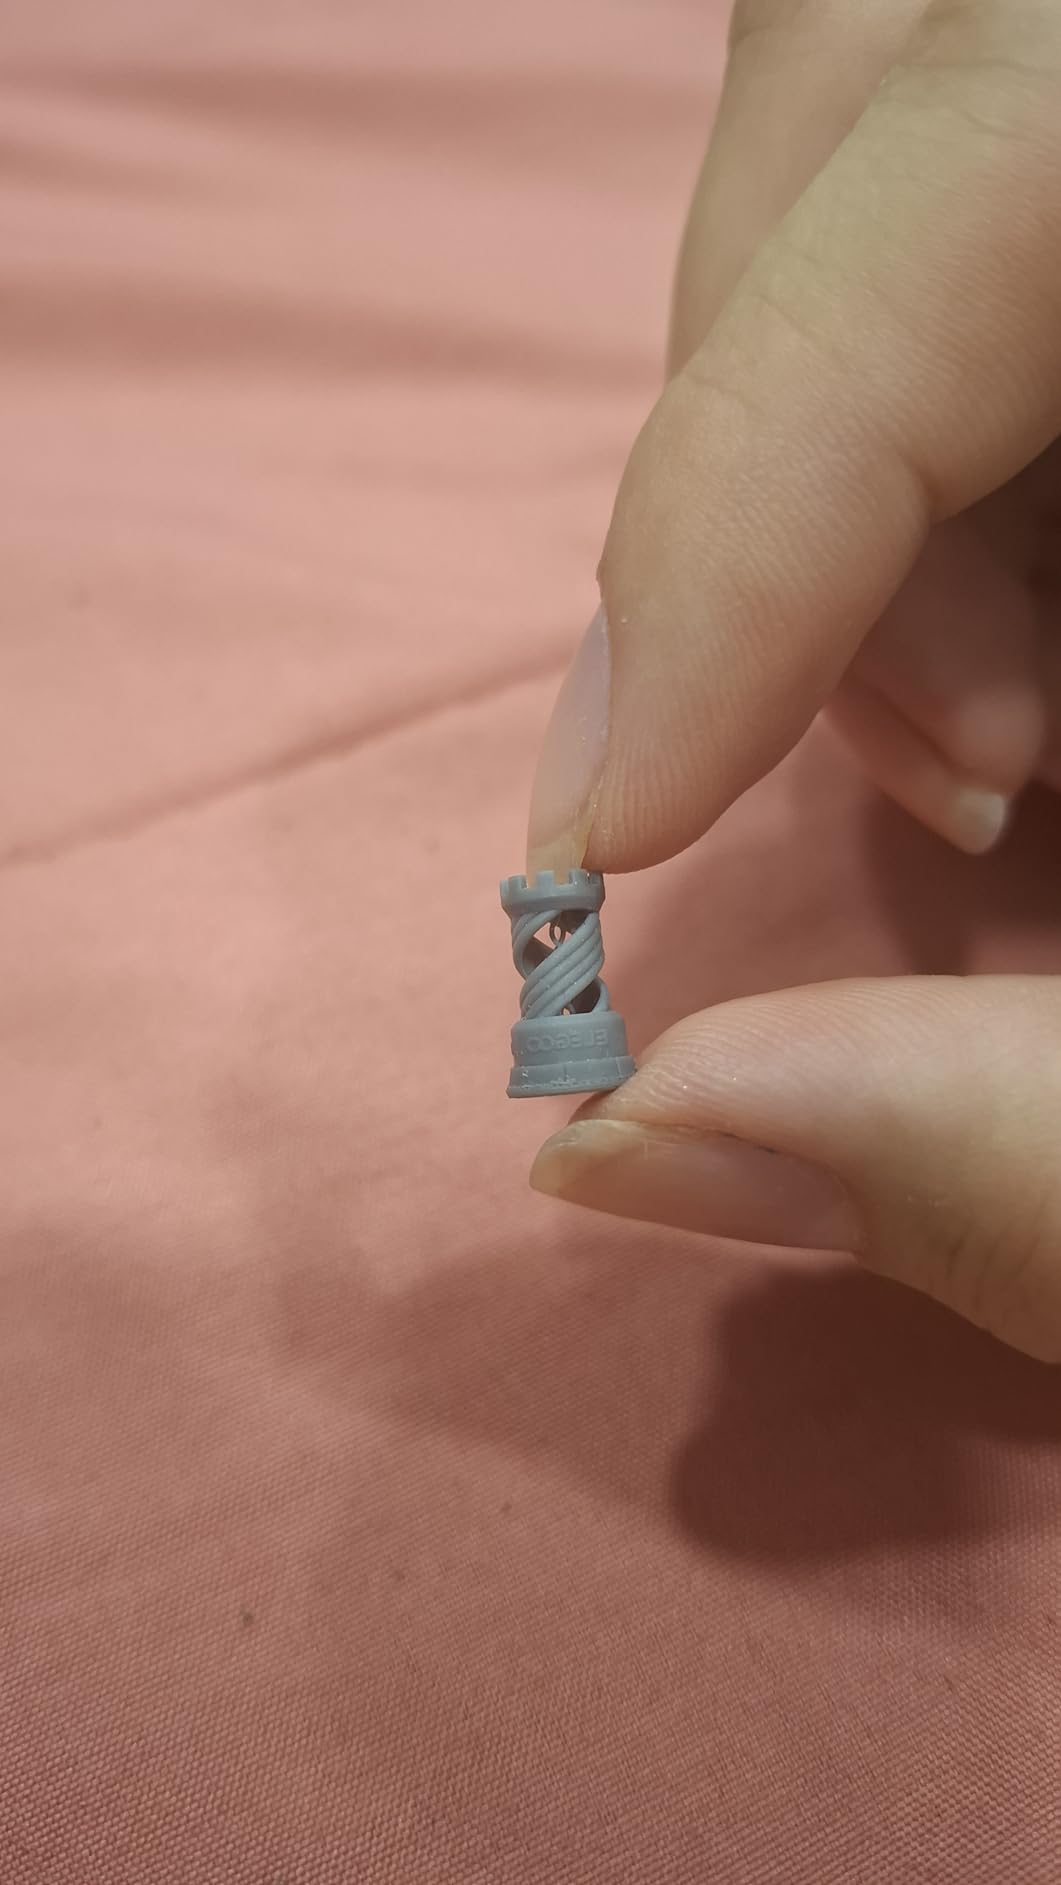
What you should check before printing a dental model
Check your room temperature and plan for warming the resin and the plate before every print if you work in a cold space. Then check how you will release finished models, because the adhesive build plate needs a deliberate plan, and a scraper used at the wrong angle will mark a margin.
For orientation, tilt release reduces peel force, so you can safely print a slightly tilted arch and still hold a thin margin. Use 20 to 30 micron layers, and take advantage of the WiFi transfer so you can slice from your desk rather than standing at the machine.
Where the Mars 5 Ultra is the wrong tool
Skip it if you work in a cold room without any way to warm the machine, since there is no heated vat. Skip it if over-adhesion will frustrate you and you will not develop a release technique. And skip it if you need the very thinnest pixel pitch in the roundup, because 18 microns is excellent but not the 17 micron the Photon Mono 4 delivers.
7. ANYCUBIC Photon P1 14K — Built For the Thicker Resins Dental Labs Actually Use
ANYCUBIC Photon P1 14K Resin 3D Printer with Auto-Leveling
16.8 x 24.8µm pixels
10.1 inch 14K mono LCD
Resins up to 8000 cps
Wave Release
Pros
- Handles high-viscosity resins up to 8000 cps with preconfigured profiles
- Wave Release reduces release force by 60 percent
- ball screw Z-axis with guide rails minimizes vibration
- factory-calibrated four-corner auto leveling
- AI inspection catches build plate and bottom layer separation
Cons
- New January 2026 release with only 58 reviews and no long-term data
- 29.7 lb weight is heavy for a home setup
- 9 percent one-star share on a small sample
The Photon P1 is the newest machine in this roundup, and it is the one whose feature set is aimed most directly at dental-adjacent work. It handles resins up to 8000 cps viscosity, which is roughly the class of resin used for guide and castable applications rather than the thin model resins most consumer printers run.
That capability is paired with Wave Release Technology, which generates micro-airflow under the part and cuts release force by 60 percent. Release force is the mechanism that destroys thin unsupported geometry, so a 60 percent reduction is not a speed feature, it is a survival feature for a margin or a cusp tip.
The mechanics support the accuracy claim. A ball screw Z-axis with precision guide rails minimizes motion vibration, and the LCD divides into zones for uniform light. Owners single out the vibration-isolated axis and the auto-leveling as the reasons results repeat well from run to run, which is the property you care about most when comparing two versions of the same arch.
Panel spec is 10.1 inch 14K monochrome at 13,312 by 5,120, giving 16.8 by 24.8 micron pixels and a 0.3mm minimum aperture. The larger screen means the same pixel count covers more area, so you can print full-arch models at fine settings without splitting them into tiles.
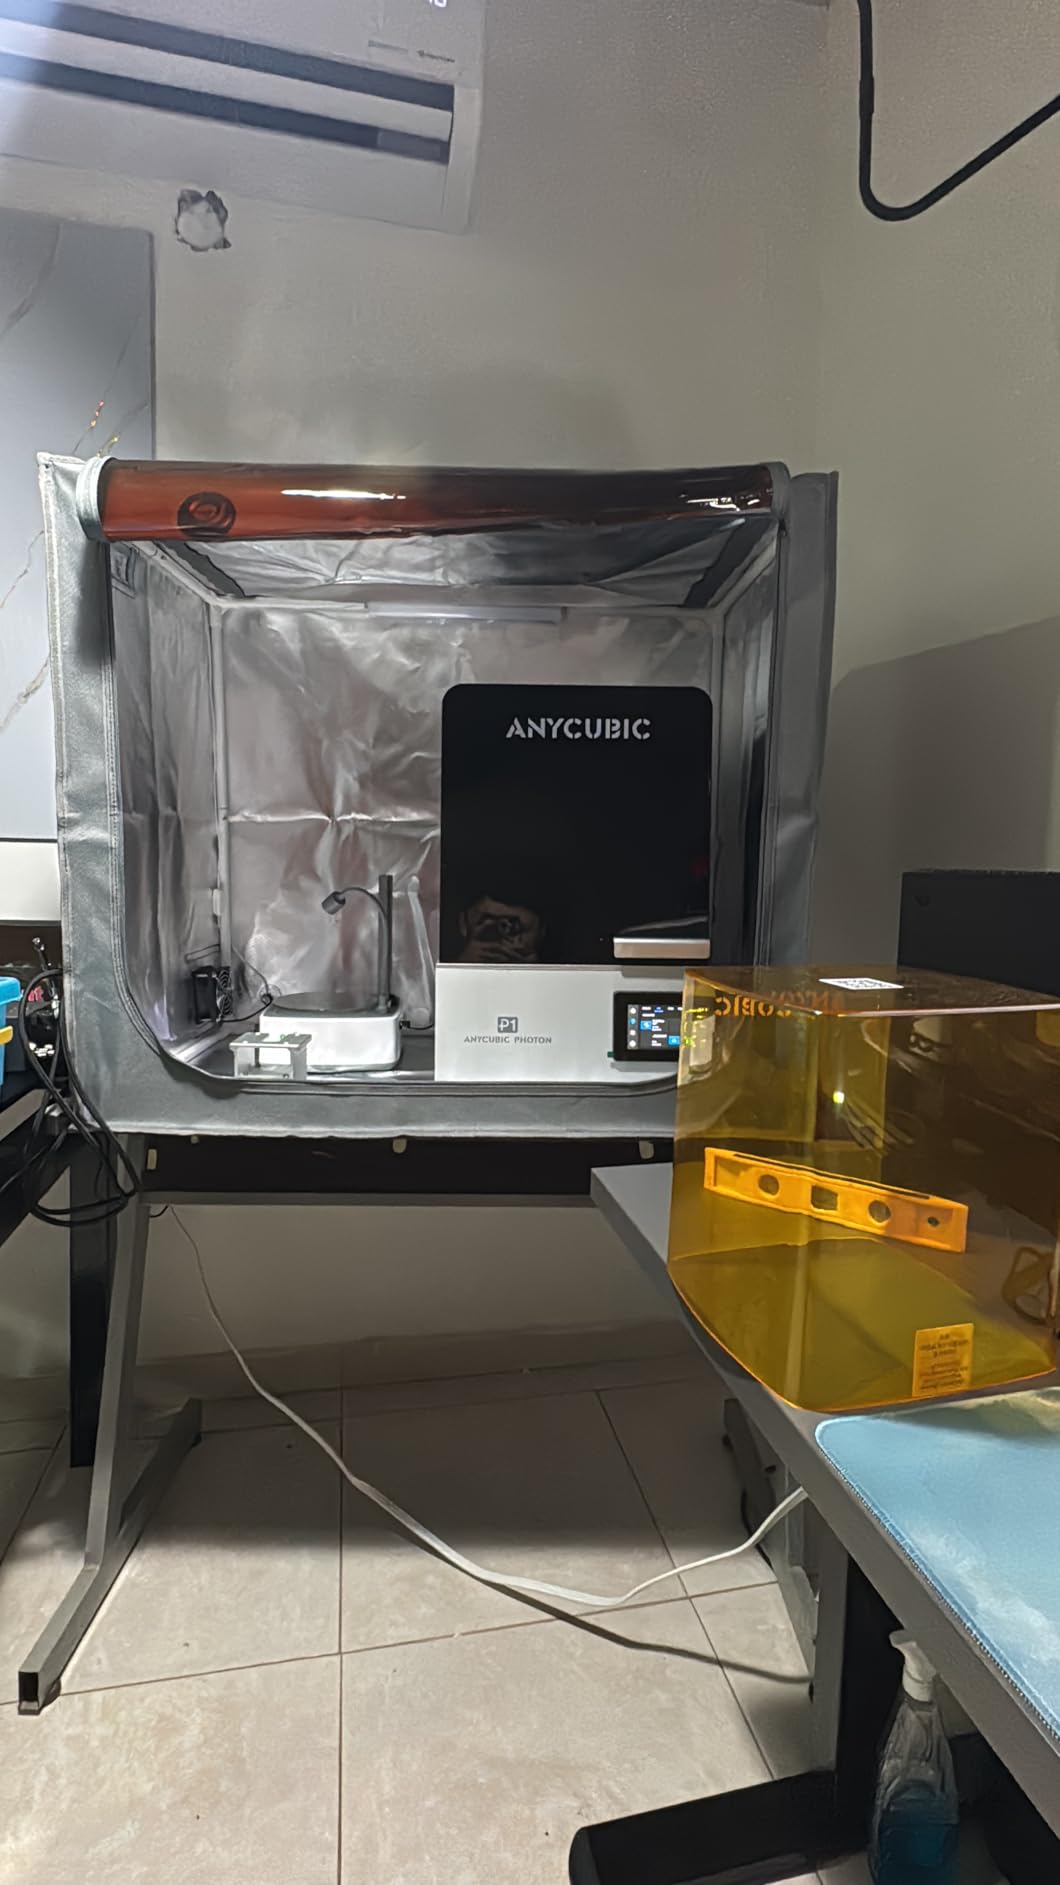
The honest caveat is age. The printer launched in January 2026 and carries 58 reviews, so long-term reliability is not established and the failure modes that appear in year two simply have not shown up yet. Early owner feedback is strongly positive, but a small sample of early adopters is a weaker predictor than a large sample of mature ownership.
At 29.7 pounds it is one of the heavier units here, and the 16.93 by 24.41 by 16.54 inch footprint is substantial. Plan the location before you buy rather than after.
Smart Leveling 3.0 is factory calibrated with four-corner pressure feedback, which removes manual leveling entirely. The AI inspection system verifies build plate installation and bottom layer separation, and with resin level and vat residue monitoring it catches most failure causes before they waste a print.
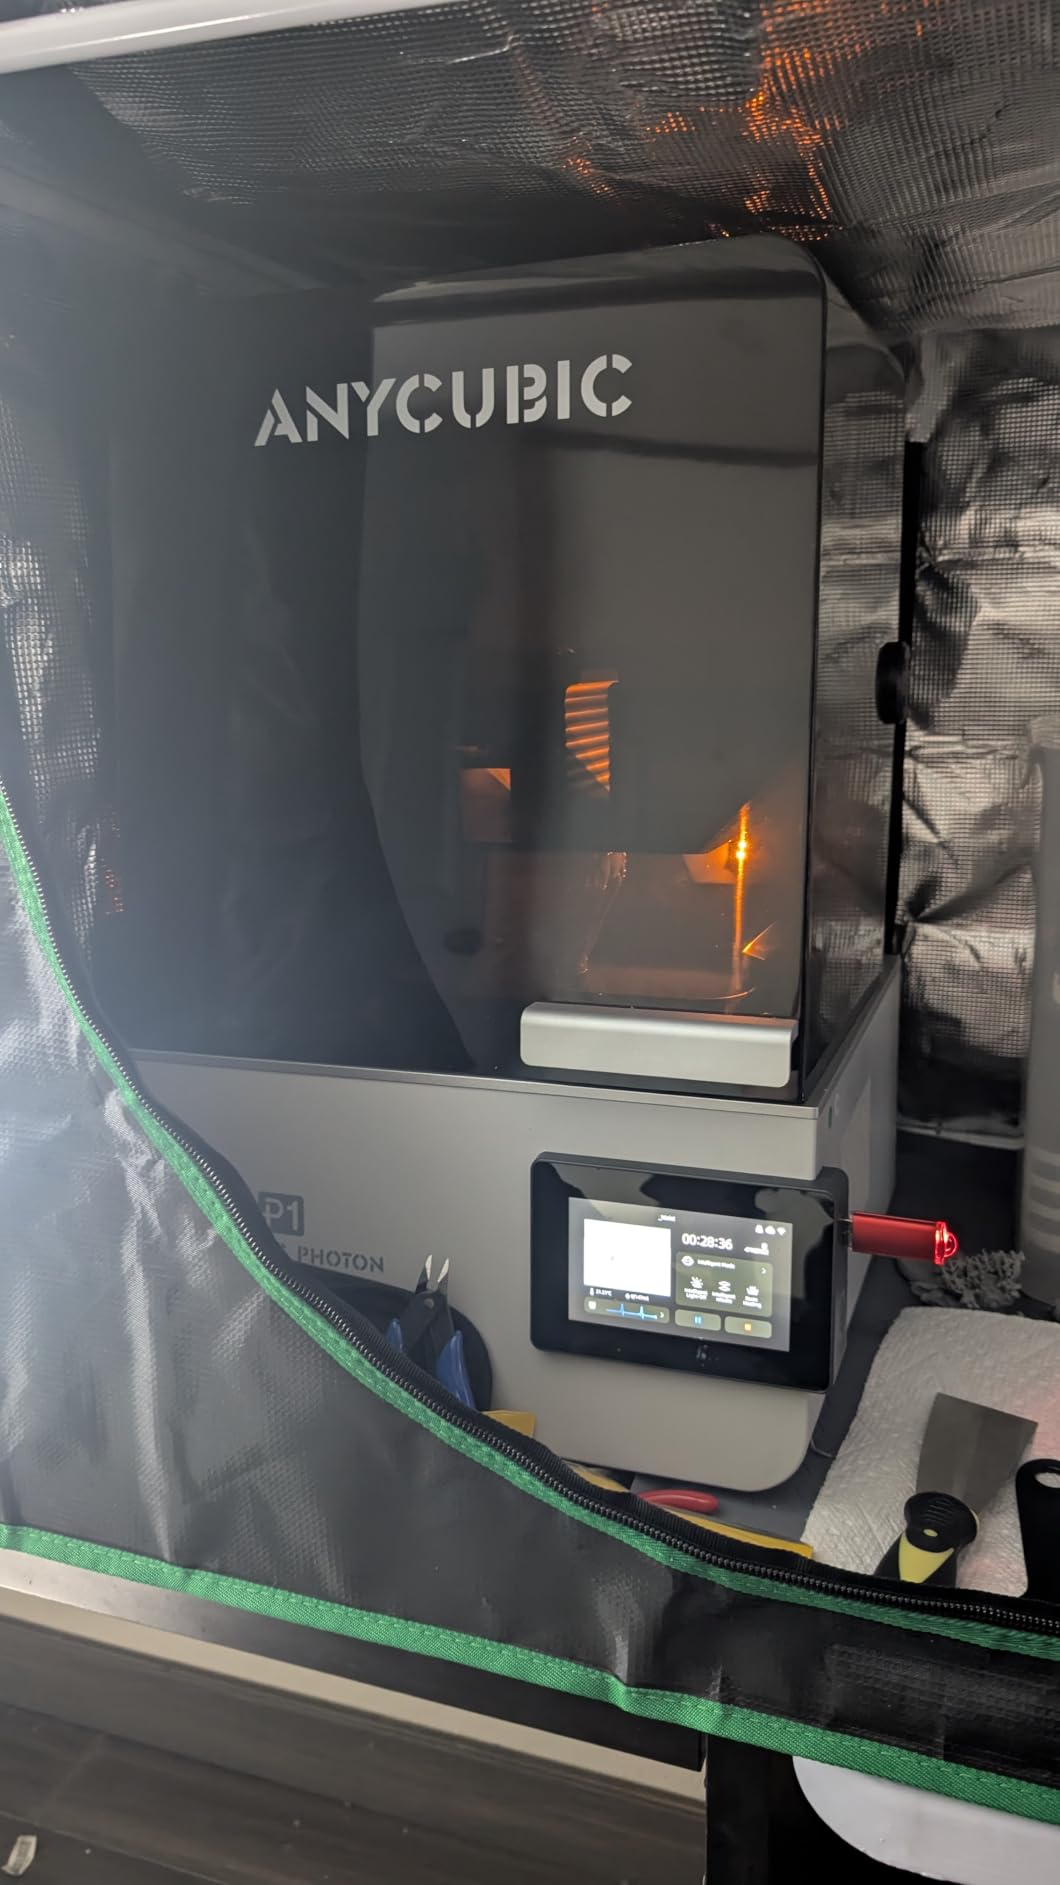
What you should check before printing a dental model
Check the viscosity of your intended resin against the 8000 cps ceiling, and use the preconfigured profiles rather than importing generic ones, because the release parameters are tuned to the machine. Also check the 0.3mm minimum aperture against the tightest contact or embrasure in your model.
For orientation, the reduced release force means you can print a tall arch vertically or at 30 to 45 degrees with far less risk of a feature being torn off. Use 20 to 30 micron layers, and let the factory calibration do the leveling work instead of fighting it with manual offsets.
Where the Photon P1 is the wrong tool
Skip it if you cannot accept an unproven long-term record, because 58 reviews cannot tell you what happens after two years of daily use. Skip it if weight and footprint are a constraint in your space. And skip it if your work is display miniatures on a budget, because you would be paying for viscosity handling and release engineering that only pays off with thick dental resins.
8. Phrozen Sonic Mega 8K S — A Batch Machine That Is Not a Detail Machine
phrozen Sonic Mega 8K S LCD/MSLA Resin 3D Printer, 43 µm High Resolution, 15 inch Mono LCD Screen, Fast Production Accurate Details, Large Printing Size L12.99xW7.28xH11.81 Printing Volume
15 inch 8K mono LCD, 43µm
33 x 18.5 x 30cm volume
Up to 80 miniatures
Lift-up lid, 57.3 lb
Pros
- Very large 33 x 18.5 x 30cm plate for batch work
- lift-up lid fits cramped corners and shelving
- metal drip hanger improves resin recovery
- reliable once dialed in
- ACF film and TR300 resin deliver real speed gains
Cons
- 43µm resolution is coarse next to 9K to 16K panels
- no WiFi camera or auto leveling
- documented main board transfer board LCD and power supply failures
- short warranty and expensive service
- 57.3 lb weight is impractical for a desk
The Sonic Mega 8K S is the odd one out, and I would rather be blunt about it than sell it as a general pick. Its 15 inch 8K mono LCD produces 43 micron pixels, which is coarser than a 4K panel from several generations ago. Owners in the review record specifically caution against it for fine miniatures because of that number, and the same logic applies to a dental model with a margin detail.
What it does have is volume. At 33 by 18.5 by 30cm the plate is more than four times the area of the machines above it, and Phrozen quotes up to 80 one-thirty-second scale miniatures in a single run under 90 minutes with ACF film and TR300 resin. If your work is dental education, producing large numbers of teaching casts, or any batch where quantity beats surface finesse, this is where that work happens.
Two design choices are genuinely useful in a cramped space. The lift-up lid means you can slide the machine into a corner or onto a shelf unit where a hinged lid would never open, and the built-in metal drip hanger returns resin from finished parts, which cuts cleanup and waste on a machine doing large jobs.
It also handles up to 22 pounds of load, so the big plate does not mean a weak Z. Experienced makers describe it as very reliable for large volumes once it is calibrated.
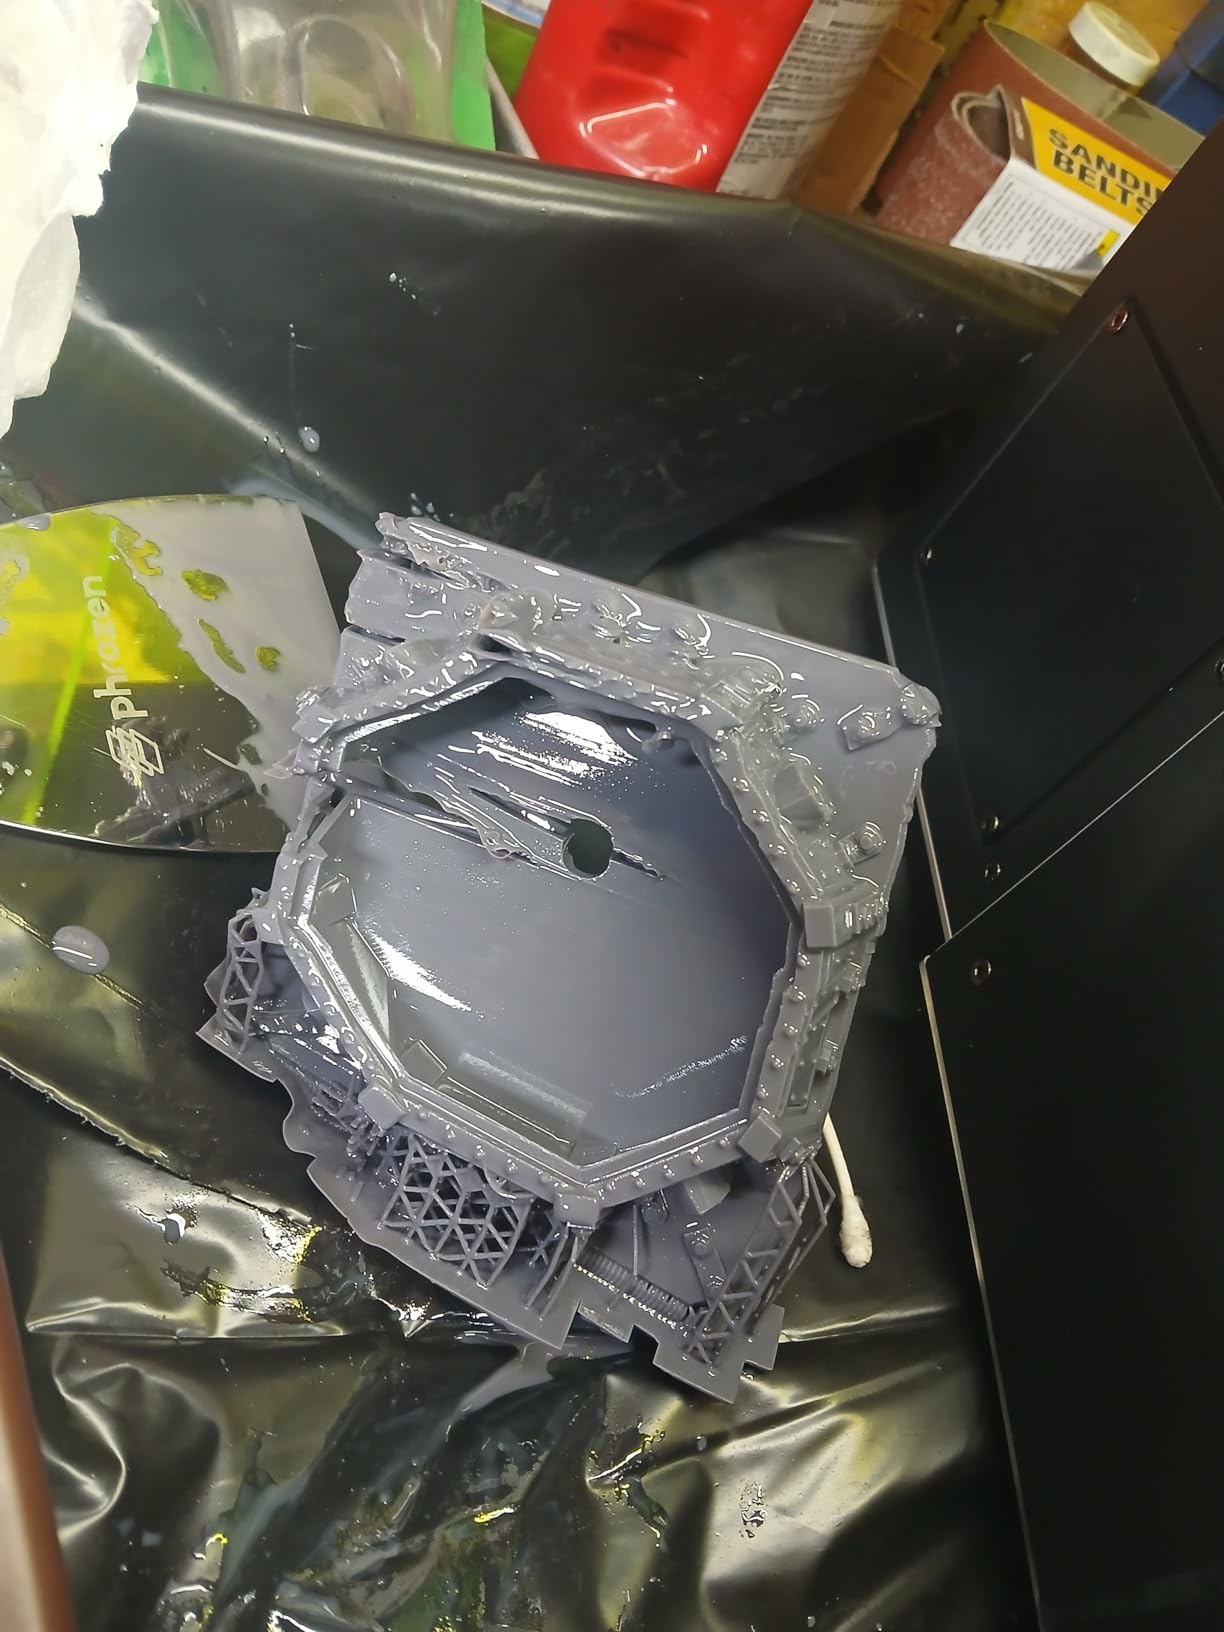
The failure record is the reason this sits at eight rather than higher. There are documented main board, transfer board, LCD, and power supply failures, some of which owners link to moving the unit. At 57.3 pounds, moving it is a real operation, and a machine that fails when it is relocated is a poor fit for a shared space.
Service is also a problem. The warranty is reported as short at three months and expensive to service, and the self-filling mechanism is reported to work poorly. Real-world print speed is reported as well below the advertised figure for some users, so treat the throughput claims as best case.
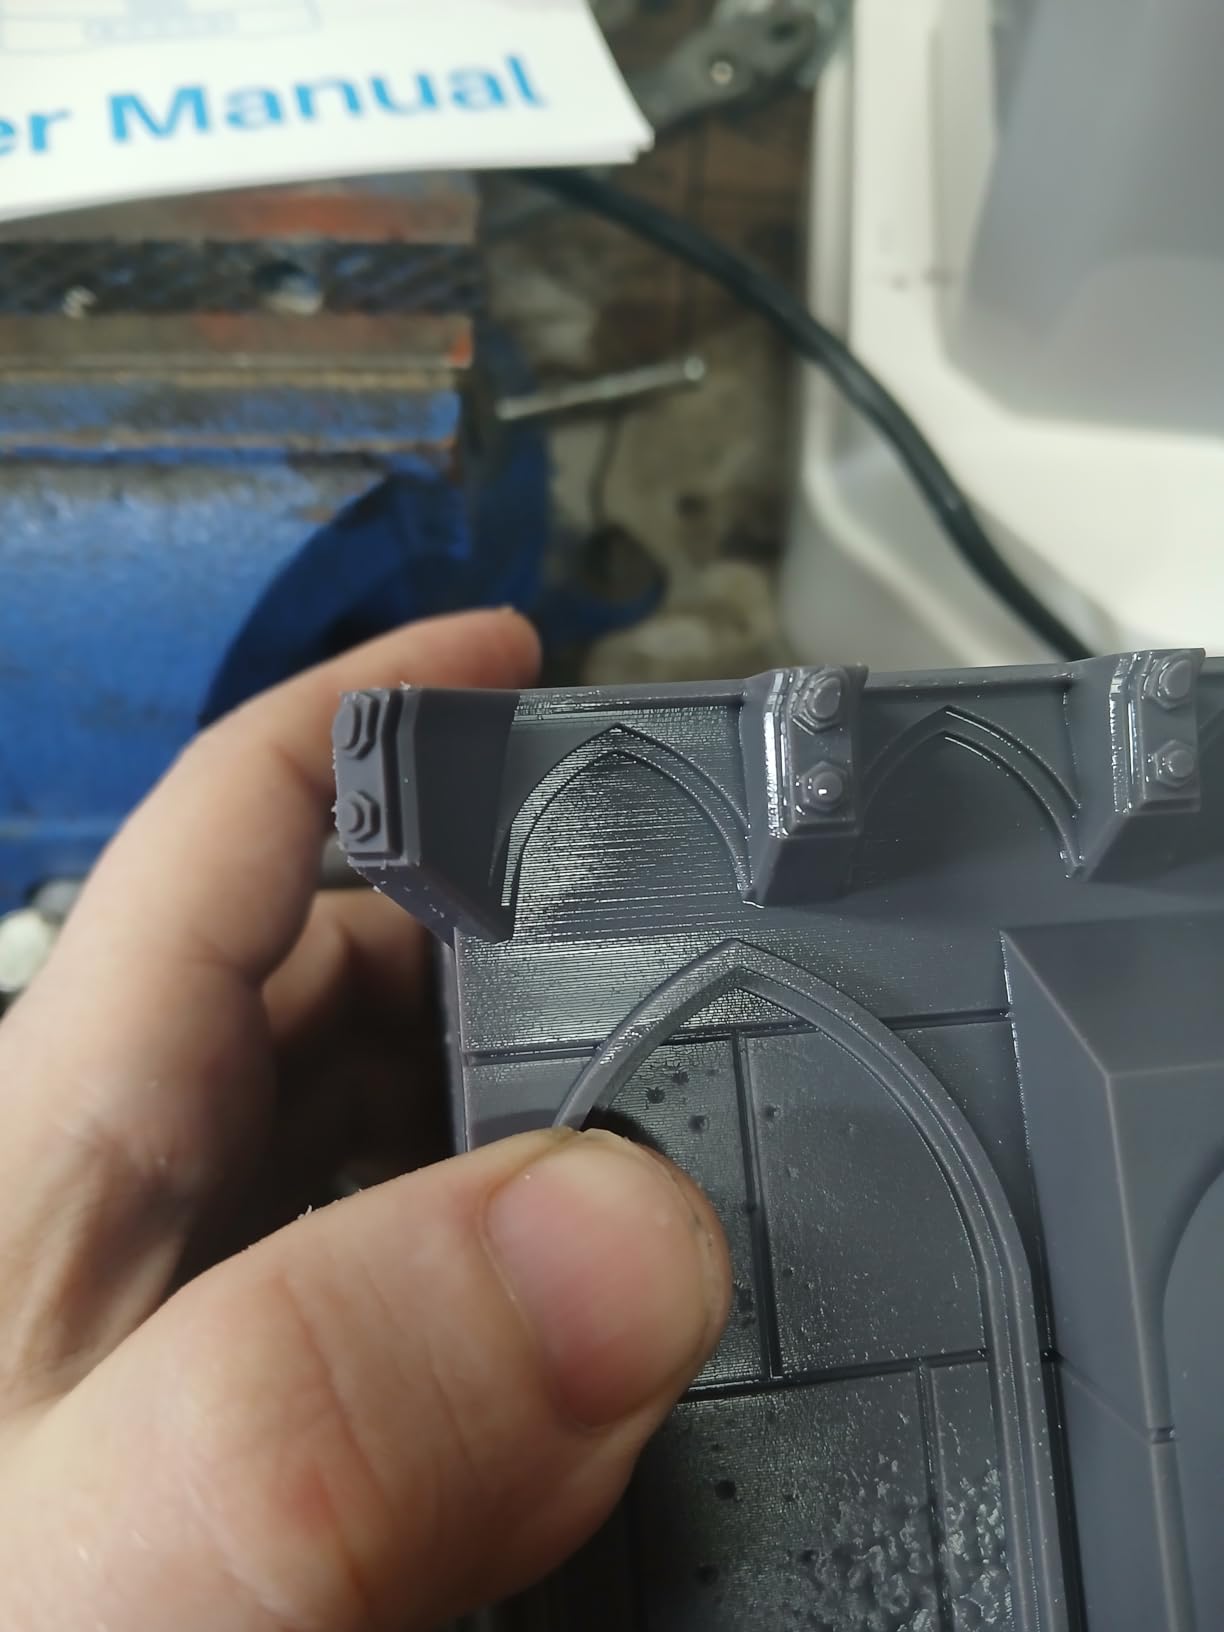
Because the plate requires a perforated plate for the large format, flexible magnetic plates are not supported, which removes the usual escape from a rigid build surface. And 21 percent of reviews are one star, the roughest tail in this roundup.
What you should check before printing a dental model
Check that 43 microns is acceptable for your geometry before anything else, because this is a throughput decision dressed as a detail decision. If you are producing large numbers of study models rather than one highly detailed arch, accept the stepping and use 50 micron layers, where the pixel pitch matters less.
Then check the location is permanent. A 57.3 pound machine that has documented electronics failures after being moved should be installed once and left. Check also that you have a well-ventilated area, because the resin recovery hanger and large plate both generate more work per session.
Where the Sonic Mega 8K S is the wrong tool
Skip it if fine detail matters at all, because 43 microns is the wrong tool for margins, cusp tips, and small apertures. Skip it if you need automation, since there is no camera, no WiFi, and no auto leveling. And skip it if warranty service quality is a deciding factor for you, because a short warranty on an expensive board-heavy machine is a meaningful risk.
9. Heygears Reflex RS Turbo — The Best Engineering Claims and the Smallest Sample
HeyGears Reflex RS Turbo Resin 3D Printer with Amber Screen, High Contrast Ratio of 566:1, Delivering ±2μm High Precision and 4.5s/Layer High Speed, C5 Industrial Z-Axis and Auto Leveling
566:1 amber screen
4.5s per layer
C5 ball screw Z-axis
0.1N force sensing
Pros
- Highest average rating in the roundup with 88 percent five star reviews
- 566:1 amber screen gives crisp detail and faster curing
- C5 industrial Z-axis with 2µm repeatability
- one-click slicing auto repairs mesh defects
- 0.1N force sensing catches residue as fine as 0.2mm
Cons
- Only 25 reviews on a February 2026 release so long term reliability is unproven
- 50.6 lb weight and 23 inch length are bulky
- performance figures are manufacturer stated and not independently verified
The Reflex RS Turbo has the highest average rating in this roundup at 4.7, with 88 percent of reviews at five stars. It also has the smallest sample at 25 reviews and a February 2026 release date. Both facts are true at once, and you need both to make a decision.
On paper, the differentiation is real rather than cosmetic. The custom composite amber screen with a dyed polarizer film has a stated contrast ratio of 566:1, and high screen contrast translates into faster cure and sharper feature edges because the resin receives a more decisive light dose. Owners report crisper detail and faster curing with both standard and high-speed resins.
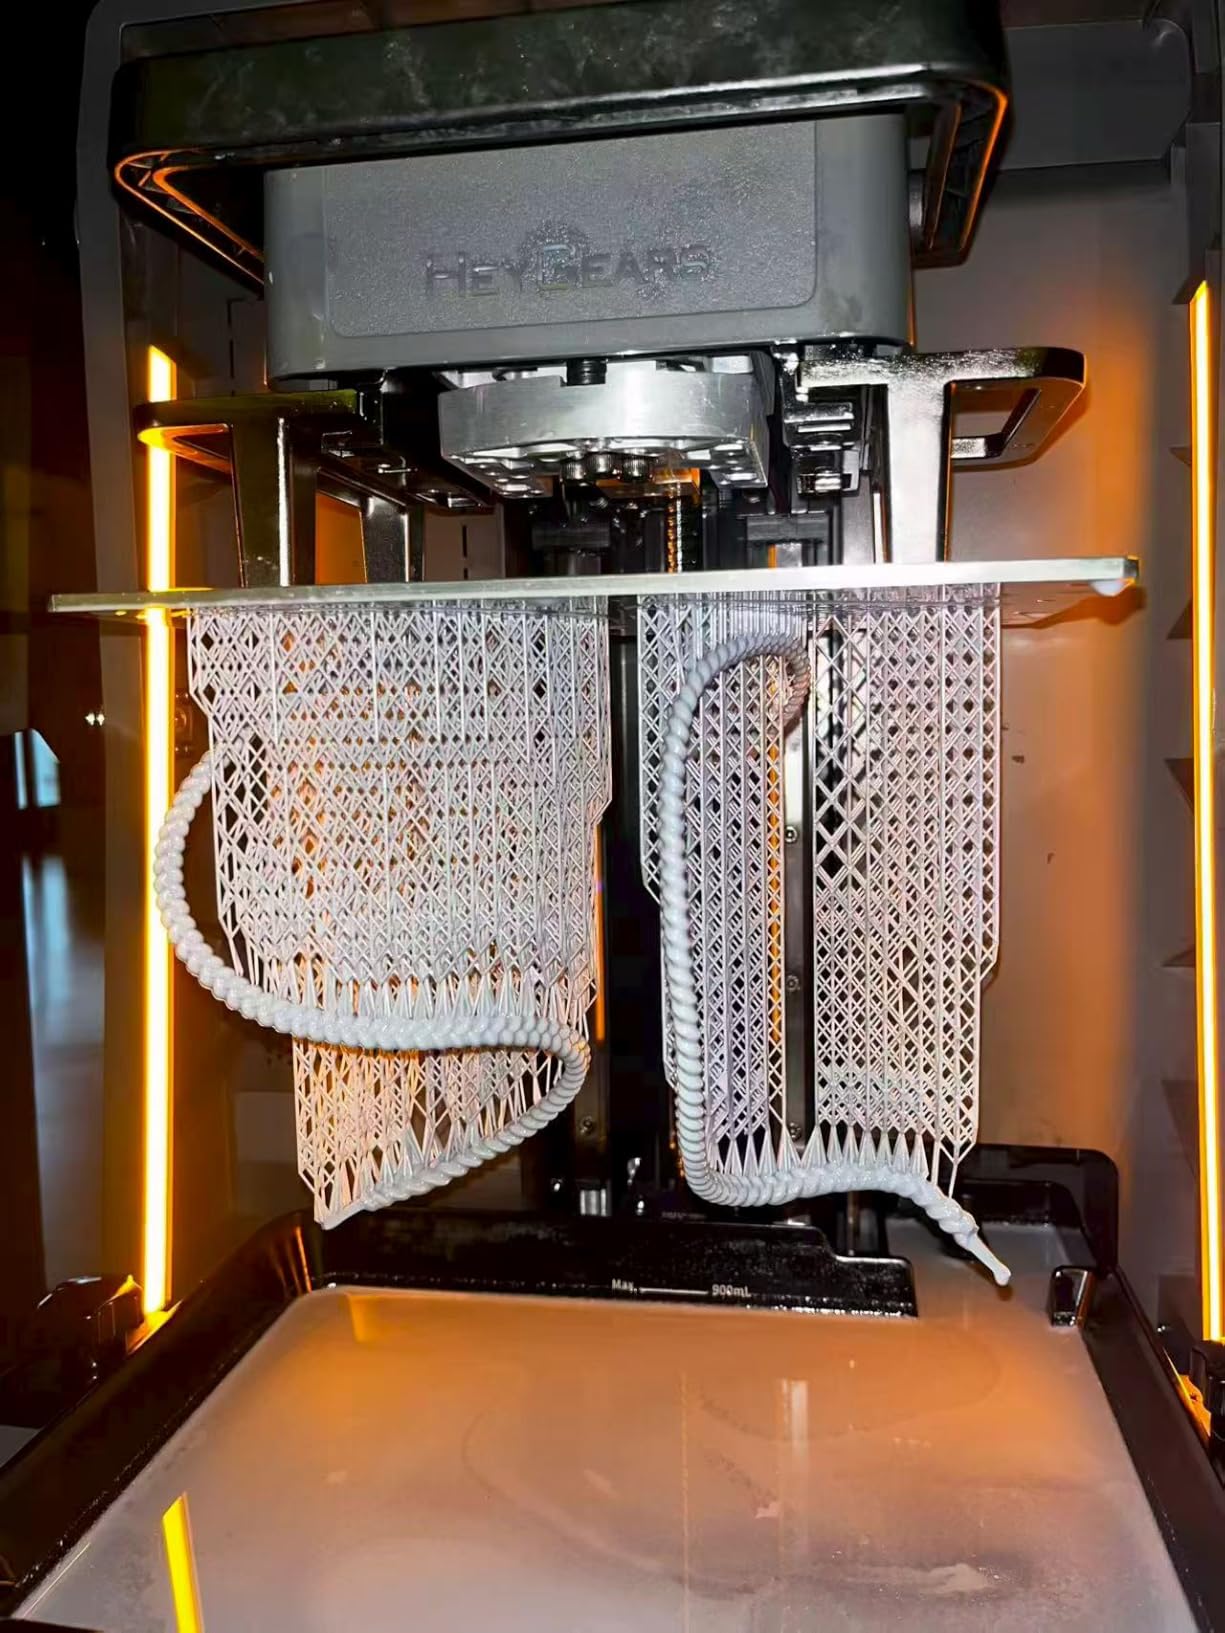
The Z-axis is the deeper story. The C5 industrial ball screw Z-axis is stated at 2 micron repeat positioning accuracy, tested over 10,000 cycles under 50kg load. For dental-style work, Z repeatability is what determines whether two prints of the same arch sit at the same height, and that is the specification most worth paying up for.
Two more mechanisms are worth understanding. The LCD is divided into 60 zones to hold light intensity variation within plus or minus 3 percent with a 0.05mm print tolerance, and 0.1N force sensors detect resin residue as fine as 0.2mm and trigger an automatic pause. That last one is aimed squarely at the failure mode that ends most print sessions early.
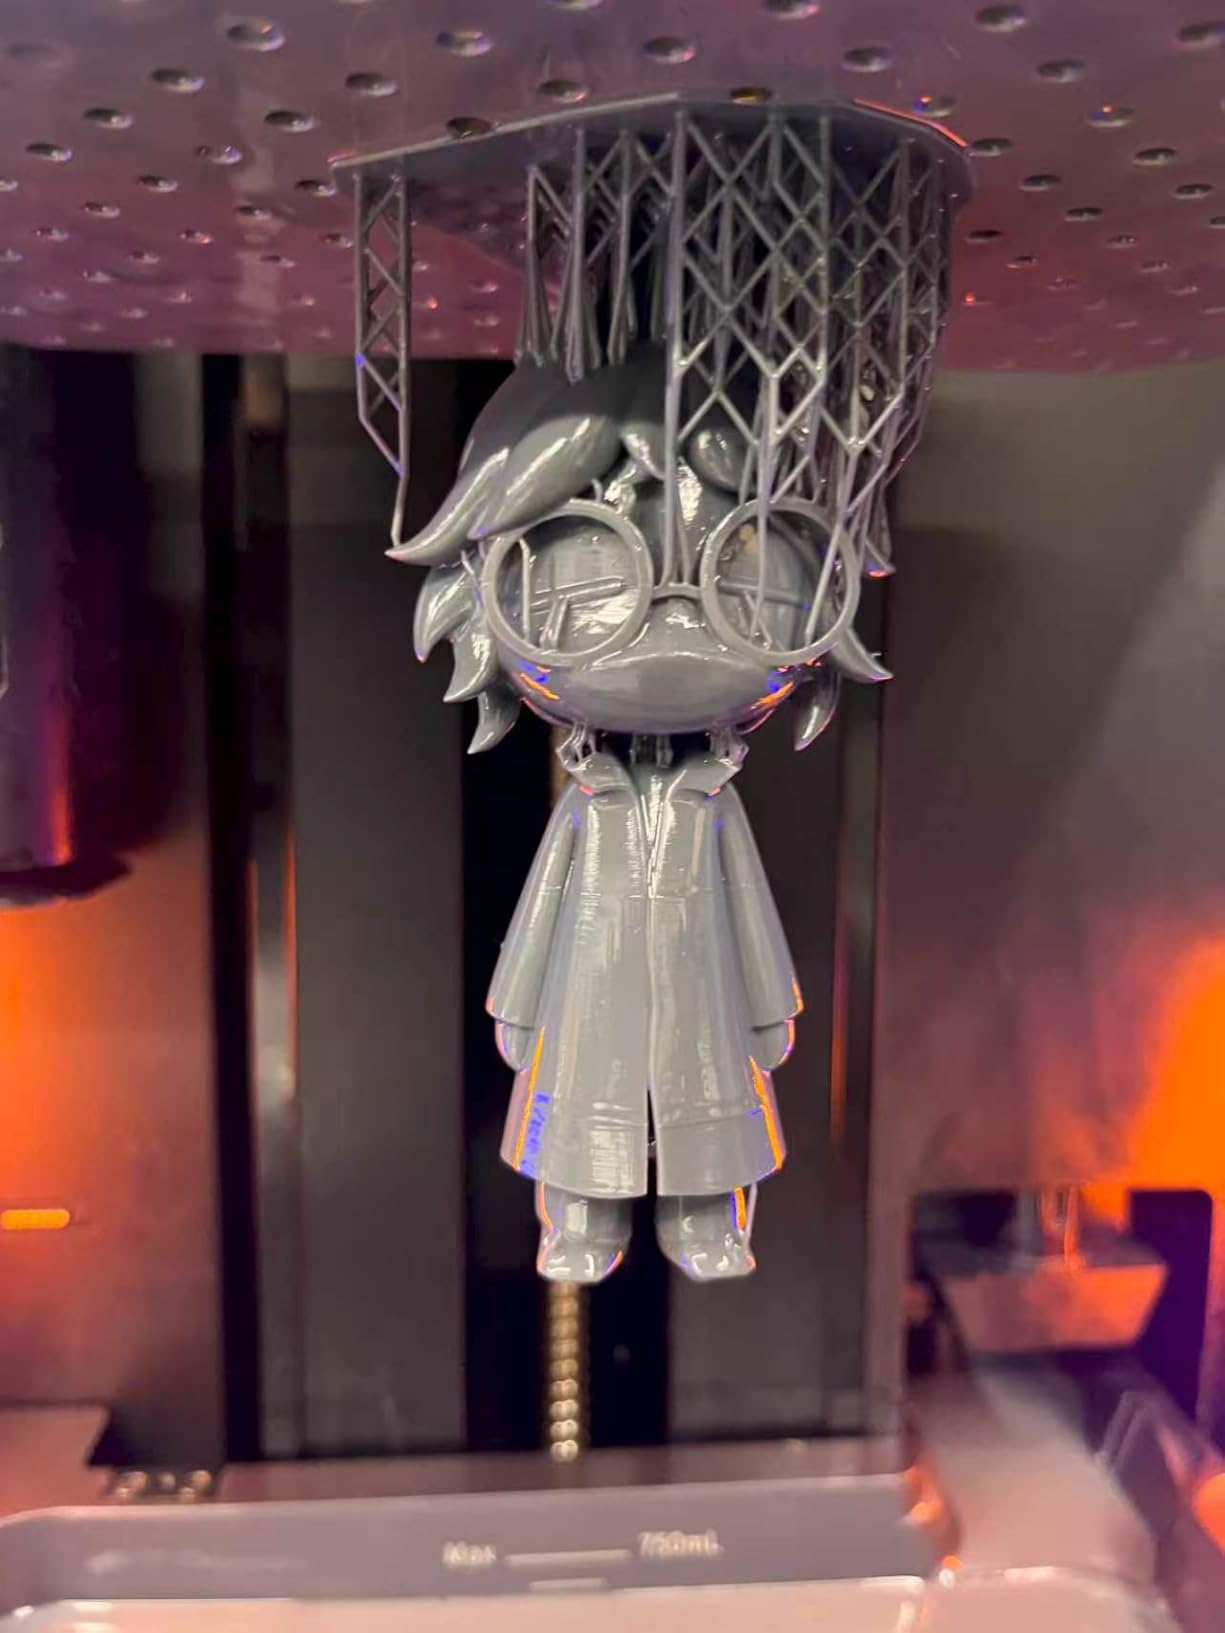
The floating screen auto-leveling corrects deviation up to 0.15 degrees, and one-click slicing auto-repairs inverse normals, holes, and intersecting shells before printing. The adaptive process packages offer Z-axis compensation for up to 180 angle and hole edge combinations, which is the sort of automation that saves real time once you are past the beginner stage.
The honest limits are physical. At 50.6 pounds and 15 by 23 by 15 inches this is a bulky machine for a home setup, and the marketing performance figures are manufacturer stated rather than independently verified by buyers. With 25 reviews there is not enough owner data to substitute for that verification yet.
One important point on scope. A 2 micron Z repeatability figure is a motion specification, not a dimensional validation of printed parts. It tells you the axis returns to the same place very accurately; it does not tell you the printed arch matches a clinical scan. Anyone treating that number as clinical accuracy is misreading it.
What you should check before printing a dental model
Check your tolerance needs against the amber screen and 60-zone calibration, because the contrast ratio is what produces crisp edges and you should confirm it is what you are paying for. Then check that you can accommodate a 50.6 pound machine with 0.1N force sensing in your workflow, including room for a ventilation path.
For orientation, the high contrast and fast layer time mean you can use 20 to 30 micron layers without the print dragging, and the adaptive process packages reward you for using the manufacturer profiles at first. Move to manual tuning only after you have a repeatable baseline.
Where the Reflex RS Turbo is the wrong tool
Skip it if you need an established reliability record, because 25 reviews on a new release cannot tell you what fails in year two. Skip it if space or weight is a real constraint. And skip it if you are buying to make study models for a class, because the cost and footprint only make sense if you are printing a lot of parts or pushing on tolerance.
What Layer Height to Use for Dental-Style Work
Layer height is a speed and quality dial, not a quality-only dial. Lower layers mean more layers, longer prints, and a smoother curved surface. The right number depends entirely on what you are printing and who is looking at it.
For a diagnostic study model shown to a patient, 50 microns is defensible. The anatomy reads clearly and the print is done in a fraction of the time. For an orthodontic model used to assess alignment, drop to 30 microns, because the stair-stepping on the incisal edges can obscure exactly what you are trying to evaluate.
For a denture base mock-up or a teaching cast with fine ridge detail, 30 to 50 microns is the working range. For anything with a margin, a cusp tip, or a contact point under 0.5mm, go to 20 to 25 microns and accept the time. That range is where the pixel pitch work actually shows up.
For a display piece or a large teaching model, 50 to 100 microns is fine. Nothing about surface smoothness matters on a cast you are going to handle, and the time saved across a batch of teaching models is substantial.
One practical note. Layer height interacts with the release cycle. A thinner layer means a smaller peel event, which is generally gentler on fine features, but it also means more cycles and more opportunities for a failure. On a machine with a heated vat, the extra heat and lower viscosity can let you run thinner layers without more risk. On an unheated machine in a cold room, thin layers are where cold-resin separation failures show up first.
Where Consumer MSLA Printers Fall Short on Dental Work
Every machine in this roundup is a consumer or prosumer LCD/MSLA unit, and there is a boundary where they stop being suitable for real dental work. Knowing that boundary is more useful than another paragraph of praise.
The first limit is dimensional validation. A clinical workflow requires documented accuracy against a known reference, and none of these machines ships with that data. A user in a dental-adjacent role on r/resinprinting asked for better than 50 micron XY accuracy as a filter, which is the right instinct, but XY accuracy is not the same as validated trueness. If your work is a surgical guide or a working model that goes into a patient’s mouth, this is a hard stop, and the answer is a validated system with certified materials rather than a better consumer panel.
The second limit is thin over-hanging detail. Gingival margins, cusp tips, and embrasure features all create small unsupported or near-horizontal regions. On a standard lift-and-peel cycle, that geometry picks up wet suction, where uncured resin clings to the surface and distorts the feature, or simply gets torn off. This is the failure that a 60 percent release force reduction, as on the Photon P1, exists to solve, and it is why a heated vat helps so much.
The third limit is thermal drift. Resin viscosity rises as it cools, and without chamber or vat heating the material you started a print with is not the material you finish with. That changes exposure time requirements mid-print, and on an unheated machine in a room below about 20 °C it also wrecks first-layer adhesion. The Mars 5 Ultra owners report this directly, and the Saturn 4 Ultra at 30 °C addresses it.
The fourth limit is post-processing. Resin printing is not a hands-off process. Wash, cure, support removal, and inspection add time on top of print time, and the safety requirements are real: nitrile gloves, ventilation, and controlled handling of uncured resin. If you have never run resin before, that learning curve is part of the cost of the printer.
The fifth is material. Standard consumer model resins are not the same chemistry as dental guide, castable, or biocompatible resins, and running a general resin where a certified one is required is not a shortcut, it is a different product. Pairing a thin consumer resin to a machine with a low release force gets you the most out of the hardware, which is the practical version of what practitioners were discussing when they compared resin brittleness at thin support pins.
Buying Guide: How to Choose a Resin Printer for Detail Models
Start with XY pixel size, because it is the one spec that cannot be improved with settings. Below 20 microns you can hold fine margins and small apertures. Between 20 and 25 microns, dental-style study models and orthodontic models look right. Above 40 microns, buy for volume and accept the stepping. The jump from 18 to 22 microns is nearly invisible on a study model; the jump from 22 to 43 is very visible.
Next, look at release force and anything that reduces it, because that is the mechanism that decides whether fine features survive. Tilt release on the Saturn 4 Ultra and Mars 5 Ultra, Wave Release on the Photon P1, and a heated vat on the Saturn 4 Ultra all attack the same problem from different directions. On dental-style geometry with thin unsupported features, this is worth more than a small pixel pitch gain.
Then check resin viscosity tolerance. If you are printing standard model resin, any of these machines works. If you plan to move to a thicker dental resin for guides or castable parts, the Photon P1 at up to 8000 cps is the only machine in this roundup that explicitly supports that class, with preconfigured profiles. Otherwise, budget for a heated vat so viscosity is at least managed.
Build volume is a workflow decision, not a spec trophy. A 153 by 87 by 165mm plate fits a full arch and little else, which is fine for one or two models a week and a bottleneck otherwise. A 33 by 18.5 by 30cm plate fits dozens, which is what a teaching facility needs. Decide by how many parts per week you need, not by the largest number on the spec sheet.
Automation saves time once you are past the first month. Auto leveling, a mechanical residue sensor, and a camera with time-lapse are all time savers, but they are not quality features. A manually leveled machine with a good pixel pitch will out-resolve an automated machine with a weak one, every time.
Post-processing is where the real running cost lives. A wash and cure station is a separate purchase for every machine here, and it is not optional. Resin, gloves, filters, and replacement vats add up, and the monochrome LCD is a consumable with a service life measured in years, not a permanent component. Budget for a screen replacement as maintenance rather than as a surprise.
On software, check open slicer support if you already have profiles. The Sonic Mini 8K S runs Lychee, Chitubox, and Tango, and the Photon P1 and Saturn 4 Ultra ship with vendor software that auto-repairs common mesh defects. Slicer choice affects how much of the fine detail survives, because support generation and layer height are set there.
Finally, be honest about the room. Resin printing needs ventilation, a stable temperature, and somewhere the machine will not be moved around. A machine with documented failures after relocation, like the Sonic Mega 8K S, is telling you something real about where it belongs.
Frequently Asked Questions
What is the best resin for dental models?
For study models and orthodontic models, a low-viscosity grey or white model resin is the right starting point because it flows into fine features and releases cleanly. For guides, castable parts, or anything that must hold a clinical tolerance, use a resin validated for that application and paired to a printer with heated resin and low release force. Resin viscosity interacts with the printer, so a thicker resin on a standard-lift machine raises peel force and risks tearing thin margins.
What are the best 3D printers for dental models?
The best resin 3d printers for dental models in this roundup are the ANYCUBIC Photon Mono 4 at 17×17µm pixel pitch for the tightest detail, the ELEGOO Saturn 4 Ultra 16K for a heated tank that handles thicker resin, and the ANYCUBIC Photon P1 for resins up to 8000 cps and the lowest release force. All three are consumer MSLA machines suitable for study models, not for validated clinical work.
What is the best 3D printer for a dental lab?
A dental lab needs a validated system with documented dimensional accuracy and certified, application-specific resins, not a consumer LCD printer. None of the nine machines here carries that validation, so if your output goes into a patient or guides a procedure, budget for a professionally validated DLP or MSLA system and treat the consumer tier as a prototyping and teaching tool only.
Which resin printer is best for printing miniatures?
For fine miniatures, pixel pitch below 20 microns is the deciding factor, which puts the ANYCUBIC Photon Mono 4 and the ELEGOO Mars 5 Ultra at the front. The Phrozen Sonic Mega 8K S is the exception, because its 43µm panel is too coarse for fine miniatures and it is built for batch volume instead. If you also print larger terrain pieces, the ANYCUBIC Photon Mono M7 Pro balances speed and detail best.
Is a 16K resin printer worth it?
A 16K panel is worth it when your geometry has features under 0.5mm, because 16K on a larger screen means 16 to 24 micron pixels across a wider area and a smaller minimum aperture. For a plain study model with no fine margins, a 9K or 10K machine at 17 to 18 microns produces a nearly identical result and costs less. The gain from 16K to 10K is far smaller than the gain from 4K to 9K.
What are the downsides of using a resin printer?
The main downsides are the post-processing burden, the safety requirements, and the consumable cost. Every print needs washing, curing, support removal, and inspection on top of print time. Uncured resin requires gloves and ventilation, and a monochrome LCD is a consumable that eventually needs replacing. Thin unsupported features are also prone to wet suction, so a low-vacuum or high-viscosity part can fail on release.
What XY accuracy do I need for dental models?
For study models, orthodontic models, and denture base mock-ups, 20 to 25 micron XY accuracy is the practical target, which is the number a dental-adjacent user on r/resinprinting described as the filter for this work. Below 20 microns you add margin and cusp detail fidelity. You do not need clinical accuracy, and a manufacturer XY figure is not the same as validated trueness against a reference.
Is anything illegal to 3D print?
Printing a dental-style model for study, teaching, or your own mouth is not restricted in most countries. What is regulated is the professional use of printed parts in patient care, which in many places requires a validated printer, certified materials, and a licensed practitioner. Rules vary by jurisdiction, so check locally if you intend to print anything used clinically.
Which Resin Printer Fits Your Work
For the best resin 3d printers for dental style detail models, the ranking is driven by two numbers and one constraint. The two numbers are XY pixel size and release force, because together they decide whether a margin survives the print. The constraint is that none of these machines is a validated clinical system, so all nine are for study models, teaching, and display work.
If you want the tightest detail and the deepest owner record, the ANYCUBIC Photon Mono 4 at 17×17µm is the one to beat, and 667 reviews is far more evidence than any other machine here. If your resin is thicker than a standard model resin, the ELEGOO Saturn 4 Ultra 16K at a 30 °C heated tank and the ANYCUBIC Photon P1 at up to 8000 cps are the two that were built for it. If you need one or two models a week in a small room, the Phrozen Sonic Mini 8K S does the job at 22µm in a footprint you can actually store. And if you need a hundred teaching casts, the Sonic Mega 8K S has the plate for it, with the resolution compromise stated plainly.
Whatever you choose, add a wash and cure station to the purchase and treat the LCD as a consumable. That is the difference between a printer you own and a machine you are still financing two years later. Last reviewed in October 2026.