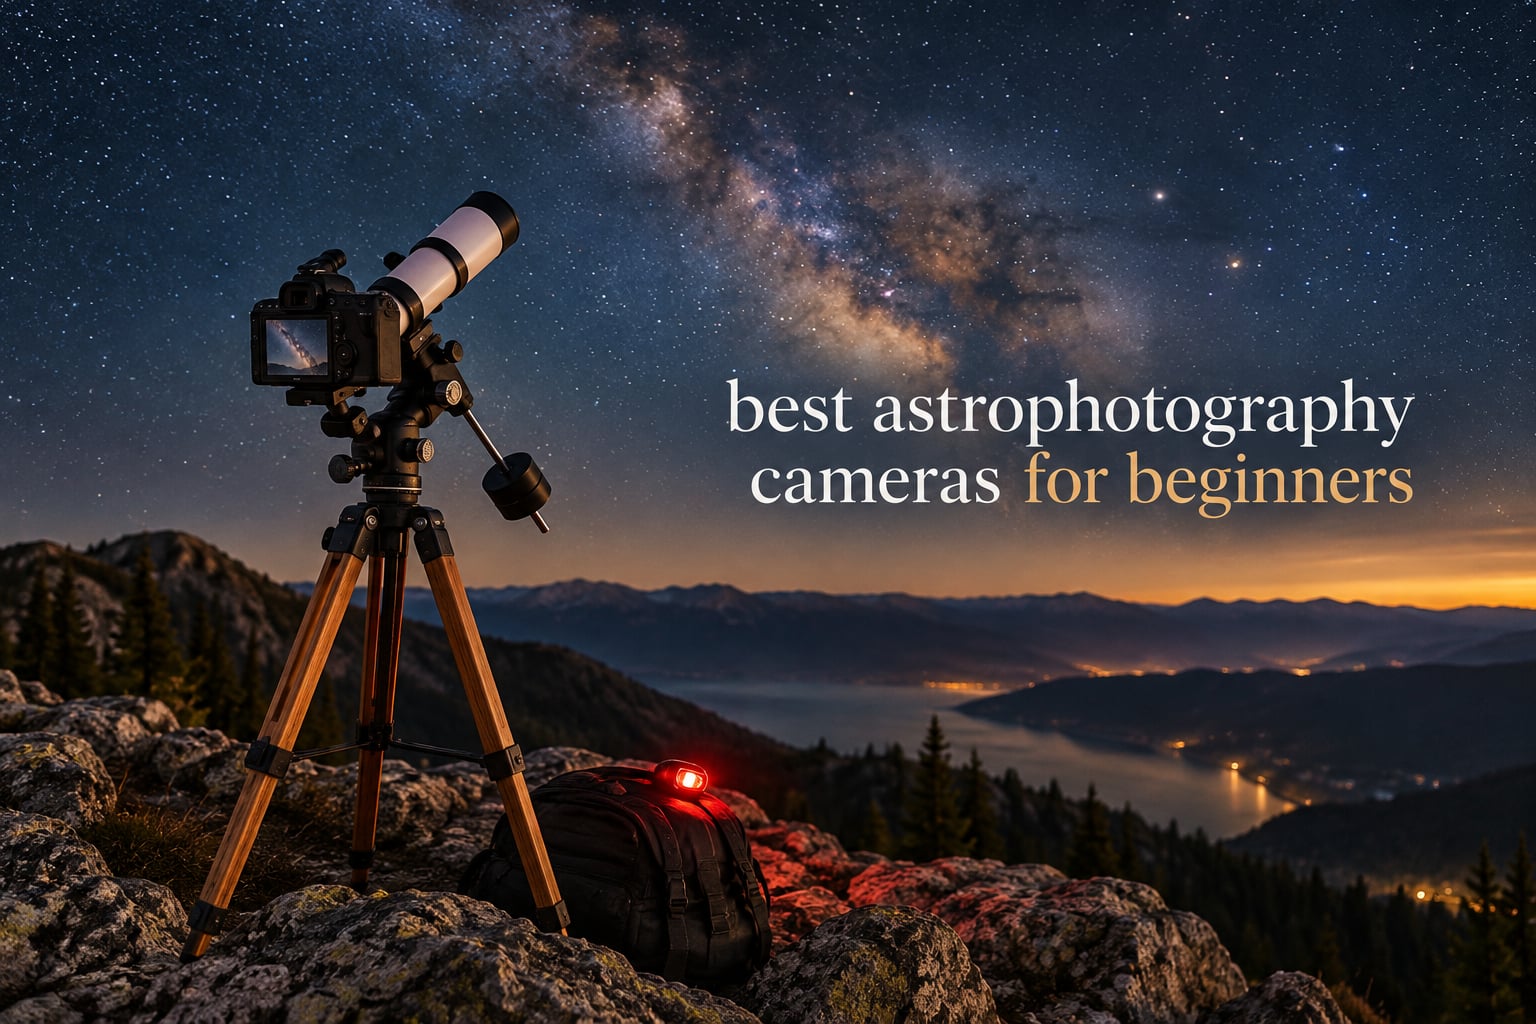
Most people arrive at astrophotography carrying a camera they already own and a question they cannot answer: is this thing any good at night? The honest answer is that almost any camera with manual exposure and RAW capture can take a usable Milky Way frame, and the camera is rarely the part that holds you back. That is the uncomfortable truth behind every ranking of the best astrophotography cameras for beginners, and it is why the lists that just sort sensors by megapixels are not much help.
What we did instead was separate the field into the three families that actually exist on the shelf today. There are interchangeable-lens bodies, both DSLRs and mirrorless, that shoot nightscapes on a tripod or a star tracker. There are smart telescopes with a camera and optics fused into one app-controlled box. And there are small 1.25-inch eyepiece cameras that drop into a telescope you may already own. Each one solves a different problem, and picking the wrong family is the single most common way beginners waste money.
Over the past few months our team has worked through the ten cameras below, read the owner feedback on each, and matched them to the three targets people actually shoot: wide nightscapes, deep-sky nebulae and galaxies, and the Moon and planets. Last updated for 2026, with every pick listed in the order we would hand it to a friend. If you want the wider field of interchangeable-lens options, our [full astrophotography camera guide](https://modelrec.com/best-astrophotography-cameras/) covers the used-market options too.
Table of Contents
Top 3 Picks for the Best Astrophotography Cameras for Beginners in 2026
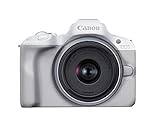
The Canon EOS Rebel T7 is the best astrophotography camera for beginners overall, because it gives you manual exposure, RAW capture and a kit lens in one box at a price most people can justify as a first camera. The Canon EOS R50 is the better mirrorless for anyone who wants a modern body they will not outgrow, and the Nikon D7500 is the strongest high-ISO performer in this group for anyone chasing faint targets.

Canon EOS Rebel T7
- 24.1 MP APS-C sensor
- Full manual exposure and RAW
- Mixed kit lens bundle
Quick Overview All 10 Cameras Side by Side in October
| Product | Specifications | Action |
|---|---|---|
| Canon EOS Rebel T7 |
|
Check Latest Price |
| Canon EOS R50 |
|
Check Latest Price |
 Nikon D7500 Nikon D7500 |
|
Check Latest Price |
 Nikon Z 50 Nikon Z 50 |
|
Check Latest Price |
 SVBONY SV105 SVBONY SV105 |
|
Check Latest Price |
 SVBONY SV205 SVBONY SV205 |
|
Check Latest Price |
 ZWO Seestar S30 Pro ZWO Seestar S30 Pro |
|
Check Latest Price |
 DWARFLAB Dwarf 3 DWARFLAB Dwarf 3 |
|
Check Latest Price |
 SVBONY SV905C SVBONY SV905C |
|
Check Latest Price |
 FIBONAX Nova200 FIBONAX Nova200 |
|
Check Latest Price |
A note on ranking order: the numbered reviews run in recommendation order, not alphabetical and not by rating alone. A camera that scores well but shoots the wrong kind of target sits lower than a slightly less impressive one that fits the job.
1. Canon EOS Rebel T7: The Cheapest Legitimate Way Into Astrophotography
Canon EOS Rebel T7 DSLR Camera Double Zoom Lens Kit
24.1 MP APS-C CMOS
ISO 100-6400, expandable to 12800
30s to 1/4000s shutter
Two kit lenses included
Pros
- Full manual exposure and RAW capture
- Two lenses cover wide and telephoto
- Guide mode helps first-time DSLR users
- Solid battery life for a full night
Cons
- Rear LCD is fixed and not touch-sensitive
- Live view autofocus is slow
- Low light trails modern mirrorless bodies
This is the camera we hand to someone who insists they need to buy something before their first outing. The 24.1 MP APS-C sensor is genuinely good, and more importantly the body gives you Bulb and manual exposure in plain dials, which is the only real requirement for a Milky Way frame. Set the mode dial to manual, the lens to manual focus, and the ISO to something like 3200, and you are imaging.
The kit bundle is the part that actually helps at night. The included EF-S 18-55mm is wide enough to frame a large sweep of the Milky Way core, and the 75-300mm gives you something to point at the Moon. Reviewers repeatedly call out how much the two-lens bundle matters for beginners, because the usual first mistake is buying a body and then settling for a slow kit zoom.

The T7 has no cooling, so hot pixels and noise are part of the deal. That is manageable: shoot dark frames of the same length and temperature as your lights, and stacking software such as DeepSkyStacker will subtract them. We would not call this camera’s noise profile invisible at high ISO, but for single-tripod nightscapes with a fast lens, it is a solved problem rather than a real one.
Battery life is another quiet win. Owners doing full-night sessions report that a single battery carries a long session, which matters more than any menu feature when you are standing in a field at three in the morning.
Who the Rebel T7 works for
It works for the total beginner who wants the Milky Way above a landscape on a tripod, has no tracking equipment, and wants a camera that will also photograph the holiday. The 18-55mm at its wide end is a genuine astro lens, and the body will run any intervalometer you can plug into the shutter.
It also works as a deep-sky camera in a pinch, mounted at prime focus on a refractor with a T-ring. Expect hot pixels, some amp glow on long frames and a learning curve on calibration, but plenty of first deep-sky images come from a body like this one.

Who the Rebel T7 does not work for
It does not work for anyone who wants planet detail. The crop sensor combined with a kit lens gives you a field of view far too wide for Jupiter, and the fixed non-touch screen makes reviewing focus a fiddly process rather than a tap.
It also ages quickly as a system. If you expect to grow into serious deep-sky work within a year, the money is better aimed at a fast prime lens and a star tracker, or on a body you can grow with.
2. Canon EOS R50: The Best Mirrorless Upgrade Path for a Beginner
Canon EOS R50 Mirrorless Camera RF-S18-45mm F4.5-6.3 is STM Lens Kit, 24.2 Megapixel CMOS (APS-C) Sensor, 4K Video, Hybrid Camera, Photo and Video, Vlogging, Content Creator, RF Mount, White
24.2 MP APS-C CMOS
Dual Pixel CMOS AF II, 651 zones
6K oversampled 4K at 30 fps
3-inch vari-angle touchscreen
Pros
- Compact and light for long nights out
- Fast reliable tracking autofocus
- Vari-angle screen for tripod and low-angle work
- Phone remote control built in
Cons
- Grip is small for larger hands
- Bundled 18-45mm is weak for low light
- APS-C crop limits resolution
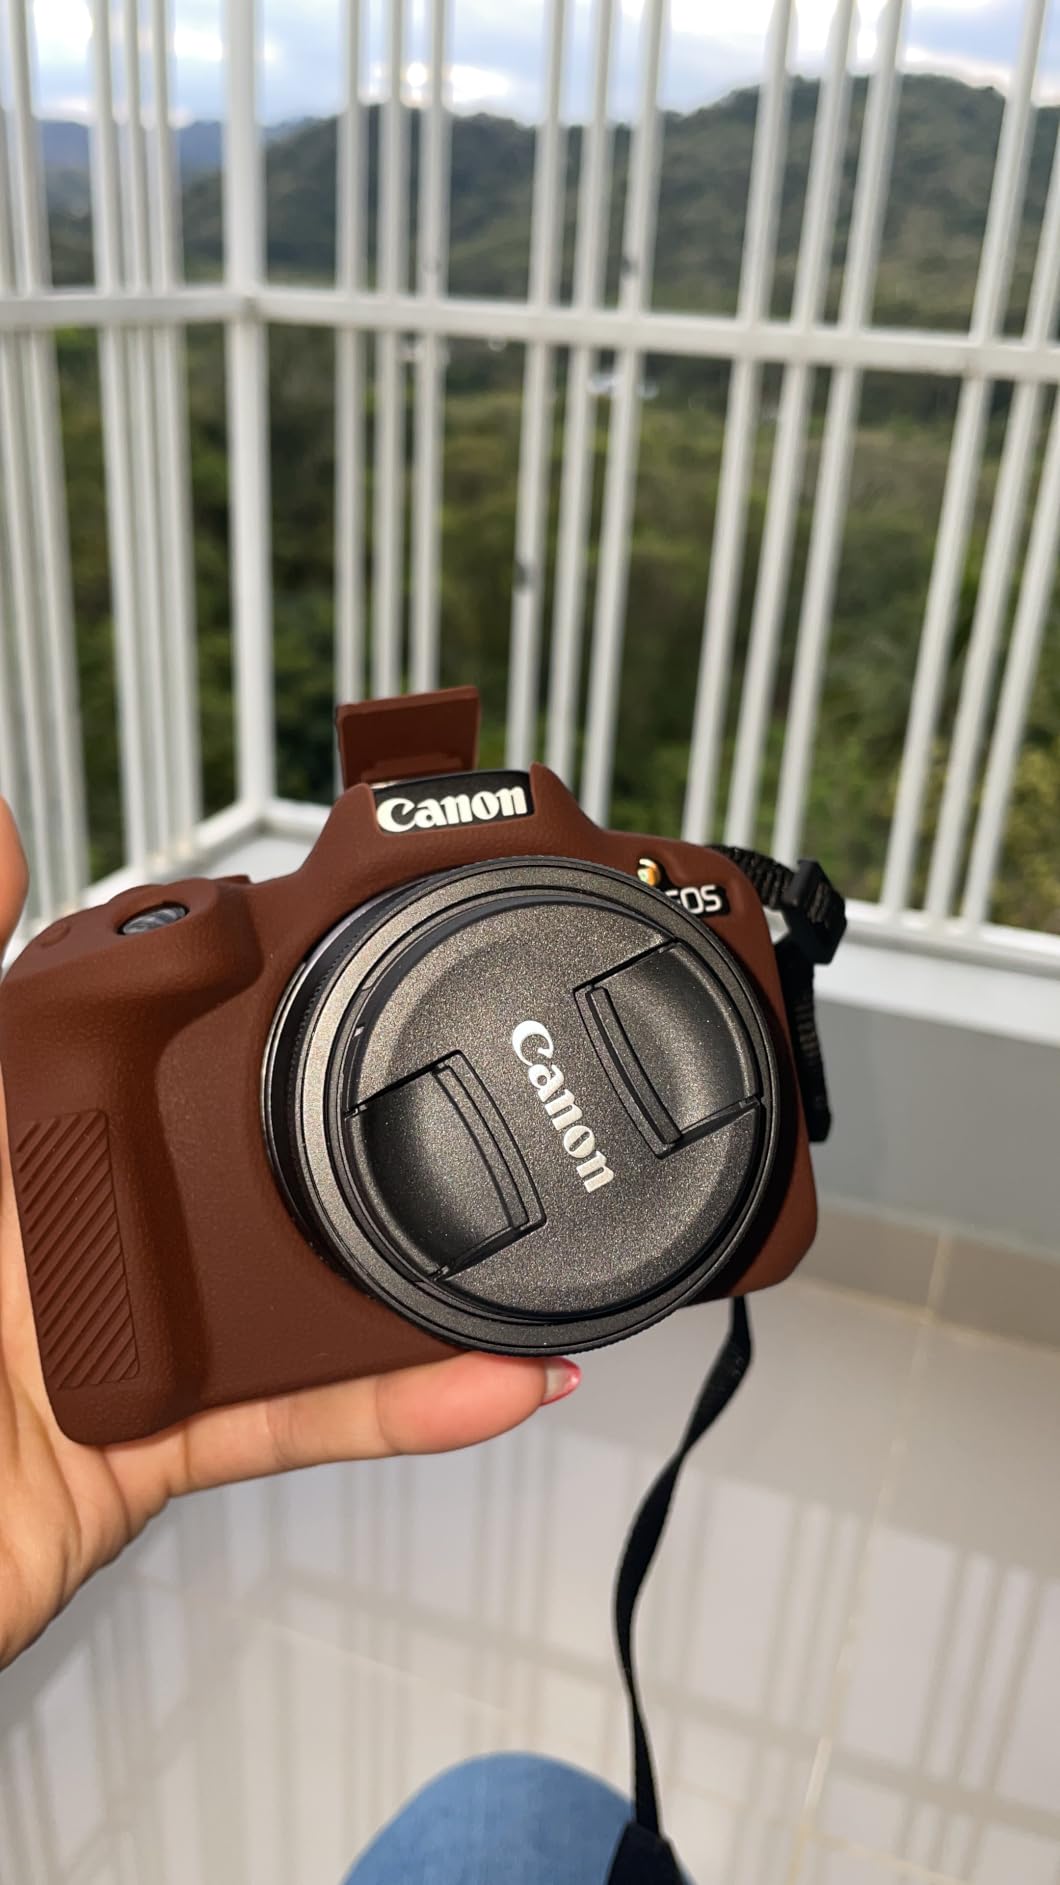
The R50 is the pick for anyone who has decided a DSLR feels like the wrong shape for the job. At 16 ounces with a vari-angle screen, it is the body we would actually want to carry to a dark site, and the 24.2 MP sensor with the DIGIC X processor holds up at the ISO range you need for stars.
The 651-zone autofocus system with subject detection is mostly wasted on astrophotography, where you focus manually anyway. What it does buy you is something more useful: a camera you can hand to a family member to frame a landscape while the astro rig runs.

Manual exposure and RAW output are all present, so nothing about the astro workflow is compromised. The shutter range runs from 30 seconds to 1/8000s, and there is no artificial limit that would block long exposures.
Video is where this body pulls ahead of everything else in the list. 6K oversampled uncropped 4K at 30 fps means you can record the Moon and bright planets at high frame rates and stack the best frames, which is exactly how lucky imaging works. No other interchangeable-lens pick here records that cleanly.
Who the Canon R50 works for
It works for the beginner moving up from a phone or an older point-and-shoot who wants a small, capable body with a screen that tilts. That tilt matters more than it sounds, because half of a good astro composition puts the horizon low or high in the frame.
It also works as a planetary camera, which the Rebel T7 is not. Paired with a longer lens, the high-resolution 4K recording gives you the raw frames to stack.
Who the Canon R50 does not work for
It does not work with the bundled lens if nightscapes are the goal. Reviewers are blunt about the 18-45mm being average for low-light work, so budget for a fast prime before the first clear night.
The small grip is a real complaint from owners with larger hands, and a cramped grip makes a three-hour tripod session uncomfortable. If your hands are big, try one in person.
3. Nikon D7500: The Strongest High-ISO Performance in This Group
Nikon D7500 20.9MP DSLR Camera with AF-S DX NIKKOR 18-140mm f/3.5-5.6G ED VR Lens, Black
20.9 MP APS-C CMOS, EXPEED 5
51-point AF, 15 cross-type
Up to 8 fps continuous
Weather-resistant body and lens
Pros
- Excellent high-ISO image quality
- Optical viewfinder is bright and lag-free
- 8 fps bursts and 51-point AF
- Weather resistant
Cons
- Deep menu system takes time to learn
- Older design lacks subject detection
- Single microSD card slot
- Bulky next to mirrorless
The D7500 has the highest rating in this roundup and the most owner enthusiasm of any DSLR we looked at. Owners describe it as a D500-class sensor in a body that is easier to justify, and that sensor is where the astro performance lives: the high-ISO output is clean enough to stack aggressively without the noise floor becoming the limiting factor.
At 1.7 pounds it is the heaviest body in this list, and that is a real consideration when you are carrying a tripod, a tracker and a head to a site. What you get in exchange is an optical viewfinder, a tilting touchscreen and a weather-sealed shell.
The included 18-140mm VR lens is genuinely useful. It is sharp across the zoom range and compact enough that you do not need a second lens for a first night out, which removes one of the classic beginner delays.
The single microSD slot is the kind of thing that only annoys you on a multi-day trip, and the 2017-era design means no modern subject-detection features. Neither matters much for pointing a camera at Orion.
Who the Nikon D7500 works for
It works for the beginner who already knows they want a camera with a viewfinder and intends to keep it for years. For deep-sky stacking, the cleaner high-ISO files mean shorter total integration time for the same depth of signal.
It also suits anyone shooting in poor weather who will be outdoors anyway. The weather-resistant body and lens take rain and cold without complaint.
Who the Nikon D7500 does not work for
It does not work for someone intimidated by menus. Owners who bought it as a first serious camera consistently mention the depth of the feature set as the main adjustment period.
It is also overkill if your goal is one Milky Way panorama a year. A smaller body and a fast lens would serve that goal better for the money.
4. Nikon Z 50: The Smallest Complete Kit Here for Mobile Rigs
Nikon Z 50 with Wide-Angle Zoom Lens | Compact mirrorless Stills/Video Camera with 16-50mm Lens | Nikon USA Model
20.9 MP DX-format CMOS
55mm Z mount, 209-point AF
Up to 11 fps continuous
About 585g with lens, battery and card
Pros
- Compact 585g total kit weight
- 55mm mount is wide for APS-C
- Excellent electronic viewfinder
- Accepts F-mount lenses via FTZ
Cons
- No in-body stabilization
- Single UHS-I SD slot
- Proprietary battery
- Kit lens covers wide to short tele only
Total kit weight of about 585g is the number that makes this body interesting for astrophotography. When you are walking a hundred metres from the car to a clear patch of horizon, and then carrying a tracker and tripod back, every hundred grams registers. Owners consistently call out how portable this setup is.
The wide 55mm Z mount is the quiet advantage. A larger mount diameter relative to the DX sensor means the lens can sit closer to the sensor, and the resulting optics are good for low light, which is what you are doing here.

Manual and RAW capture are both available, and the 4K UHD video gives you a route to lunar and planetary stacking if you get a long lens. The flip-down selfie screen is not an astro feature, but a tilting screen is, and this one tilts well past vertical.
The FTZ adapter is the part to plan around. If you later buy an F-mount fast prime, you can use it here, which makes this body a cheaper entry into the Nikon system than it looks.
Who the Nikon Z 50 works for
It works for the beginner who moves between locations rather than setting up in one place, and for anyone who wants to grow into a system with a long lens later. It is also a solid astro body on a star tracker, where weight on the tracking head matters.
If you already own F-mount glass, the FTZ adapter makes this the cheapest way into a modern mirrorless body without buying new lenses.
Who the Nikon Z 50 does not work for
It does not work if you plan to hand-hold at long exposures, because there is no in-body stabilization and the kit lens only carries stabilization of its own. A tripod or a tracker is non-negotiable.
The single UHS-I card slot and the Micro-USB port are dated details that will bother you if you plan a large multi-night project.
5. SVBONY SV105: The Lowest-Friction Way to Start With a Telescope You Own
SVBONY SV105 Telescope Camera, 1.25″ IMX307 CMOS Color Eyepiece Camera
1/2.8 inch IMX307 color CMOS
30 fps at 1920x1080
1.25 inch M28.5x0.6 thread
0.29 kg
Pros
- No drivers or setup required
- Cheapest sensible way to start imaging
- Works in any 1.25 inch focuser
- Dark light compensation helps
Cons
- 1080p limits resolution on large targets
- Capture software installed per system
- Adapters not always included
The SV105 is not a camera body, and treating it like one will confuse you. It is a small colour sensor that screws into the 1.25-inch eyepiece holder of a telescope, turns your telescope into a video camera, and runs over USB with no driver at all. If you already have a Dobsonian or a small refractor, this is the cheapest way to see whether you actually enjoy this hobby.
That plug-and-play behaviour is the whole appeal. Reviewers describe the first session as the moment the hobby clicks, because there is no computer configuration, no astro software licence and no calibration routine standing between you and a picture of the Moon.
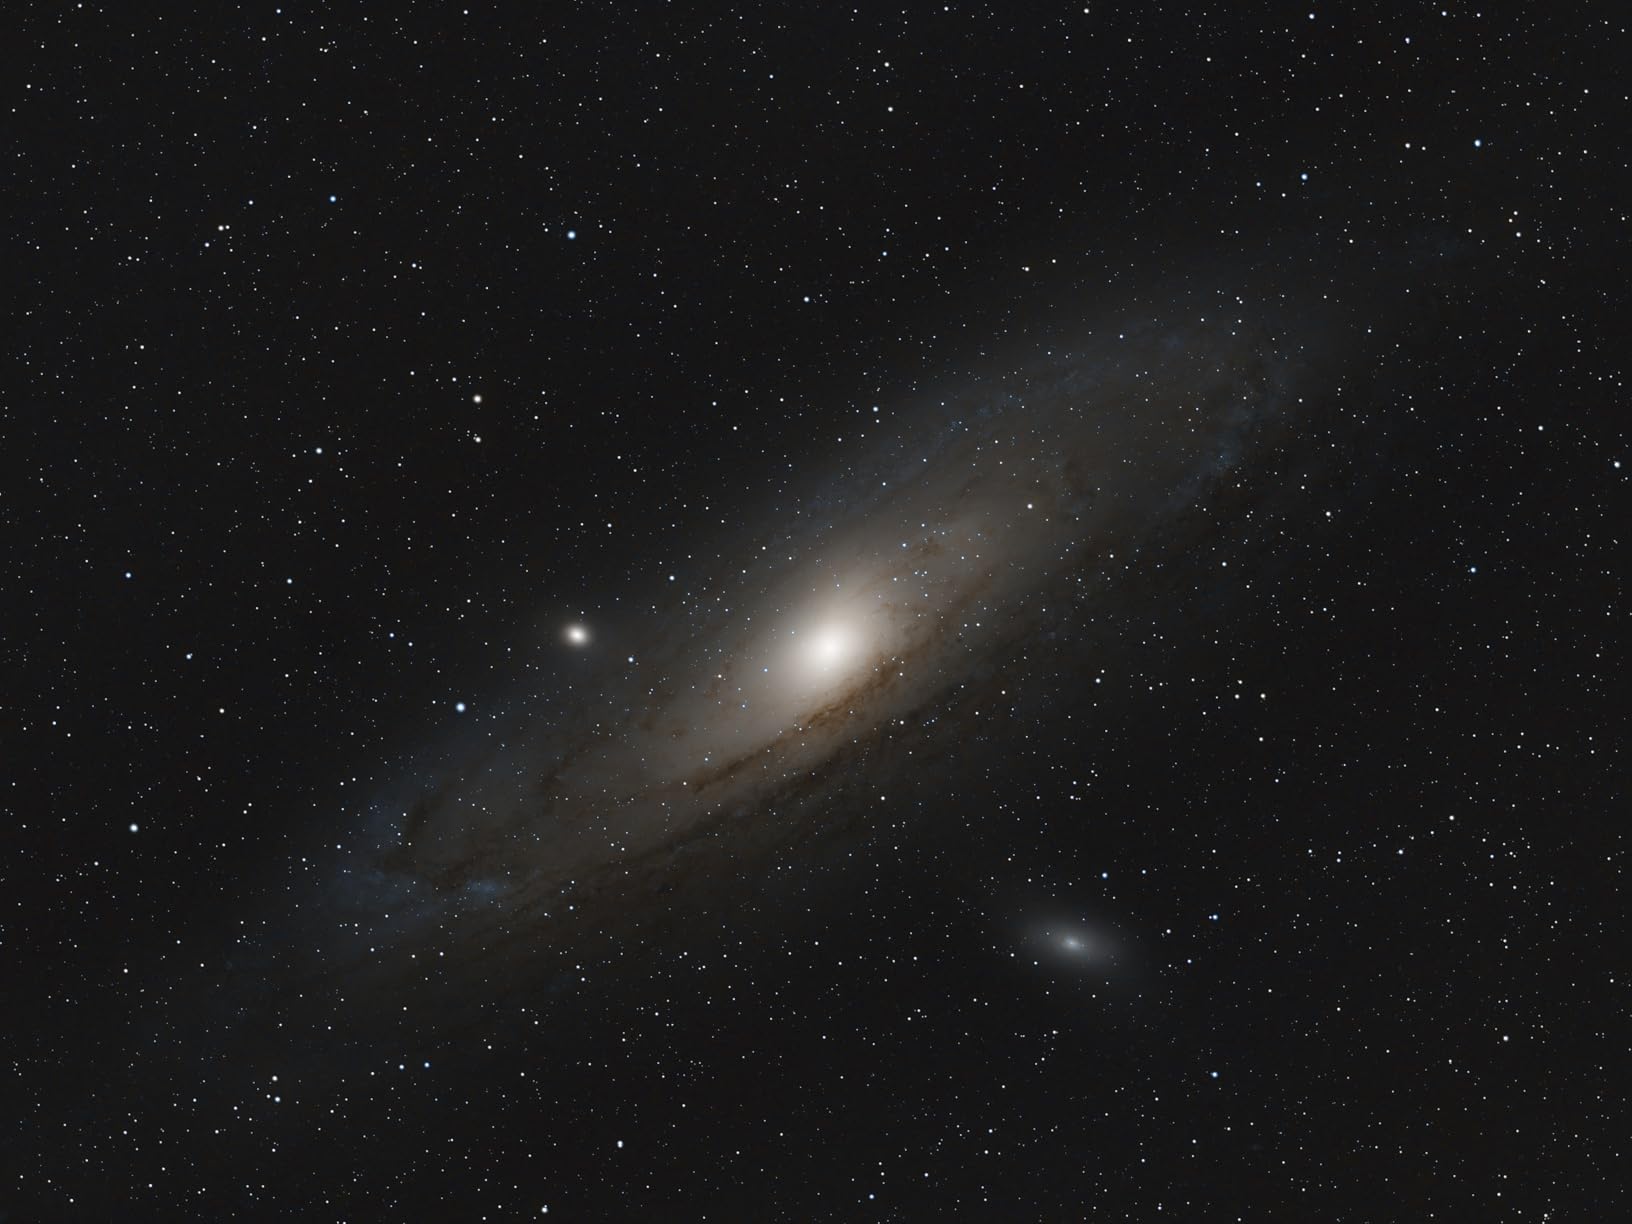
The IMX307 sensor outputs 1920×1080 at up to 30 fps, and dark light compensation improves clarity on dim targets. At 0.29 kg it weighs nothing and adds no meaningful load to a small mount.
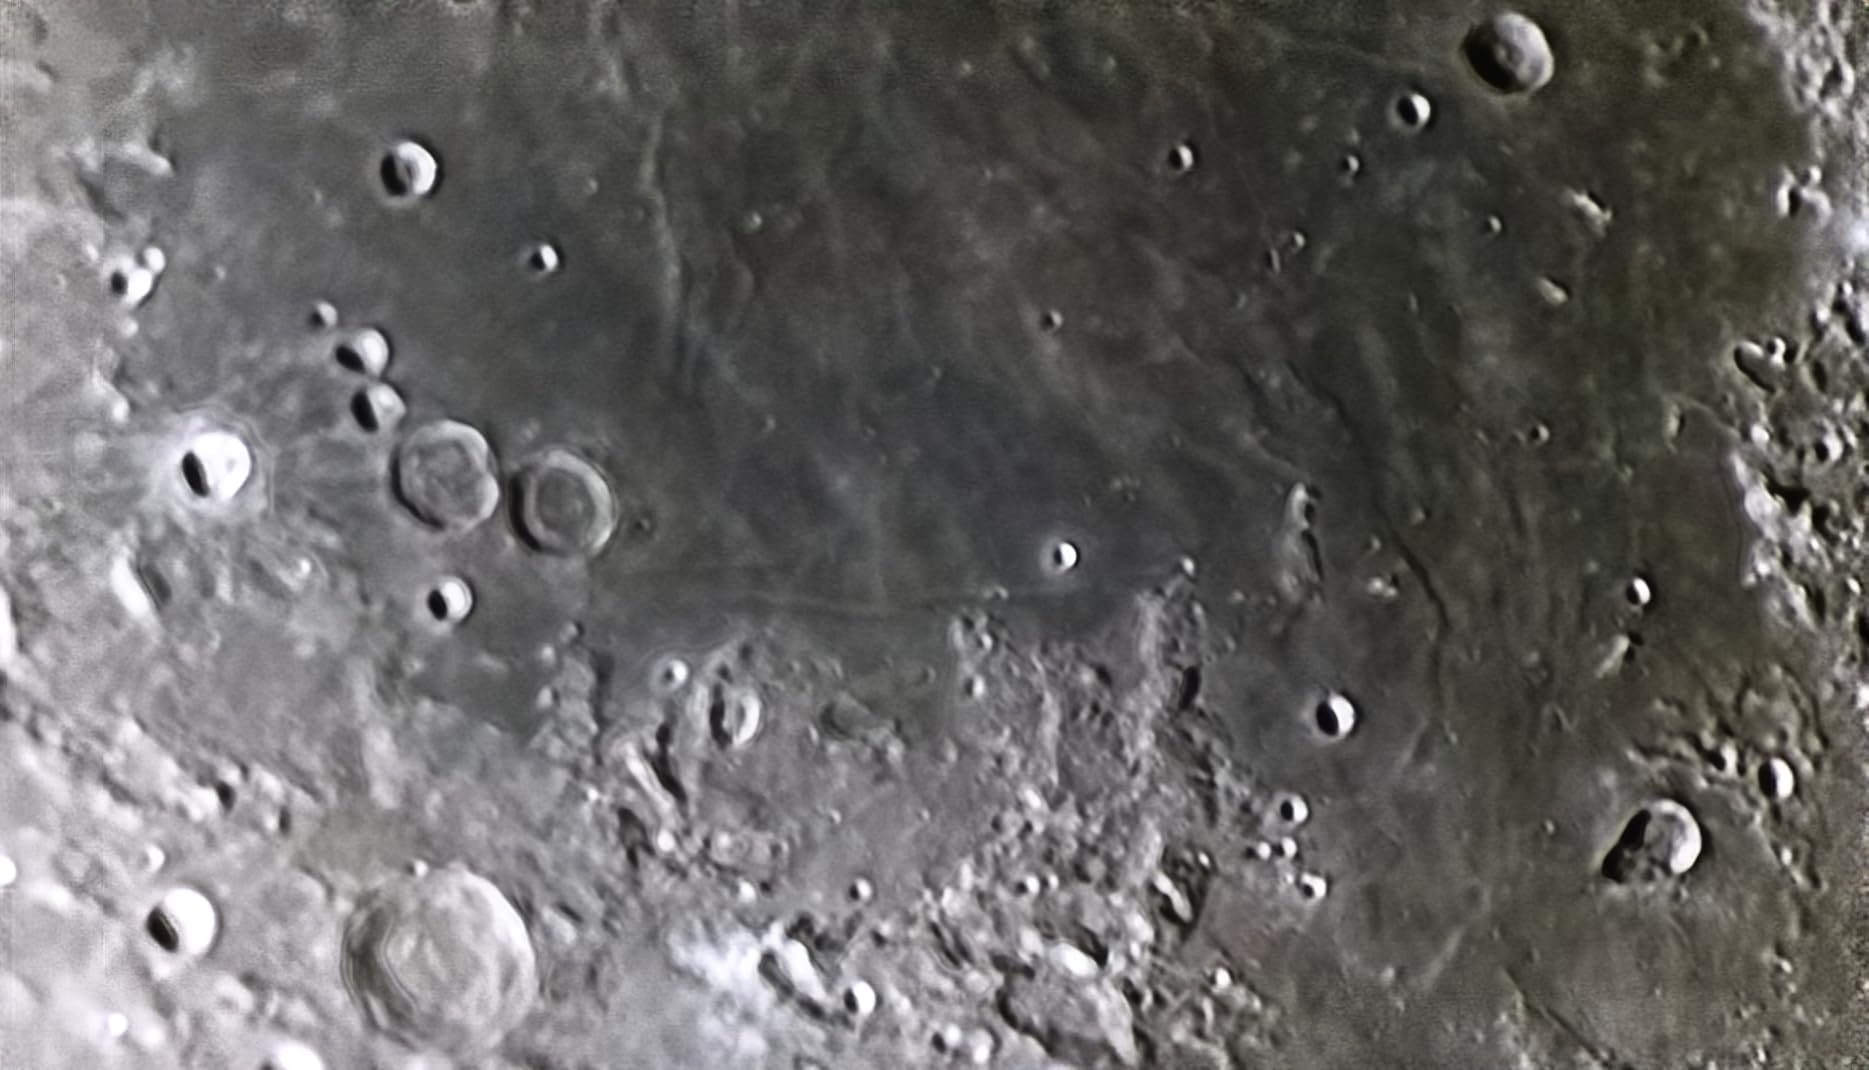
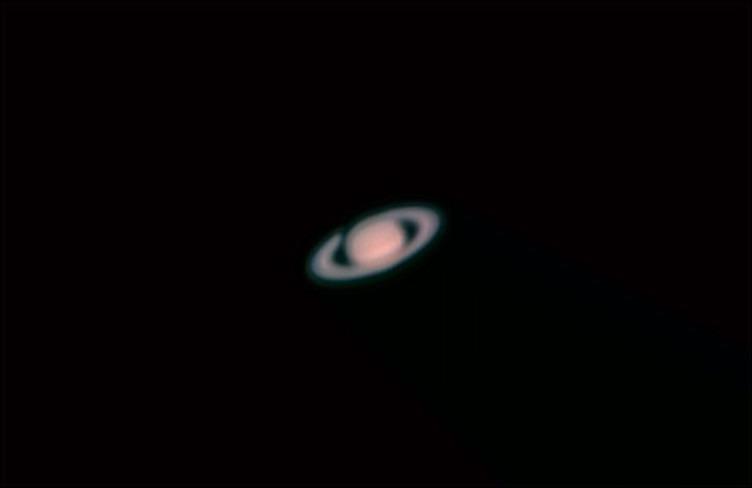
The limit is the sensor itself. 1080p is fine for Jupiter’s banding and the craters along the lunar terminator, but it is not enough resolution to lift a lot of fine detail on a small planet at high focal length.
Who the SV105 works for
It works for the beginner who owns a telescope and wants the Moon and Jupiter on a screen, in a group, on the first evening. The 1.5-degree field of view is narrow enough to fill with lunar detail.
It also works as a sanity check before you buy anything else. If you cannot get excited about a live view of the Moon, a tracked deep-sky rig will not hold your attention either.
Who the SV105 does not work for
It does not work for deep-sky imaging of any kind. Video-only output means no long exposures, and long exposures are how galaxies and nebulae are recorded. There is no exposure setting that changes this.
You also need a telescope with a 1.25-inch focuser. Most small Dobsonians and refractors have one, but a few do not, and adapters are not always in the box.
6. SVBONY SV205: A Sensor Step Up for Sharper Planet Video
SVBONY SV205 Telescope Camera,1.25″ 7.05MP IMX415 Astrophotography Camera
1/2.8 inch 7.05MP IMX415
1.45 micron pixels
30 fps MJPG, 15 fps YUV 2K
Machined aluminum 1.25 inch barrel
Pros
- Higher resolution than entry eyepiece cameras
- Sturdy metal adapter barrel
- No driver installation
- Two video output formats
Cons
- Video only
- no long-exposure workflow
- Capture software needs manual installing
- Needs an adapter on some focusers
The SV205 is the SV105’s answer to the same question, asked slightly later. Where the SV105 tops out at 1080p, this one carries a 7.05MP IMX415 with 1.45 micron pixels and outputs 3264×2160 at 15 fps in YUV, or 1920×1080 at 30 fps in MJPG. More pixels on the same planetary disc means sharper detail when you stack the best frames.
Reviewers describe it as a genuine step up from the cheapest eyepiece cameras: cleaner 2K video of the Moon and planets, and a machined aluminum barrel that feels more like a piece of astro equipment than a webcam accessory. At 9.6 ounces it is still trivially portable.
The 1.25-inch barrel with an M28.5×0.6 thread is the standard interface, so it drops into the same focusers as the SV105 and accepts threaded telescope filters. The box includes the camera, a dust cover, a cleaning cloth and a 1.2m USB 3.0 cable.
Platform support is broad: Windows, Linux and Android capture software, plus macOS laptops. It does not work with iOS devices, which is worth knowing if your whole workflow is on a phone.
Who the SV205 works for
It works for the beginner who has already tried a cheap eyepiece camera, seen the improvement from a better sensor, and wants more resolution without moving to a telescope-specific astronomy camera that needs a control computer.
The 1.45 micron pixel size gives a usable field of view on the Moon, so you are not fighting to fit a whole lunar disc into frame.
Who the SV205 does not work for
It still does not do deep-sky. The video formats are the entire output set, and buying it hoping to photograph a galaxy will disappoint you quickly.
Software setup is still manual, and the driver-free claim covers the device, not the capture application. Budget an evening getting SharpCap or equivalent running.
7. ZWO Seestar S30 Pro: Best for Beginners Who Refuse to Polar Align
ZWO Seestar S30 Pro Smart Telescope, App-Controlled Astrophotography
Apochromatic 30mm objective, 160mm focal length
4.6 degree field of view
Dual-camera 4K capture
Alt-azimuth mount with EQ mode, 3.6 lb
Pros
- Fully automated GoTo
- tracking and stacking
- Built-in light pollution filter
- One-tap Milky Way and nebula modes
- Anti-dew heater for all-night runs
Cons
- Wide field limits small-target framing
- Not intended for planetary imaging
- Software workflow caps the ceiling
Every other camera in this list expects you to bring some knowledge. This one does not. The S30 Pro is a telescope, a camera and a mount in a 3.6 pound box, and it finds targets, tracks them, stacks the frames and hands you a finished image through a phone app. For a beginner who has never polar aligned anything, that removes the single biggest source of frustration in the hobby.
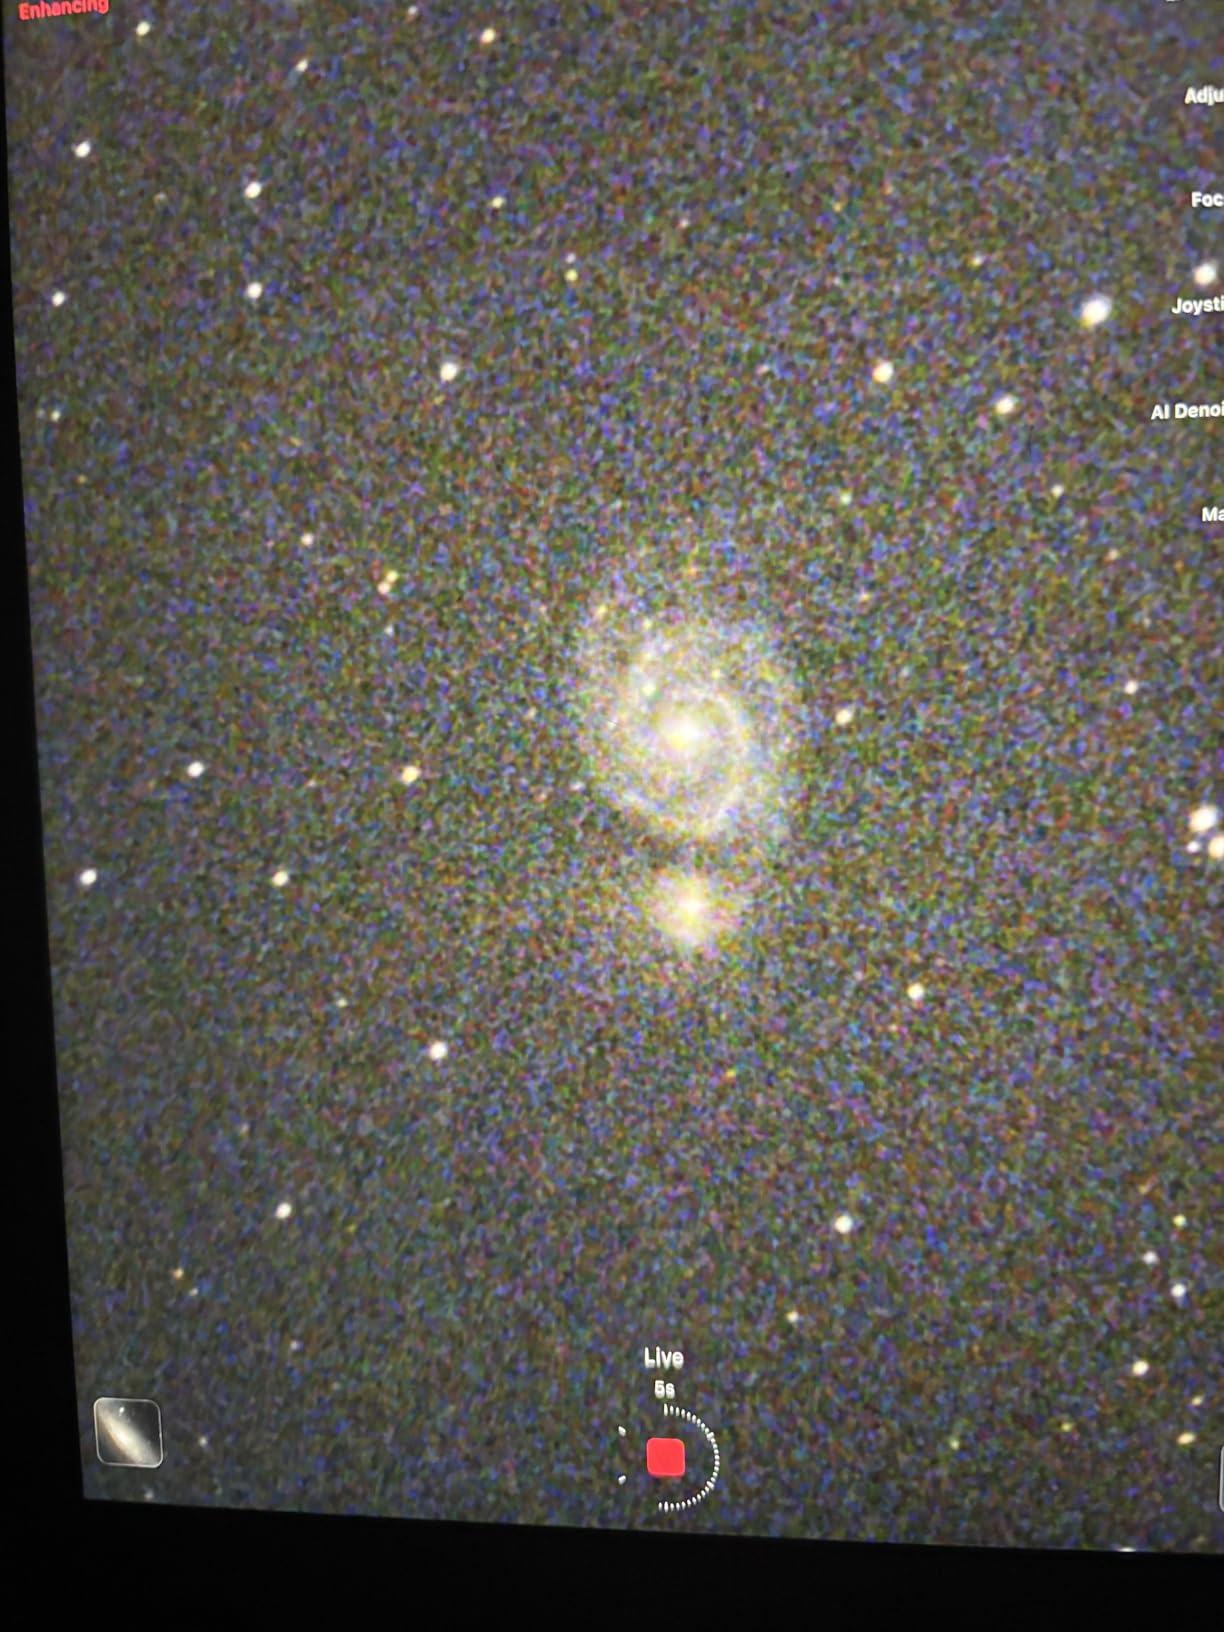
The hardware is respectable on its own terms. Apochromatic, fully multi-coated 30mm optics at 160mm focal length give a 4.6-degree field, which is wide enough to hold a large nebula or a big chunk of the Milky Way. Dual-camera 4K stacked capture is how it gets the resolution to do that.
The built-in light pollution filter is the feature that matters most in practice. It makes the difference between a usable image from a suburban backyard and a grey rectangle, and it is the reason owners report getting results on the first night out.
One-tap modes for Milky Way, star trails, nebulae, galaxies, the Moon and the Sun, plus automatic mosaic stitching for wide fields and an anti-dew heater for long sessions. The tripod and a filter are in the box.
Who the Seestar S30 Pro works for
It works for the beginner who wants finished astrophotos without learning mount mechanics, and for anyone shooting from a city where light pollution would otherwise end the session. The app handles stacking and noise reduction automatically.
It also works as a family-scale project. The GoTo targeting is reliable enough to show someone else a specific galaxy on demand.
Who the Seestar S30 Pro does not work for
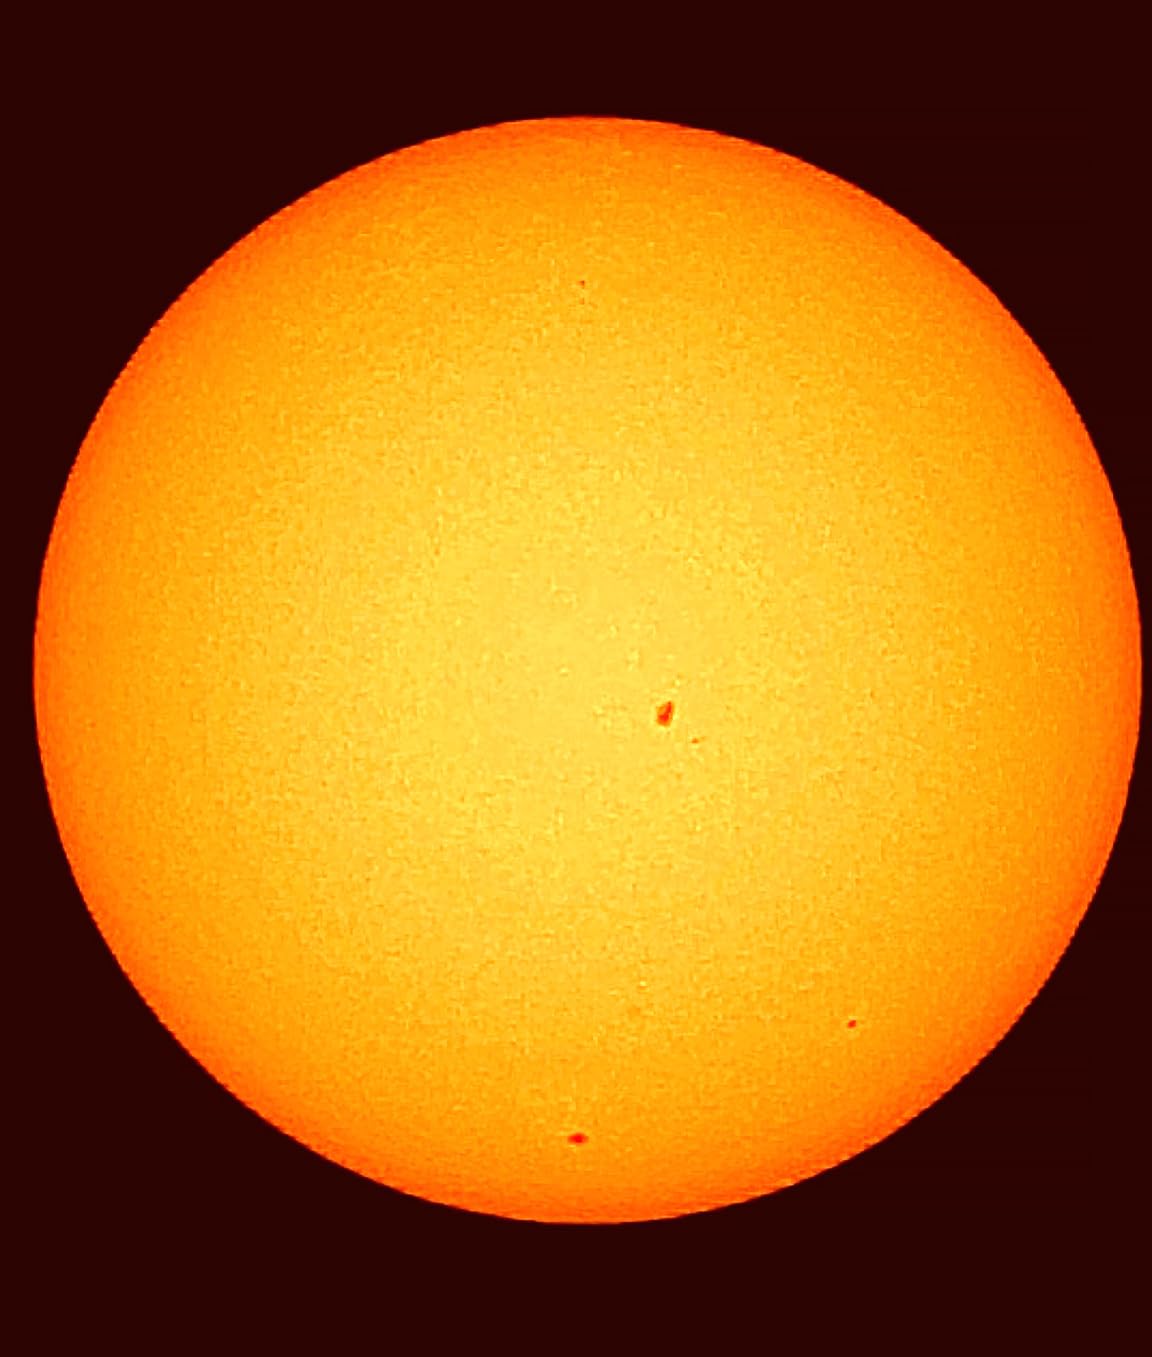
It does not work for planetary imaging. The manufacturer does not design it for that, and a 4.6-degree field of view is far too wide to fill with Jupiter.
Reviewers note the software workflow puts a ceiling on results. If your goal is faint targets that need long total integration time, a tracked interchangeable-lens camera on a real equatorial mount will surpass it.
8. DWARFLAB Dwarf 3: The Grab-and-Go Rig for Travel Imaging
DWARFLAB Dwarf 3 Smart Telescope, App-Controlled Astrophotography Camera
Dual telephoto and wide-angle lens system
35mm objective, 4K auto-tracking
Alt-azimuth with EQ mode
3 lb, carrying bag included
Pros
- Lightest complete rig at 3 lb
- Dual lenses cover deep sky and Milky Way
- Auto tracking and GoTo remove alignment
- Cloud processing needs no computer
- Magnetic filters swap quickly
Cons
- Small aperture limits faint deep-sky targets
- App required for stacking and processing
The Dwarf 3 shares the smart-telescope logic with the S30 Pro but makes a different trade. Where the ZWO box is built around one apochromatic optic, this one carries a dual-lens system: a telephoto for distant targets and a wide-angle for the Milky Way and star trails. That second lens is the reason it is a genuinely useful all-rounder rather than a one-trick device.
At 3 pounds, this is the lightest complete imaging rig in our list, and the carrying bag is included. That combination is why owners describe it as a backpack item rather than a car boot item, which changes what kind of skies you can realistically shoot.
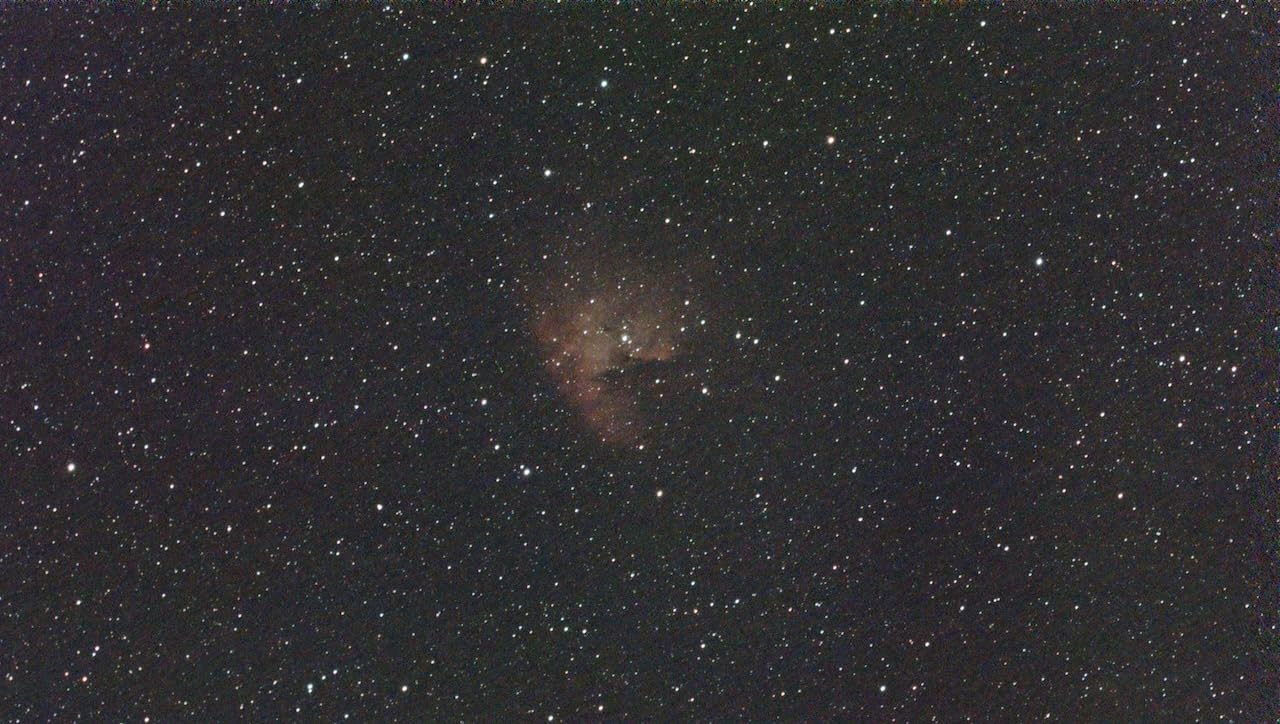
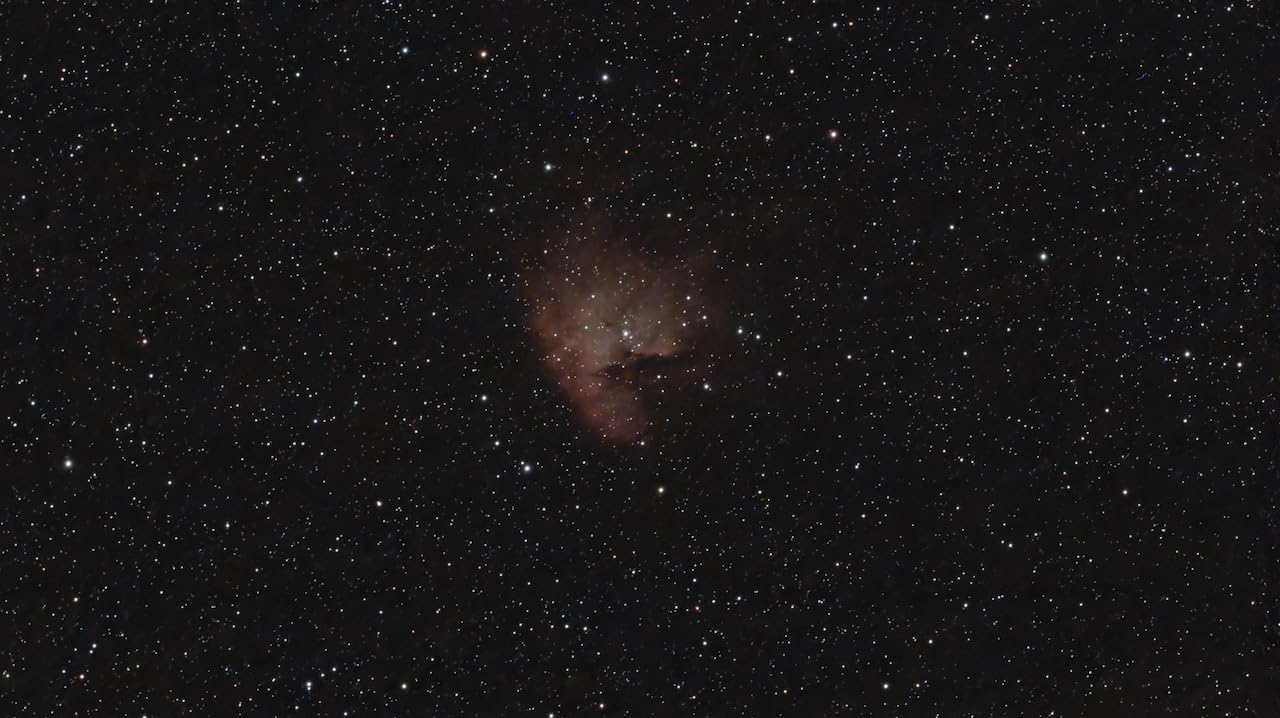
Auto tracking, Auto GoTo and both AZ and EQ operating modes mean you set it down, point it at the sky and start. Cloud-based processing in the app turns captured frames into a finished image, so there is no laptop in the field and no stacking software to learn.
The magnetic filters and filter pouch are a nice touch for the price of the box. Swapping between wide and narrowband-style imaging is a matter of unclicking one part.
Who the Dwarf 3 works for
It works for a beginner who shoots from places they cannot easily drive a large rig to, and for anyone who wants one device that handles both wide Milky Way frames and tighter deep-sky targets without a lens swap in the dark.
It also works for families. Reviewers note the stated suitability for a wide age range and a two-minute setup, which is about right for a device that must be pointed at the sky by someone who has never done it before.
Who the Dwarf 3 does not work for
It does not reach the faint targets. A 35mm objective is a small aperture by astro standards, and faint emission nebulae are where you will see the limits of the design.
Everything depends on the DWARFLAB app for stacking and processing. If you later want a manual workflow, this hardware does not offer one.
9. SVBONY SV905C: A Guide Camera, Not an Imaging Camera
SVBONY SV905C Guide Camera Telescope Eyepiece, 1.23MP CMOS Sensor, 1.25Inch
1.23MP 1/3 inch color CMOS at 1280x960
3.75 micron pixels, 80 percent peak QE
USB 2.0 plus ST4 guide interface
1.25 inch form factor
Pros
- Small pixels suit tight guiding on faint stars
- ST4 port plus USB works with standard software
- Standard 1.25 inch form factor
- Snap ring and scale marks aid focusing
Cons
- 1.23MP is too coarse for imaging
- Not compatible with ASI AIR controllers
- Needs a guide scope or off-axis guider
This one needs a clear warning label, because it is the pick people buy by mistake. The SV905C is a guide camera. Its job is to watch a star and send tiny correction pulses to your mount so that the tracking stays accurate over a long exposure. It is not an imaging camera, and you will never produce a photograph with it.
With that said, the specification is well chosen for the job. 3.75 micron pixels and 80 percent peak quantum efficiency mean it can lock onto faint guide stars, and a faint guide star is the difference between a mount that tracks all night and one that needs re-guiding every few minutes.
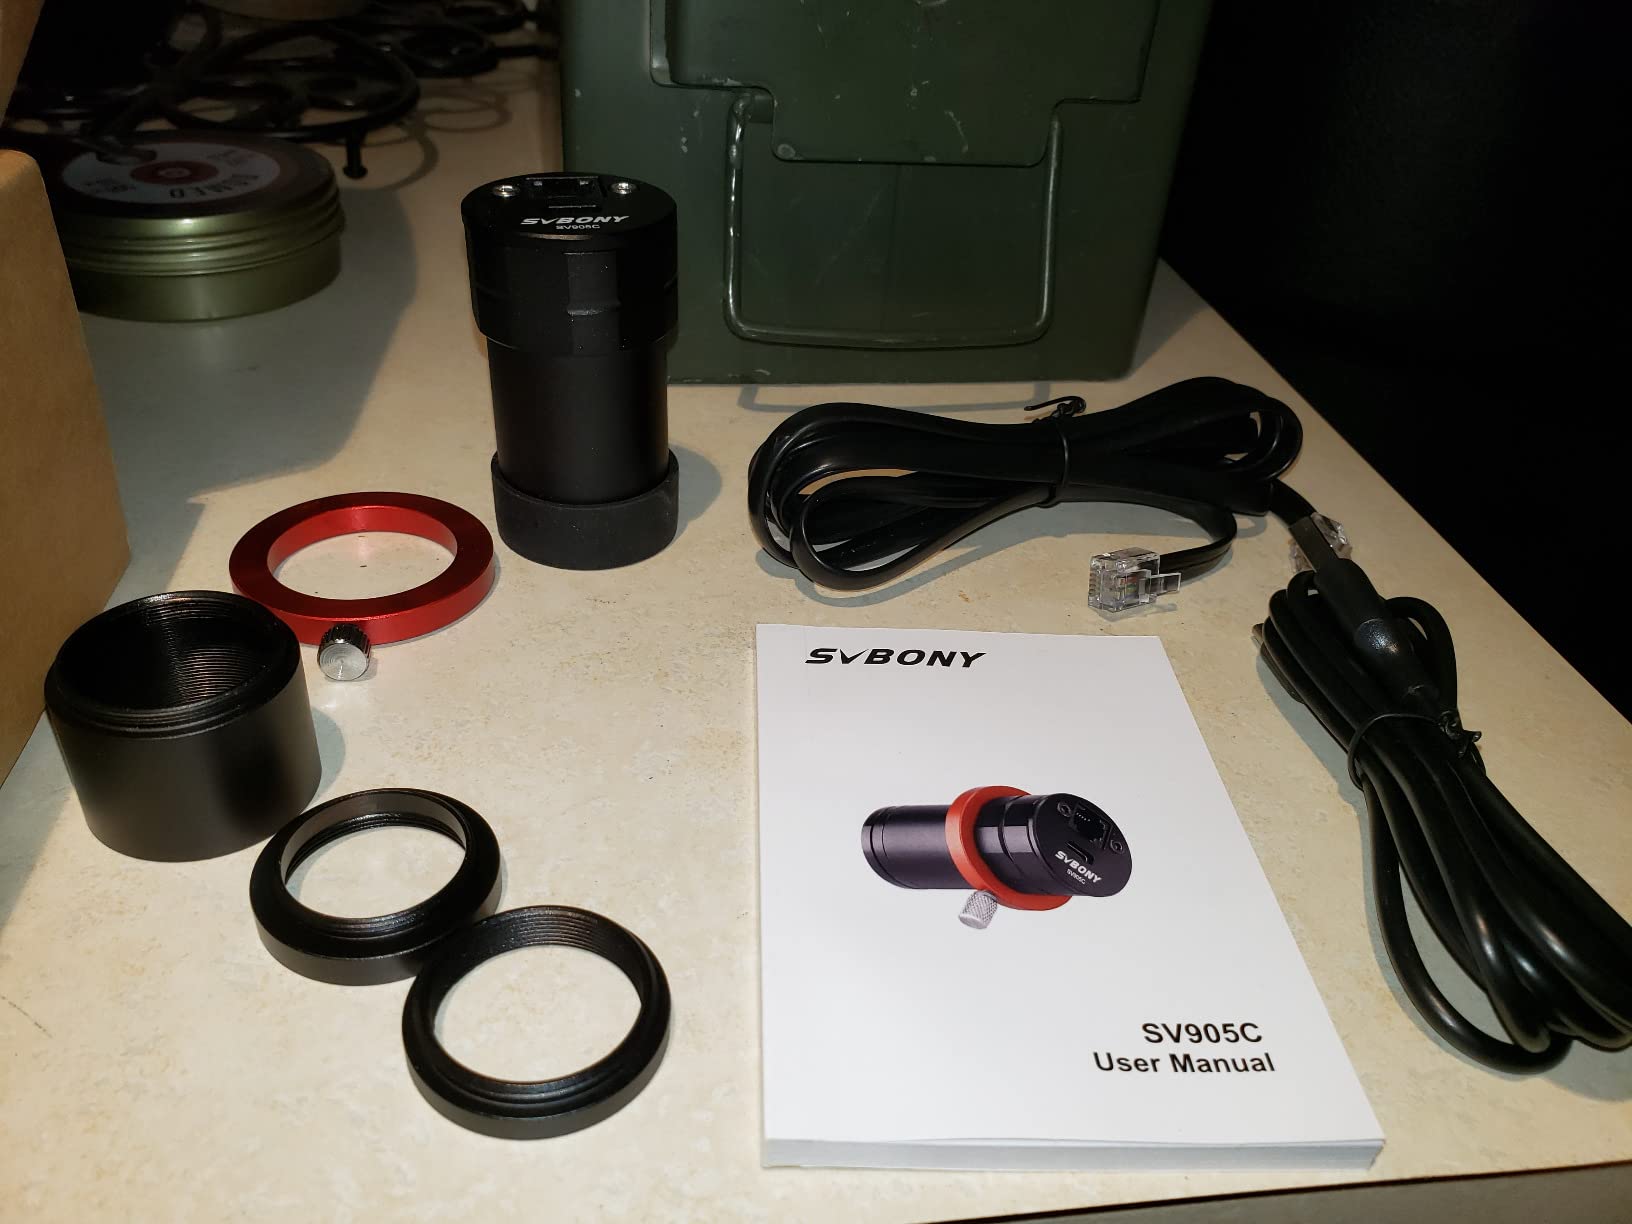
The USB 2.0 and ST4 interface combination works with the guiding software almost every platform uses: PHD2, NINA, MDL and SKY-X are all listed as compatible. At 8 ounces it adds nothing meaningful to the back of a guide scope.
The snap ring with scale marks is a small thing that makes a real difference. You can refocus the guide lens, mark the position and return to it later instead of hunting blind in the dark.
Who the SV905C works for
It works for a beginner who already has a mount, an imaging camera or a DSLR on a telescope, and a long-exposure problem. If stars are coming out trailed in one corner of the frame, autoguiding usually fixes it, and this is a cheap way to test whether guiding is what you need.
It also fits the standard 1.25-inch guide scope or off-axis guider positions, so it slots into gear you probably already own.
Who the SV905C does not work for
It does not work as a first camera. 1.23MP at 1280×960 is a guiding resolution, and the resulting images will not satisfy anyone.
It will not work with ASI AIR single-board controllers, and on its own it needs a separate guide scope or an off-axis guider to do anything at all.
10. FIBONAX Nova200: The Cheapest Way to See the Planets in Detail
FIBONAX Nova200 1080P Telescope Camera, 1.25″ USB Electronic Eyepiece
2MP CMOS at 1920x1080, up to 30 fps
Removable UV/IR cut filter included
CNC aluminum housing, 110g
Approx 2.3 degree field of view
Pros
- Captures recognizable Jupiter and Moon detail
- UVC plug-and-play on Mac Windows Linux
- Removable UV/IR filter is rare at this tier
- 110g aluminum body
- Comfortable screen viewing
Cons
- Roughly 1.2 second exposure limit caps faint targets
- Field of view too narrow to frame the whole Moon
- Some astro software does not recognise it
- Driver discovery can be fiddly
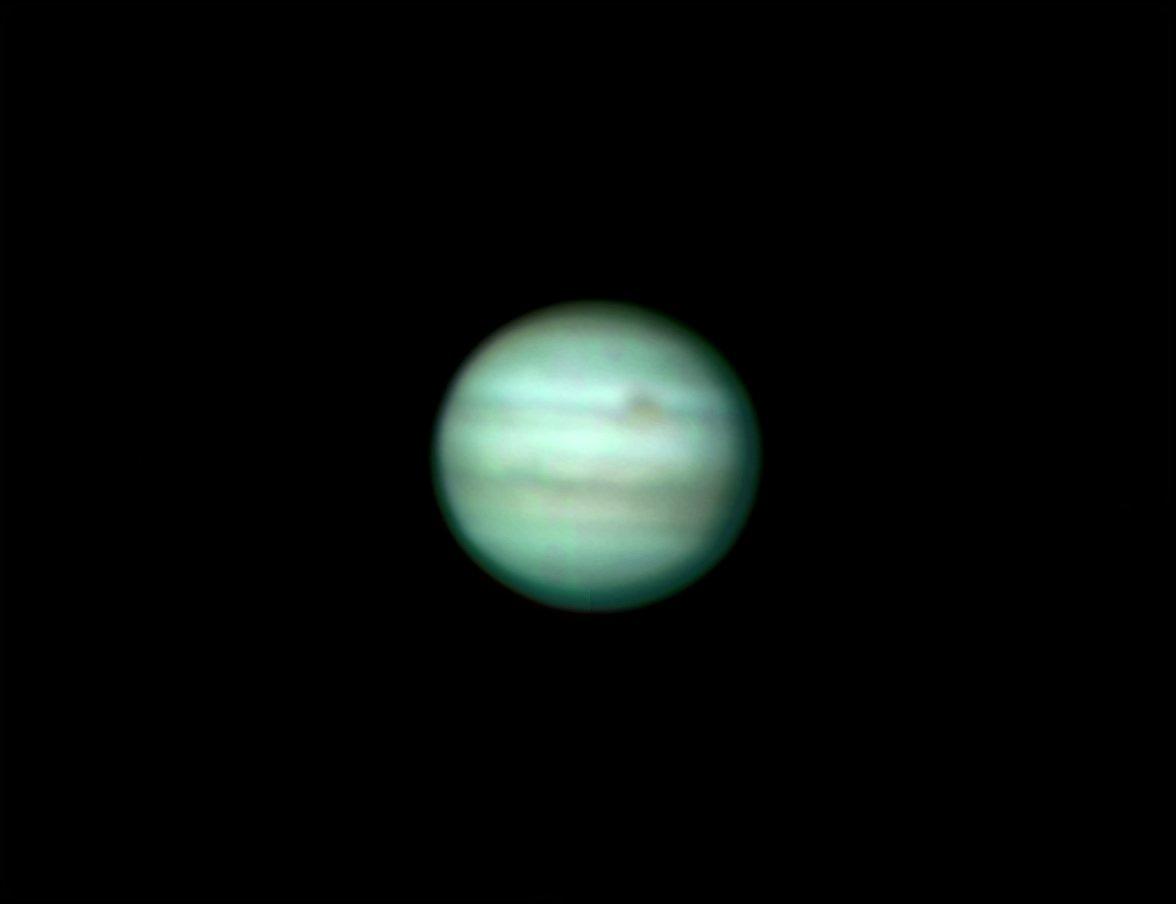
The Nova200 is the entry point in this list, and the logic behind it is simple: the shortest path to a photograph of Jupiter is to stop researching and start recording. It is a UVC webcam-style camera that plugs into a 1.25-inch focuser, and one owner imaged Jupiter’s banding with a cheap 60mm travel scope, which tells you how little equipment this needs.
At 110g in a CNC aluminum housing, it is well made for the money, and the removable UV/IR cut filter is a genuinely unusual inclusion at this level. Removing it gives more natural lunar colour, which matters if you are learning how the eye perceives the Moon.
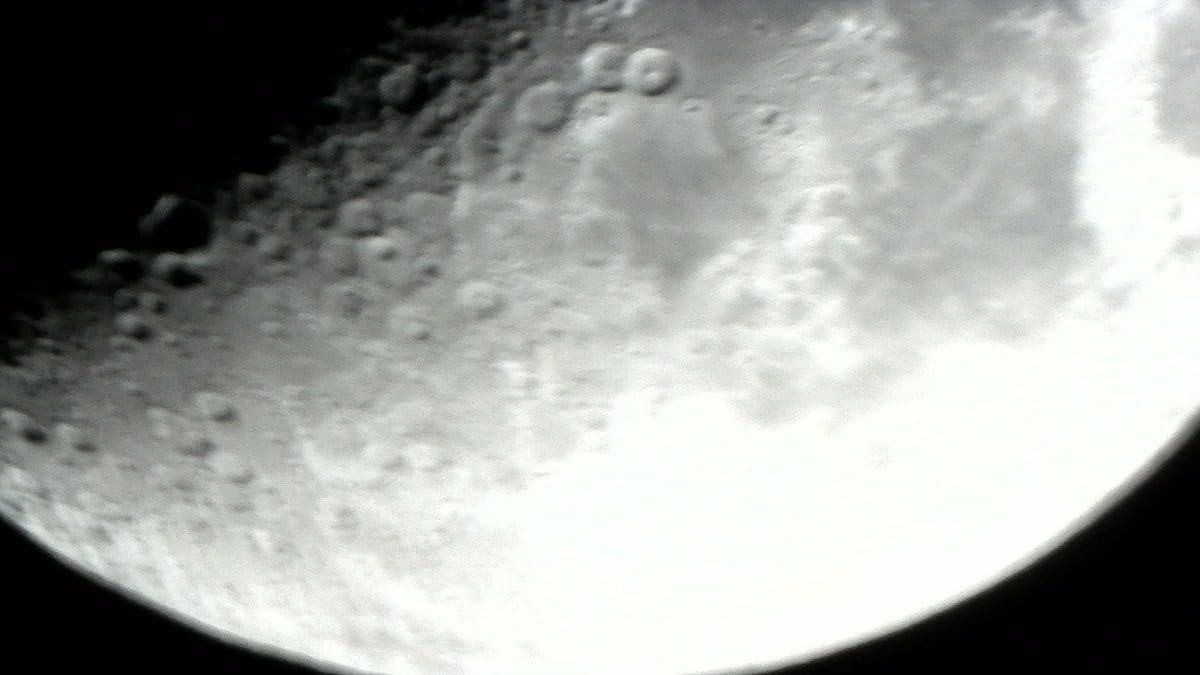
Two limitations are worth planning around. The roughly 1.2 second exposure limit is the ceiling on faint objects, so this camera will never show you a nebula, regardless of aperture. And an approximately 2.3 degree field of view is narrow enough that the Moon will not fit in frame without a reducer.
Driver discovery on macOS and Linux can be fiddly for first-time users, though an optional ASCOM driver exists for Windows if you need more control.
Who the Nova200 works for
It works for a first-time buyer with a small telescope who wants to share the view. Screen viewing is more comfortable than a small eyepiece, and a group can gather around a laptop or tablet.
It also works as a cheap classroom or demonstration tool, where reliability and a low price matter more than resolution.
Who the Nova200 does not work for
It does not work if the Moon filling the frame is your goal. The field of view is too narrow, and the camera has no control to change that.
It does not work with every astro application. Some specialised software does not recognise it as an astronomy camera, which pushes you toward general webcam capture software instead.
DSLR, Mirrorless or Smart Telescope: Which Camera Family Fits You
The three families in this roundup are not competitors so much as answers to three different questions. If you ask “what do I point at the night sky”, you want a DSLR or mirrorless on a tripod. If you ask “what do I point through a telescope”, you want an eyepiece camera. If you ask “what gives me a finished image with the least effort”, you want a smart telescope.
Interchangeable-lens bodies win on flexibility. You can shoot a family photograph in daylight and a nebula at 2am with the same body, and you can change lenses to control field of view. They lose on noise, because there is no cooling, and on convenience, because everything from intervalometer to stacking is a separate purchase and a separate learning curve.
Smart telescopes win on speed. Point the app at an object and it is tracking, stacking and stacking your frames in the background. They lose on ceiling: the optics are fixed, the field of view is wide, and you cannot take the sensor out for a long-exposure run that a tracked body would handle.
Eyepiece cameras win on price and on compatibility with a scope you already own. They lose on everything long-exposure, and the software situation varies model by model. If your interest is the Moon and Jupiter, this family is entirely sufficient. If it is galaxies, it is not.
One more axis deserves naming: cooled astronomy cameras, which appear in almost every competing list and are absent from this one. They are the right answer for someone deep into deep-sky work, because thermoelectric cooling suppresses dark current and hot pixels. They are the wrong answer for a first purchase, since they have no screen, no onboard controls and require a control computer or smart hub. Buying one is a year-two move, not a day-one move. Our [beginner telescope guide](https://modelrec.com/best-beginner-astrophotography-telescopes/) covers the optics that pair with a cooled camera when you get there.
Buying Guide: The Specs That Actually Matter on a First Astrophotography Camera
Most spec-sheet features are marketing filler for this hobby. Megapixel count is the clearest example: a 24 MP APS-C sensor and a 20.9 MP one differ far less at night than the price gap suggests. Four features genuinely change your images, and it helps to know them before you read a listing.
Sensor size and pixel size. Sensor size sets how much light you gather in one pass and how deep you can go on faint galaxies. A larger sensor wins, which is why full-frame bodies appeal to experienced imagers, though community consensus treats full frame as a later upgrade that also demands better optics and a field flattener. Pixel size sets how much sky each pixel covers. The standard formula is image scale in arcseconds per pixel = 206.265 multiplied by pixel size in micrometres, divided by focal length in millimetres. A body with 3.75 micron pixels on a 1000mm scope gives about 0.77 arcseconds per pixel, which suits large deep-sky targets; a body with 1.45 micron pixels on a long planetary scope gives finer detail on a small disc.
High-ISO performance and read noise. The spec that matters is how clean the files look at the ISO or gain you need for a multi-second exposure. Stacking helps enormously, so a slightly noisier sensor is workable; a sensor that clips highlights in bright nebula cores is not. Cooled astronomy cameras are better on both counts because cooling cuts dark current rather than the shot noise itself.
Hot pixels and dark frames. Hot pixels are individual sensor sites stuck on and generating signal in every exposure, and they show up as bright dots that appear in the same place in every frame. On any uncooled DSLR or mirrorless, the fix is calibration: shoot dark frames of the same exposure length, temperature and ISO as your light frames, then subtract them in your stacking software. Shoot a library of ten to twenty darks on a clear night and reuse them all season. Amp glow, the reddish haze along one edge of long-exposure frames, is a separate artefact with the same solution.
RAW versus FITS. Every body in this list writes RAW files, and RAW is fine for stacking software. FITS is the format dedicated astronomy cameras use, and it is 16-bit rather than 12-bit, so it holds faint signal better. That is a second-year consideration, not a reason to avoid a camera now.
Two more things beginners ask about. One-shot colour means a colour sensor with a Bayer filter array, so you get colour in a single exposure; monochrome sensors are sharper and better for narrowband work, but they need separate red, green and blue frames to produce colour at all. And astro-modified bodies with enhanced hydrogen-alpha sensitivity are specialist tools, not beginner purchases.
If you are buying used, run a checklist. Ask for the shutter count, request a daylight photo of the lens at full aperture against a white wall to spot fungus, and check the sensor for dust and dead pixels in a dark frame you take yourself. Body-only, kit-lens and as-is listings are not comparable, and the used market is where a lot of the value in this hobby actually is.
There is also a version of this that starts with no purchase. If you own any DSLR or mirrorless with manual exposure and RAW, use it. Tracking accuracy, lens aperture and sky darkness change your images far more than the body does, and a fast lens on an average body beats a slow lens on an expensive one every time.
What Else You Need Before Your First Frame
A camera alone will not produce a tracked image. On a tripod you need a solid head and a fast lens, and our picks for both are in our [tripod guide](https://modelrec.com/best-tripods-for-astrophotography-in-windy-conditions/) and our [full-frame camera guide](https://modelrec.com/best-full-frame-cameras-for-beginners/) if you want to go larger than APS-C.
For tracked work you need a star tracker or an equatorial mount, a T-ring adapter to attach the camera to a telescope, and an intervalometer to automate long sequences. Most bodies in this list can run sequences from a phone app or a cheap external timer, which removes one purchase.
Filters come later too. A light pollution filter helps under suburban skies, and narrowband filters are the route to emission nebulae from city or even moonlit locations, but neither rescues a badly aligned rig. Our picks for the optics that pair with any of these bodies are in [our telescope roundups](https://modelrec.com/best-telescopes-for-astrophotography/).
Is 24mm wide enough for astrophotography? Yes, for a nightscape. At 24mm on full frame you frame roughly 74 degrees horizontally, which comfortably holds the Milky Way core over a landscape. It is too wide for most deep-sky targets, where a 200mm to 600mm range is far more useful, and a focal reducer is the usual way to widen a telescope’s field.
What about the 500 rule and the 400 rule? The 500 rule says to divide 500 by your full-frame focal length to get the longest exposure before stars trail, and the 400 rule uses 400 instead for sensors with smaller pixels. A 24mm lens gives about 20 seconds by the 500 rule and 16 by the 400 rule, and a star tracker lets you ignore both because it keeps stars fixed for minutes at a time.
Frequently Asked Questions
What is the best budget camera for astrophotography?
For nightscapes, an entry DSLR with manual exposure and RAW is the cheapest legitimate option, and the Canon EOS Rebel T7 in this roundup is the example we recommend. If you already own a camera with those controls, use it before buying anything. For planetary work, a low-cost 1.25-inch eyepiece camera is the cheapest route, and cooled astronomy cameras are worth adding later rather than first.
What is the best camera for beginners who want to learn astro photography?
Start with the camera you own if it has manual exposure and RAW. If you are buying, a small mirrorless body or an entry DSLR paired with a fast wide-angle lens and a star tracker will teach you the most for the least. A smart telescope is the alternative if you would rather skip polar alignment entirely and let an app handle tracking and stacking.
Do I need a dedicated astronomy camera?
Not at the start. Dedicated cooled CMOS cameras are the right tool for serious deep-sky work because thermoelectric cooling suppresses dark current and hot pixels, but they have no screen, no onboard controls and need a control computer or smart hub. Most beginners get better results by spending on a lens and a tracker first and adding a cooled camera in year two.
What are hot pixels in astrophotography?
Hot pixels are individual sensor sites that stay switched on and generate a signal in every exposure, appearing as fixed bright dots in the same position in each frame. They are normal and expected on any uncooled camera. The fix is calibration: capture dark frames at the same exposure length, ISO and temperature as your light frames, then subtract them during stacking.
Is 24mm wide enough for astrophotography?
Yes for nightscapes. At 24mm on a full-frame body you frame roughly 74 degrees horizontally, which more than covers the Milky Way core over a landscape. It is too wide for most deep-sky targets, where 200mm to 600mm is a more useful range, and telescope users widen the field with a focal reducer rather than a wide lens.
What is the 500 rule for astrophotography?
The 500 rule is a starting estimate for the longest exposure before stars visibly trail on a fixed tripod. Divide 500 by the lens focal length in millimetres, so a 24mm lens gives about 20 seconds. It is a guideline rather than a limit, since a tracker or accurate polar alignment removes the constraint entirely.
What is the 400 rule in astrophotography?
The 400 rule uses 400 instead of 500 in the same calculation, producing a more conservative exposure length suited to cameras with smaller pixels and high-resolution sensors. A 24mm lens gives about 16 seconds under the 400 rule against 20 under the 500 rule. The practical approach is to shoot a test frame and check for trailing on the brightest stars at the edges.
Is it difficult to learn astrophotography?
The shooting part is easy once settings are dialled in. The hard part is the workflow around it: focusing a lens by hand in the dark, polar aligning a mount, capturing calibration frames, and stacking. Smart telescopes remove most of that for a beginner, and using the camera you already own removes the buying decision, so the learning curve is very manageable.
Conclusion
For most people reading this, the Canon EOS Rebel T7 is the right first astrophotography camera, paired with a fast wide-angle lens and a star tracker. Move up to the Canon EOS R50 or Nikon D7500 when you want a body you will keep, reach for the ZWO Seestar S30 Pro or DWARFLAB Dwarf 3 if you would rather have finished images than mechanical skills, and pick an SVBONY eyepiece camera if a telescope is already in your cupboard and the Moon is your target.
Whatever you choose in 2026, buy the lens and the tracker before you buy a second camera. Sky darkness and tracking accuracy will improve your images more than any body on this list.