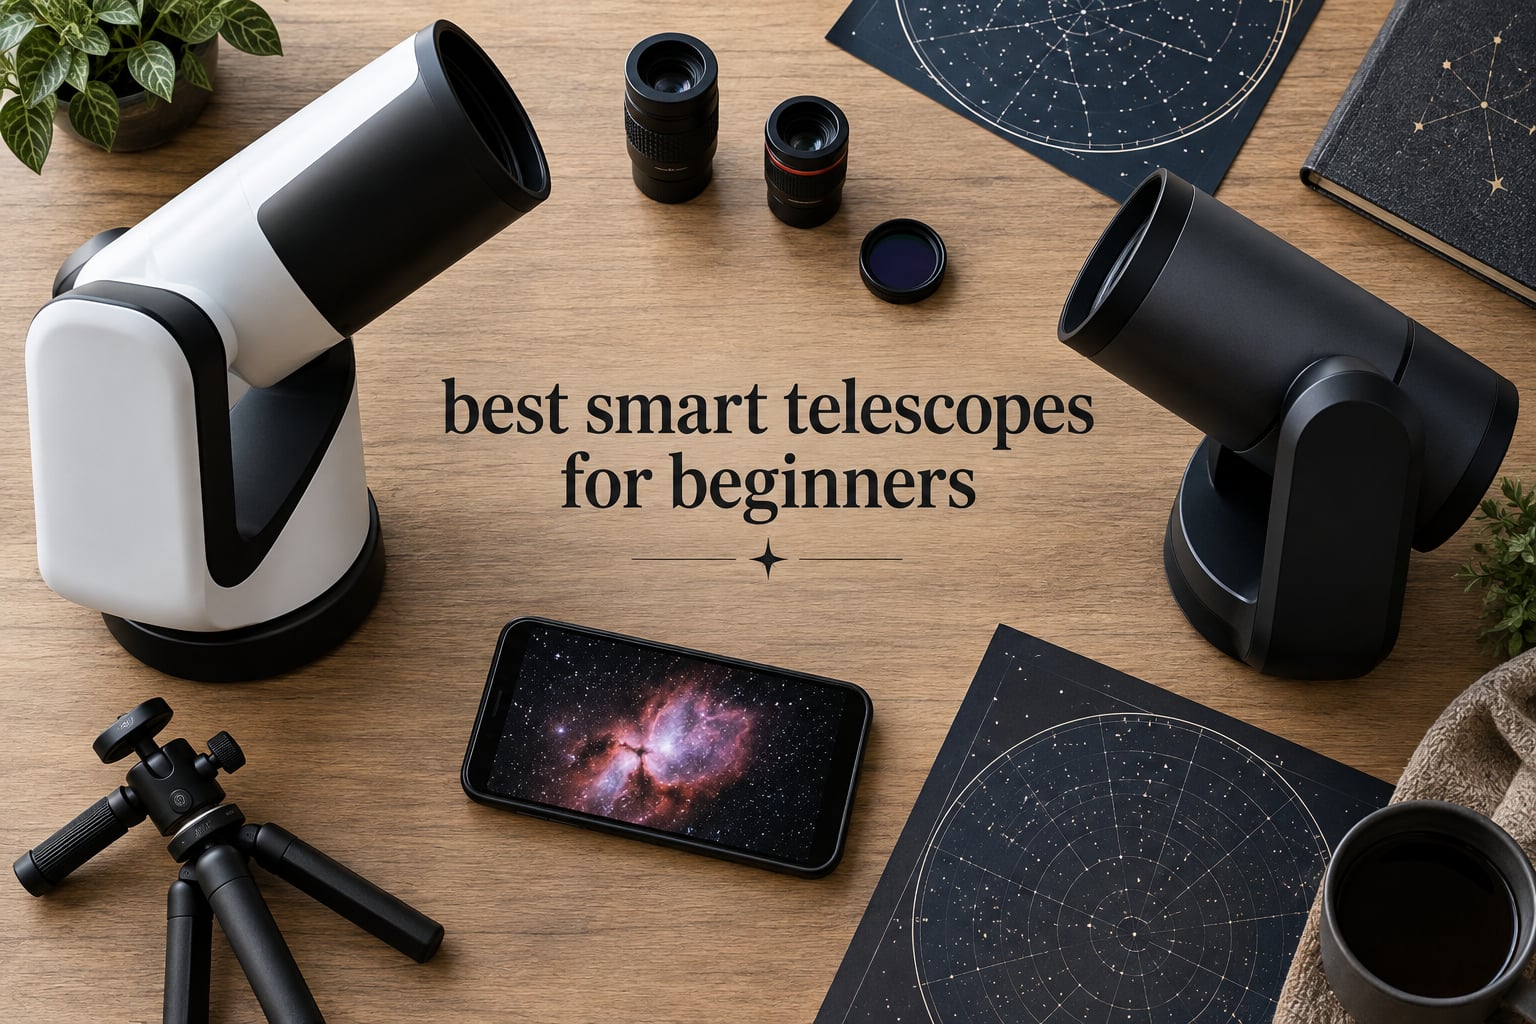
The best smart telescopes for beginners are the ones that remove the two hardest parts of stargazing: pointing the tube at the right place, and keeping it there while you look. A traditional scope asks you to learn star-hopping, polar alignment, and a mount that fights back. A smart scope does all three on its own, and shows you the result on a phone.
That convenience comes with a trade. Most fully smart telescopes are wide-field deep-sky cameras, not planet instruments. They take beautiful pictures of nebulae and galaxies, then show you a small grey disc for Jupiter. Knowing that difference before you buy is the single most useful thing you can learn, and we come back to it repeatedly below.
We spent weeks reading owner reviews, comparing optical specs, and weighing what actually matters on a first night out. Six scopes in this guide cover the range from an app-guided manual mount to a computerized fork arm and two pocket-sized imaging systems. If you want the wider picture first, our beginner telescope guide covers manual scopes too, and our smart telescope roundup goes deeper into the digital models.
Table of Contents
Top 3 Best Smart Telescopes for Beginners in October

Celestron NexStar 127SLT
- GoTo with 40000+ object database
- 127mm Maksutov-Cassegrain optics
- SkyAlign setup in minutes
- Two-year US warranty

Celestron StarSense Explorer LT 114AZ
- App-guided sky tours with sky recognition
- 130mm Newtonian reflector
- No motors to fail
- Curated target list for tonight

Celestron AstroMaster 130EQ-MD
- Motorized right-ascension tracking
- 130mm Newtonian at 650mm focal length
- German equatorial mount
- No-tool assembly
Best Smart Telescopes for Beginners in 2026
| Product | Specifications | Action |
|---|---|---|
| Celestron NexStar 127SLT |
|
Check Latest Price |
| Celestron StarSense Explorer LT 114AZ |
|
Check Latest Price |
| Celestron AstroMaster 130EQ-MD |
|
Check Latest Price |
 DWARFLAB Dwarf Mini DWARFLAB Dwarf Mini |
|
Check Latest Price |
 DWARFLAB Dwarf 3 DWARFLAB Dwarf 3 |
|
Check Latest Price |
 ZWO Seestar S30 Pro ZWO Seestar S30 Pro |
|
Check Latest Price |
1. Celestron NexStar 127SLT – The Computerized All-Rounder
Celestron NexStar 127SLT Maksutov-Cassegrain Computerized GoTo Telescope
127mm aperture
1500mm focal length
40,000+ object GoTo database
18.1 lb total weight
Pros
- GoTo finds and tracks objects automatically
- Sharp high-contrast Maksutov-Cassegrain views of Moon and planets
- Compact fork arm is easy to move between locations
- SkyAlign setup takes only a few minutes
Cons
- Heaviest unit here at 18.1 lb
- Hand control is less intuitive than a phone app
- Fork arm can block targets near the zenith
I kept coming back to the NexStar 127SLT while working through this list. It is the scope I would hand to someone who wants to do everything, not just one thing well. The 127mm Maksutov-Cassegrain gives a long 1500mm focal length in a tube short enough to carry with one hand, which is the trick that makes these scopes portable.
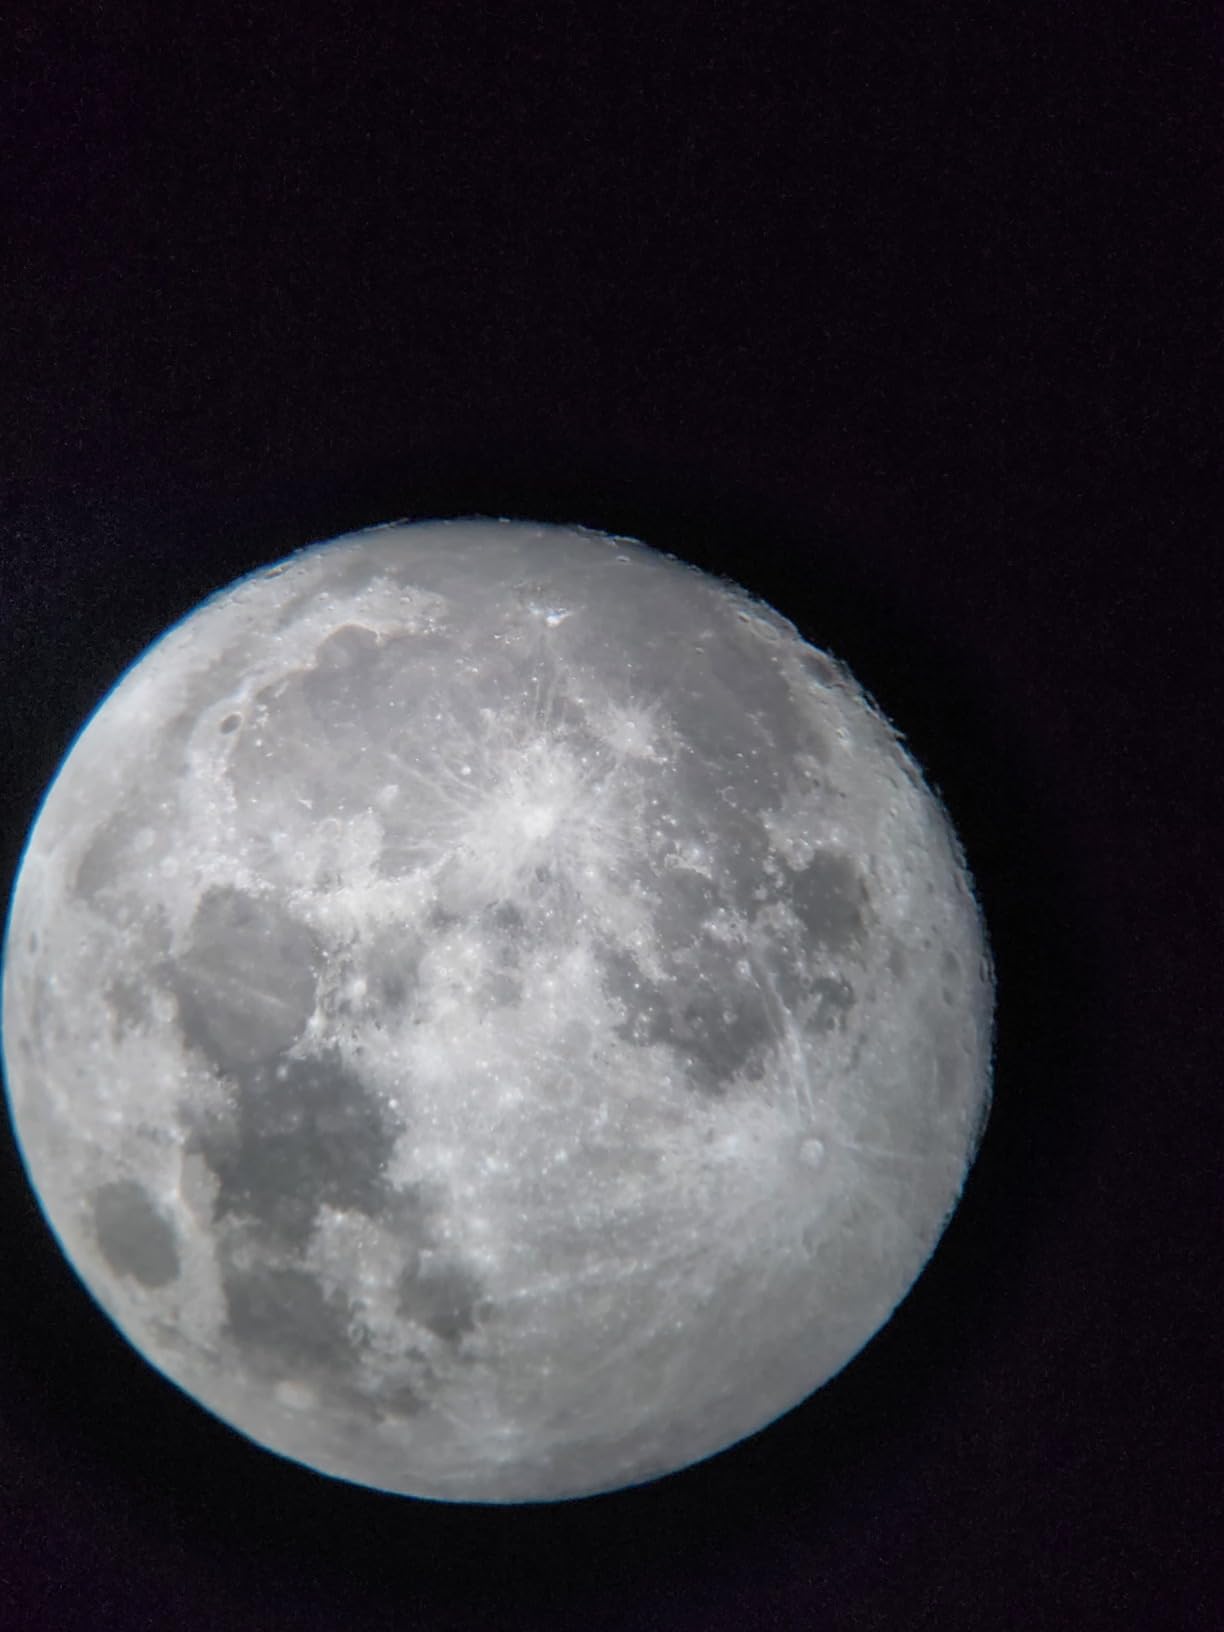
Setup is where it earns its keep. You power it on, point the tube at three bright stars, and SkyAlign works out the rest. After that the hand controller takes over and the mount finds deep-sky objects on its own and keeps them centred while you look. Owners most often mention Saturn’s rings, Jupiter’s bands, and lunar craters as their first successes.

The optics are fully coated with a Dawes limit of 0.91 arc seconds, so stars stay reasonably tight and the Moon shows real texture. At 1500mm of focal length you also get enough magnification to make Jupiter’s moons obvious as dots, which is the moment that sells astronomy to a new observer.
What holds it back is physical. At 18.1 pounds this is the heaviest scope in the group, and it needs a real tripod plus a battery pack for anything longer than an evening. If your observing spot is a balcony or a camping field you carry in on foot, that weight is a daily argument.
What the NexStar 127SLT does well
This is the scope for visual observing first. Unlike the fully smart models, you look through glass, so a planet fills the eyepiece rather than a small rectangle on a screen. The 40,000-plus object database also means you will not run out of things to hunt on a clear night.
Because the fork arm is compact and self-contained, one person can move the whole setup to darker skies. That flexibility matters more than raw aperture once you have been observing for a few months and want to escape town light.
Where it falls short
The hand controller is the weak point of this setup. It works, but the interface feels dated next to a phone app, and the finger dials are fiddly when your hands are cold. Anyone comfortable with touchscreens will find it slow.
Second, the single fork arm sits beside the optical path, so it can shade targets that are high overhead. It is not a serious problem for most sessions, but if you chase zenith objects it is worth knowing about.
2. Celestron StarSense Explorer LT 114AZ – App-Guided With No Motors
Celestron StarSense Explorer LT 114AZ Newtonian Smartphone Guided Telescope
130mm reflector aperture
1000mm focal length
StarSense app guidance
10.4 lb weight
Pros
- App gets a total beginner onto targets they would never find by star-hopping
- Curated list of the best objects visible tonight
- Steady mount with slow-motion altitude control
- Sharp Moon and planet views from mirror coatings
Cons
- No motorized tracking so objects drift from view
- Needs a compatible smartphone docked to the scope
- Newtonian design needs occasional collimation
- Short focal length limits magnification
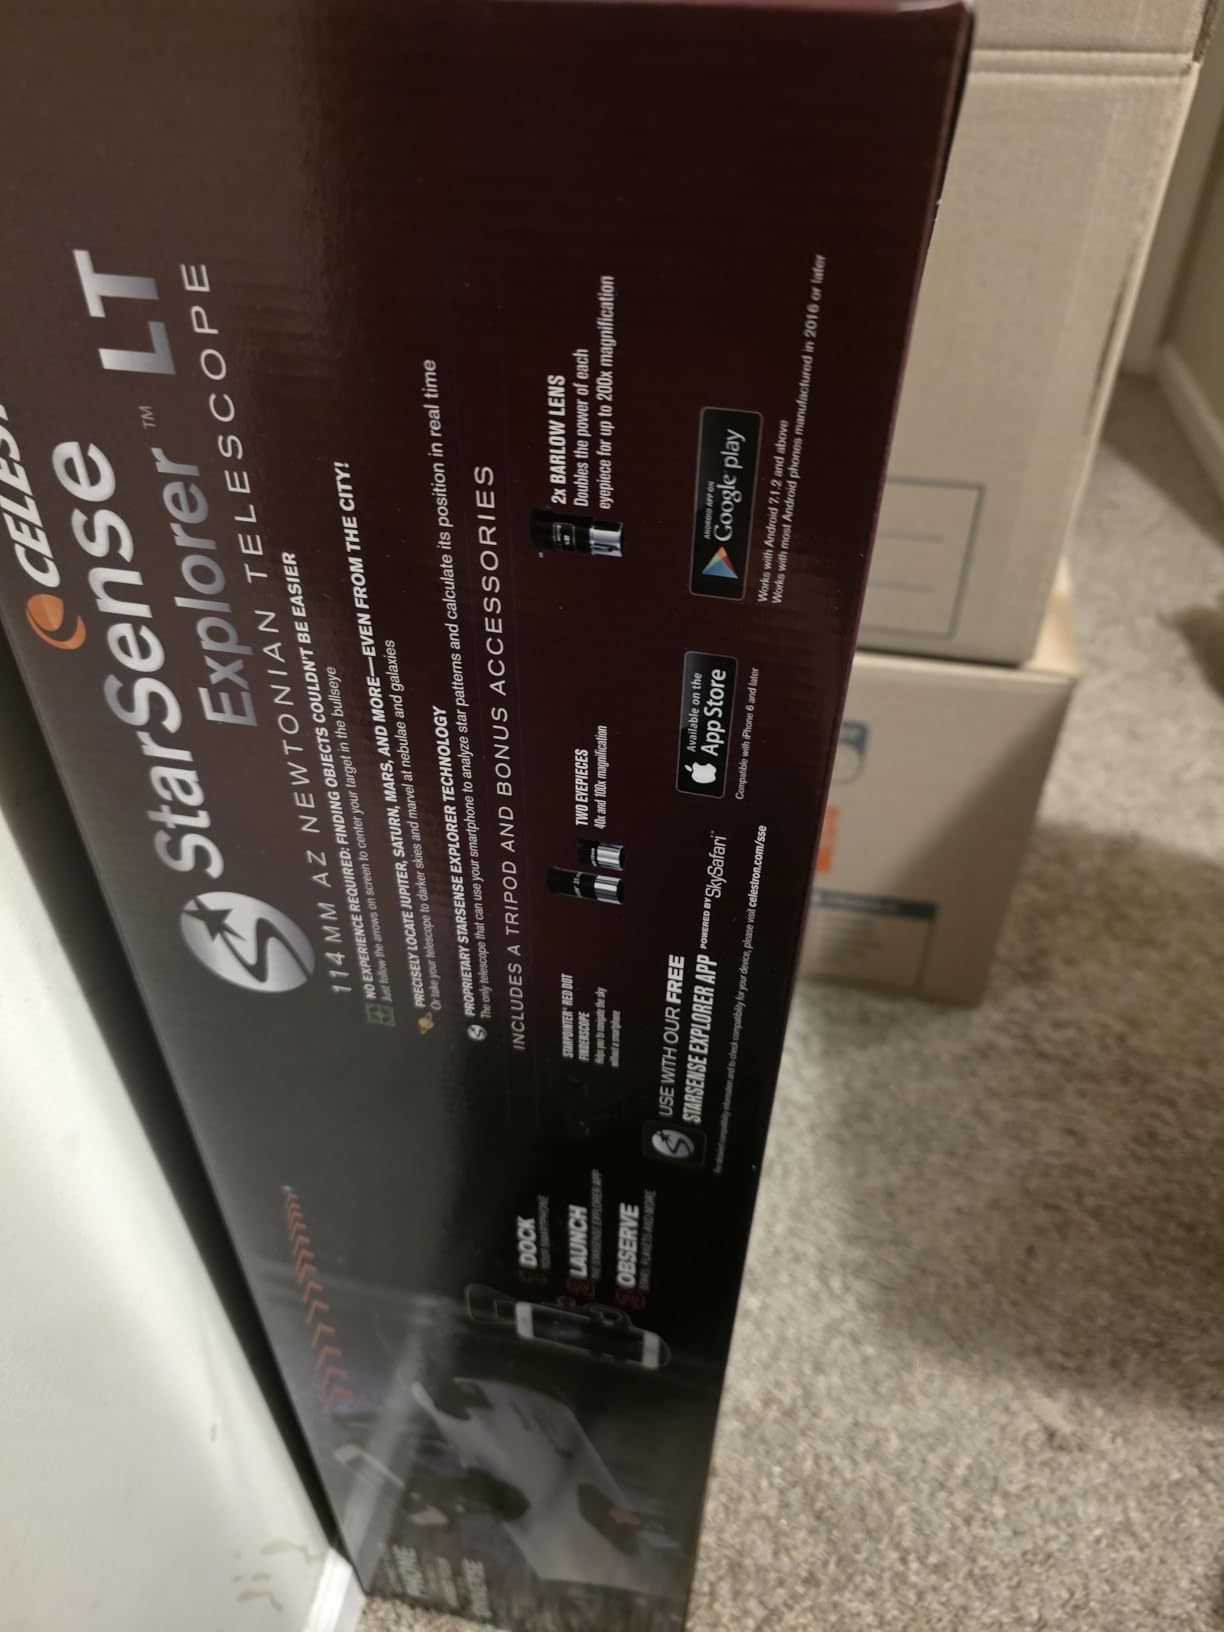
The StarSense Explorer LT 114AZ is the most interesting idea in this list, because it is not a smart telescope in the motorized sense at all. There are no motors, no GoTo database, and no tracking. Your phone does the thinking instead.
You dock the phone against the telescope, open the app, and it reads the star pattern overhead to work out how the scope is oriented. On-screen arrows then tell you which way to slide the tube until the same pattern lines up. Once matched, the app shows a curated list of the best targets visible tonight from your location.
For a beginner, that removes the single biggest barrier. Star-hopping is where most people give up. Getting a complete newbie onto the Orion Nebula or Jupiter in their first ten minutes is worth a great deal, and the 1571 owner reviews on this model make that the most repeated comment in the whole dataset.
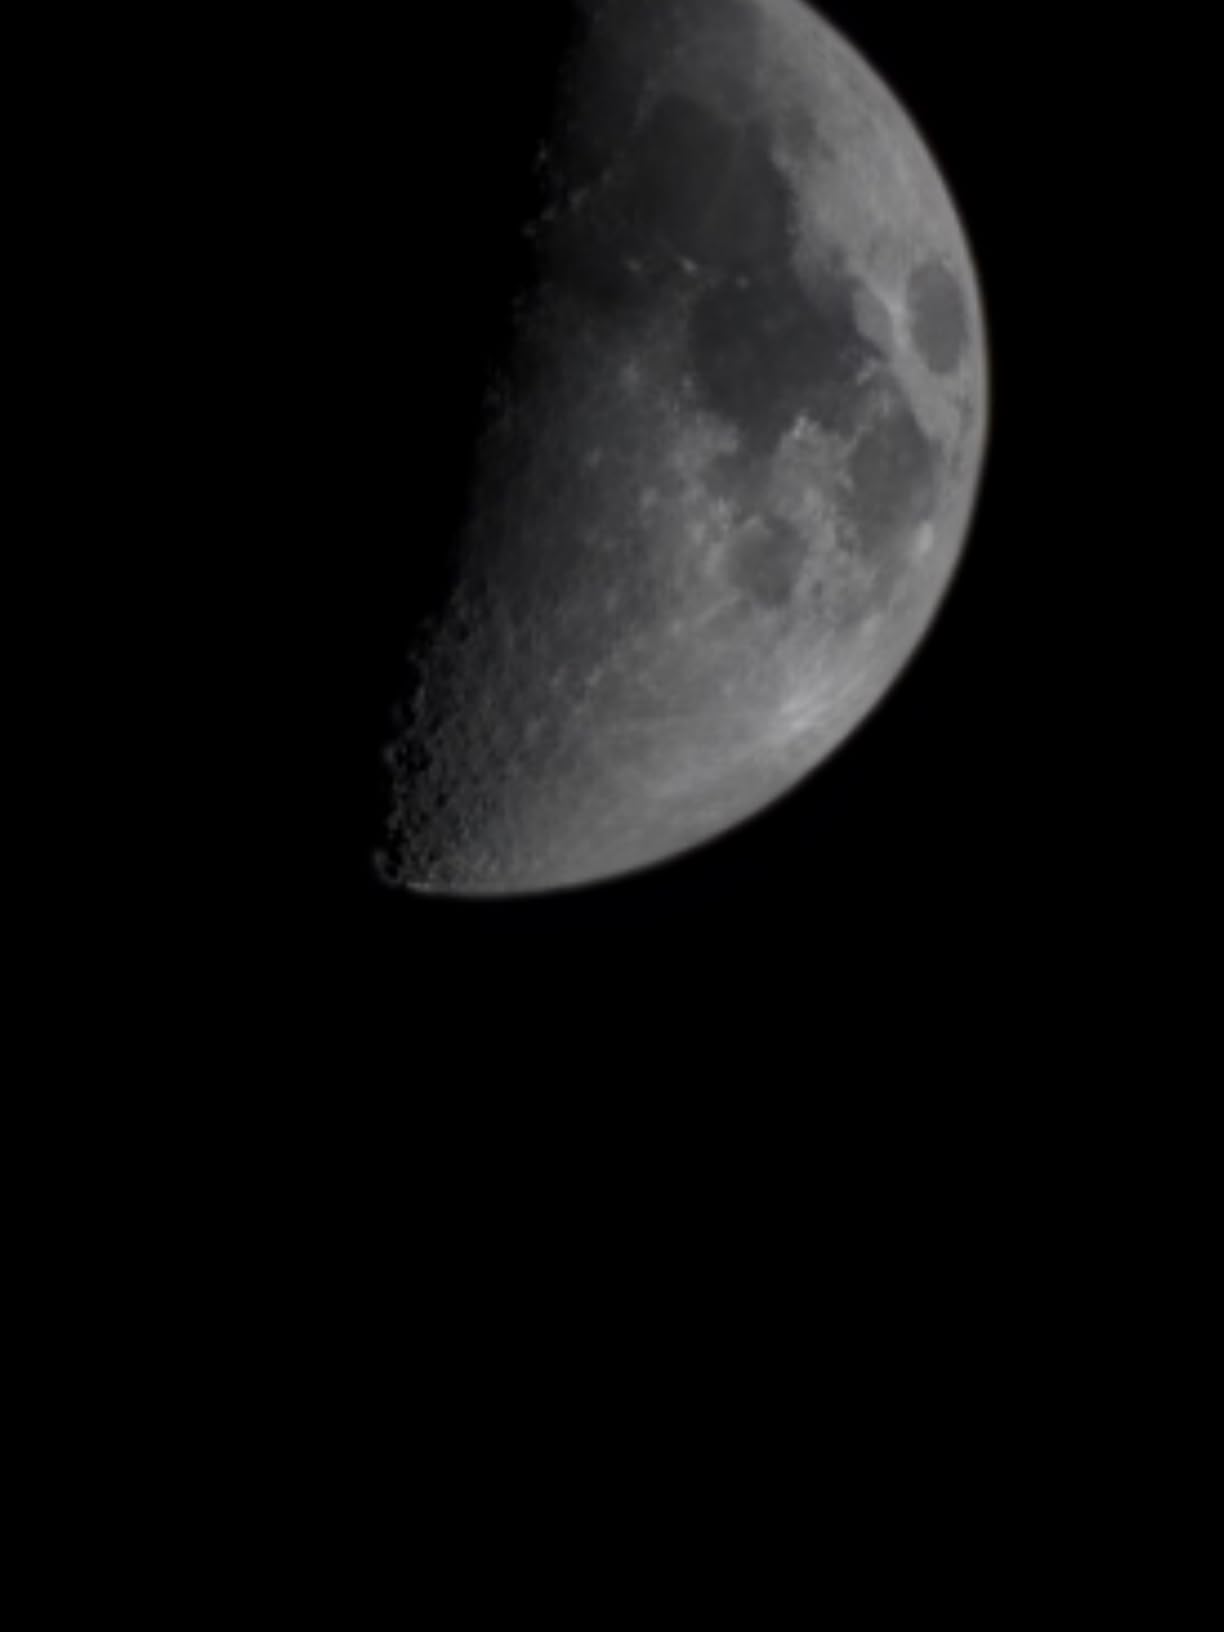
The optics are a 130mm Newtonian reflector at 1000mm focal length, with mirrors coated in aluminum and SiO2. That is a genuinely capable light-gathering setup for the money, and the 1.02 arc-second Dawes limit holds up well on lunar and planetary detail.
Why the StarSense approach works for beginners
There is nothing to break. Motors, gearboxes, and encoders are the usual failure points in a computerized scope, and this design has none of them. It also needs far less battery power, so a single lithium cell carries a whole evening.
The scope also teaches you the sky rather than hiding it. Because you physically move the tube yourself, you learn where objects sit relative to each other. Our general telescope guide makes the same argument for manual scopes, and it holds here.
Where the no-motor approach frustrates people
Nothing tracks. For short looks at the Moon or a bright planet that is fine, but for deep-sky at high power you will be pushing the tube back and forth every couple of minutes. That is the limitation owners mention most, and it is the main reason we did not make this the top pick.
The smartphone requirement also matters. If your phone has a large camera array or an aggressive screen layout, alignment can need a couple of attempts. Our general refractor telescope recommendations cover the cases where a phone is not part of the plan.
3. Celestron AstroMaster 130EQ-MD – Motorized Tracking on a Budget
Celestron AstroMaster 130EQ-MD Telescope with Motorized Tracking
130mm aperture
650mm focal length at f/5
CG-3 equatorial mount
17 lb weight
Pros
- Motor drive keeps objects centred without constant readjusting
- 130mm aperture gathers more light than small beginner scopes
- Slow-motion knobs on both axes
- No-tool setup from box to backyard
Cons
- Mount has play in the axes and limited fine-adjust travel
- Motor blocks the right-ascension fine adjustment knob
- Tripod described as shaky by several owners
- Spherical primary mirror shows aberration and bloated stars
The AstroMaster 130EQ-MD is the odd one out in a smart telescope guide, and it earns its place anyway. It has no app, no plate solving, and no image sensor. It has a single-axis motor drive, and for many beginners that one feature matters more than everything a smart scope adds.
Tracking is what separates a telescope from a snapshot. Once a target stays put, you can look at it properly, raise the magnification without losing it, and hold a phone or camera steady against the eyepiece for real astrophotography. Motorized tracking makes all three possible, and at this level of cost it is unusual.
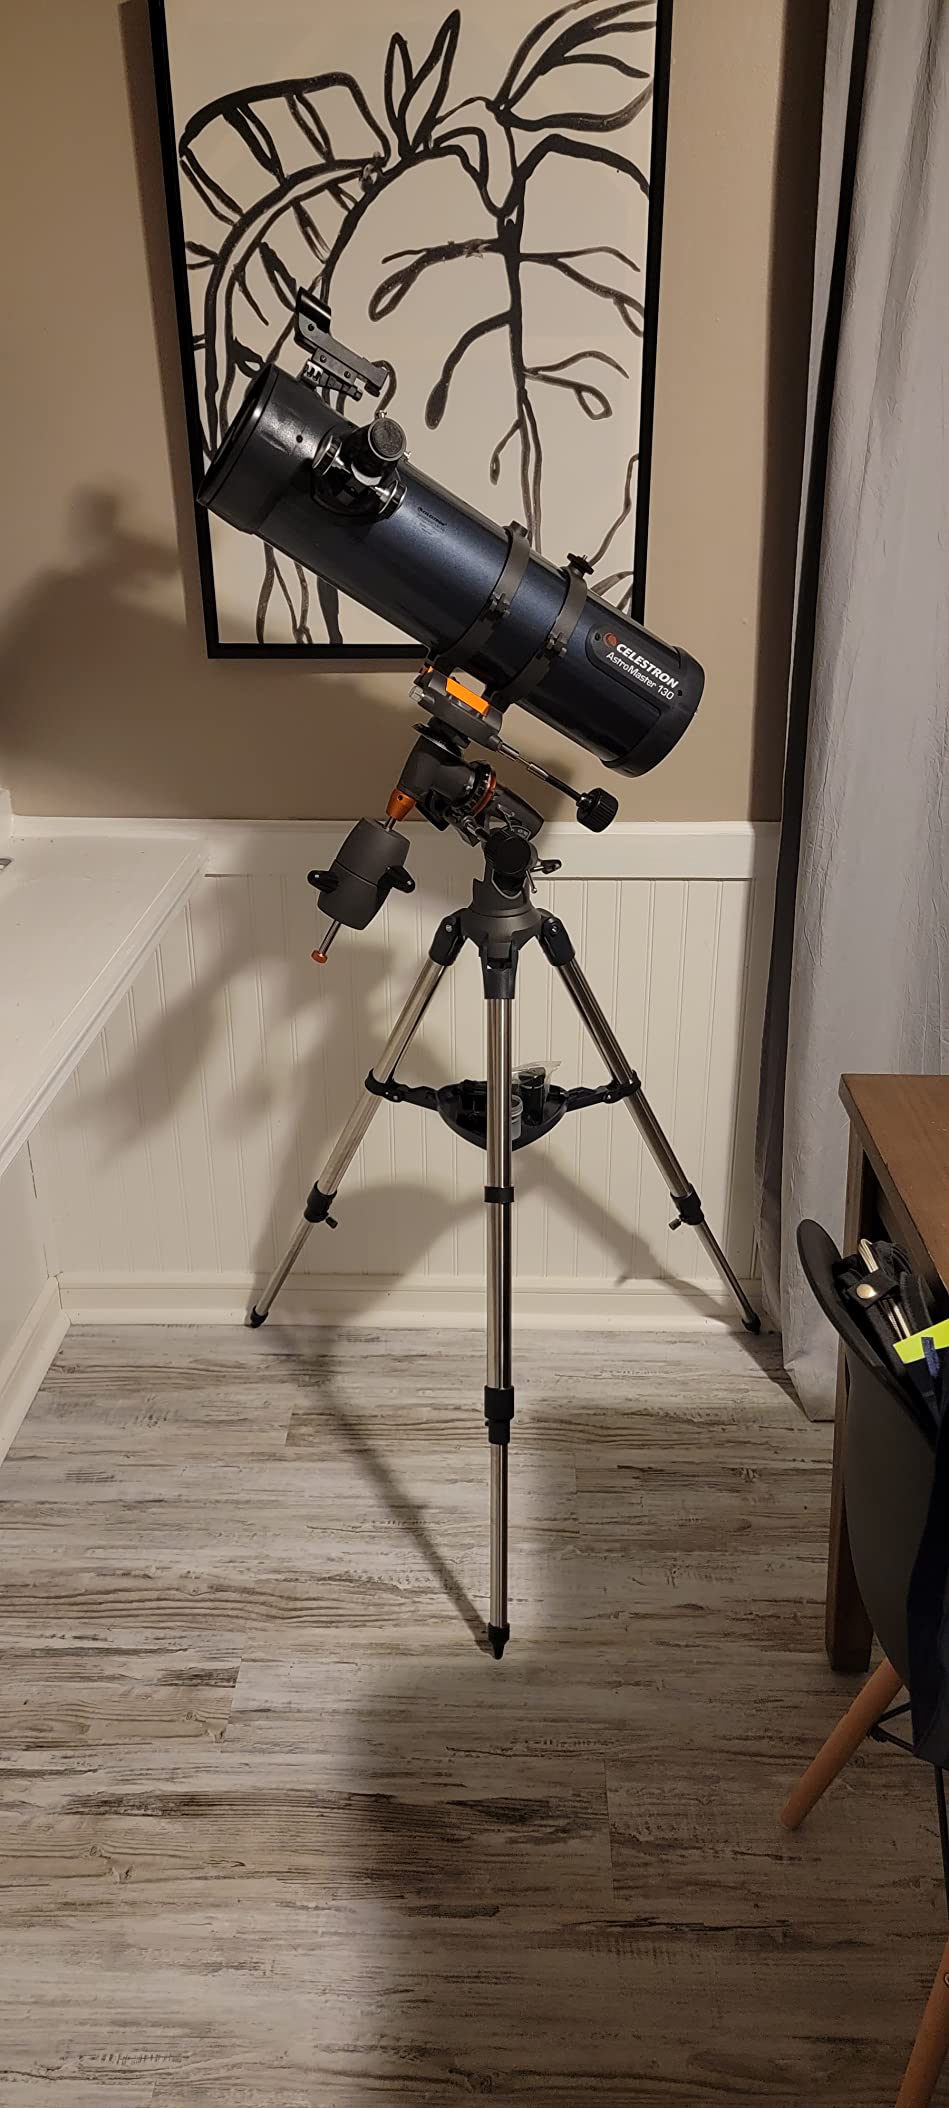
Optically it is a 130mm Newtonian reflector at 650mm focal length, so f/5 with a fast, wide field. That wide field is a quiet strength: the 20mm eyepiece with the erect-image corrector frames the whole Moon in a single view, which is a great first impression for a family.
The CG-3 German equatorial mount uses slow-motion knobs on both axes, so you can centre a target without a hand controller at all. Assembly needs no tools, and the tripod and mount ship preassembled, so you can be outside the same afternoon you open the box.
Who gets the most from this mount
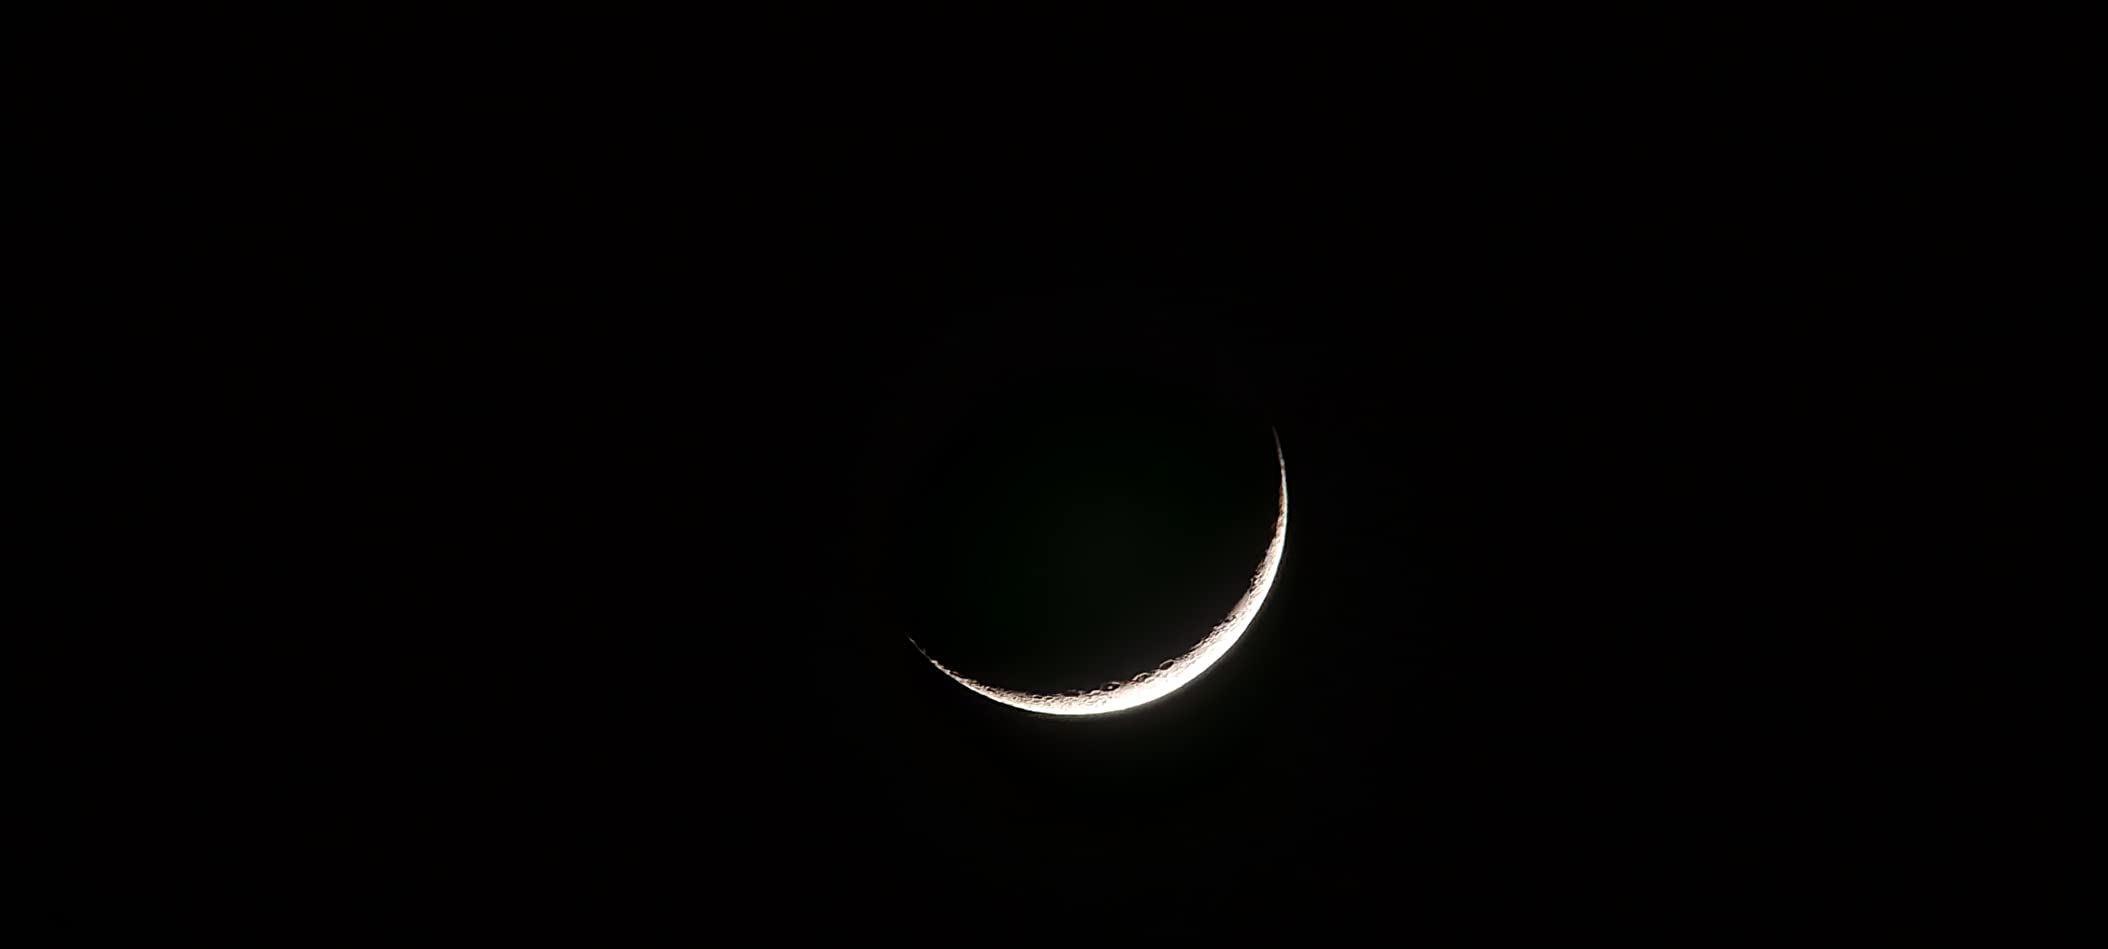
Anyone who wants to attempt lunar or planetary photography on a modest budget. The right-ascension motor runs on a single 9V alkaline battery, which makes it simple to keep going all evening, and the wide field suits short phone exposures through an afocal adapter.
It is also the only equatorial mount in this roundup, which matters for anyone who later wants to move toward longer exposures and tracked deep-sky imaging. The learning curve carries over directly to heavier mounts.
Where the mechanical complaints come from
The feedback on this mount is mixed, and the complaints are mechanical rather than optical. Several owners describe play in the axes and limited travel on the fine-adjustment knobs, and one recurring detail is that the motor physically blocks the right-ascension fine adjustment.
The tripod also gets called shaky, which matters a great deal for an equatorial mount where every wobble becomes a trailed star. Add a sturdier tripod before you chase long exposures. The spherical primary mirror gives visible aberration and bloated stars at high power, so treat the included eyepieces as a starting point.
4. DWARFLAB Dwarf Mini – Smallest Smart Scope for Travel
DWARFLAB Dwarf Mini Smart Telescope – 1.85lb Portable Astronomy Telescope
30mm aperture
150mm focal length
Sony IMX662 sensor
1.9 lb body weight
Pros
- Plate solving lets it find deep-sky targets from a table in the dark
- One night replaces weeks of learning curve for astrophotography
- EQ mode guidance shows how far to rotate for polar alignment
- Fits in a backpack for camping and dark-sky travel
- Cloud stacking and dark frames work in heavy light pollution
Cons
- Sensor resolution too low for large prints
- Short focal length leaves planets as featureless discs
- Initial Wi-Fi connection can be finicky
- Some units ship with dust inside the lens
At 1.85 pounds and roughly the size of a travel mug, the Dwarf Mini is the smallest fully smart telescope in this guide by a wide margin. You can carry it to a dark site in a backpack, set it on a picnic table, and go from cold bag to stacked image without touching anything but your phone.
The workflow is the selling point. Place it anywhere, open the DWARFLAB app, and the scope plate-solves its own position from the star field, then slews to whatever you select from the built-in sky atlas. The most repeated owner comment in the reviews is that one night of this replaces weeks of learning curve.
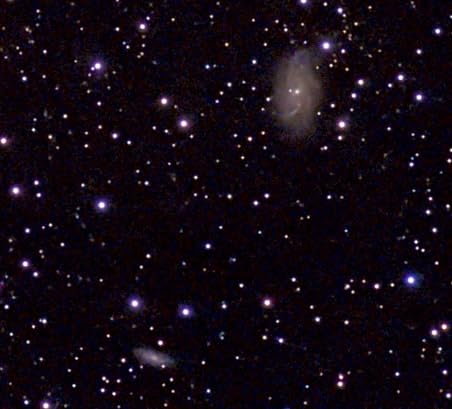
Equatorial mode is what separates this from a toy. In that mode it takes single exposures of up to 90 seconds with manual shutter and gain control, and the app walks you through polar alignment with on-screen rotation guidance. Owners consistently report using roughly 60-second exposures at gain 60 as a good starting point.
Light pollution handling is unusually good for the size. Built-in light-pollution filters are selectable in the app, an internal shutter captures dark frames automatically, and Stellar Studio cloud processing handles the sub-frame stacking without a computer.
Where the Dwarf Mini punches above its size
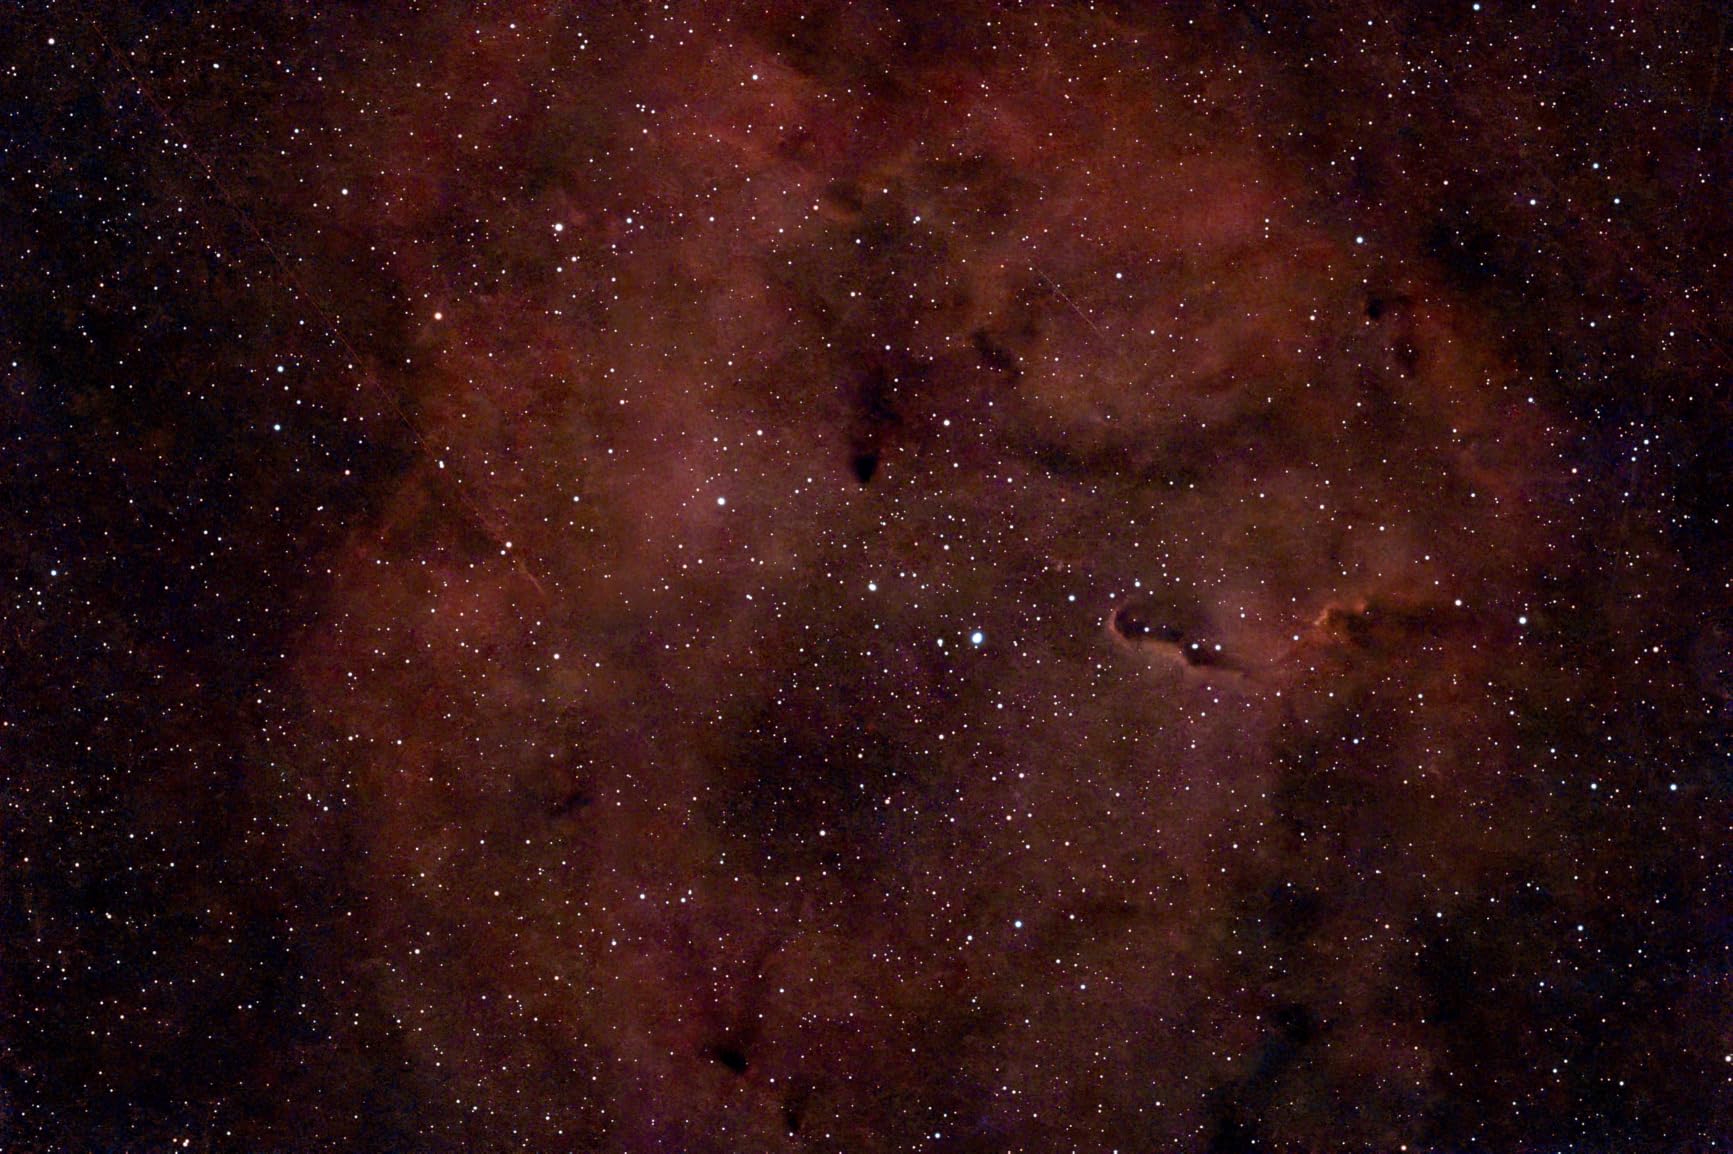
Urban and suburban skies. Stacking plus automatic dark frames is exactly what you need when you cannot drive to the countryside, and several experienced users report that their stacked results from bright skies compare well with images from larger traditional rigs.
It also packs real imaging tools. Tiles can be combined into 2x and 4x mosaics, multi-session mega stacking extends total integration time, and a magnetic solar filter in the box allows sunspot and eclipse imaging. That is an unusually complete feature set for a beginner entry point.
Where it falls short
A 30mm aperture and 150mm focal length is a very short optical system. Small targets stay tiny in frame and planets show up as featureless discs, so do not buy this expecting a Jupiter view. The Sony IMX662 sensor captures cleanly but does not support large-format printing.
For extended equatorial sessions you also need a tripod with a fluid head and a power bank, neither of which is in the box. A few buyers hit connection or software-learning frustration early, and some units arrived with dust inside the lens that could not be cleaned.
5. DWARFLAB Dwarf 3 – Two Lenses in One Body
DWARFLAB Dwarf 3 Smart Telescope, App-Controlled Astrophotography Camera
Telephoto and wide-angle lenses
4K auto-tracking
Cloud one-touch processing
3 lb body weight
Pros
- Two-lens system covers deep-sky and wide night scene framing
- Cloud processing finishes images with no computer or stacking software
- One of the lightest full smart telescopes
- Automatic tracking holds stars and planets while imaging
- Carrying bag and magnetic filters included
Cons
- Daylight use limited to telephoto and wide modes
- Fixed altazimuth base makes equatorial tracking less precise
- Targeting and stacking depend entirely on the app
The Dwarf 3 is defined by a choice other scopes in this guide do not offer: two imaging systems in one body. A telephoto lens covers galaxies, nebulae, and close wildlife work, while a wide-angle lens frames the Milky Way and star trails over a whole horizon.
That second lens is what makes this one different. Most smart telescopes produce a tight image of one object. The Dwarf 3 can also produce the wide night-scene photograph that most beginners imagine when they think about astrophotography, from the same device in the same session.
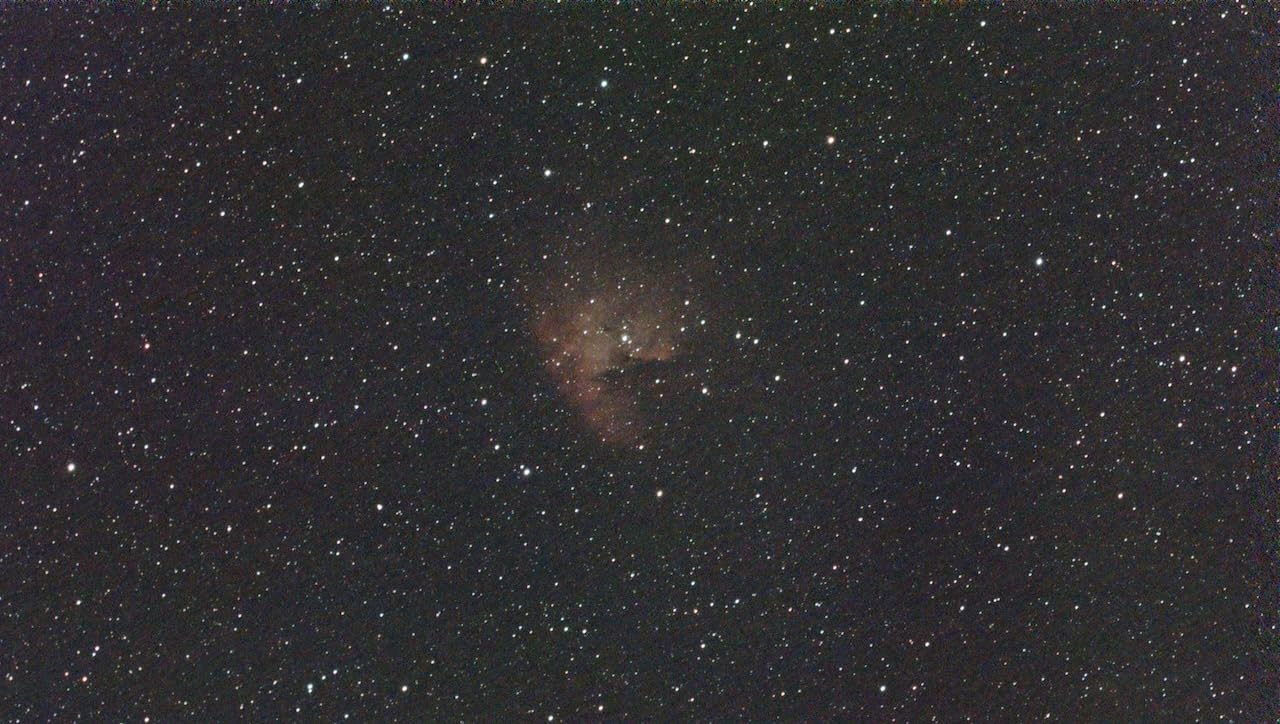
Tracking is automatic at 4K resolution, holding stars and planets during exposure. Processing happens in the cloud through the DWARFLAB app with a single tap, so there is no stacking software, no laptop, and no learning curve for image integration. The 234-review pool is strongly positive, with 76% of reviews at five stars.
Portability is the other argument. At three pounds with a carrying bag, filters, and a USB-C cable in the box, it is a single-bag decision for a trip or a weekend at a dark site. It is also marketed as suitable for ages six and up, which makes it a realistic family entry point.
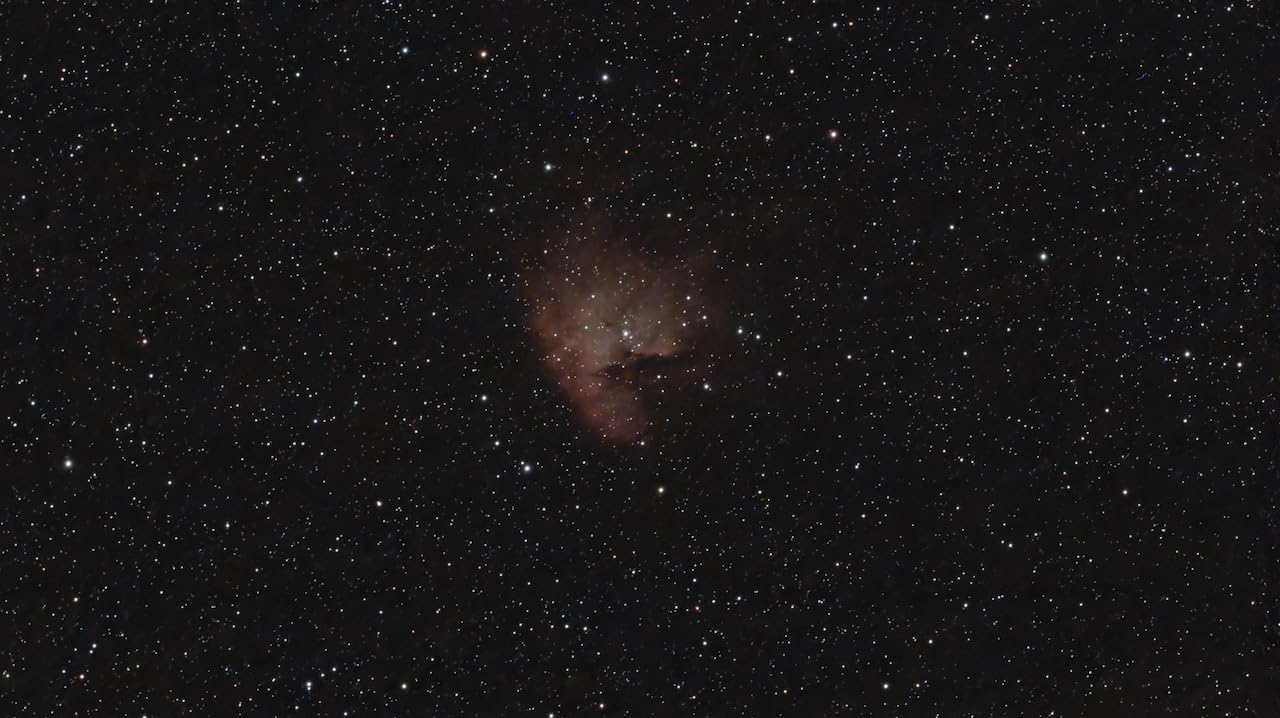
Where the Dwarf 3 earns its place
If your goal is finished astrophotography images with the least effort, this is the strongest option in the guide. The cloud pipeline handles the parts of image processing that take beginners the longest to learn, and it does it identically for a complete beginner and for someone on their fifth year.
It also works as a general imaging tool. The telephoto mode handles landscapes and moving subjects in daylight, so the device earns its place on a trip even when the sun is up.
Where it falls short
The fixed altazimuth base is the technical limit. Equatorial mode exists, but without a wedge the tracking is less precise than a dedicated equatorial unit, and long exposures will drift. Plan on shorter exposures and shorter sessions in equatorial mode.
Second, there is no eyepiece and no visual mode at all. Everything happens on a screen. If you want to show someone Jupiter through an eyepiece, this is the wrong shape of device, and the NexStar 127SLT above is the better fit.
6. ZWO Seestar S30 Pro – The Deep-Sky App Imager
ZWO Seestar S30 Pro Smart Telescope, App-Controlled Astrophotography
Fully multi-coated apochromatic optics
4.6 degree field of view
Dual-camera 4K imaging
3.6 lb with tripod included
Pros
- Automatic GoTo and tracking run entirely from the phone
- Apochromatic optics and light pollution filters hold up in bright skies
- One-tap capture modes for every common target type from Milky Way to the Moon
- Automatic mosaic stitching captures wide fields
- Tripod included at this tier
- Anti-dew protection supports all-night sessions
Cons
- Not intended for planetary observation
- Deep-sky imaging needs the unit stationary for stable tracking
- Advanced settings live in the printed manual not the app
The Seestar S30 Pro is the most capable imager in this group, and the one we would trust to a bright suburban backyard. Its optics are fully multi-coated and apochromatic with a 4.6 degree field of view, which is wide enough to hold most large nebulae in one frame without stitching.
Built-in light pollution filters make the urban case unusually strong. Combined with AI noise reduction and sky and foreground separation, the app does most of the cleanup work itself, and the 232-review pool shows the strongest rating distribution here with 76% of reviews at five stars.
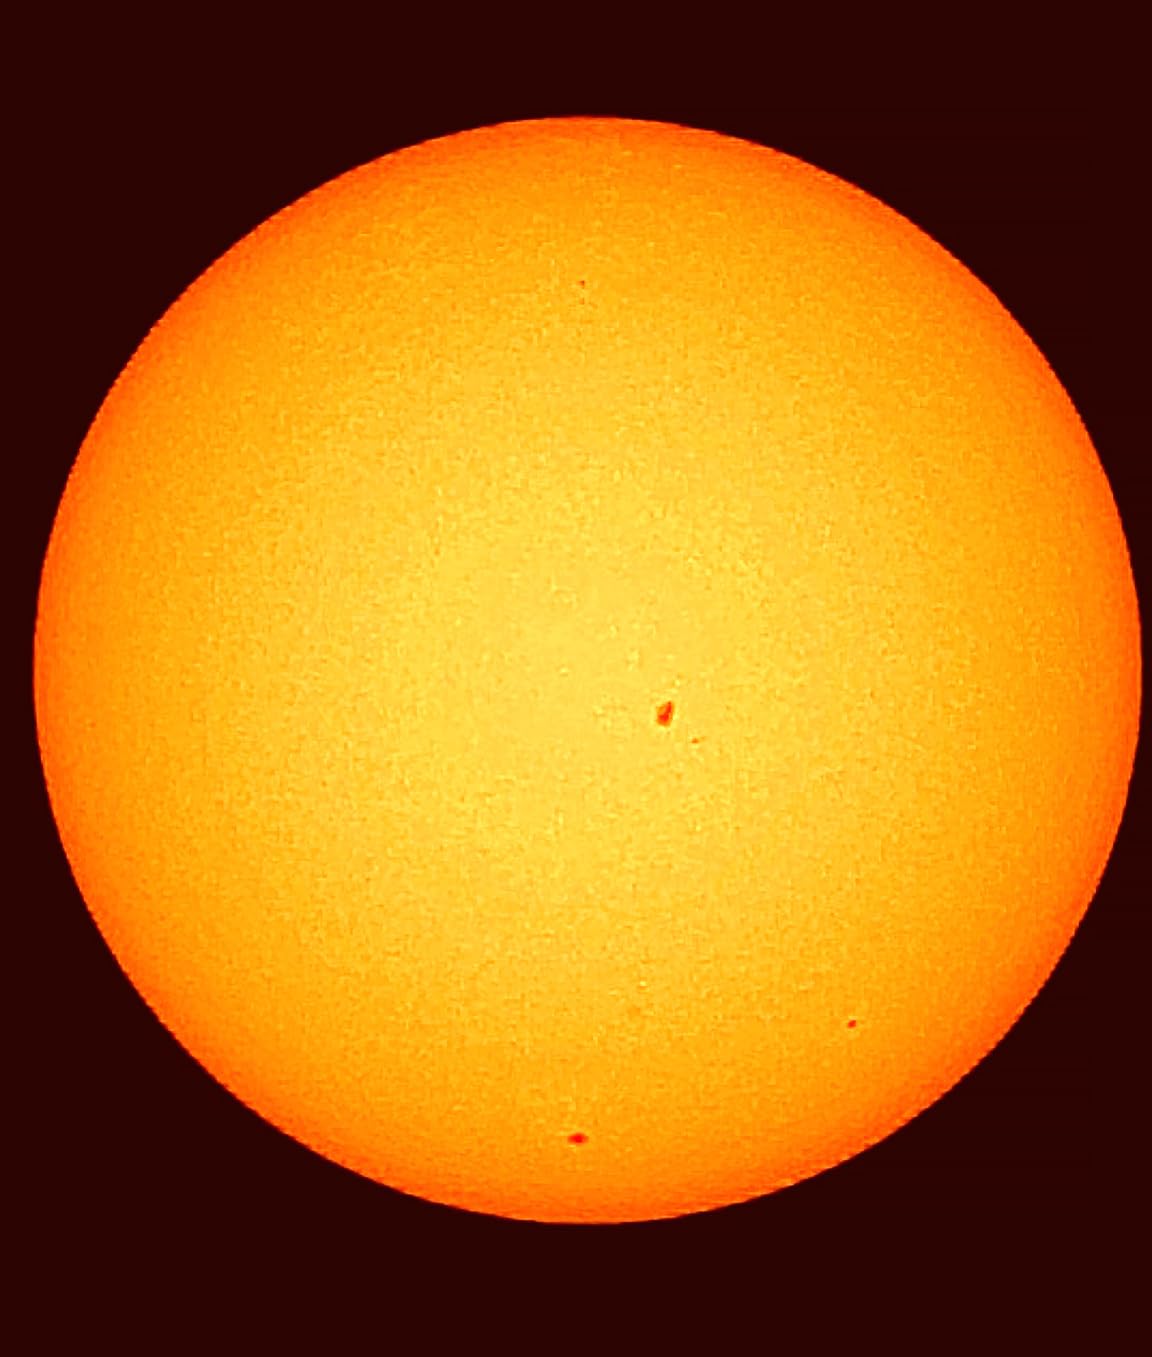
The one-tap modes are the feature beginners mention most. Milky Way, star trails, nebulae, galaxies, Moon, and Sun each have a mode that sets exposure, gain, and stacking automatically. Plan mode builds a longer session across multiple targets, and mosaic stitching captures wide fields without manual framing.
It is also the only scope here that ships with a tripod. At 3.6 pounds it is still genuinely portable, and anti-dew protection goes a long way toward the all-night sessions that deep-sky imaging demands.
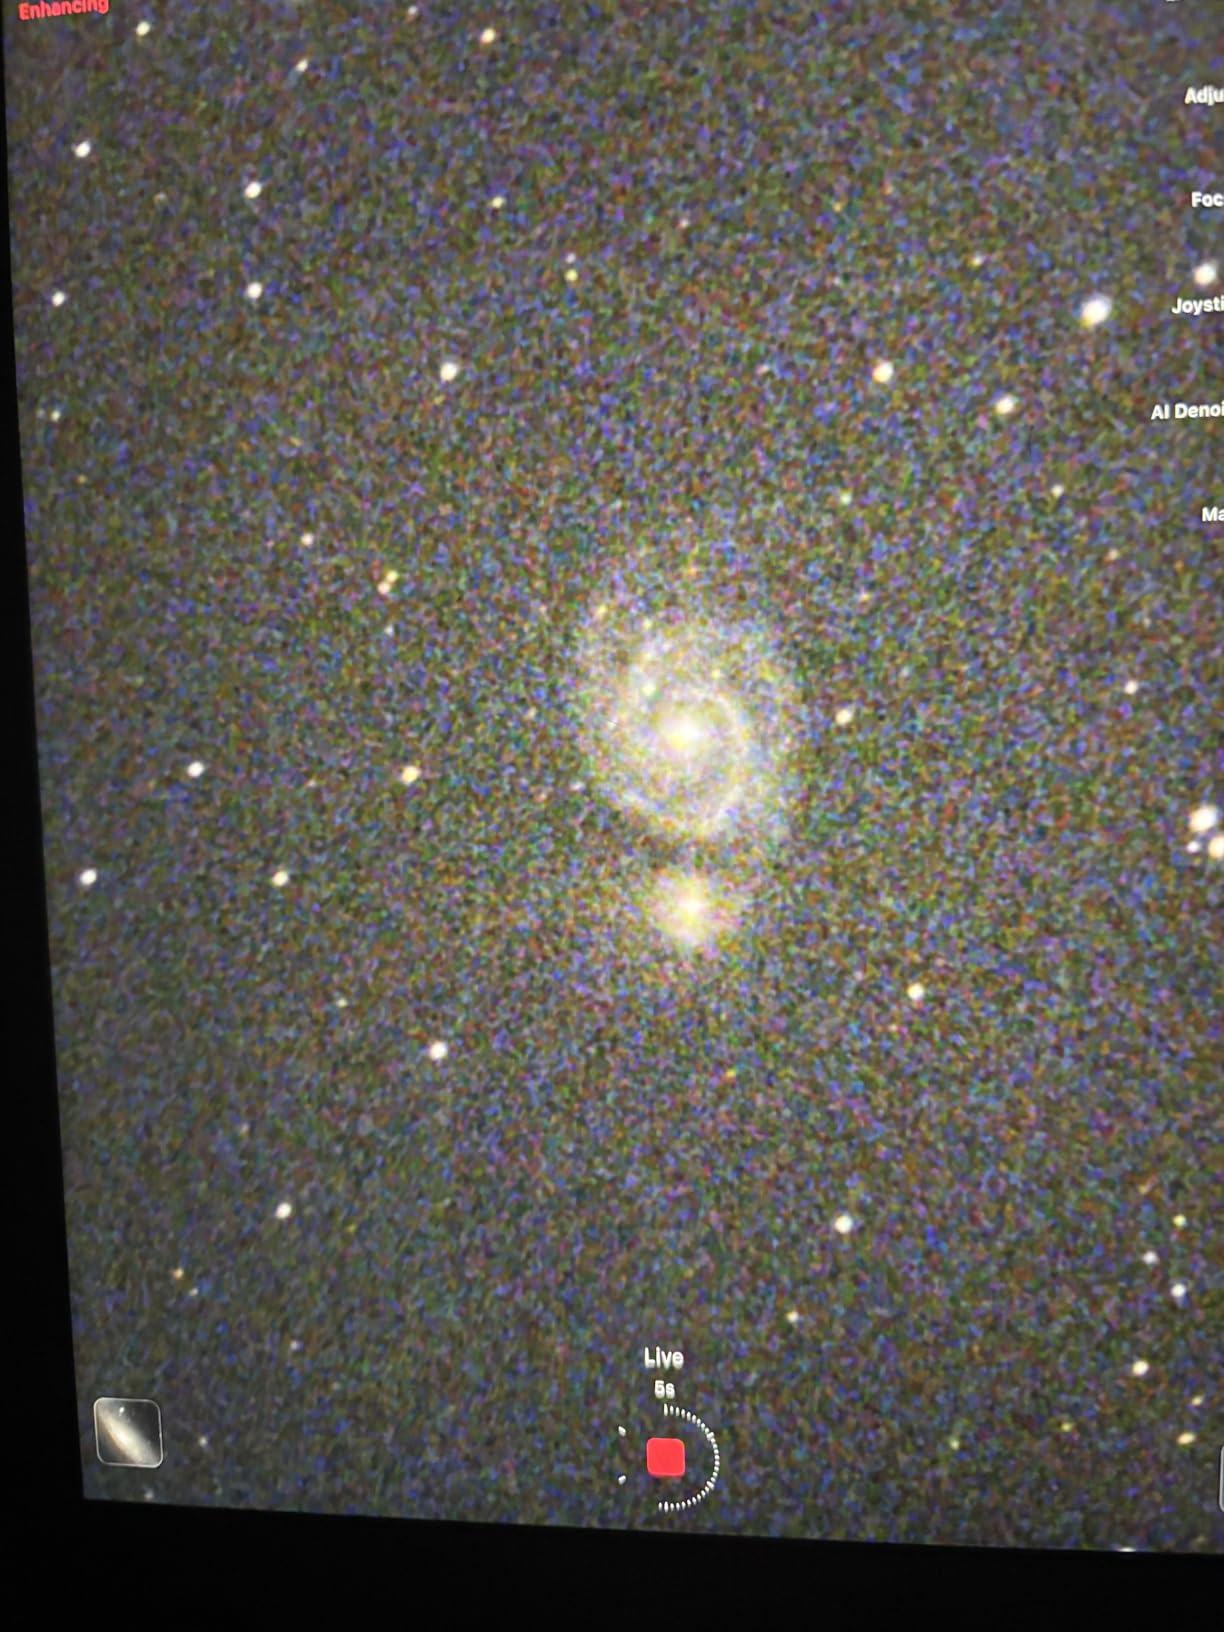
Where the Seestar S30 Pro is hard to beat
Beginner astrophotography in light-polluted skies. A cold-start beginner can be stacking a nebula on a first night with no computer, no stacking software, and no learning curve beyond opening the app.
For anyone who later wants more control, the advanced settings exist. They are documented in the printed manual rather than in-app guidance, which is the one documentation weakness worth flagging before you buy.
Where it falls short
Planetary observation is explicitly out of scope, and reviewers repeat this clearly. If Jupiter and Saturn are what you want to see, this is the wrong instrument regardless of how good the deep-sky images look.
There is also no eyepiece. Everything is on a screen, which is fine for solo imaging and less useful if you want to share the view with a child or a friend in real time. And deep-sky imaging requires leaving the unit completely undisturbed, so it is not a scope you fiddle with while a friend talks.
How to Choose Your First Smart Telescope
Start by deciding whether you want to look through the scope or photograph with it. That single question eliminates half of this list before you look at any specification. Visual observing points you toward a GoTo or app-guided telescope with eyepieces. Astrophotography points you toward a fully smart imager.
Decide Visual or Photo First
If you want the experience of seeing Saturn’s rings yourself, buy glass. The NexStar 127SLT and the StarSense Explorer LT 114AZ both give you an eyepiece, and the AstroMaster 130EQ-MD adds a motor so targets stay put while you watch. Expect to learn a little about the sky.
If you want shareable photographs of nebulae and the Milky Way, buy a camera. The Dwarf Mini, Dwarf 3, and Seestar S30 Pro all produce stacked images in minutes and all of them skip the eyepiece entirely. Expect to learn about apps instead of optics.
Aperture Beats Digital Gimmicks
Aperture is the diameter of the light-gathering opening, and it sets the ceiling on what you can ever see. The four Celestron scopes here run from 127mm to 130mm, while the smart imagers run from 30mm to 35mm of aperture paired with digital sensors and long stacking.
Neither side wins outright. More aperture means brighter live views and easier planetary detail; a longer integration time on a sensor can recover faint deep-sky targets that a smaller aperture never shows. What aperture cannot do is beat a good image with a bad sensor, or replace tracking.
Check the App Before You Buy
App reliability is the most common complaint category across owner reviews for every category of smart telescope. Apps get abandoned, workflows change after firmware updates, and features move between versions. Before buying, search the app store for the exact model name and read the most recent reviews rather than the launch coverage.
Also check what the app does not do. On the fully smart models here, advanced settings are often documented in a printed manual rather than in the app. That is fine for a beginner but frustrating later, so know which kind of user you plan to become.
Plan for Batteries and Dew
Cold nights drain batteries faster than warm ones, and long sessions drain them fastest of all. Fully smart telescopes are battery powered with no eyepiece to run, but equatorial mode is the setting that will run a power bank flat. Budget for an external battery if you plan to image for more than a couple of hours.
Dew is the other quiet killer. The Seestar S30 Pro includes anti-dew protection, which is worth more than it sounds like in autumn observing. For any other scope on this list, a dew shield or a cheap USB dew heater is a sensible first accessory, and our smart telescope roundup covers the accessory side in more detail.
What to Avoid When Buying a Telescope
Avoid buying on magnification numbers alone. A scope that advertises 500x will show you a blurry, dim image, because magnification without light gathering produces nothing. Aperture and optical quality come first, always.
Avoid department-store mounts advertised with very high claimed power ratings. Vibration and a shaky tripod ruin more photos than any other single factor, and an equatorial mount amplifies every wobble.
Avoid a scope whose app you cannot find or whose last update was long ago. If the app is dead, the scope is dead, and there is no eyepiece fallback on fully smart models. This is the most common regret pattern in owner reviews.
Finally, avoid buying a smart telescope for planetary viewing. Every fully smart scope in this guide is a wide-field imager, and this mismatch between expectation and hardware is the number one source of disappointment we found in the reviews. If planets are your goal, buy glass.
Frequently Asked Questions
What is the best computerized telescope for beginners?
For most beginners the Celestron NexStar 127SLT is the best computerized telescope, because its motorized GoTo mount both finds and tracks targets so a new observer is not constantly re-aiming. If your budget is tighter, the Celestron StarSense Explorer LT 114AZ guides you with your phone and has no motors to go wrong, while the AstroMaster 130EQ-MD adds single-axis motorized tracking at a lower tier. Buy glass rather than a smart imager if you want to look through an eyepiece.
Are smart telescopes worth it for beginners?
Smart telescopes are worth it for beginners who hate the learning curve. They remove star-hopping and polar alignment, which is where most new observers quit, and they produce finished images on your phone in a single session. They are worth less to you if planets and eyepiece viewing are your real interest, because fully smart scopes are wide-field deep-sky cameras rather than planet instruments.
Which smart telescope is best for seeing planets?
None of the fully smart telescopes are built for planets, so buy a conventional telescope with an eyepiece. The Celestron NexStar 127SLT with its 1500mm focal length shows Jupiter’s bands, Saturn’s rings, and Jupiter’s moons clearly, and the StarSense Explorer LT 114AZ is the cheaper route to sharp lunar and planetary views. Smart imagers like the Dwarf Mini and Seestar S30 Pro show planets as small featureless discs.
What to avoid when buying a telescope?
Avoid judging a telescope by advertised magnification, because magnification without aperture just gives you a dim blurry image. Avoid shaky mounts, since vibration ruins astrophotography faster than anything else. Avoid any scope whose companion app has not been updated in a long time, because a dead app means a dead telescope with no eyepiece fallback. And avoid buying a fully smart telescope expecting planetary detail.
Do smart telescopes need internet access to work?
Pointing, plate solving, tracking, and stacking all happen on the device, so core observing works without a connection. You do need the app installed, and the DWARFLAB and ZWO models process finished images in the cloud, which does require a connection to get your stacked result back. Check the app store for the model name before you buy so you know what you are signing up for.
The Best Smart Telescope for Beginners in 2026
The Celestron NexStar 127SLT is our pick for the best smart telescopes for beginners in 2026. It is the only scope in this guide that both finds objects on its own and lets you look through an eyepiece, so it works for a family sharing Saturn’s rings tonight and for an amateur pointing a camera at the Moon next month.
Choose the StarSense Explorer LT 114AZ if you want the cheapest route to a working telescope and would rather have no motors to fail. Choose the AstroMaster 130EQ-MD if tracking matters most and you plan to grow into astrophotography on an equatorial mount.
Choose a fully smart imager when photographs are the goal: the Dwarf Mini for travel, the Dwarf 3 for wide night scenes, and the Seestar S30 Pro for deep-sky imaging under city light pollution. Whichever you pick, spend the first night with it simply finding and looking at three objects before you try anything clever.